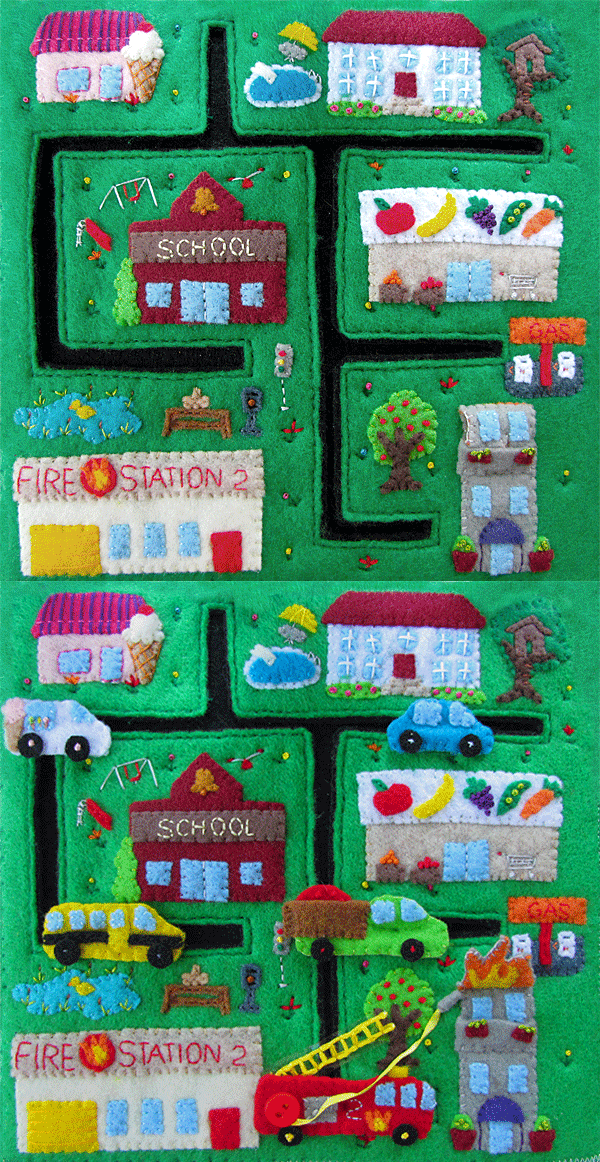
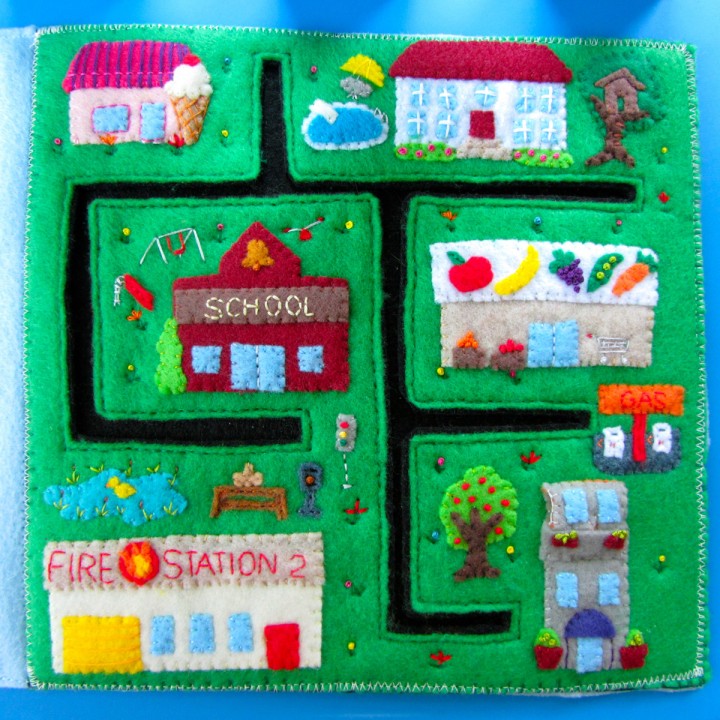
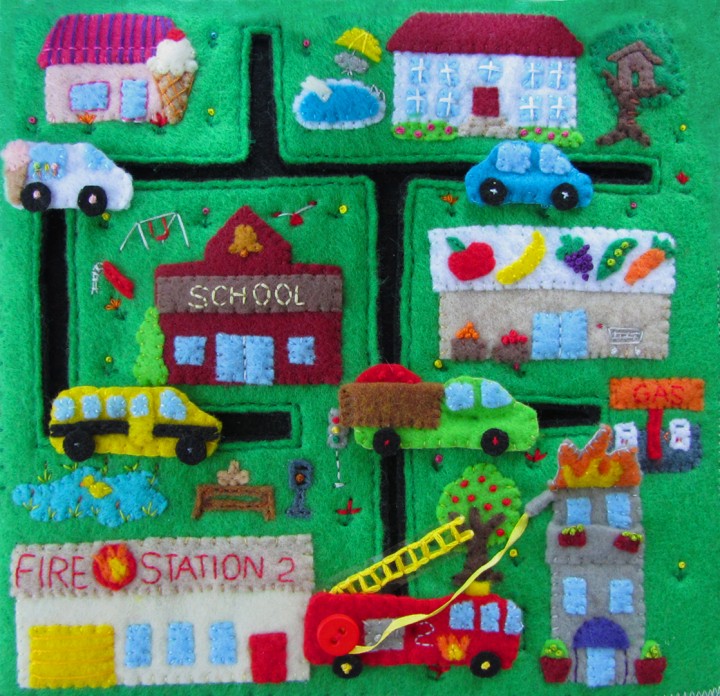
 The is page is a fun way to use up all those scraps of felt you generate while making a quiet book. Plus, it is a lot of fun to play with! You can match the vehicles to the buildings they go with, drive on the roads or “park” them for storage by tucking the buttons on the back of the cars into the road’s channel.
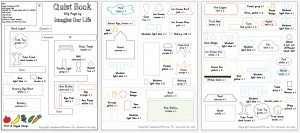
This pattern is very crazy with a million tiny pieces. I cut all of the smallest elements by hand, but I went back and drew most of them into the pattern to help show the shapes you need.
What I Used: the pattern, green background felt, two 9″ x 9″ squares of stiff black felt (plus scraps), felt in a zillion colors (I used my scraps!), a scrap of vinyl, a scrap of yellow ribbon and buttons.
I started by pinning the road pattern onto my green 9″ x 9″ background and basting all around it to mark the road. Then I sewed the main elements to the green felt.
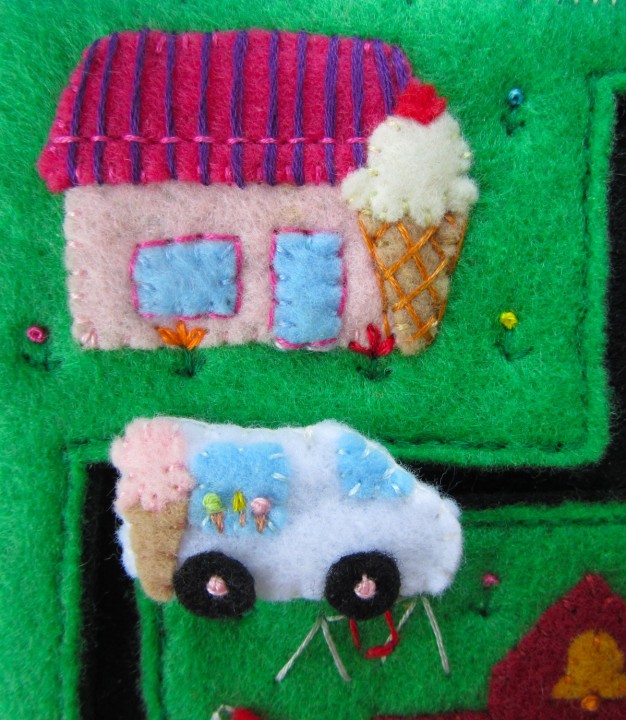
Ice Cream Parlor: I sewed down the building and the roof. I made purple stripes on the roof with long stitches, then held them secure with some pink back stitching. I sewed the windows and doors down and outlined them. I sewed on the ice cream and outlined the cone. I did crossing diagonal stitches for the waffle texture.
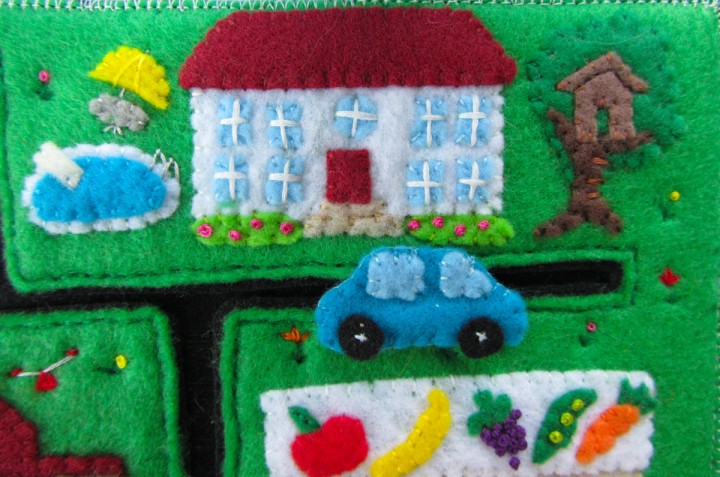
House: I sewed down the building and roof. I tacked on the windows at the corners then used 4 strands of white thread to make +’s for the panes. I sewed on the front steps and the door, then cut out green bush shapes and did pink French knots. I sewed down the pool and cut a little scrap for the diving board. I used gray thread to stitch on a ladder and the diving board attachments. I sewed down the umbrella and table and added stitched on legs and fold lines on the umbrella. I sewed on the tree and added the tree house. I sewed a line of back stitch to show the roof line, and made several stitches across the tree trunk for a ladder.
Tip: Worried your French knots won’t hold up to play? Practice until you can make then nice and tight, and try adding a drop of Fray Check
to then – using a toothpick to apply it.
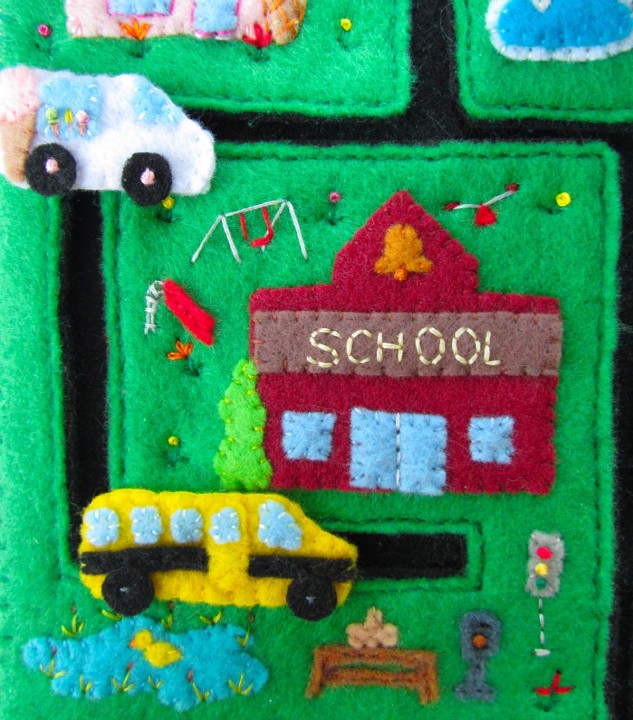
School: I started by sewing the word SCHOOL to the sign strip. I sewed down the building and the sign strip. I sewed on the windows and door, then sewed a line down the center of the door. I sewed on the bell and made a French knot at the bottom. I cut out a pine tree shape and sewed it to the side of the building. I stitched on some playground equipment with thread, using tine scraps of red felt for the slide and the triangle base of the seesaw.
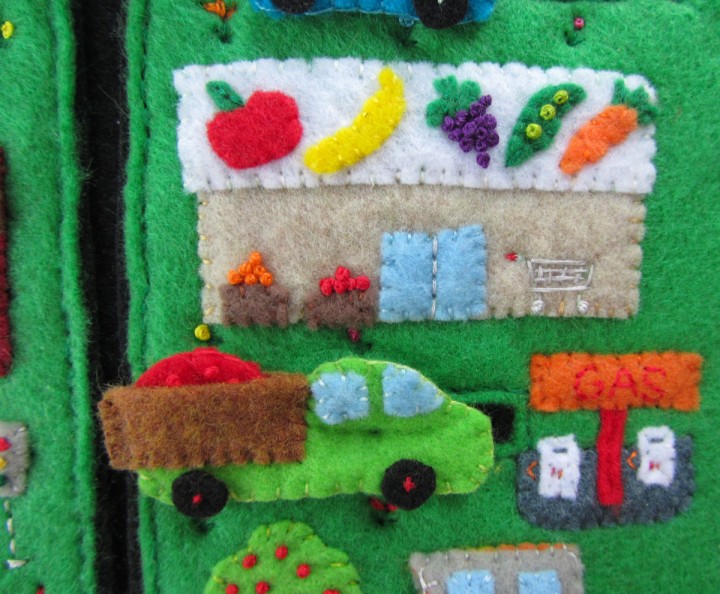
Market: I sewed on the building and the roof/sign base. I sewed on all the little fruits and veggies, using French knots for the peas and grapes. I sewed the door on and added a line down the middle. I stitched the grocery cart and wove some stitches in a basket weave pattern inside of it. The wheels are more knots. I sewed on the brown produce bins and used French knots to make the oranges and apples.
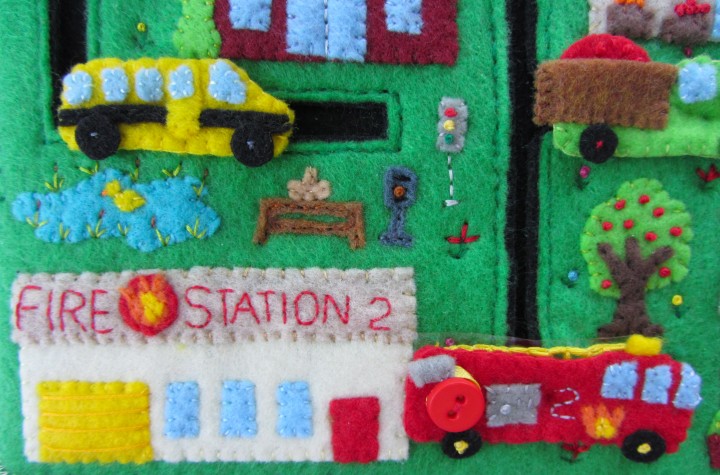
Fire Station: I sewed down the building and sewed on the garage door, windows and door. I added stripes to the garage door to show the panels. I sewed the words FIRE STATION 2 to the sign, as well as the fire emblem, then sewed it down.
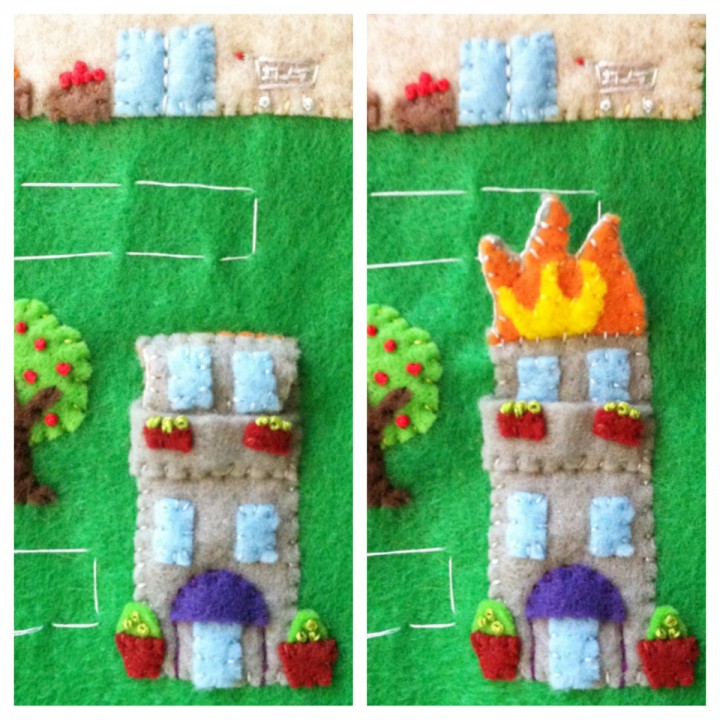
Apartment Building: I sewed down the building, door and windows, leaving room between the two rows of windows for the balcony pocket. I decorated with balcony before sewing it on – little maroon rectangles to make planter boxes and green French knot plants. I sewed the awning on only along the curved top, and added lines of stitching for support poles. I used more scraps and French knots to make the planter pots on either side of the door.
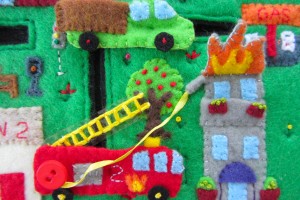
I created the flames as a little flap sewn to the top of the building. I sewed the yellow flames to the orange, and I sewed two windows to the grey flame backing (so they line up with the windows on the building when the flap is down.) Then I sewed the two sides together. I sewed the flat side of the flap to the top of the building, flame side up. Then I was able to tuck it in to the balcony to hide it.
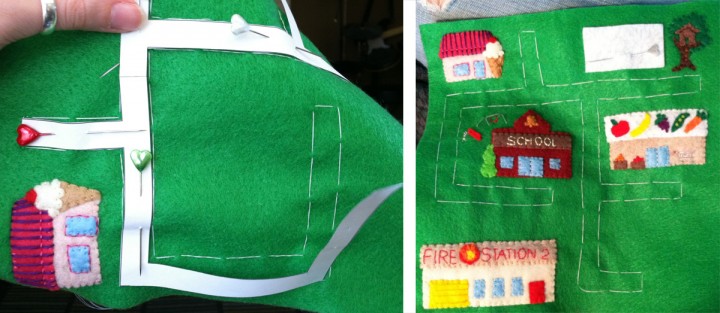
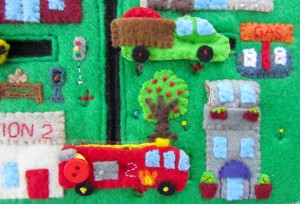
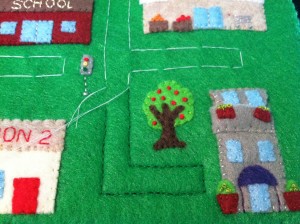
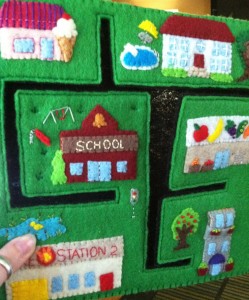
Roads: I basted a square of stiff black felt (it’s this, but only $1.99 at the store) to the back of my green background. Pins probably wouldn’t work well, but paper clips or binder clips might. Using green thread, I sewed the shape of my roads and pulled out the basing (see photo above left.) I hand stitched, but a machine would work well. I sewed a second square of stiff black felt to the back, going through all three layers. (This is why clips might save you time! Since this 9″ square will ultimately be sewn to your full page, how you bind the layers together at this point doesn’t really matter. I machine sewed over all this when I constructed the page.) Then, with my micro-tip scissors
, I cut away the green layer and the top black layer inside the roads. It then looked like the photo above right.
At this point, all the blocks in the city will flop around and definitely not hold the cars in place. You need to add some stitching through all three layers, about a 1/4″ from the edges of the roads. I sewed all of the elements below through all three layers to do some of that, then stitched little flowers along the road everywhere else to hold it in place.
Other Elements:
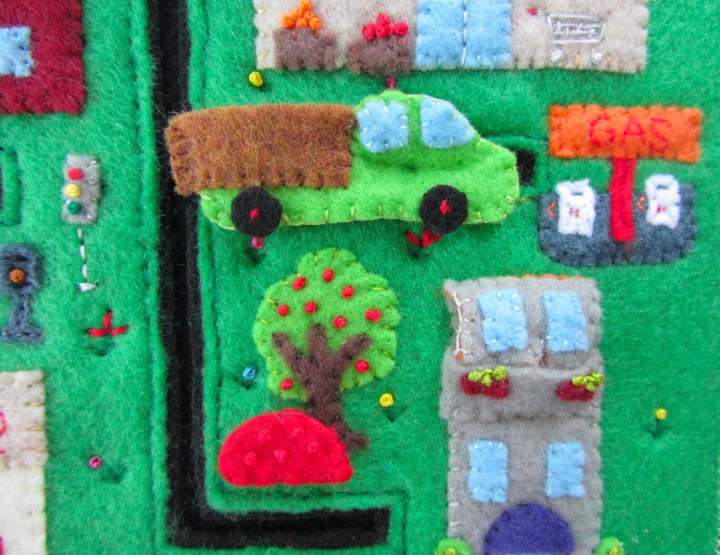
At the end of the road below the market, I sewed on the gas station base and pole. I sewed the word GAS to the sign, then sewed that down. I sewed on the pumps, making a few tiny stitches for the details and hoses.
Below the road under the school, I sewed on the pond. I cut a tiny scrap of yellow felt into a duck shape, using yellow thread to attach it and cinch in his neck. I stitched in a triangle shape for his beak. I added green stitches with little brown tops to make cattails around the pond. I sewed on a picnic table and basket, as well as a grill. I added black stripes to the grill and a brown French knot burger. I sewed on the traffic light and made the lights with French knots and stitched a base.
Next to the apartment building, I sewed down a tree and added French knot apples. The produce truck can visit and pretend to load up on apples.
The flower stems are made from three green stitches that fan out from the bottom point. I topped the center stitch with either a French knot or a daisy loop flower. Bring your needle up through the felt at the base of your petal, then down through the same hole – but don’t pull it all the way through. Where the top of the petal will be, come up through the felt and run the needle through the loop you left. Pull tight and go back down through the felt a little ways away from your last hole, making a tiny stitch to hold the petal loop in place.
Vehicles:
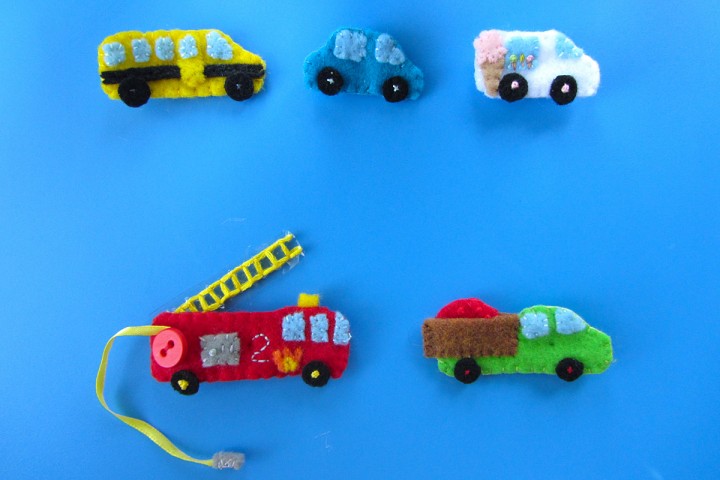
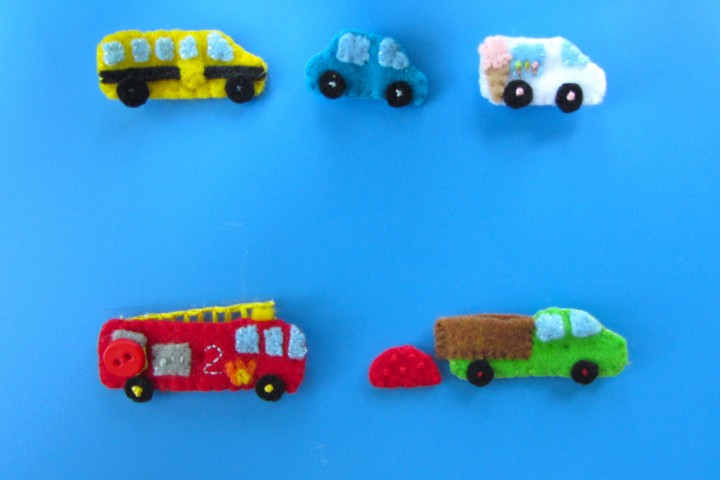
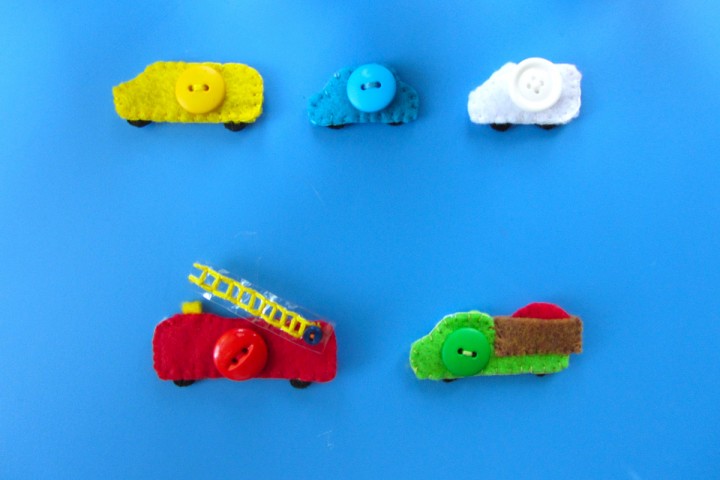
School Bus: On the front piece I sewed the black stripe, the door, the windows and the wheels. (Some of the wheels are sewn on with a simple “x” and others are a French knot with an “x” over top.) I sewed the two sides together and added a button to the back. I chose to go through both sides of the vehicle with my button for strength, but it might not be necessary.
Car: Super simple! I sewed the windows and wheels to the front, sewed the front to the back and sewed on a button.
Ice Cream Truck: I sewed the windows to the front then sewed on the ice cream cone. I embroidered some ice creams in the window. The cones are three little stitches in a triangle shape with French knot ice creams and a horizontal stitch below the knots to make the part of the ice cream that overhangs the cone. The popsicle is just some vertical stitches. I sewed on the wheels, sewed the back and front together and added a button.
Fire Engine: I sewed the windows, flame design, “2”, wheels and an instrument panel (with a knot and a couple stitches for decoration) to the front. I took a bit of yellow ribbon and wrapped a tiny scrap of felt around one end, sewing it in place. I sewed the other end of the ribbon to the front piece and sewed a red button on top. I made sure my button wasn’t flush down against the truck – you need room to wrap the hose around under it for storage. I took a scrap of clear vinyl and stitched a yellow ladder to it, leaving some extra vinyl at the bottom with a tiny hole cut in it. I took the tiniest button I had (1/4″ I believe) and sewed it to the back of the truck through the hole in the ladder piece. That let the ladder pivot up and down. I sewed the back and front together and added a button to the back.
Produce Truck: I sewed the windows and wheel tot he front then sewed the front and back together. I placed the two truck be pieces on either side of the truck and sewed them into a pocket along the sides and bottom. I added a button to the back. I sewed French knot apples to the front of the apple pile, then sewed the front and back together.
Phew! All done! I’d originally hoped I could have the vehicles stay buttoned to the page and you just slide them around. But, despite the stiff felt, the cars pop out when you go around corners. My first car had a large 1″ button that did stay in much better than these small ones, but it still pulled out easily. I decided that I’d use smaller buttons that didn’t detract from the vehicles, and I’d use the channels to “park” then when storing the page. Jax likes to have those tiny cars in his little hands anyway, so he’s happy!
For more free quiet book patterns, visit my quiet book page. Stop by the Facebook page with requests or photos of pages you’ve made, and visit my support page to help me run this site.
A camping page is already underway! Previews are being posted on Instagram and Facebook.

Pingback: Quietbooking | Waiting on our Welcome
I used some of your ideas for buildings (although not the actual patterns since I couldn’t figure out how to enlarge them) for my most recent sewing project: car play blankets: http://www.booksnboys.blogspot.com/2013/12/the-finished-car-play-blanket.html
Pingback: DIY Felt Quiet Book #2 – Diapers and Dumbbells