I will be featuring some hand sewing basics here for those of you who are new to it. If you have a special request, please let me know!
Getting Started
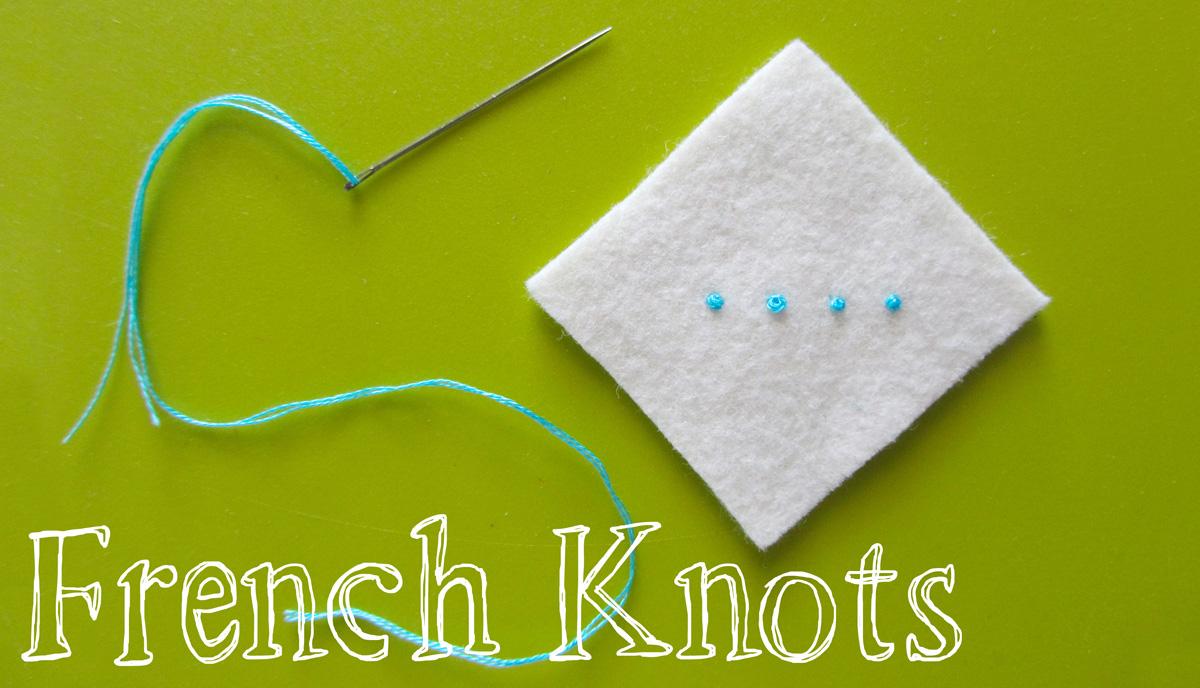
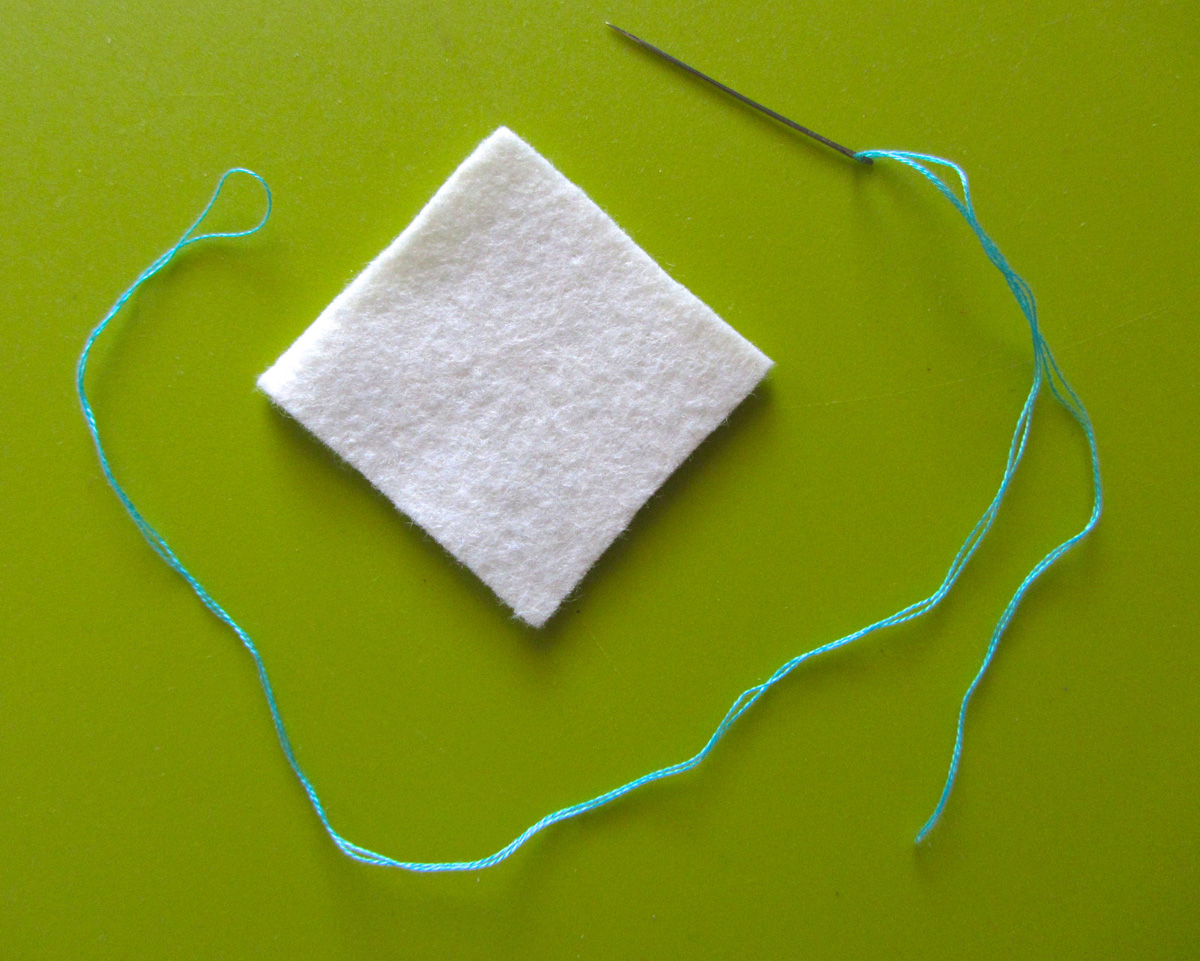
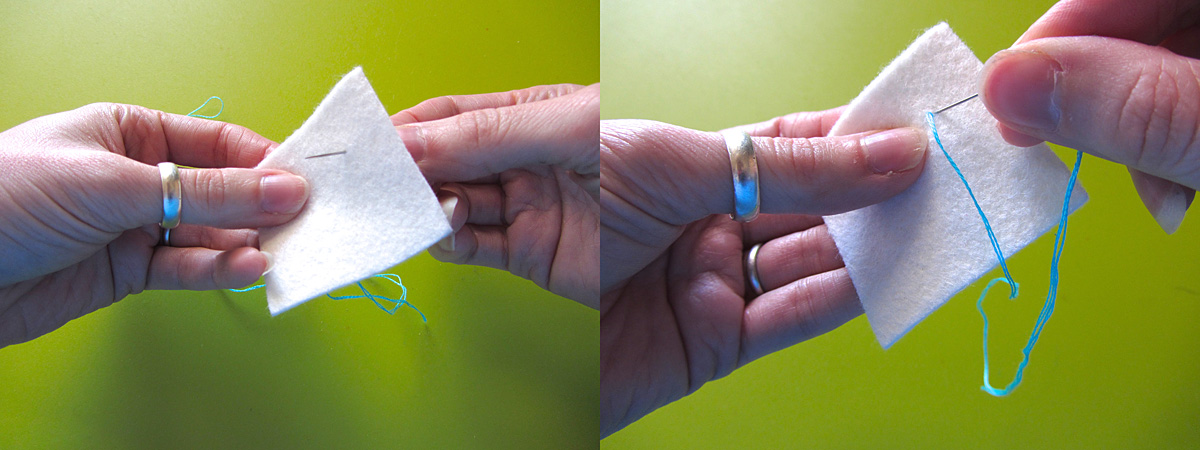
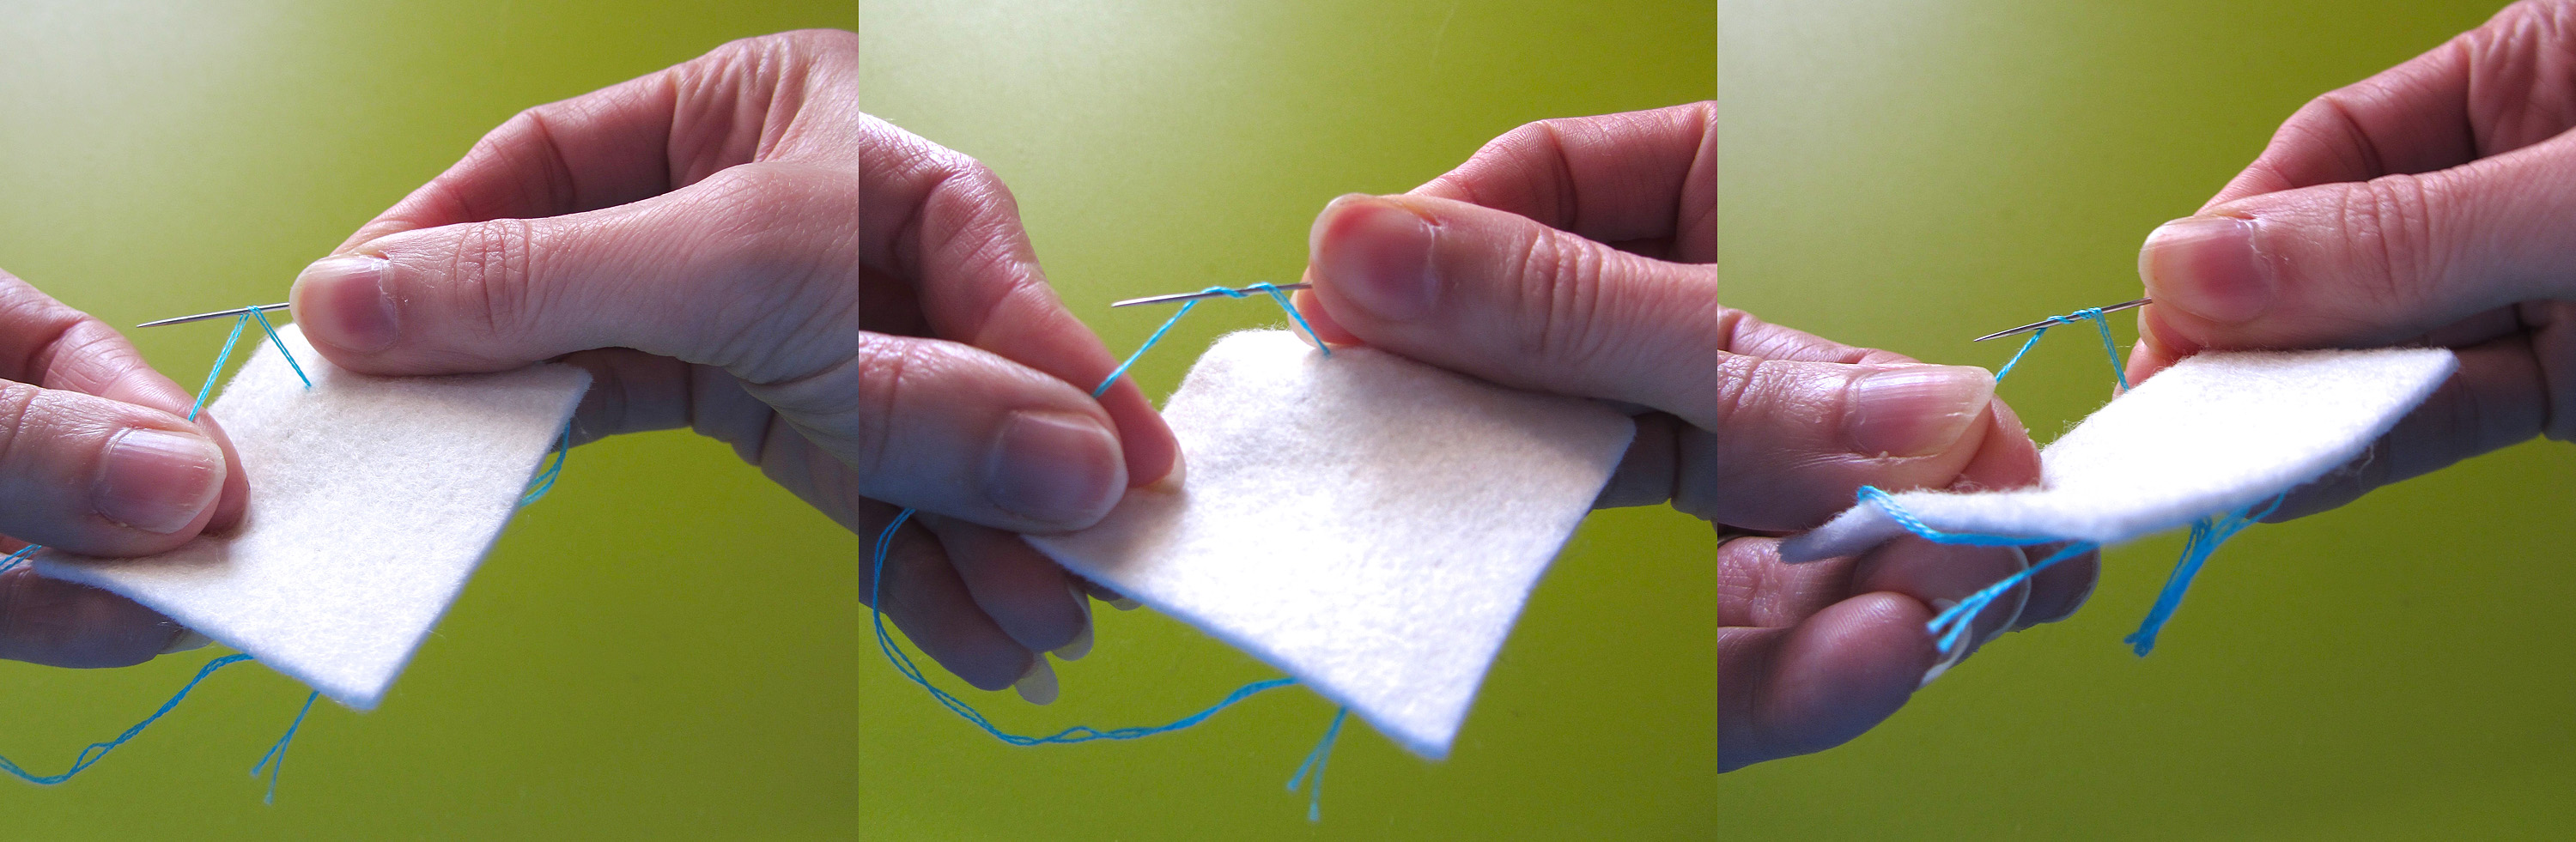
I generally stitch with 2 strands of embroidery floss when sewing on felt. I like to take one strand, double my desired length, and fold it in half. I then thread the two loose ends through my needle. To attach the thread to the page, I make a stitch and pass my needle through the loop at the end of my thread before pulling it tight on the back of my work. To see this in detail, go to my embroidery floss tips. For my French knot, I attached my thread with a tiny stitch where the French knot will go.
French Knots
Bring your needle up along side of the tiny stitch you made.
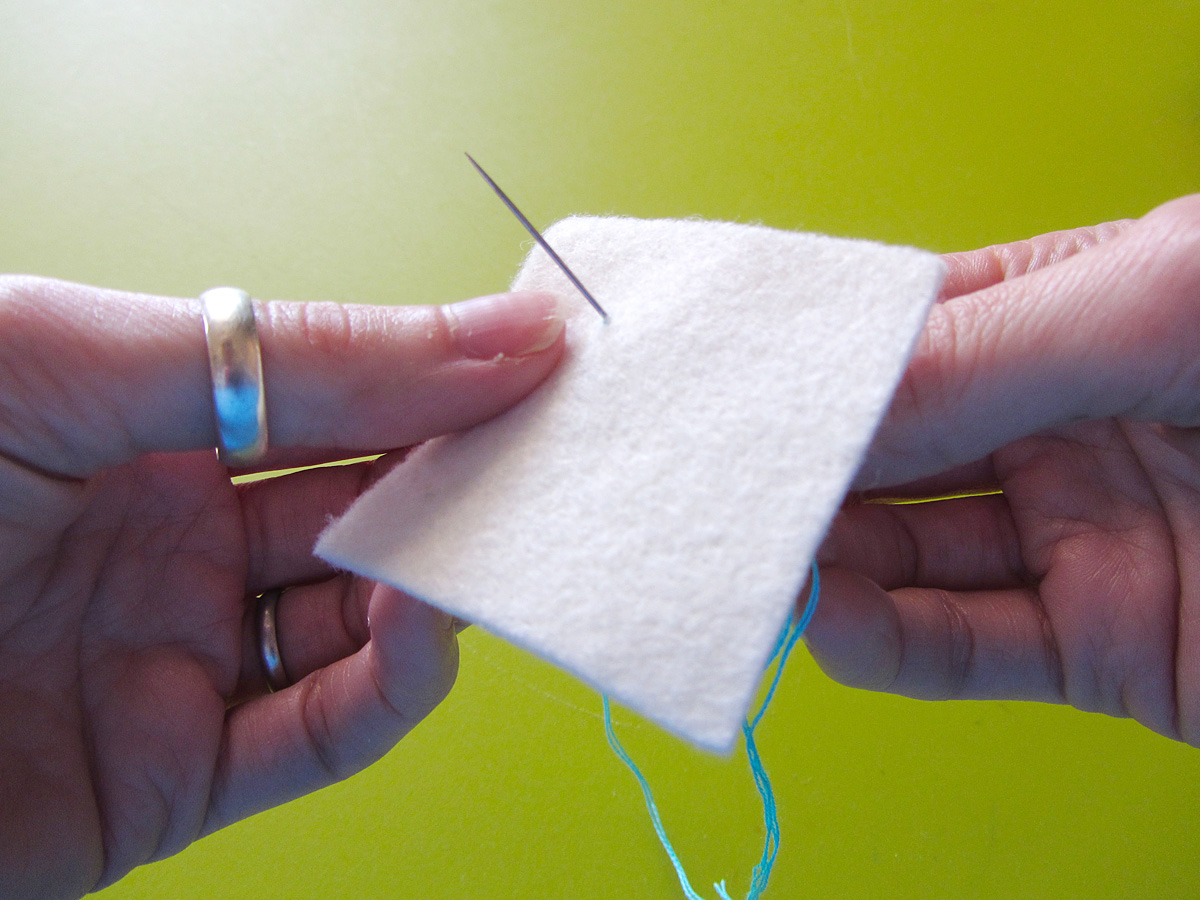
I am right-handed and hold my needle in my right hand. Mirror these directions as needed. With your left hand, take hole of your thread an inch or so above where it comes out of the fabric.
Holding your needle parallel to the fabric, run the thread over the needle and hold it firmly. This makes your first “twist” of the thread. Carefully dipping the tip of needle under the thread, bring up another twist. Repeat until you have your desired number of thread twists. I usually wind my thread around the needle 3 to 4 times when using two strands of floss. I find 5 twists makes a sloppier knot. For larger knots, it’s better to just use more strands of floss.
Make sure you are keeping firm and even pressure with the hand holding the thread. How tight you pull the thread is the key to successful French knots. Too tight and you can’t pull your needle eye through it. Too loose and your knot will unravel. Practice makes perfect here!
Carefully place the tip of your needle down in the same spot you came up through the fabric, without letting the twists of thread slide off. While starting to pass the needle through, slide the twists down to the fabric and gently pull the thread with your left hand so all the twists form a ball around your needle.
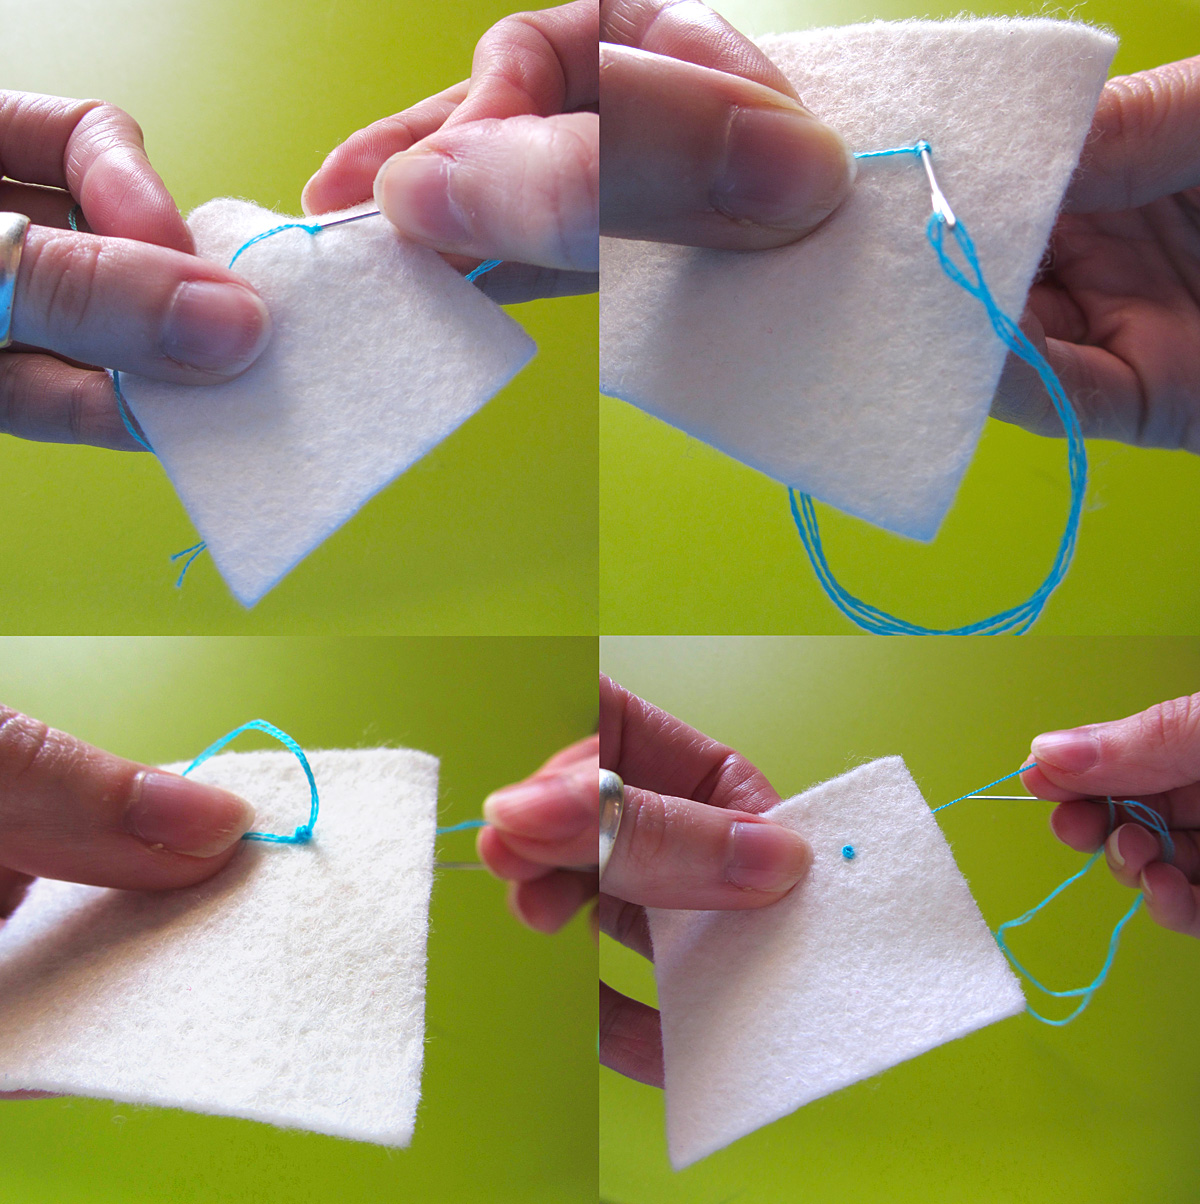
I find that if I have to wiggle the eye of the needle a tiny bit to pull it all the way through the twists, then I get a neat French knot. If it feels like my needle is not going to make it through without a fight, I ease up on the thread with my left hand. If it is going through too easy, the knot will be a hot mess.
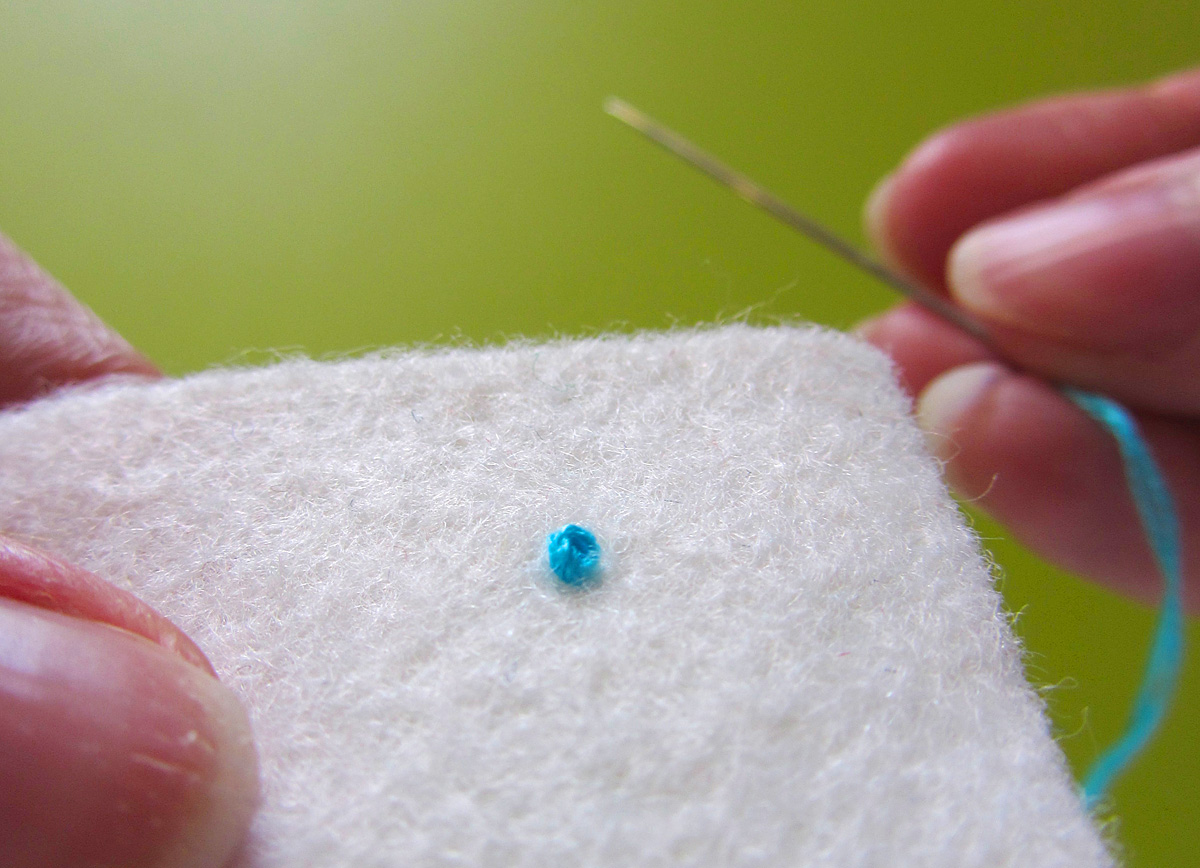
All done!
Tip – When I am doing multiple French knots, I don’t like to tie off my thread and start over with every knot. I just go to the next spot and make another tiny stitch to anchor the thread before making the knot on top. If the knots are more than an inch apart, I do tie off and start a new thread. I don’t want to risk the threads getting loose on the back side of my work.
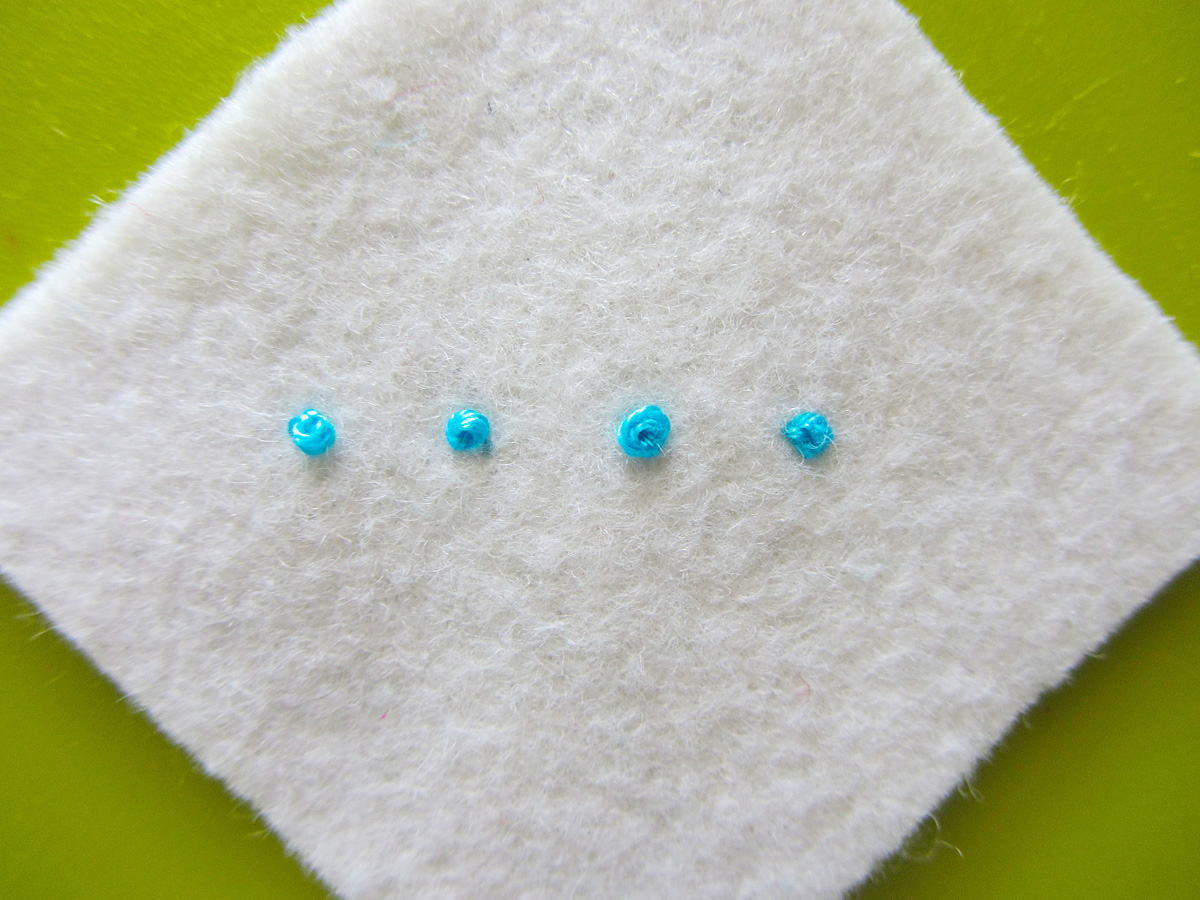
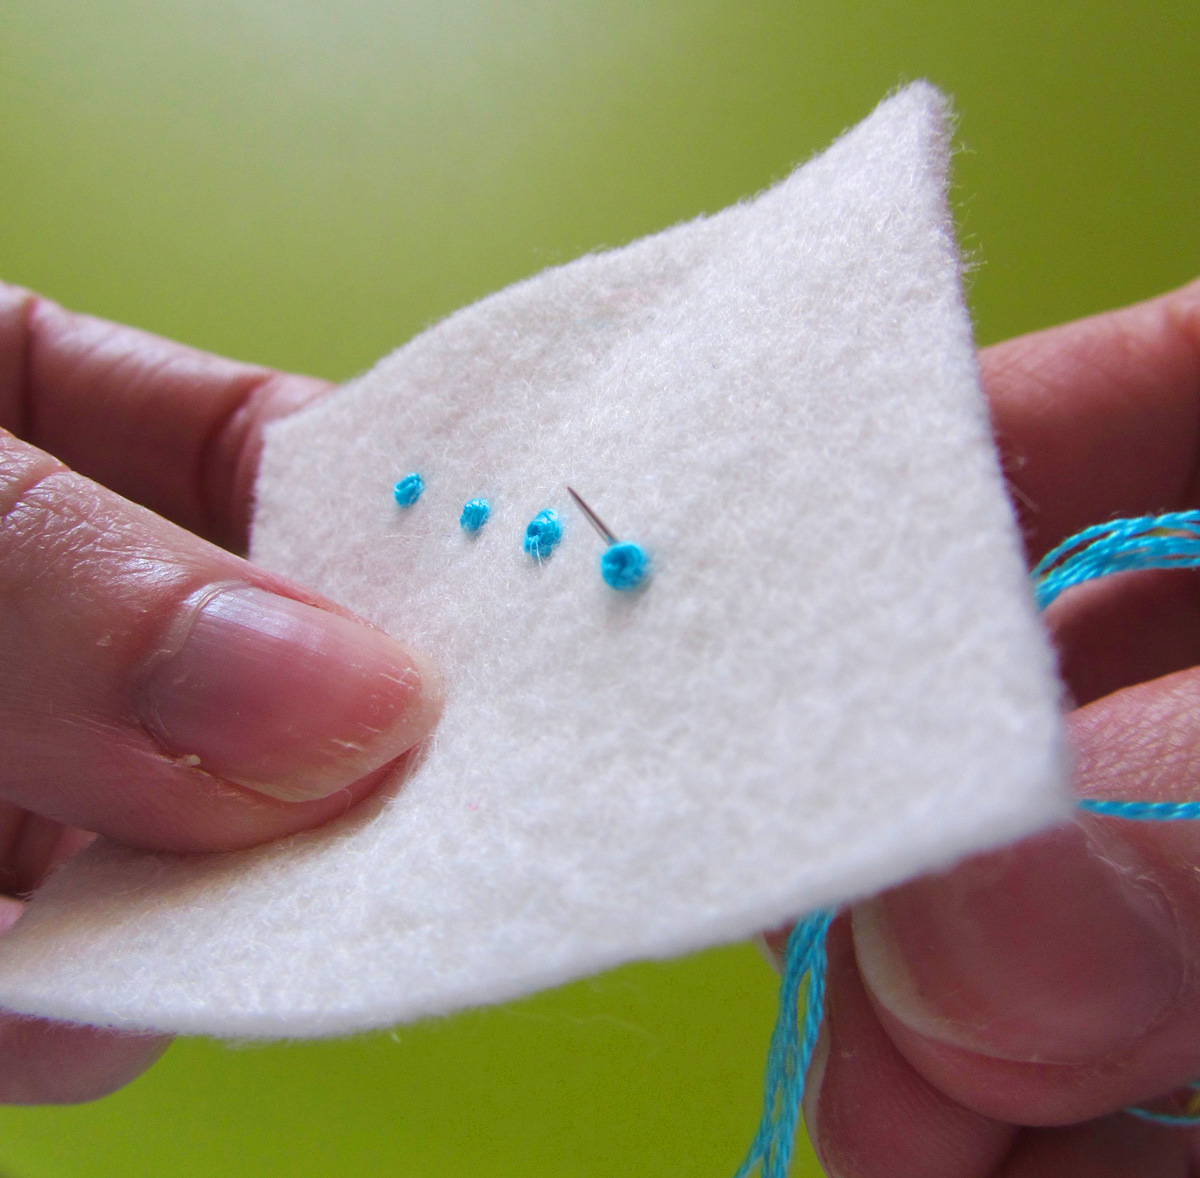
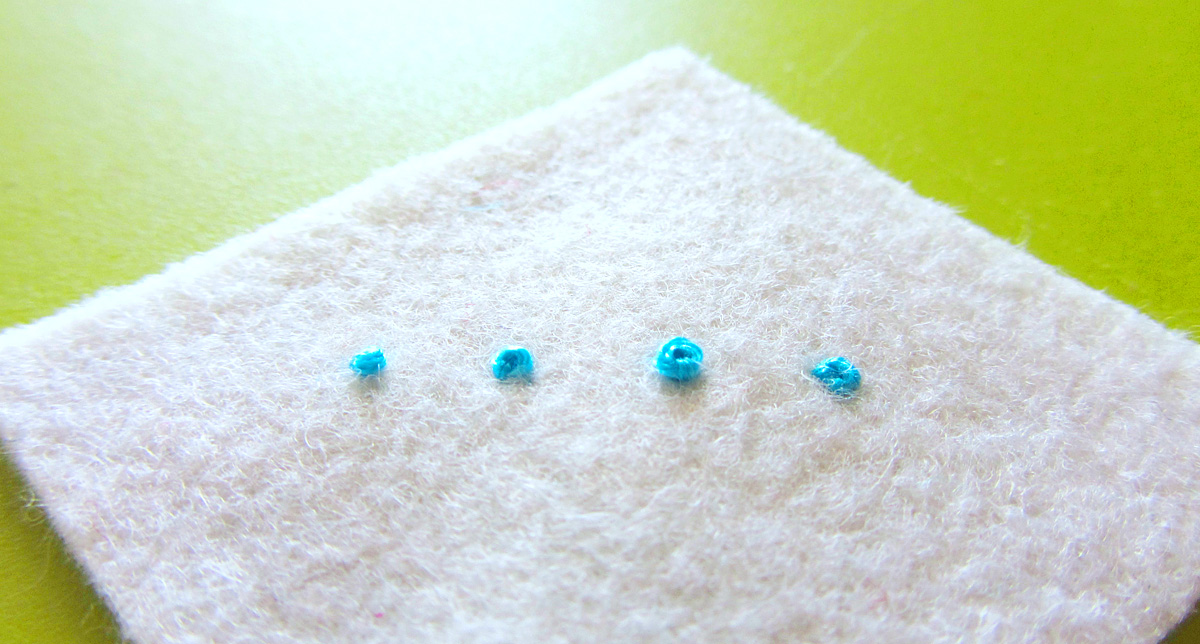
Here is an example of a few different French knots. All were done with 2 strands of embroidery floss. From left to right: 3 twists, 4 twists, 5 twists and 4 twists “locked”.
Locking a French Knot
While you could add a drop of Fray Check to your knots it you are sewing something that will be handled and played with a lot, I like to “lock” my knots.
To lock a French knot, I bring my needle up through the fabric just underneath the edge of the knot.
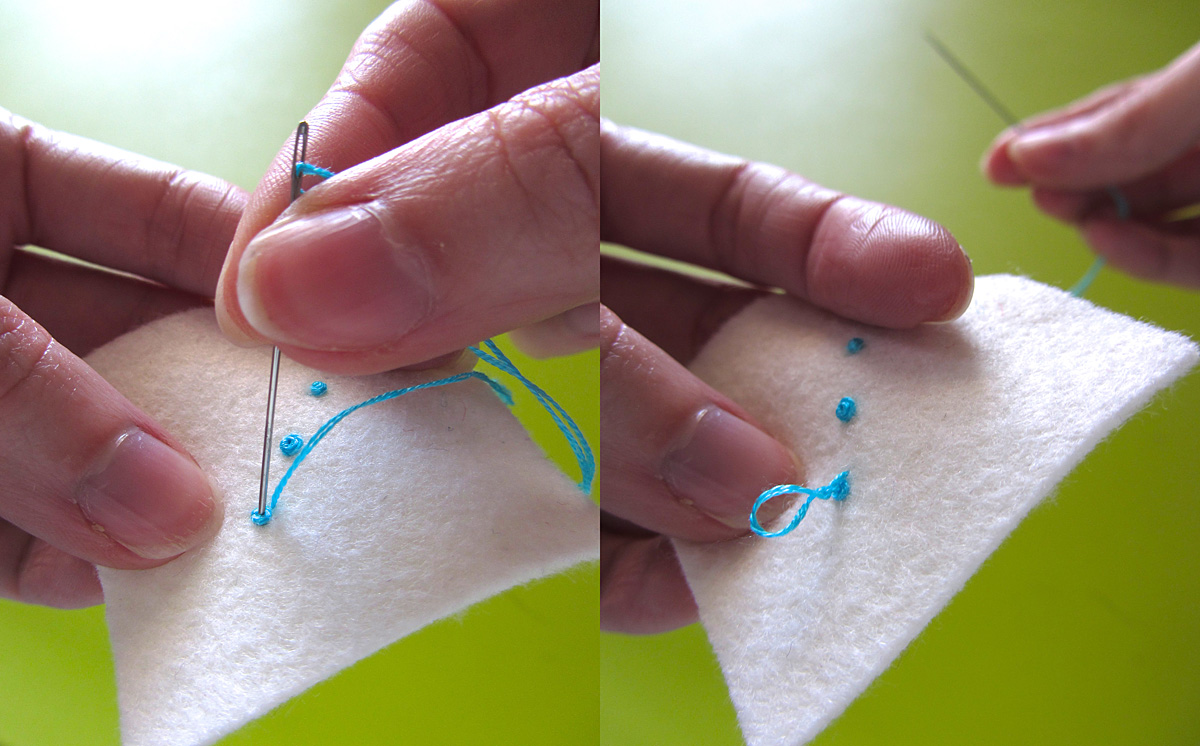
Pass the needle back down through the knot, either through the center hole or just beside it. I usually go just beside it, as it can be tough to fit through the center and it makes the center more noticeable. I repeat on the opposite side of the knot so the knot doesn’t lean.
In this example (far right), I went through the center for the first stitch, then went just beside it for the second. It only slightly changes the look of the knot, but you won’t have trouble with our knots getting loose and wiggly.
Here is a little video of me sewing a French knot to help you see how smooth and quick the process goes after some practice!
Thank you so much for these FAQ’s! I’m just starting to sew and because of your awesome instruction, got the french knot right on my first try!! 😀
Hi – Just to let you know how helpful I found your instructions for a french knot. I have been trying for a few days and they look just awful and very loose. Now I can start again, following your guidelines. Thanks!
Happy to help!