Tag Archives: Nursery

Welcome to Our Nursery!

Surprise! I’ve been busy since September on a very important project… Baby boy number two! If you follow me on Facebook or Instagram, you’re already in the know. He could arrive any day now and we couldn’t be more excited!

Welcome to Our Nursery!

We are finally feeling somewhat ready to meet our newest little man. We have a car seat and a pack of diapers, a bit of clothes (mainly from the great thrift stores around here) and our DIY’ed nursery. Allow me to show you around!

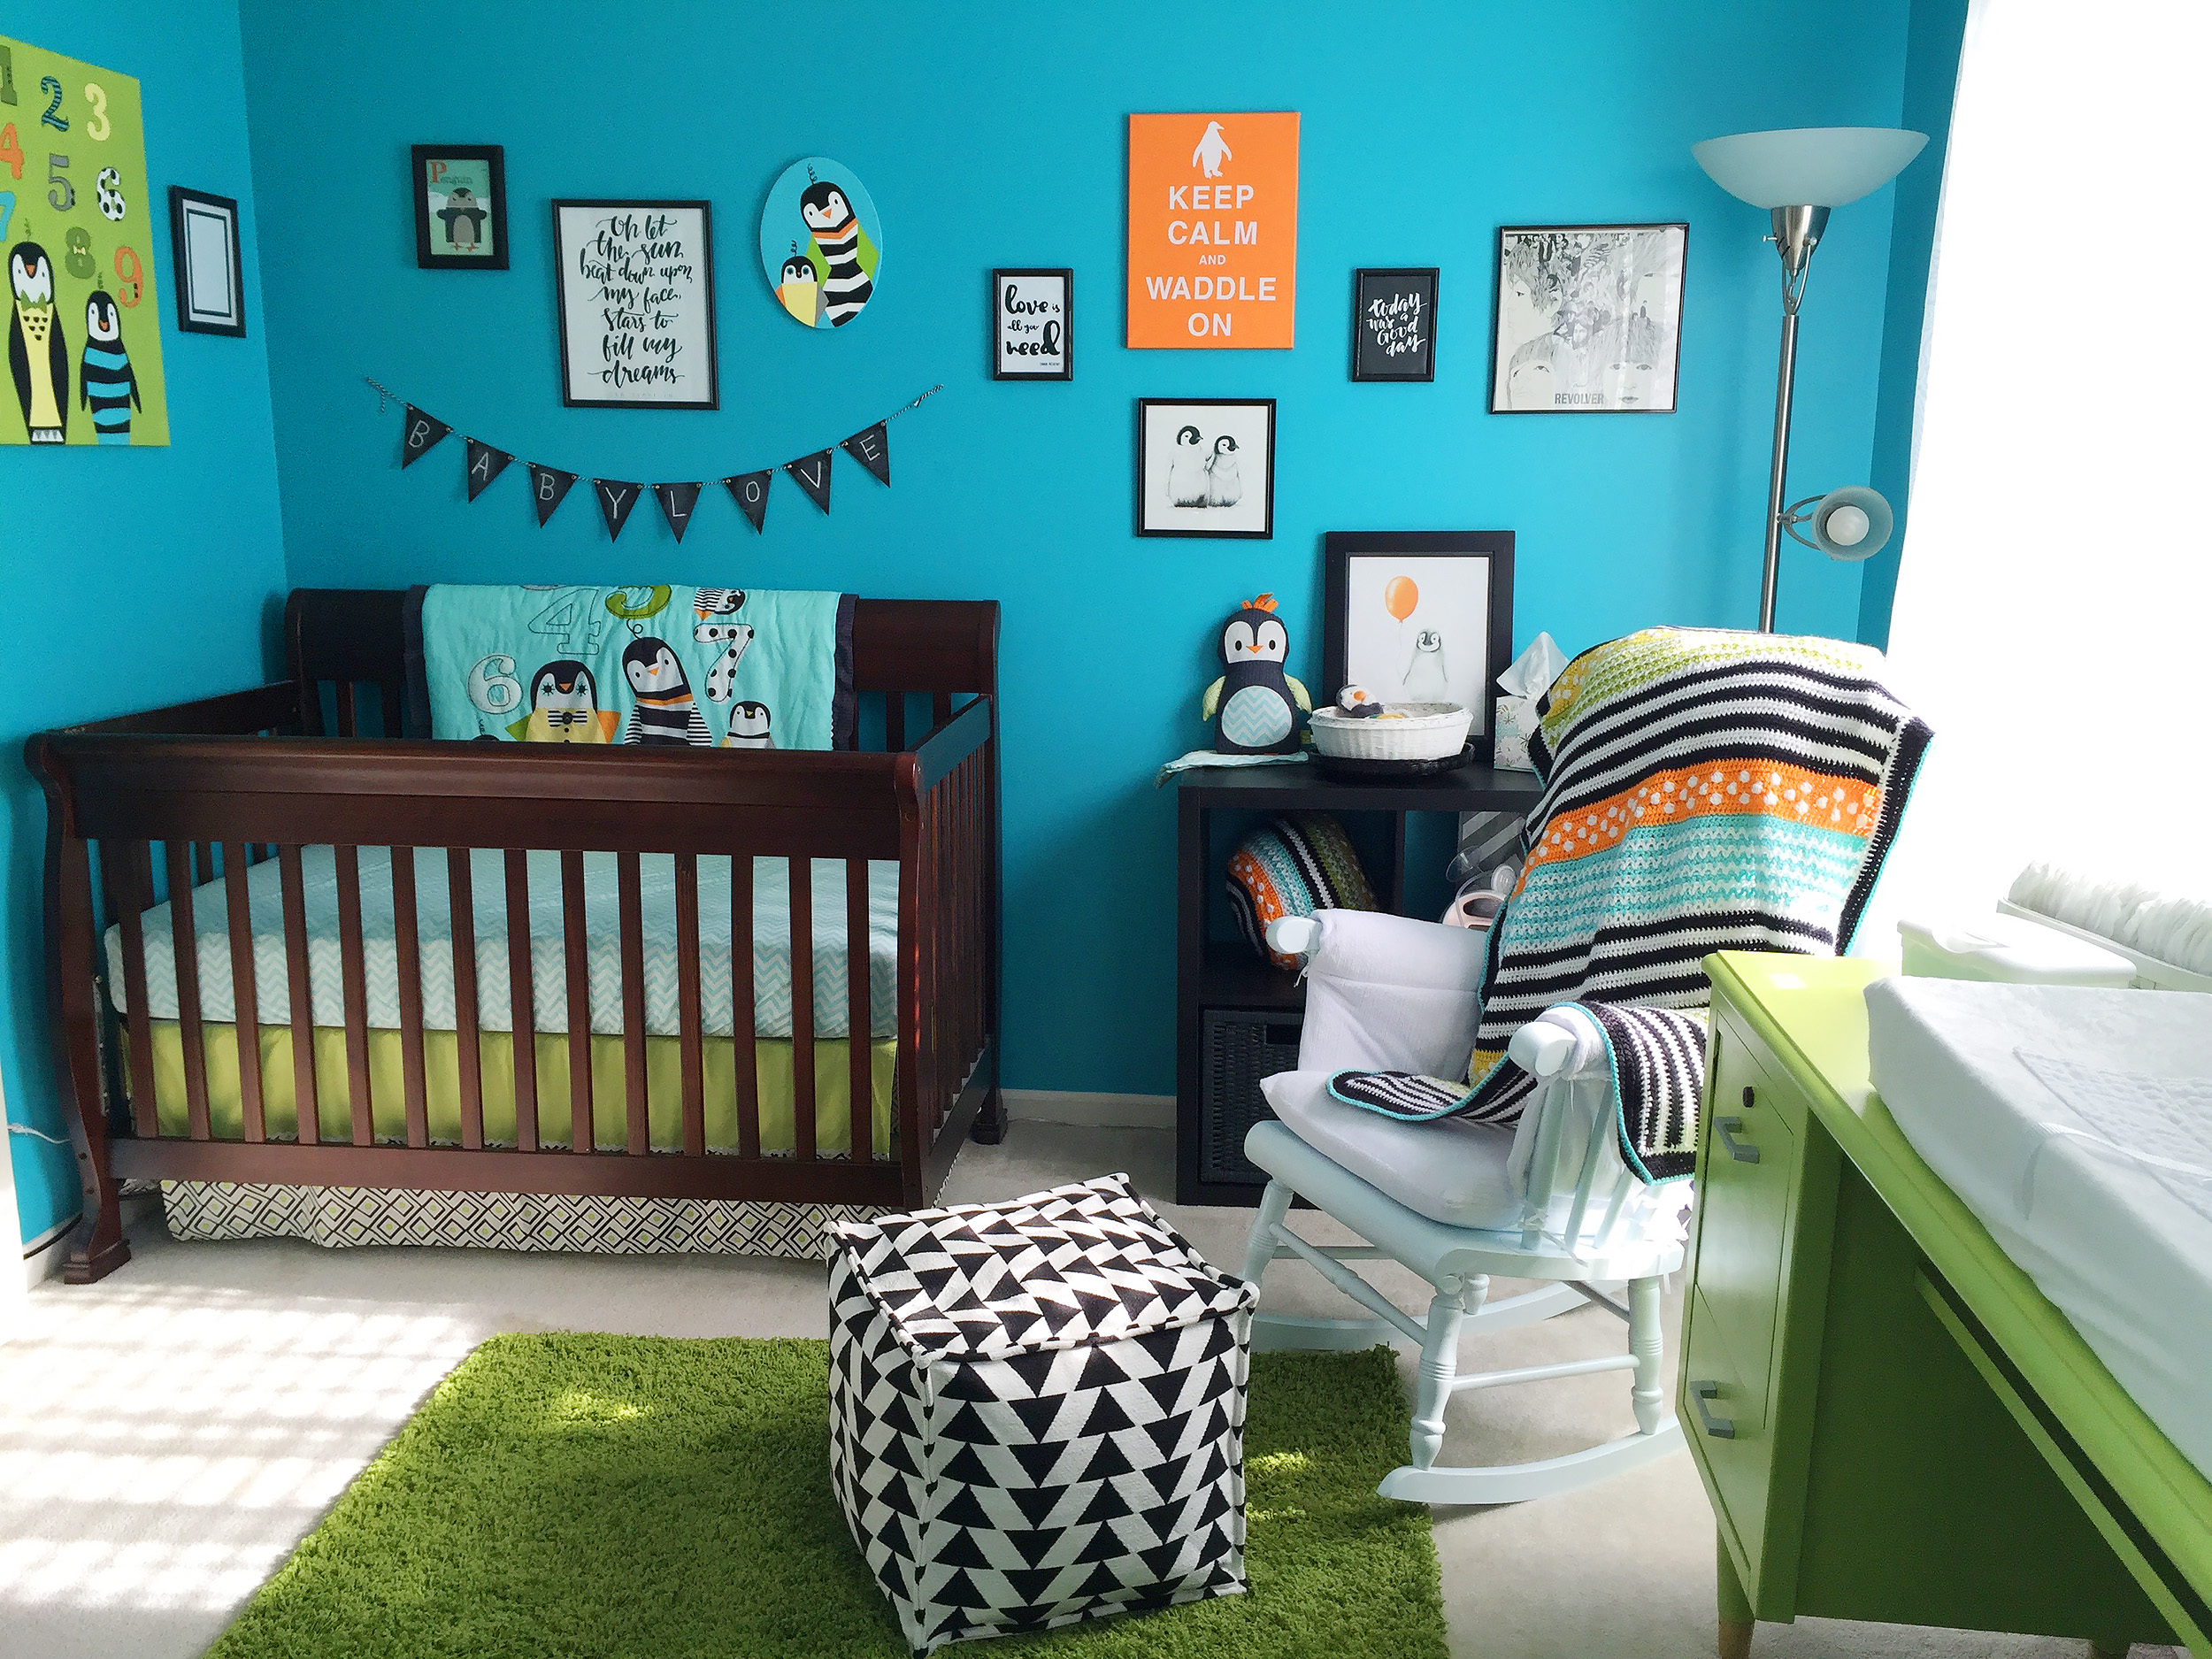
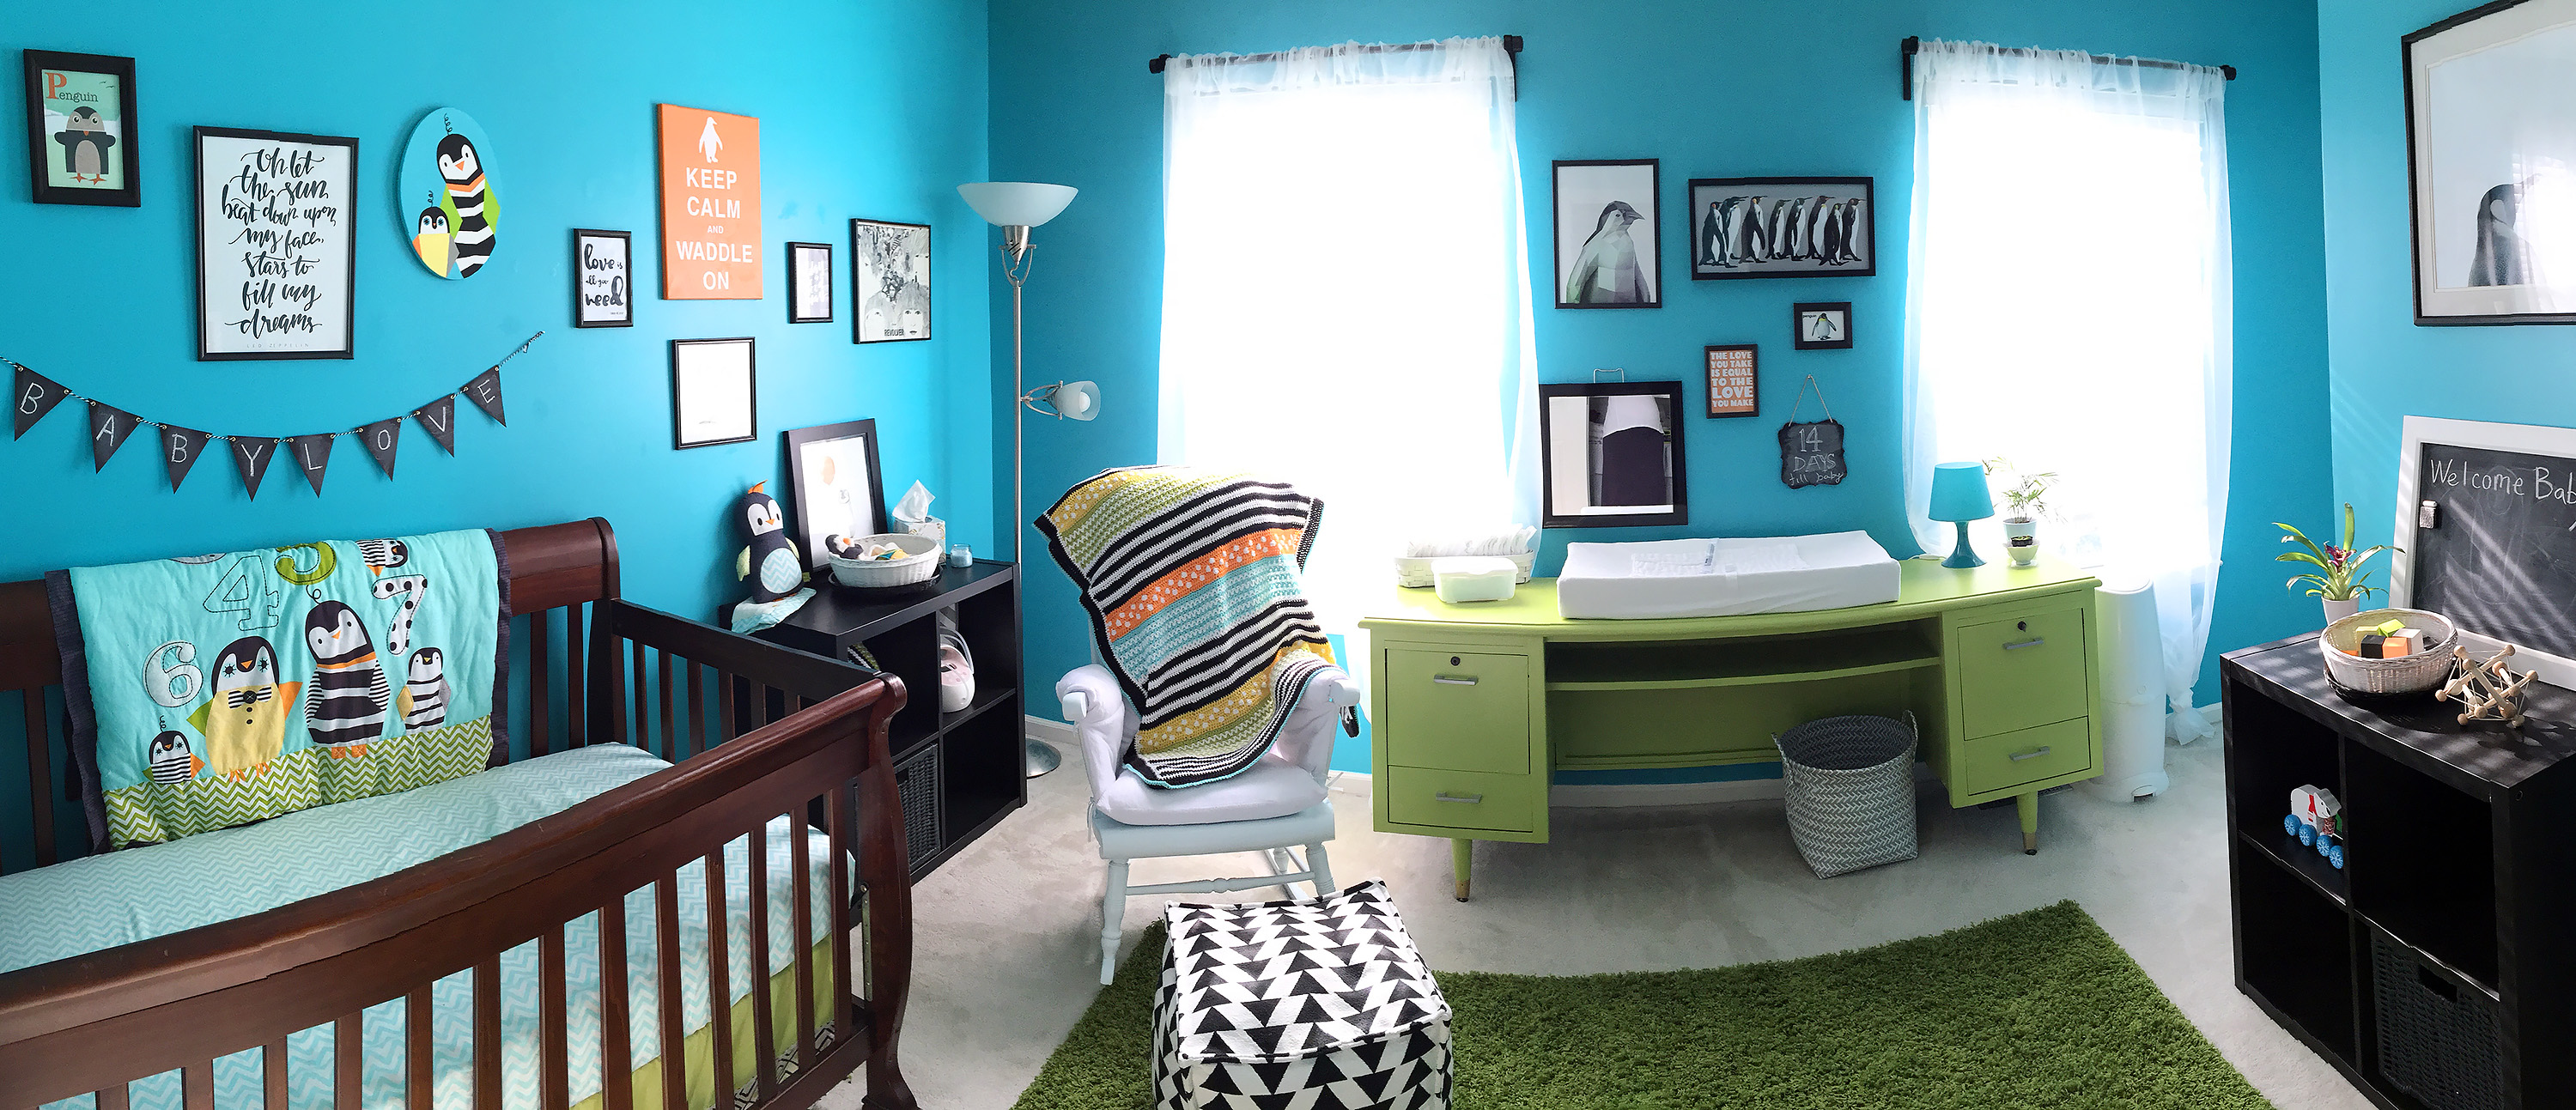
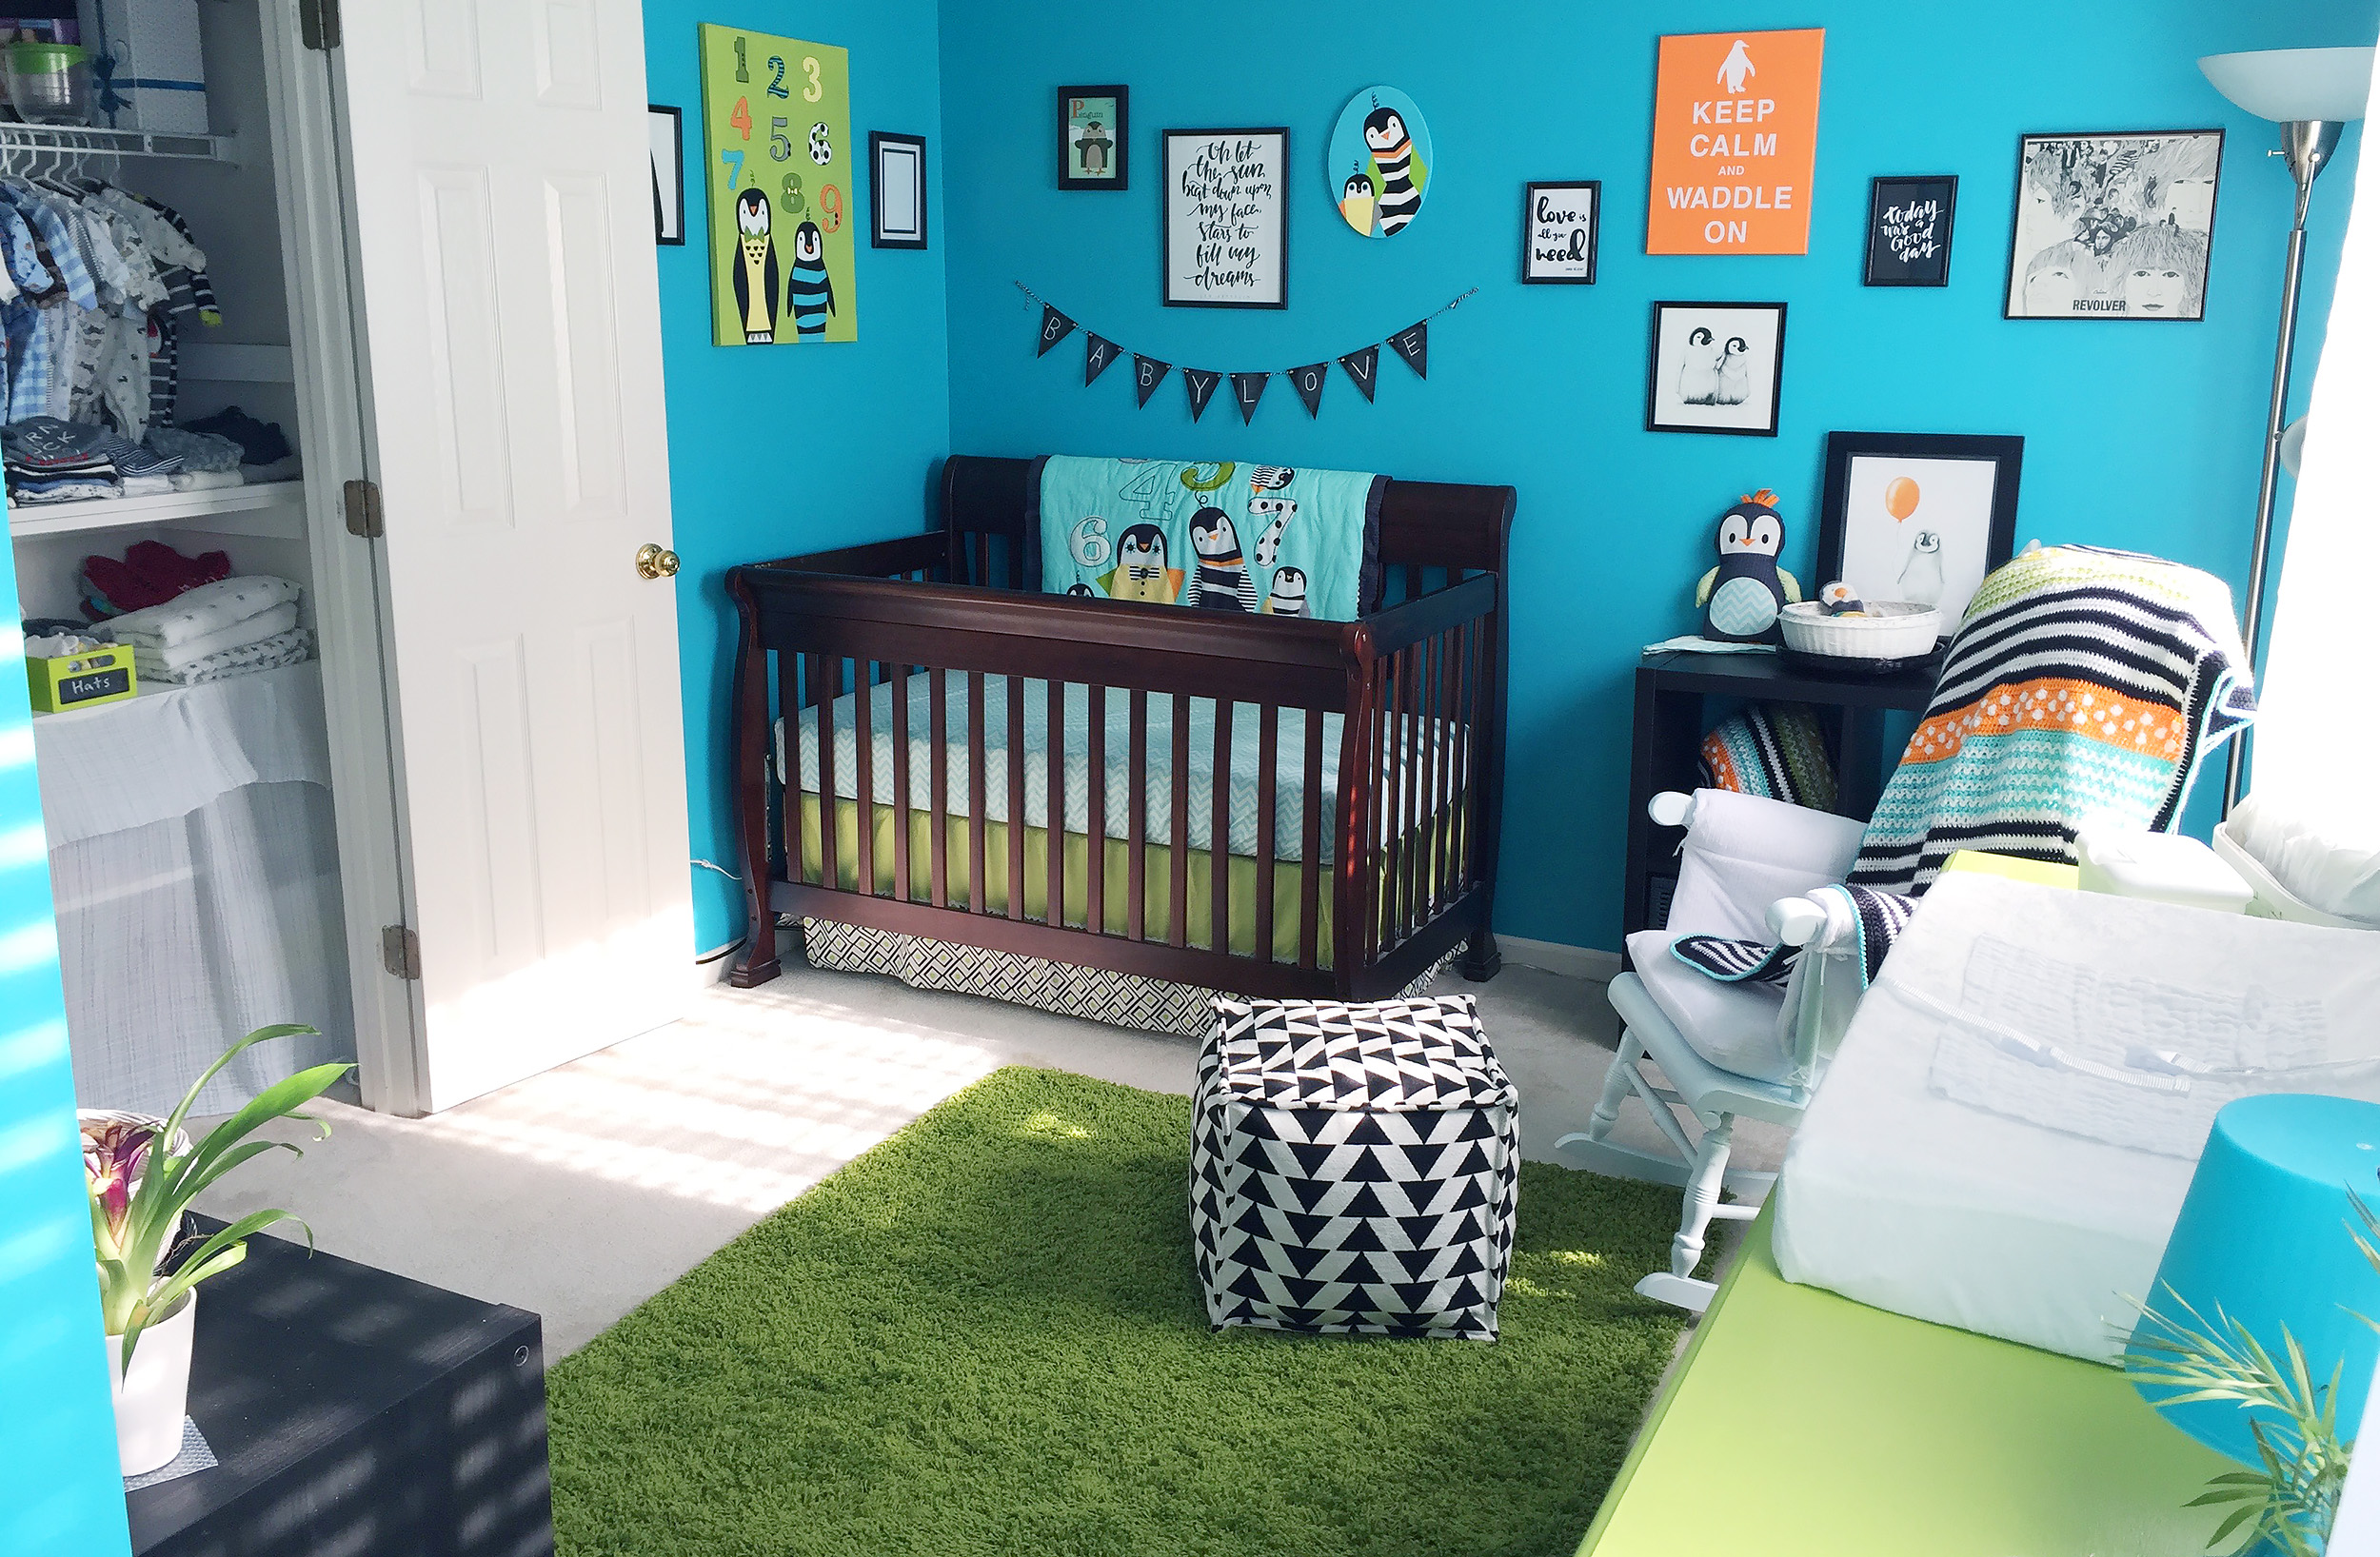
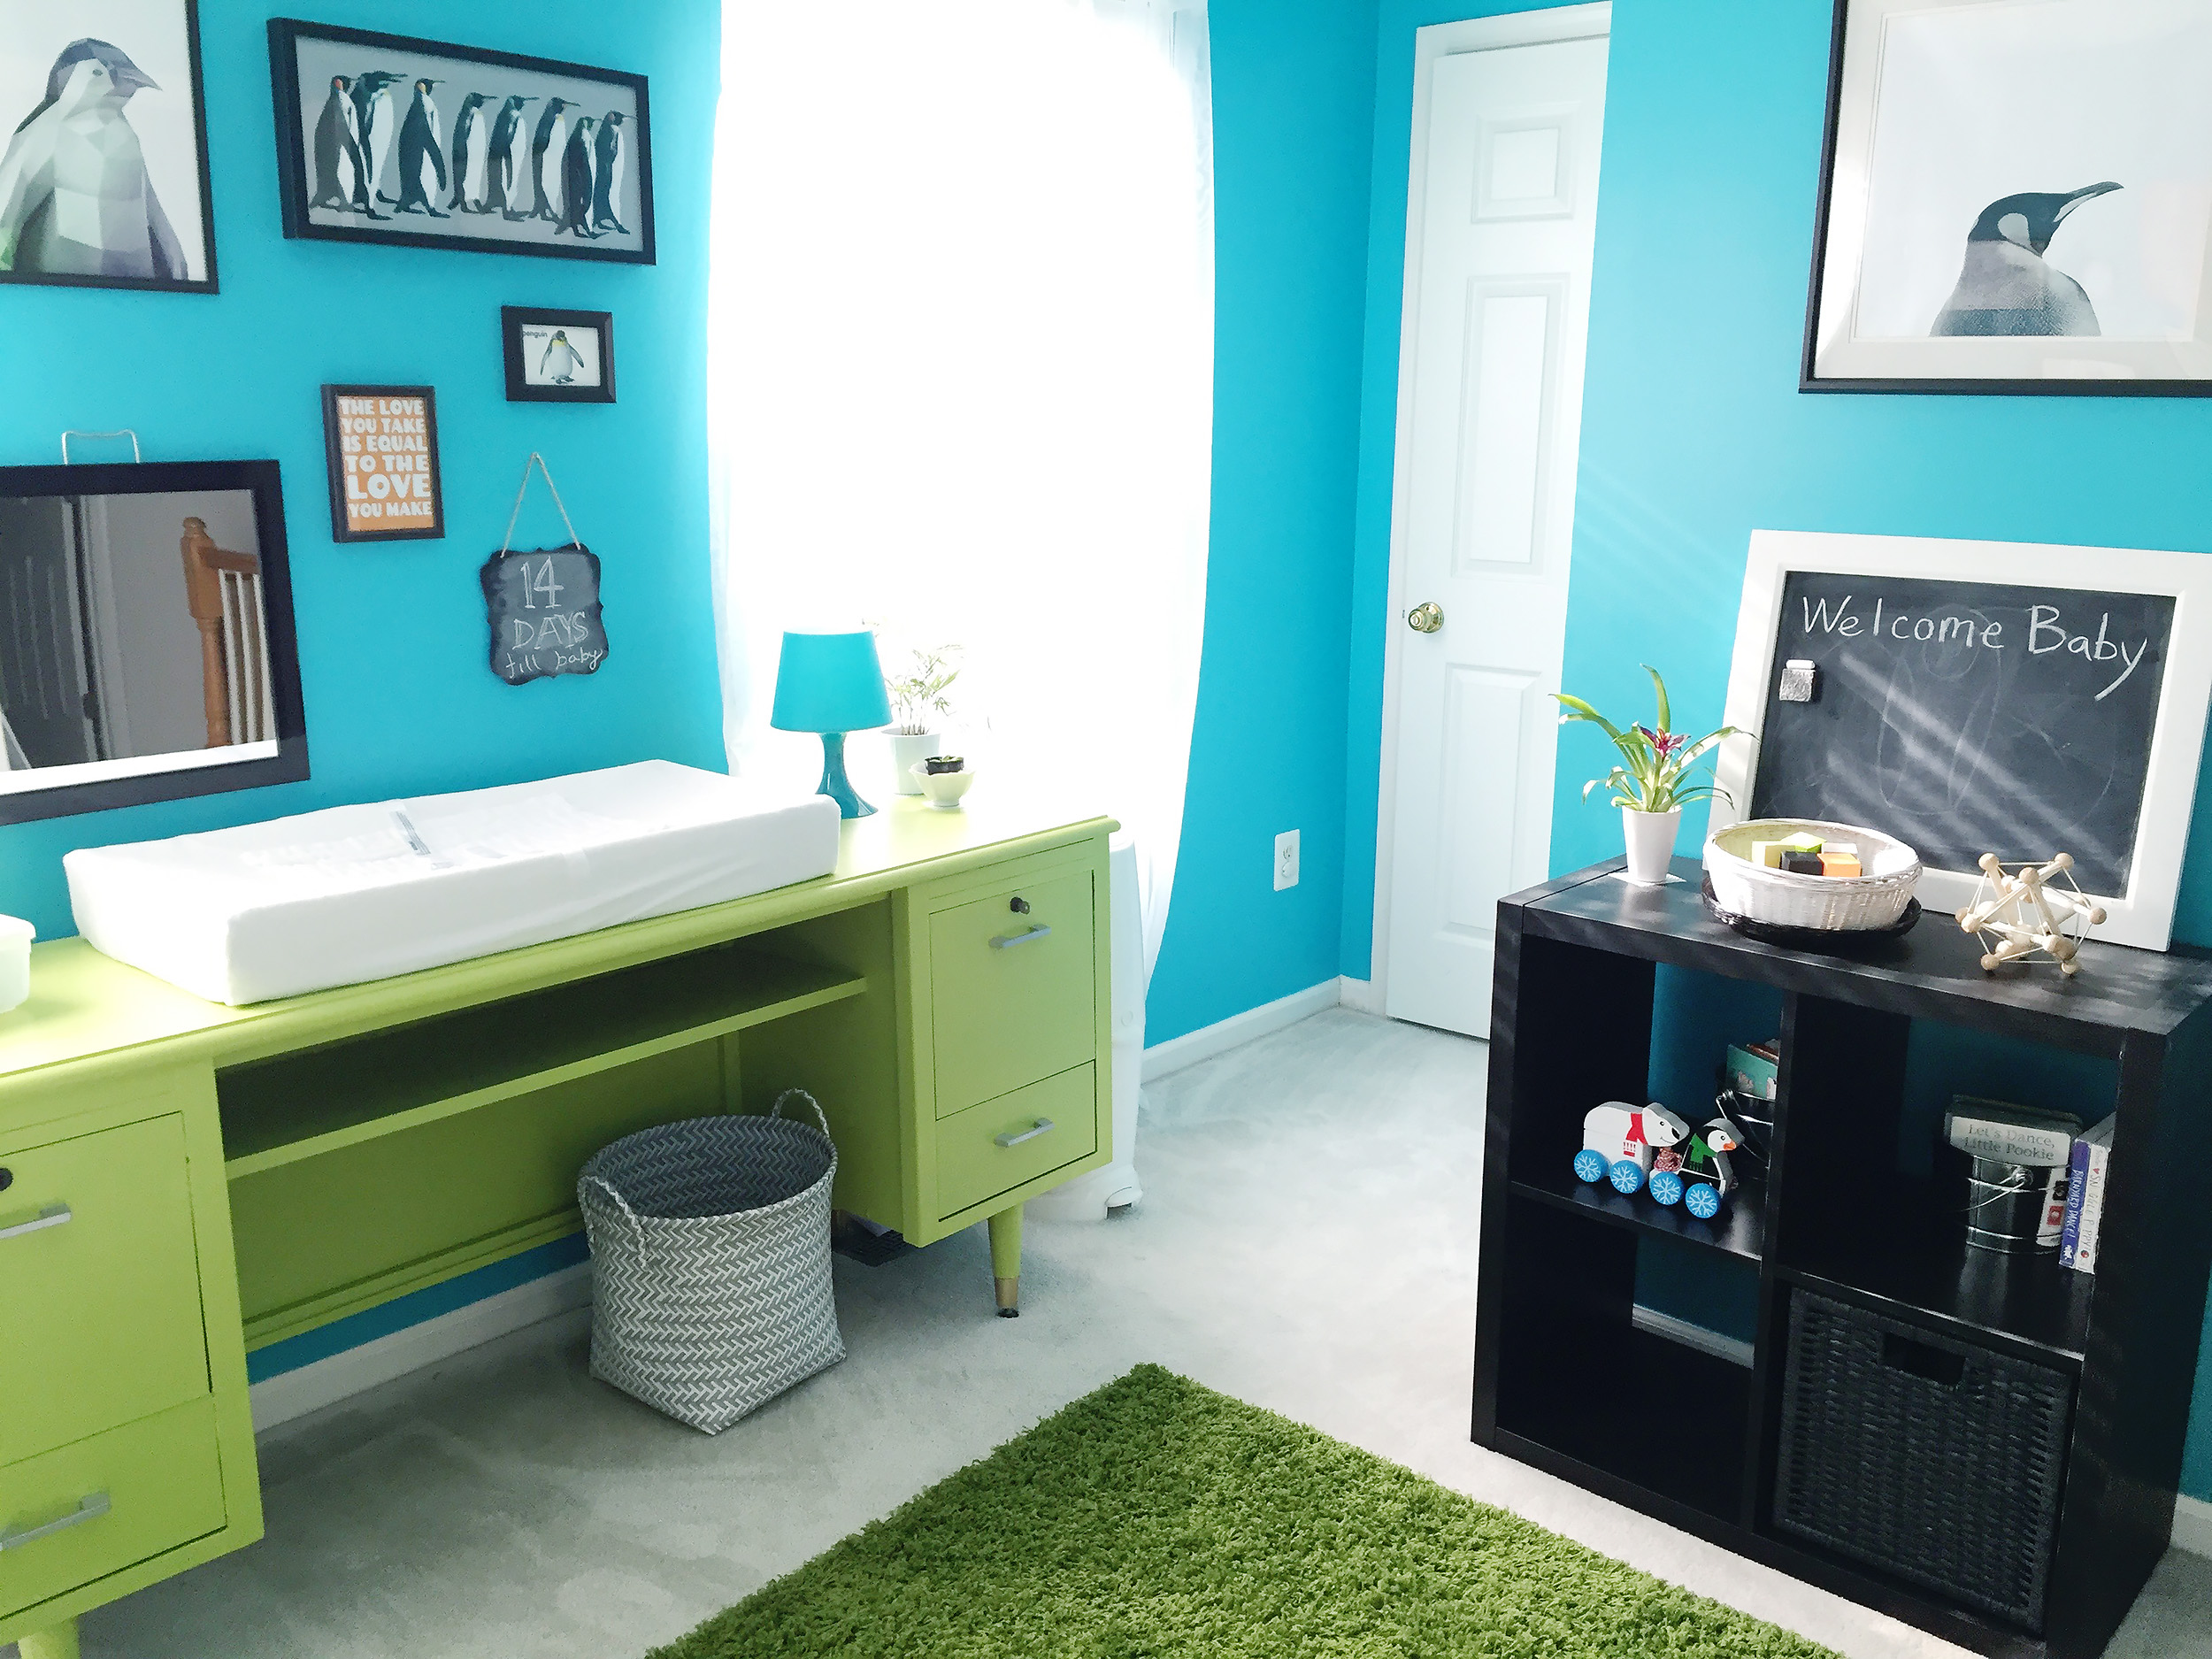
The nursery is a small bedroom with both its own door and a door into the master bedroom. It was once Jax’s nursery, then it evolved to a school room and finally a craft room. We’re back full circle with a brand new nursery!

Welcome to Our Nursery!

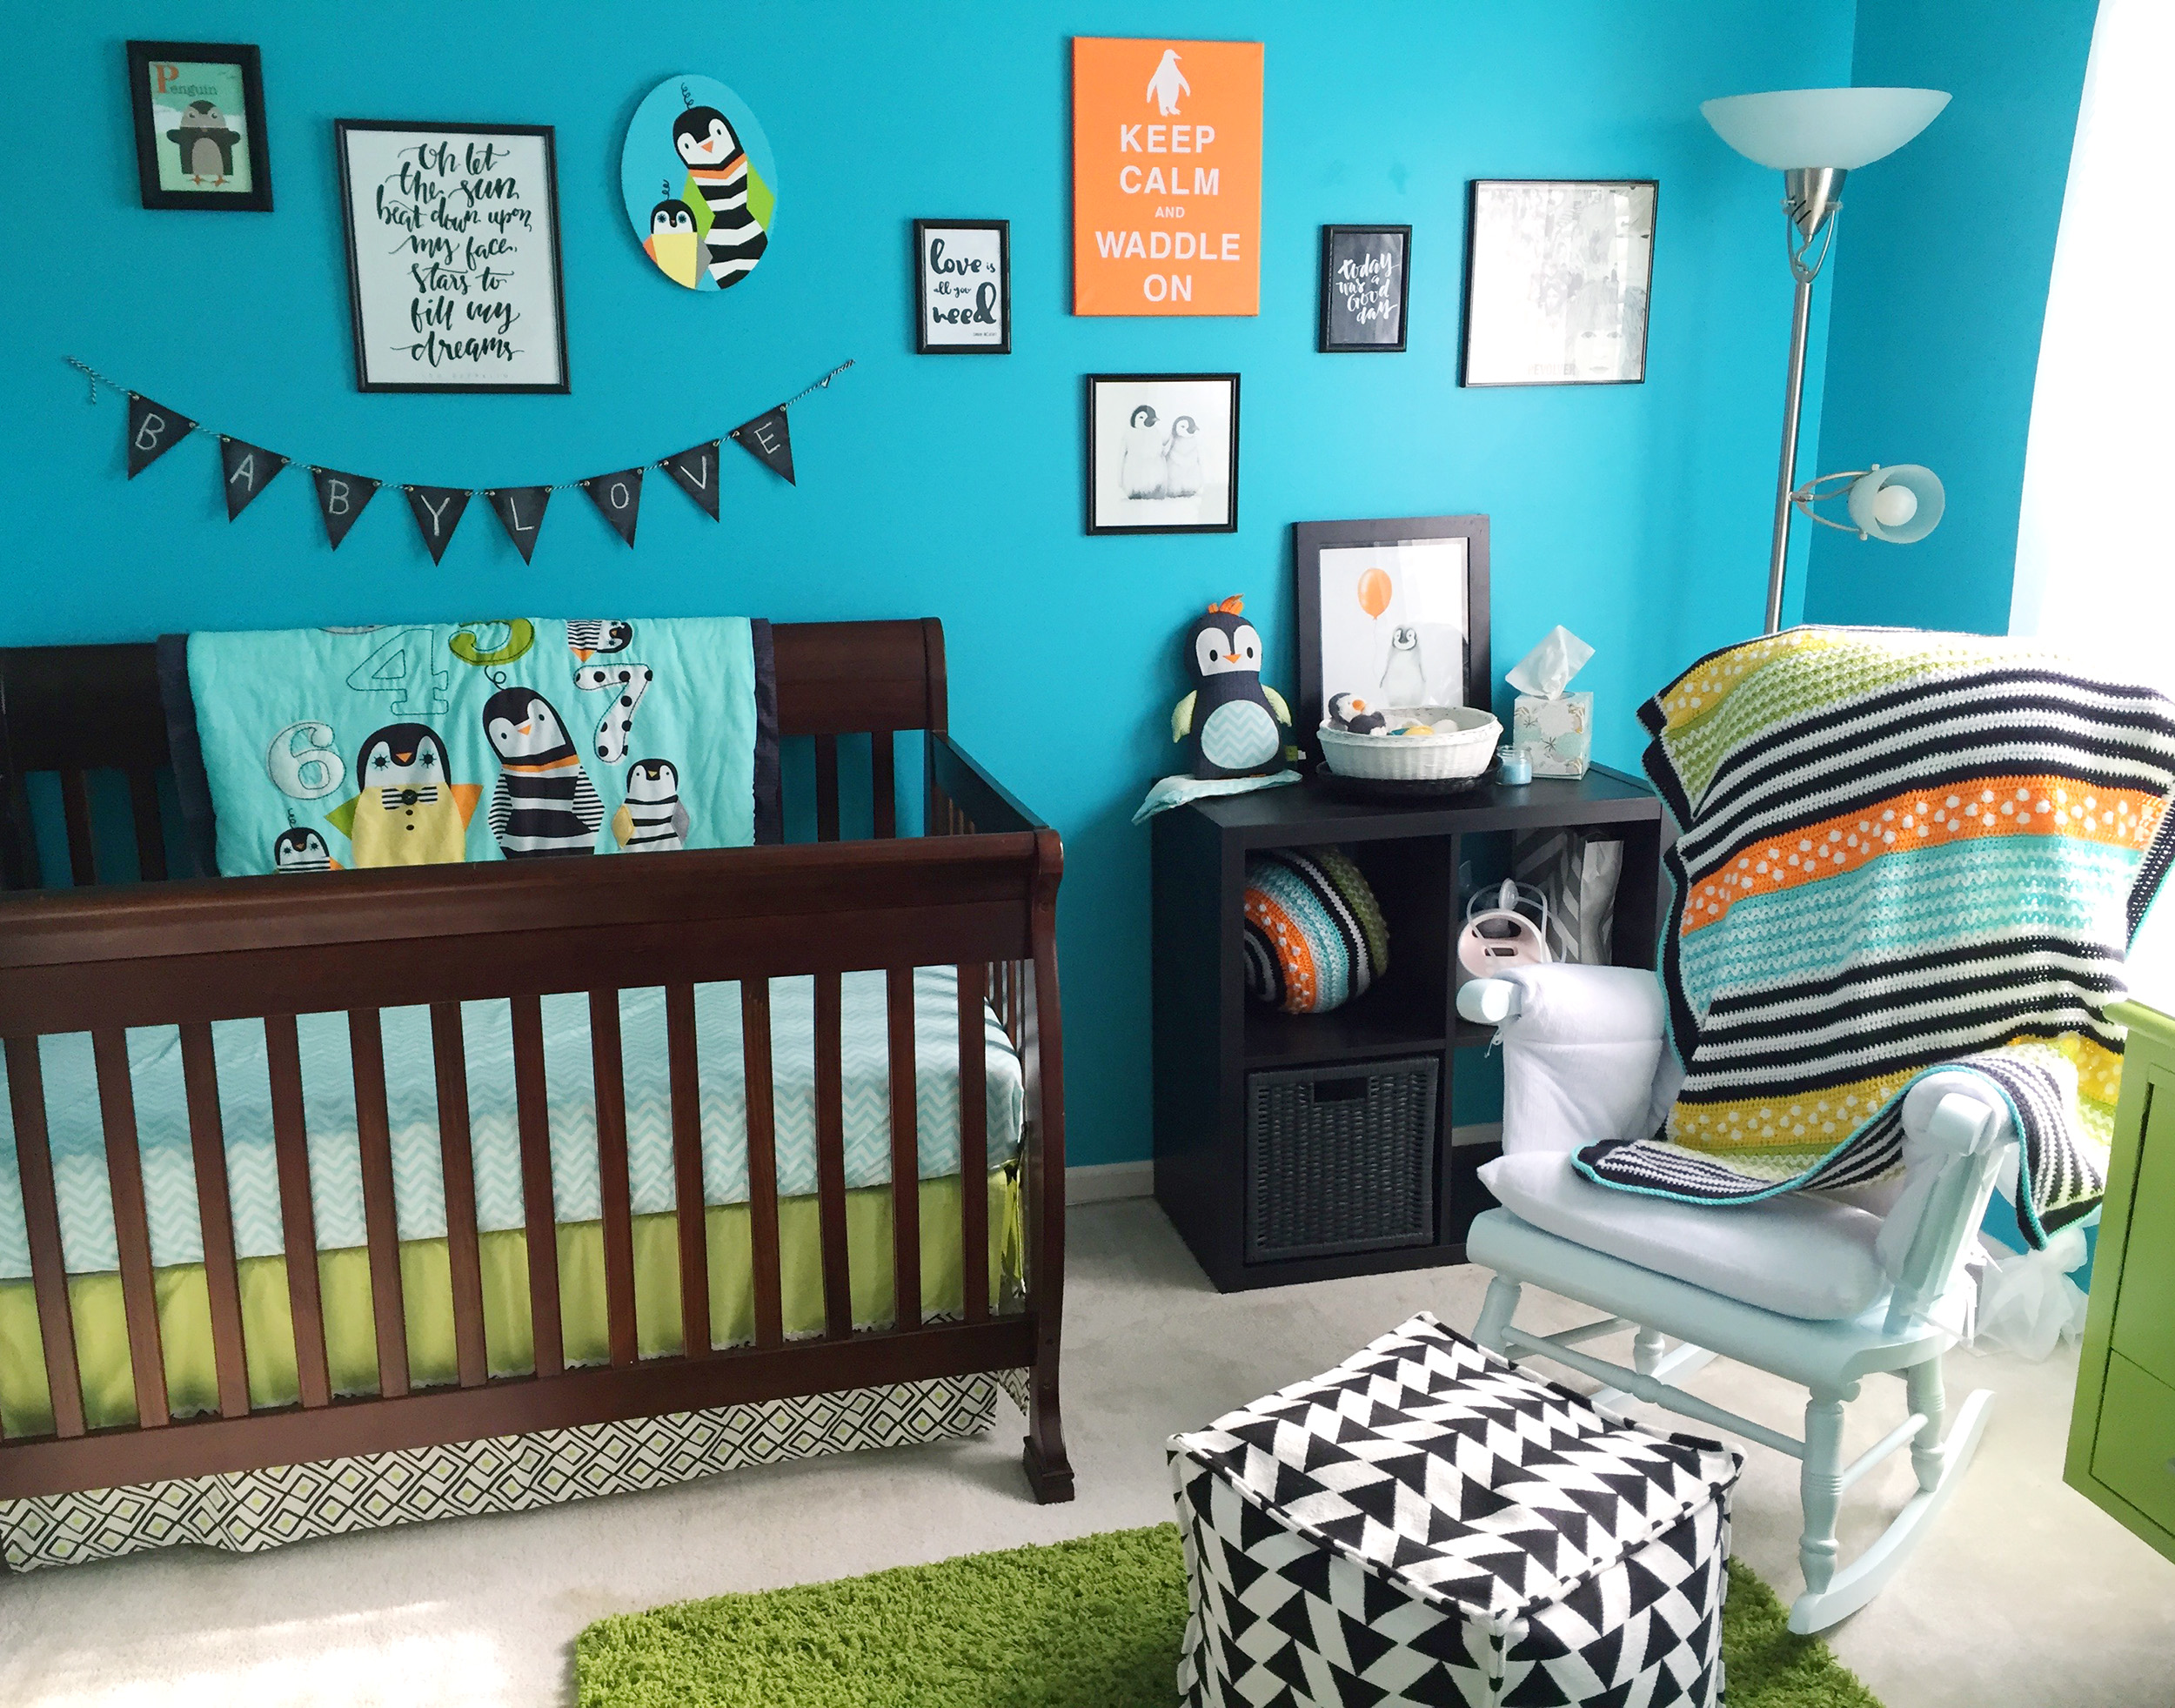
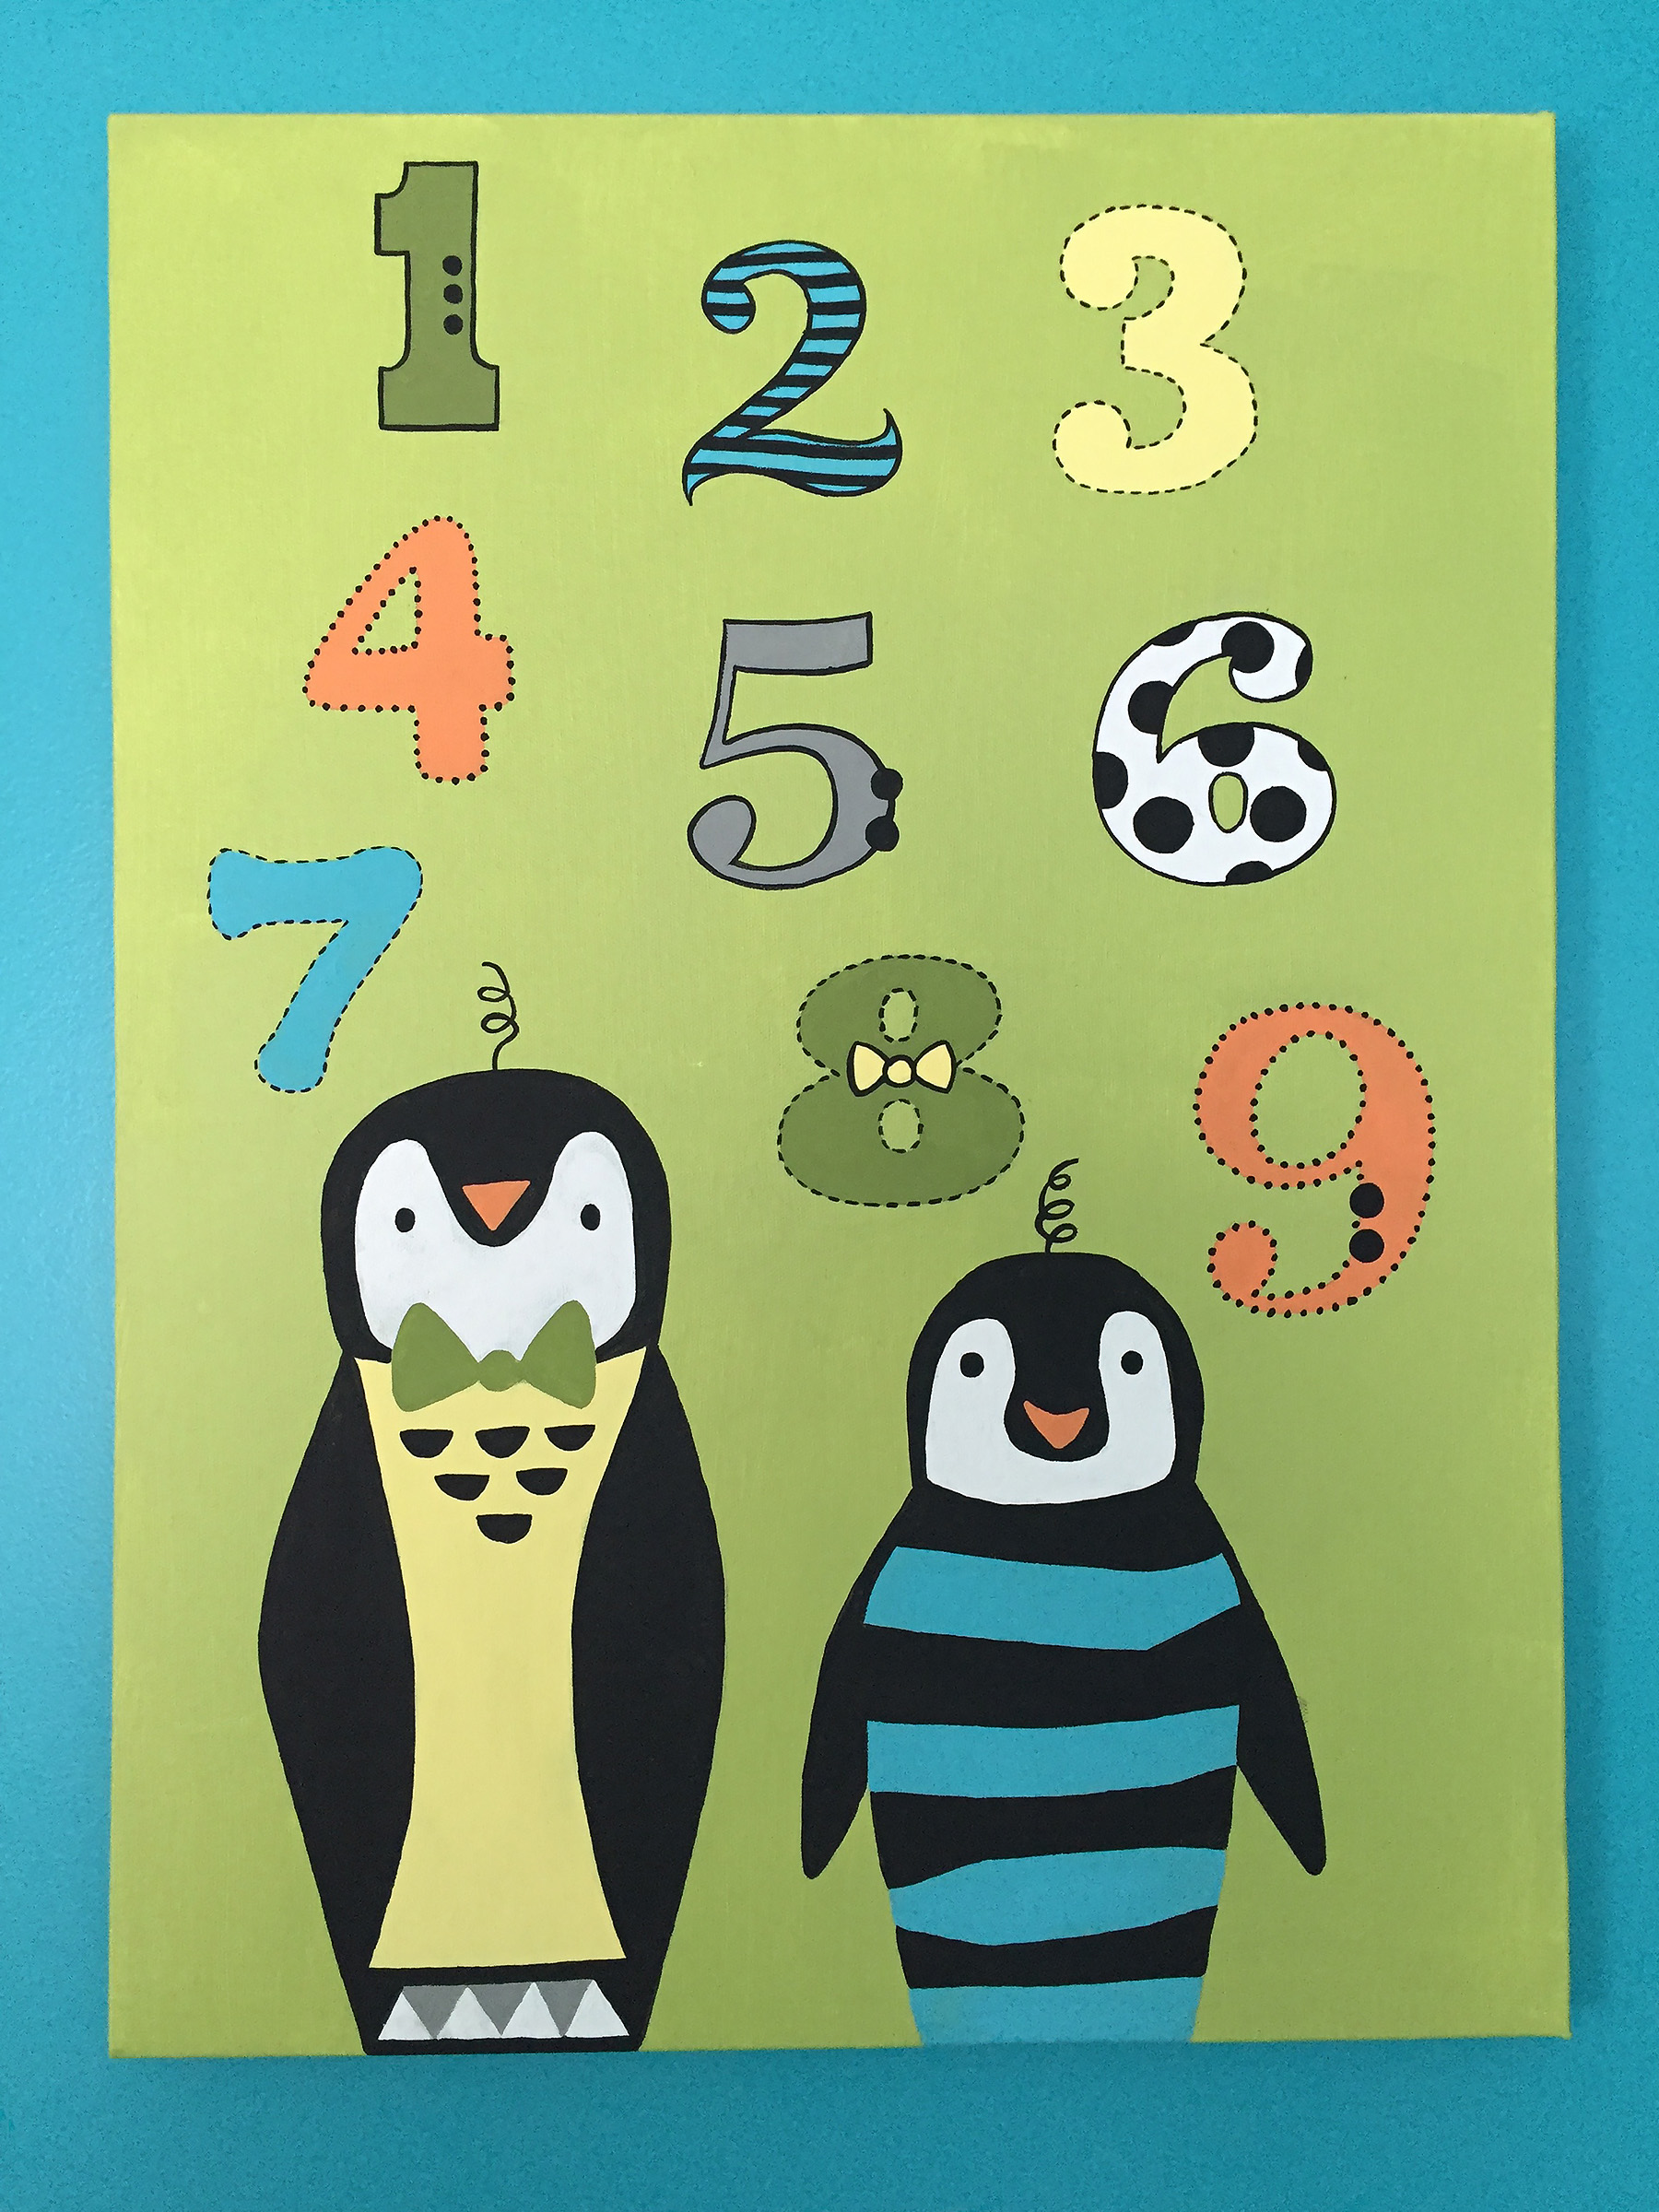
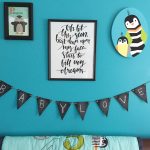
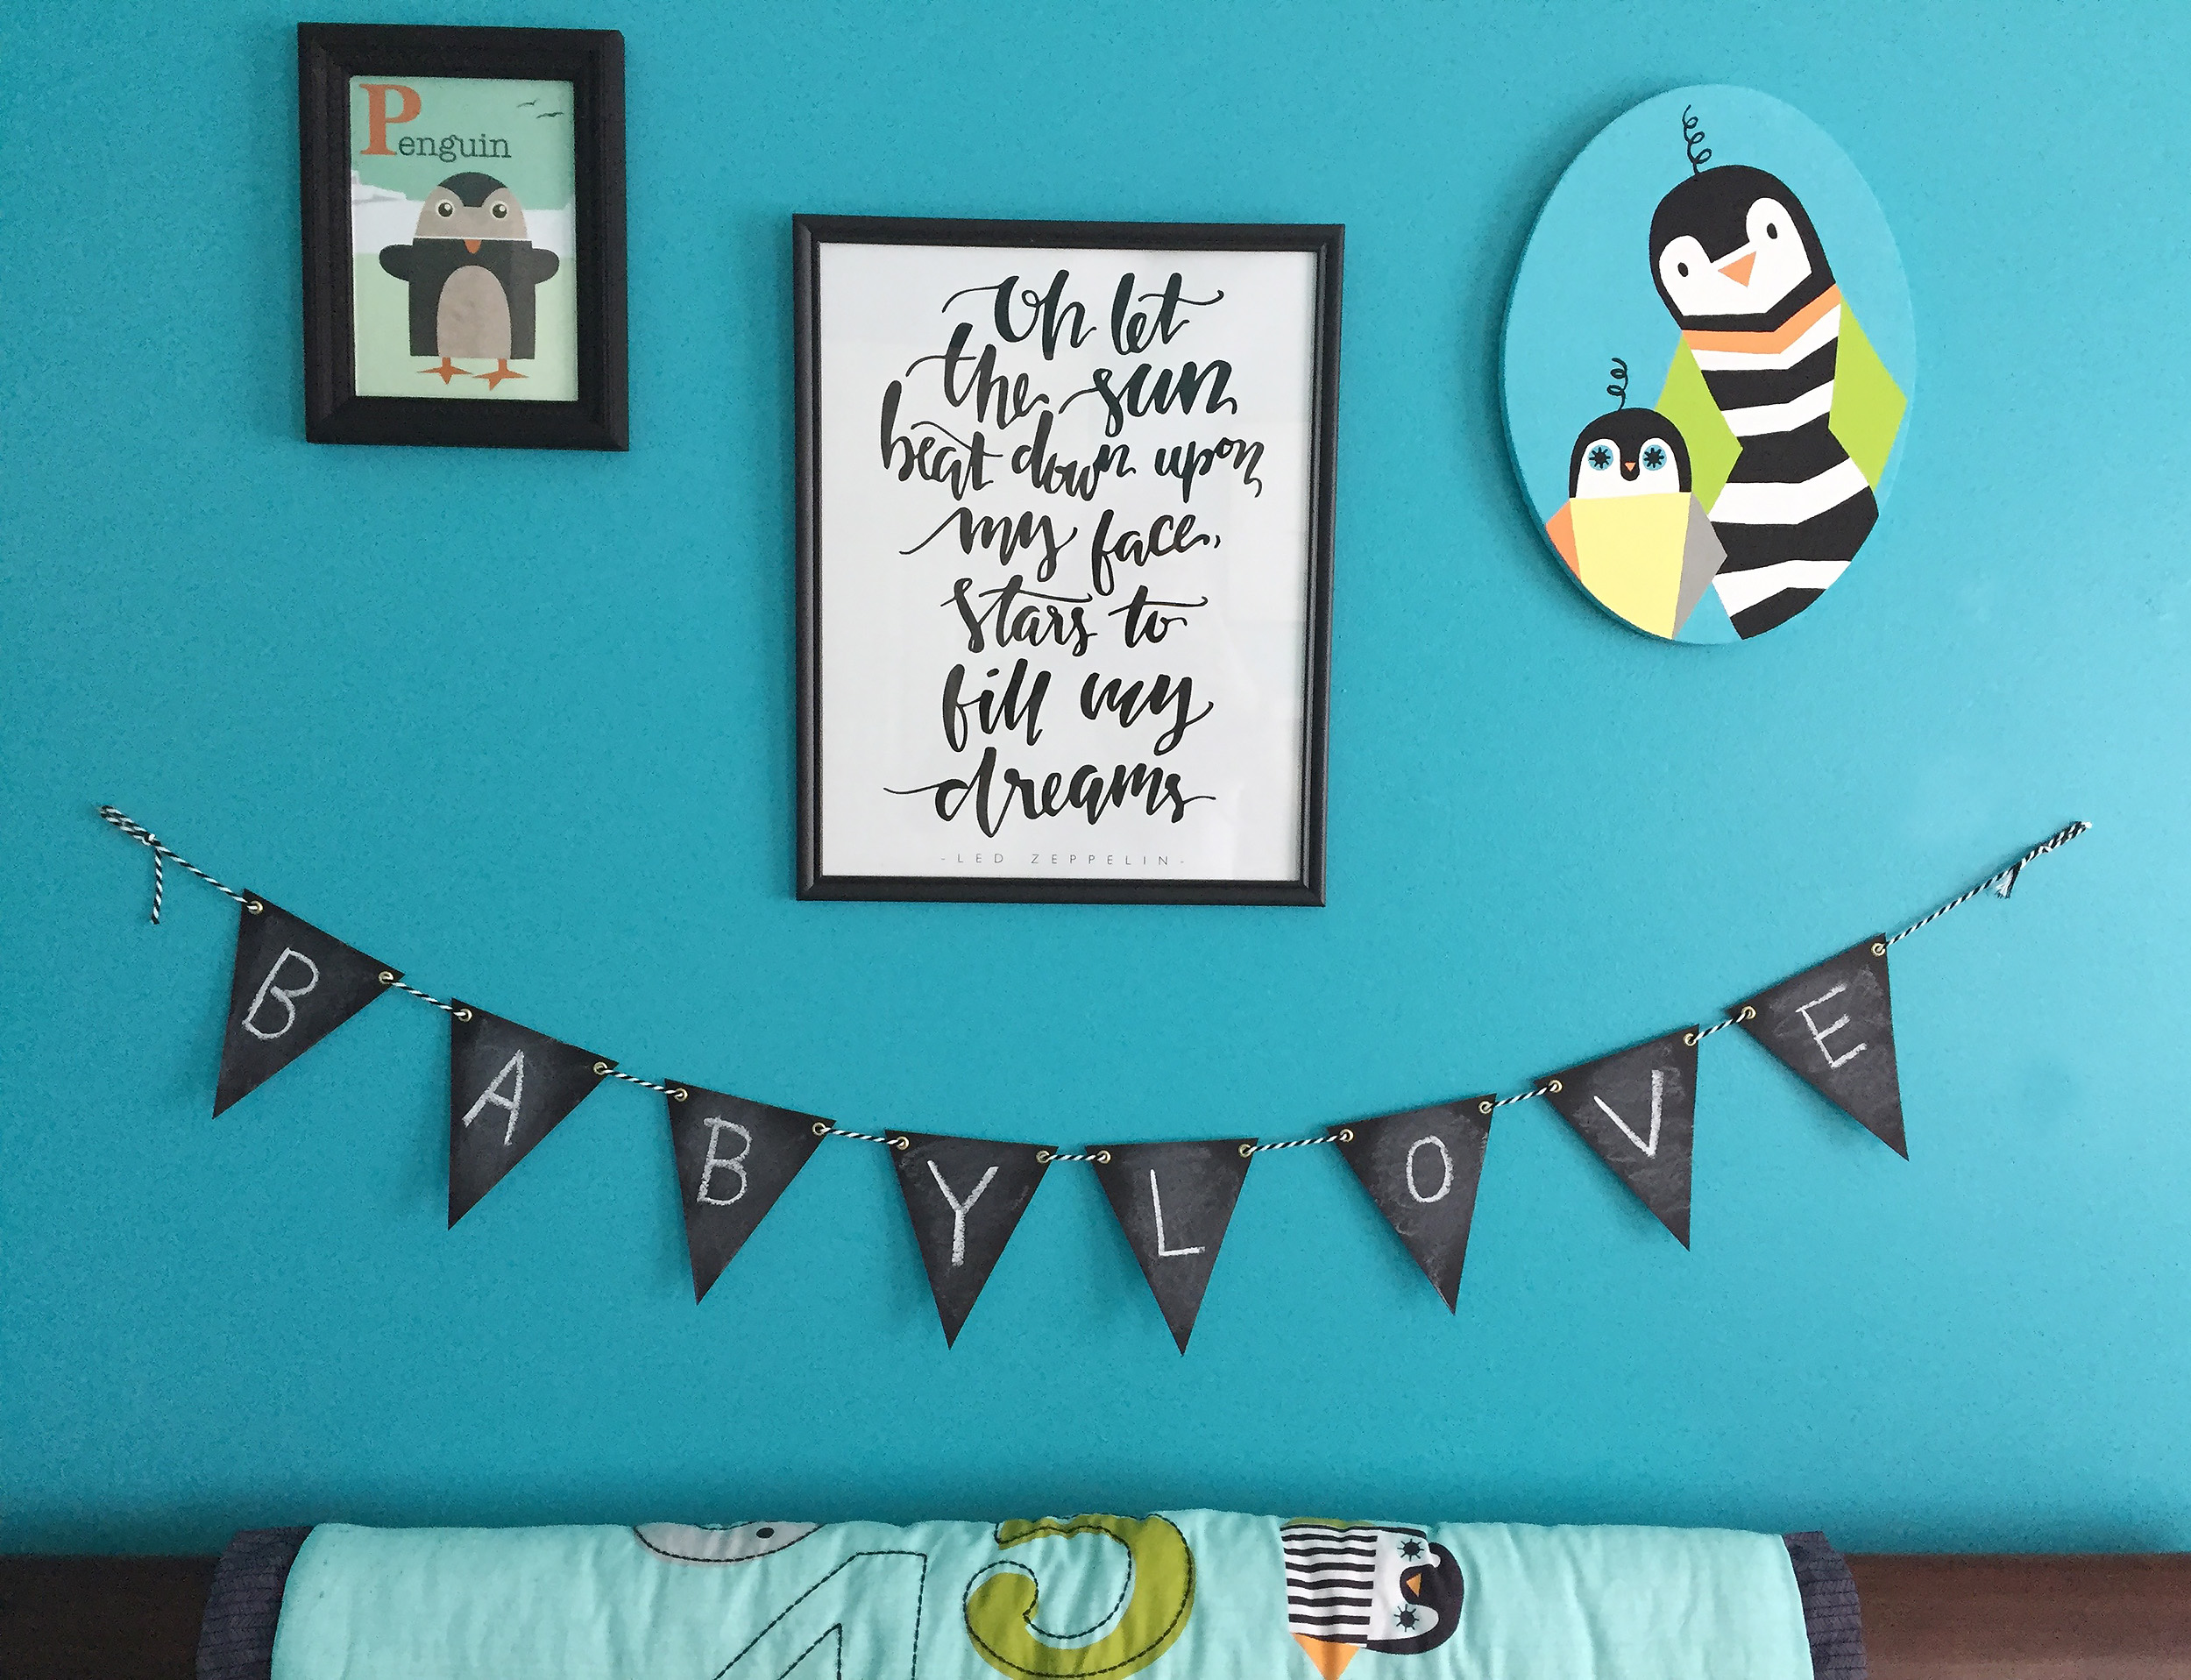
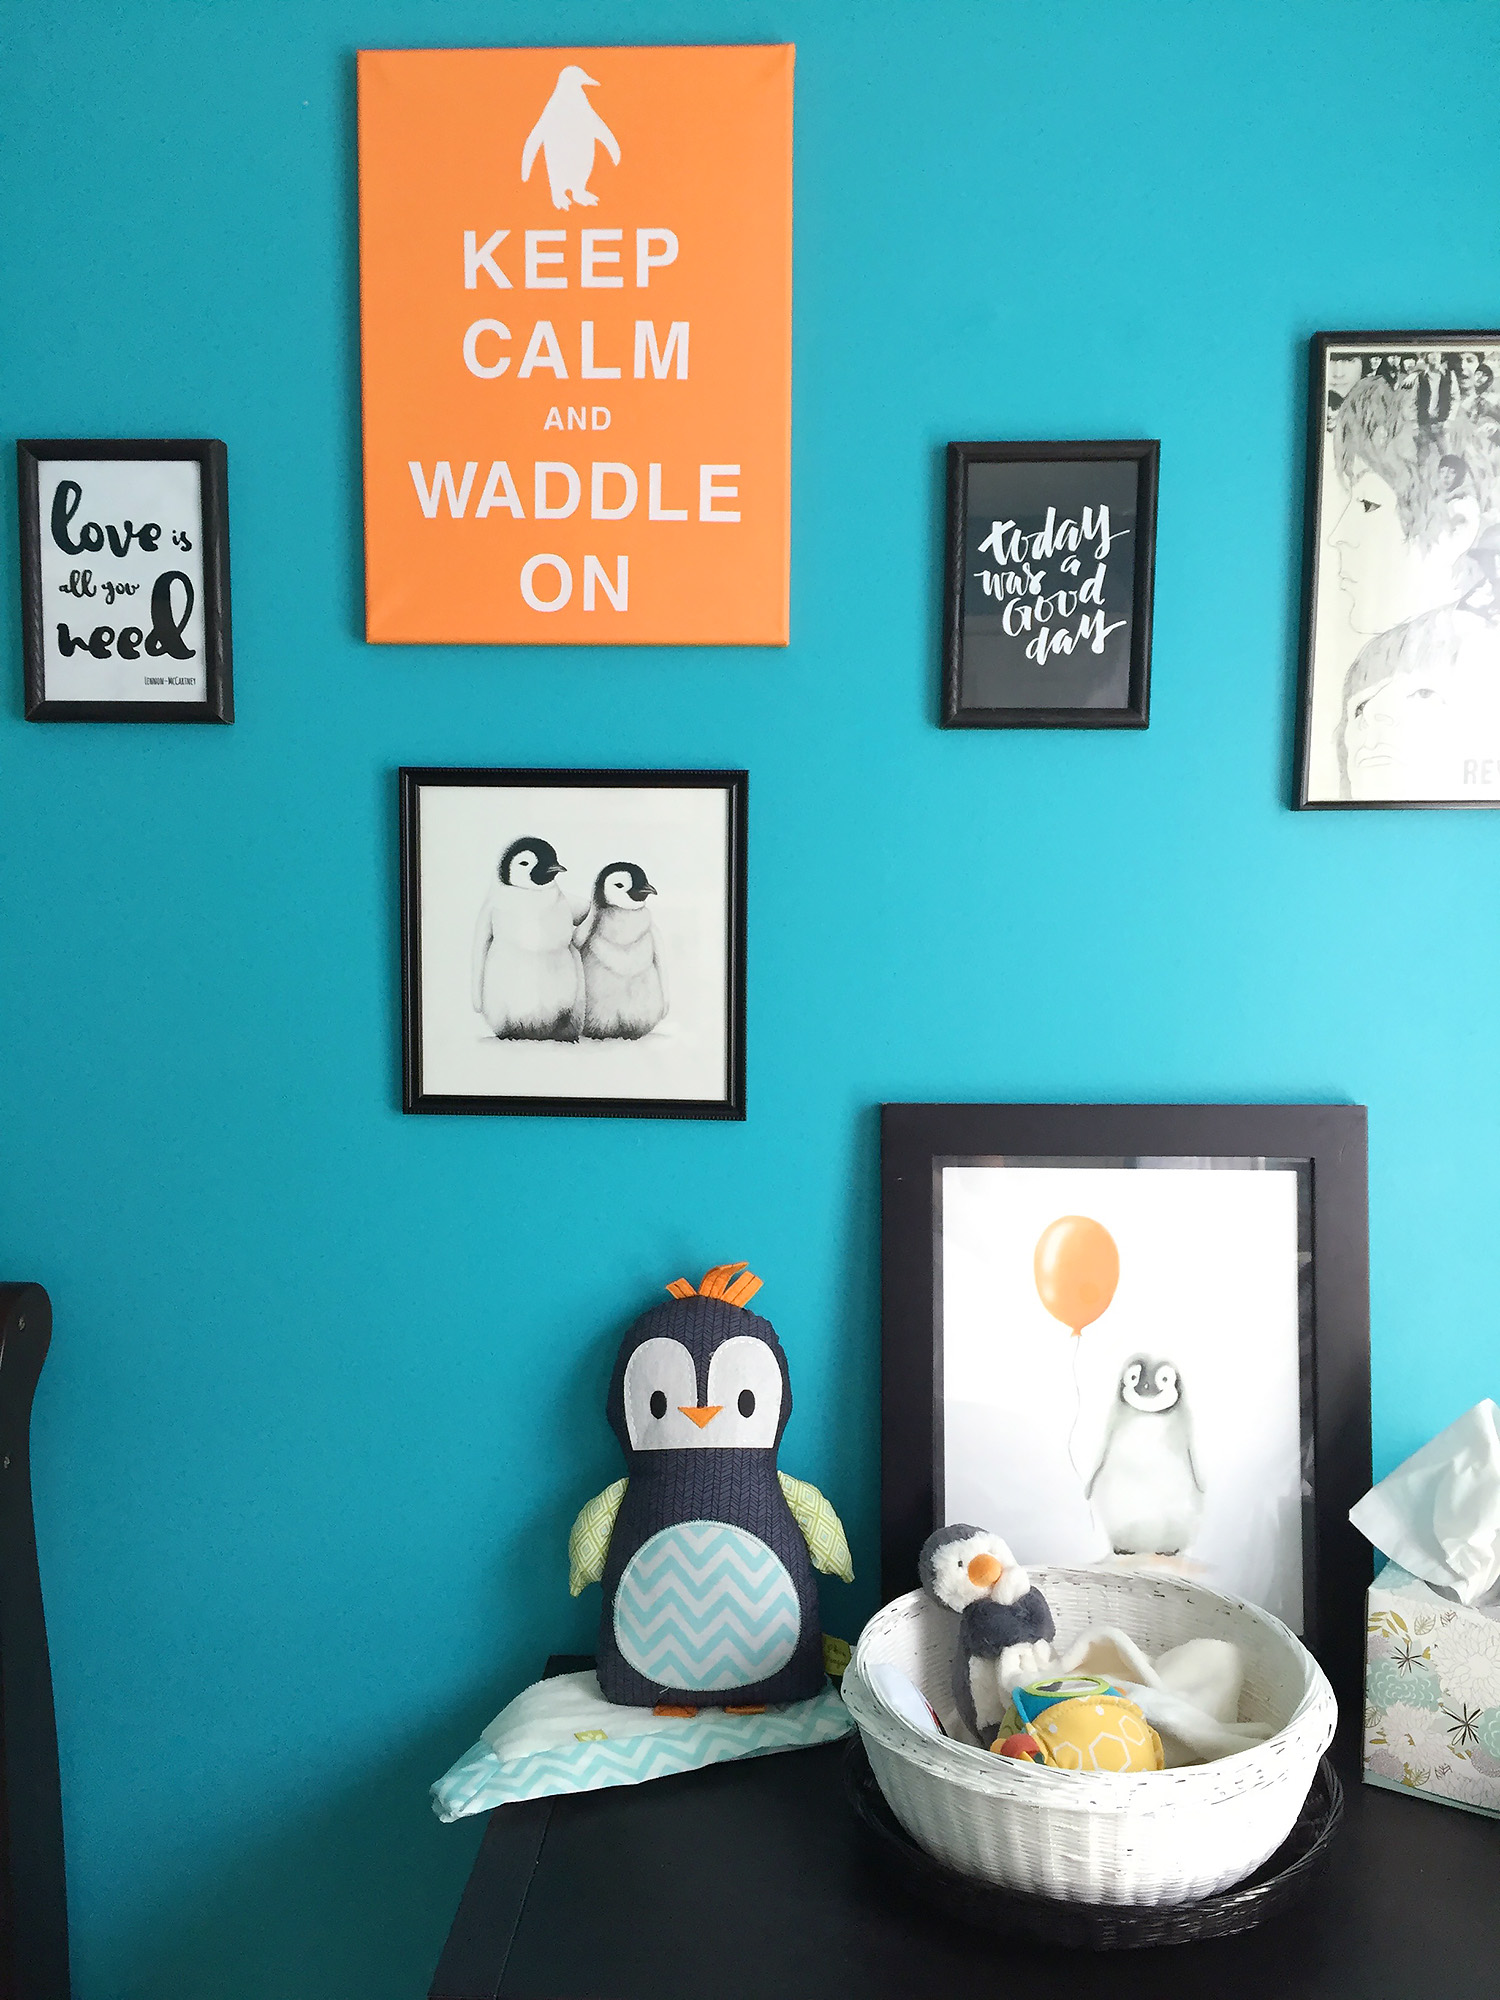
Furnishings: Jax’s old crib, shelf from Ikea, the rocker my mom nursed me in (painted and cushions sewn), ottoman from Target, rug from Ikea. Walls: thrifted alphabet card, Etsy song quote, DIY penguin painting, DIY Beatles quote, DIY ModPodge “Keep Calm” canvas, DIY penguin chick drawing, Etsy song quote, Beatle album cover and Etsy penguin chick with balloon print.

The room was already Mermaid’s Treasure turquoise with a green rug that Jax no longer needed in his big boy room, so I was excited to find a penguin-themed nursery set with those colors! Jax adores penguins and wanted them to be the nursery theme. I bought the bedding set for under $50 on Zulily, but you can find them on Amazon for more. (I think it is being discontinued, so the prices are going up.)

The wall art is a combination of DIY projects, Etsy downloads that I had printed through VistaPrint and thrifted or Dollar Tree frames. I crocheted a blanket and round cushion with fun, bold patterns to compliment the bedding set. Stay tuned for my instructions on how to make your own!

Welcome to Our Nursery!

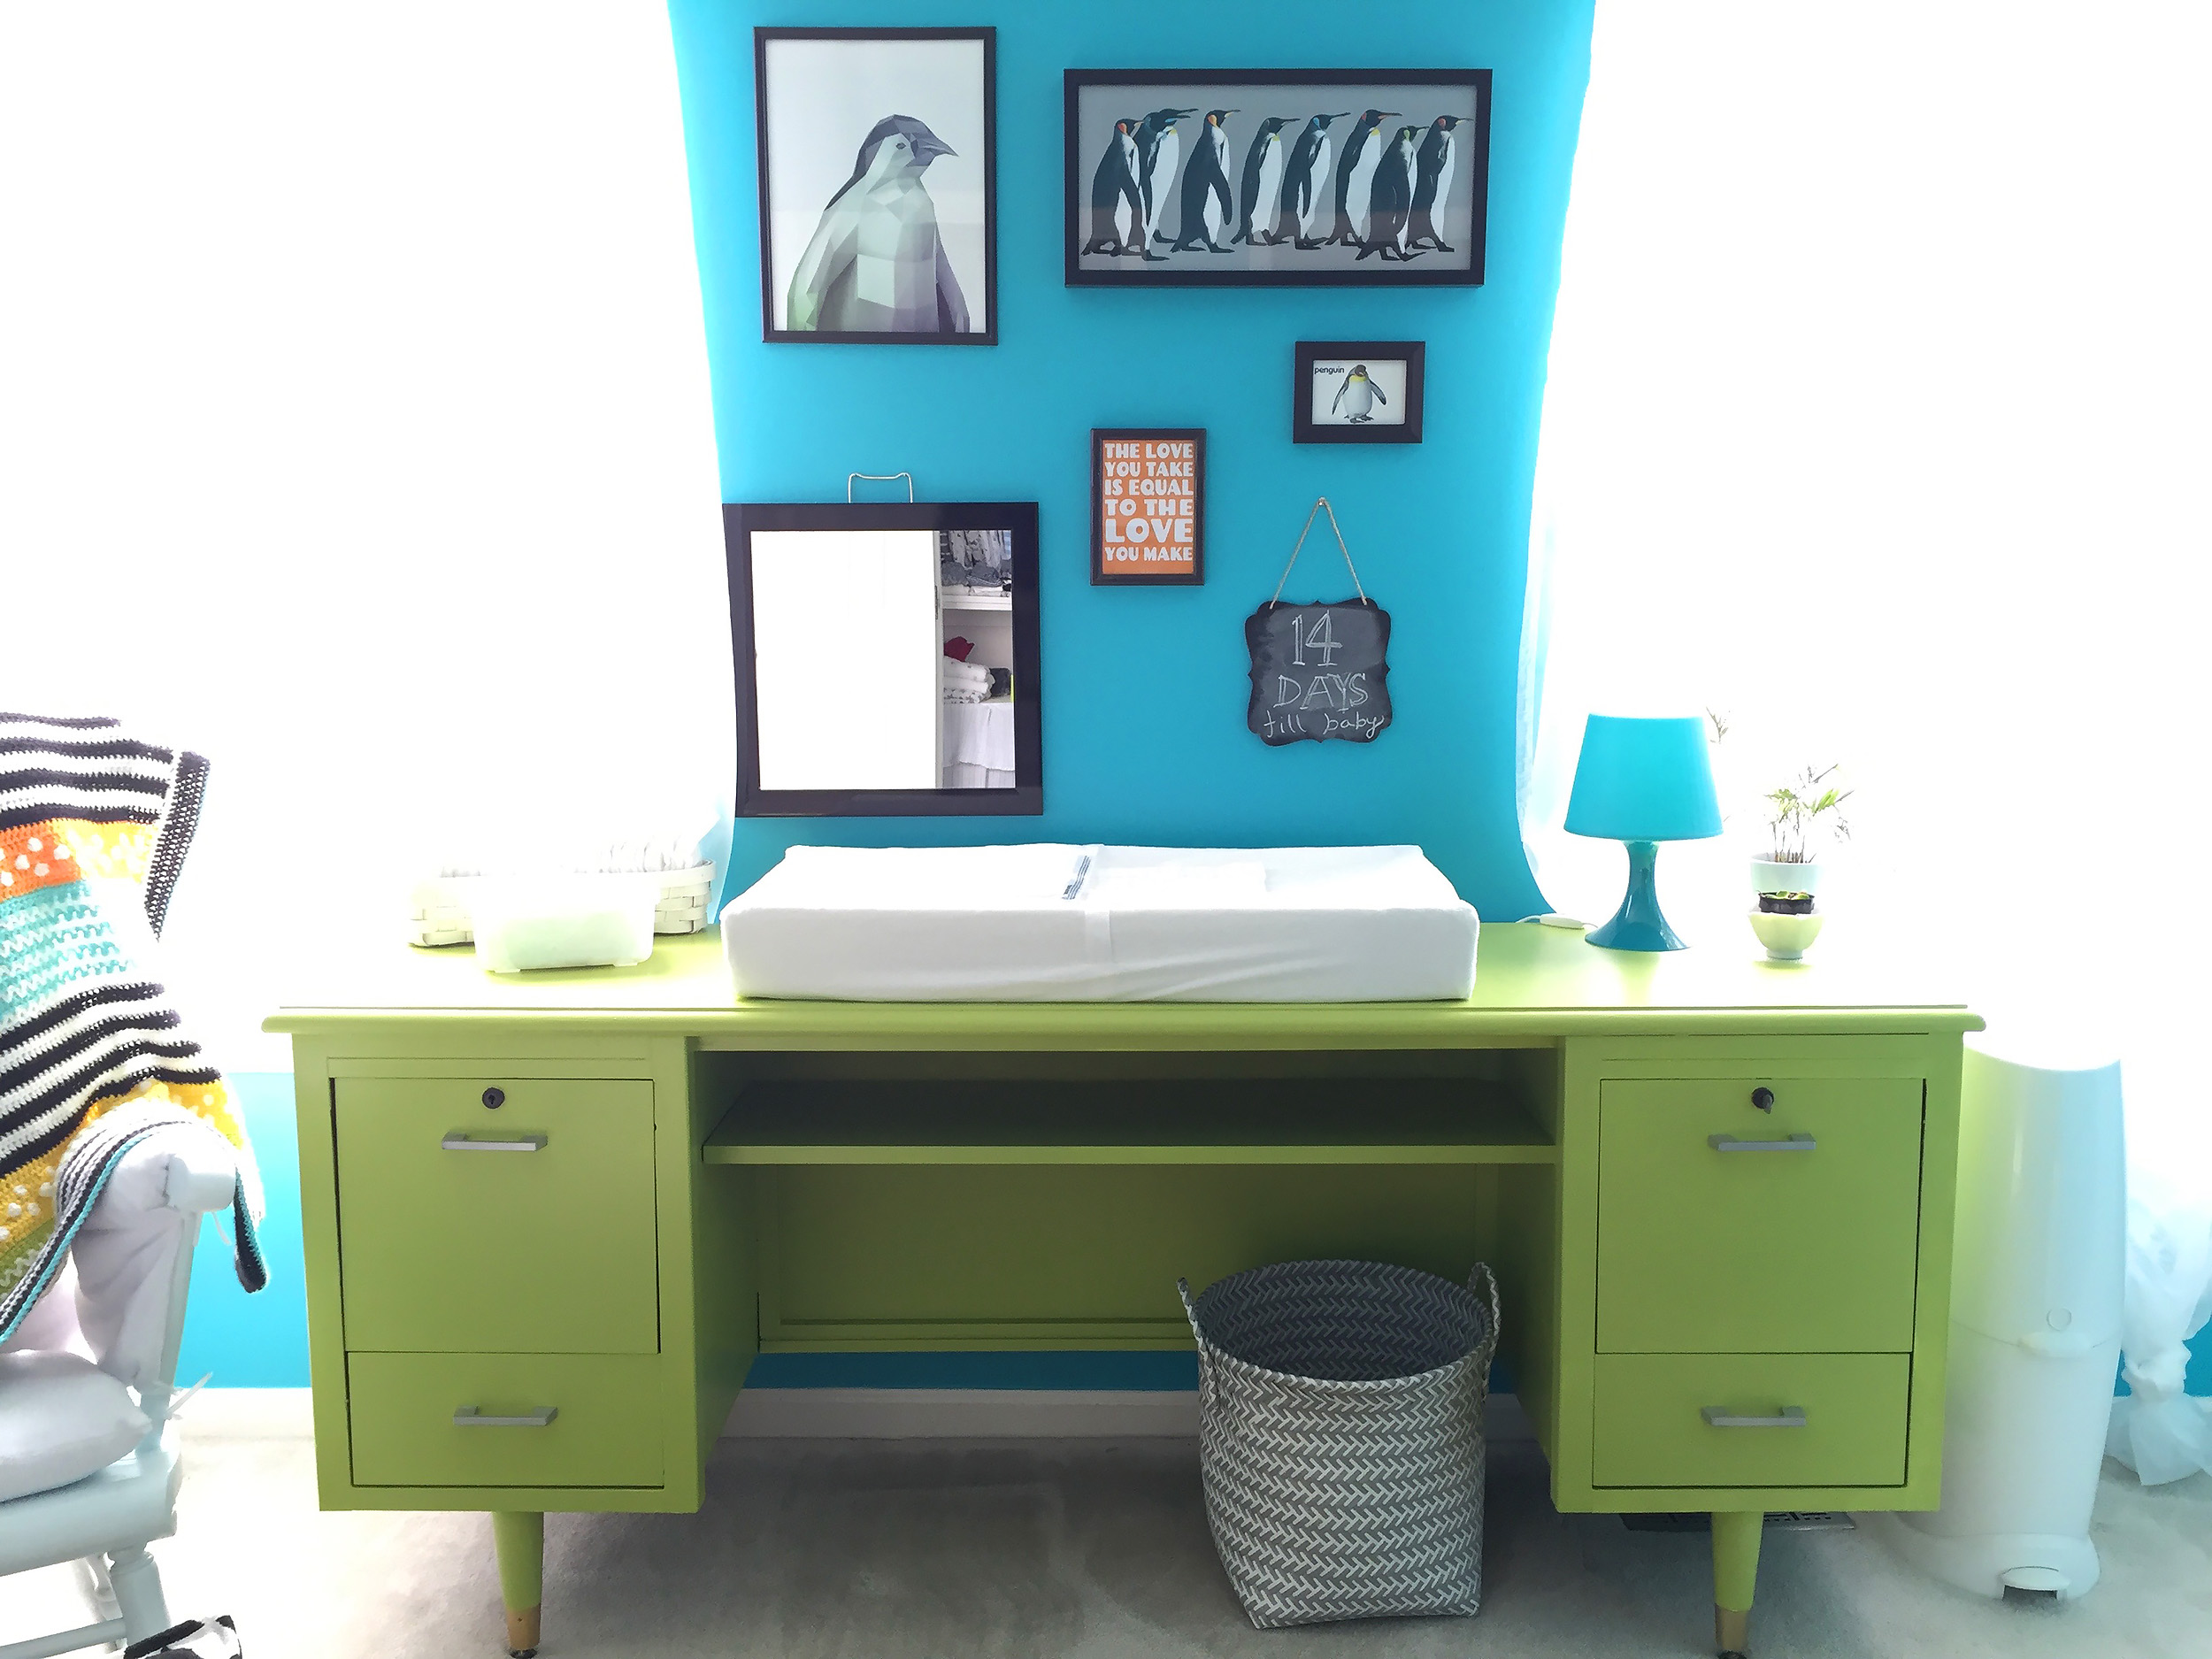
Wall: geo penguin Etsy art, DIY pop art penguins, dollar aisle penguin flashcard, DIY Beatles quote, Target mirror and chalkboard. Misc: thrifted/painted diaper basket, hamper from AC Moore, lamp and plant from Ikea, curtains from Ikea.

The room already had a large vintage desk that was in the house when we purchased it. It had been painted white before we inherited it, which was pretty, but I really wanted it to be apple green! After a few sample pots, I went with English Apple by Glidden.

Welcome to Our Nursery!

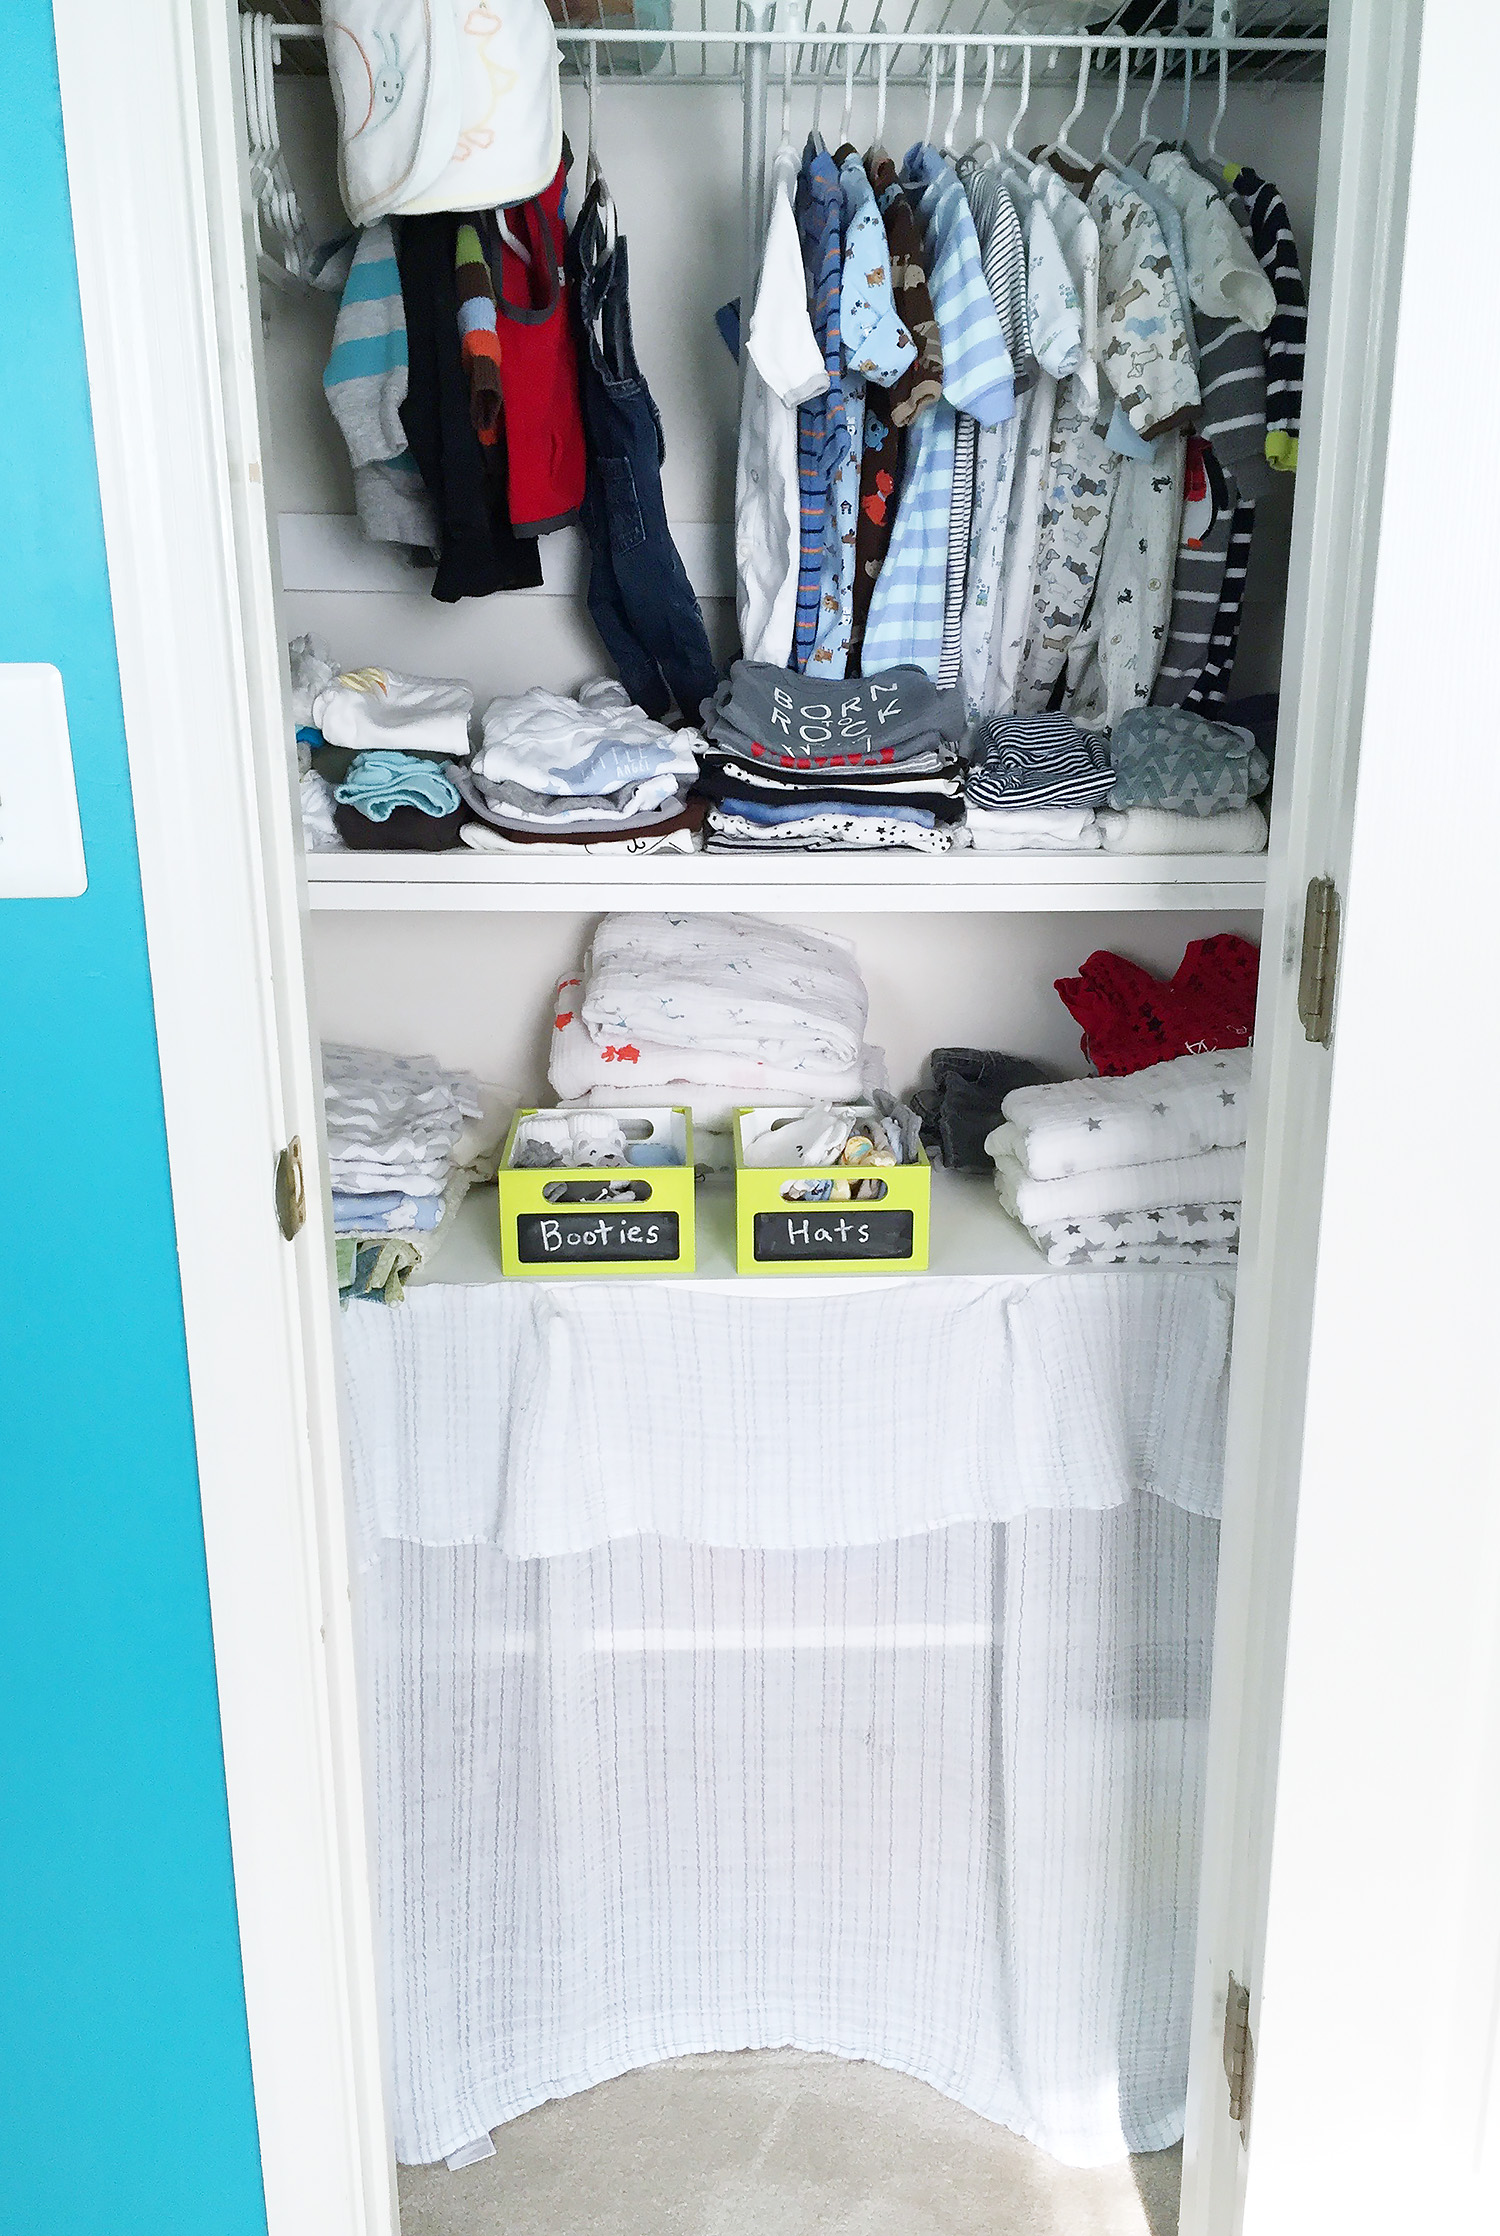
The closet was on of my biggest projects. A couple years back, my husband built shelves for craft and homeschool supplies that were very much in use still. After a month of sorting, I got all the school stuff organized in bins and hidden behind an old, ripped muslin swaddle (attached with dollar store stick on Velcro.) I removed one of the shelves so baby’s sleepers could have room to hang. He doesn’t have much clothes yet – a few gifts and what I have thrifted so far – so they are just sorted by size on the shelf for now.

Welcome to Our Nursery!      Welcome to Our Nursery!

The room feels fresh and soft, while still having the bright, bold colors I love and plenty of black and white. Hanging sheer, white curtains from Ikea helped with that. How perfect is that Target Threshold ottoman?! And it was 25% off after I’d been eyeing it for 6 months.

Welcome to Our Nursery!

The door to our master bedroom. Upper right photo art: photo printed from Wiki Commons in a thrifted frame.

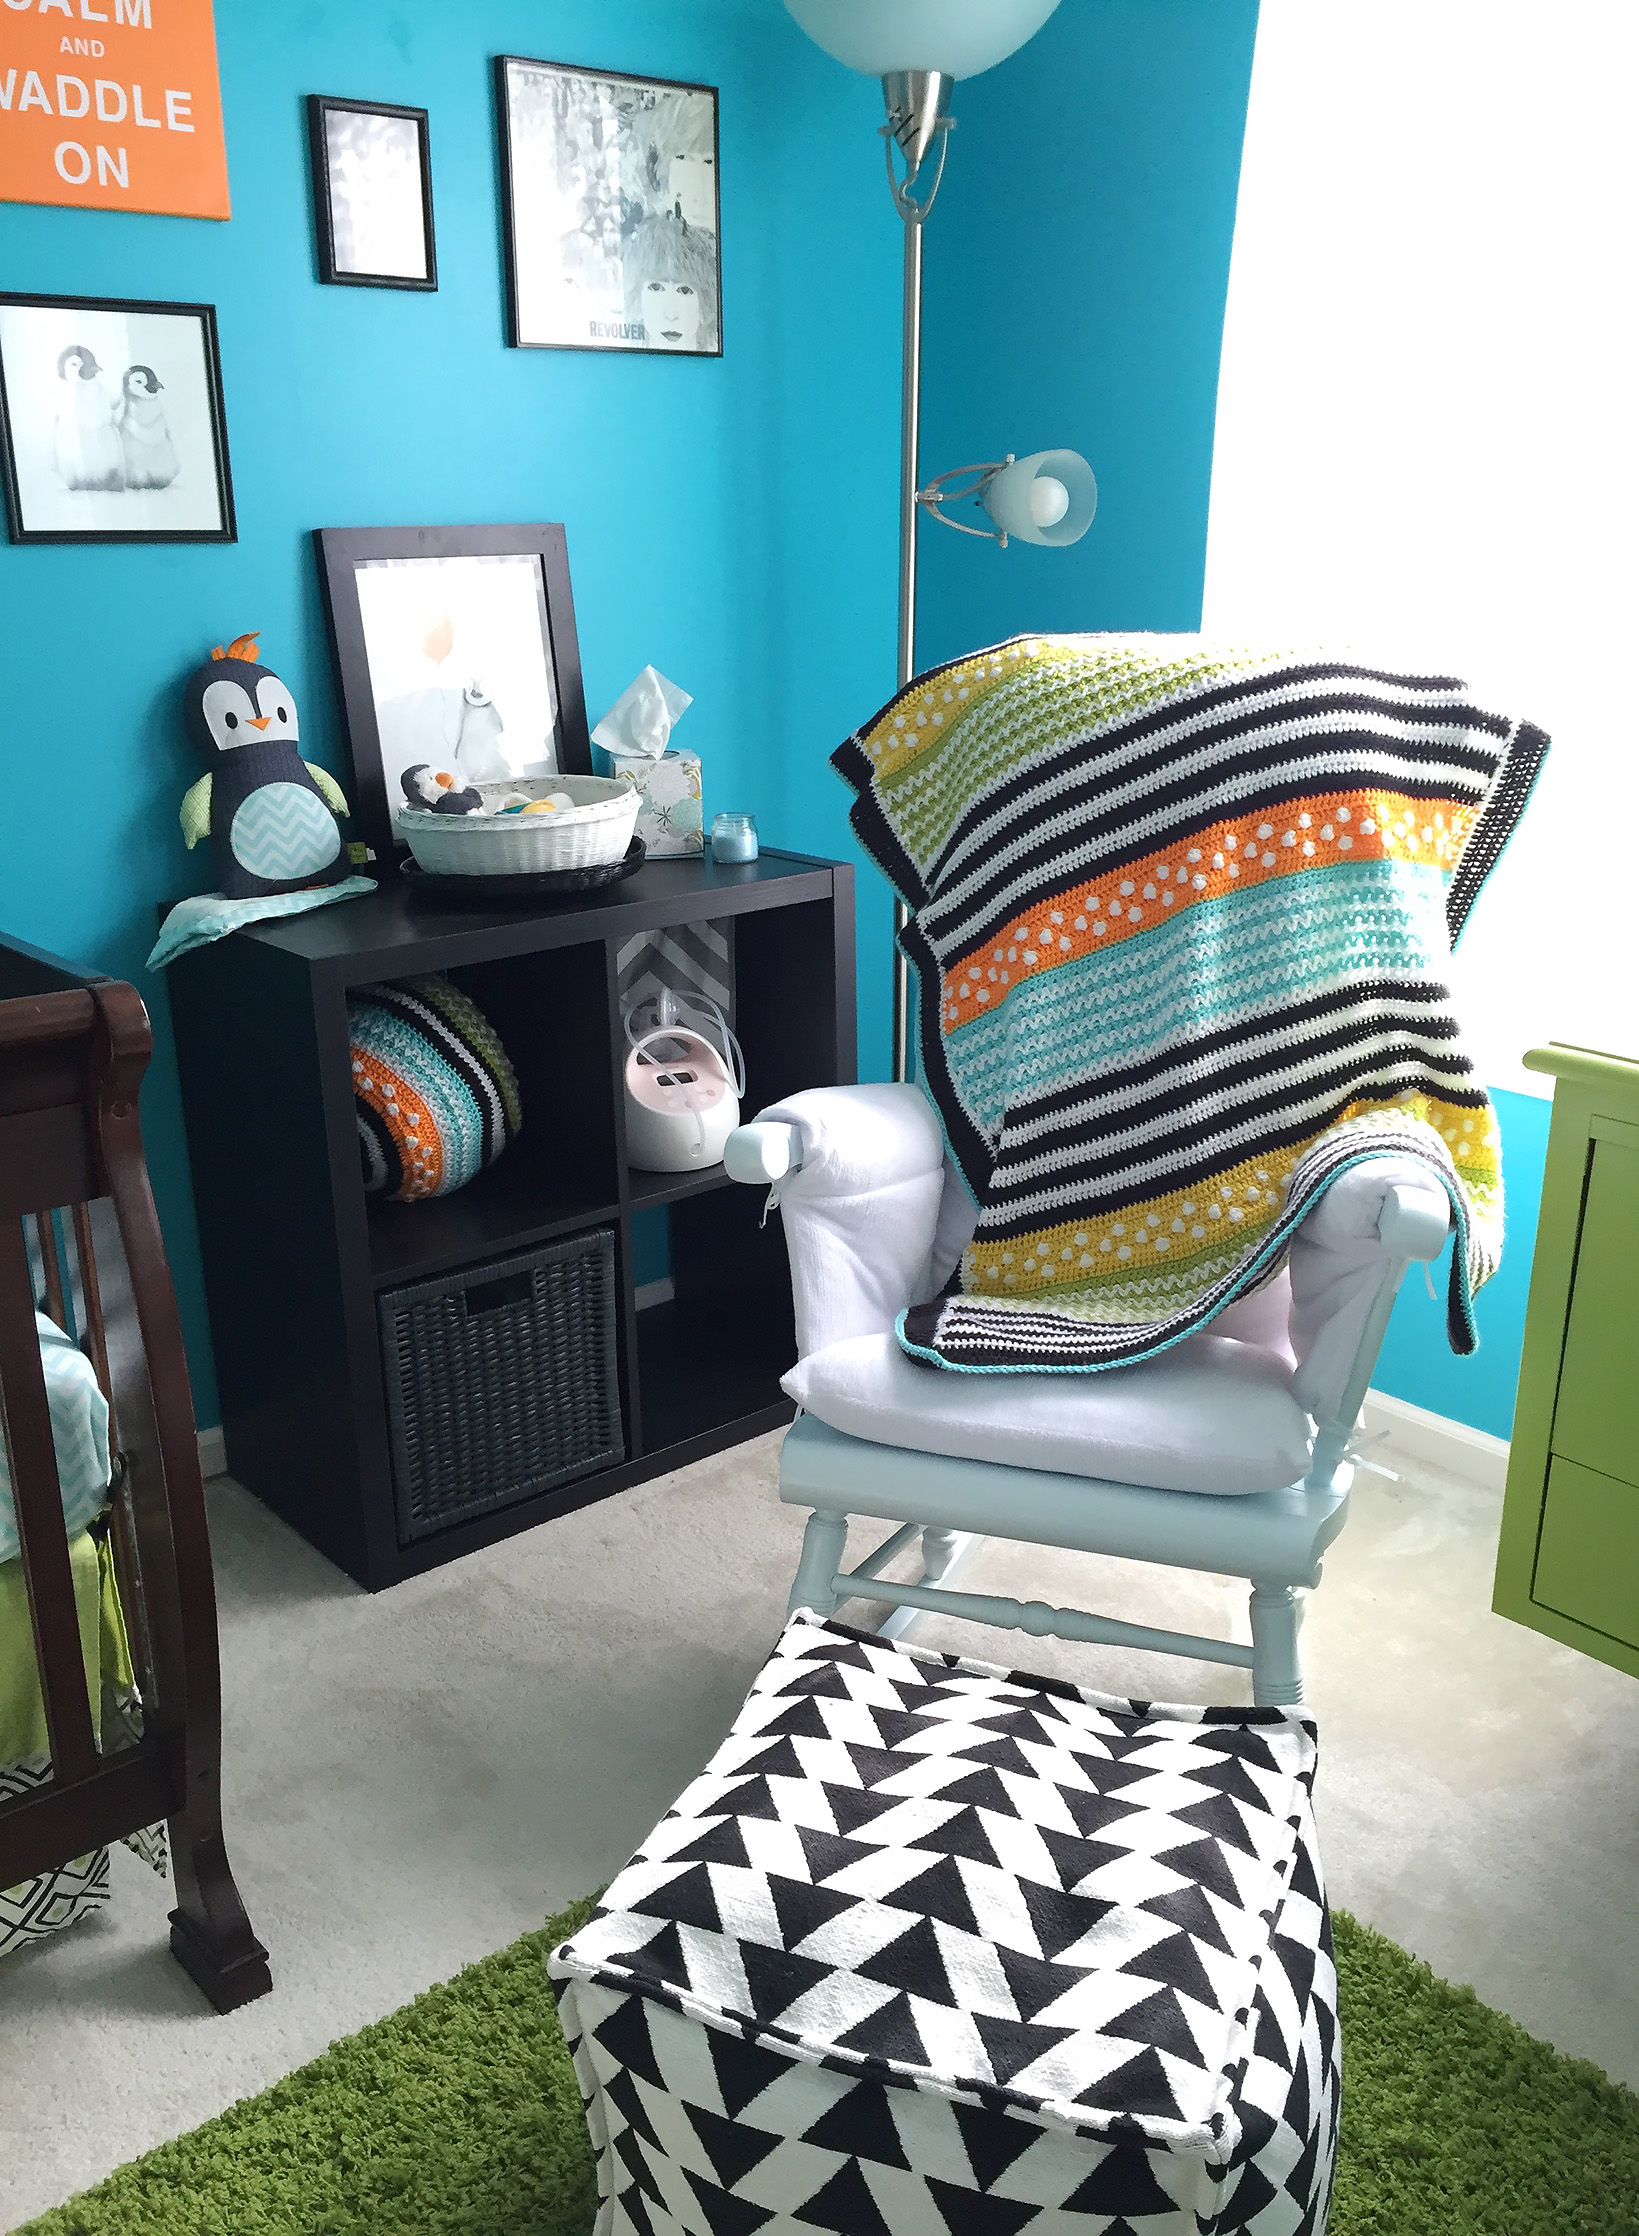
Here are a few more details from around the nursery.
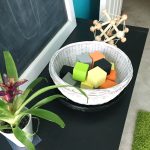
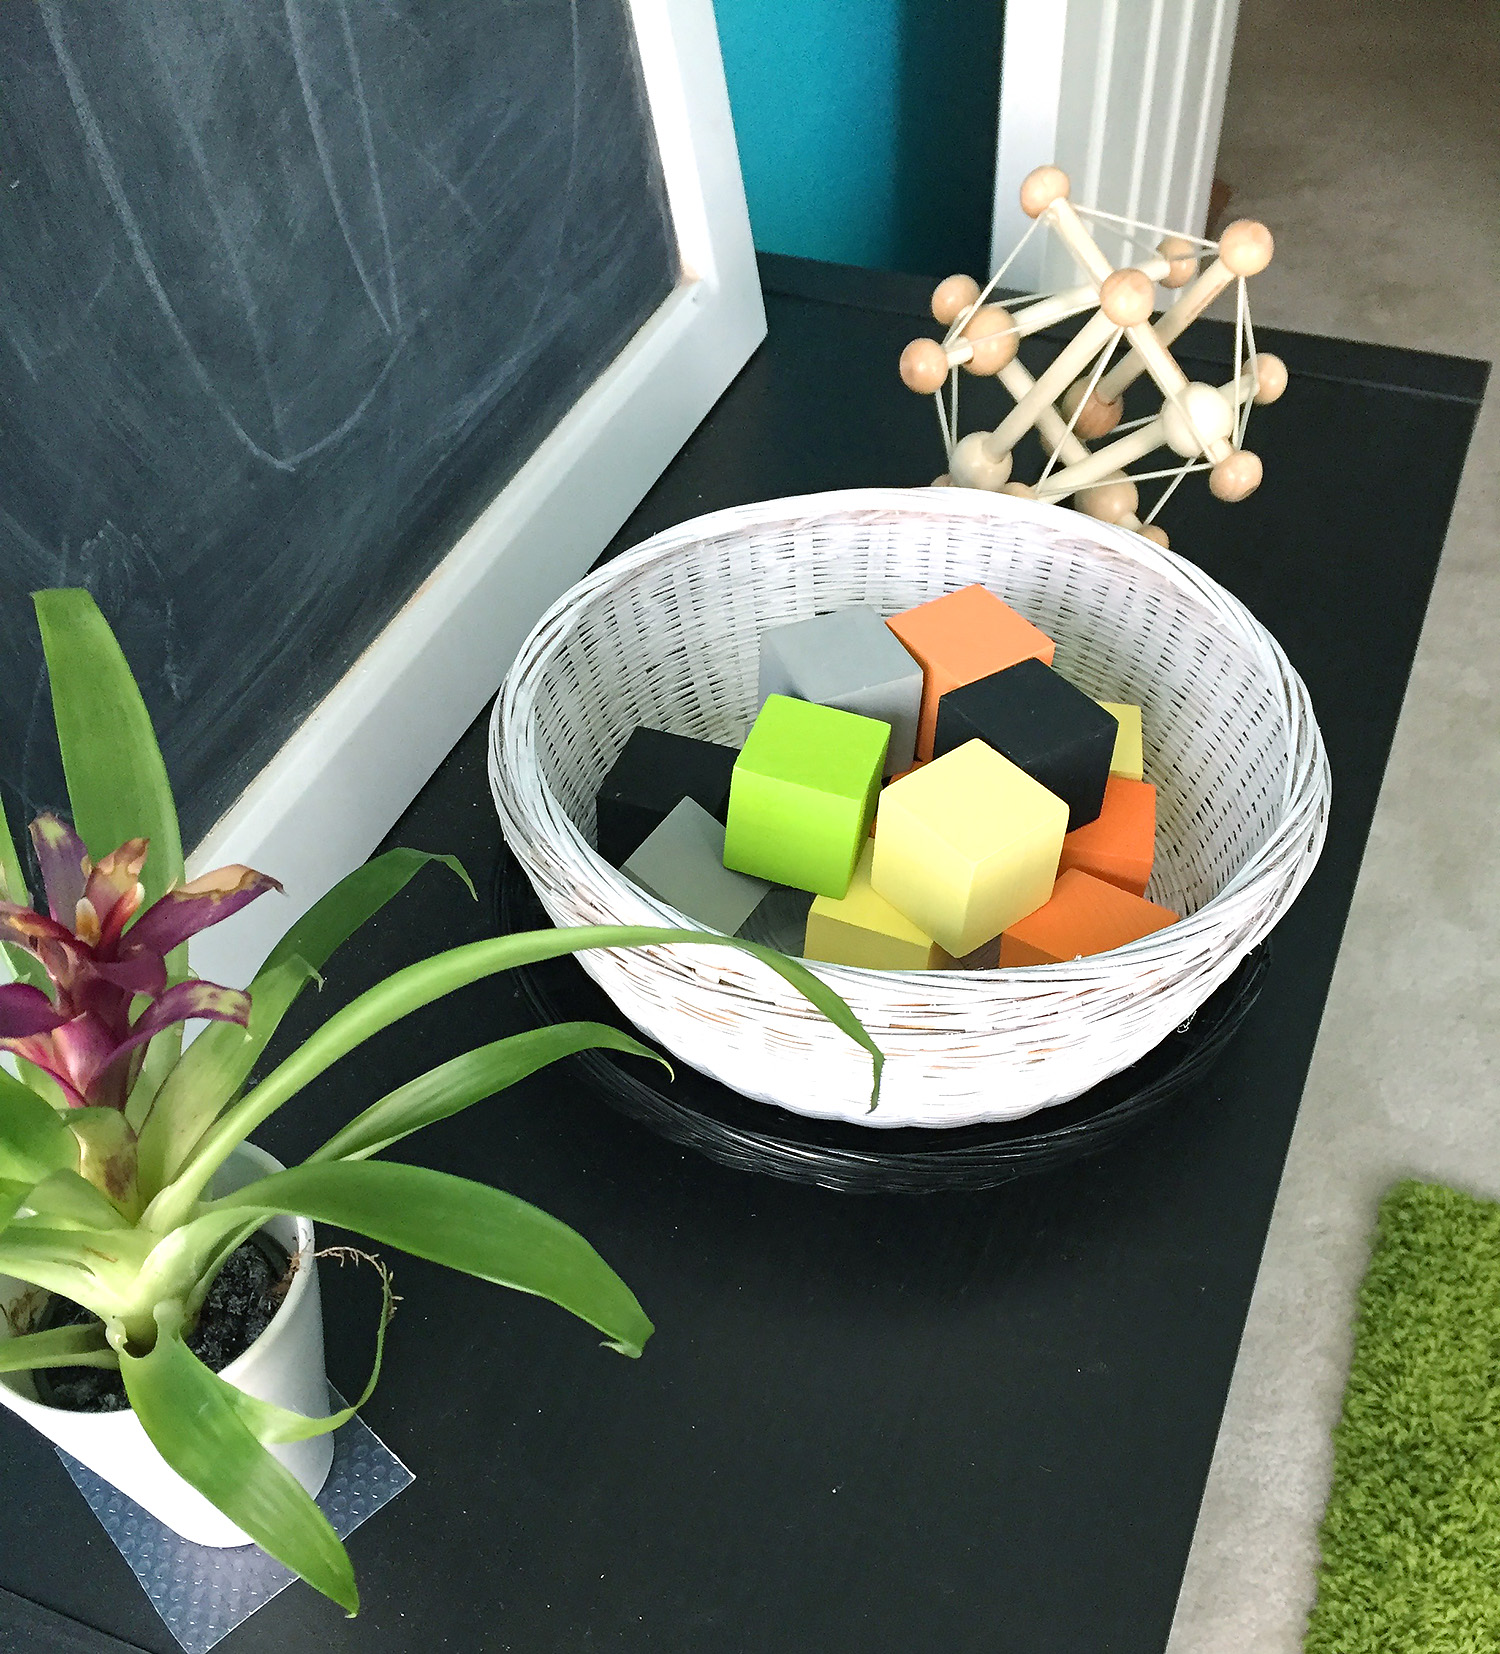
What are your newborn must-haves? It’s been 6 years (and I donated everything!) so I feel like I have a lot of catching up to do!!

You can find links to our registries in the sidebar for a little while longer.

Welcome to Our Nursery!

Sewn Paper Mobile Tutorial

This post is dedicated with love to baby S. If you find this post helpful, please consider making a donation to help the March of Dimes fund the research that will get us closer to stronger, healthier babies.
 

At first I thought I was completely insane and over-ambitious to decide to make a huge paper butterfly mobile. Turns out, it wasn’t bad at all! After late night inspiration struck, I was able to whip this up in no time (*not* counting the time to cut out the butterflies!)

This technique is great for paper garlands as well. I’ll be doing a tutorial for one soon.

You’ll need:

  • Card stock and/or vellum. I used both.
  • Butterfly template. I printed mine on card stock so it was easy to trace.
  • Paper punch(es) for little flowers. I used the McGills Petite Petals Punch
  • Sewing machine, thread and beading needle.
  • Assorted beads, including some drop beads. I used pink flowers.
  • The inner ring of a sewing hoop.
  • Ribbon and glue to cover the hoop.
  • String or ribbon to make the hanger. I used crochet cotton.

I started by wrapping the inner ring of a wooden embroidery hoop with ribbon and gluing down the end (I “clamped” it with tape overnight while it dried.) I cut two lengths of crochet cotton that were longer than the diameter of my hoop. I tied one so it split the hoop in half, then tied the other perpendicular to that so it split the hoop in quarters. I then grabbed the centers of both strings and tied a ribbon to the center so the mobile could hang from the slack in the strings.

The time consuming part was cutting and punching the paper. You need to cut out at least 36 butterflies for the layout I used, more if you used single-sided paper and use two pieces back-to-back. I did some of both. I punched a zillion flowers since I wasn’t sure how I was going to use them. Luckily, my punch cut out 3 at a time! I used some solid paper, some vellum (solid and patterned) and some patterned paper. They were all from the scrapbooking aisle of the craft store.

Sewing the strands of the mobile is so easy! I sewed mine from the bottom up. Leave about 10″ of spare thread before starting (you’ll need that for adding beads later) then start sewing as you feed the bottom of a butterfly into the machine. When you get to the top of the butterfly, position a flower the distance you want it from the butterfly and push it under the foot as you continue sewing. My patter was 3 flowers between each butterfly and I ended with 3 flowers on top. I did four strands with 4 butterflies and 4 strands with 5. When you end your strand, back stitch a bit, then leave another 10″ tail so you can tie the strand to the hoop.

Once you’ve sewn your strand, you need to weigh it down with beads. I made a little pattern I liked and ended with a drop bead. To put the drop bead on, I threaded one strand of my thread through the hole one way and the other strand the other way. then I made a knot above the bead and clipped the tails. You could add some Fray Check to the knots for security. (I used Fray Check on the strings that tie the braids in my hair closed!)

Tie your strands of butterflies and flowers to the hoop. I tied 4 of them right to where my hanger threads were attached, then the other 4 in between. To make it easy, I hung mine from the adjustment arm of a camera tripod.

To pretty-up where the strands are tied on, I made some little flower embellishments. You could easily hot glue some purchased silk flowers or butterflies too. I took a length of thread and a beading needle and ran the thread halfway through the center of some flowers. I added a bead then went back down through the center of the flowers with the other half of the thread. I used the two tails to tie each beaded flower over the knots of the butterfly strands.

Then you are done! Hang it by it’s ribbon and enjoy! (Mine is just taped up for a photo. You’ll want a nice hook.)