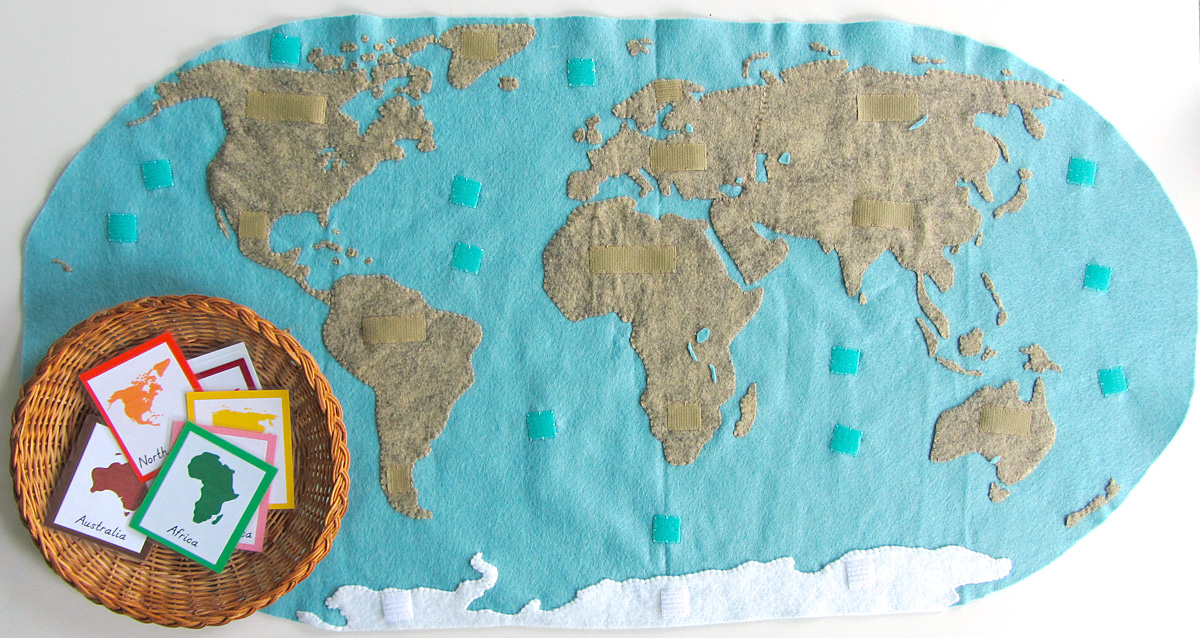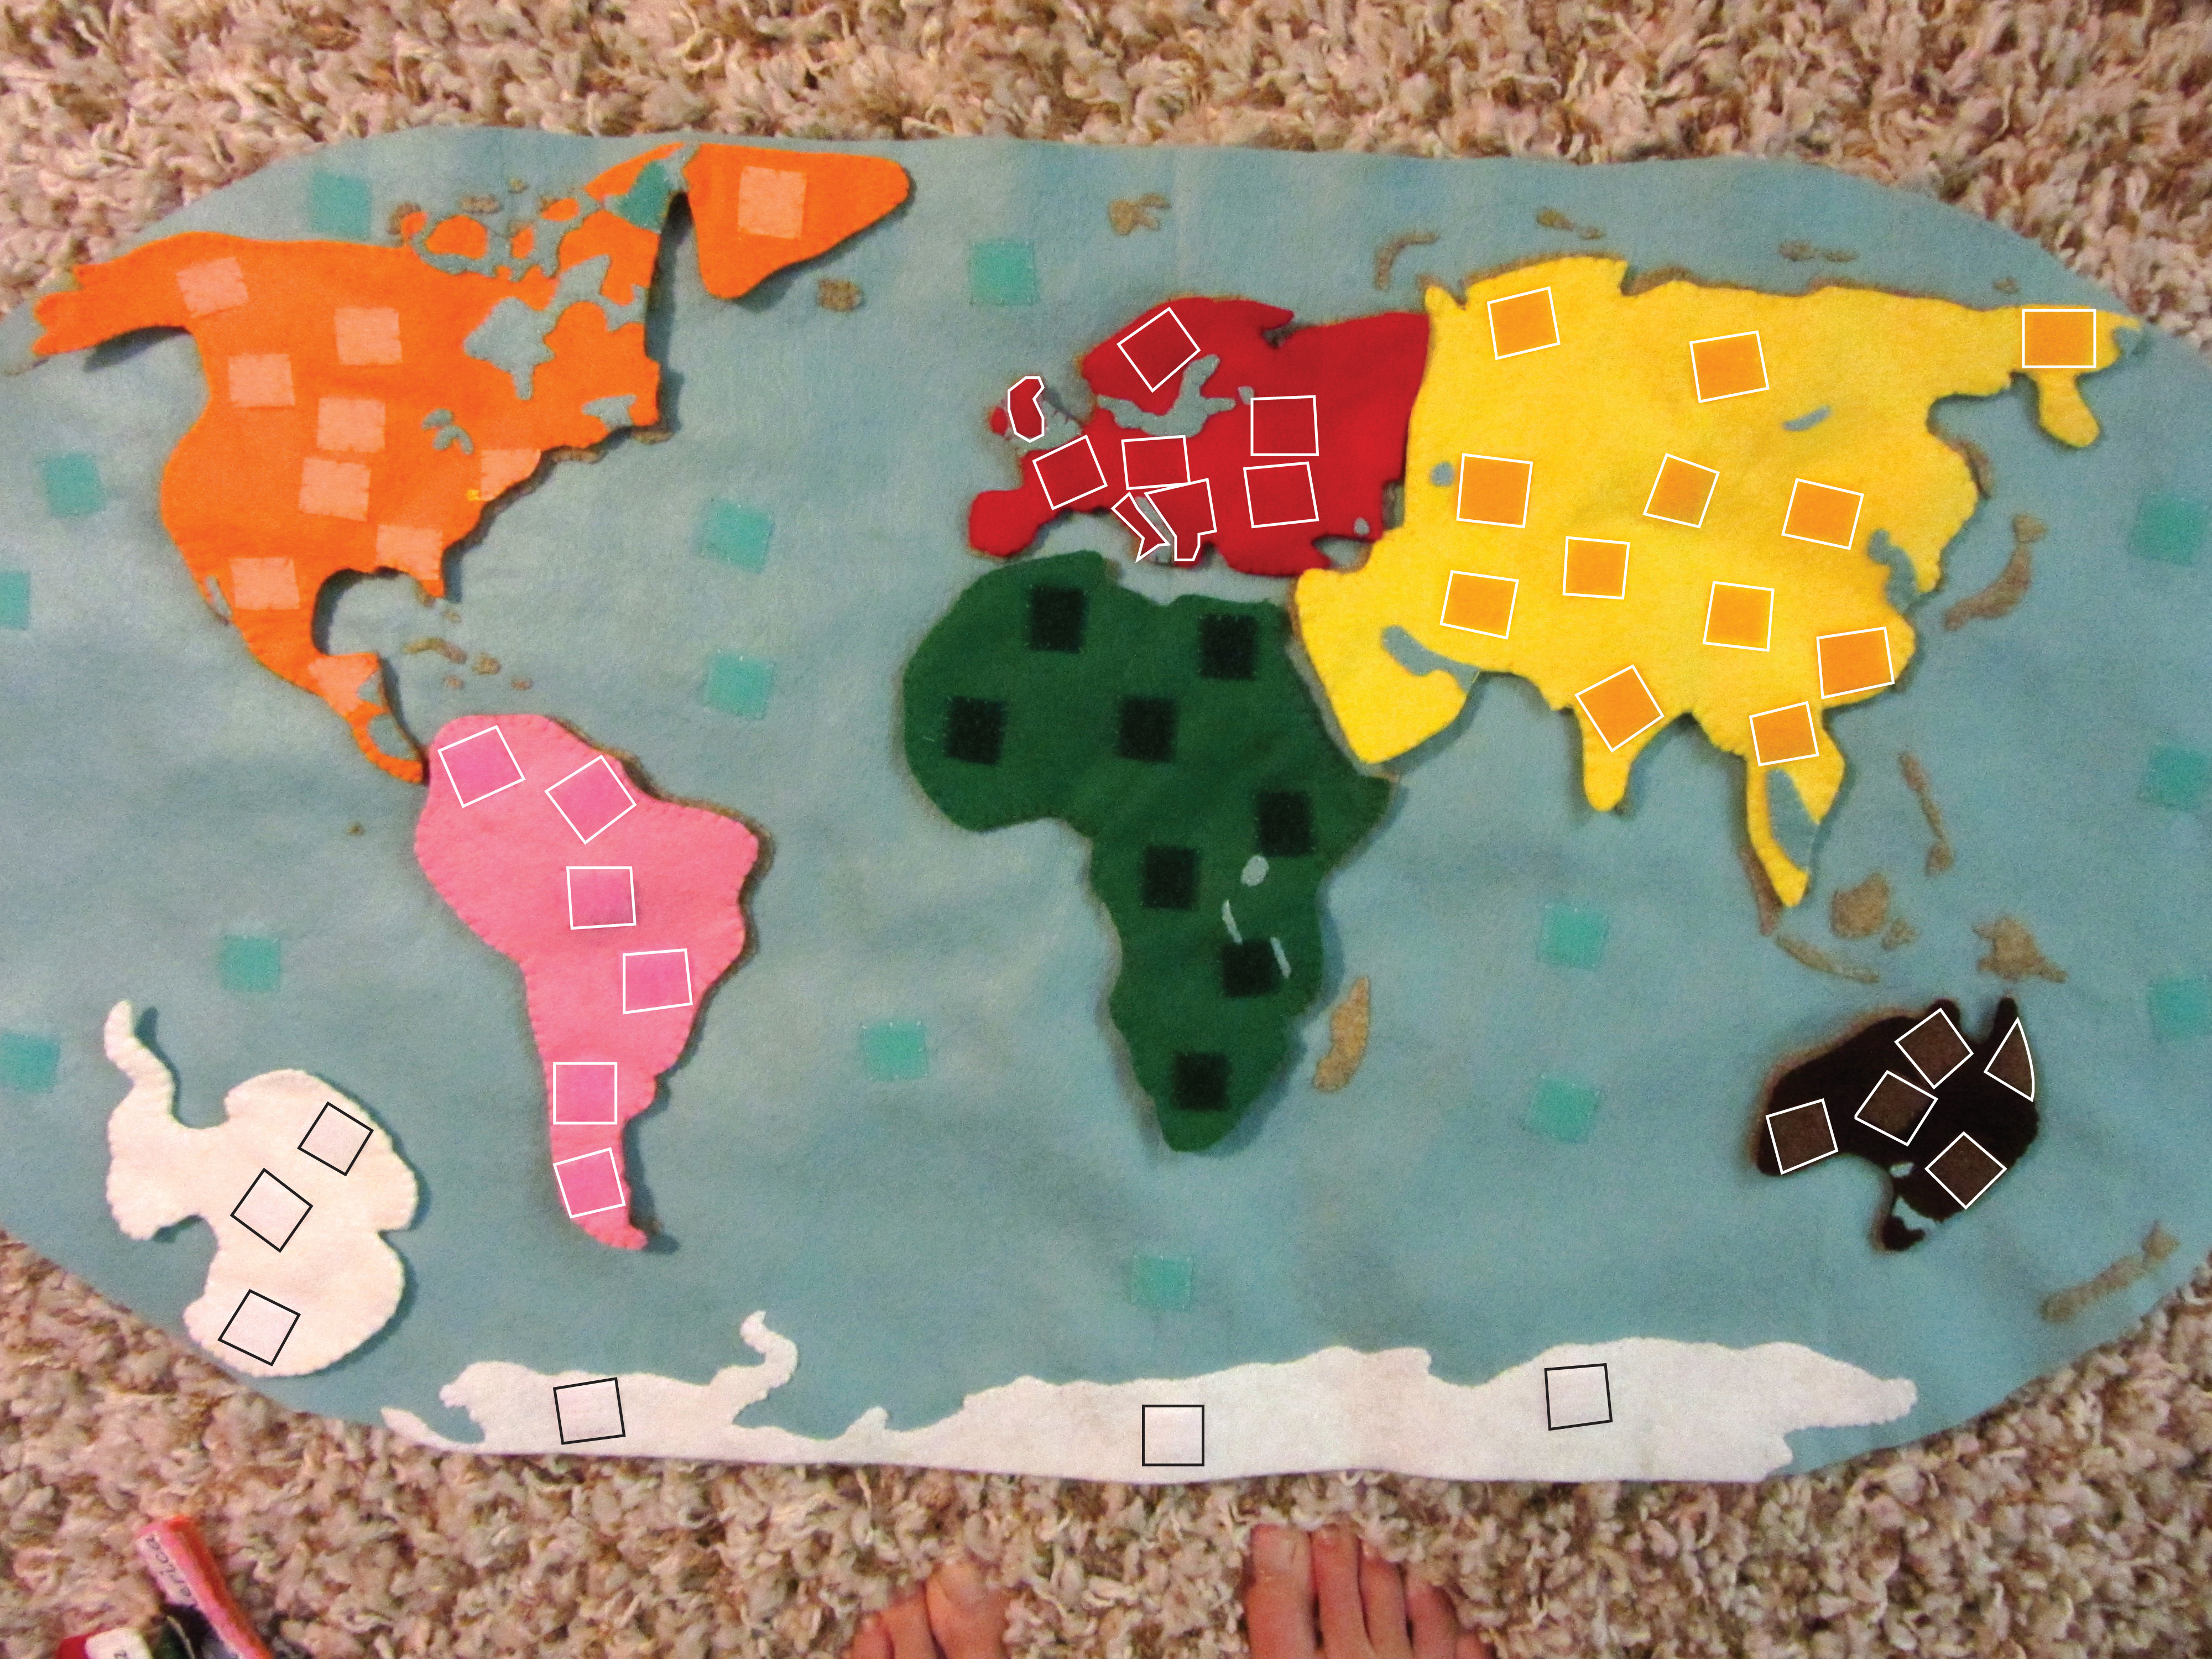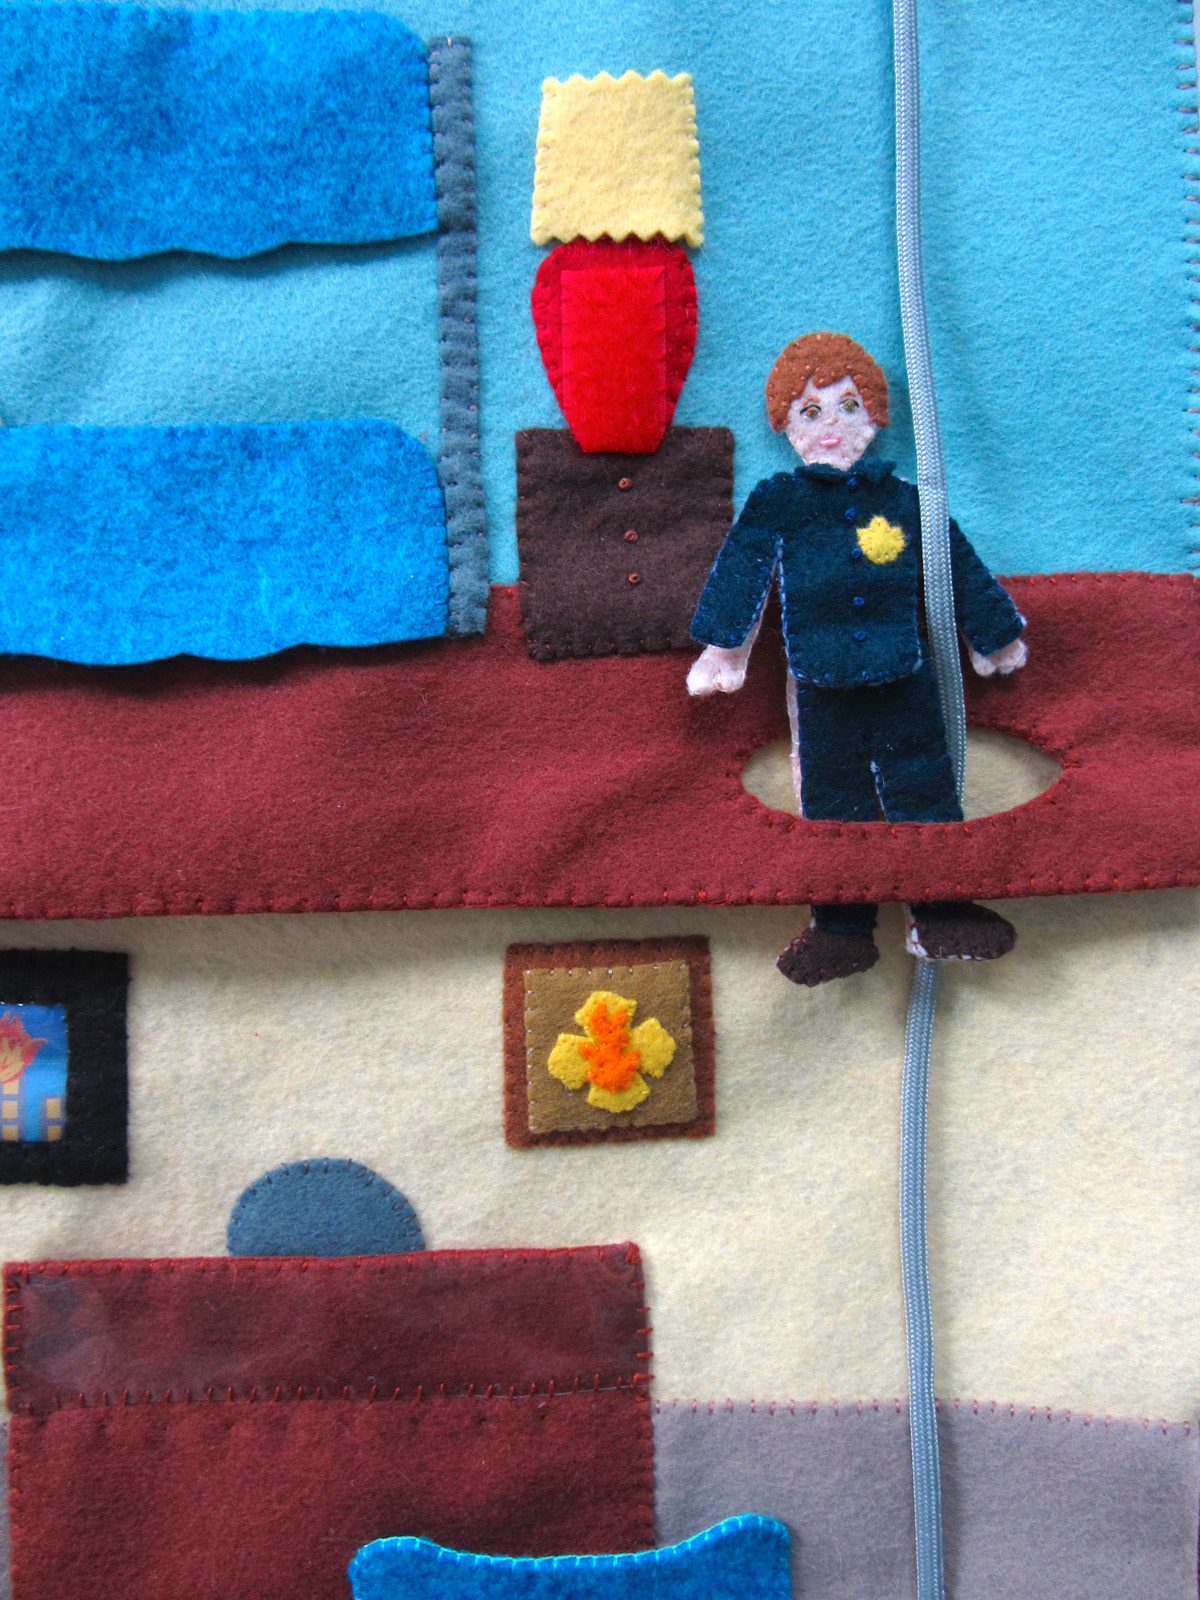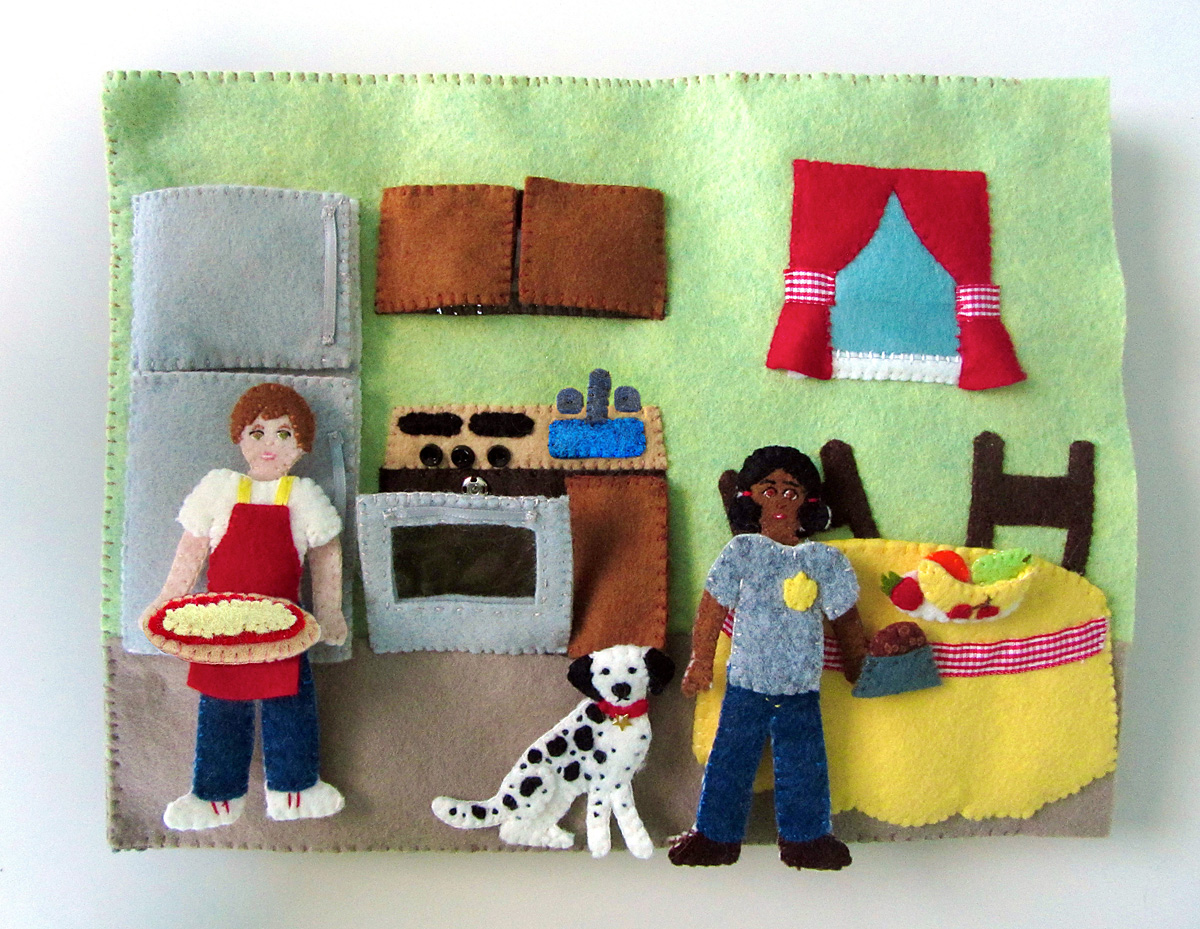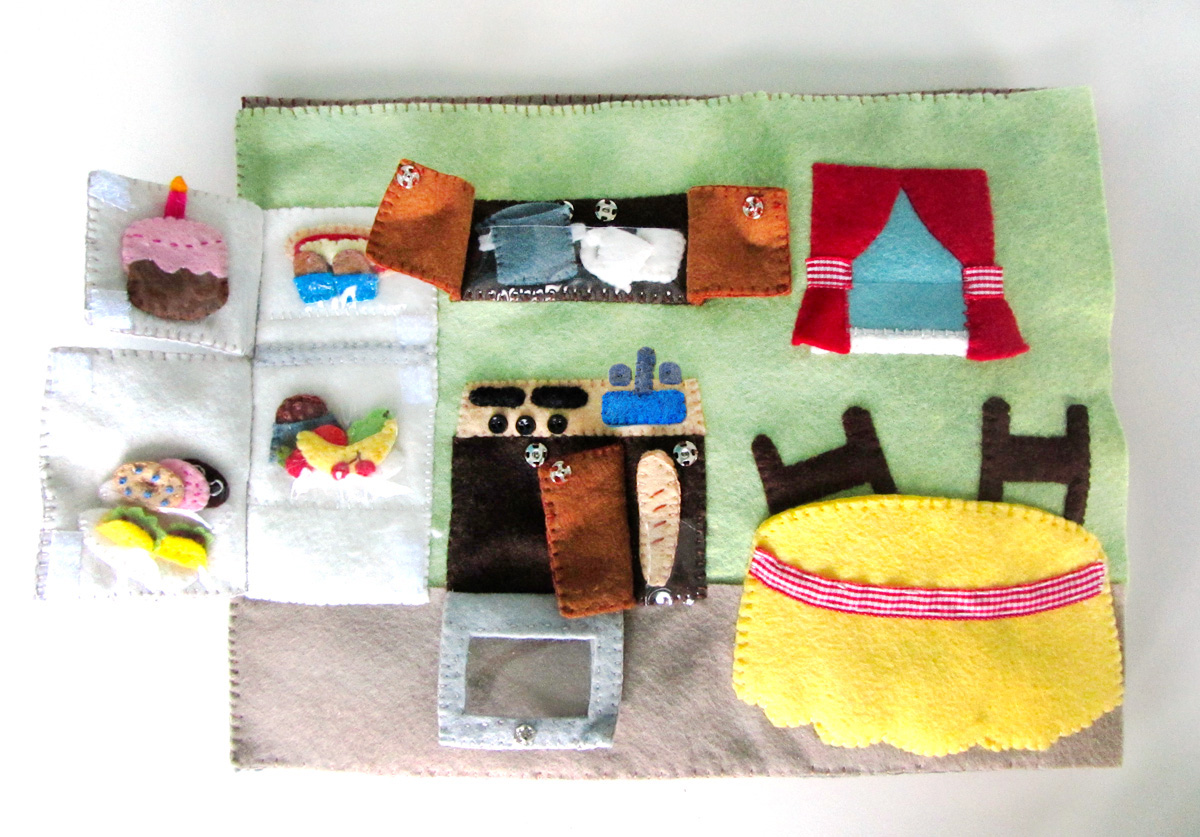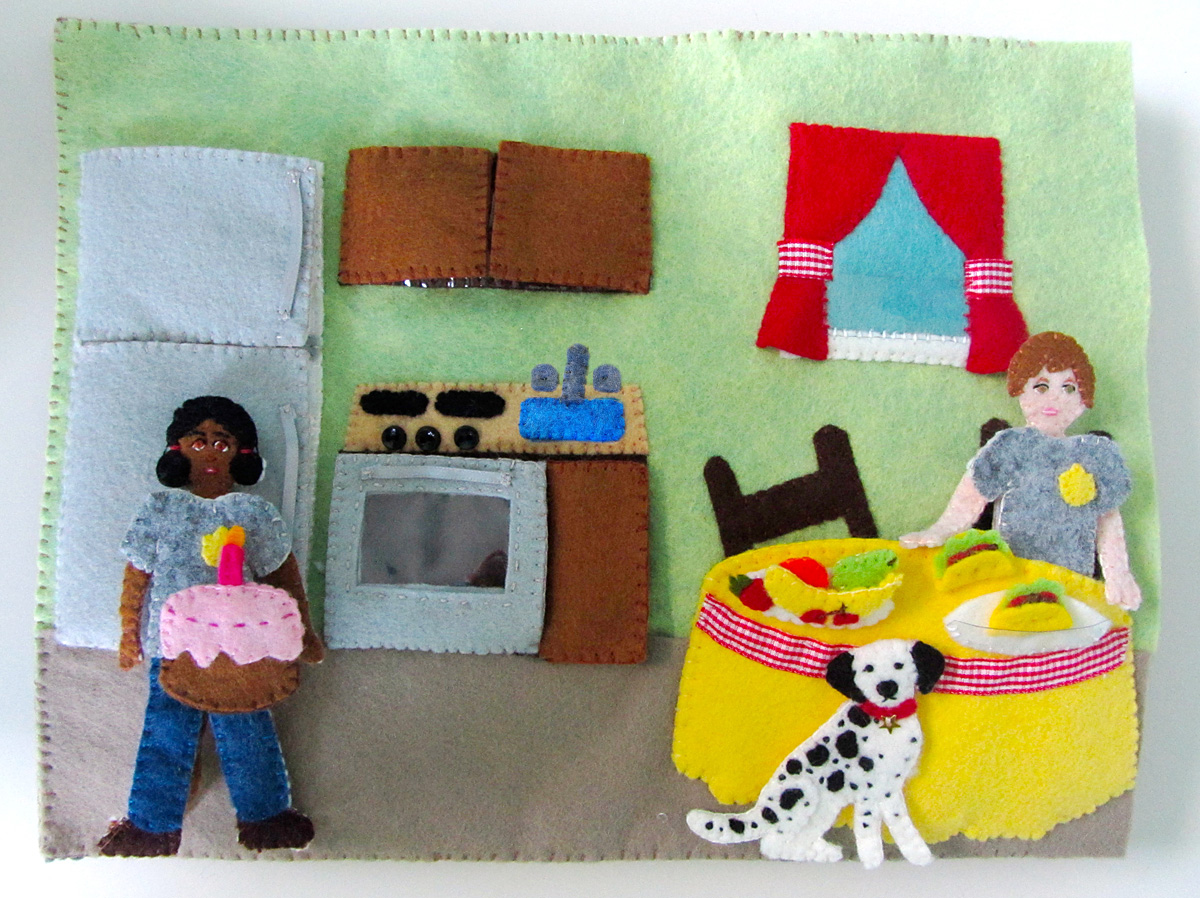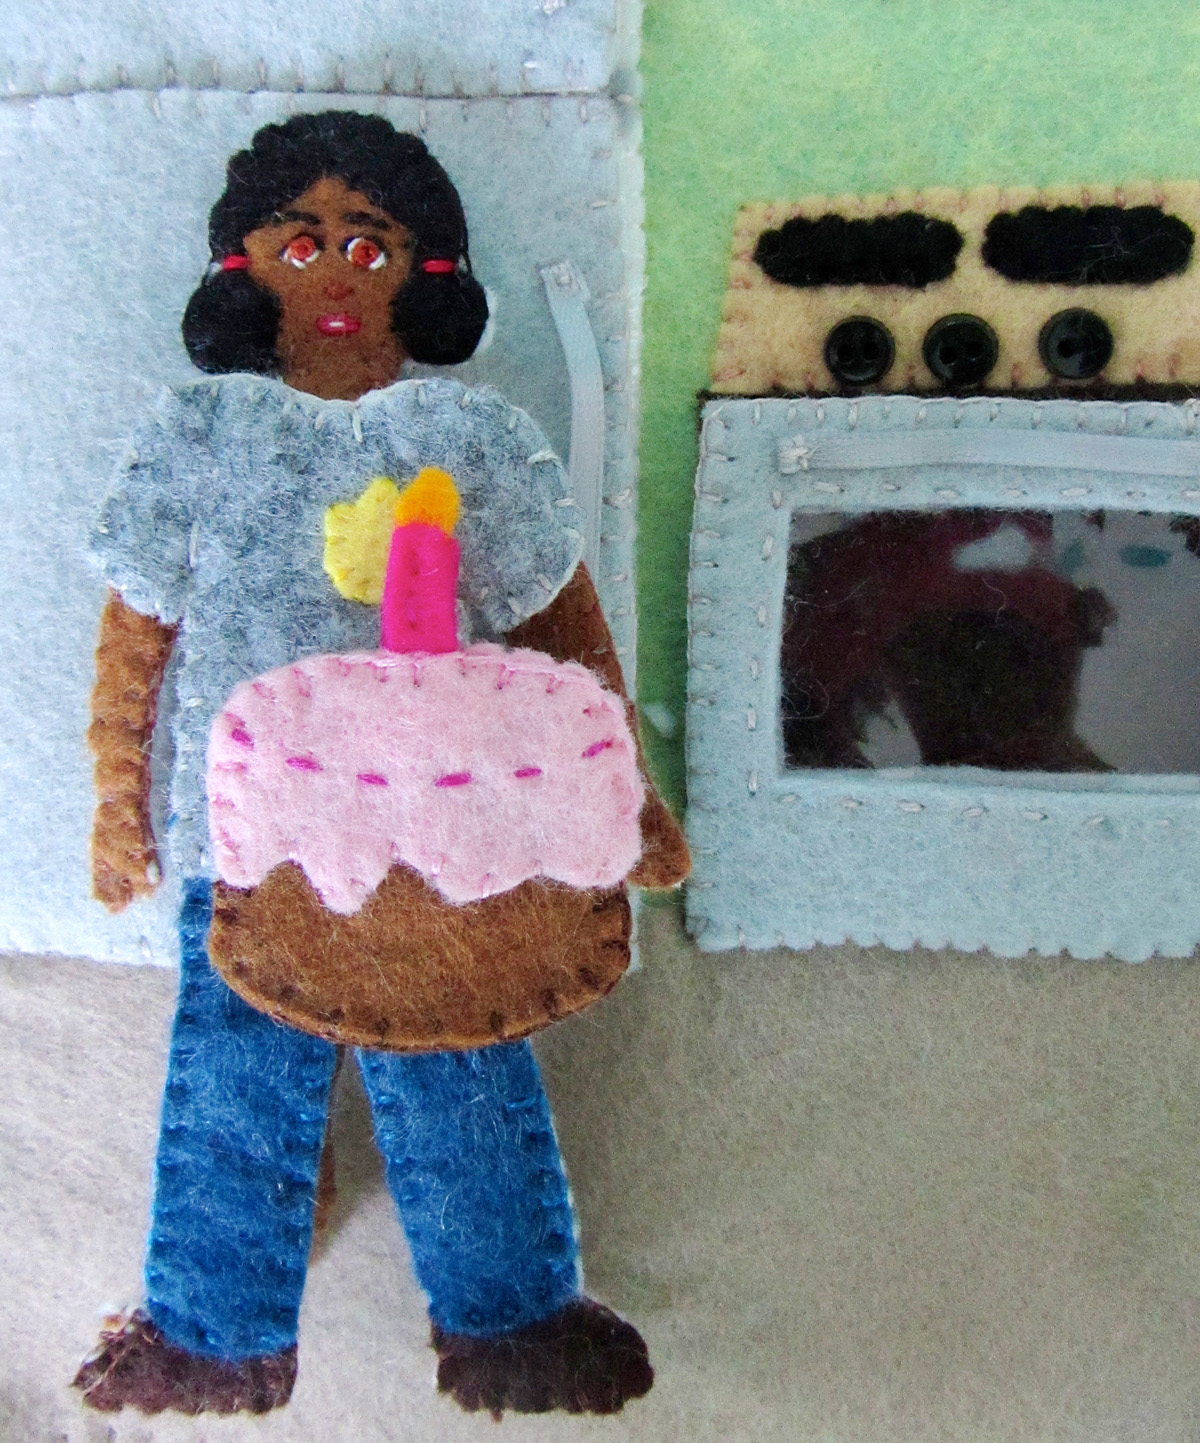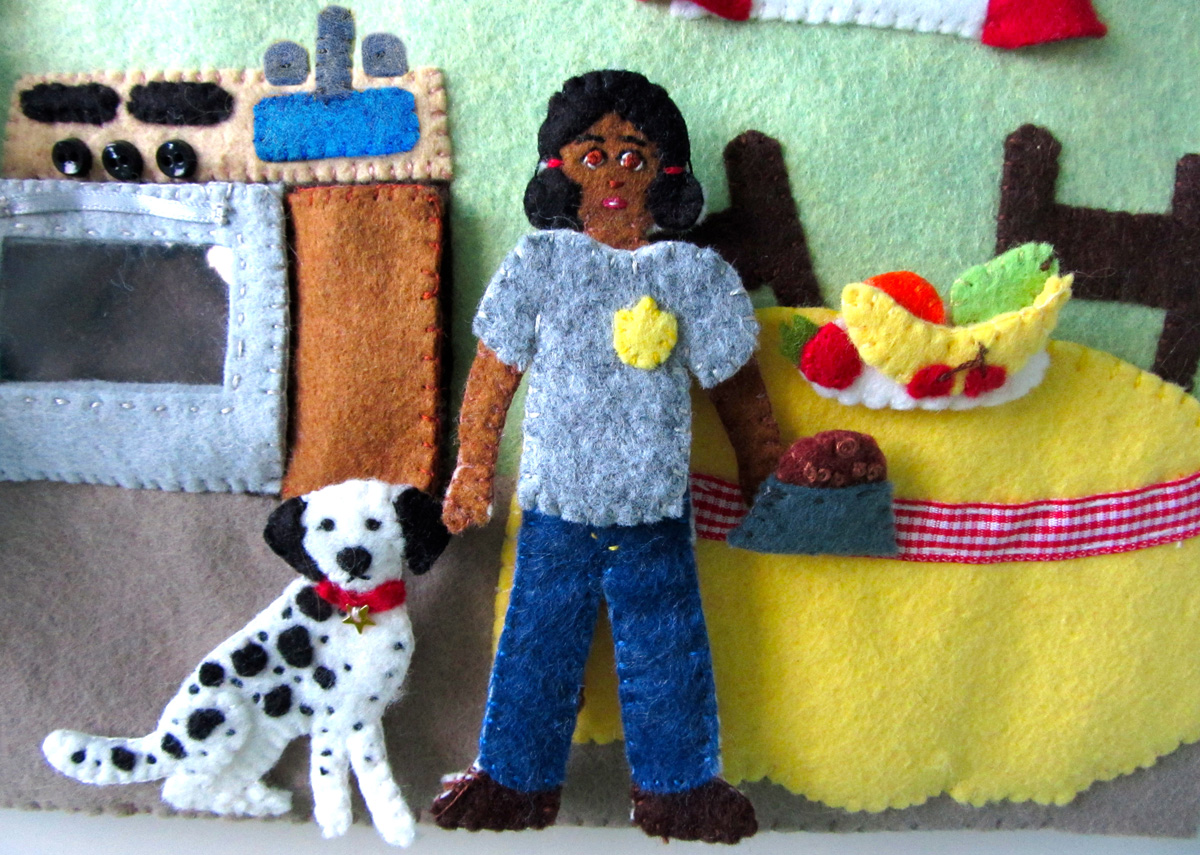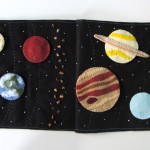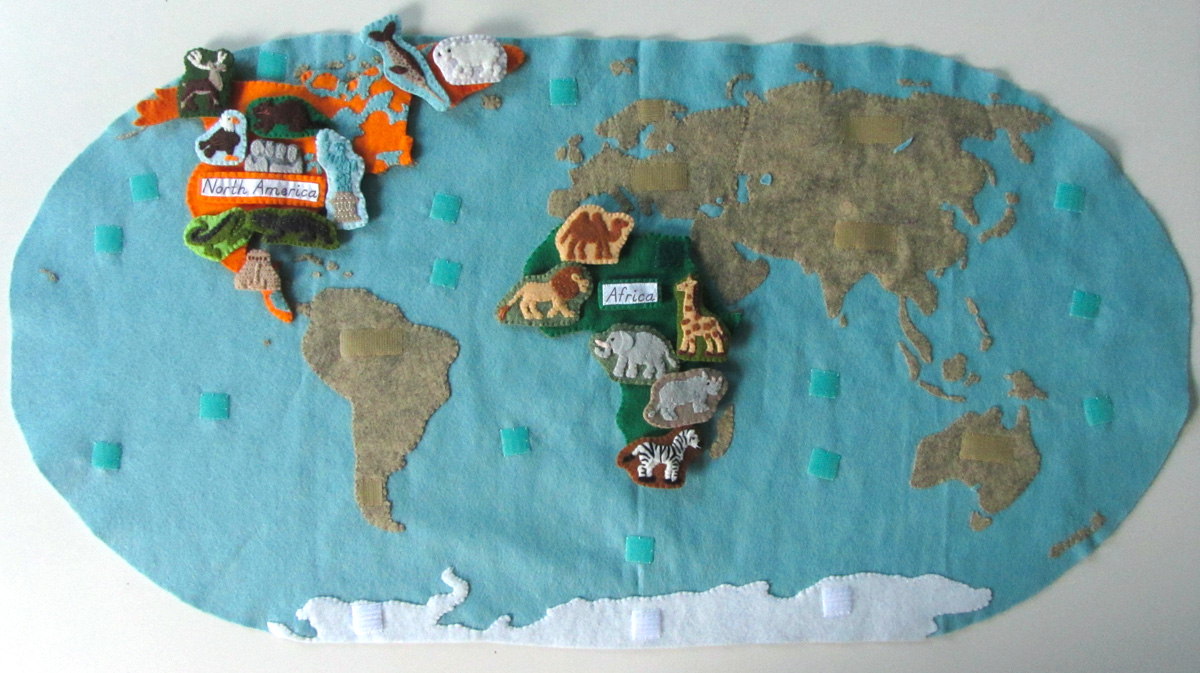
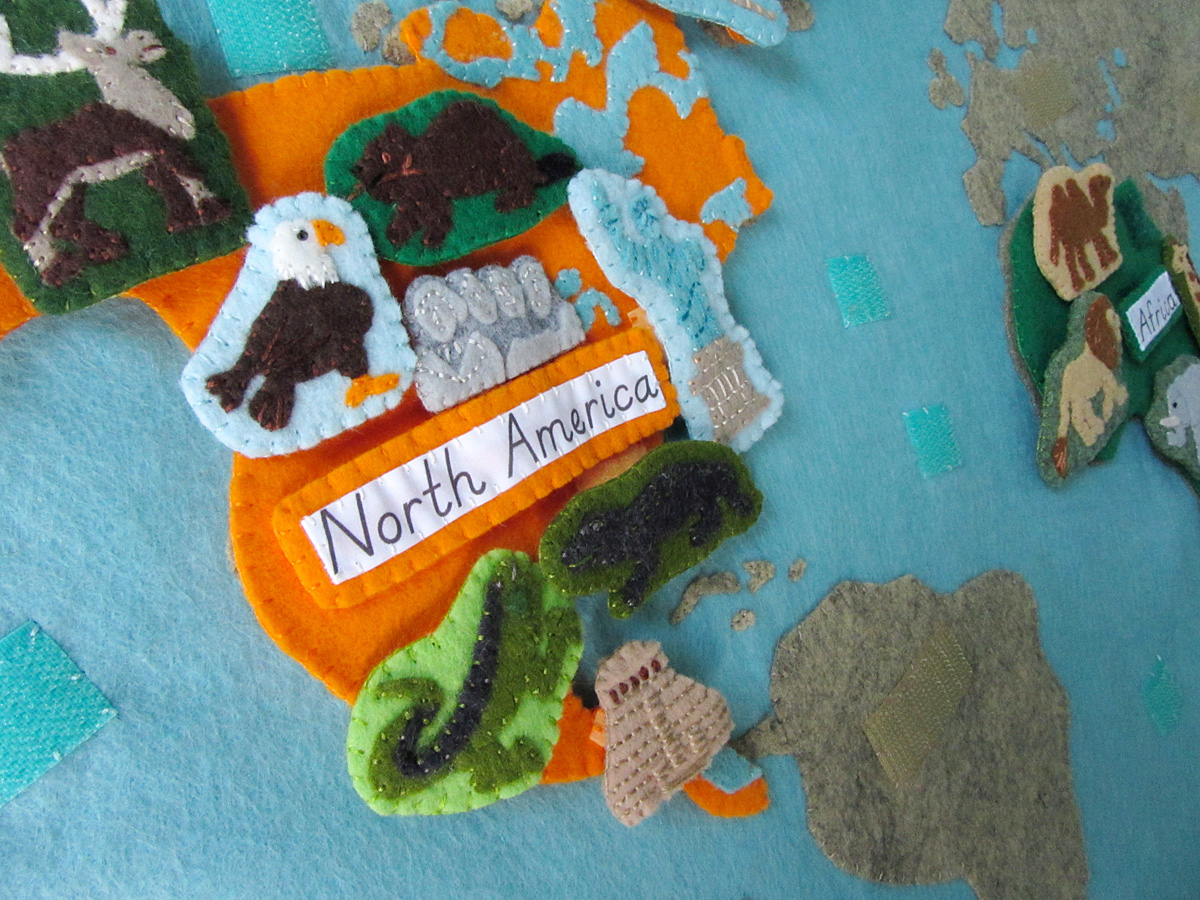
If you haven’t been introduced to our Montessori wall map and quiet book yet, you can read all about it here. This post will be for the second continent in the series: North America! Every continent will have landmarks and animals. Some, like Europe, have more landmarks than animals. North America has a good mix of animals and landmarks.
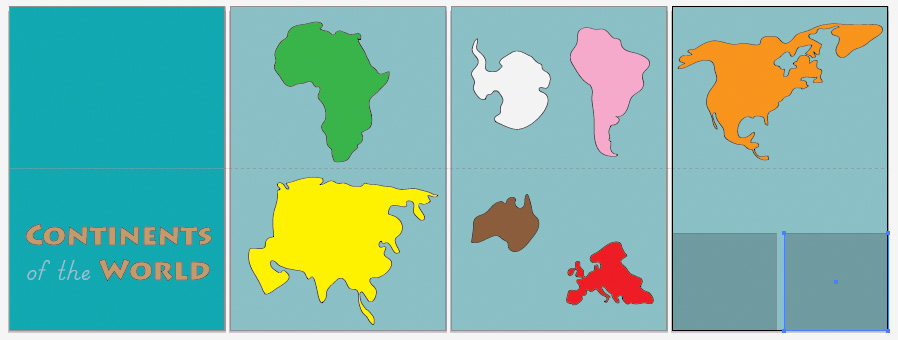
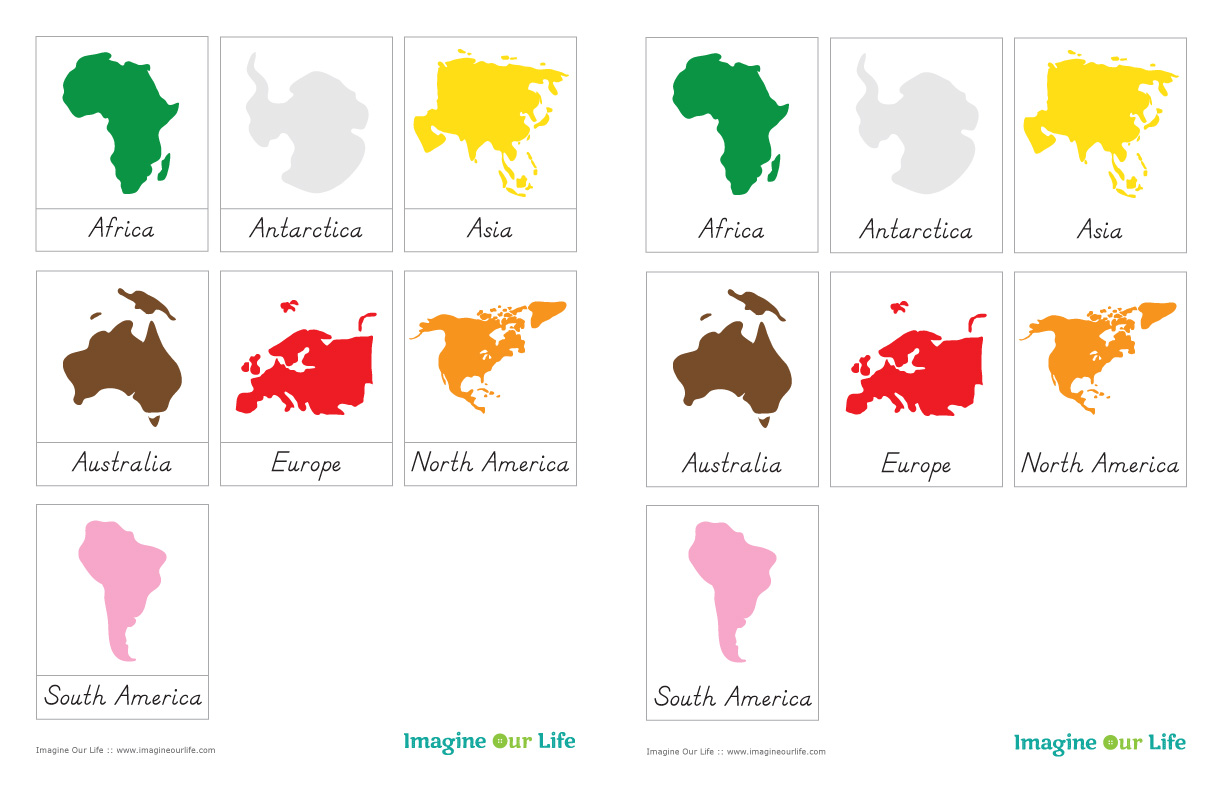
Overview and Map Patterns • Africa • Antarctica • Asia • Europe
North America • Oceans • South America
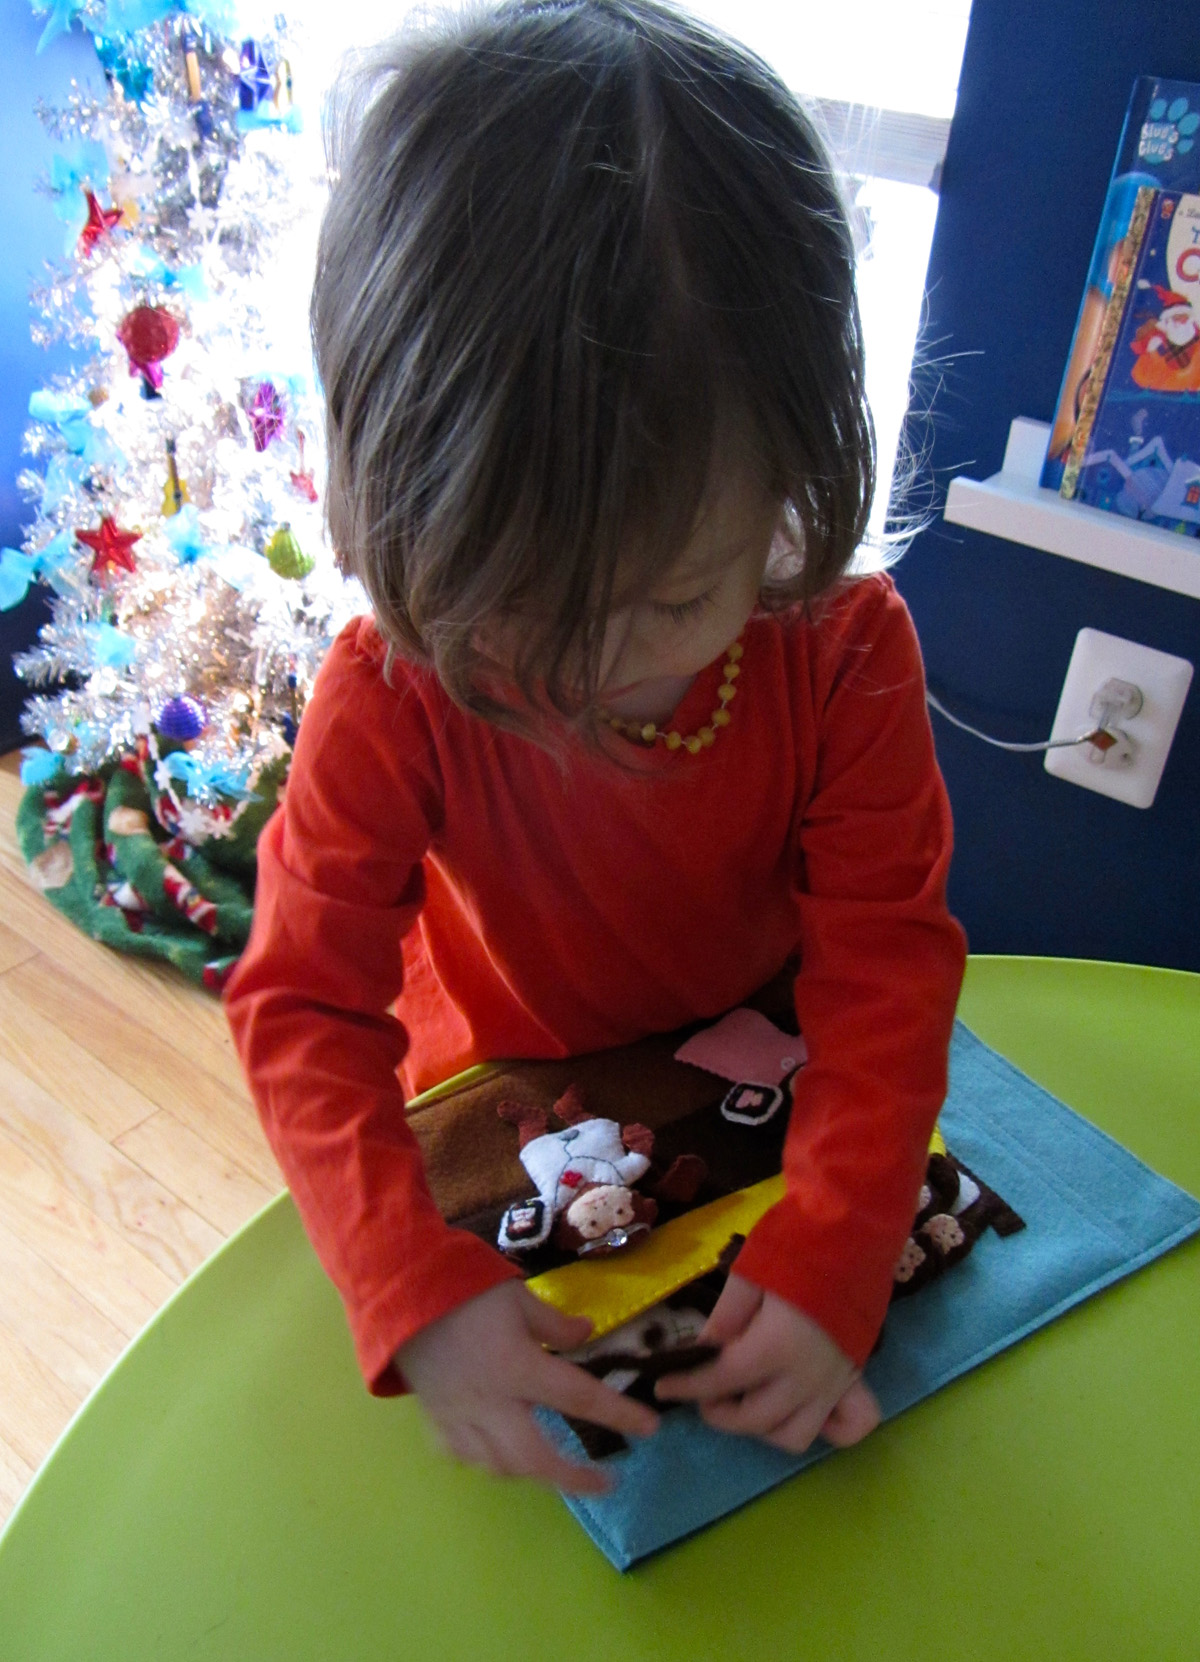
Those of you who follow along on Facebook or Instagram have been seeing the animals and landmarks I created for North America. I’m so exciting to be working on this project! This will be an amazing resource for Jax throughout his school years.
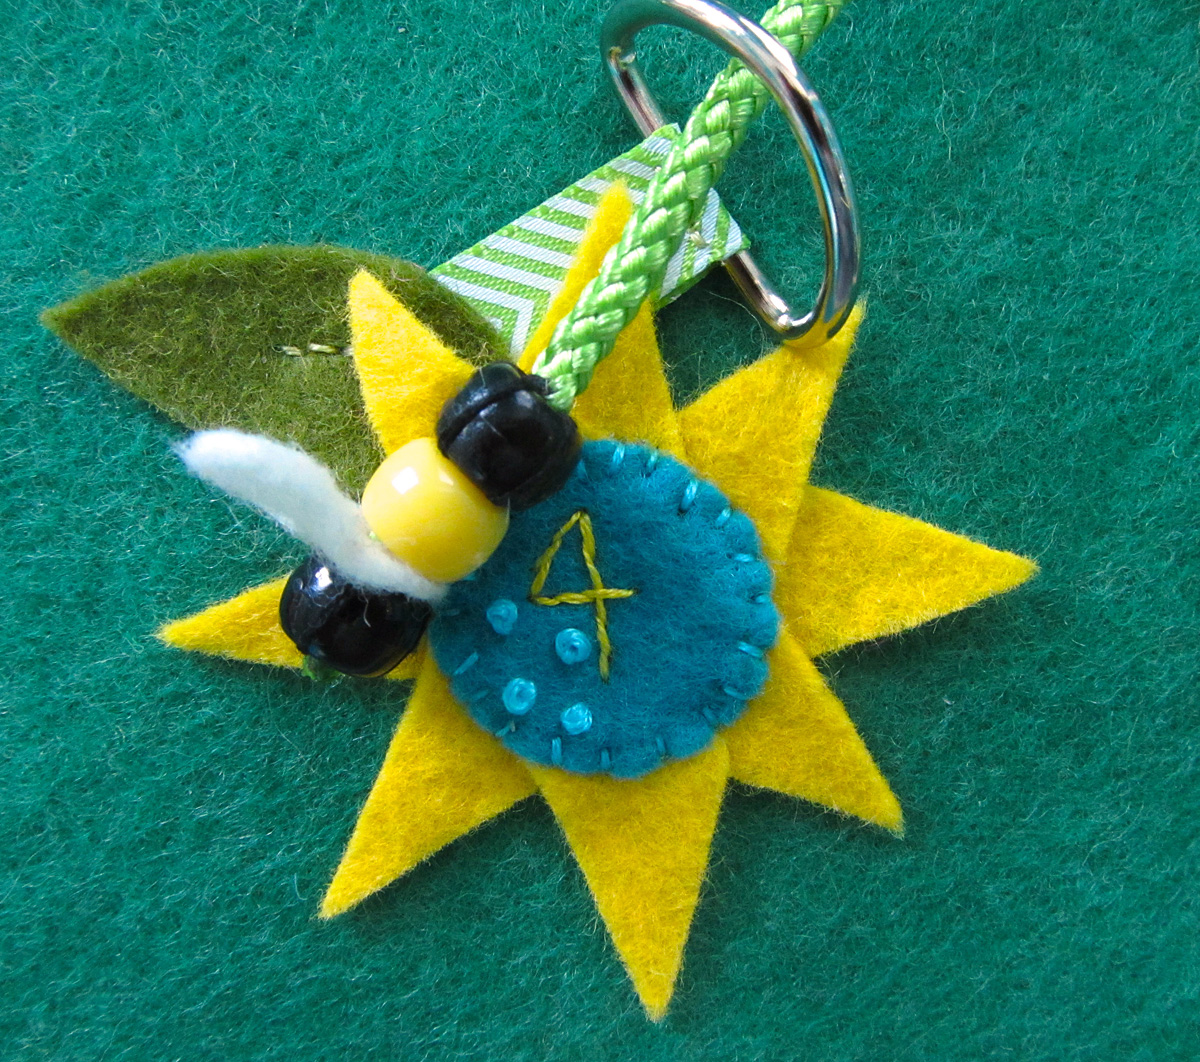
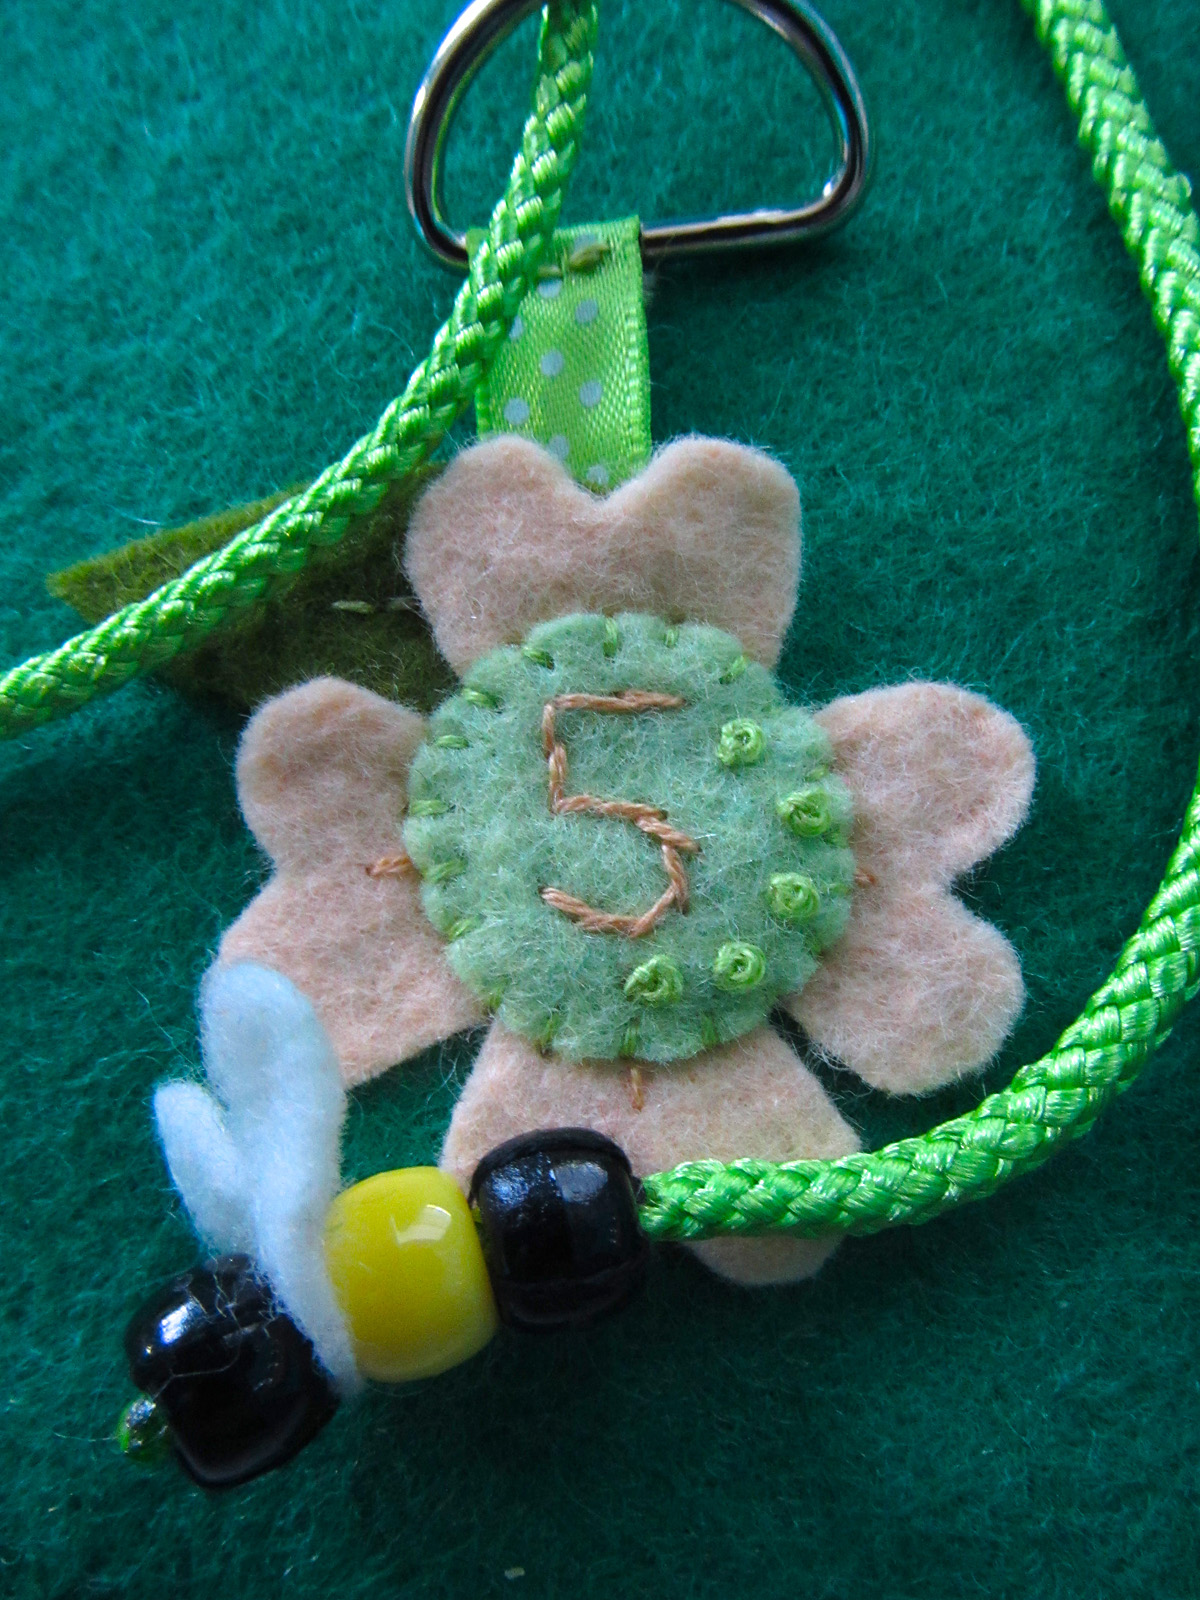
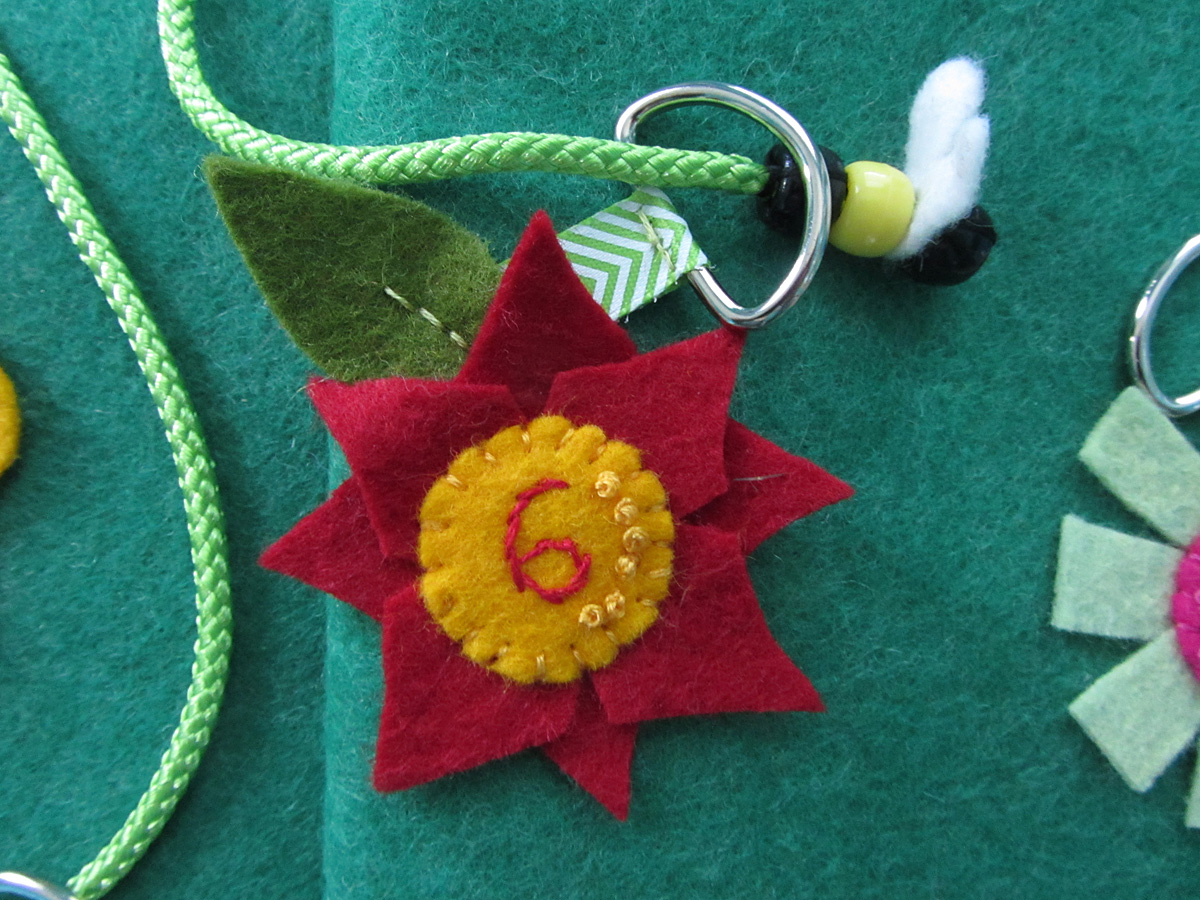
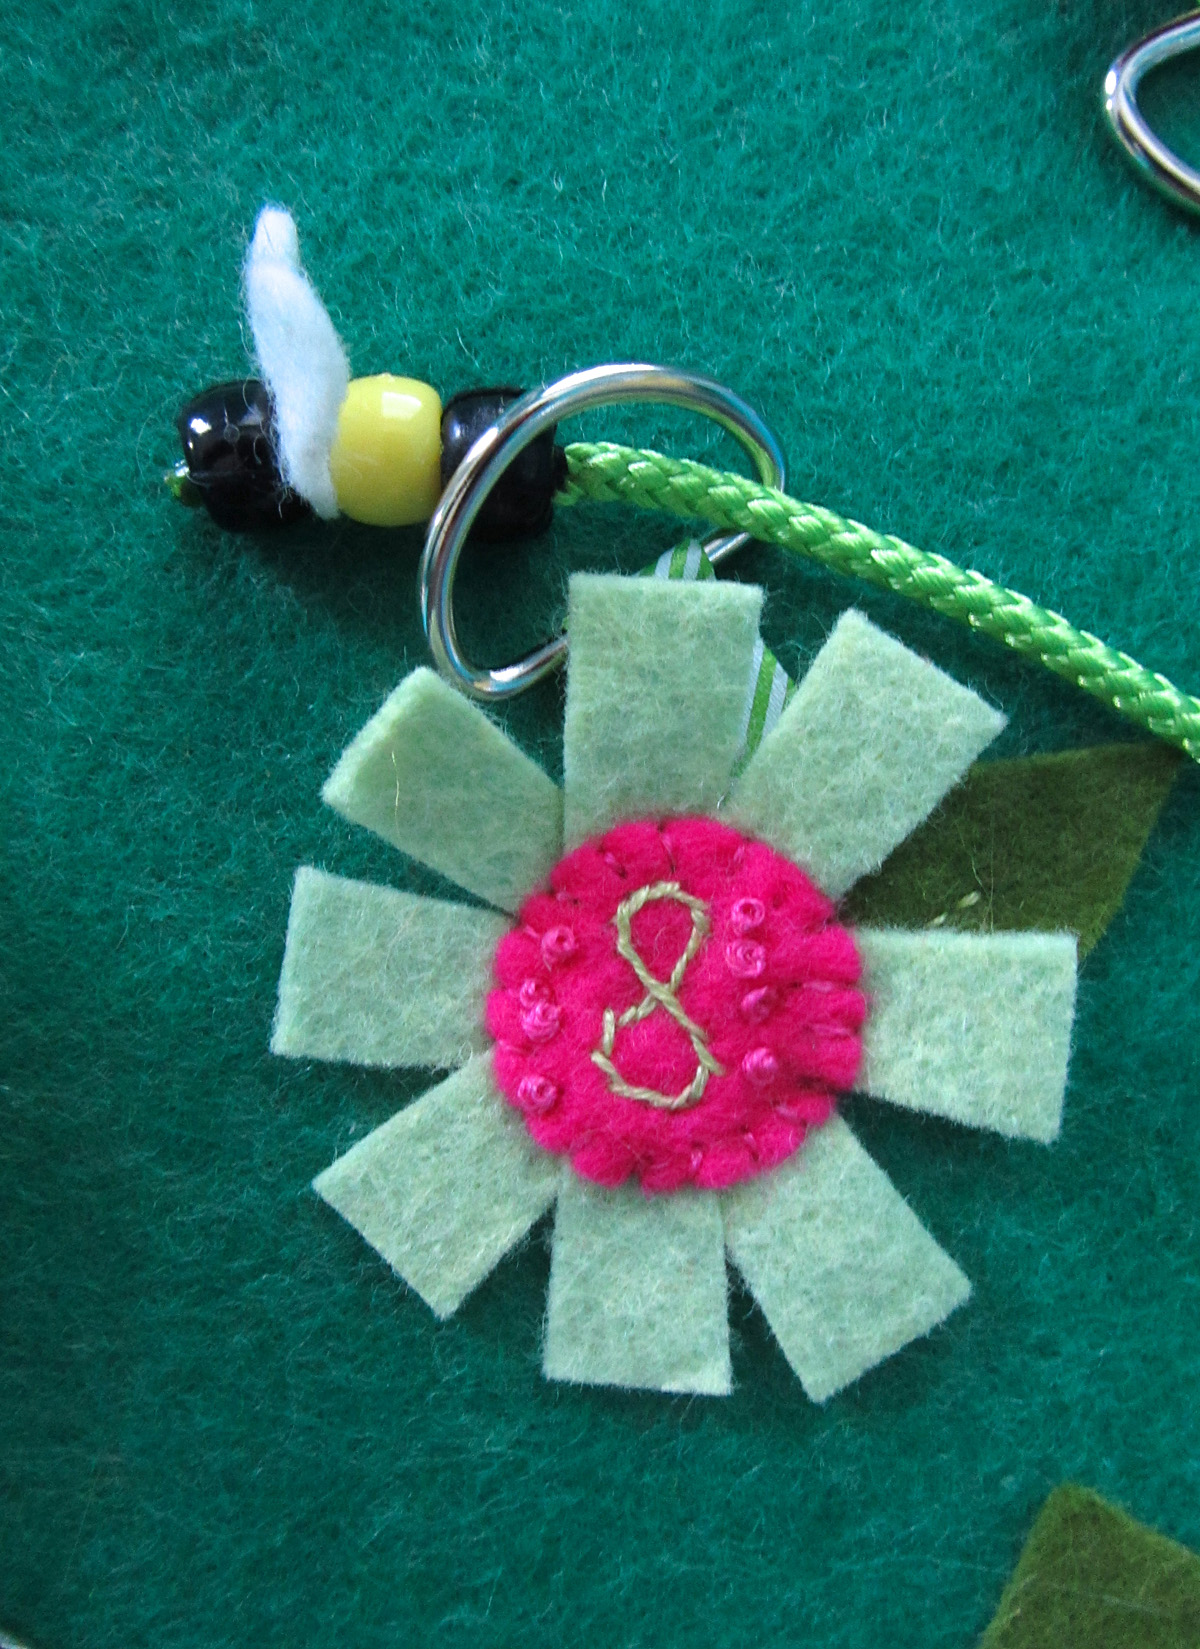
Animals of North America for the Montessori Wall Map & Quietbook with Printables
I am posting this project in segments instead of all at once so that you can sew along with me! You can head to the Facebook page right now to choose which continent (or the oceans!) I should start next.
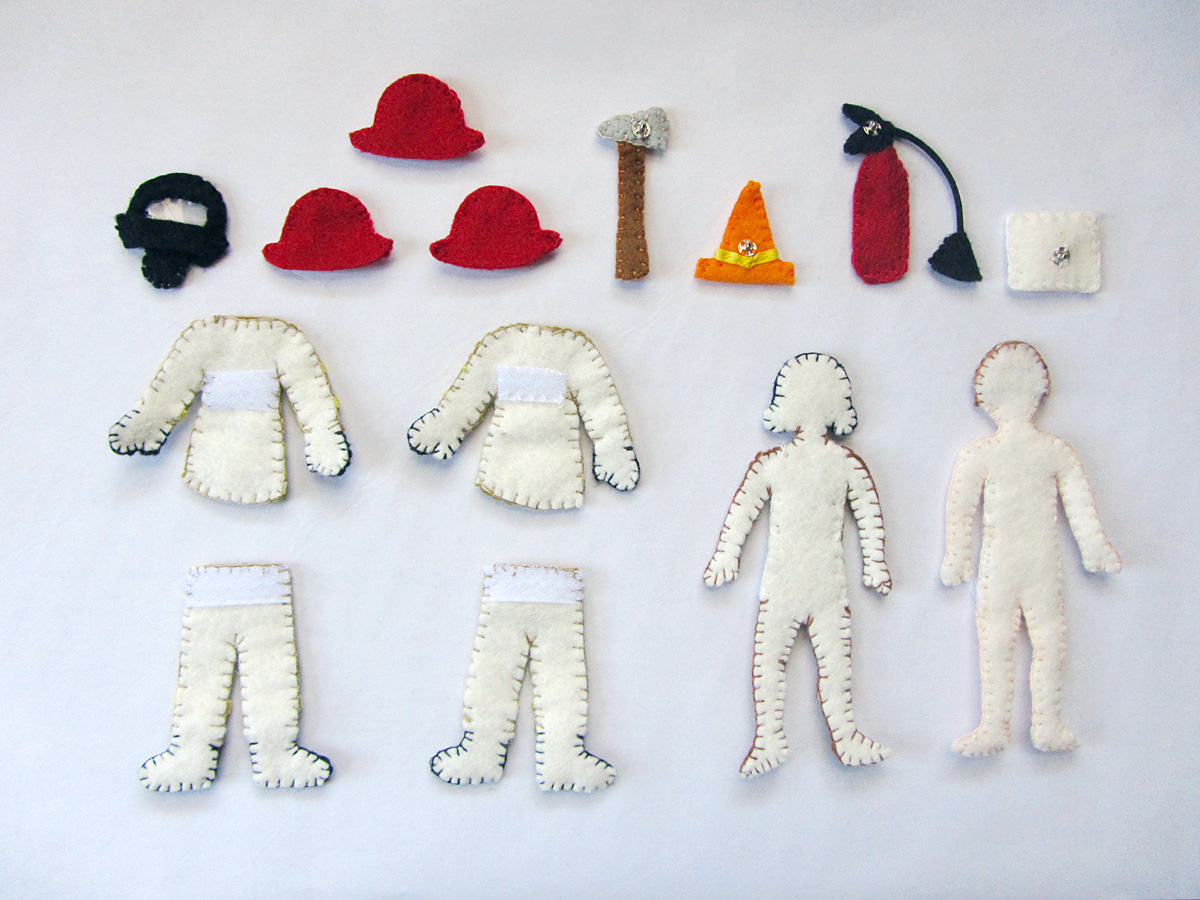
Materials I Used
The Pattern (see the first post for the main patterns)
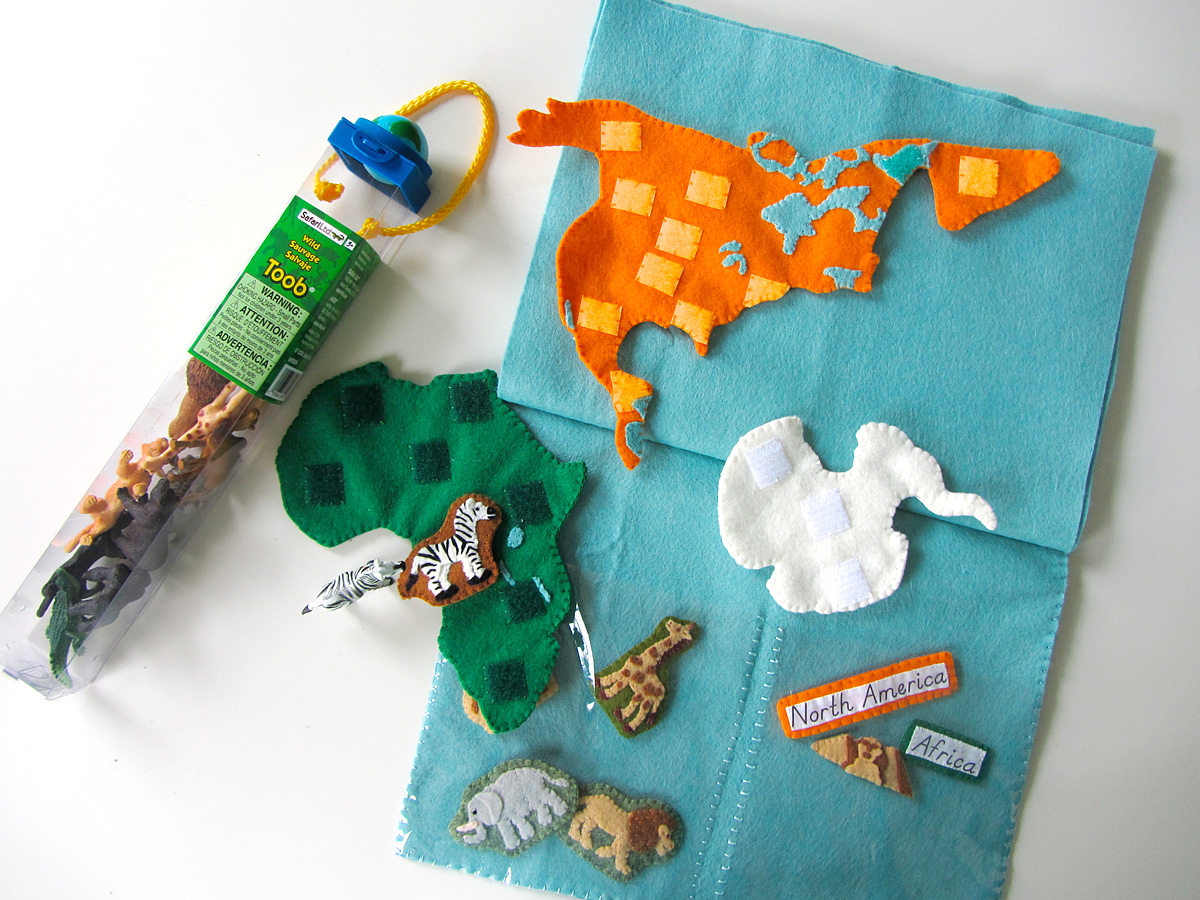
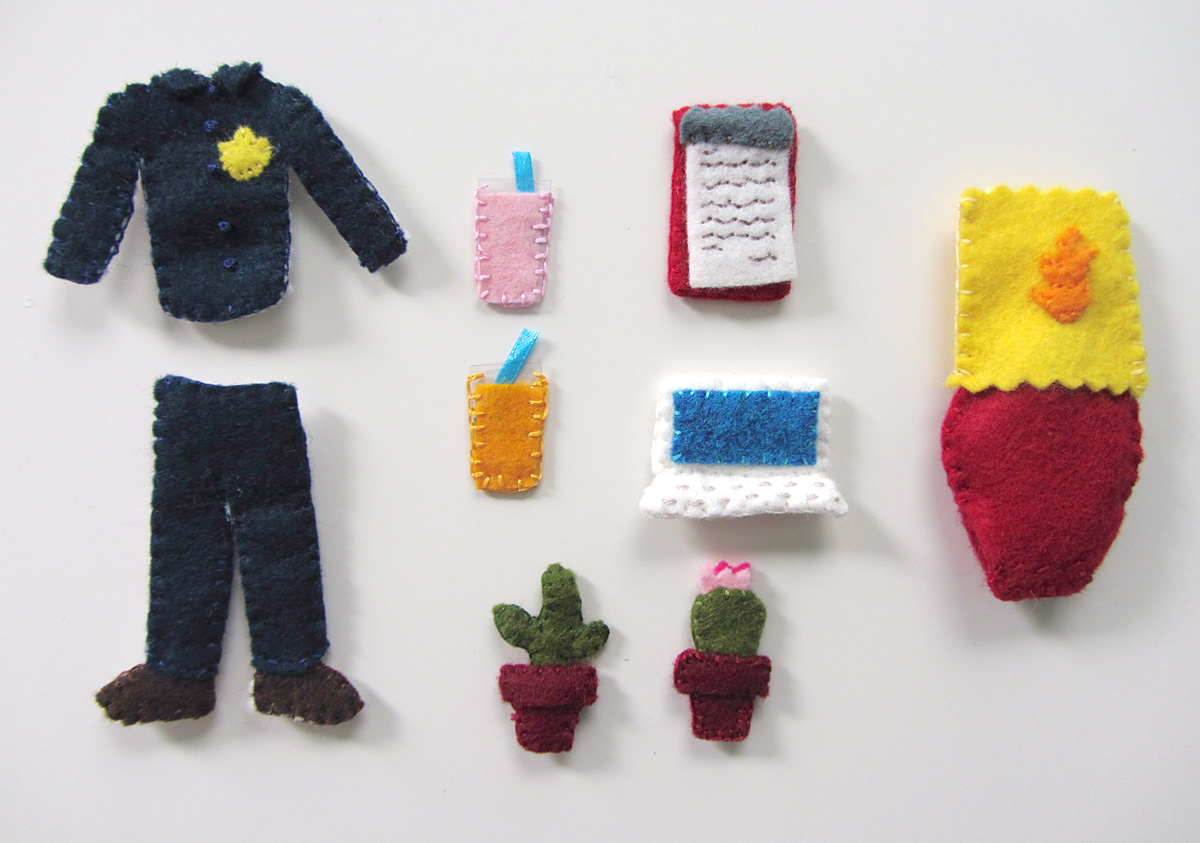
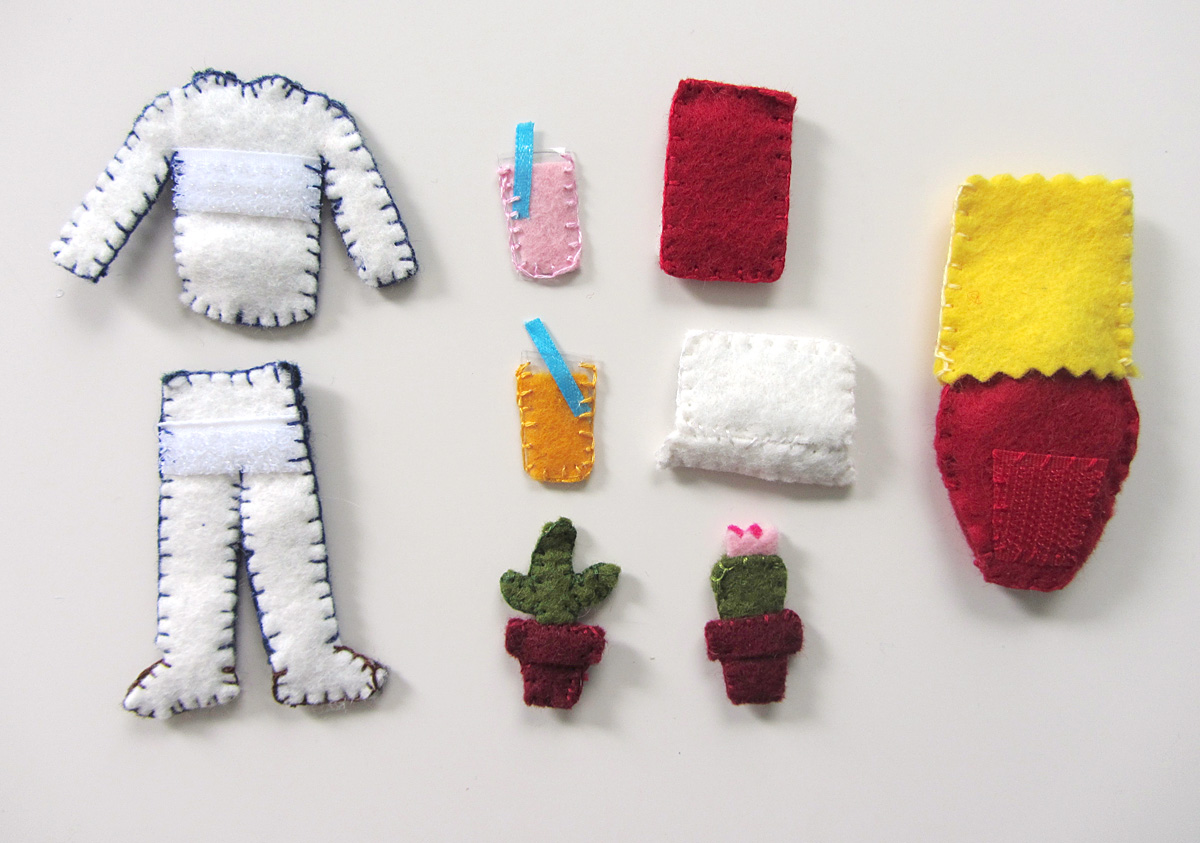
Felt from American Felt & Craft – orange juice [orange], ice [blue], pastry [tan], doe [brown], cactus [gray-green], chocolate [brown], cilantro [green], white, black, gray, chai [beige] and fresh linen [off-white]. From Benzie Design – swan [blue] for the water.
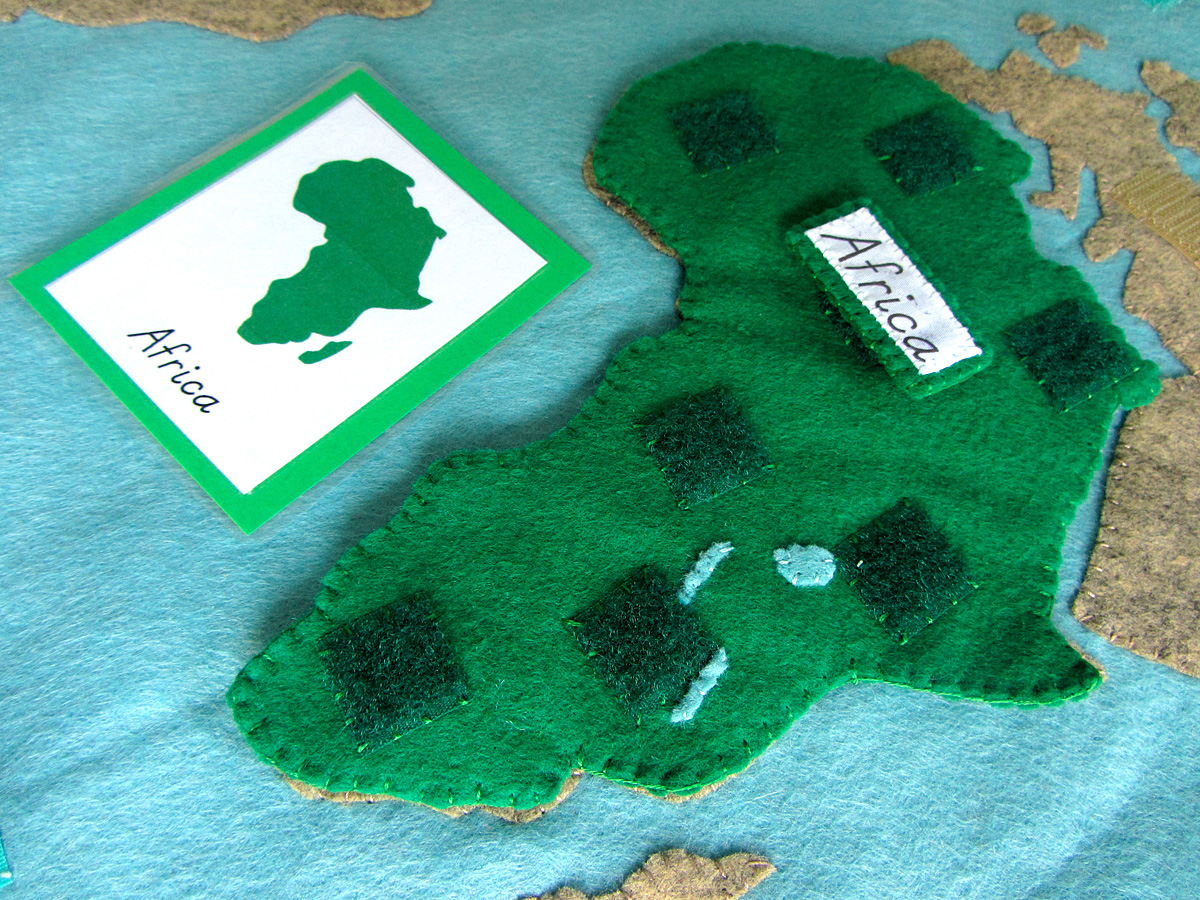
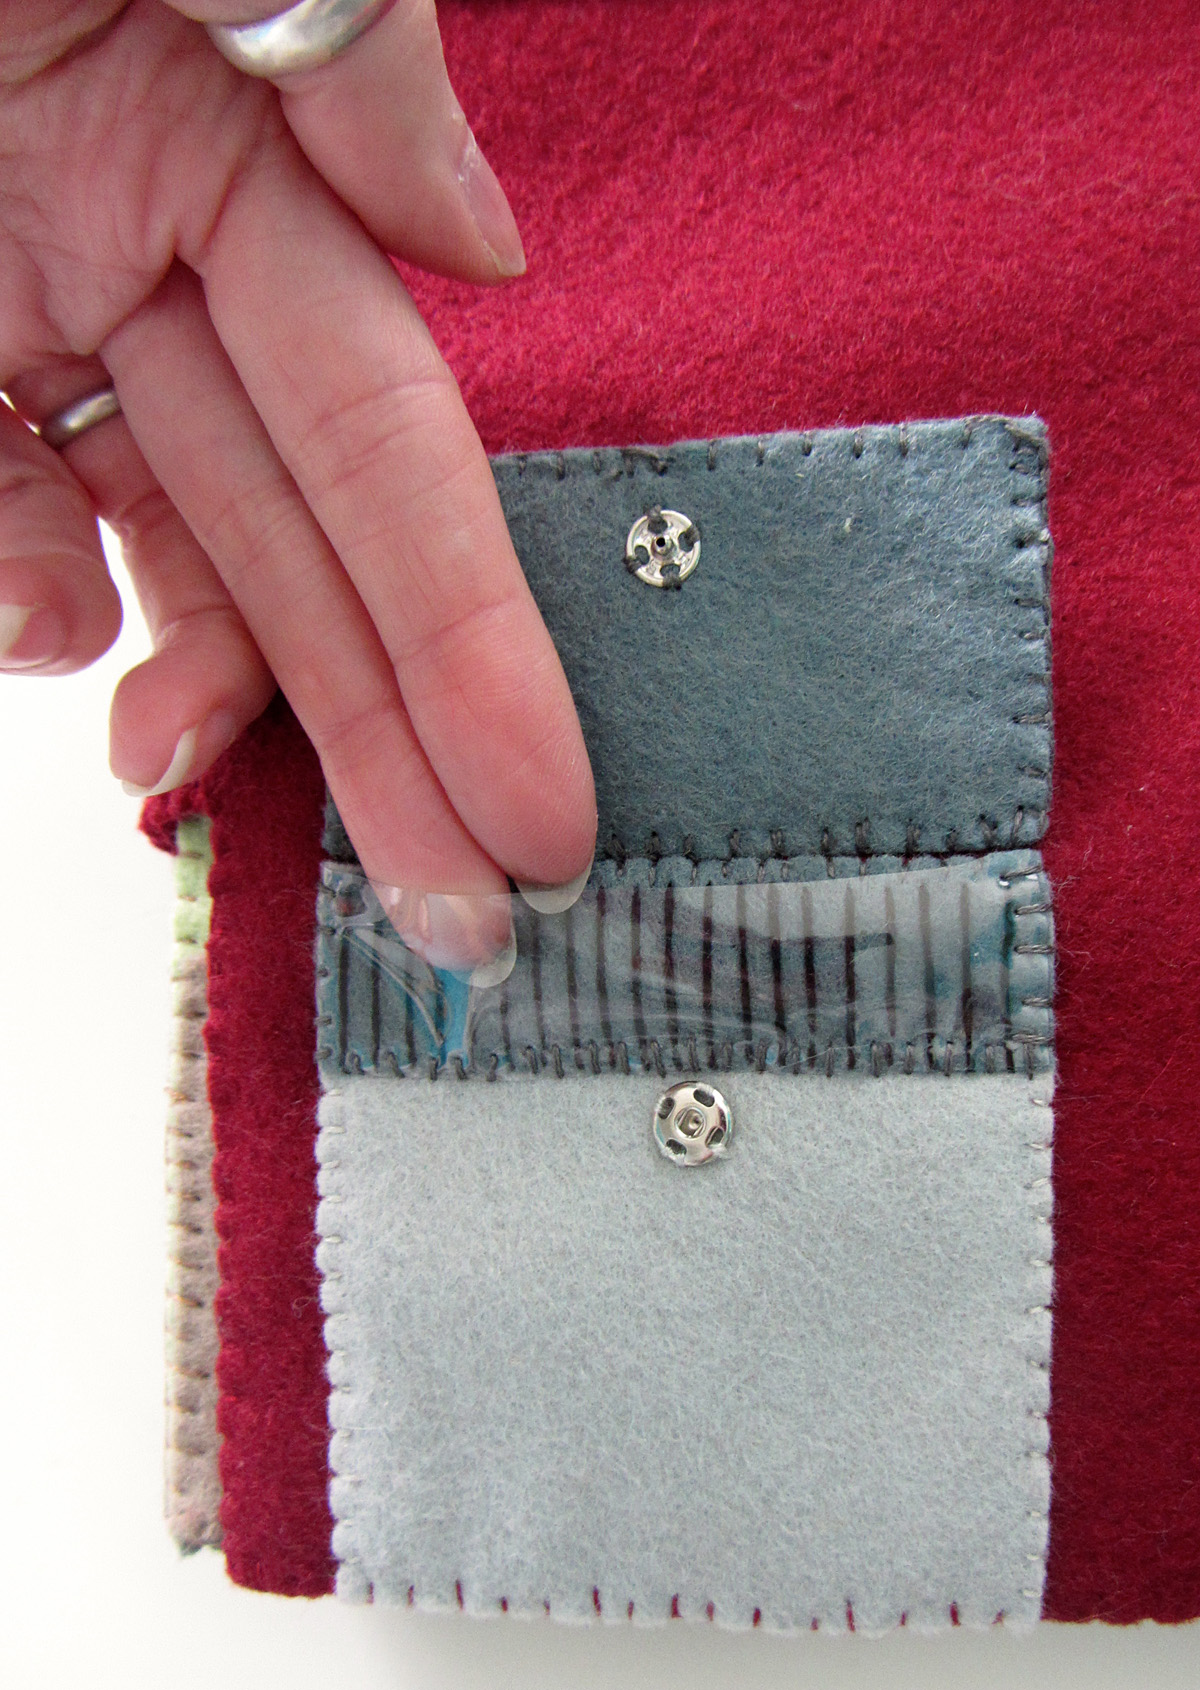
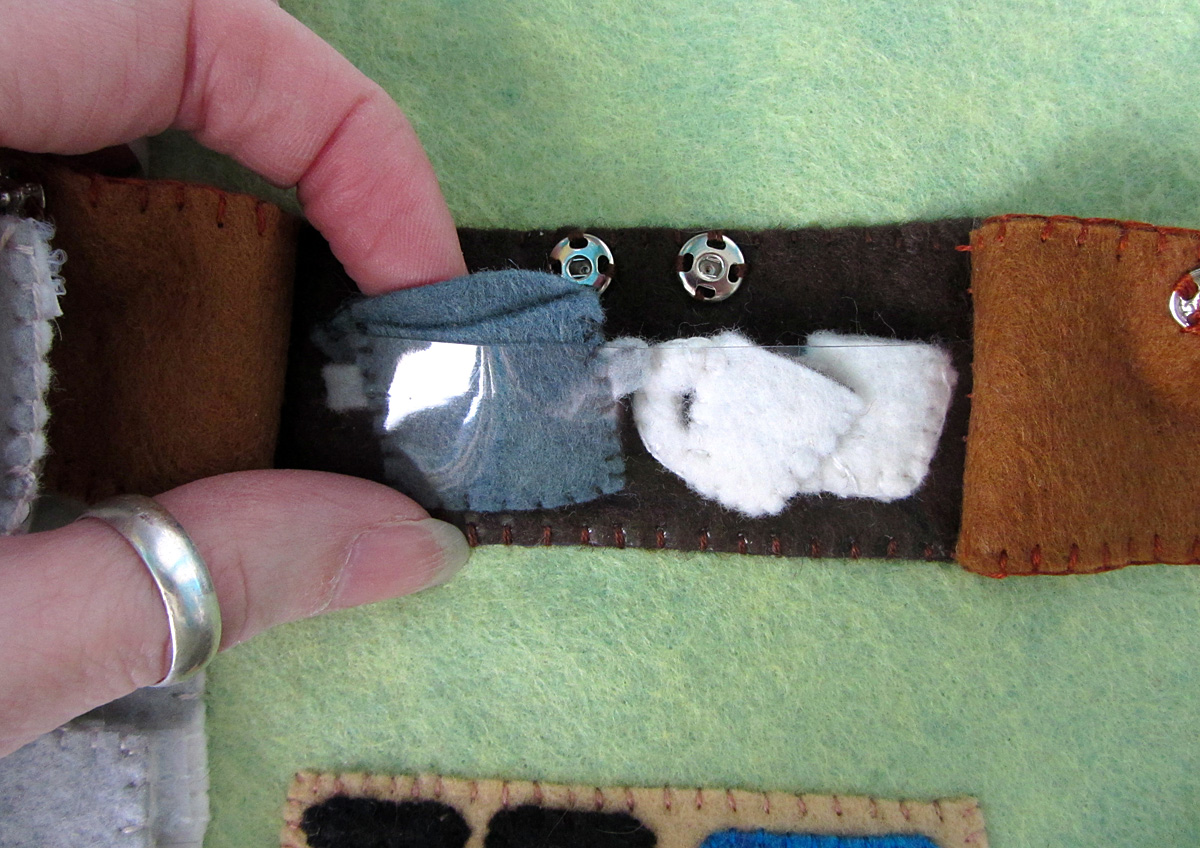
Hook & Loop – I used white snag-free Velcro on the backs of all pieces, including Africa. I used the soft loop side of orange hook & loop on the front of Africa. I used once piece of aqua blue loop where the narwhal attaches.
Felt glue to tack down the pieces before sewing, printer fabric
for the continent label, embroidery floss in colors to match the felt and micro tip scissors
.

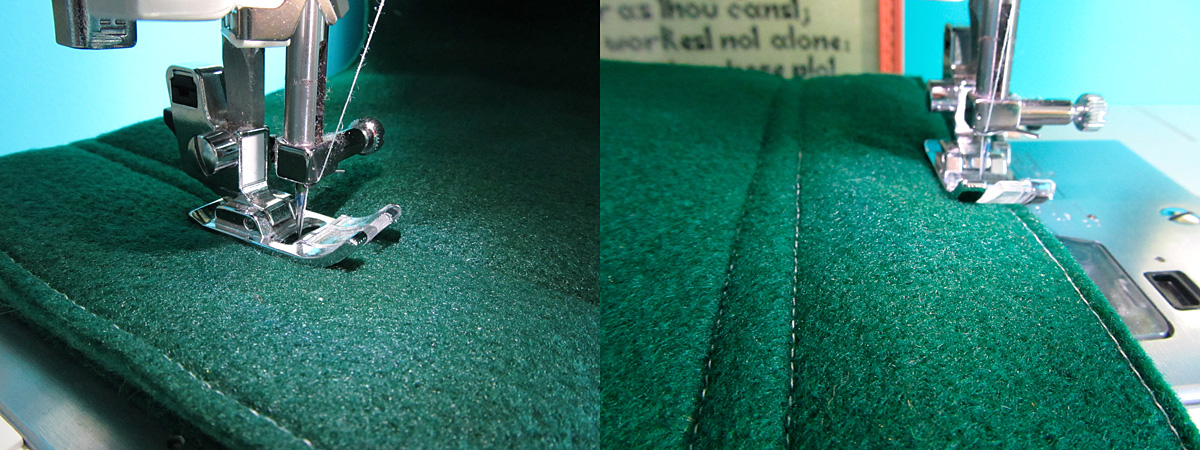
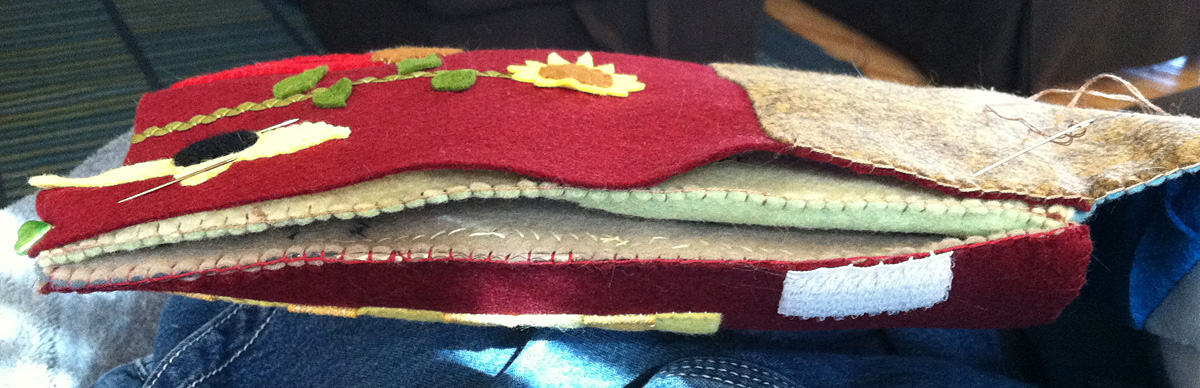
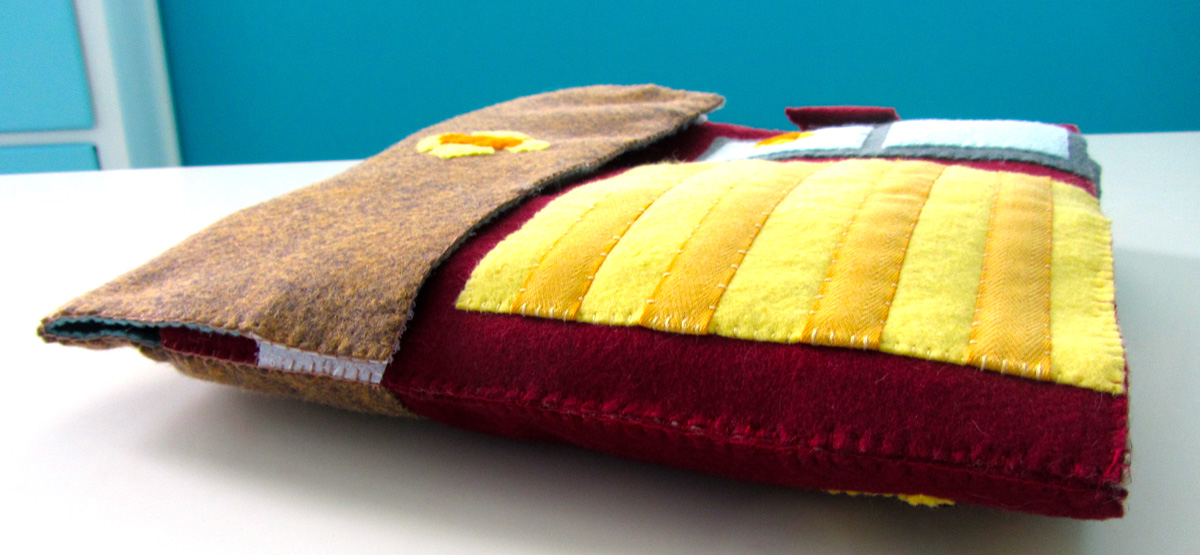
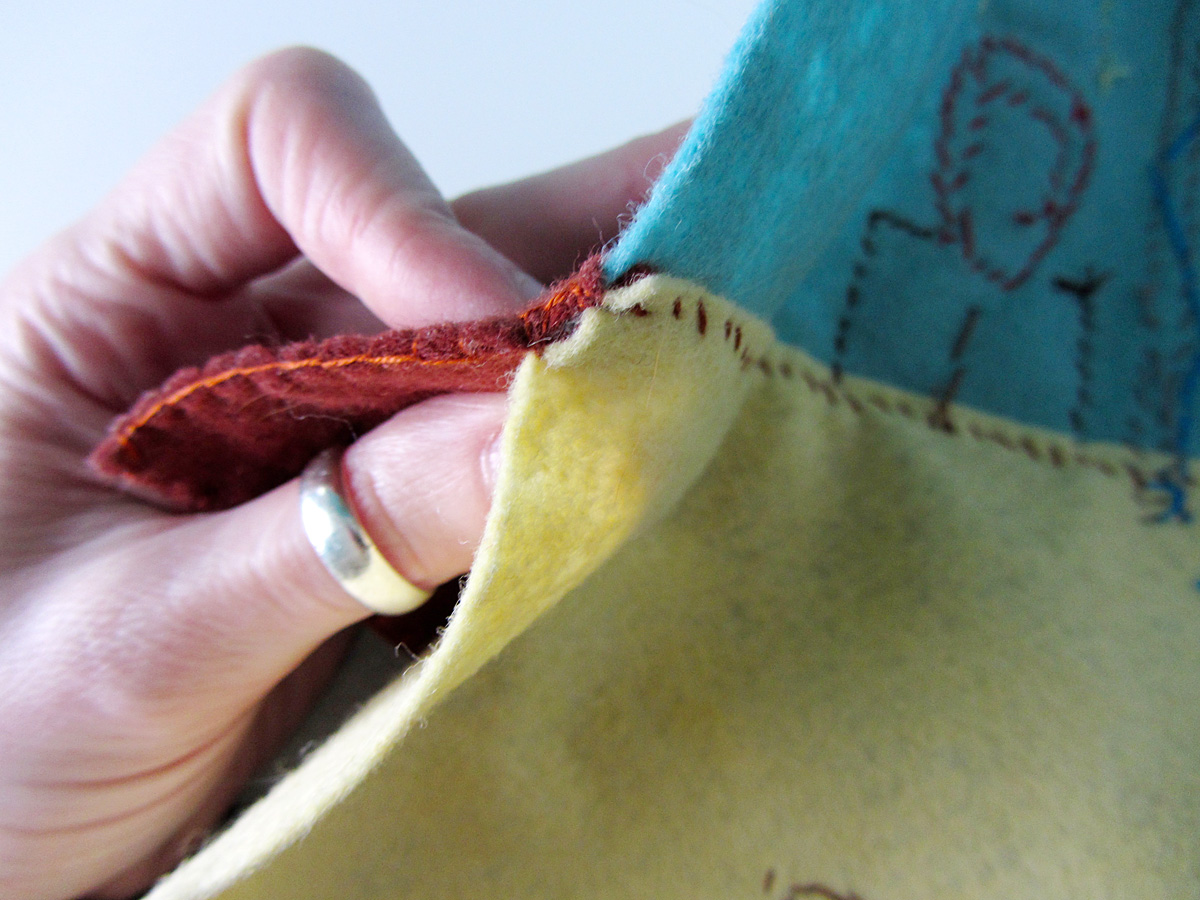
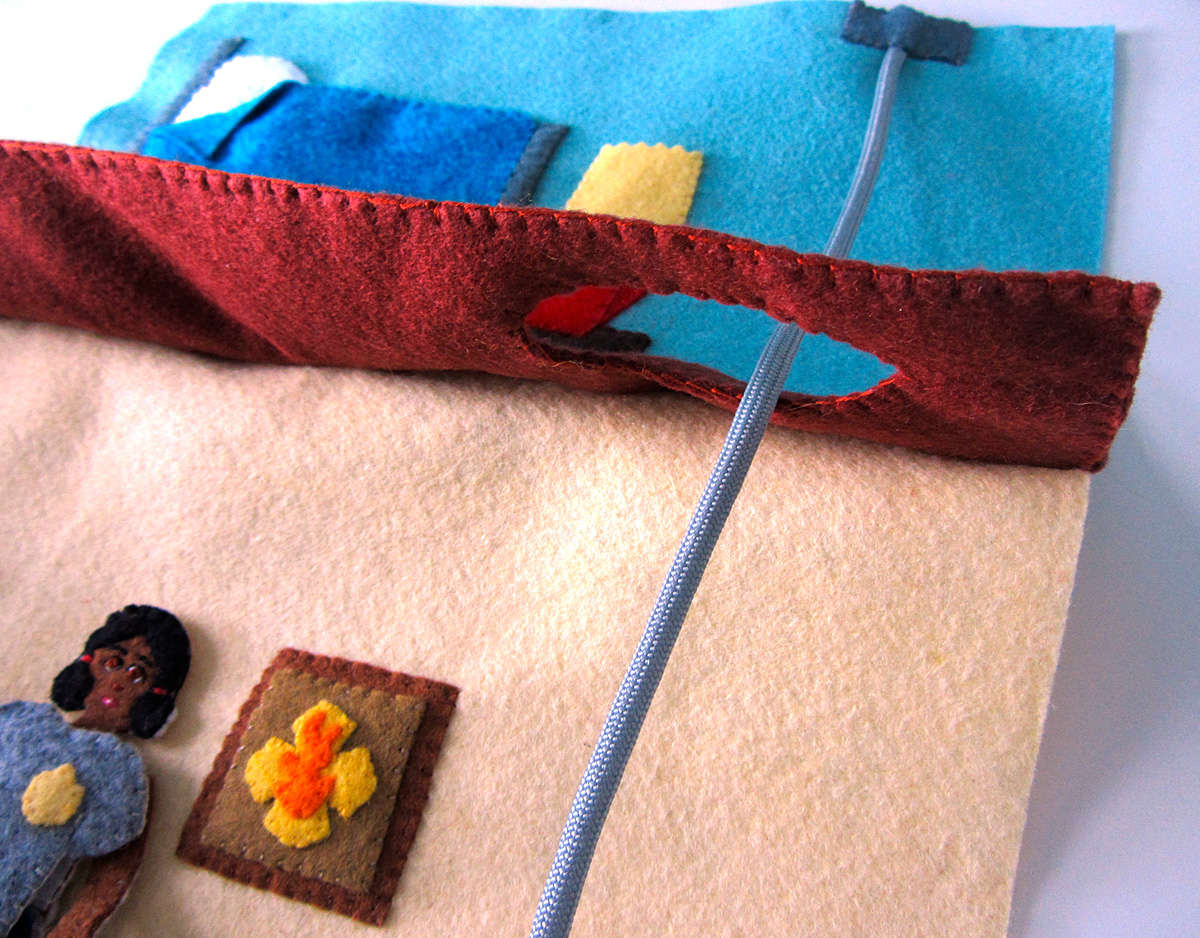
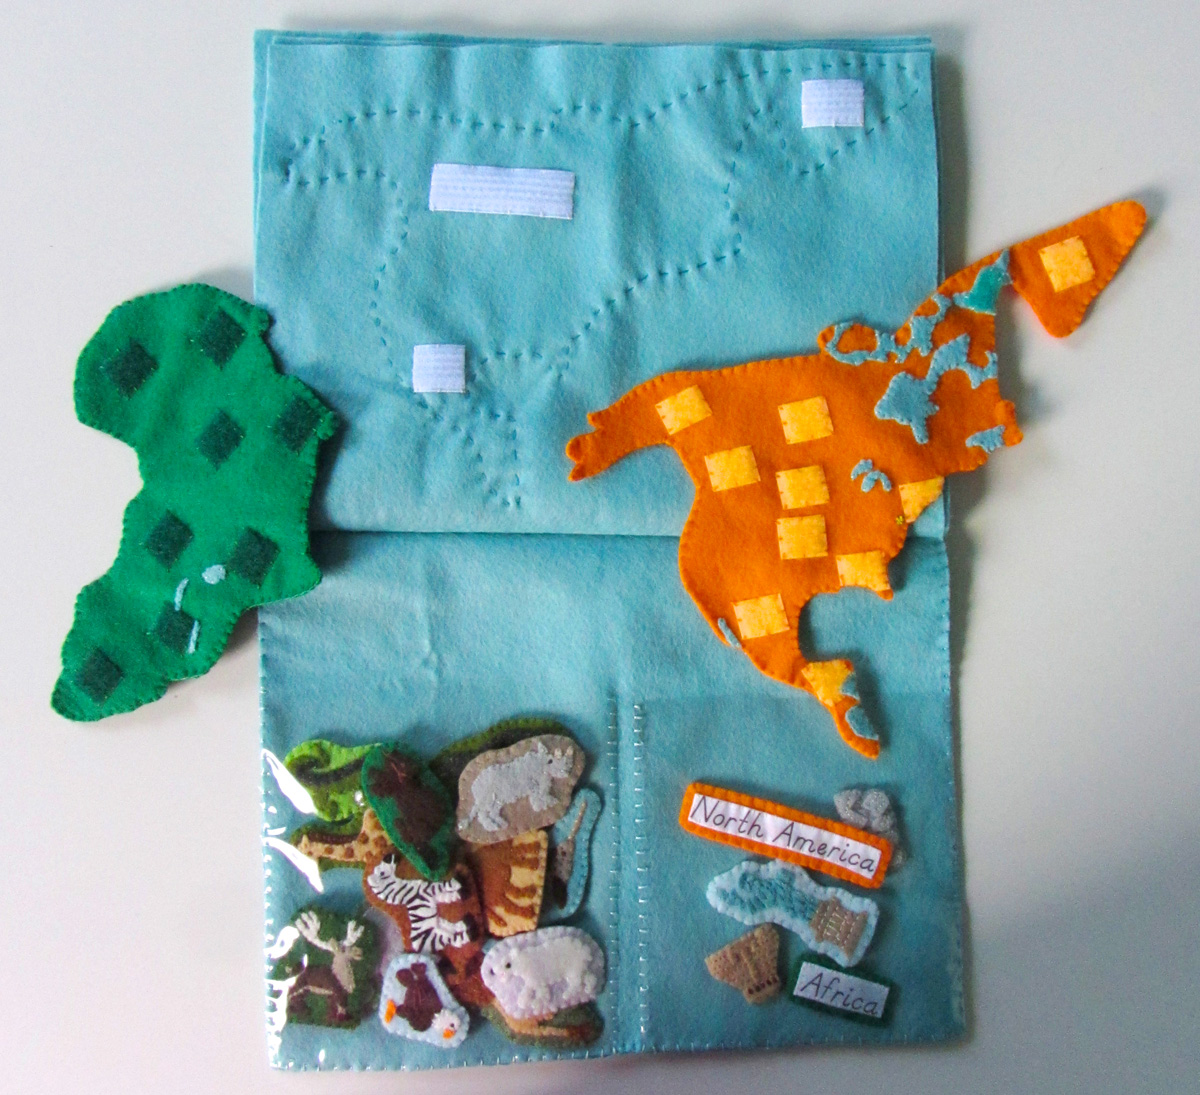
My North America page is not sewn around the edges yet, as I still need to sew the page behind it!
Sewing the Pieces
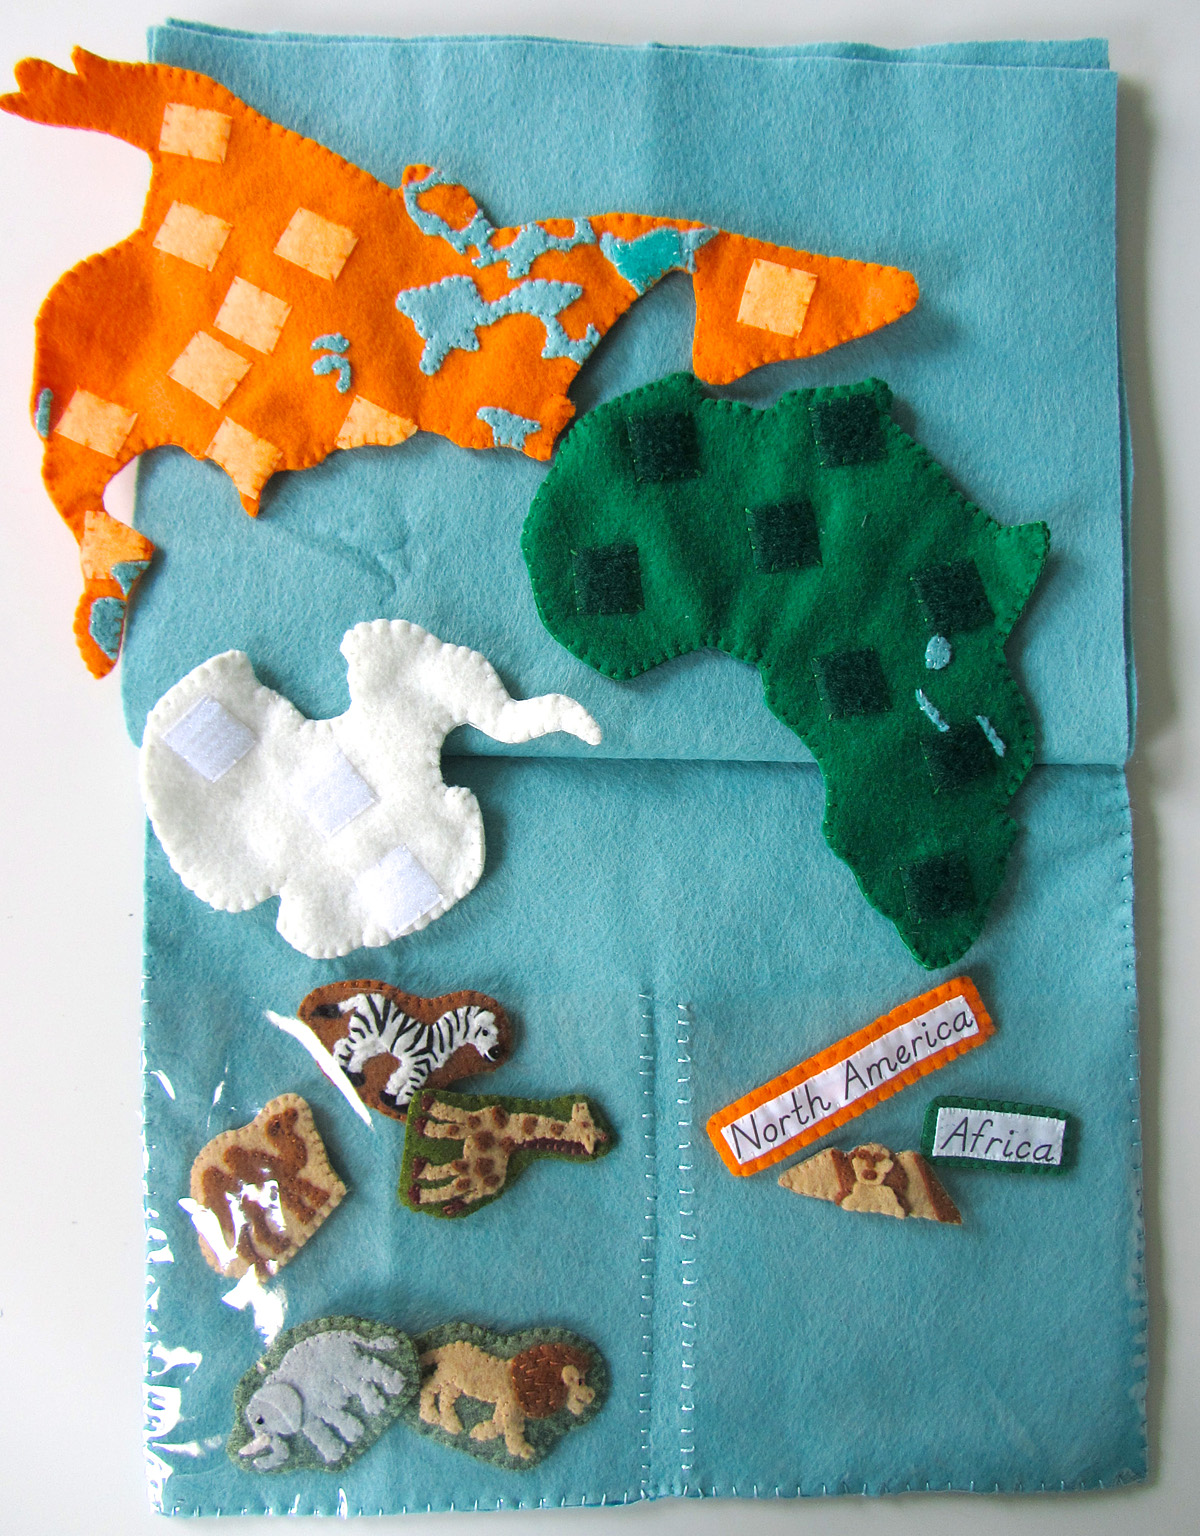
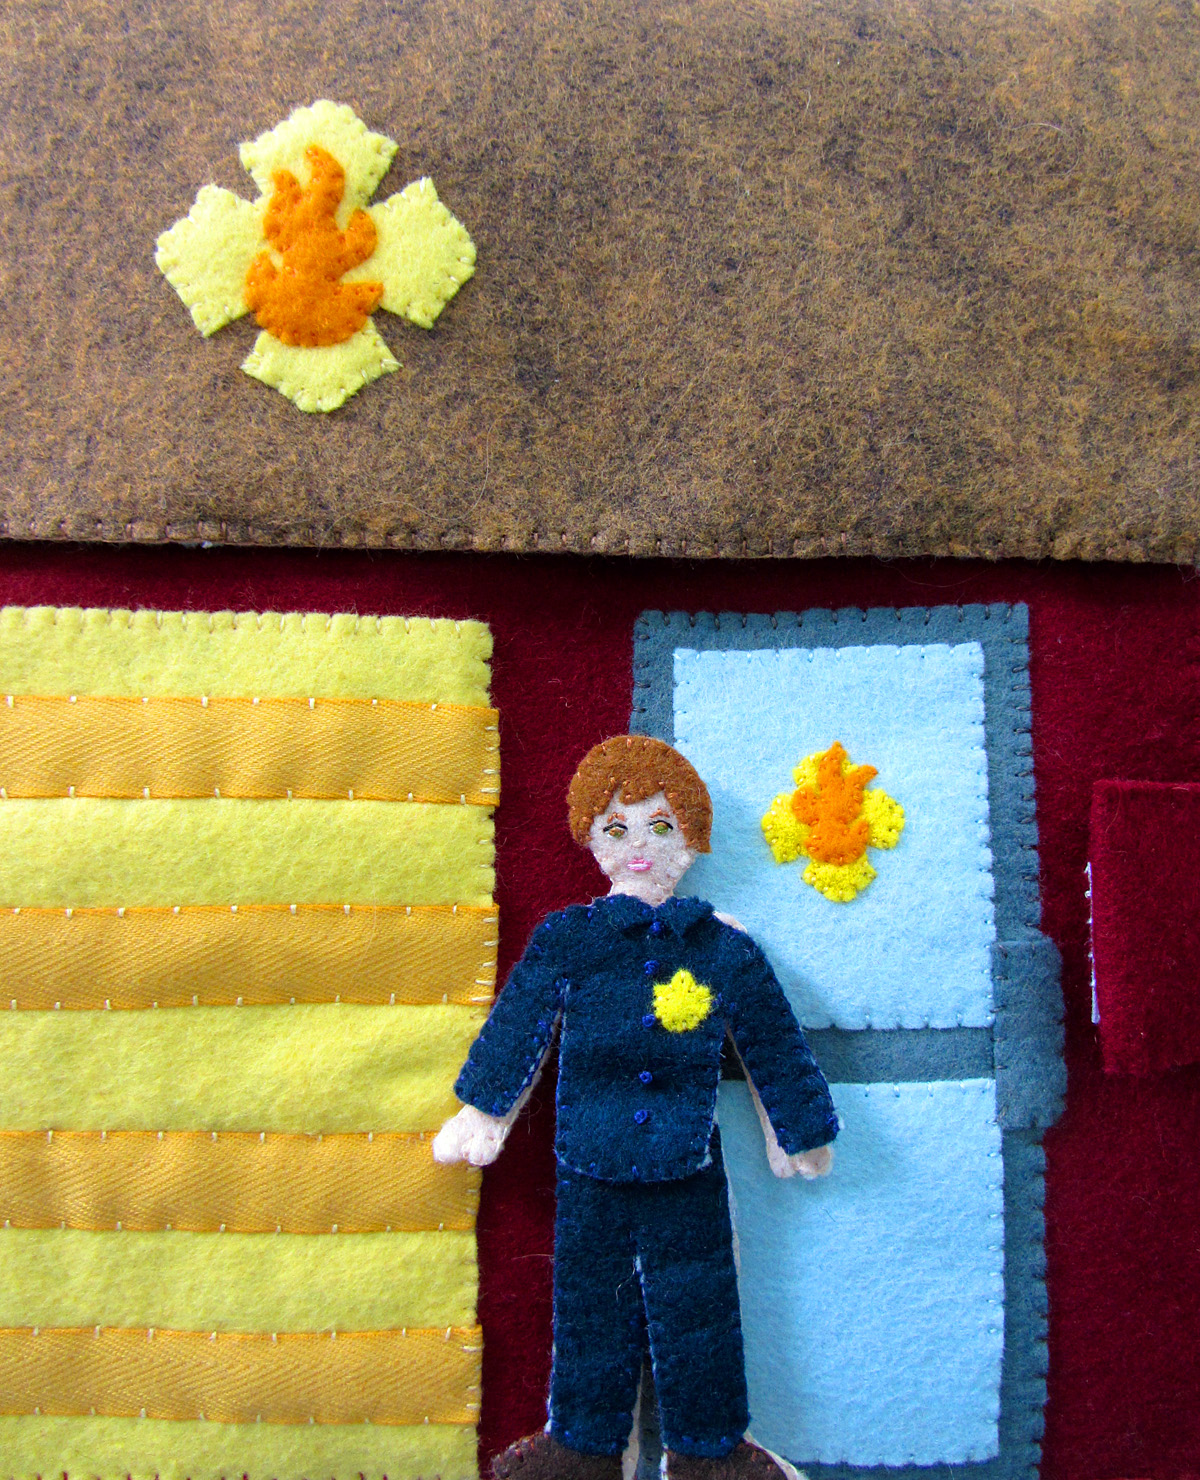
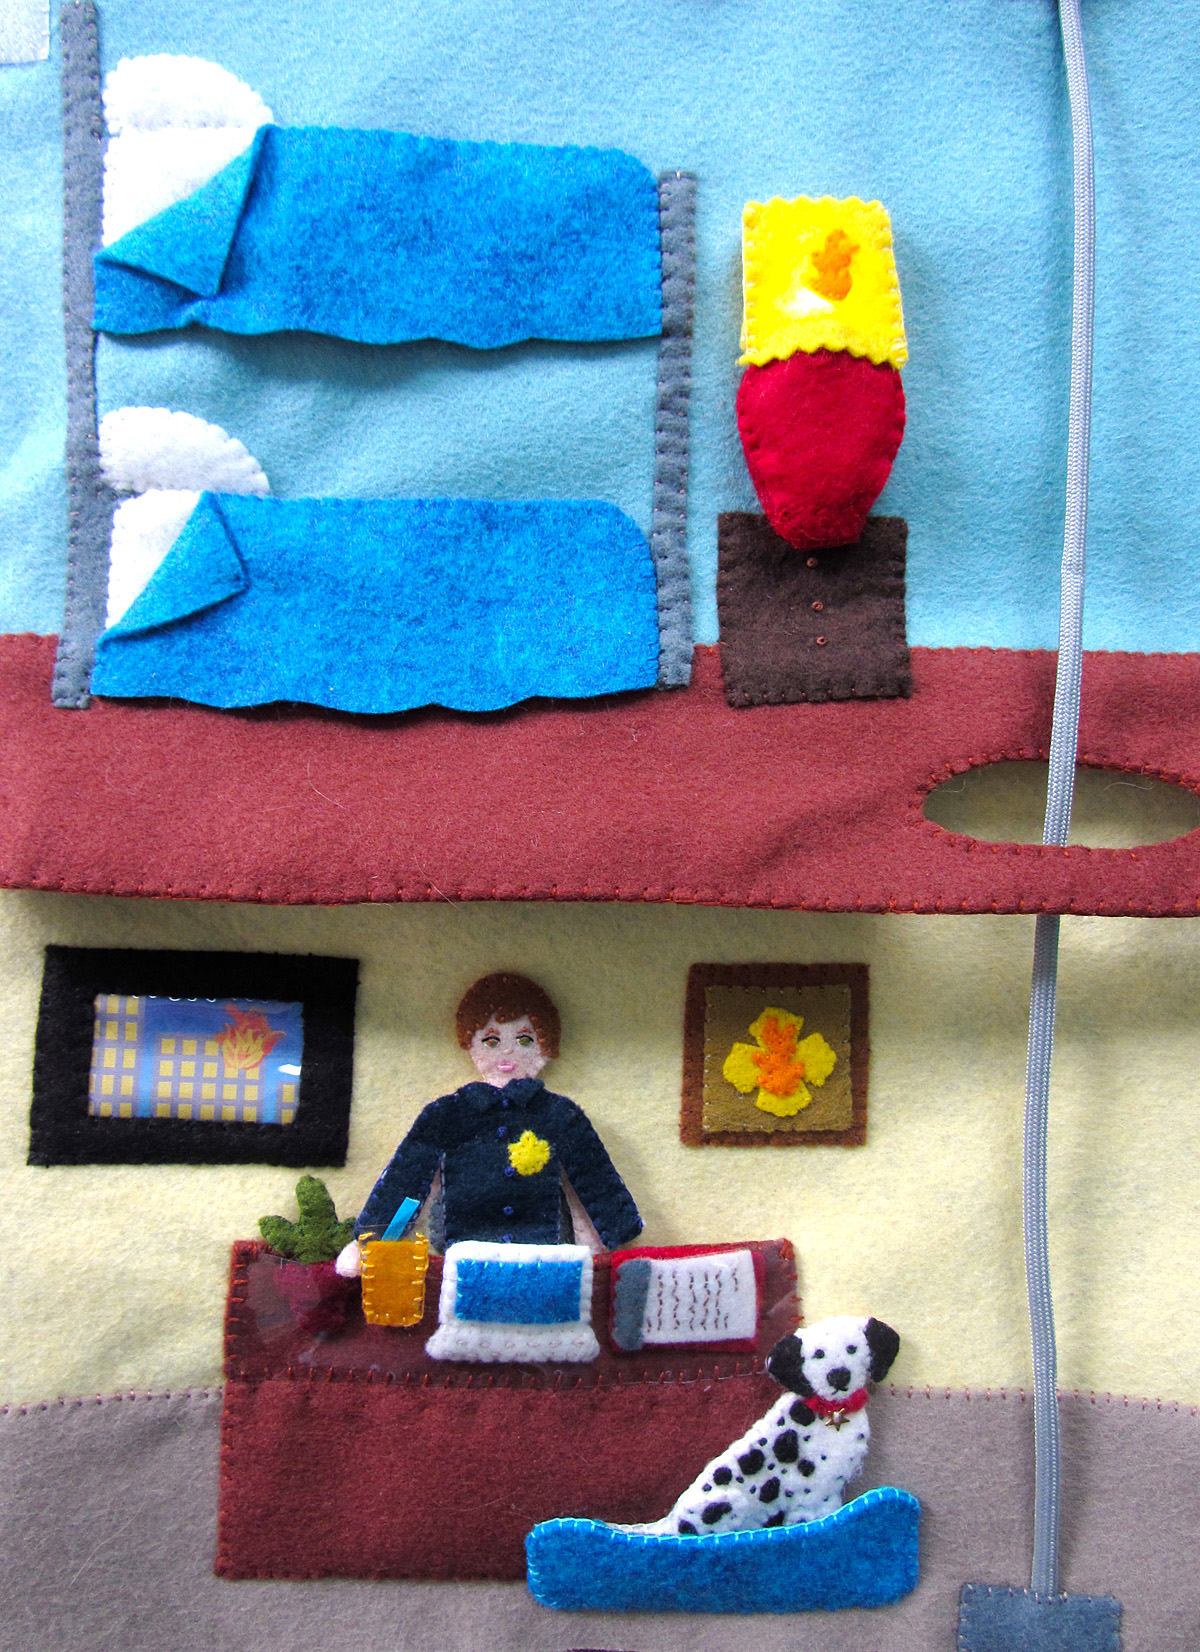
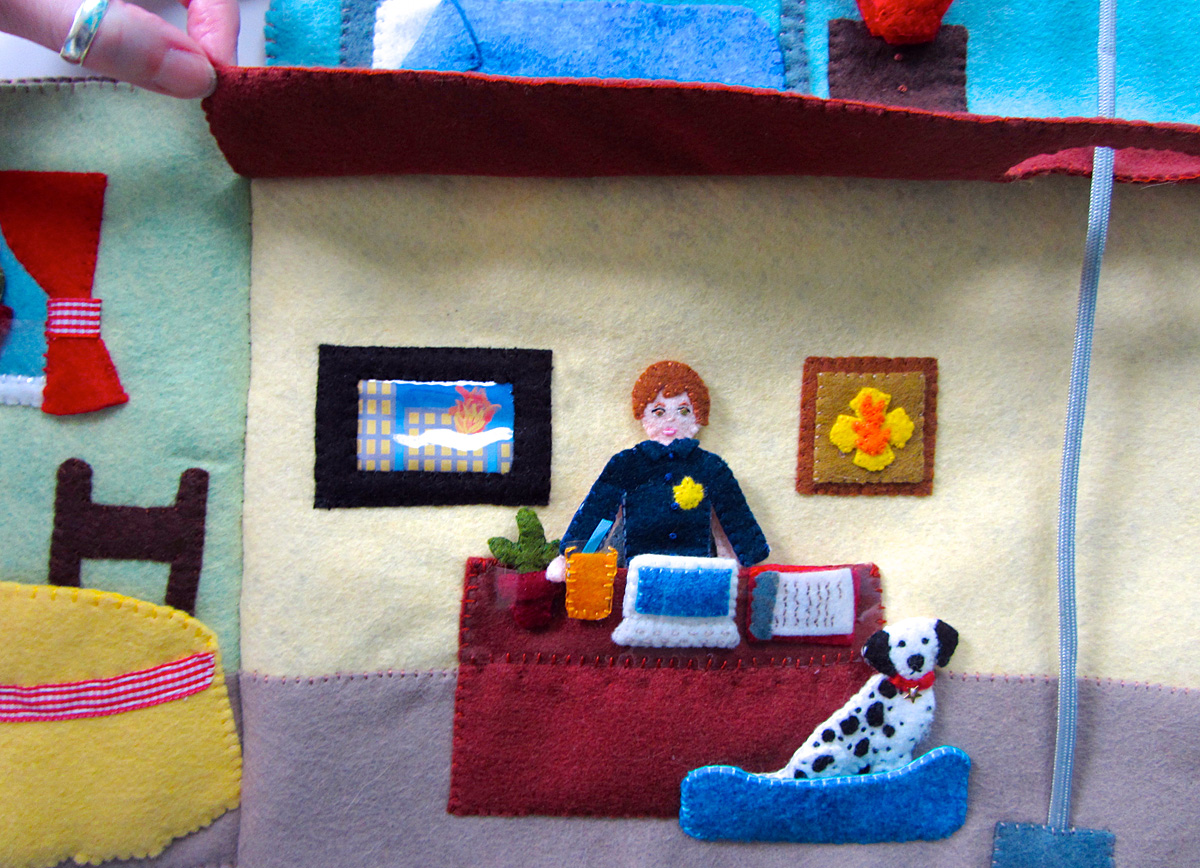
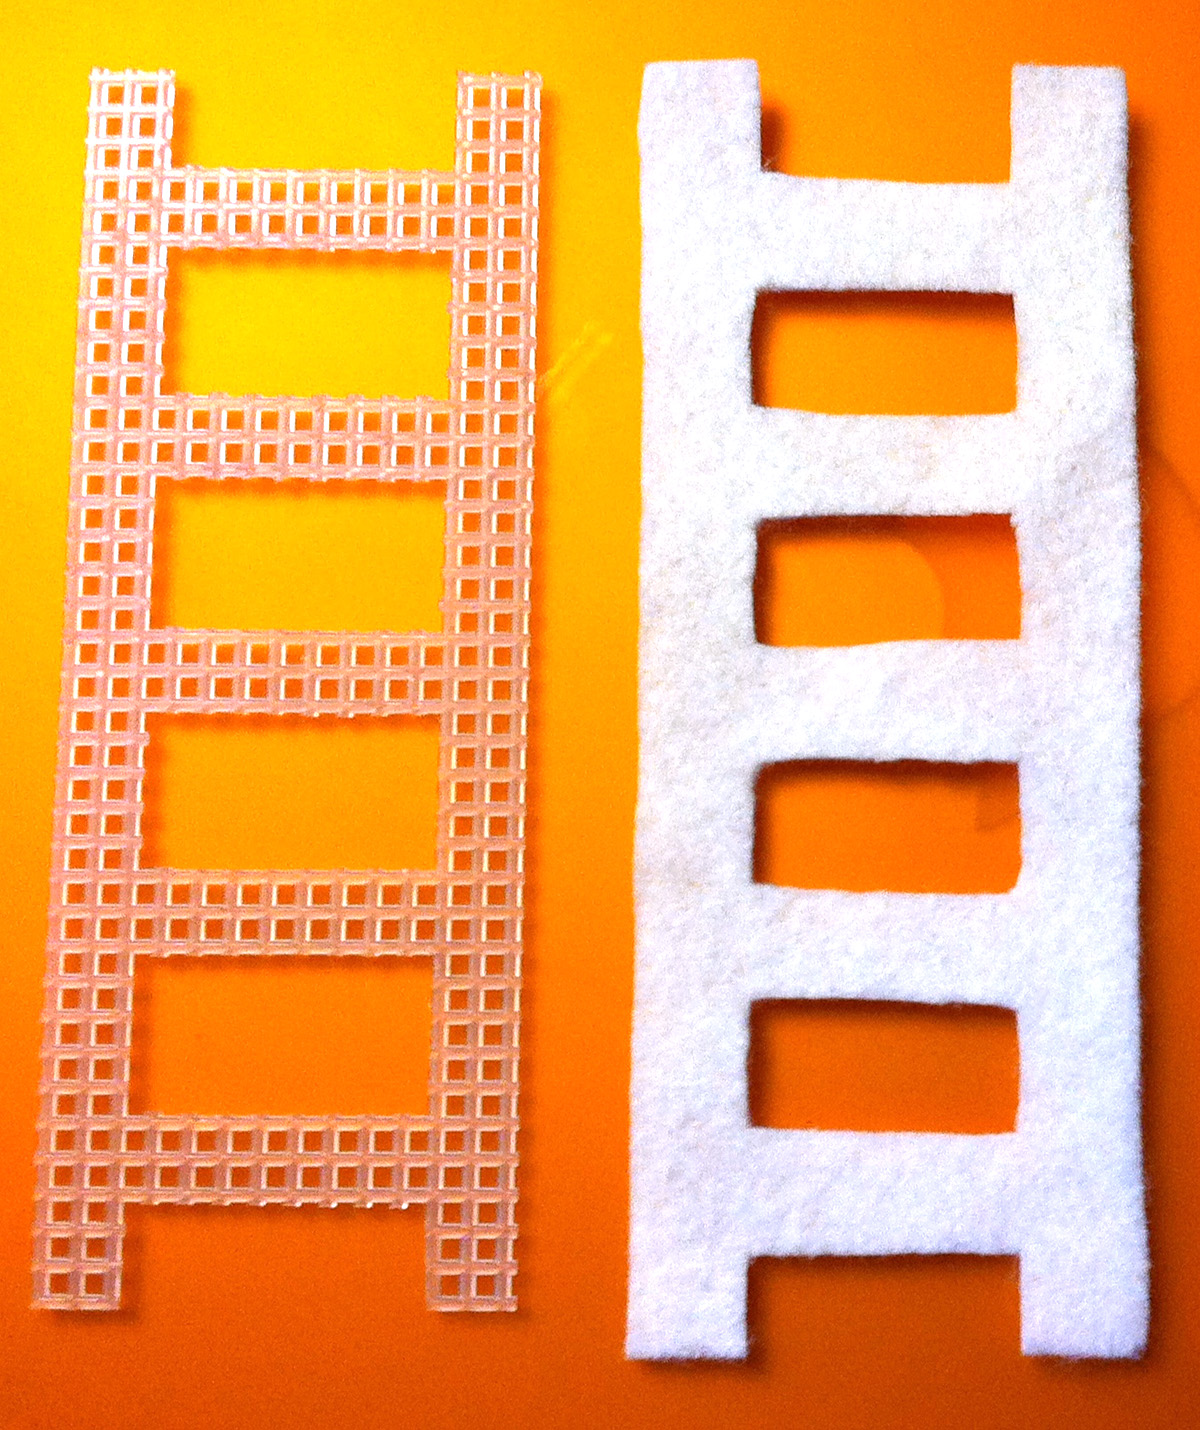
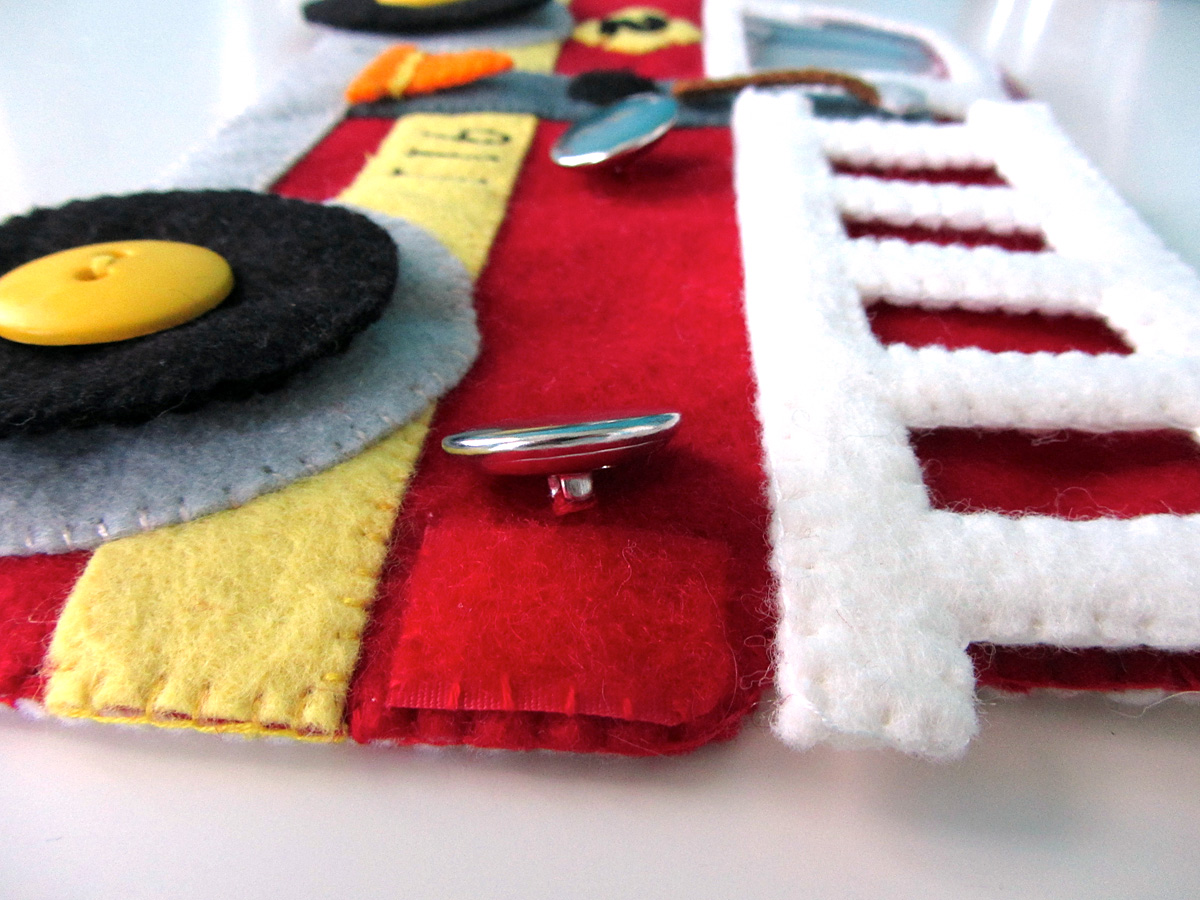
North America: (Felt used: orange juice orange and scraps of swan blue for the water) For the North American continent puzzle piece, I started by gluing then sewing the water down to the front side. Then I sewed down pieces of orange loop Velcro. (I worked from my stash, so I only had light orange left. American Felt & Craft sells normal orange too!) On the back, I sewed strips of white snag-free Velcro to correspond with the Velcro on the wall map and quietbook. I finished it by sewing the two sides together around the edge with a blanket stitch.
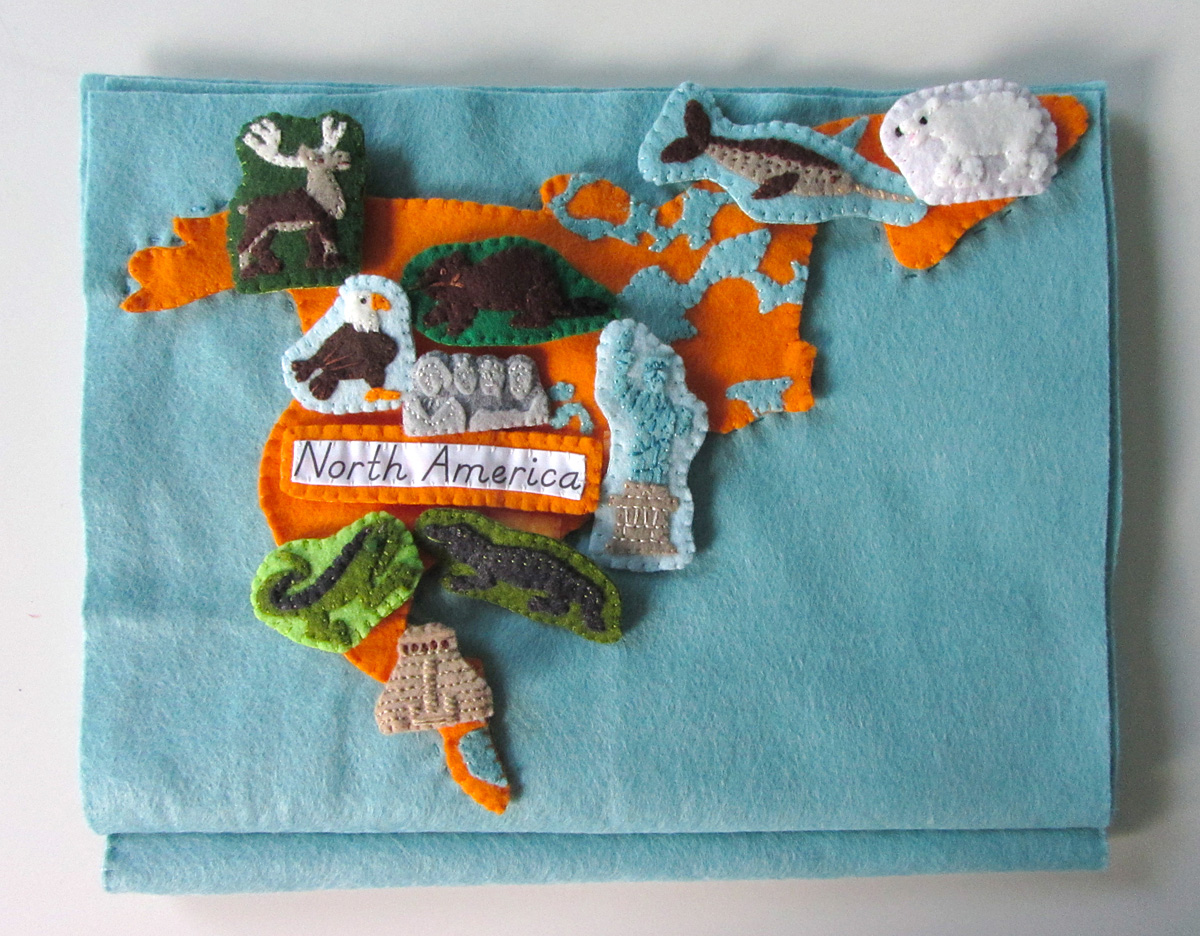
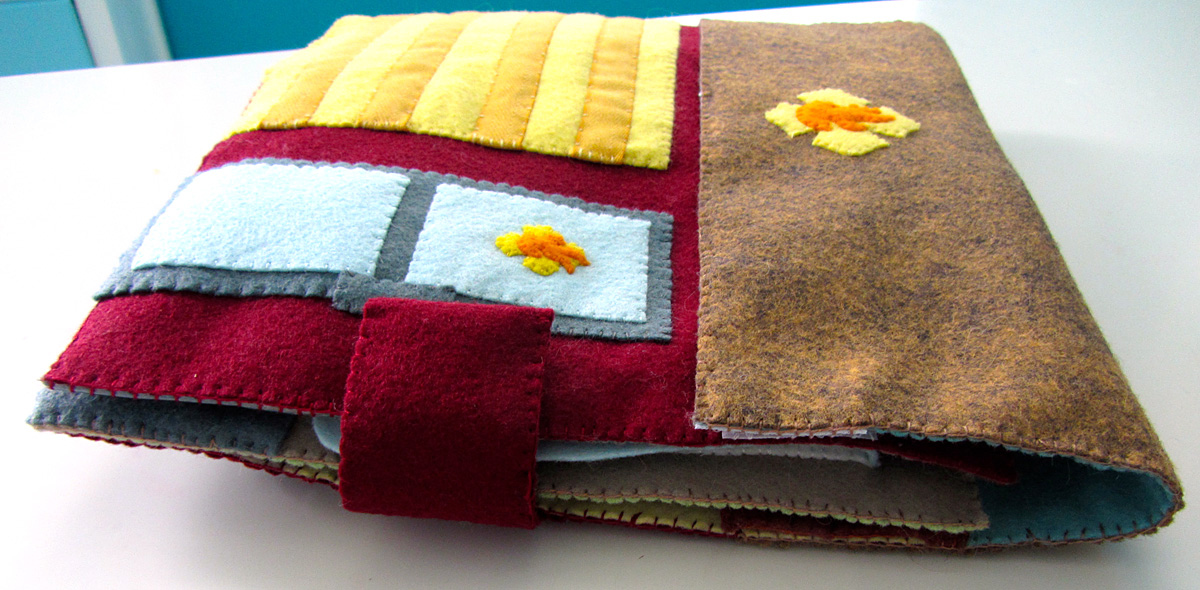
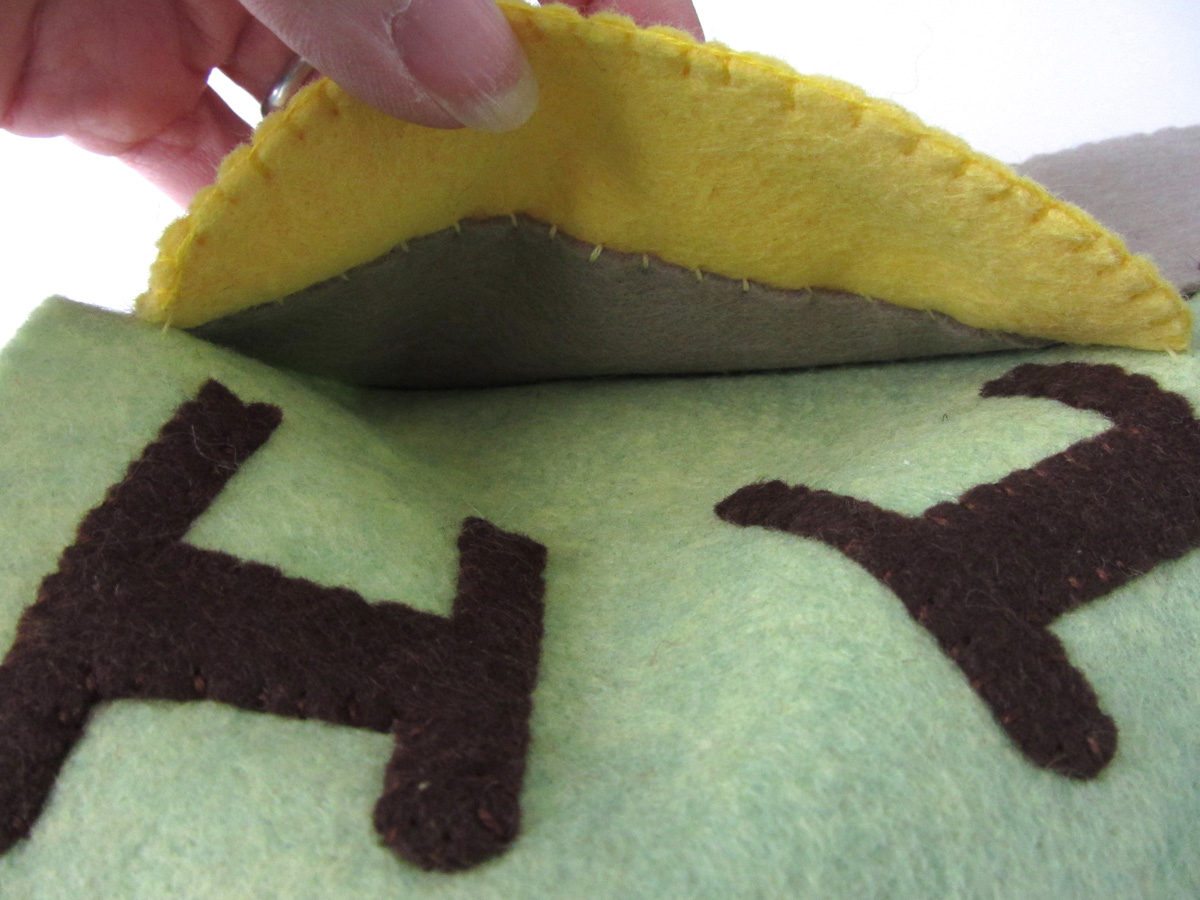
Label: (Felt used: orange juice orange) For the continent label, I folded under the edges (just a tiny bit to hide the rough edges) and creased it with my nails. The printer fabric held the folds nicely without ironing. Then I stitched the label to some green felt and trimmed it down to be a border. I cut a matching felt rectangle for the back, sewed snag-free Velcro to it and then sewed both sides together.
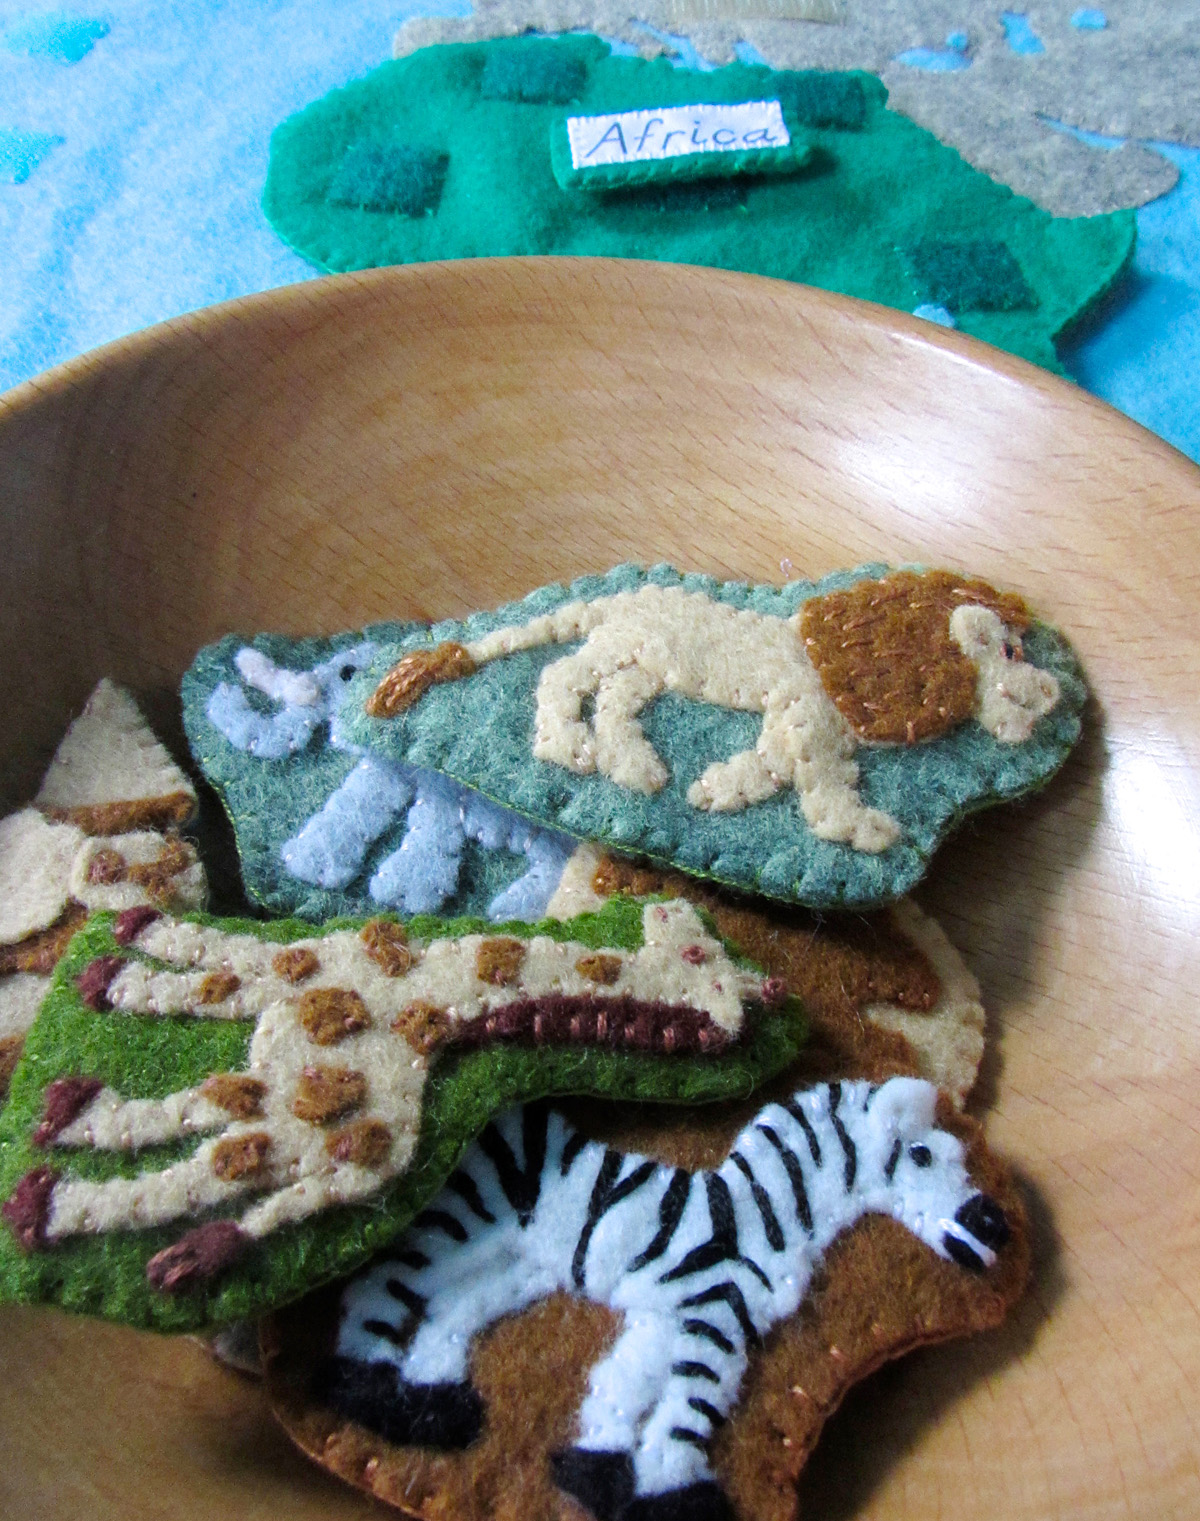
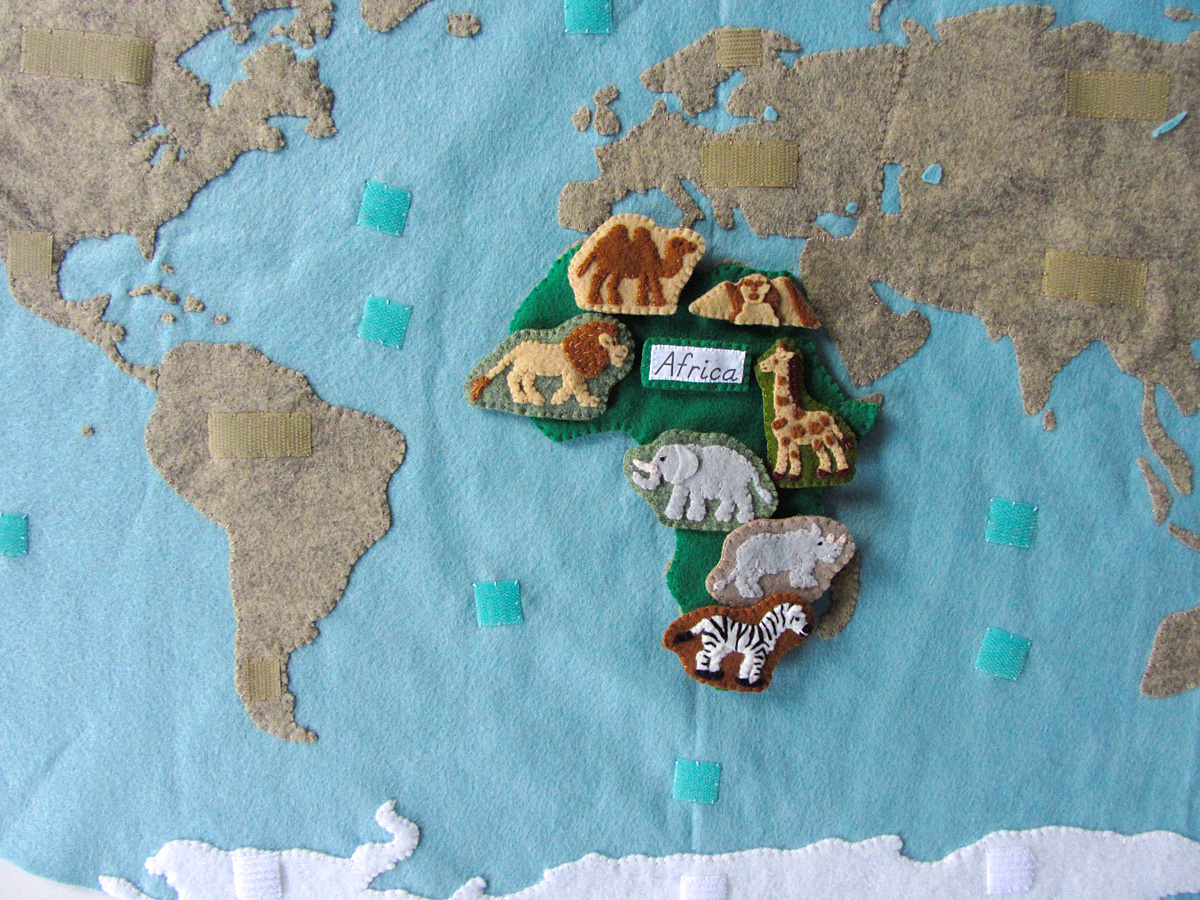
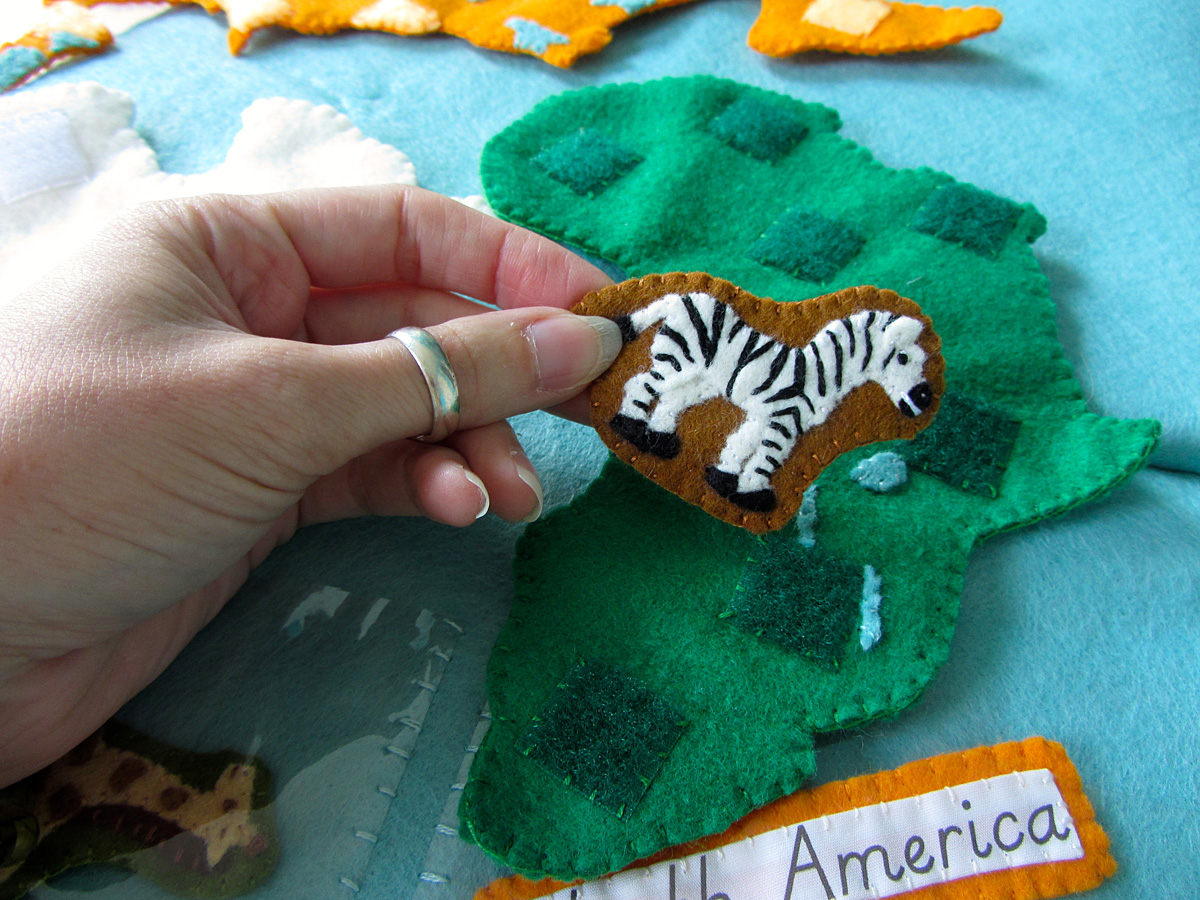
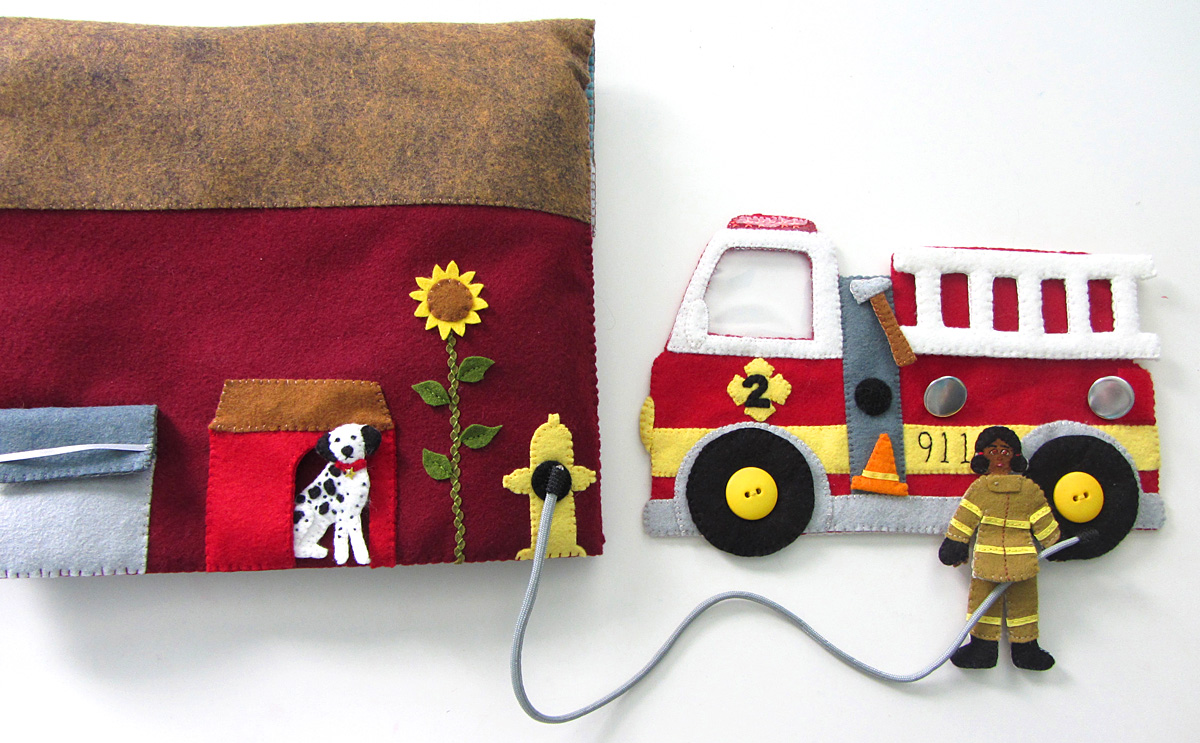
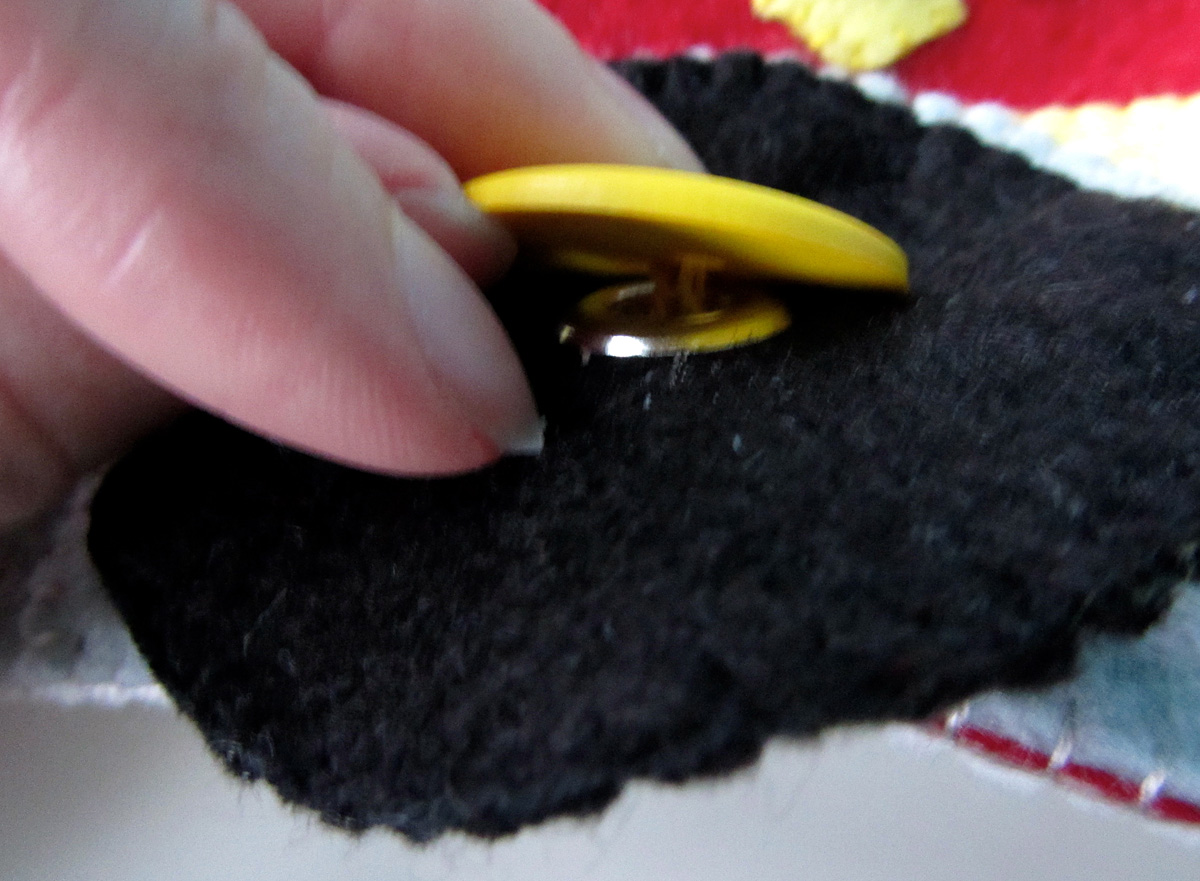
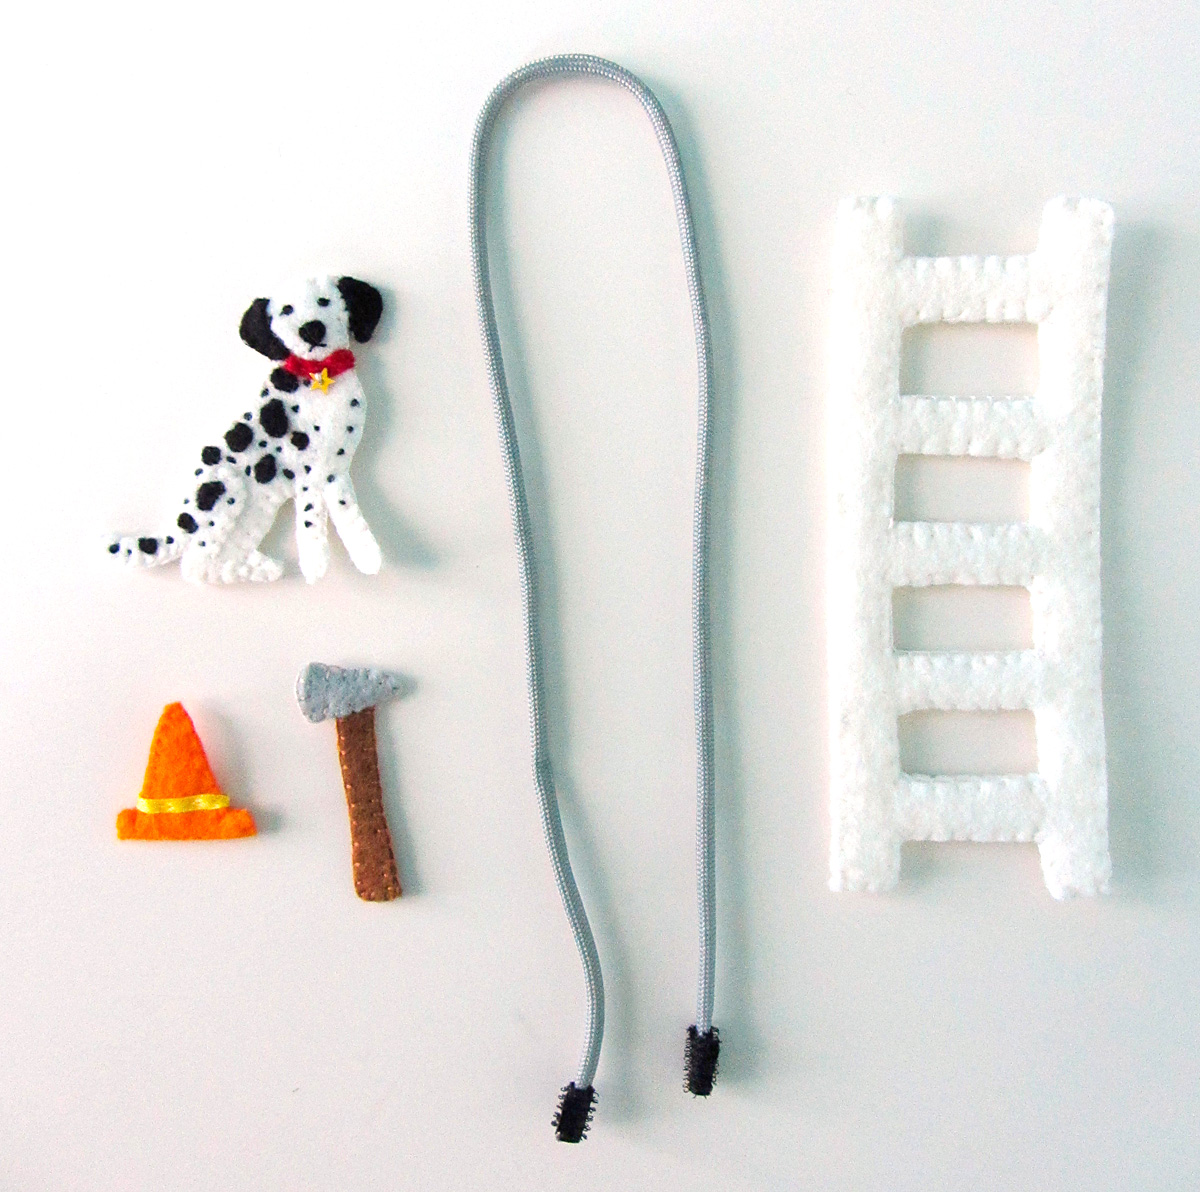
For all of the animals & landmarks, I started by gluing the pieces down to a scrap of background felt with a very light amount of felt glue. I glue several animals at a time to give them time to dry. I sewed them down, trimmed the background and cut a matching backing piece. I sewed snag-free Velcro to the back and sewed both sides together with a blanket stitch.
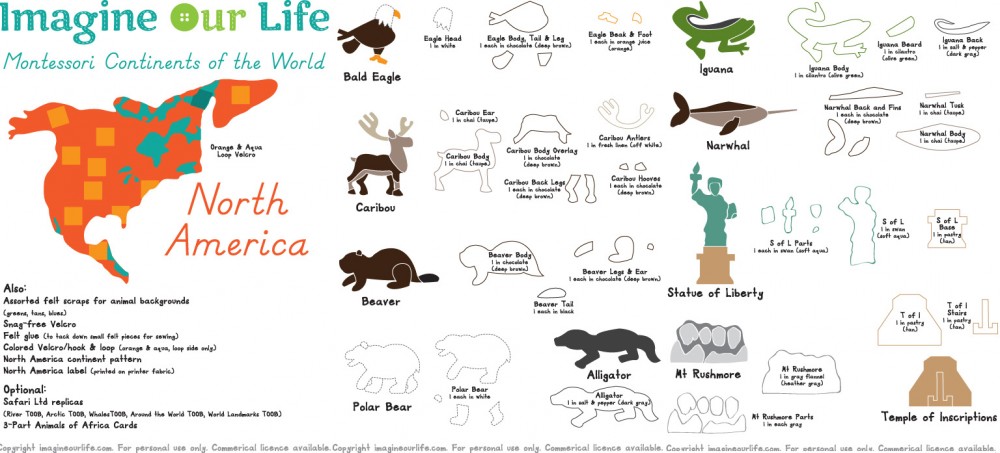
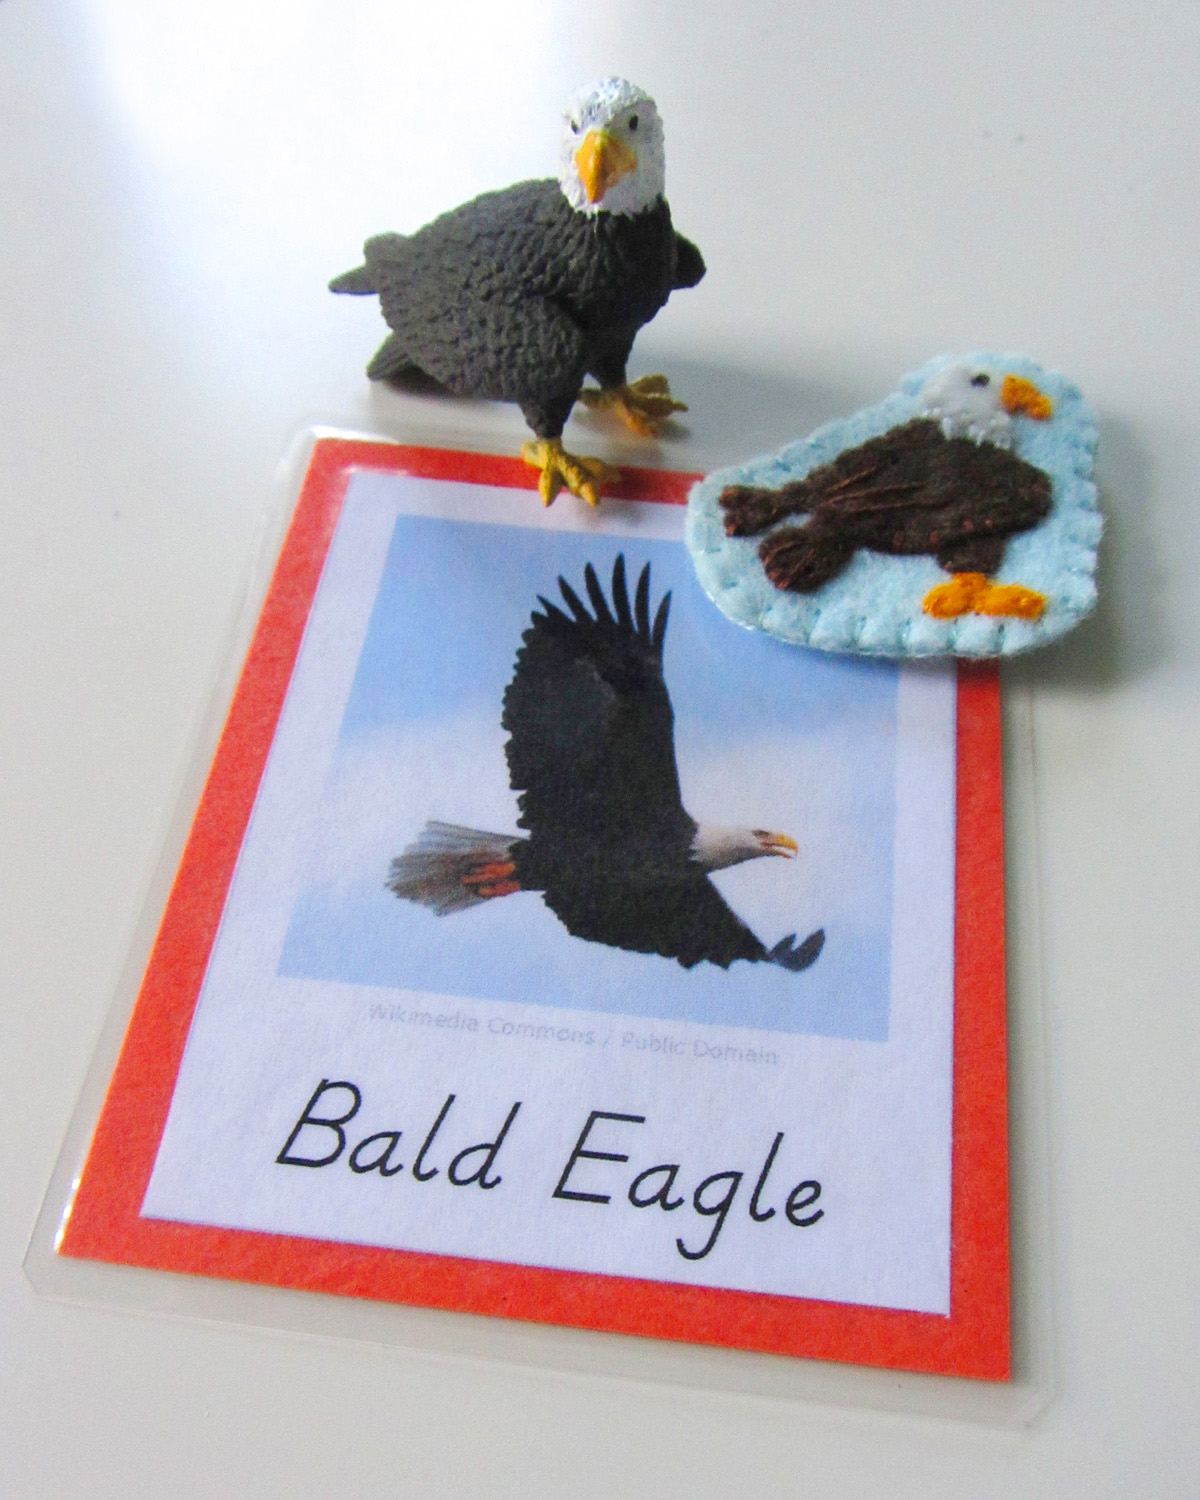
Eagle: (Felt used: chocolate brown for the body, white for the body, orange juice orange for the beak and feet and sparrow blue for the background) I glued down the all the parts, then sewed around the edges. I gave him a black French knot eye and made some long brown stitches for the feathers on the wings.
Caribou: (Felt used: chai beige for the body, chocolate brown for the overlays and hooves, fresh linen off-white for the antlers and fresh cut grass green for the background) I glued everything down, then stitched around all the edges in the appropriate colors. I used a brown French knot for his eye and a long stitch for his mouth. A tiny stitch made his nostril.
Iguana: (Felt used: cilantro green for the body, salt and pepper for the body shading and limeade lime green for the background) I glued and sewed down all the parts, with his neck beard the bottom layer. On the beard, I made long perpendicular stitches to look like the ribbing. He has a French knot eye and long stitch mouth.
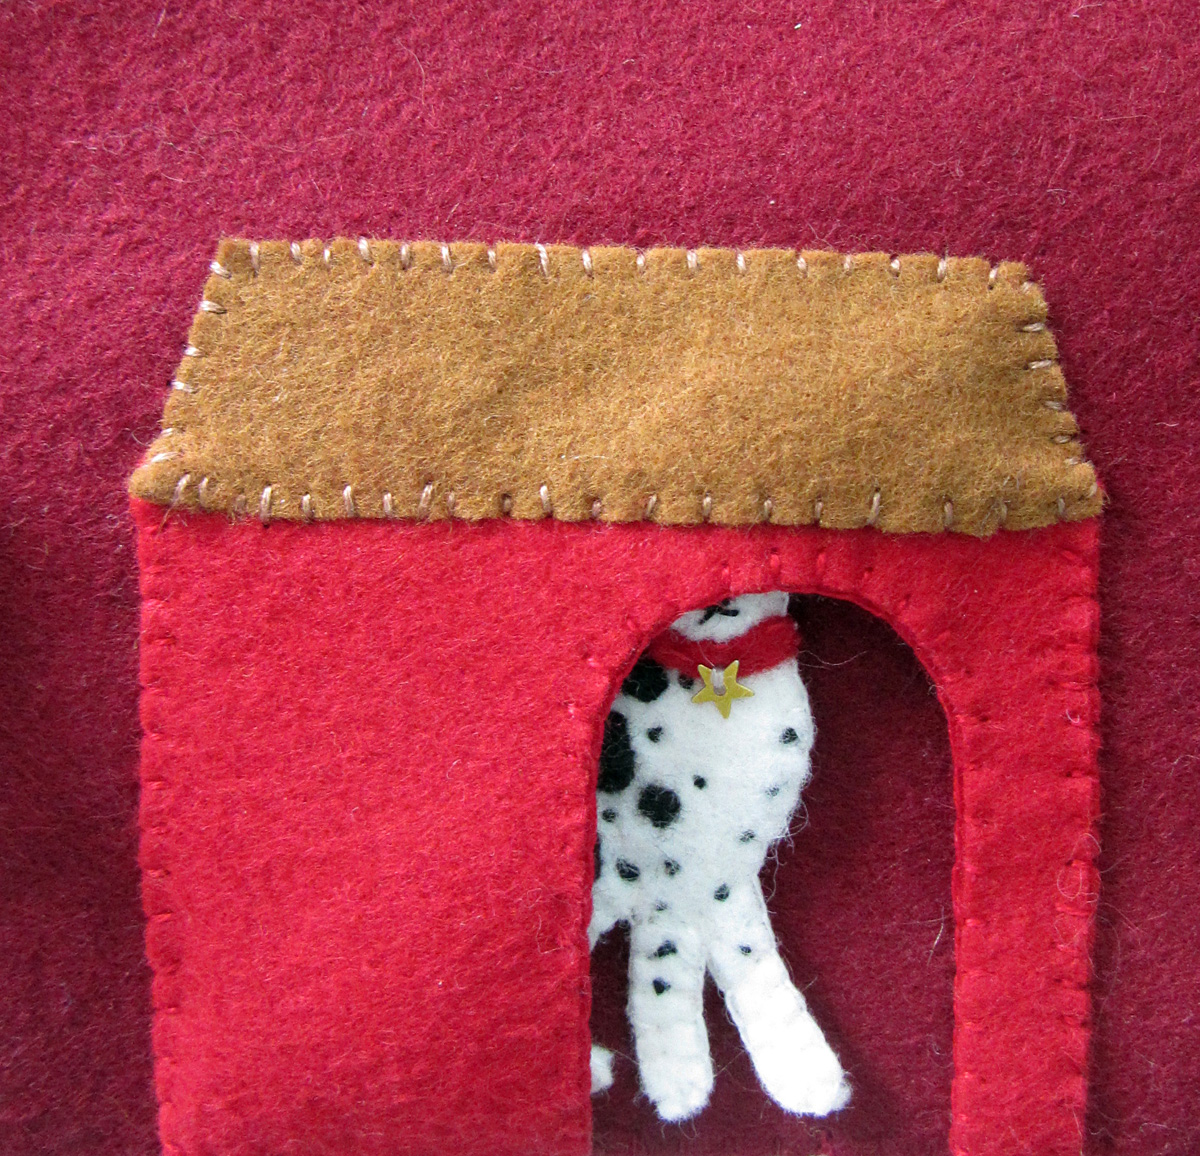
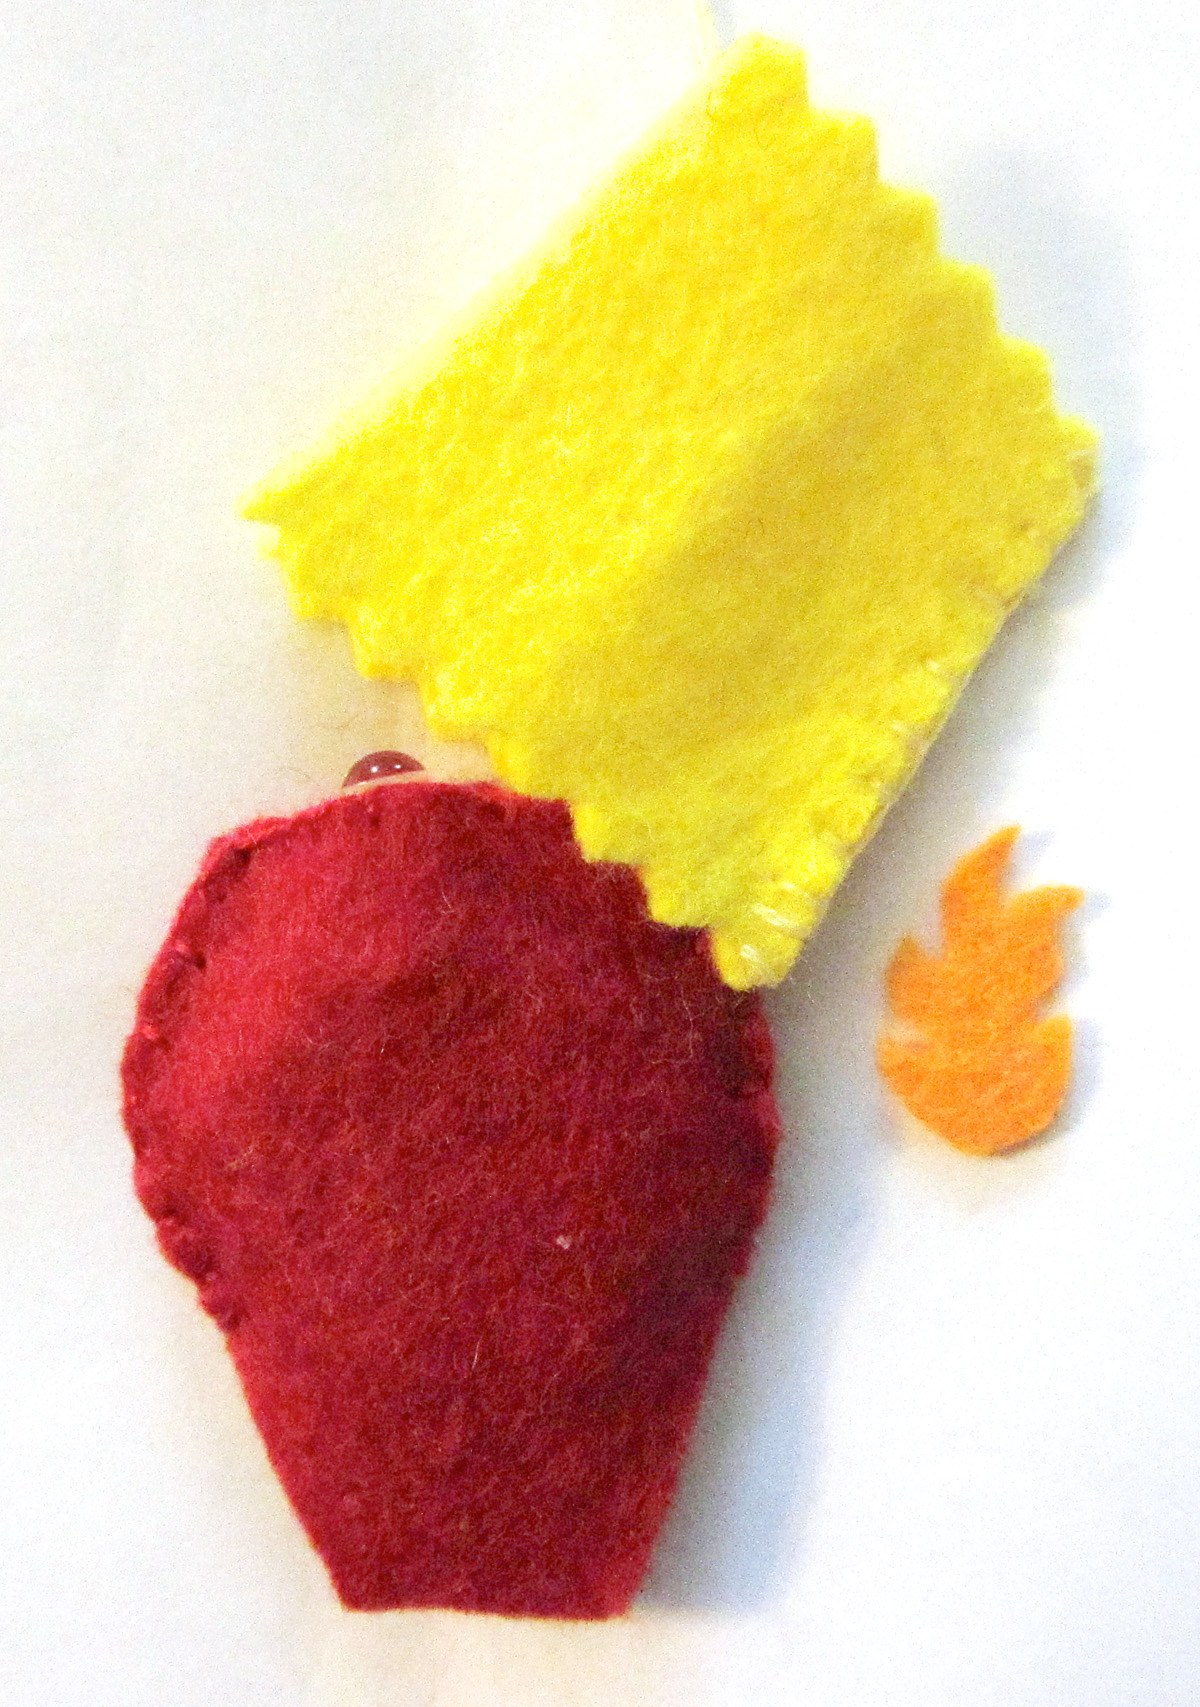
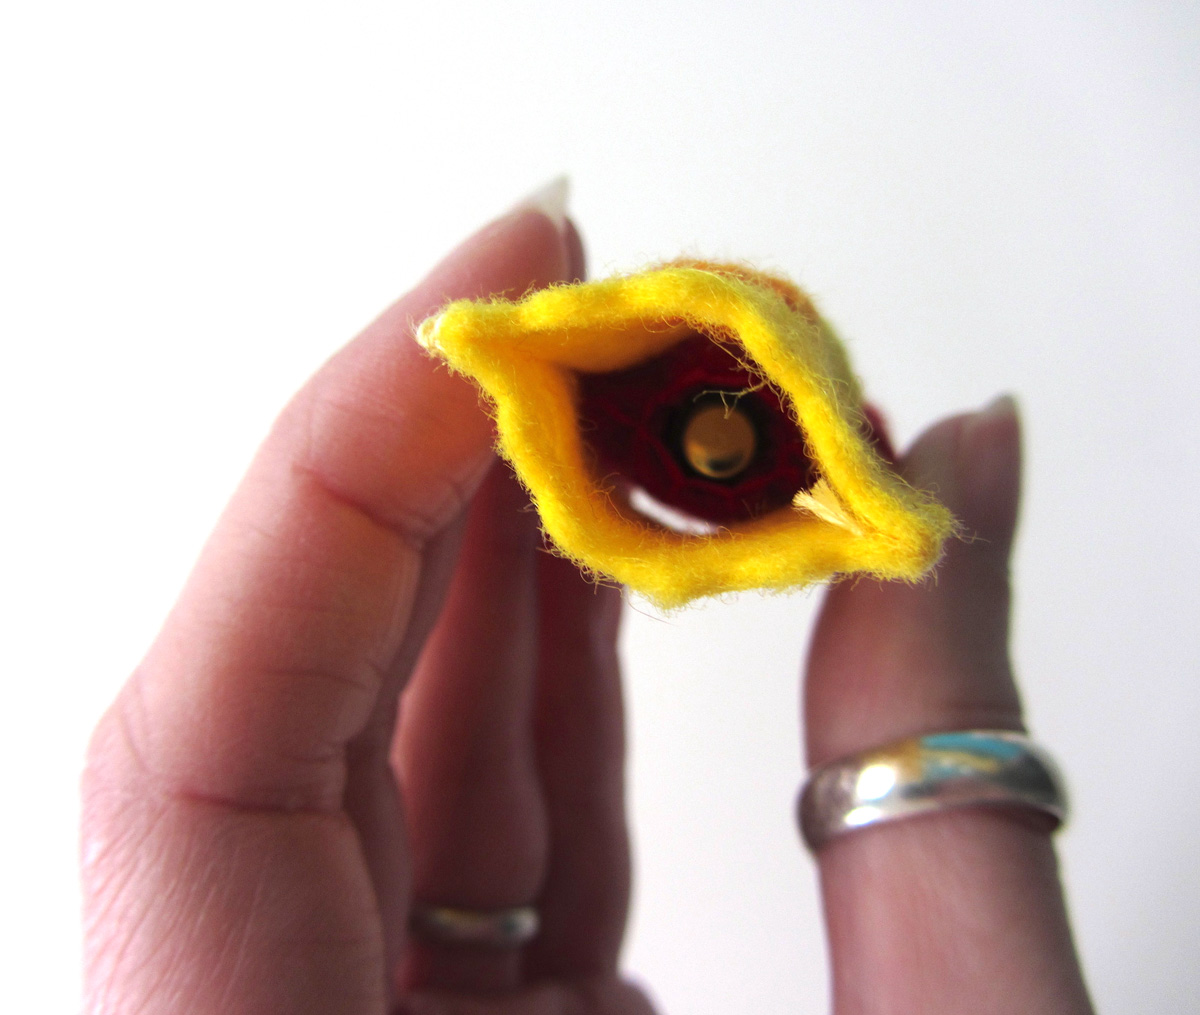
Narwhal: (Felt used: chai beige for the body, chocolate brown for the overlays and fins and swan aqua blue for the background) Oh, narwhals, I love you! A bit of a guilty pleasure, as narwhals are one of my favorite animals (my most favorite will be in the Ocean post.) “Most of the world’s narwhals are concentrated in the fjords and inlets of Northern Canada and western Greenland,” so for this map, I’ve included them in North America After gluing and stitching around the edges, I gave him a French knot eye and made diagonal stitches along the tusk. To make the spots, I just made lots of little stitches. The tiny spots are just one stitch. The larger ones are a few stitches side-by-side.
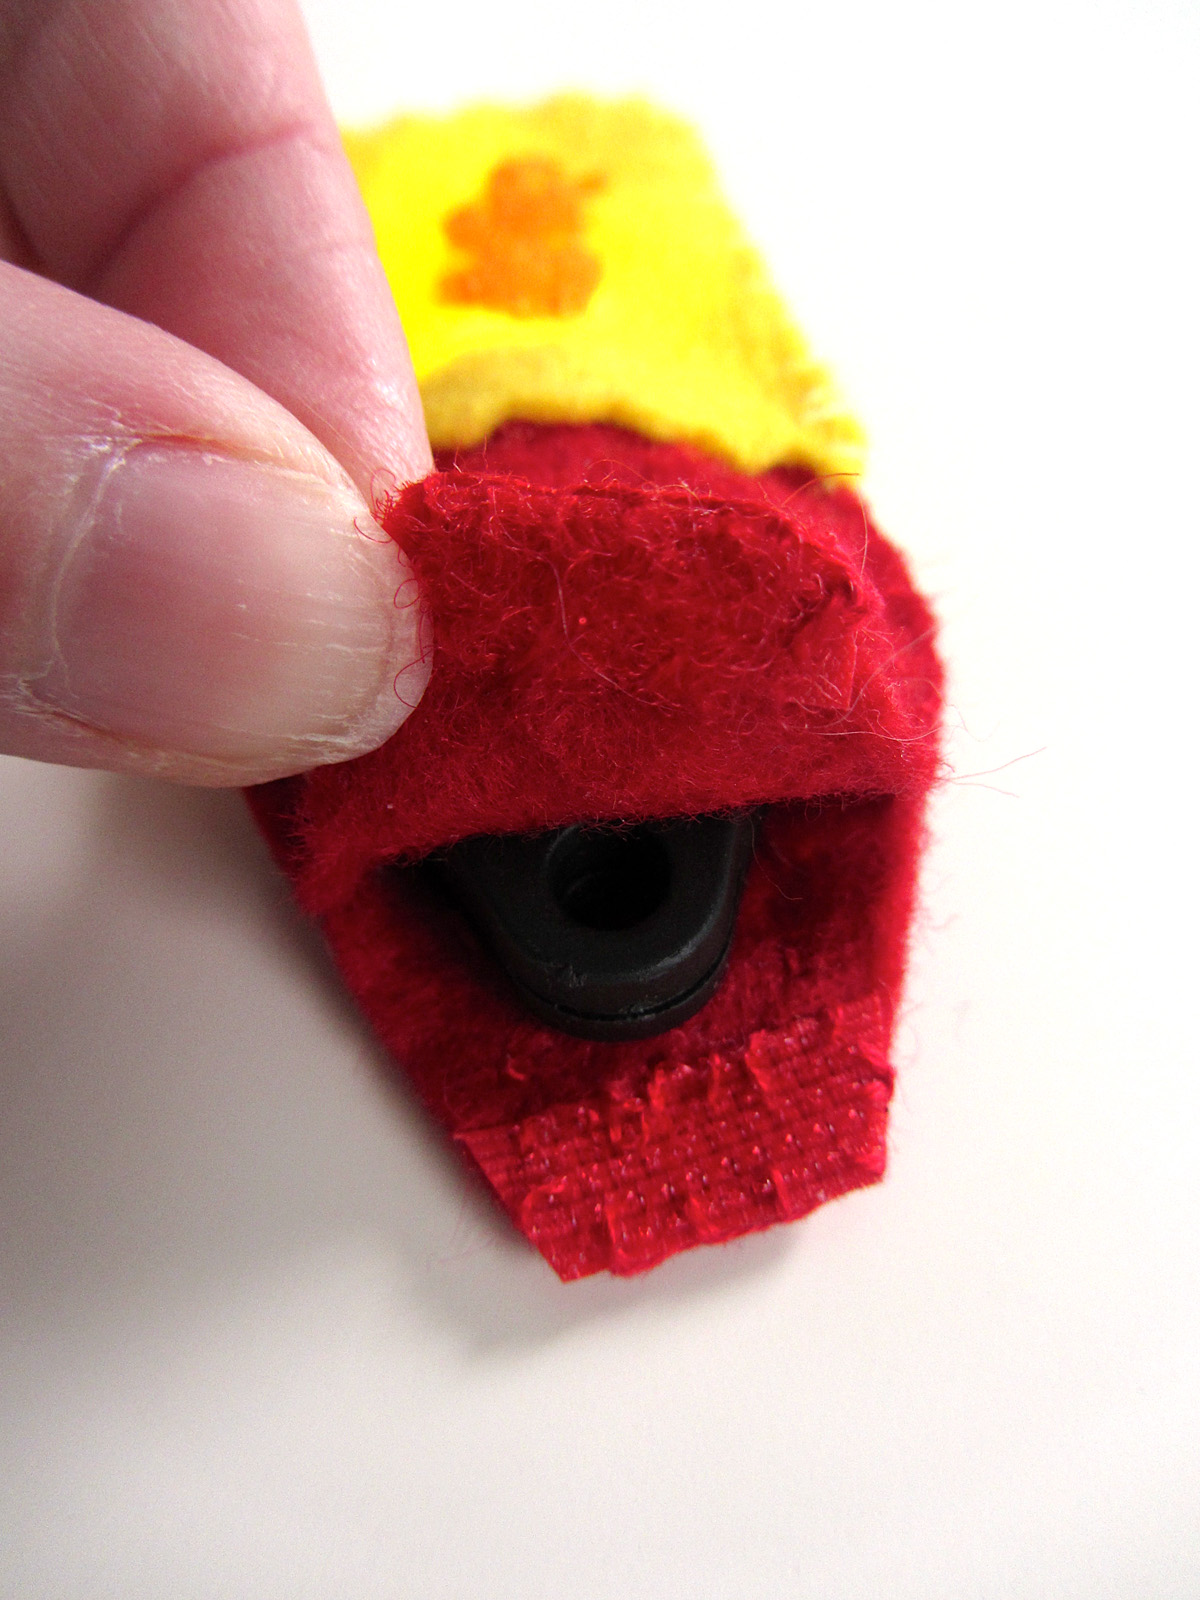
Polar Bear: (Felt used: white for the body, soap sud for the background [discontinued]) For the polar bear, I glued the back legs and body down, then glued the ear on, only pushing one side down so it stuck up. I used a French knot to make the eye, a long pink stitch for the mouth, and black satin stitch for the nose. I stitched all around his body, making longer stitches on his toes for claws, and made one stitch to secure the ear to his head. The background felt I used was one of my last scraps of a beautiful off-white color called “soap sud” which is now discontinued. Fresh linen is another open. It is more taupe then lavender, though.
Beaver: (Felt used: chocolate brown for the body, black for the tail and four leaf clover for the background) The beaver’s tail, back legs and body were glued down, then I sewed all around them. I attached the ear the same as with the polar bear. I used a French knot for the eye and some straight stitches for a stick in his mouth.
Alligator: (Felt used: salt and pepper for the body and cilantro green for the background) I glued his body down and stitched all around. I used olive green to do a French knot eye and a long stitch mouth. I made two lines of tiny dashed stitches to show the bumps running down his back.
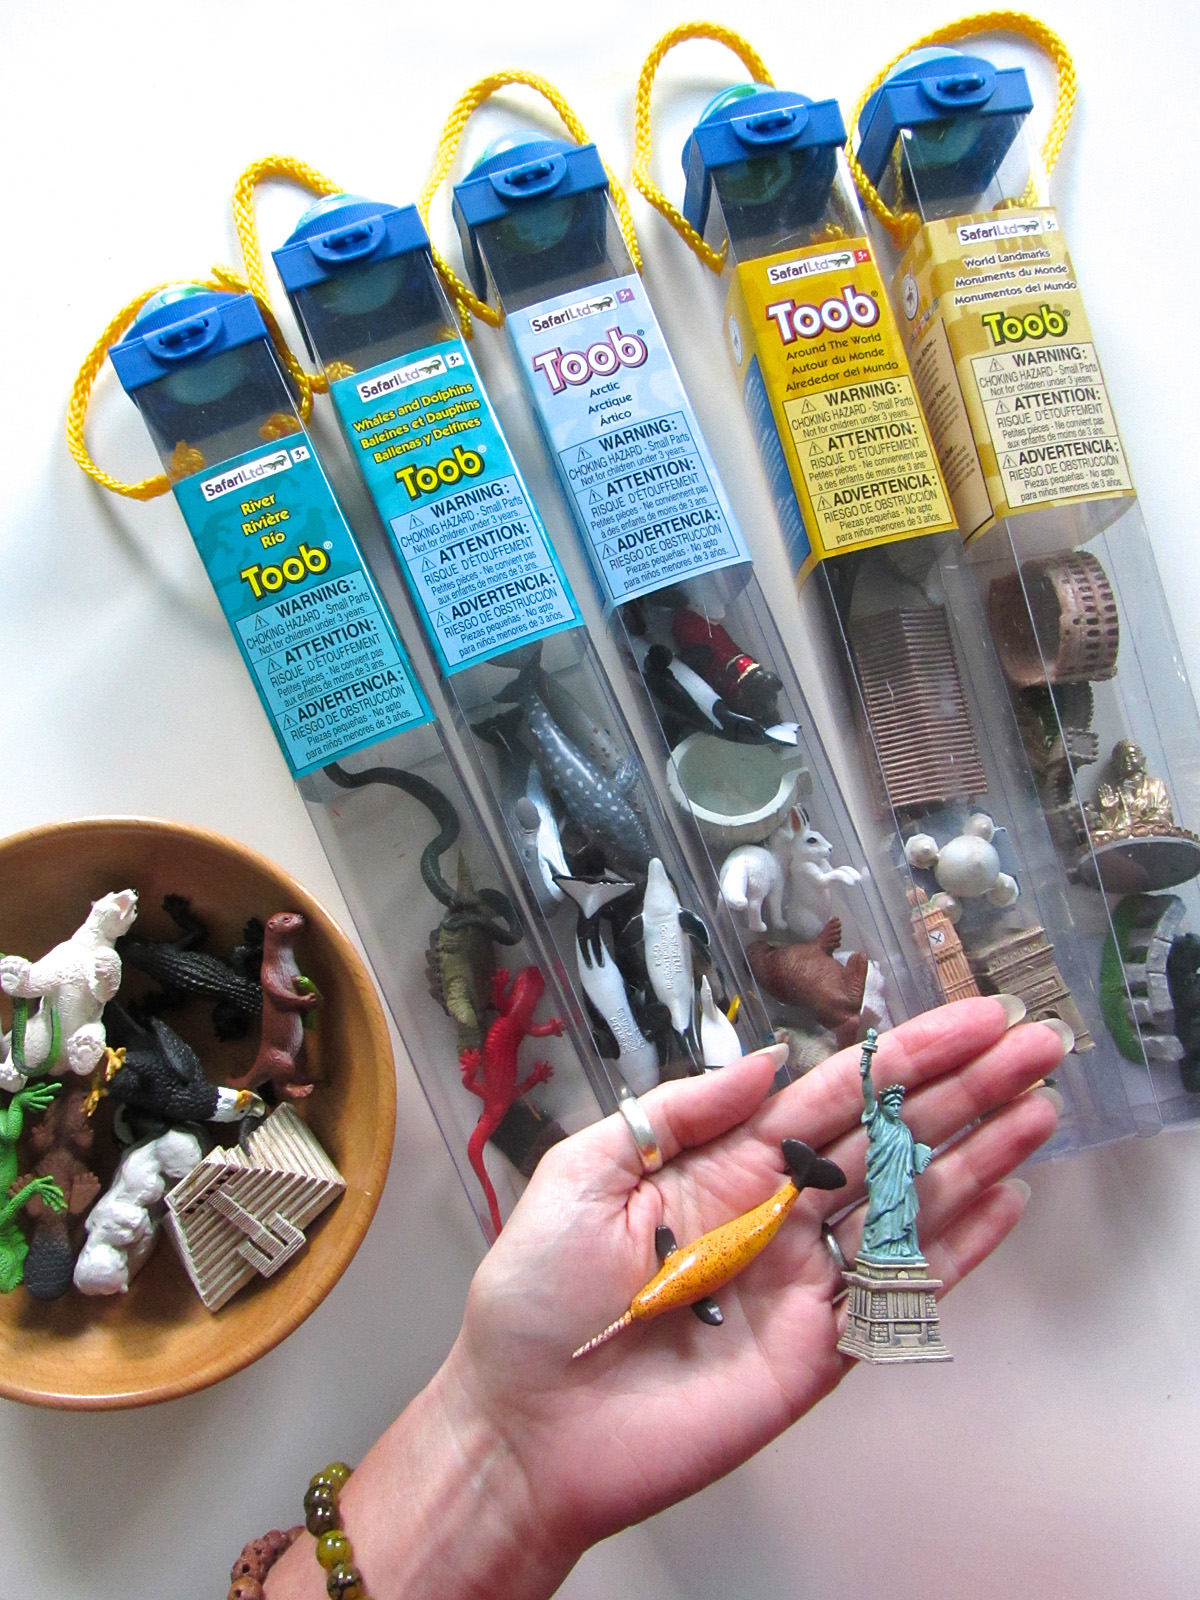
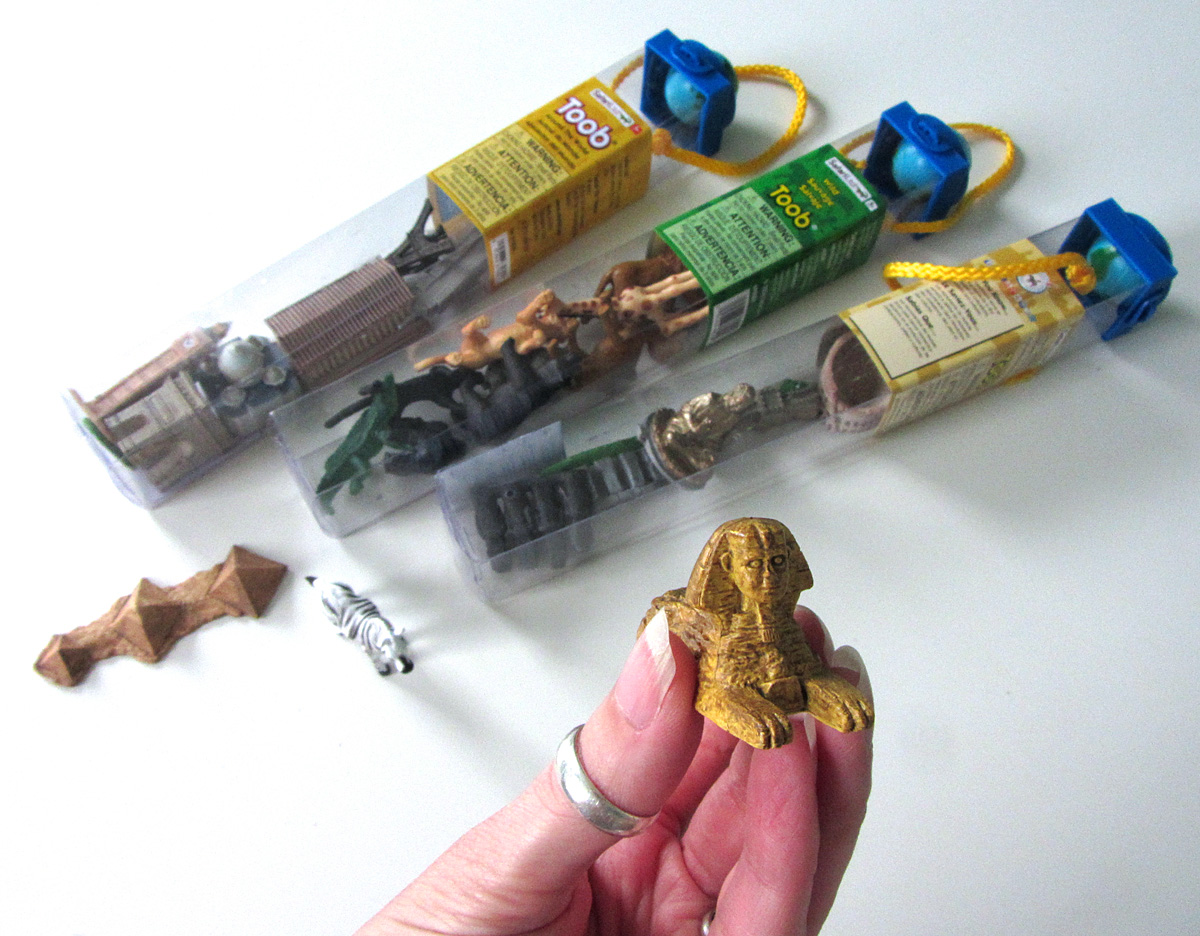
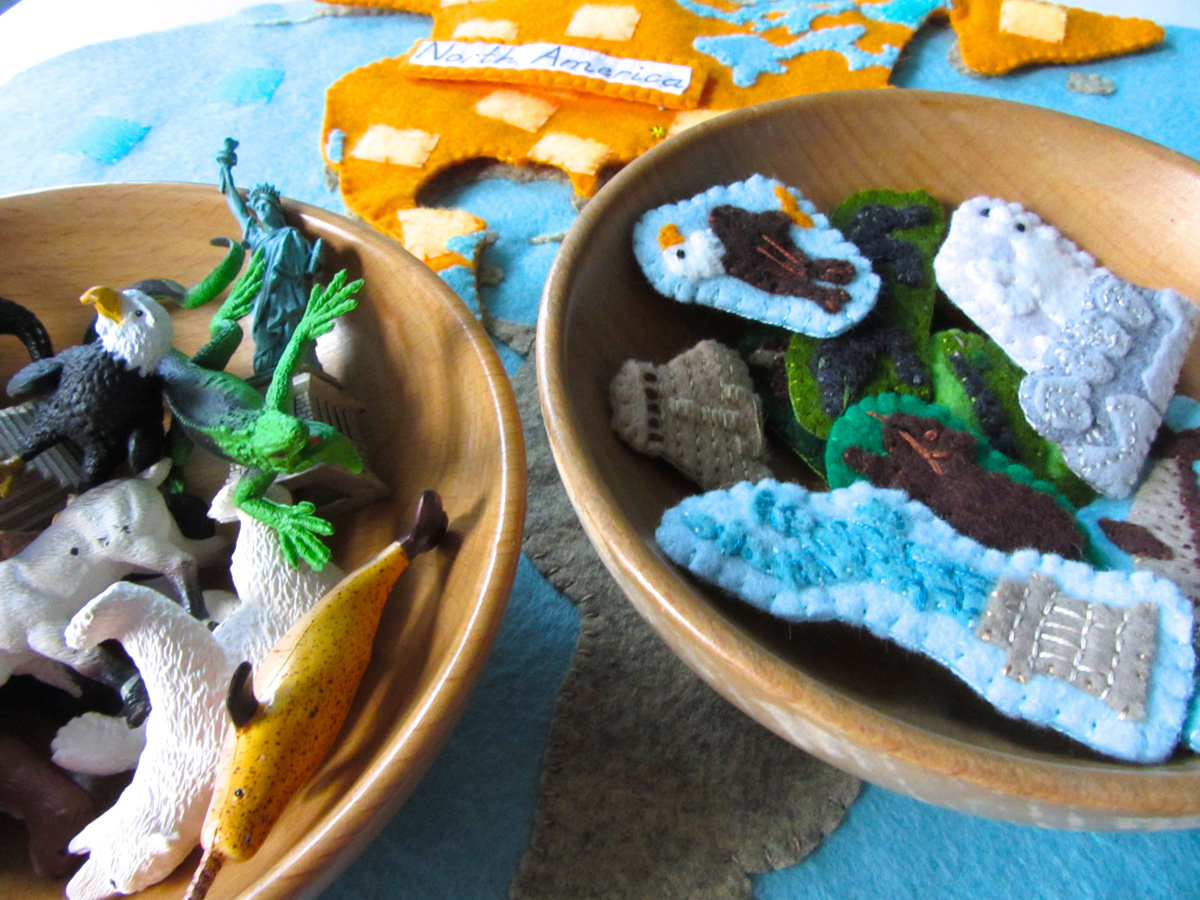
SafariLTD provided me with these beautiful World Landmarks and Around the World TOOBs. I am working with them to make this project as amazing as possible. All opinions of these products are honest and my own. We are planning an exciting giveaway for you at the end of this project!
Sewing the Landmarks
 For all the landmarks, I started by sewing the front piece. Then I cut out a backing felt to match the final shape and added some snag-free Velcro to it. I finished sewed around the whole edge, switching colors where needed.
Statue of Liberty: (Felt used: rainy day gray-blue [discontinued] for the statue, pastry tan for the base and sparrow blue for the background) I used a pretty gray-blue felt that is now discontinued. It’s one of the problems with using scraps on a project! Blueprint looks like a good option.
For lady liberty, I glued all the parts down. There are some tiny ones! I used a light tan thread to stitch the designs on the base. I used a dark aqua thread to sew details on the statue itself. Don’t worry about too much detail! The overall effect doesn’t really need it.
See the photos for a sample of what stitches to do. I worked from the lovely SafariLTD replica.

Mt Rushmore: (Felt used: gray flannel for the mountain and gray for the details) For Mt Rushmore, I glued the lighter gray details down, then stitched a light gray design to give them some faces. Very simple stuff like their hairlines, eyes/nose/mouth and some shirt details for Washington.
Temple of Inscriptions: (Felt used: pastry tan) I think the temple came out pretty for having only used one color of felt. I glued the stair overlay down, then started stitching rows of back stitch. When I’d get to the overlay, I’d do one long stitch across it. I did an additional long stitch in between rows to make small stairs. At the top, I stitched little brown triangles to make the arched windows. I didn’t pull the stitches super tight, which let them have the curved shape of an arch.

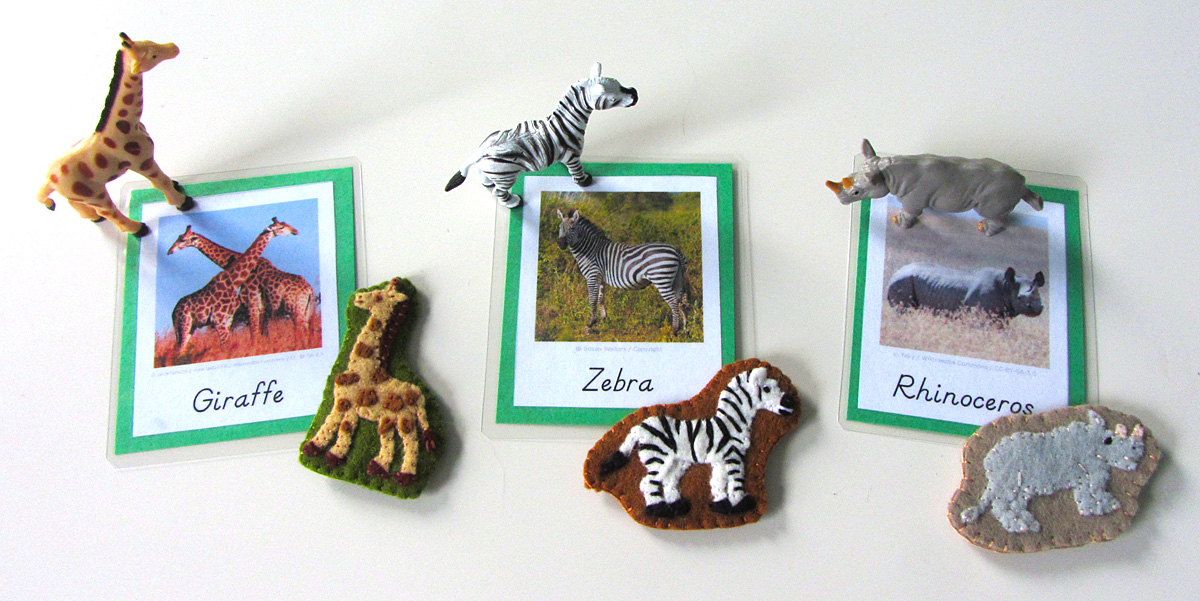
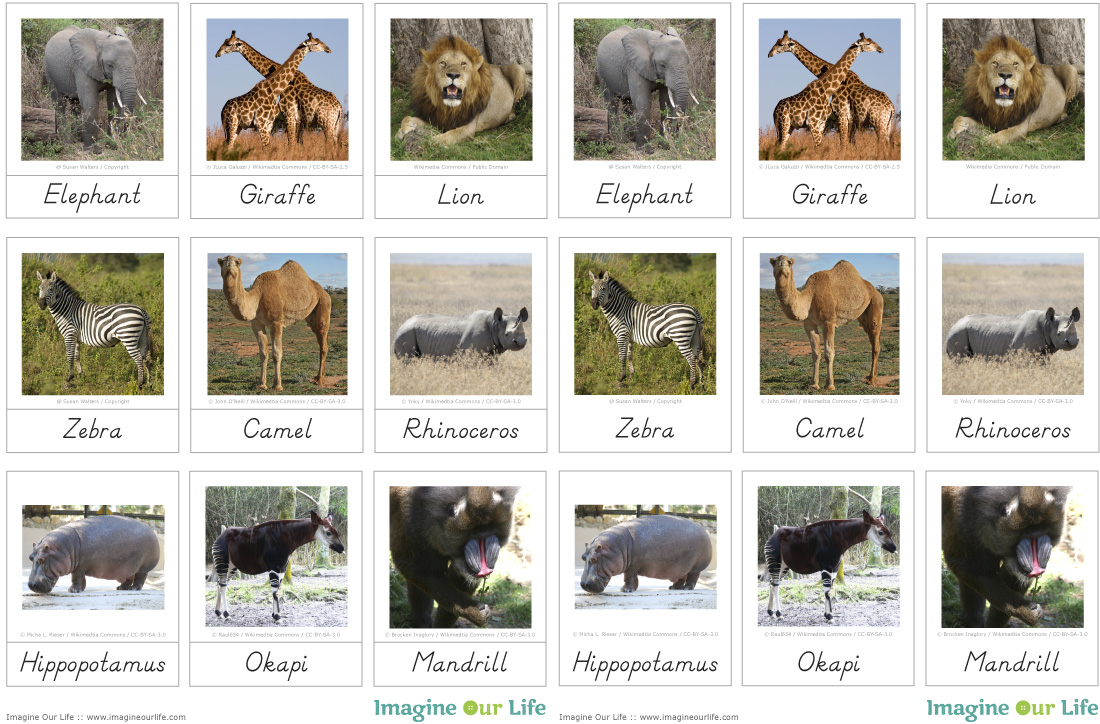
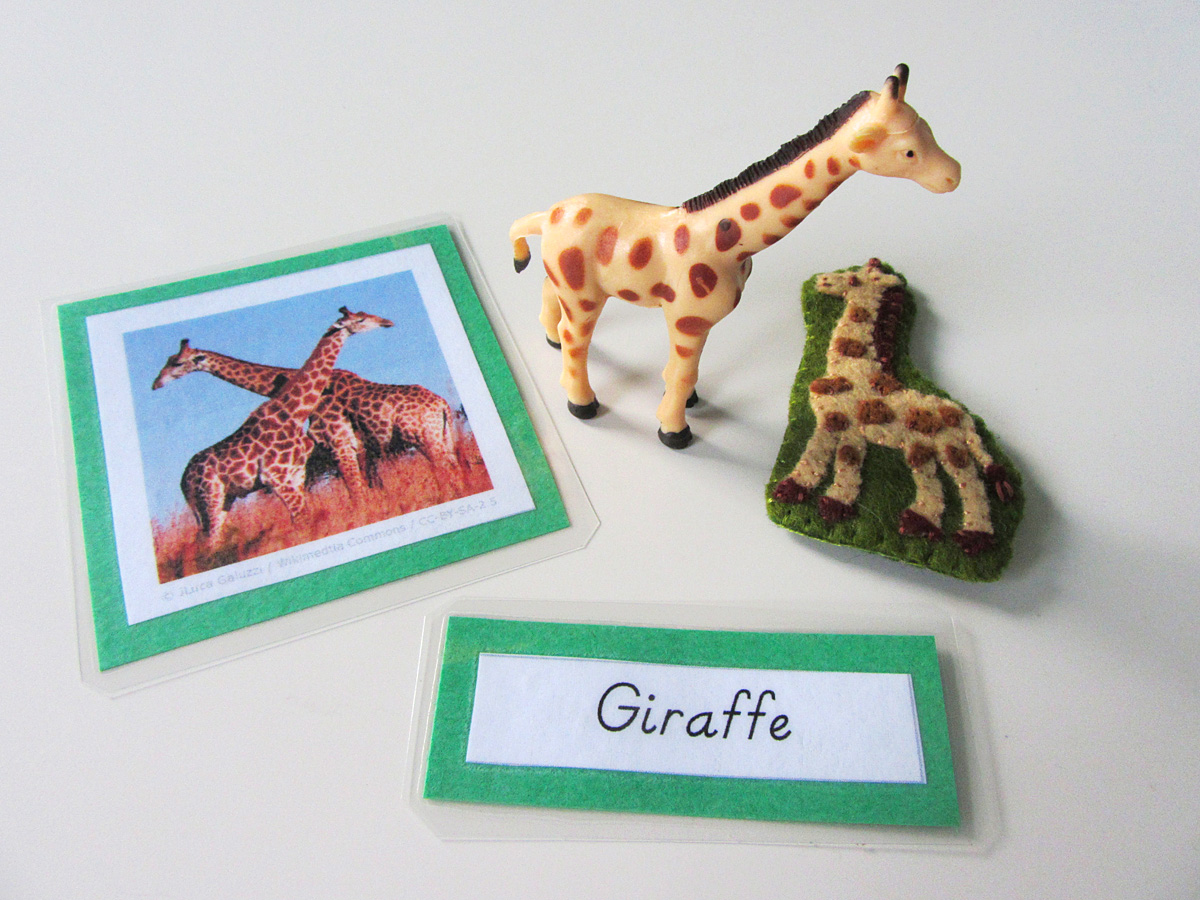
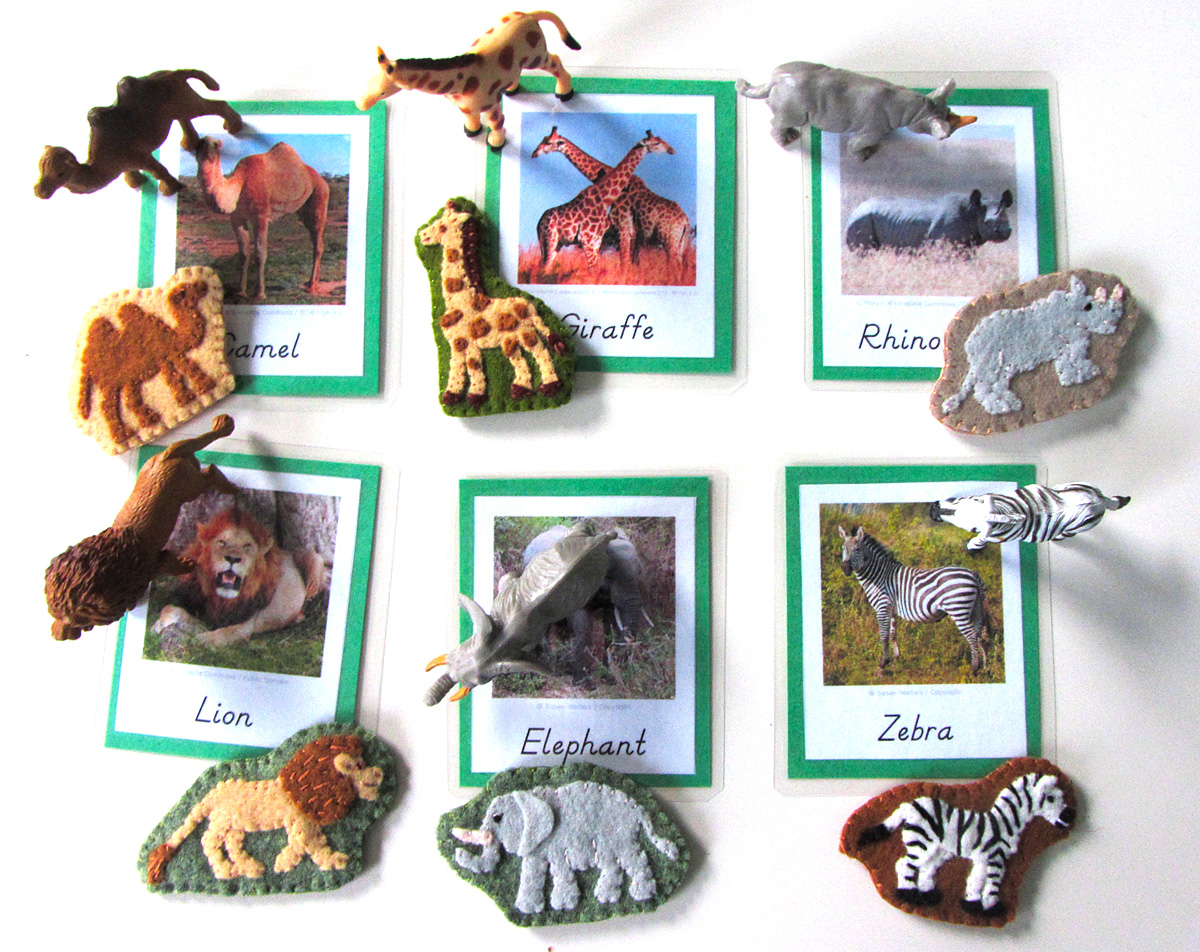
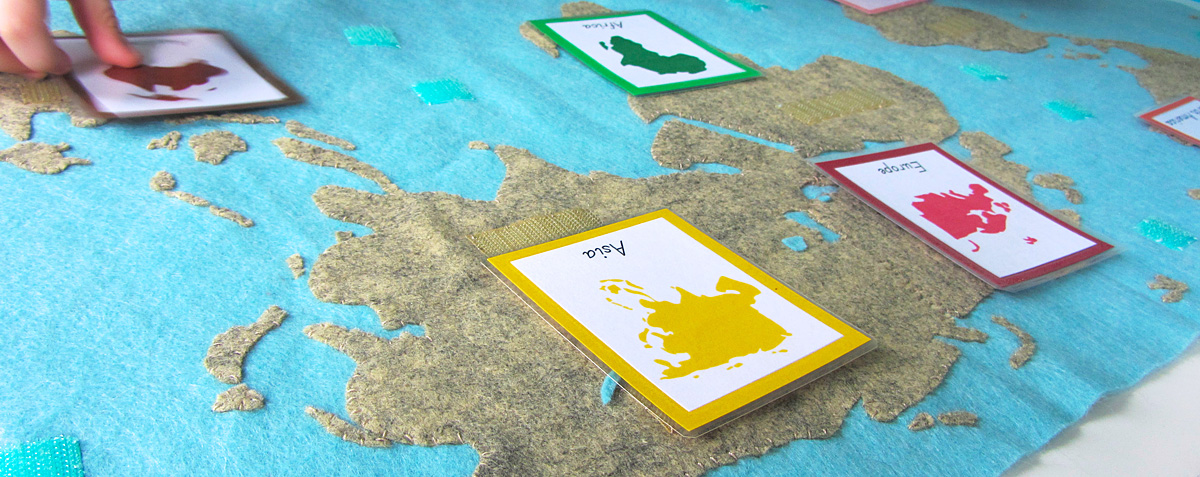
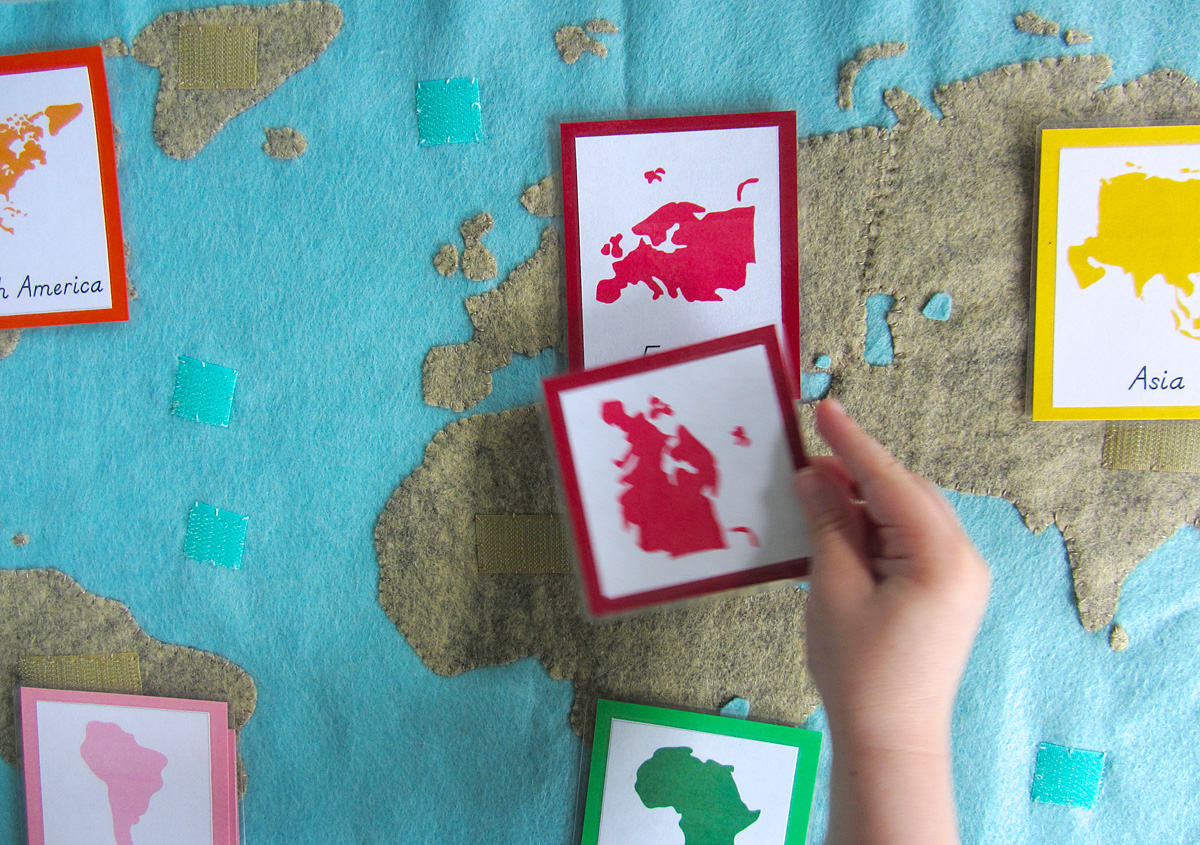
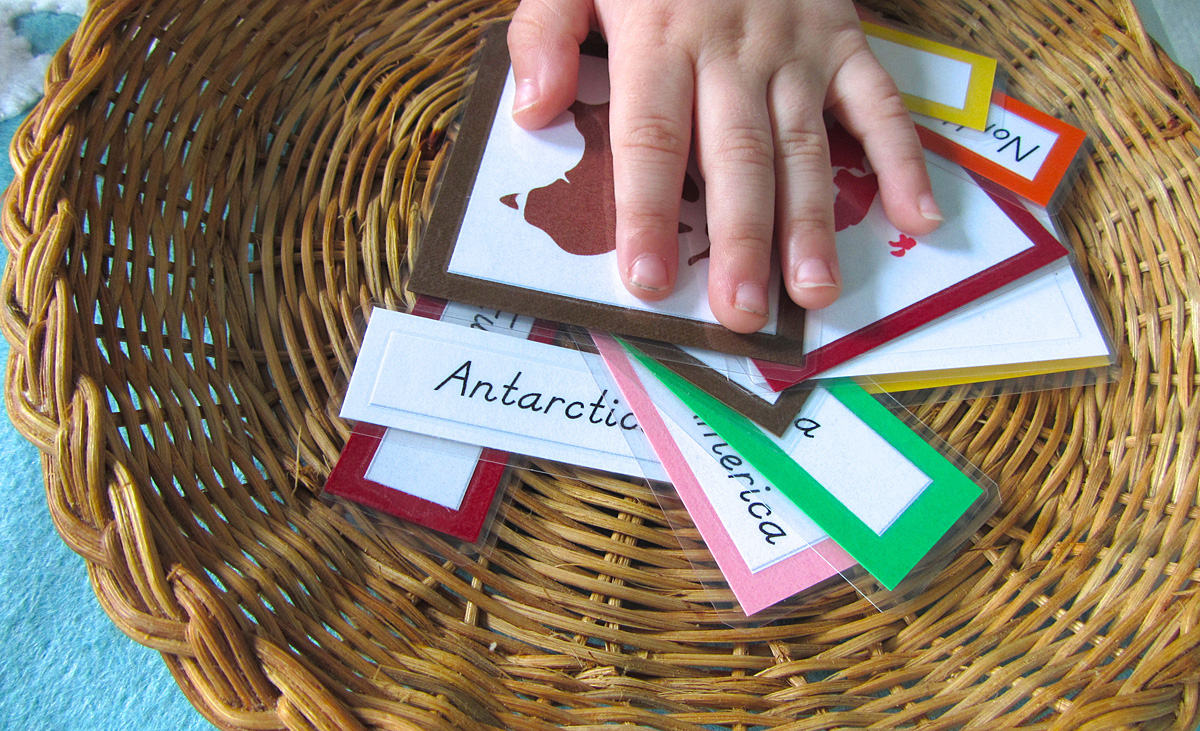
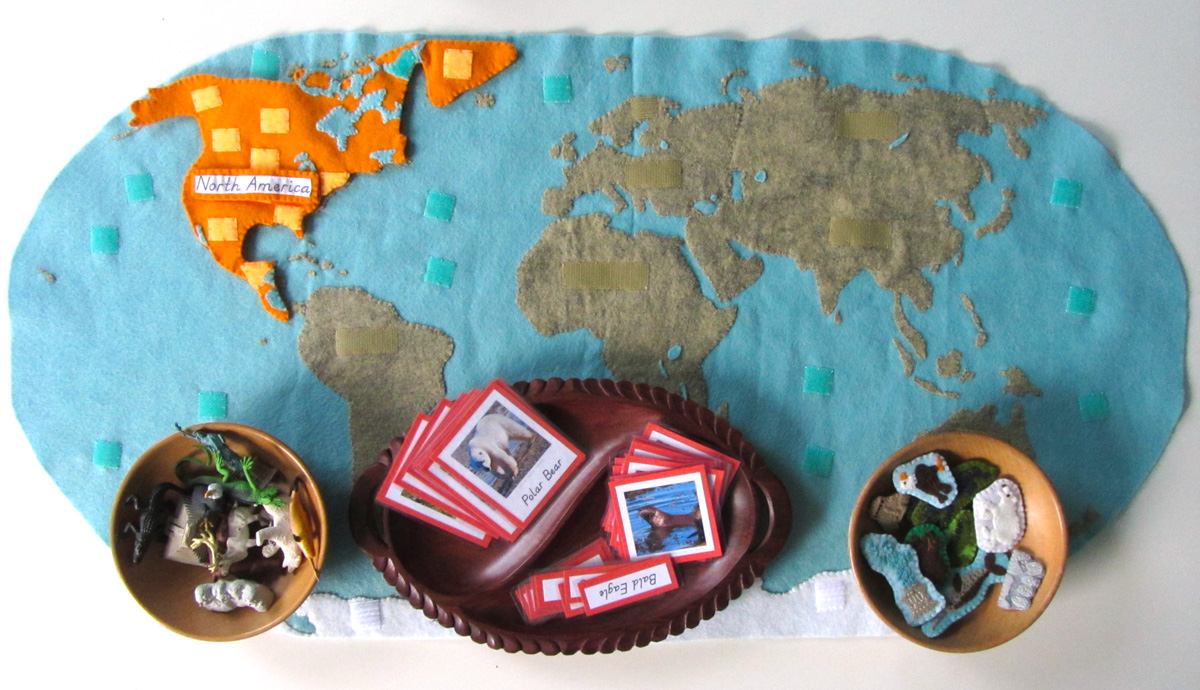
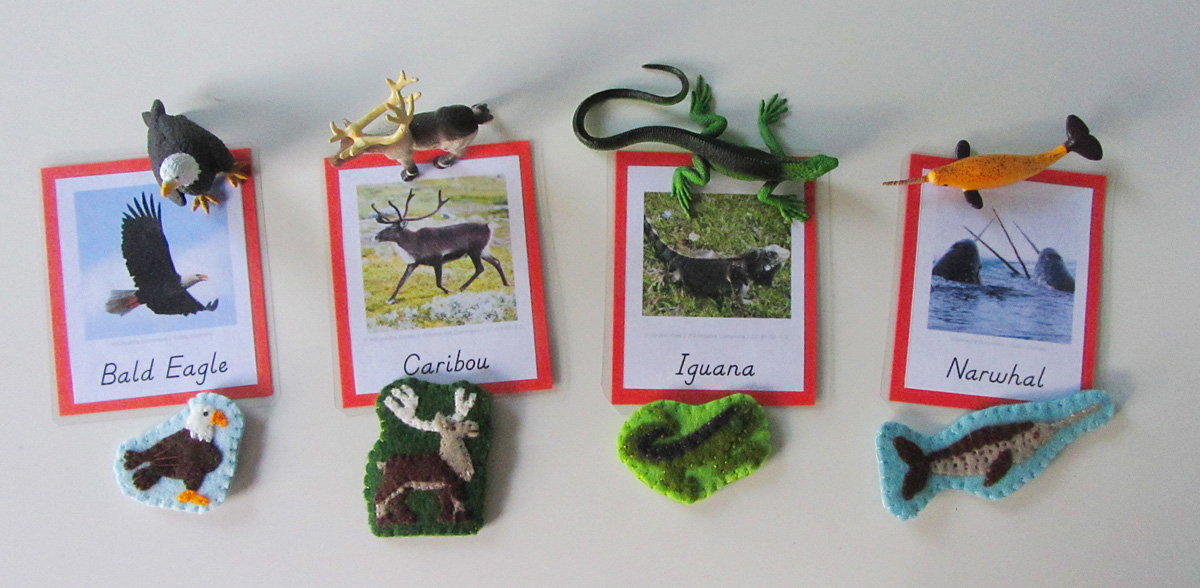
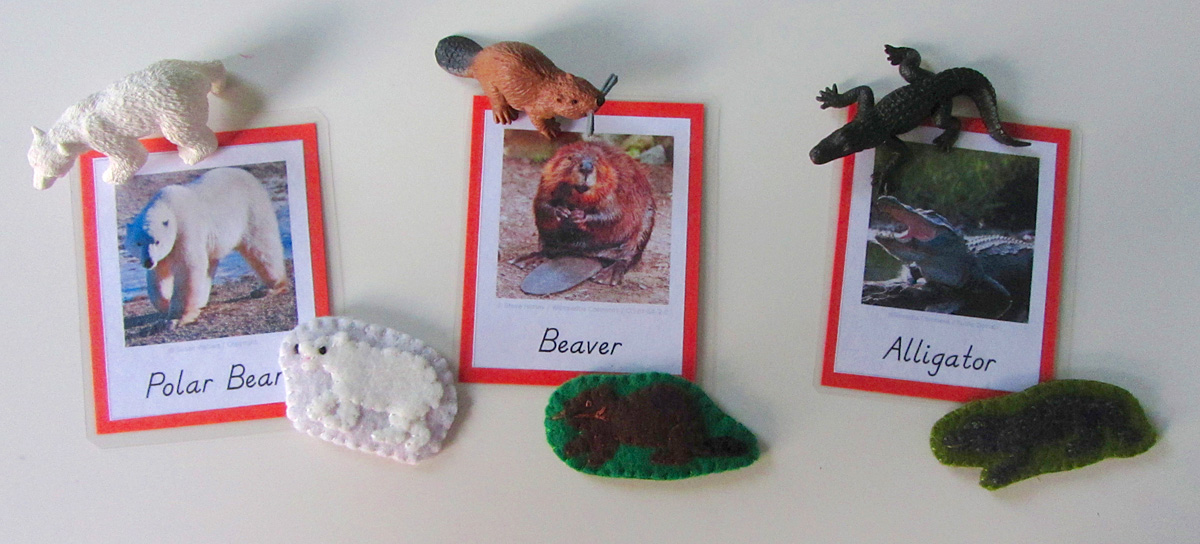
Montessori North American Animals 3-Part Cards
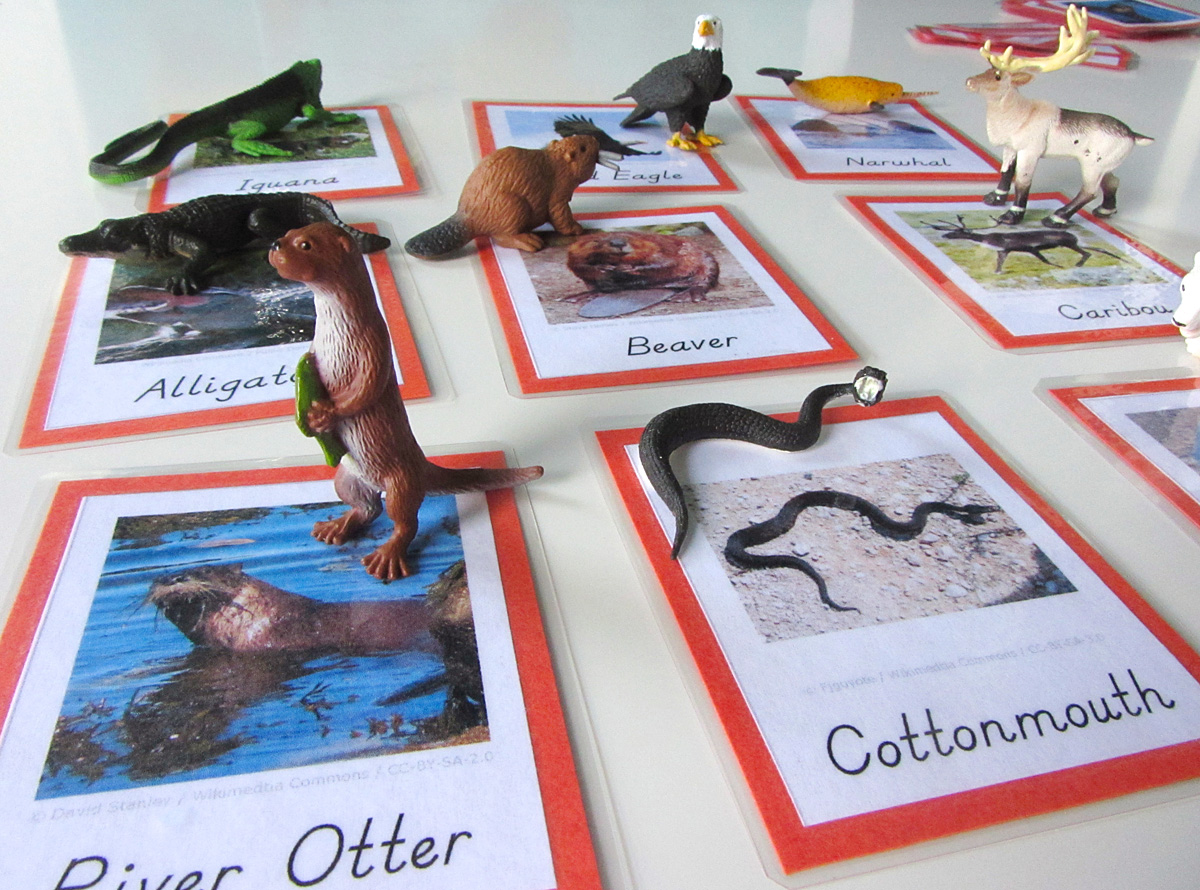
Jax just started his world continent unit with the world continent 3-part cards I made up for him. I finally ordered a Montessori globe after saving up for it, so I’m not really rushing the lessons. However, he saw me working on the cards and asked to have a lesson. He is loving them! I created these cards to be used along with SafariLTD’s TOOB figurines. North America’s animals use a wide range of TOOBs: Arctic Toob, Whales and Dolphins Toob
, and River Toob
.
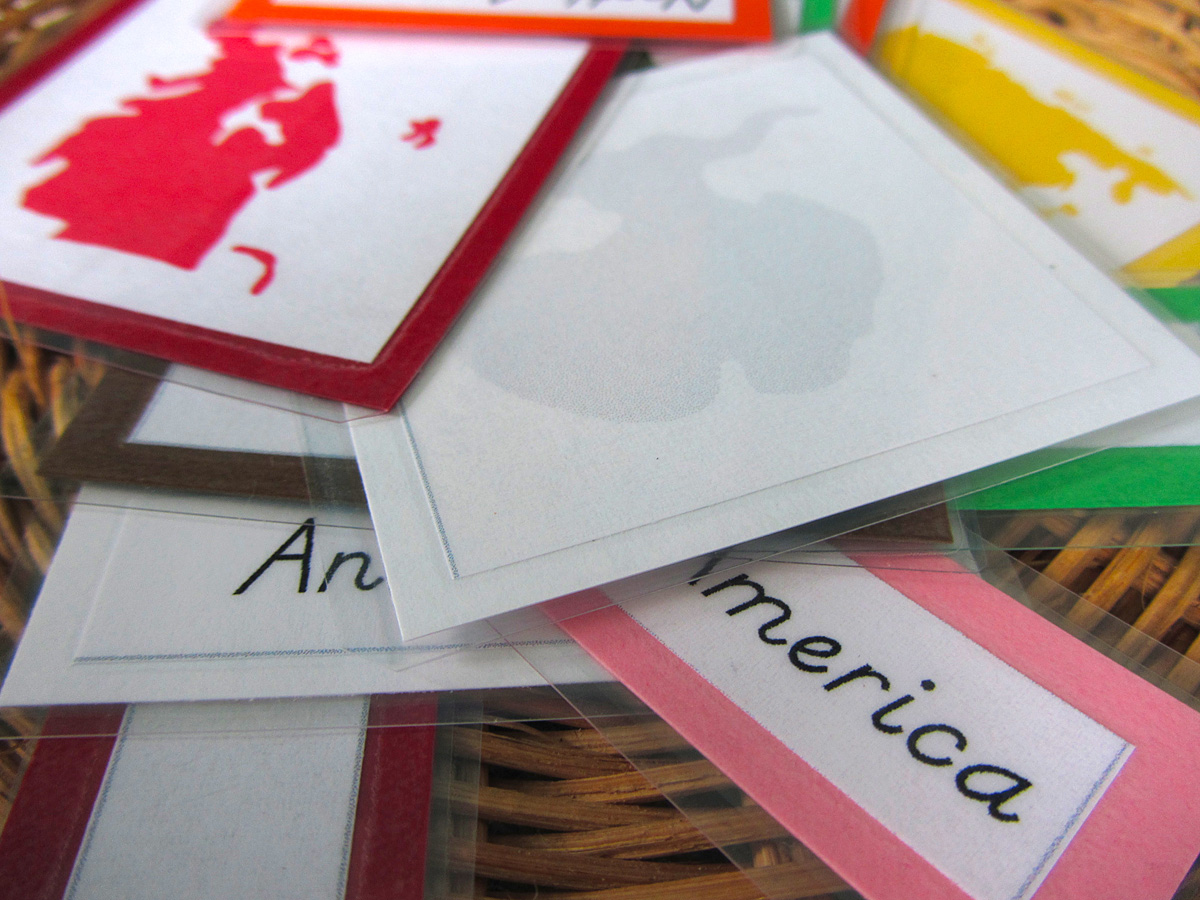
Click here to download my free pdf file to make your own. To make mine, I cut them out, glued them to orange construction paper (to match North America’s Montessori color) then laminated them. I love my new laminator! It makes everything so shiny and strong!
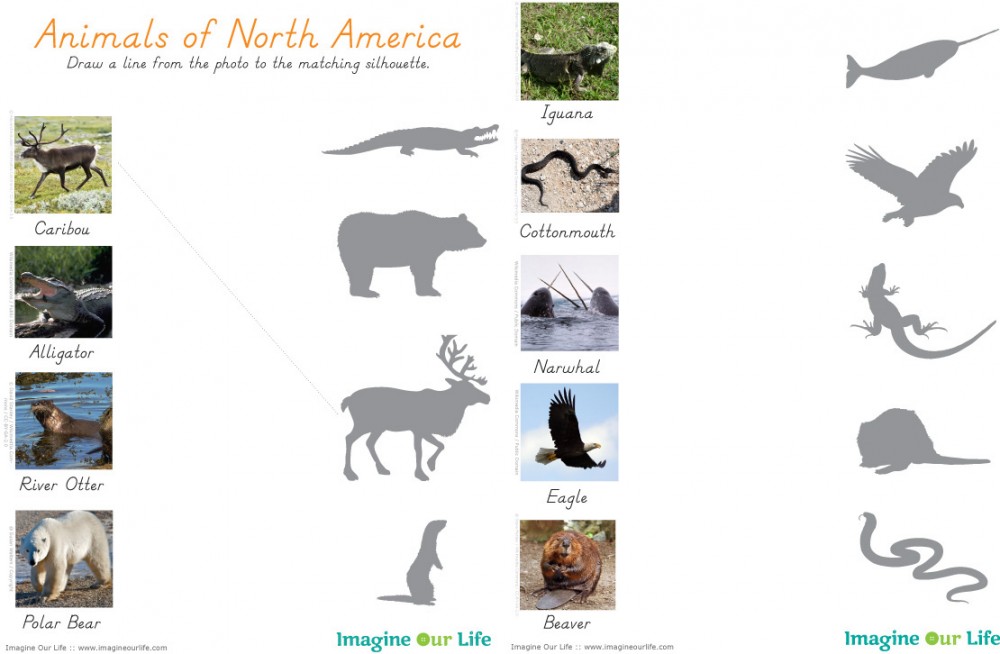
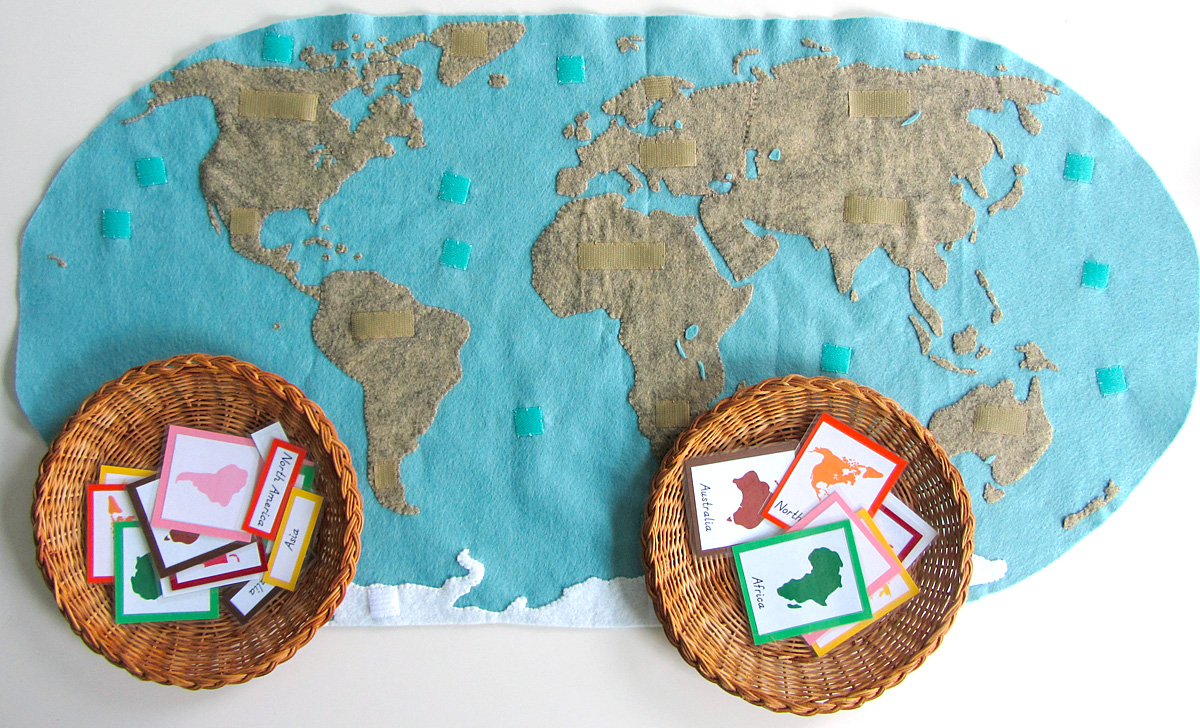
North American Animal Silhouettes
Another activity that will help Jax with him reading and writing skills is the North American animal silhouette match. Drawing lines between the matches help with writing skills, and recognizing the similarities between the photos and silhouettes helps build visual skills needed for reading. Silhouettes from All-Silhouettes.com, 2, 3.

Activities:
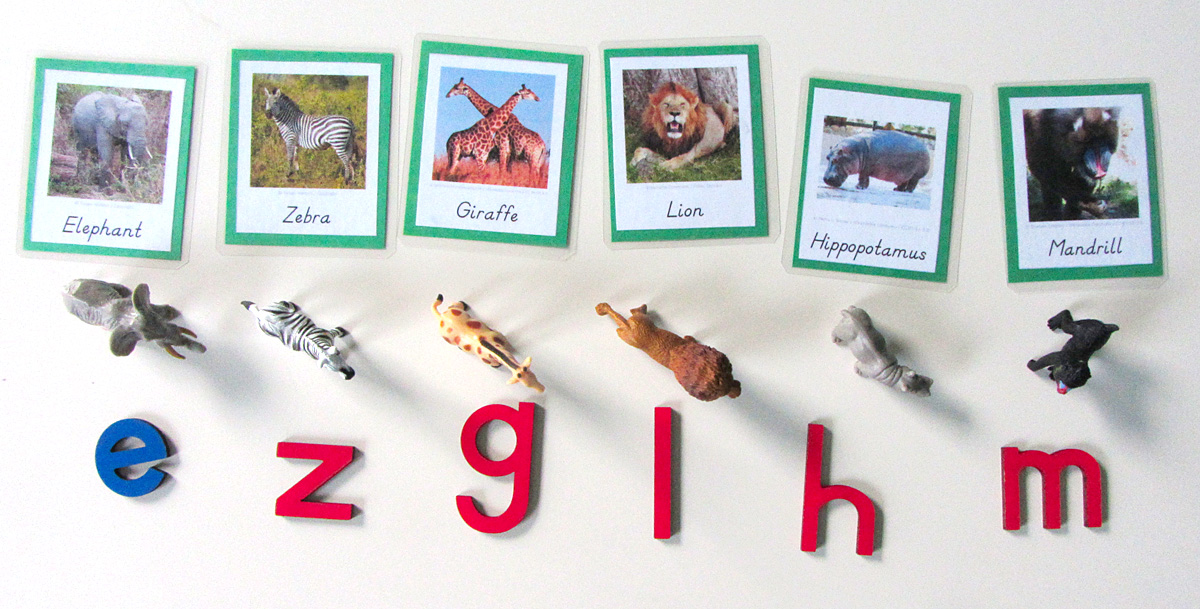
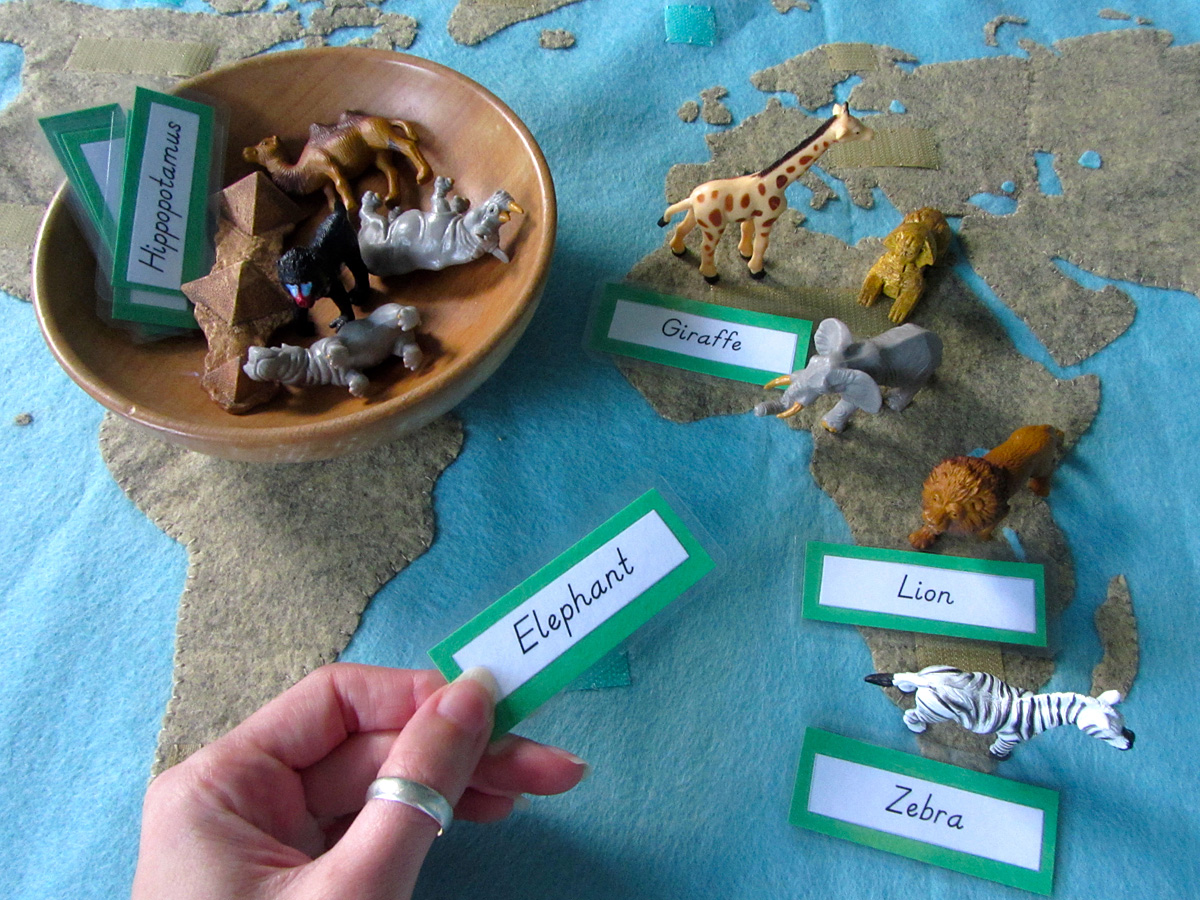
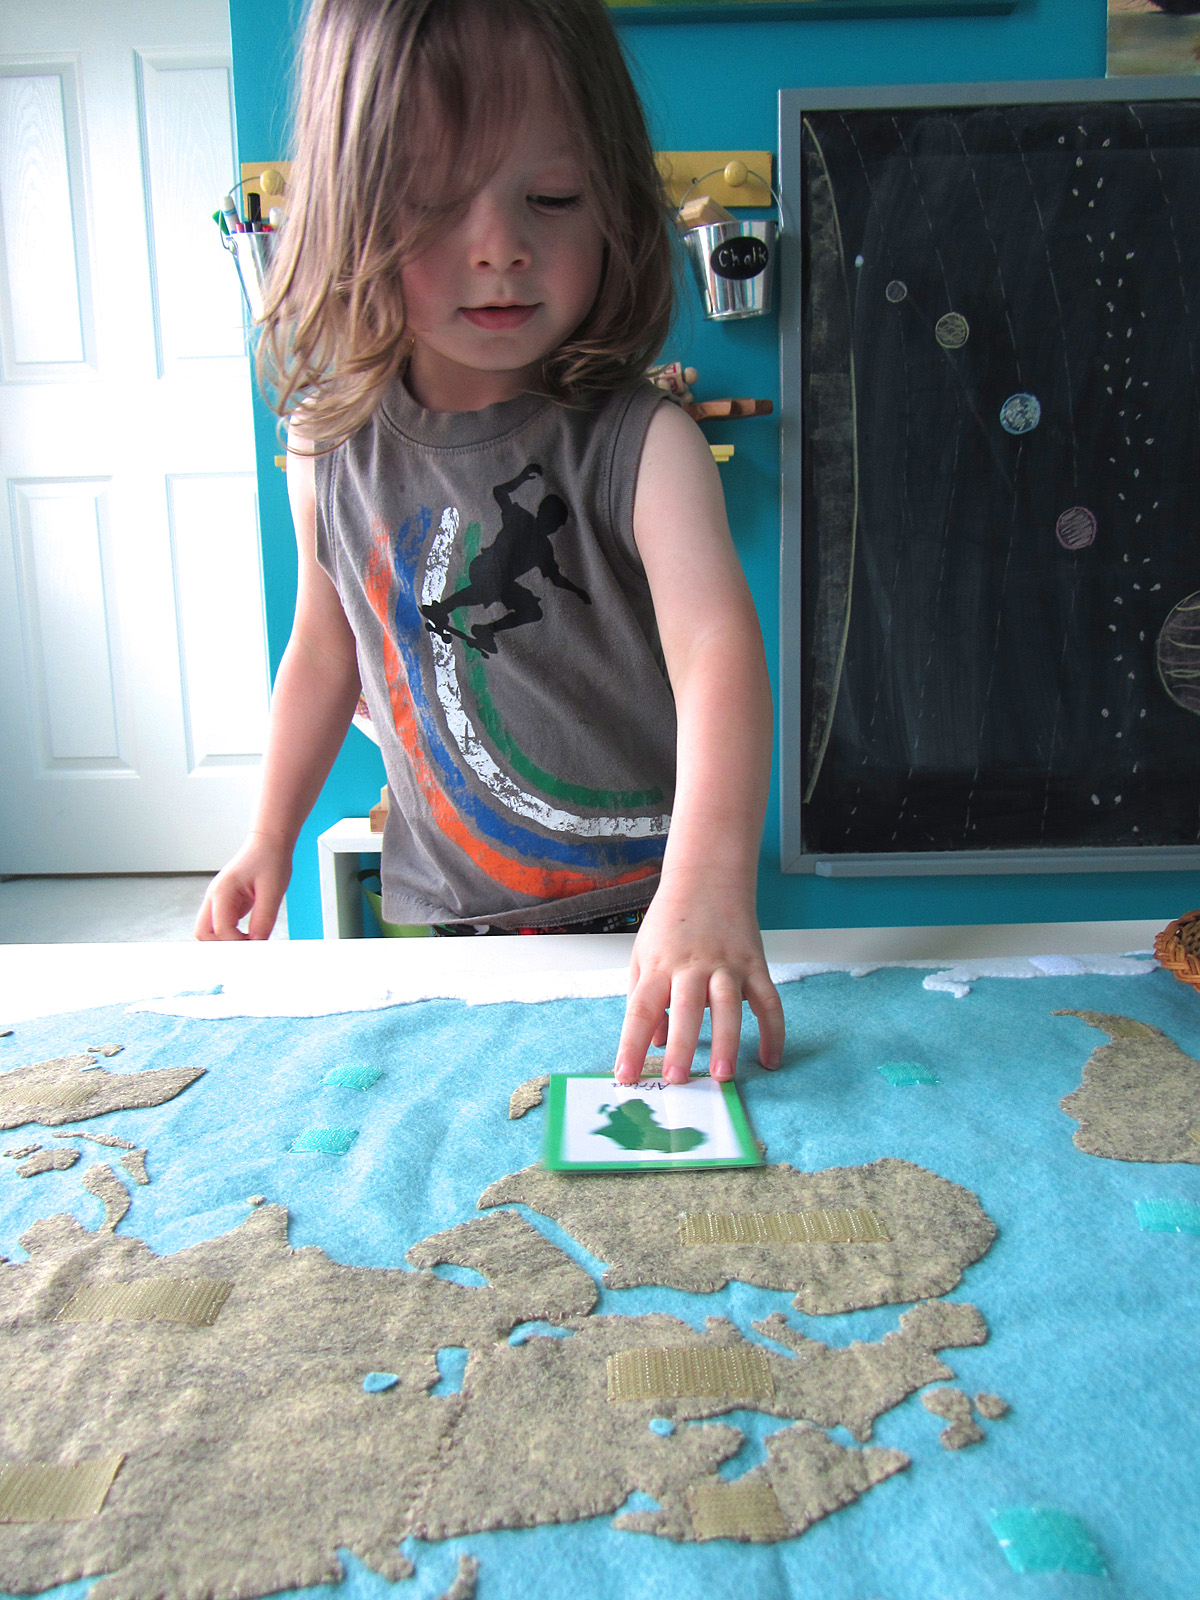
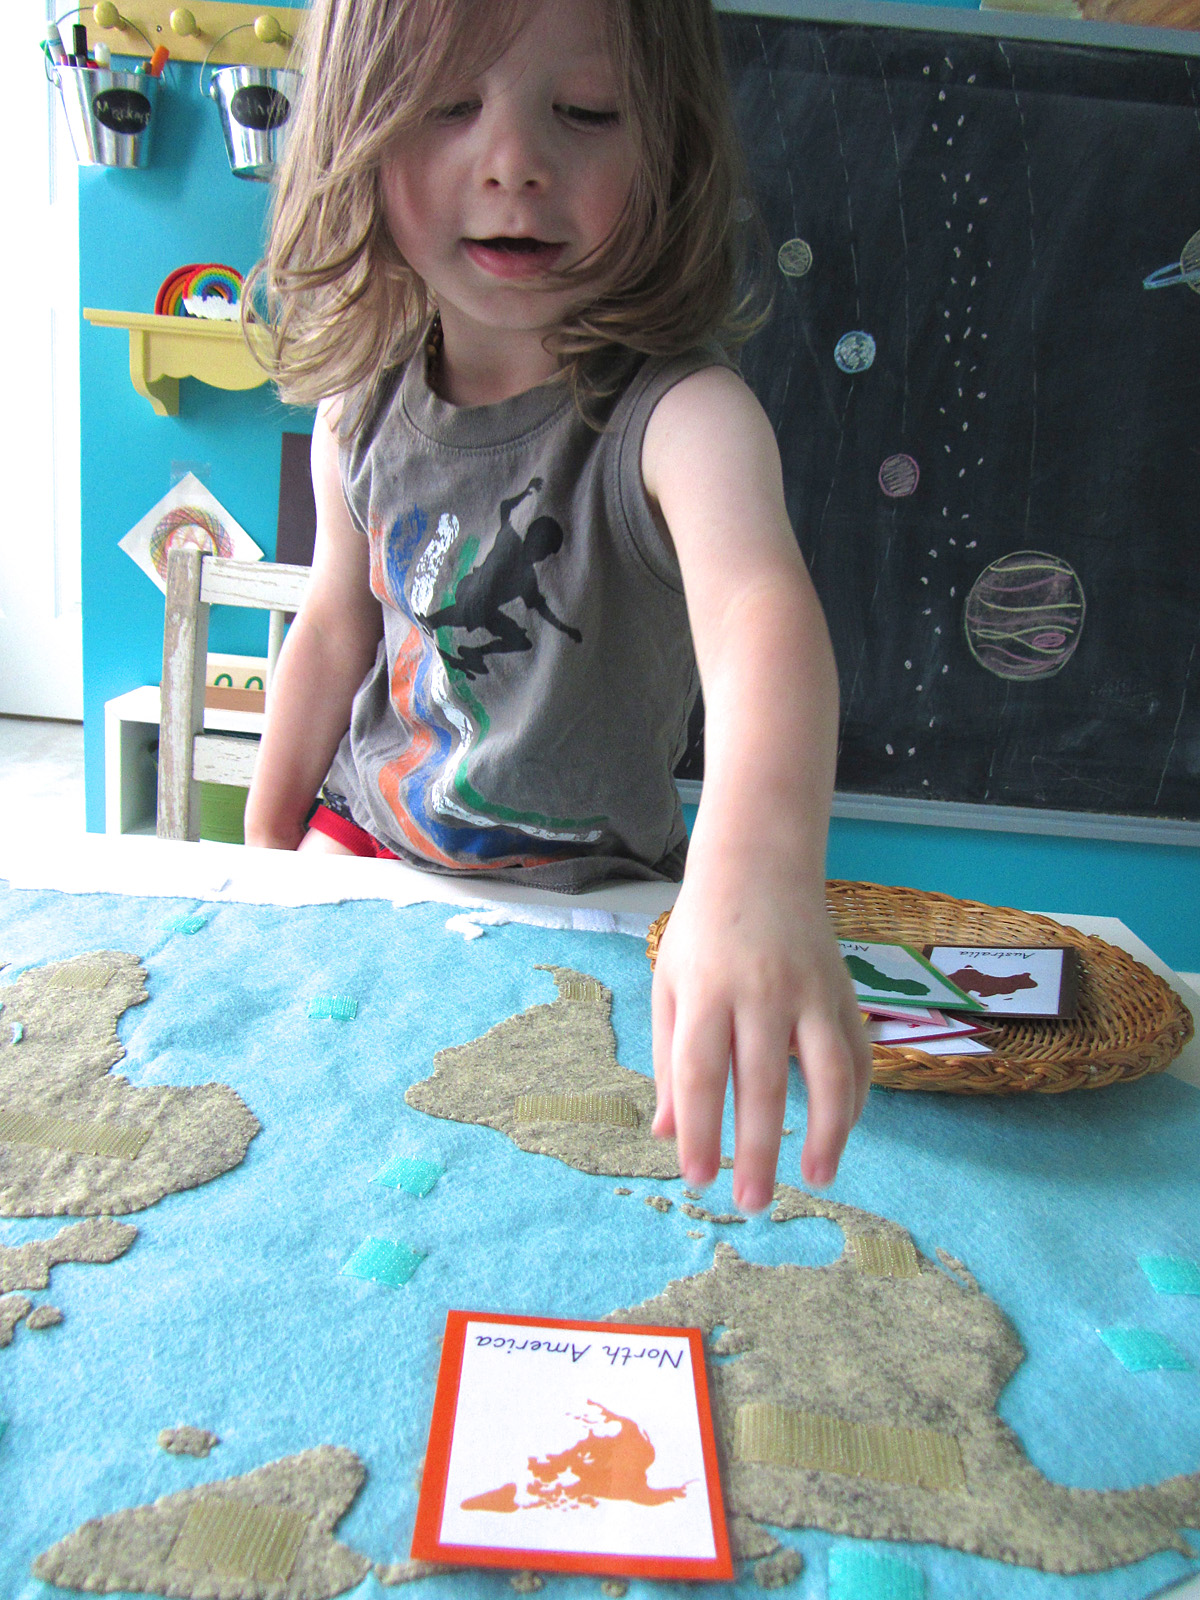
Introductions and Matching: There are so many activities that can be done with all of these materials. You could start with the SafariLTD figurines and introduce the name of each animal to them. You can then present the felt versions for them to match up. Once they are comfortable with the animals and know them by name, you can show them the labeled photo cards and have them match them. Once they have advanced some, you can use the unlabelled cards and have them match the right words to each card or figurine.
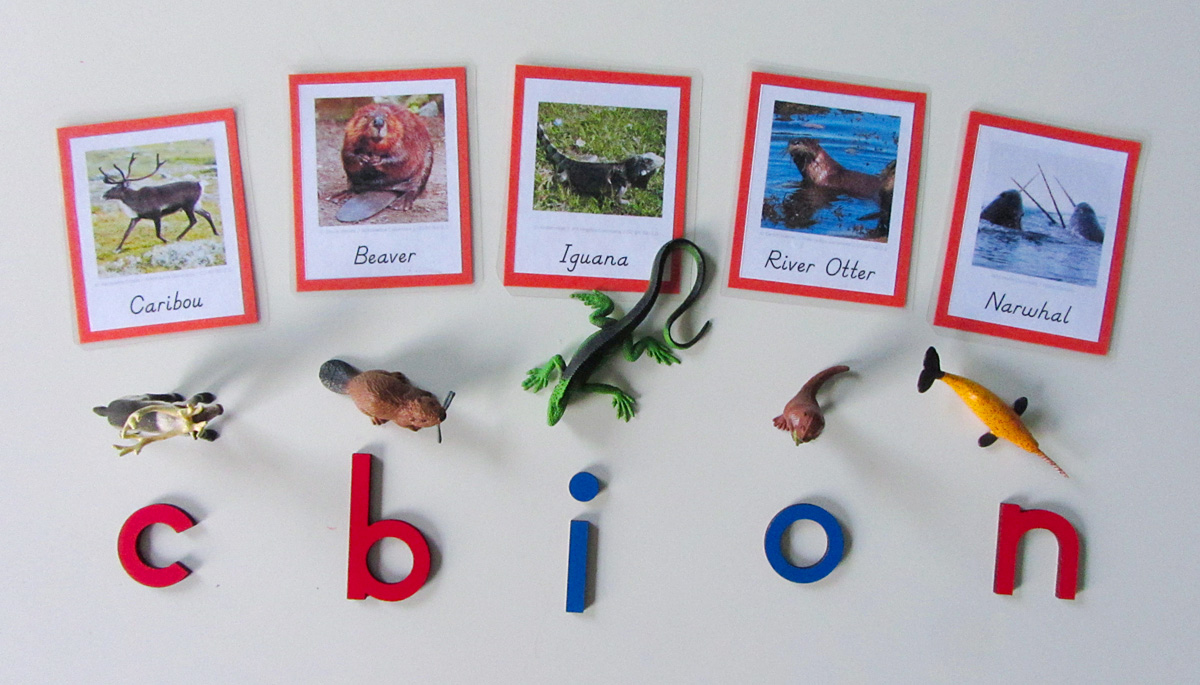
Starting Sounds: For a great language activity, have your child tell you the starting sound for each animal. To make games like this extra engaging for Jax, I call them “letter races” and have him run to our movable alphabet and grab the right letter. For correction of error, match your 3-part cards to see if the answers were correct.
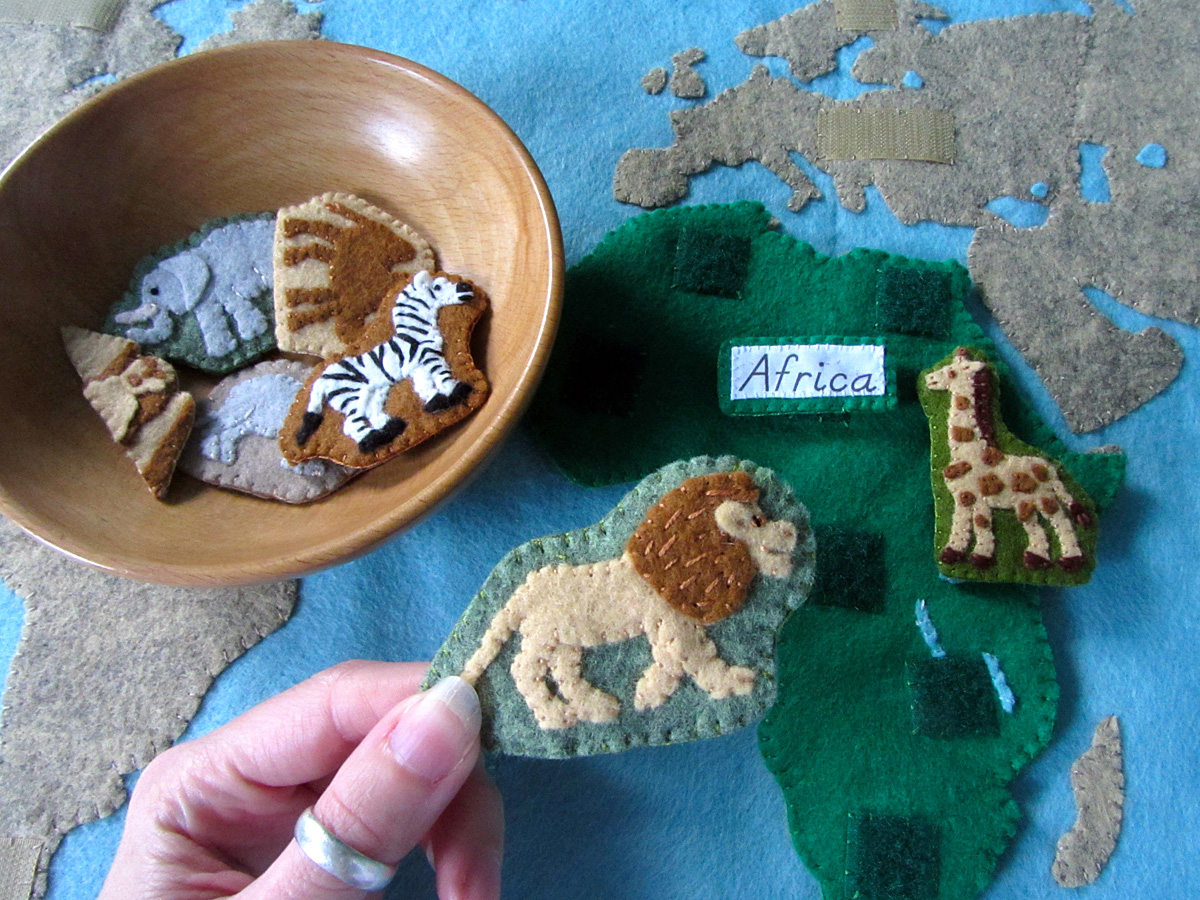
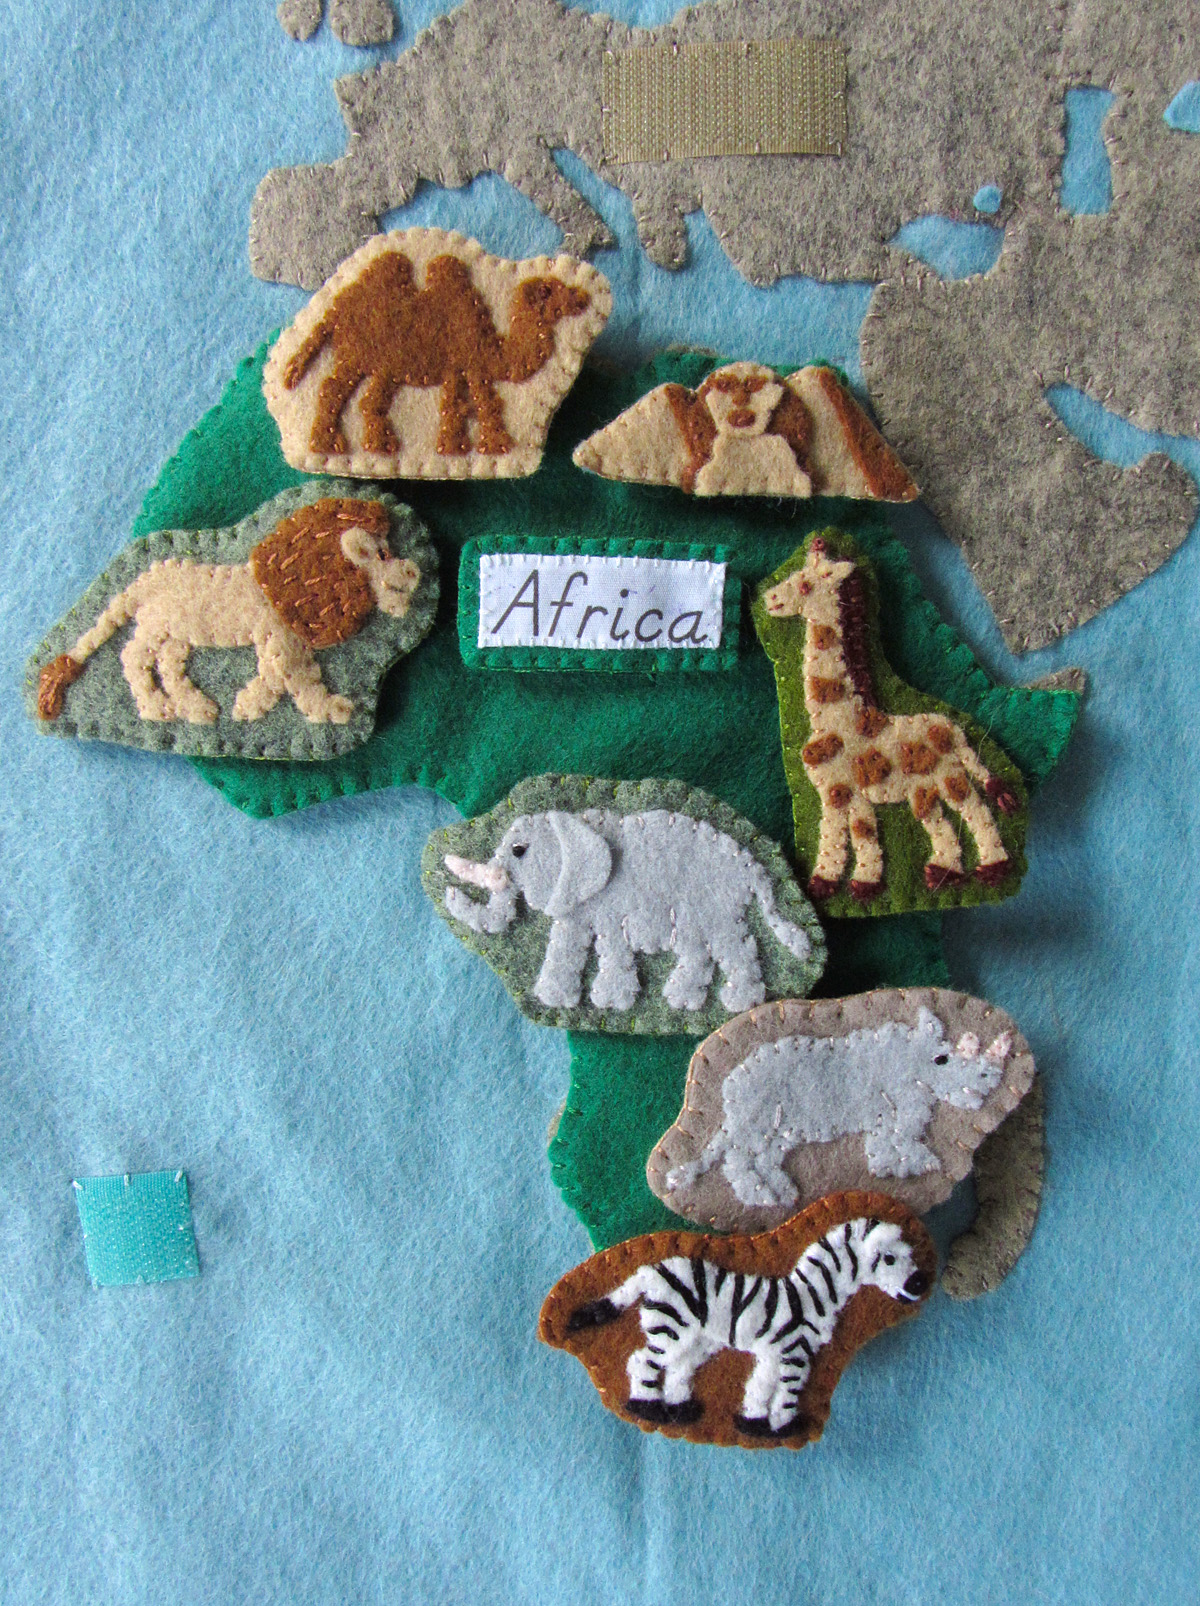
On the Map: You can move the wall map to the floor and have your child place the right SafariLTD figurines on each continent. While you are still introducing them, you can stick to one continent at a time and match the names or photo cards. Seeing the animals on the maps is a great way to help them remember!
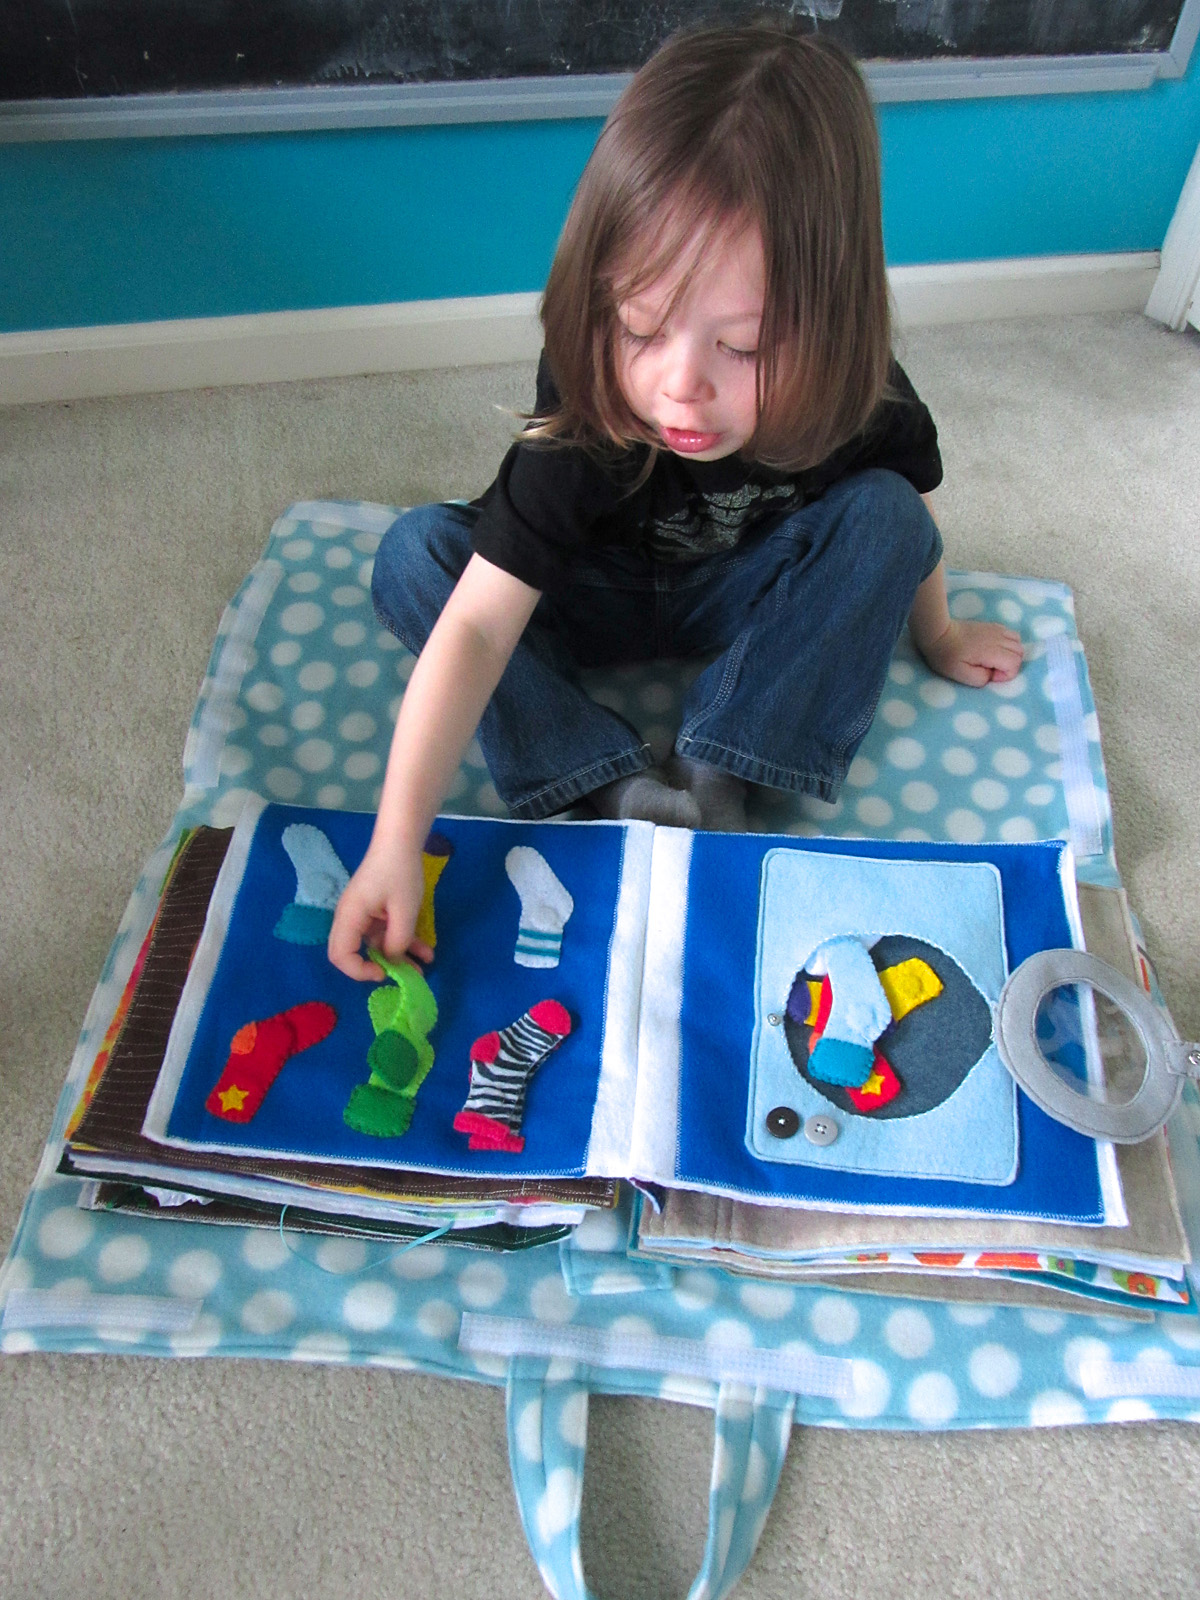
And of course your child can match the correct felt animals and landmarks on the wall map or in the quietbook while on the go.

Animal Videos: After Jax matches his animal, I like to have him choose one and then I queue a video about them on YouTube. I like the NatGeo and BBC clips. Seeing the animals in motion really captures his interest and helps him remember them. He was really taken by the mandrill video when we did your African animal cards.
I hope you are enjoying this project as much as I am! I’ve gotten see the maps a few of you have started! If you are sewing along, tag me on Instagram @iolstephanie (I can’t see your photo if it you are private, but I can request to follow you temporarily) or share photos on Facebook. You can also email me.
I’m very late for Montessori Monday this week, but I hope you’ll check out the other great links!