There are a million ways to sew a quiet book cover, but this tutorial covers (ha!) what I did. To see how I sewed together my pages, read this post.
I used 3″ diameter binder rings I bought here. I had 1 yard of flannel and a 29″ x 11″ piece of fusible fleece from my leftovers pile. I also used a white, 1″ plastic buckle from my dog collar supplies. They sell black ones in fabric stores.
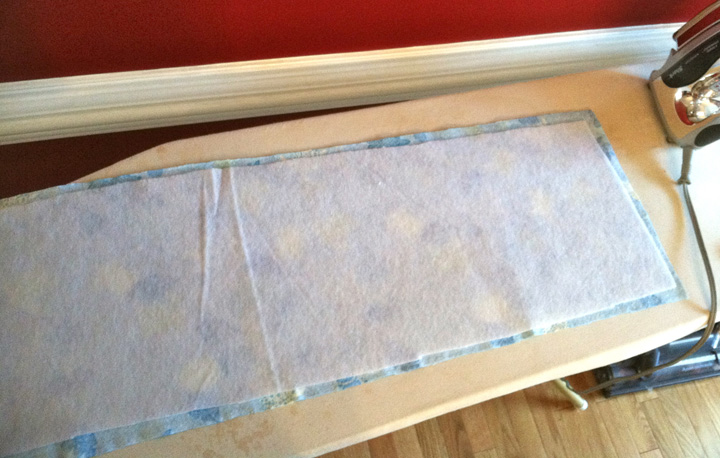
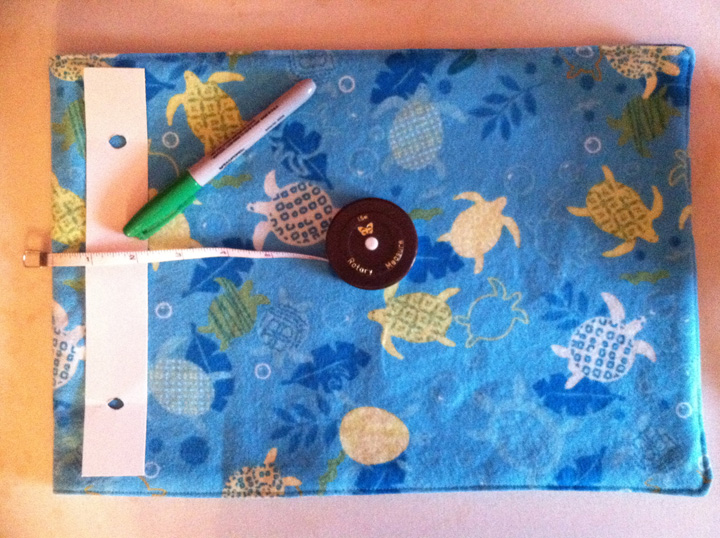


- I started with two rectangles of flannel. You could use different fabric for the cover and inside, but I was using some I already had. My width was 30″ and height was 12″. To find your width: (page width x 2) + the diameter of your rings + 2″ for overhang + 1″ seam allowance. To find your height: page height + 2″ for overhang + 1″ seam allowance. I also cut a piece of fusible fleece 1″ smaller and ironed it to the back of one piece.
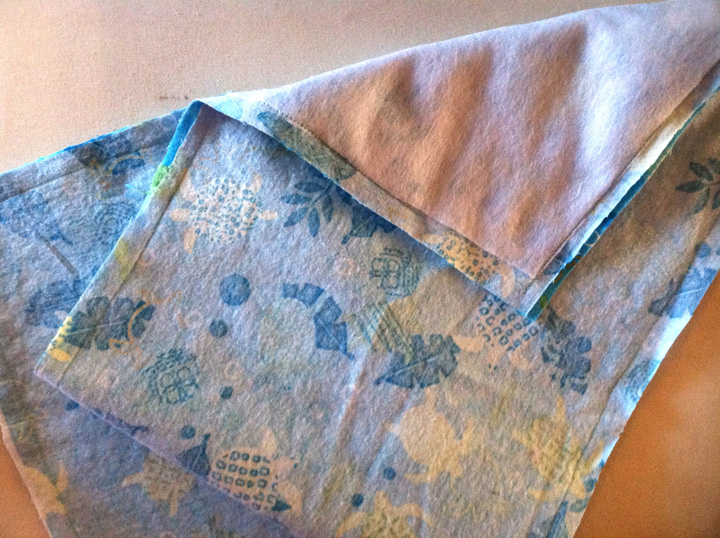
- I sewed the two sides together, right sides facing, leaving a 4″ hole to turn it.
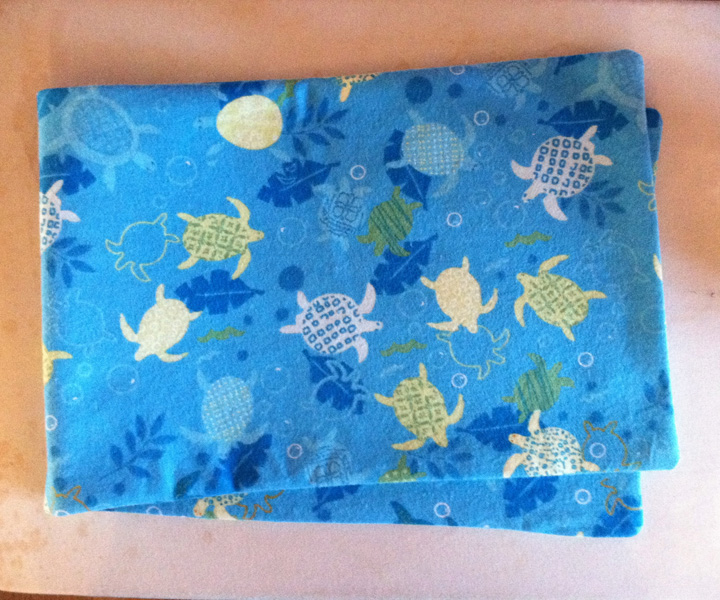
- Turn it right side out and press. (Clip the corners first if you’d rather they not be rounded. I like that.)
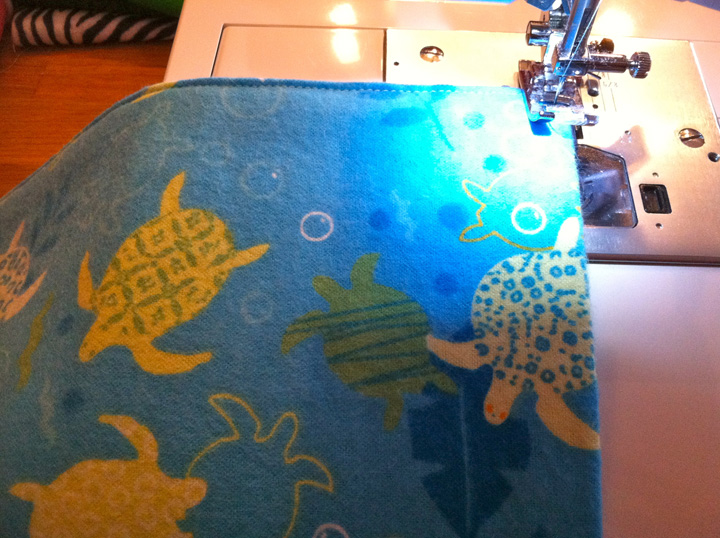
- Top stitch all the way around, closing your hole in the process.
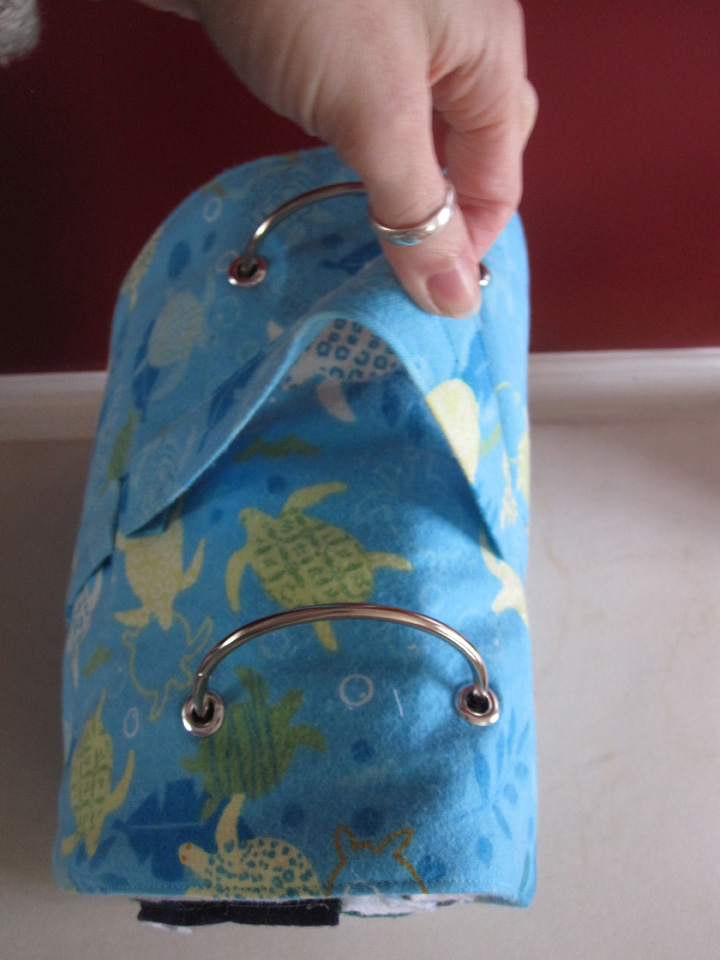
- Fold the cover in half to find your center, then measure half the diameter of your rings from the fold. Use the same template you used on your pages to mark grommet holes. Repeat on the other side.
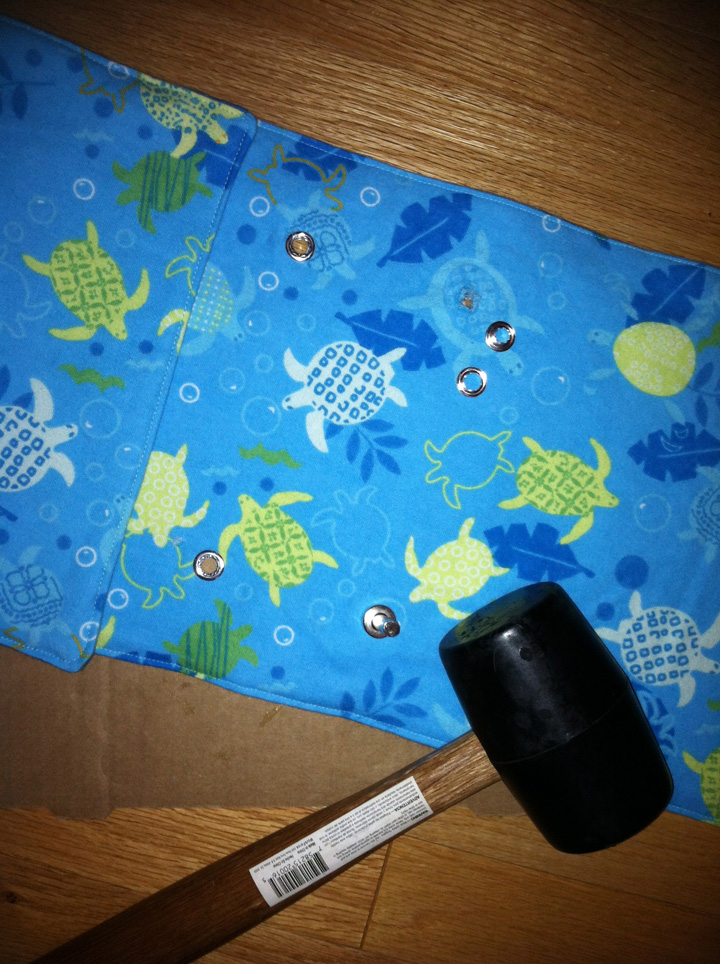
- Install your grommets. You will have two sets of grommets centered on your cover piece that are set apart the diameter of your rings (3″ for me.)
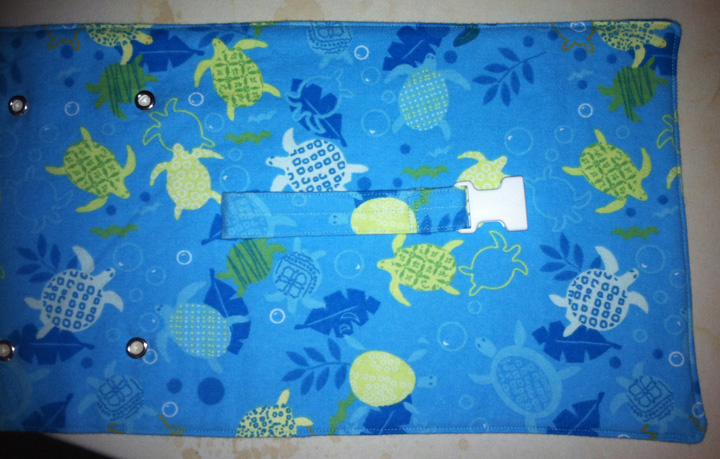
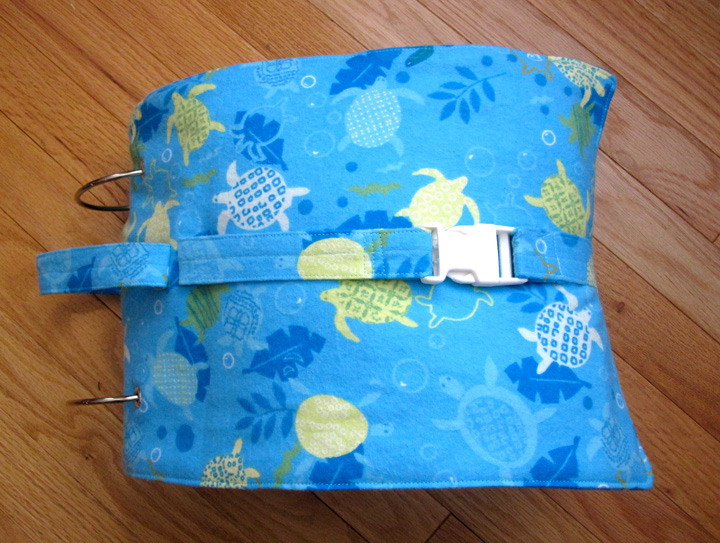
- I made two lengths of straps with half of the buckle on the end of each one. I believe my finished sizes were 30″ x 1″ and 8″ x 1″. I attached the short one to the front with the buckle aimed away from the spine.
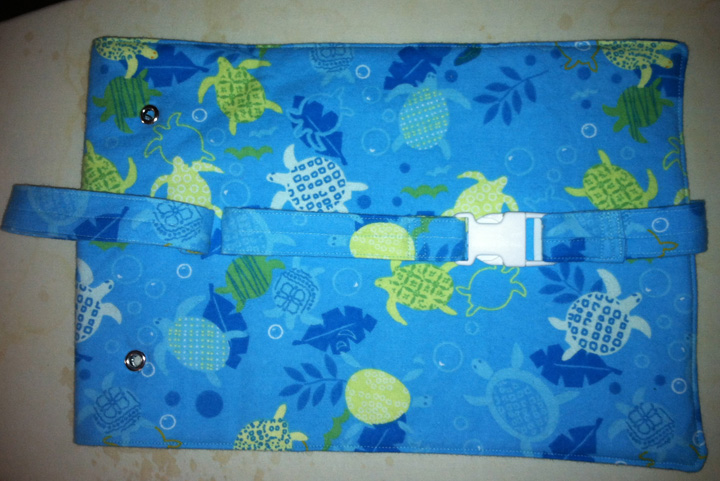
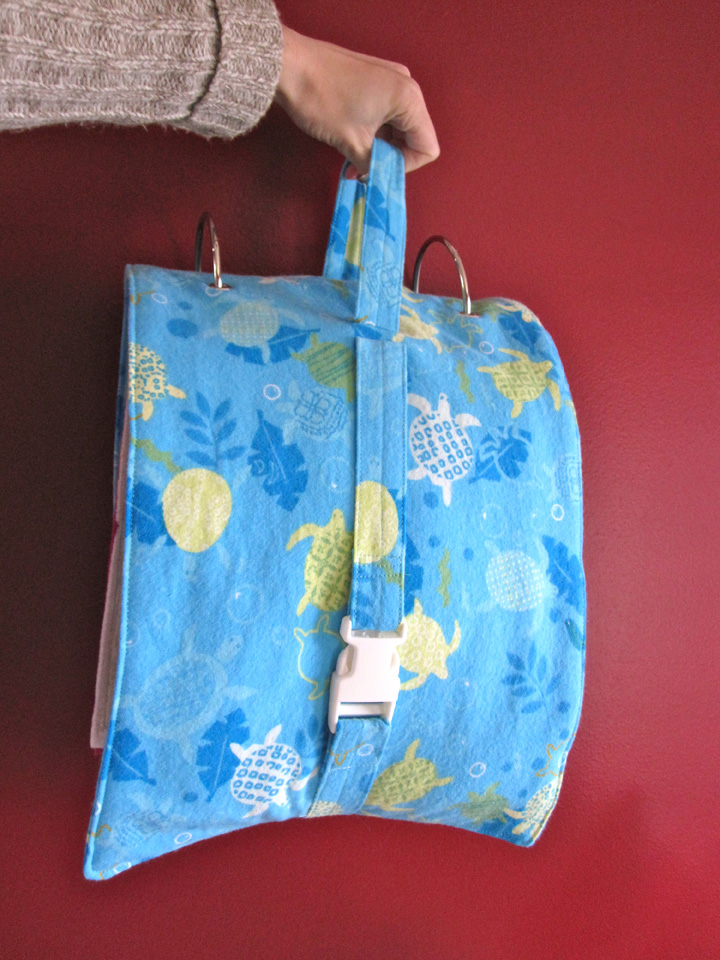
- I attached the long strap right behind the short one going in the opposite direction, across the spine and around the book to hold it closed when buckled.
- With the buckle closed, I determined how tight I wanted the strap and sewed the extra into a handle by sewed the strap down on the other side of the spine (see photos for clarification.)
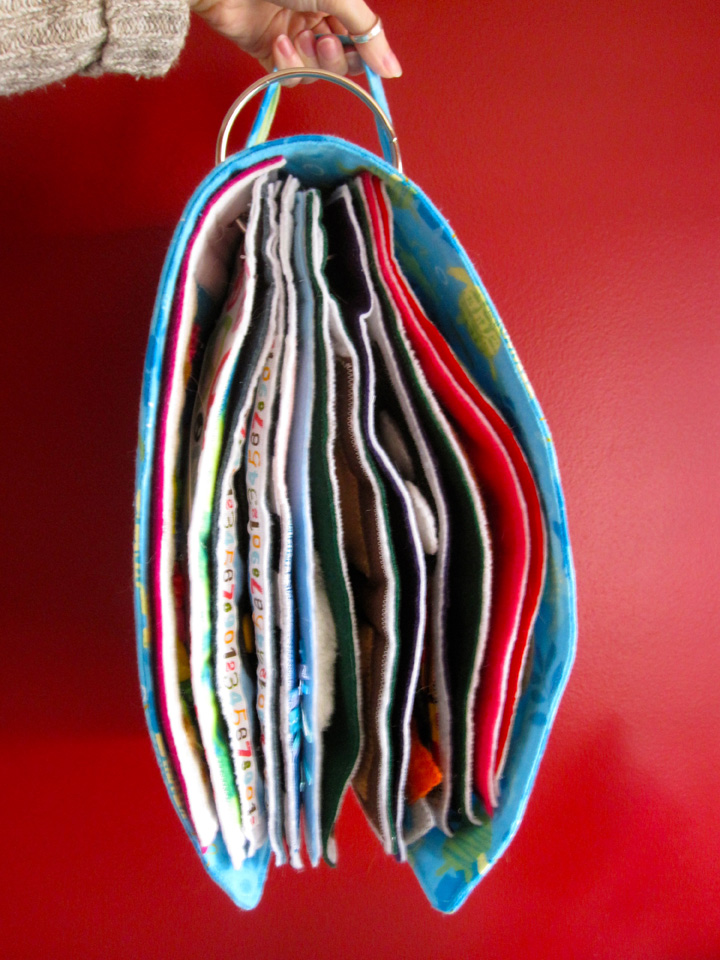
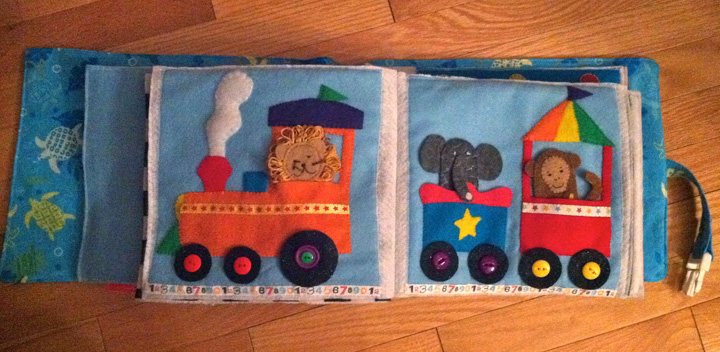
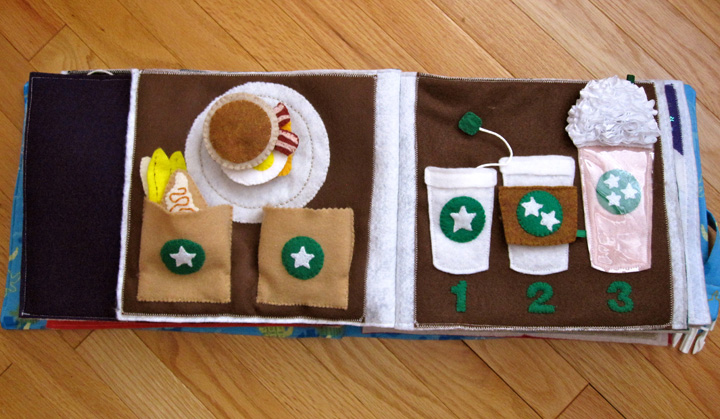
That isn’t even all of my pages! I bought extra rings so I can keep the pages not in use organized. Swapping the pages out regularly will keep the quiet book interesting for Jax.
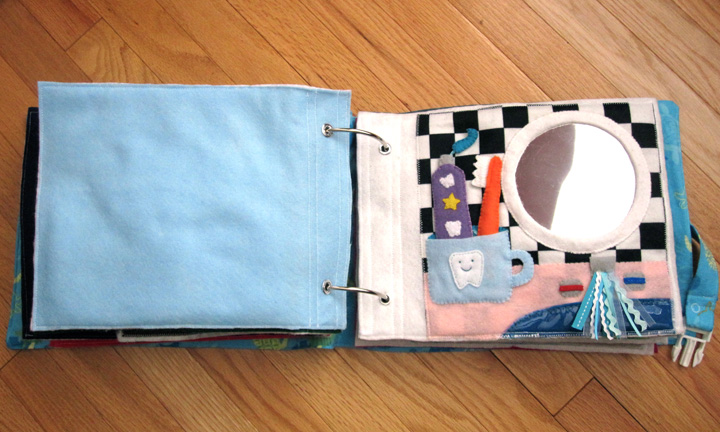
I’m bringing about half the pages shown there on the plane ride. I chose the ones most exciting to him that don’t have tiny parts. I also punched holes in the top of a freezer bag and have that in there with a notebook, crayons and stickers.
We should be in the air right now as this post goes live. Wish us luck!
All of your quiet book pages are AMAZING! I pinned a bunch to Pinterest- thank you so much for sharing the patterns!
Thanks! I’m addicted to making them!
THANK YOU for posting this!!! This is exactly how I’ve been wanting to put my quiet book together, but I’ve been putting it off because I wasn’t really sure how to measure it or make the rings work. Cute, cute pages too. I love how unique they are. So different from everything else in blogland. THANKS!
I was hesitant to make the cover too, but it came together very easily. I am planning to try other cover styles as well, since the ring system lets me I’ve the pages around.
Hi such cute pages! I was wondering some really basic questions that will show my inexperience with sewing. Do you actually hand sew all the little pieces? What stitch to you use when you sew the pages? What kind of thread do you use? Thanks!
Yes, I hand sew almost all the page elements. I generally will write in my posts where I used a machine. For sewing the loose elements(ones that have a back and front sew together) I use a blanket stitch around the edges. For sewing elements to the background of the page, I make short, perpendicular stitches across the edge of the felt.
I use 2 strands of embroidery thread (it comes with 6 strands.)
I’m amazed by your creativity & ability to hand-sew so patiently! My hands hurt just looking at your hand-sewn pieces! Your son is a very lucky kid!
Question: Is there a reason you didn’t make your cover just like the other pages? Do you think if I used 2 different felt pages for the front & back pages & put them on the rings, it will fall apart sooner? I didn’t buy big enough pieces of felt to wrap around the whole thing & was wondering if I can get away with what I have, but I don’t want to regret cutting corners.
Also, I was thinking about doing a velcro fastener to close up the entire book, but I like the way you do yours with the clip, too.
I think you could try any kind of cover you like! I’ve actually made two. The other one is the size of two 12″ x 9″ pages side by side with room for 3″ rings between, and it closes on all sides into a pillow. It is made of fleece and I use it for car trips so loose pieces don’t fall out.
fI’m amazed by your pages! I just started sewing and the quiet book is only my second project and I’m learning so much with every page. Thank you for that!
With my book I’ve many loose pieces and I was wondering, if you could post a picture (and maybe instructions?) for your alternative cover? That would help me a great deal. Thank you again! =)
I am amazed at your talent and appreciate very much that you freely give it to us. Thank you much. Do you have instructions, pictures, etc. for your alternative book cover? If so could you post same or send in an email? Thank you again. (78 yrs. of age, making your quiet book pages for my great grandson).
Hi Vera, I plan to write up a tutorial on the big cover I have soon. I may make a small version of it so I have good how-to photos.
adding to comment.
OMG!!! I’ve been trying to find just the right tutorial to help me with my 1st activity book for my soon-to-be 2yr old girl. (Want to make it in time for her 2nd birthday.) I came across your blog and THANK YOU SOOOO MUCH!!!! I ABSOLUTELY LOVE your books and your tutorials are AWESOME!. I cannot wait to get started! Just getting my shopping list together and then it’s on!!!! I’m so excited!!!
Thanks again for this. UR AWESOMELY TALENTED AND MUCH APPRECIATED!!!!!!!!
Pingback: Traveling with Kids – Montessori-Inspired Activities | LivingMontessoriNow.com
Pingback: 12 Creative Grommet DIYs & Sewing Tutorials - Swoodson Says
Thank you so much for all those great ideas, I love all your pages !
I’m making some of them for my nearly 2 years old son and I would like to know witch size of grommets you’re using.
Thanks for your answer
How do you put in the pages that go together like the sandcastle one or the bee hive?
Thank so much for your inspiration
Claudia
I’ve been contemplating putting a zipper around the outside to prevent any bits and pieces from getting lost when we’re out. Is there a reason you wouldn’t add zippers or just preference? Any tips if I decide to add a zipper to this?
Pingback: Quiet Book for Toddlers: Everything You Need To Know About Quiet Books And How To Make One
Pingback: Quiet Book Cover – Part Four of Four – Simply Kyra
I am late to the party, but none the less I am loving all of your pages. My daughter is due to have her one and only baby in November (five years trying ). She asked me if I could make her a quiet book. I too sew 90% hand sew and my favorite medium to work with is felt. Yo. u are quite talented, thank you for sharing your craft. I love the idea of having loose pages on hand and a cover for the one book. Perfect for pages under a year, and then two and three. With all these lockdowns I definitely have the time now to create some pages for my grandson
y