Tag Archives: Tutorial

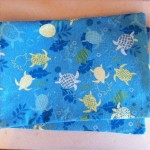
The Nine Minute Pencil Bag

The Nine Minute Pencil Bag
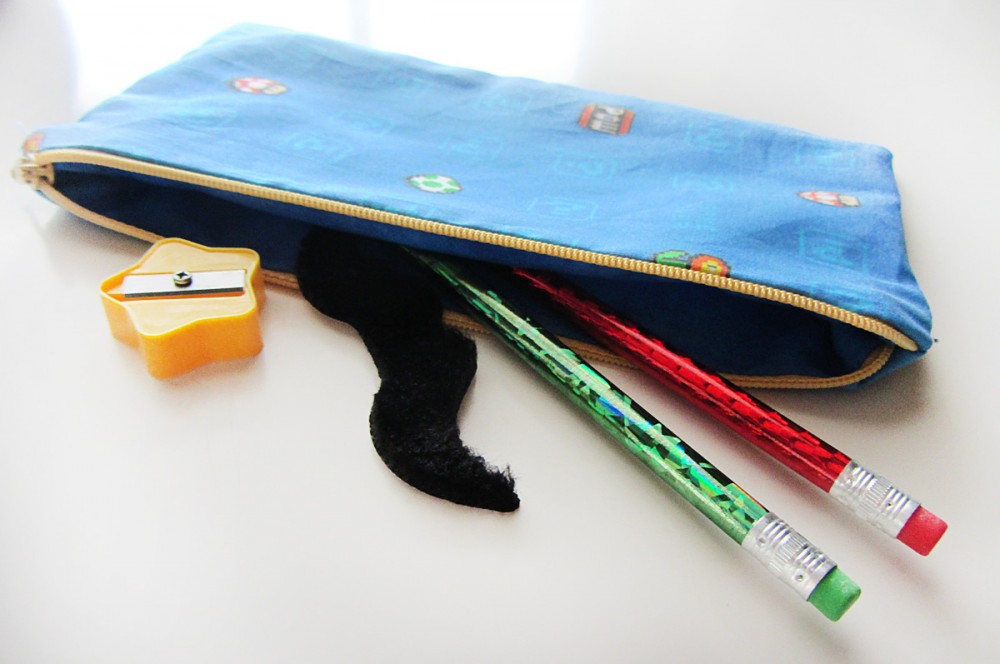
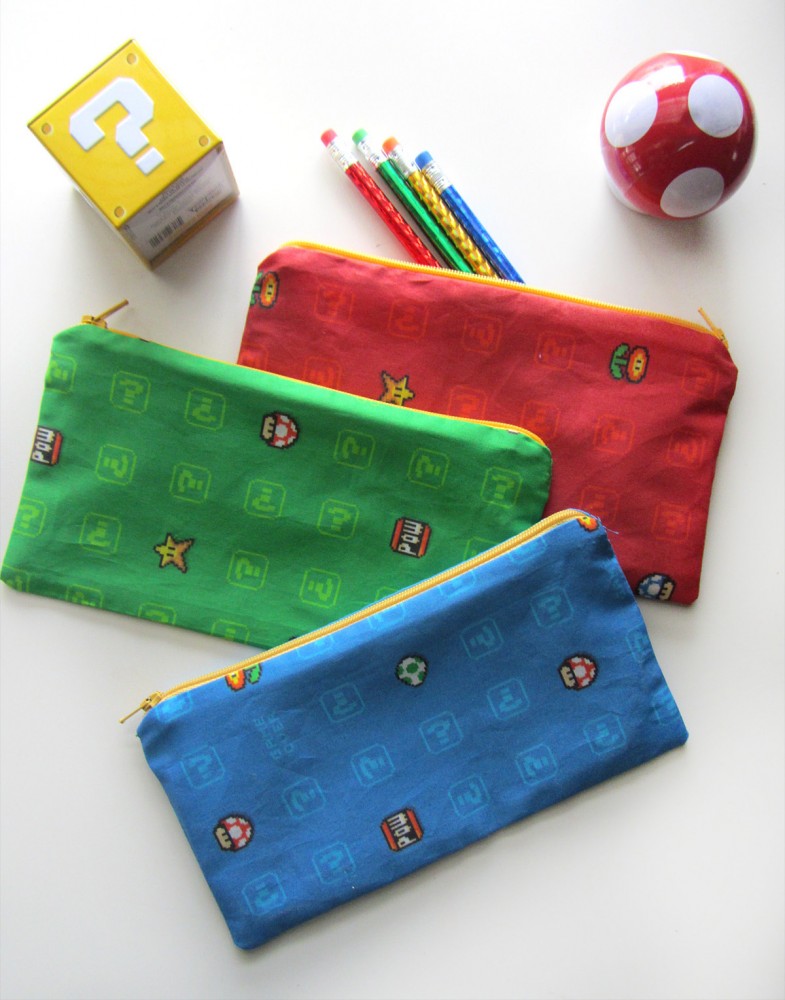
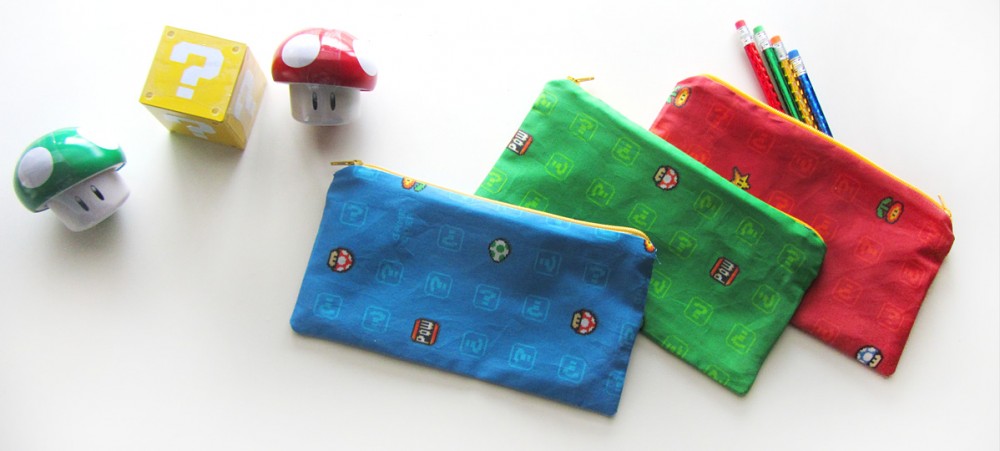
My little man is turning 5! He’s very into his Wii and anything Super Mario, so it was easy to pick his party theme. I always like to include a handmade party favor for our guests. This year, I’m making pencil bags! Since I am making 12 of them and my free time has been so limited lately, I had to make them quickly. And so, the Nine Minute Pencil Bag was born!

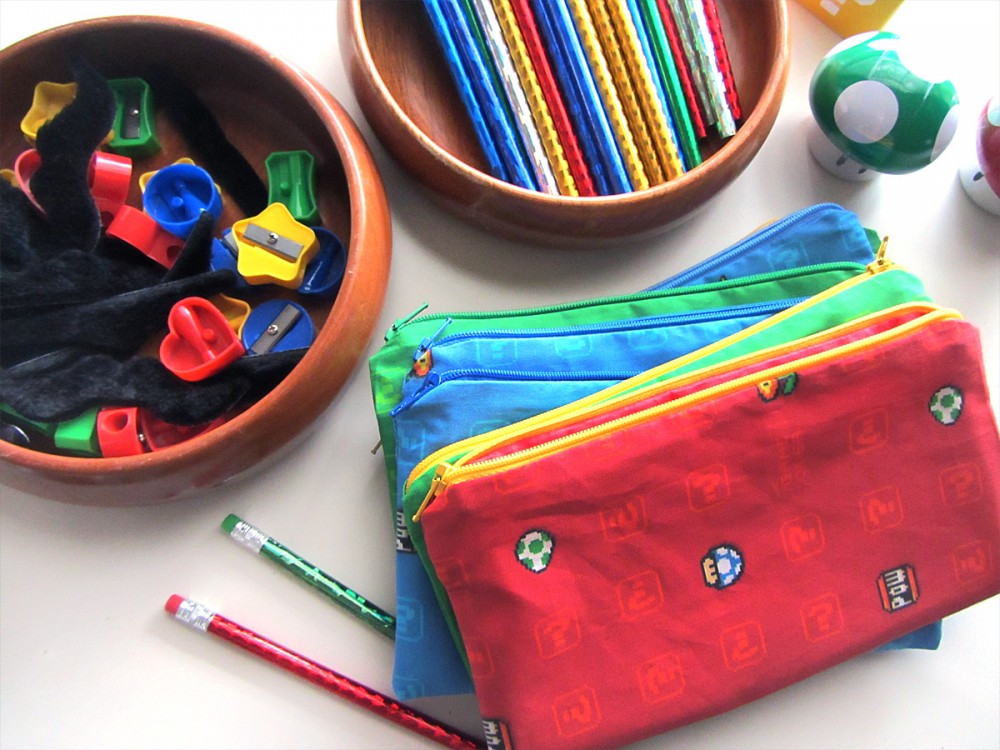
I used fabric that I custom designed and ordered through Spoonflower.  I made a question box tumble in three colorways: red, green and blue. I ordered one fat quarter of each. I needed a dozen 9″ zippers, so I ended up buying this zipper assortment. It came with a good assortment and only one of them was the wrong size out of 54. I also bought three additional fat quarters in coordinating colors. With 6 fat quarters (3 outer fabric and 3 lining) you can make 12 bags.

The Nine Minute Pencil Bag

What I Used:

  • Two 9″ x  5″ rectangles in my outer fabric
  • Two 9″ x 5″ rectangles in my lining fabric
  • One 9″ zipper
  • Matching thread
  • Iron, sewing machine (with zipper foot) and scissors

The Video:

I don’t talk in this video – turn on CC if you’d like written instructions. And enjoy one of my favorite classical pieces – The Blue Danube!

The Basic Overview:

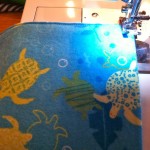
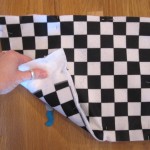
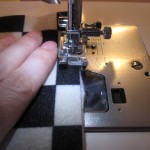
You start with a “zipper sandwich” – take one rectangle of each of the fabrics and lay then stacked, right sides facing. Place the zipper inside the sandwich facing the outer fabric. Line its edge up with the long side of the fabric on the inside of the sandwich. Sew along the zipper with a zipper foot (moving the zipper pull partway). Flip the two rectangle so their wrong sides are facing and the zipper is sticking out of the sandwich. Make a new sandwich around it, right sides facing in, putting the lining on the lining side and outer fabric on the outer fabric side. Sew the edge with a zipper foot (moving the zipper pull partway).

Open up the rectangles so right sides are out and the zipper is in the center. Iron it smooth, then flip the sides so the linings are together (right sides facing) and the outer fabric pieces are together (right sides facing). Press the zipper/seam towards the lining. Open the zip halfway. Starting on the short side of the lining near the bottom of the zip, carefully sew across the zipper. (Make sure you do not sew over the metal crimp at the base of the zipper. It will break your needle!) Sew all the way around until you get back to your starting side, then stop when you have 3″ left to go. Leave that open for turning.

Clip the tails at both ends of your zipper, then clip all four corners. Flip the bag right side out through the hole, unzipping the zipper the rest of the way when you are able. Make sure you poke all the corners out. With the outer fabric and lining on each side, iron it smooth. Fold in the hems of the lining opening and iron it to crease it. Stitch it closed close to the edge. Push the lining into the bag and iron it inside and out, making sure to iron the fabric away from the zipper.

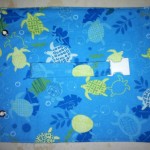
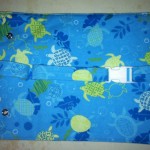
All done! I’ll be filling ours with Dollar Tree pencils, sharpeners and faux mustaches.

The Nine Minute Pencil Bag
They turned out super fun!

The Nine Minute Pencil Bag
If you make some Nine Minute Pencil Bags, I’d love to see them! Share them on my Facebook page or mention me on Twitter or Instagram ( @iolstephanie ). Enjoy!

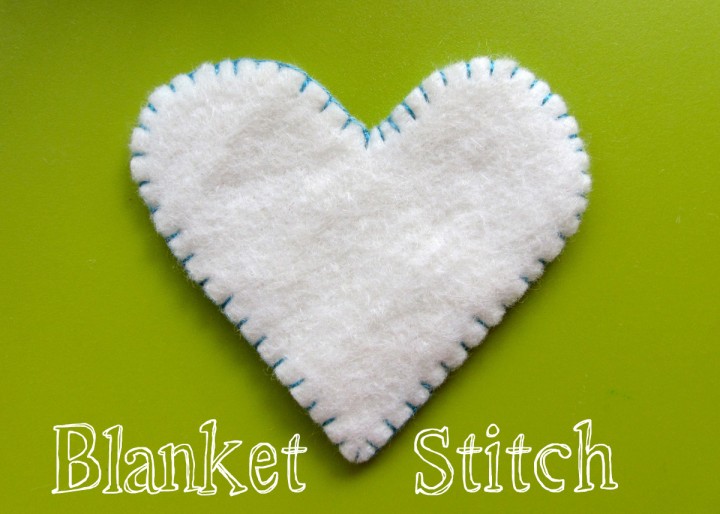
Sewing Basics – Blanket Stitch

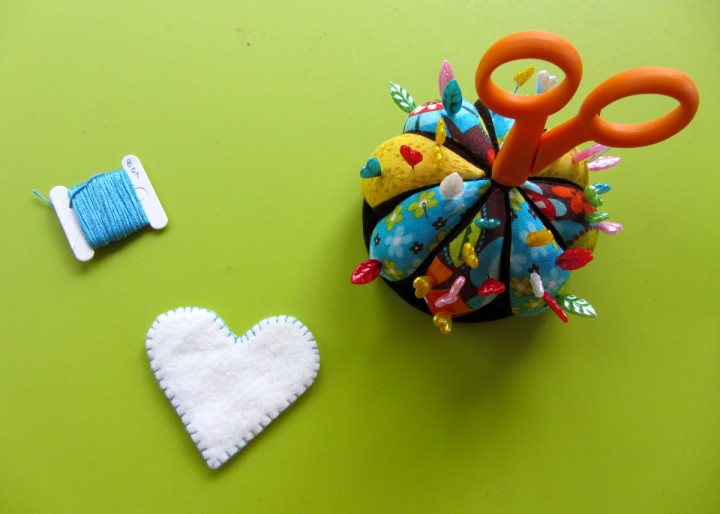
I often get asked how I sew the various loose elements that go with my quiet book pages. For the most part, I use a blanket stitch. Here is a little tutorial with a few tips and tricks I like to use.

Cutting Out the Shape


When an element has a front and back, I like to cut both sides out at once so they match up well. Since most felts have a softer “front” side, I fold my felt sheet and pin the pattern piece to it so I end up with the soft felt out for both sides of the element. I cut the shape out loosely at first, because it can be awkward to hold the whole sheet while cutting. Then I go in and cut it accurately. I remove the pattern paper and trim any uneven edges and felt fuzzies with sharp scissors.

Starting to Sew


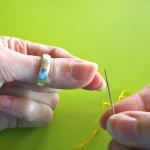
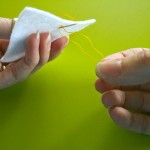
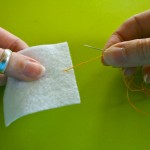
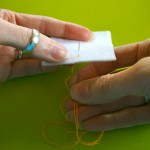
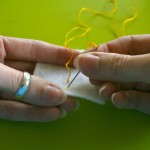
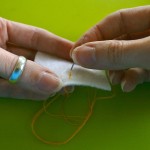
I use two strands of embroidery floss when I sew. See my detailed tutorial on how to thread your needle with 2 strands here. Basically, you cut your thread twice as long as you’d like to work with, separate out one strand of the 6, fold it in half, and thread it through your needle, loose ends first. This will give you a loop at the end of your thread.

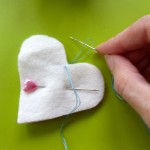
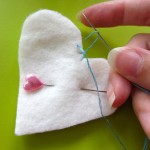
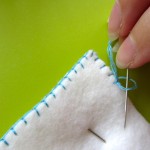
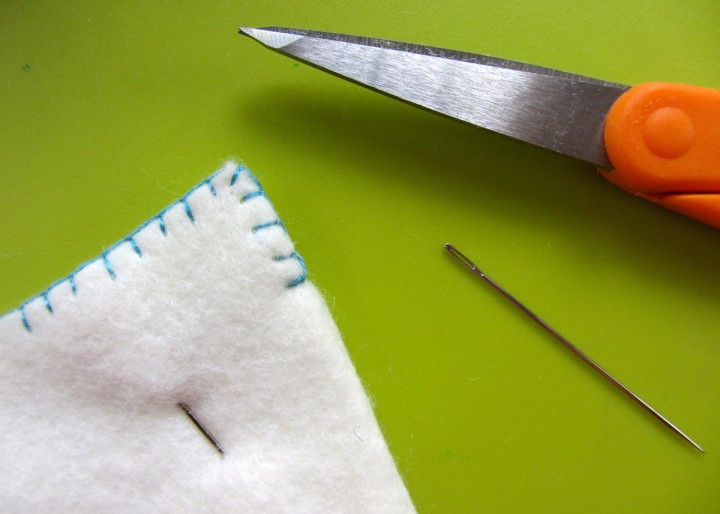
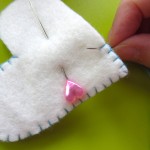
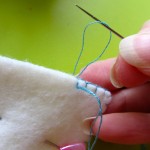
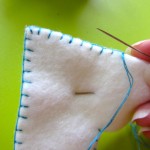
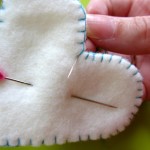
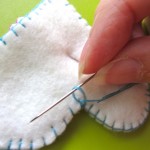
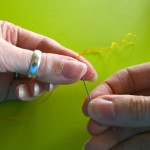
Decide where you want to start stitching. I like to choose a less visible place. Here I chose the inner corner of the heart. Bring your needle up from behind, but don’t pull the thread all the way through. run your needle through the loop at the end of the thread and pull tight. Start the next stitch by coming up from behind. Again, don’t pull the stitch tight yet.


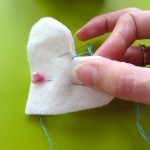
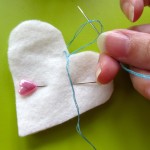
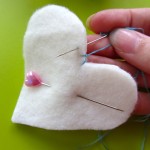
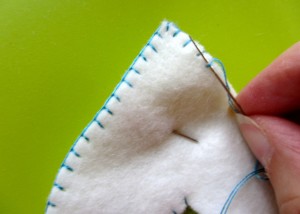
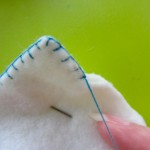
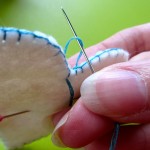
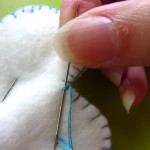
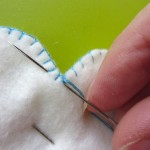
Run your needle from front to back through the loop, then pull the stitch tight. Repeat: come up from the back, don’t pull tight, go back through the loop and pull tight. When you get to a corner, it’s best to do a stitch straight into it. That way your corner stays defined. Continue on until your thread starts to get short.

Ending a Thread


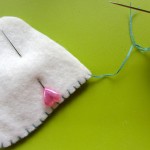
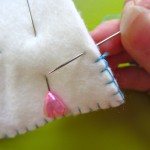
But what happens when your thread gets too short and you have more to sew? Here’s what I do. Start by flipping your piece over and run your needle through the last stitch you made. Don’t pull it tight yet.


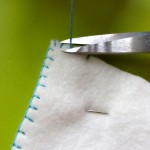
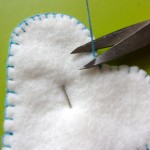
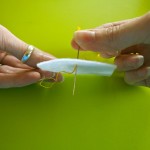
Pass the needle through the loop of thread and pull it tight. There will be a tiny knot at the edge of your piece. (Repeat this if you really want a strong hold. Or use a drop of Fray Check.) Insert your needle into the hole of the stitch and pass it between the layers of felt, coming up through the hole of another stitch. Cut the thread off flush with the felt. This will hide your thread tail inside the piece.

Starting a New Thread


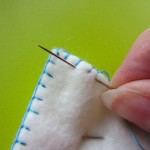
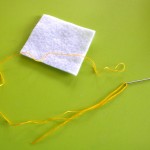
Now we need to start a new thread. Thread your needle the same as before so you have a loop at the end. Start to sew the same way you did in the beginning, but start over-top of your last stitch. This way, you won’t have a gap in the thread running along the edge of your piece. Bring your needle up from behind, but don’t pull tight. Go back through the loop of thread and pull tight. Move over and come up through the felt from behind to start the next stitch. Continue on in blanket stitch.

Finishing Up


Finishing up is pretty much what we’ve been doing before. In order to not have a gap in the thread along the edge of your piece, Make a stitch over-top of your first stitch. Then, on the back of the piece, run your needle through the stitch and back through the loop of thread to make a knot. Pass the needle down through the stitch’s hole, between the layers of felt, and back up through another stitch’s hole. Clip close to the felt to hide the thread tail.

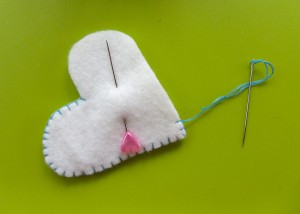
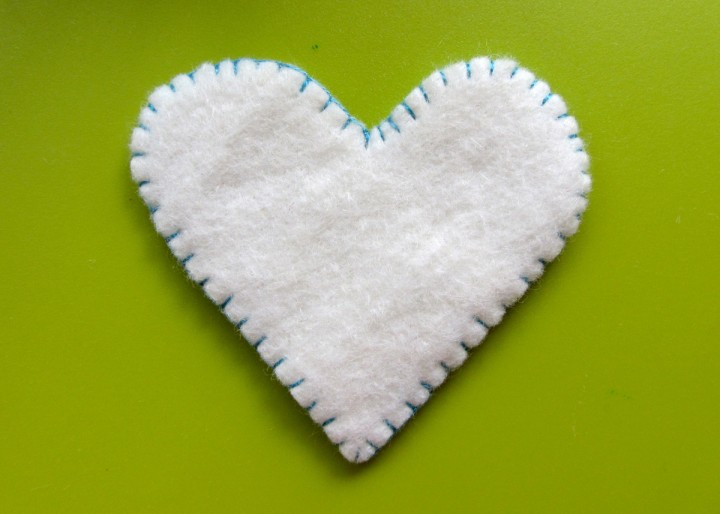
All done!

Sewing Basics – Embroidery Floss and Back Stitch

I will be featuring some hand sewing basics here for those of you who are new to it. If you have a special request, please let me know!

Embroidery Floss

When I sew with felt, I almost always use 2 strands of embroidery floss. Embroidery floss comes in 6-ply – 6 strands put together. I generally use DMC or Anchor, but sometimes buy bulk packs of cheaper stuff. The brand name floss tangles a lot less. It comes in a skein – an elongated coil that is banded at the top and bottom with paper rings. You can just pull on one of the tails to get the length of thread you need, but the skein will most likely get messy. I recommend buying paper bobbins and winding your new skeins around them. Write the color number on the side and pop them in a craft box for storage.

Threading the Needle & Getting Started


Let’s get started! Cut off twice the length of thread you want to work with. I usually cut about 4 feet that will end up 2 feet once folded. Separate out one of the six strands of floss and hold one tight to it. Use your other hand to slide the other 5 strands in a bunch down the length. Make sure the bunch doesn’t start to get too tight and tangle. A little wiggle here and there will keep it from tightening. When you have your single strand, fold it in half so the ends meet. (You can set aside the rest of the thread to use a little later, or wind it around the bobbin for storage if you won’t need that color again for a while.)


Now, thread your needle, with the two ends going through the needle eye together. I like to get the ends of the thread damp then pinch them between my thumb and forefinger, with just a couple mm sticking out. Then I slide the hole of the needle down onto the thread, wiggling back and forth slightly. Trim the ends of the thread first with sharp scissors if they are at all frayed. (I use these.) Pull the ends through the needle for a few inches. You should have a loop at the end of your thread.


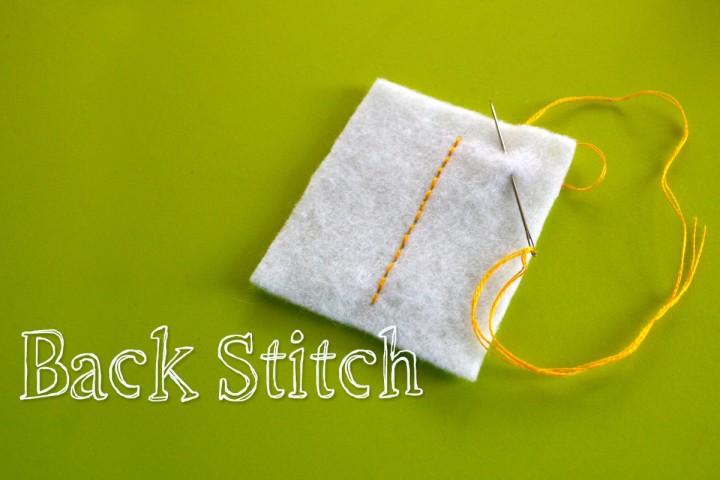
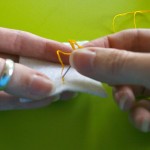
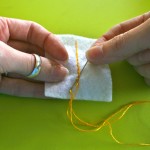
Ready to stitch? I’ll be doing a back stitch, so my first stitch will be a simple straight one. Come up through the back of your felt, but don’t pull the thread all the way through. Come back down to make your stitch, then pass your needle through the loop at the end of the thread. Gently pull it tight to secure your thread. Quick, easy and no knot!

Back Stitch

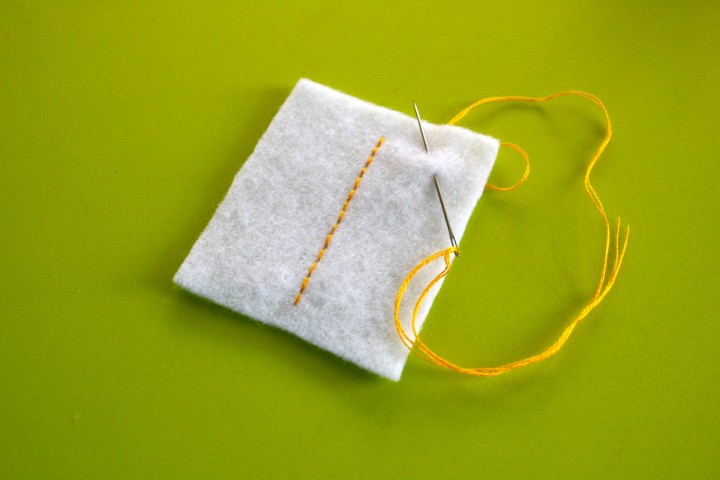
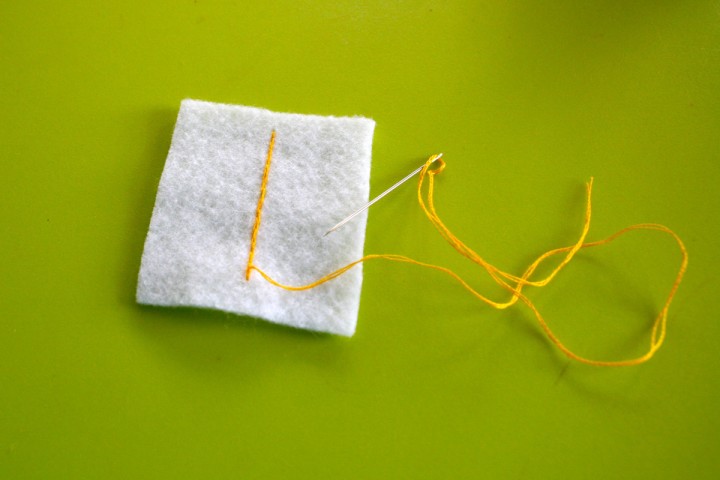
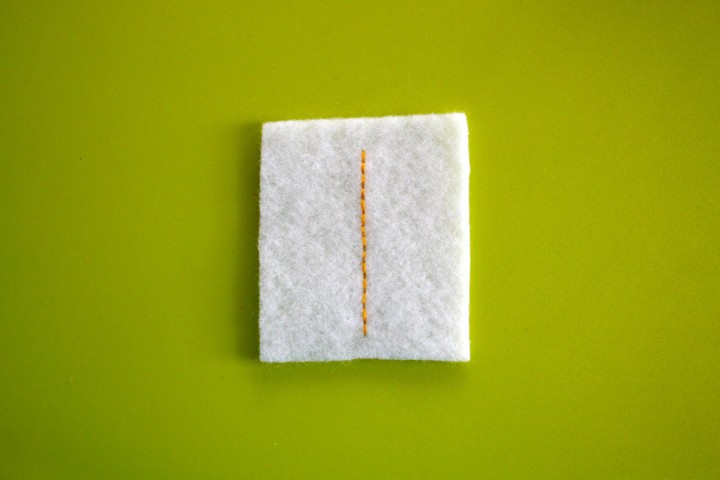
A back stitch will give you a nice straight line of dashed stitches with no space in between them. Start with your first stitch already done. Come up through your felt from back to front at the spot you want your stitch to end. (So if each stitch is 3 mm long, come up 3 mm from the last stitch.) Go back down through your felt in the same spot your first stitch ended. Your two stitches will be sharing the same hole in your felt where they meet.


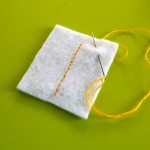
Continue on the same way – come up where you want each stitch to end, then go back down through the previous stitch’s hole.


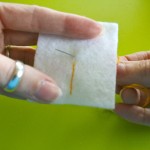
Here is what the front looks like:

And here is the back:

Tying off the Thread

There are many ways to tie off your thread – use whatever works best for the situation. This is what I tend to do most often to keep the back of my work neat.


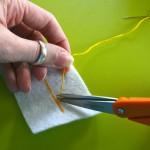
On the back of your work, run the needle through one of the stitches, but don’t pull it all the way though. Pass the needle through the loop your thread makes then pull tight into a knot. Go back through the stitch the opposite way and repeat making the knot. I don’t like cut my thread close to the knots, so I run my needle through several stitches before snipping it.

All done!

Jackson’s 2nd Birthday – Sushi Party

Ask my son what he wants for dinner and his answer will most likely be “sushi!” Of course, he doesn’t really eat actual sushi, but we go to our favorite sushi spot and sit at the bar. They bring him bowls of miso soup with rice and heaps of tofu and little plates of crab sticks. He adores it! So when I was brainstorming his birthday party theme, sushi crossed my mind and I knew it would be perfect.

Decorations
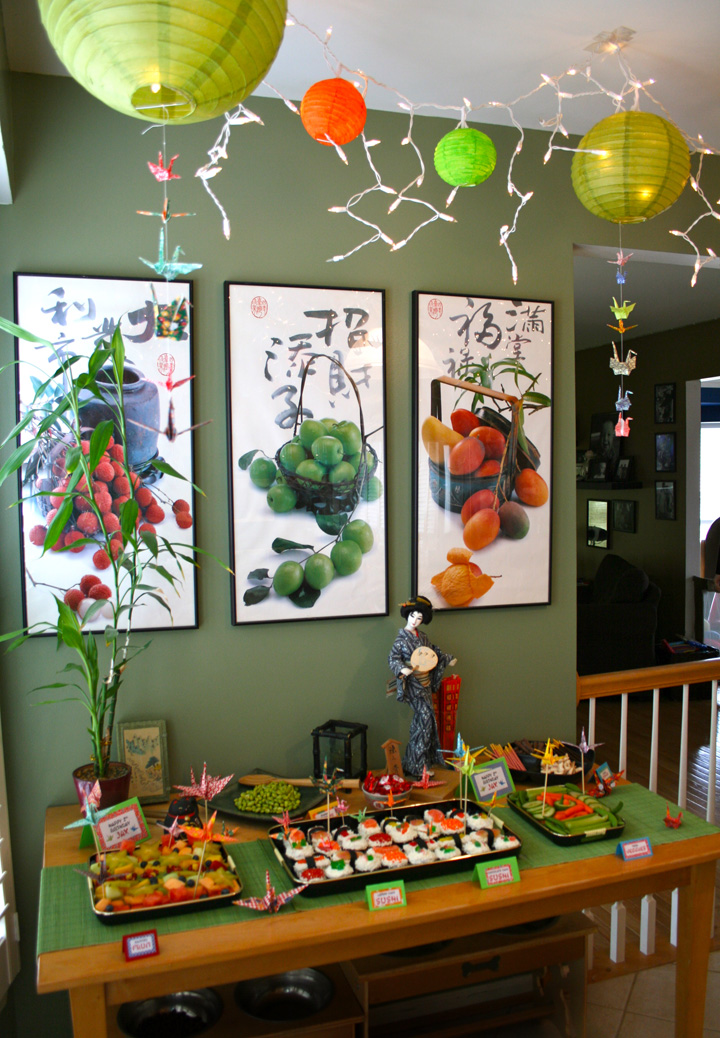
My decorations were a combination of items I owned, items from the thrift and dollar stores and items I purchased from a party supply. I decided to focus on only one room – the kitchen.
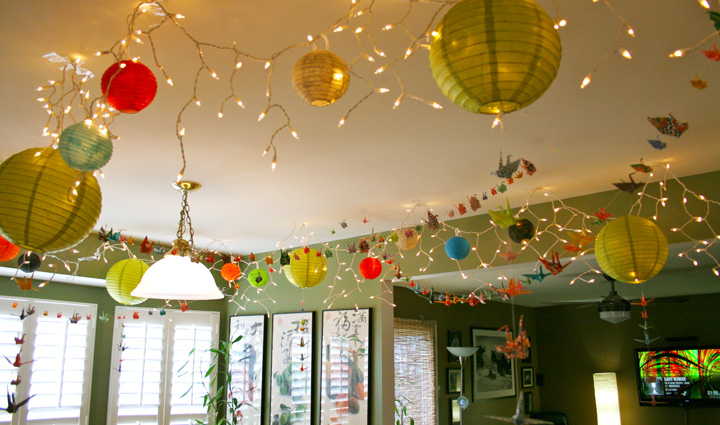
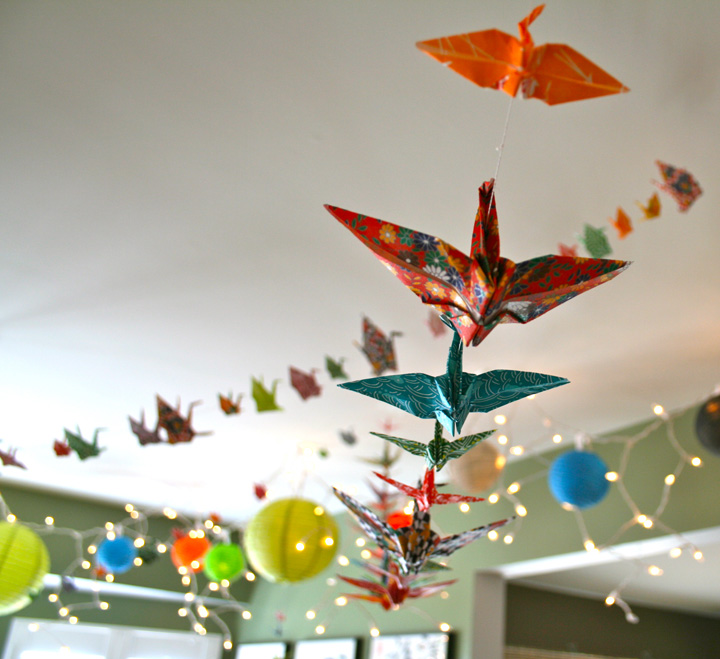
For the ceiling, I purchased a set of green paper lanterns and 2 sets of small, white paintable lanterns. I painted them a variety of colors using craft paints I already owned. I hung our old icicle lights on the kitchen ceiling and then added the lanterns. I had envisioned the lanterns as well as lots of paper cranes. Using three sizes of origami paper in beautiful traditional patterns, I folded about 250 – 300 cranes over the month of January.
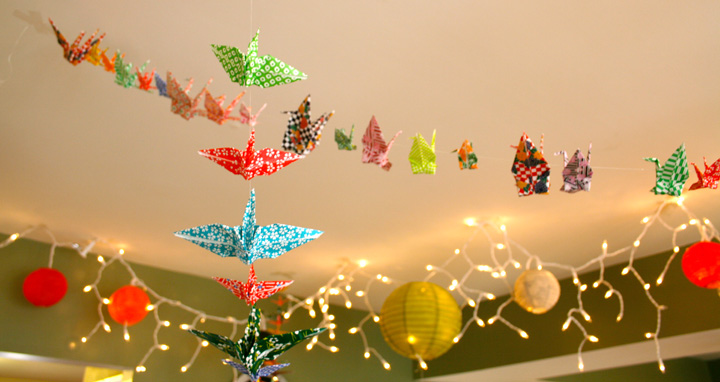
Crane Mini Tutorial: Fold your cranes. I can do this in my sleep, as I used to make hundreds of teeny tiny cranes when I was little. Using strong thread (I used this) cut to your desired length and a needle, poke your need through the tail and neck of the first bird (for a horizontal garland) or up through the body (for a vertical garland). Tie a knot after each bird and repeat until your garland is the desired length. To make my knots, I made a slip knot, then ran my needle through the loop and pulled it tight.
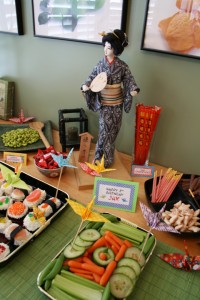
The food table is our kitchen table push up against a wall. The Asian prints were already there. They are from a calendar a Chinese restaurant gave us years ago. From around the house I added: one of my many bamboo plants, my beloved Geisha doll that my grandpa gave me when I was little, a maneki neko and a black bamboo candle holder. I also used our new bamboo placemats as a table runner. From the thrift store, I was able to add a set of Japanese food trays that held cupcakes, fruit and veggies. I also found a pretty sumi-e ink set that I displayed with some brushes and a green square platter for serving edamame. I added handmade labels to all the dishes with both the English and Japanese names (or at least what the internet told me the Japanese names were!) I glued some toothpicks and skewers onto some cranes to embellish the food.
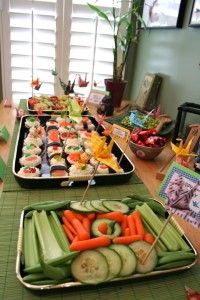
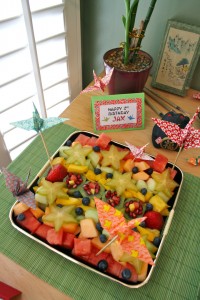
   

Food
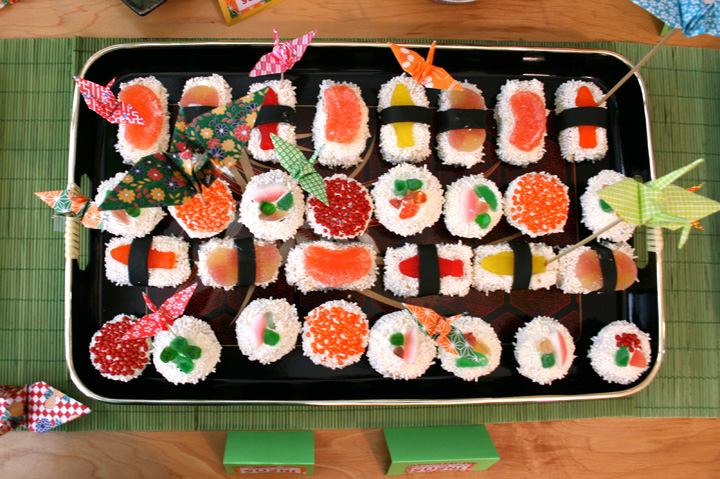
The main attraction was the sushi cupcakes. I am so happy at how they came out! And they were so simple. I made a ton of them – two full cakes worth – and provided cupcake boxes so guests could bring home 3 or 4 mini cupcakes.

Sushi Cupcake Mini Tutorial: You’ll need cake, white frosting, lots of white jimmies/sprinkles, red and orange pearl sprinkles (I purchased all my sprinkles from the Etsy shop Sweet Estelle’s Baking Supply), assorted gummy candies (I used large Swedish fish, candy orange slices, gumdrop peaches, strawberries and cream gumdrops, gummy worms and gumdrops), green or black mini cupcake papers, black fondant (I dyed some green I already had black), and one of these great cutters. For my round maki sushi, I made dark chocolate cake in green mini cupcake papers. This made the papers look really dark green. I frosted them with cream cheese frosting, stuck on some sliced candies or pearl sprinkles, then covered the rest of the frosting with white jimmies.
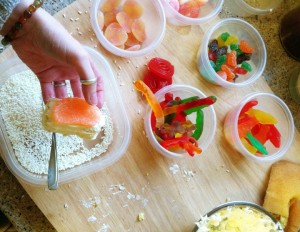
For my nigiri style cupcakes, I baked lemon cake in two 1/4 sheet pans and chilled them for a few hours. I used the cutter to make perfectly even rectangles. I rolled out the black fondant and cut it into strips. I frosted everything but the bottom of the cake (I used more cream cheese frosting but with lemon extract added), laid candies on top (for the orange slices, I rolled them flat with a rolling pin), then wrapped a strip of fondant seaweed around some of them. I covered the exposed frosting with lots of sprinkles. I chilled all the cupcakes overnight to help the frosting firm up a bit. They were great, and I had none left after the party.
Jax loves fruit, so despite him being a winter baby, I treated him to all his favorite off-season fruits. The party had been underway 30 seconds when he was already stealing watermelon off the fruit tray! For the tray, I laid out rows of watermelon, honeydew, cantaloupe and mango, with star fruit and blueberries on top. The center was a row of kiwi “sushi”. I hollowed out some thick kiwi slices and stuck some sticks of watermelon and cantaloupe in the hole. A sprinkle of pomegranate seeds on top finished them. With my extra fruit, I mixed a big bowl of salad for the counter with: watermelon, kiwi, honeydew, strawberries, blueberries, grapes and pomegranate seeds. Just about all of the fruit was eaten. I also had a veggie tray with carrots, celery, sugar snap peas and a cucumber “sushi” made like the kiwi ones but with veggies.
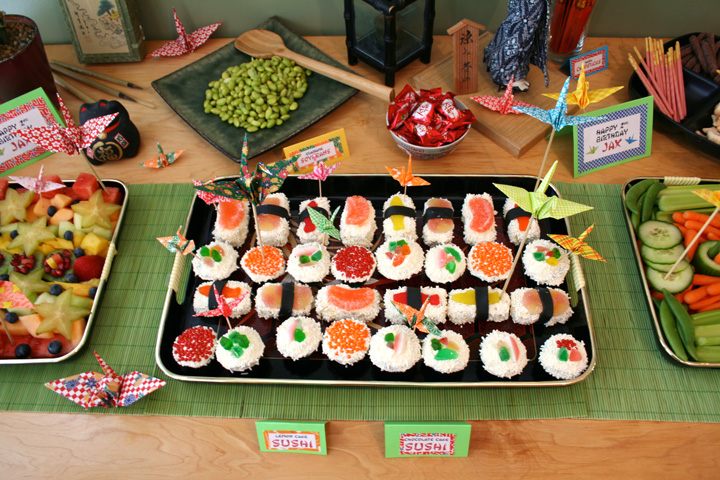
Other food: I had a tray of Asian cookies from our local international market that were a big hit. On the origami table, there was a tray of savory snacks including rice crackers, siracha and wasabi peas and a Japanese snack mix. The wasabi peas were the only thing at the party not really eaten. I served shelled edamame that was a big hit with all the toddlers at the party.

Drinks: On the counter I had a tea station with green, black and oolong teas. There was also lemonade, a pitcher of ice water and cold juice boxes.

Treat Bags:
The treat bags went along with the theme. At Target’s Dollar Spot, I bought stuffed toy sushi and sushi erasers. I also added a set of pretty painted chopsticks, origami paper & instructions, a party horn with tinsel and an assortment of Asian cookies such as Pocky. I packed them in inexpensive clear bags and tied them with colored string. The tags were paper circles I wrote Thank You in Japanese on one side and English on the other. I added a mini paper crane to each bag.

Activities:
Jax is too young to really do any formal games and crafts at his parties just yet, so I set up an origami table with lots of paper, books and instructions. Both the older kids and the adults enjoyed the challenge of figuring out the origami designs.

We had the Washington Capitals game on, as we are big fans (they lost, boo…) but the playroom was the other big attraction. Jax adored playing both with the kids his age and the older ones. He also spent some quality time playing with his relatives. Some big hits in the playroom were: Jax’s barn, his little kitchen and the tool bench he got for Christmas always had a crowd.
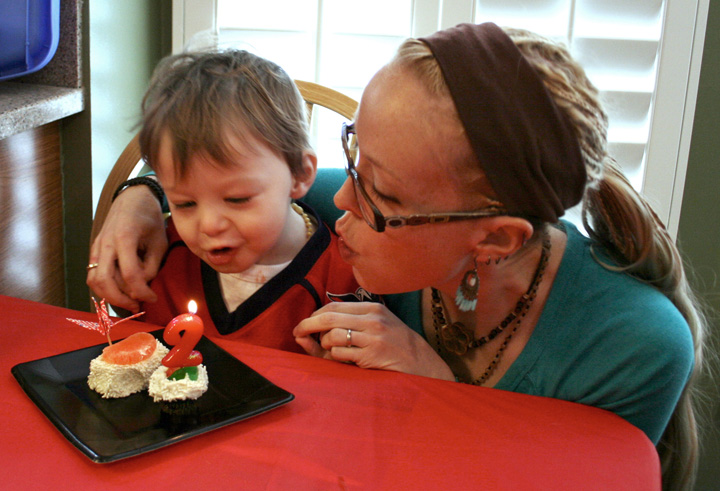
Candles… Take 1!

Highlights:
My favorite moments? Jax’s face when we started singing him “Happy Birthday”. The fact that he loved blowing out the candles so much he asked to do it again later on. And I obliged! Seeing him leaning sweetly on an older boy, hanging on his every word. Spending time with friends I see too little of.

Candles… Take 2!

It was a great party! I can’t believe my sweet little baby is 2!
The $2 Toddler Art Gallery

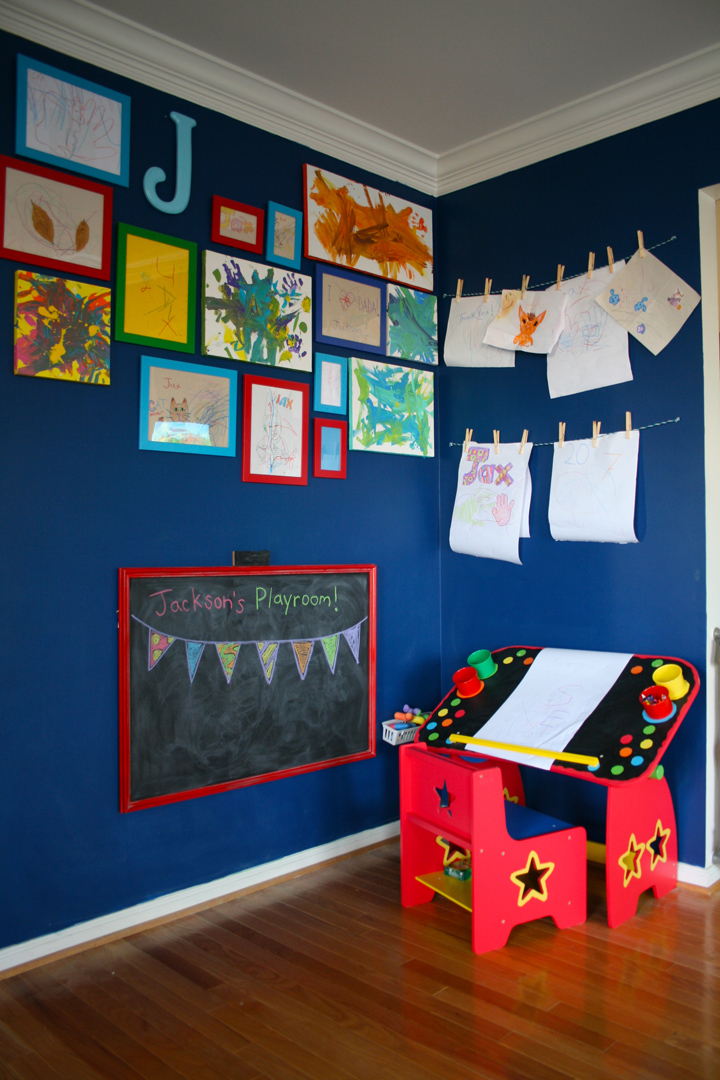
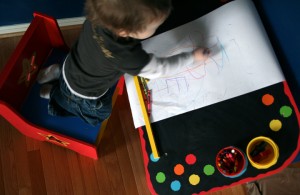
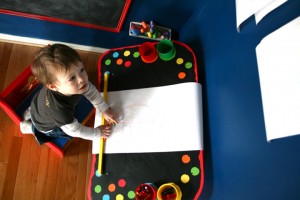
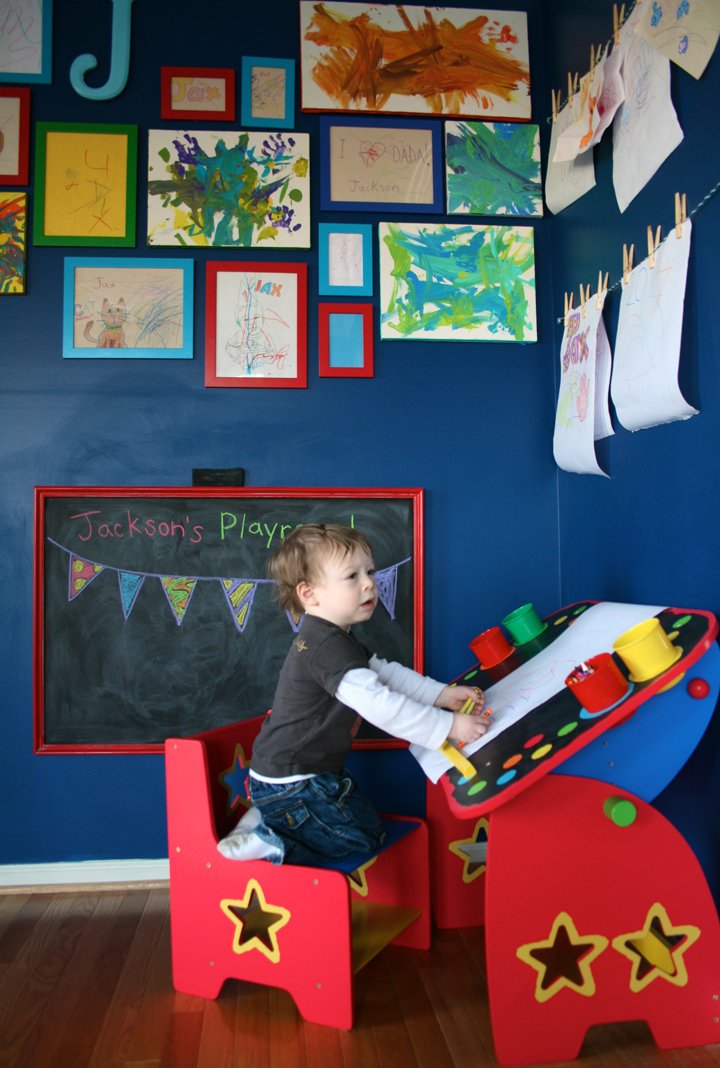
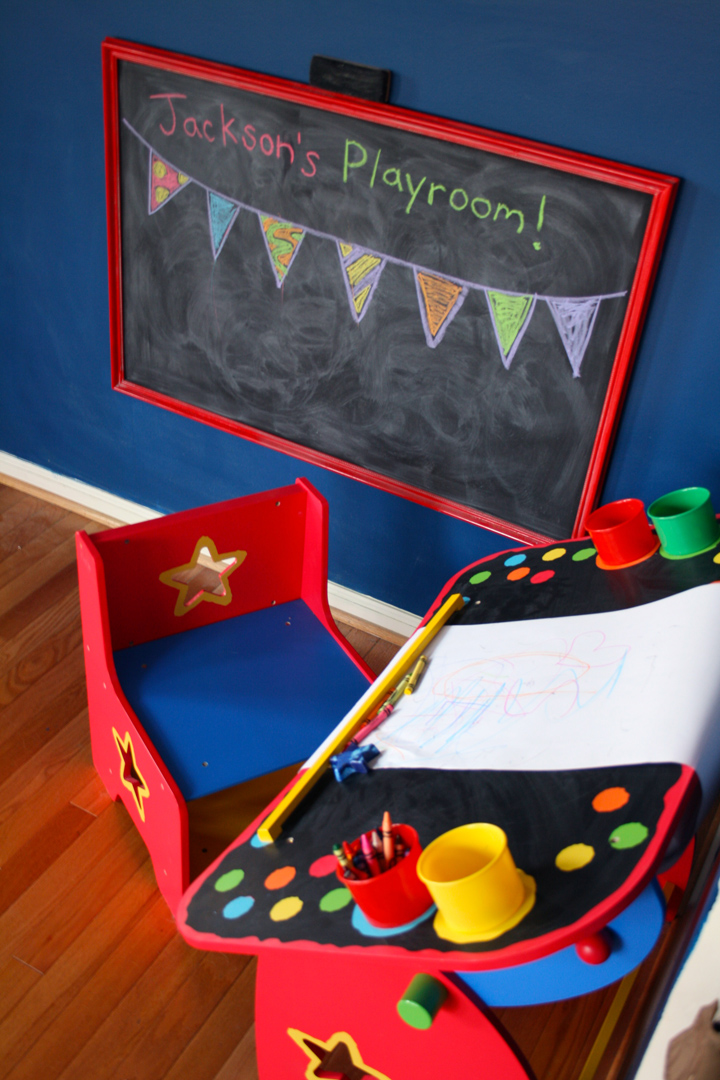
I’ve been working on a creativity corner in Jax’s playroom since last summer when he was just old enough to start coloring with chalk instead of eating it. This past Christmas, his wonderful aunt and uncle bought him an adorable art desk from his wishlist that looks so great with the chalkboard I made for him. The desk comes with a hidden roll of paper, so we’ve been churning out the scribbles together with nowhere to put them when we go to start a new one.


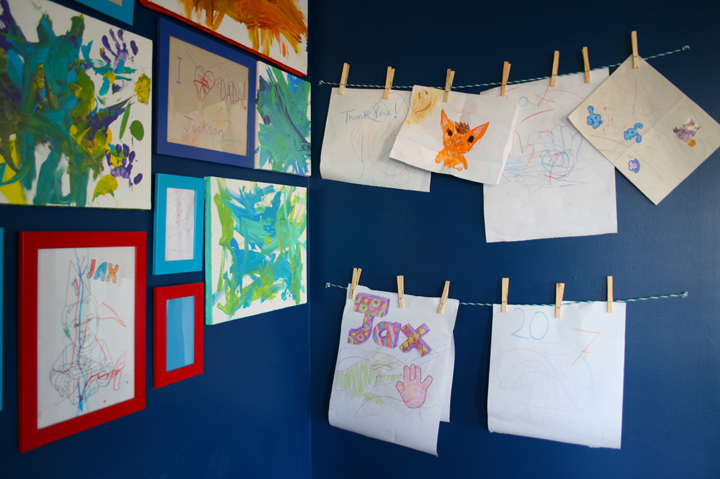
I needed a way to quickly store our new drawings in the creativity corner in a way that lets us enjoy them. Then we could move our favorites into the growing art gallery. Here is what I came up with…

Clothes Line ($1 for 70′ at the dollar store)
Clothes Pins ($1 for 36 at the dollar store)
Nails, Hammer, Level, Scissors (already had them)
Total Cost: $2!

This really couldn’t be easier and doesn’t really require a tutorial. All I did was cut two lengths of clothes line, double knot each end and nail them to the wall through the knots, using a level to make sure it was straight. Clip some clothes pins to it and you are ready to hang your masterpieces!

And I really love how his desk looks with the blue walls and red frame of the chalkboard. I know primary colors aren’t trendy for kids’ rooms right now, but I wanted to choose something a color scheme that would fit in with the already-blue walls, be easily DIY-able and be available in affordable toys and furniture.

Stay tuned for a post with some more playroom updates! In the meantime, pull up a chair and grab a crayon!

No-Sew Dog Toy

This project is from the archives of my personal blog. I wanted to share it here for my fellow crafty dog lovers, because what dog doesn’t love getting gifts!

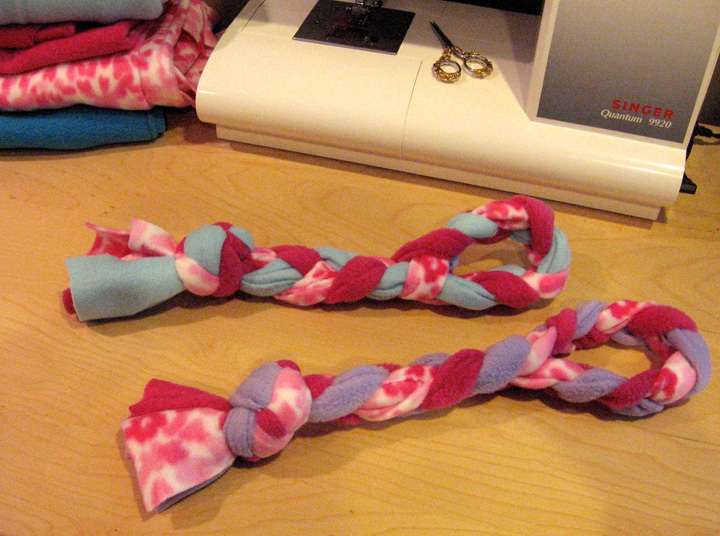
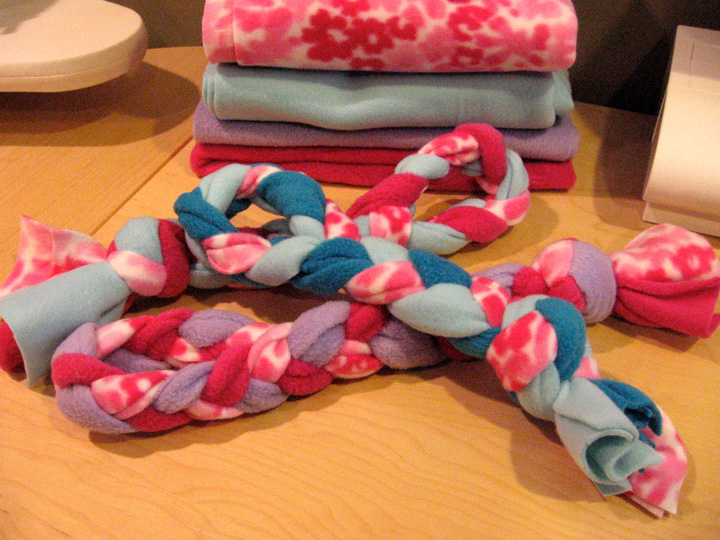
When I created this project, I had a lot of leftover fleece from sewing doggy valentine hearts, so I figured out how to make braided doggy tug toys. It is super easy – no sewing involved and only takes about 10 minutes. You basically just cut and braid. Here is a quick how-to:
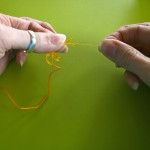
     

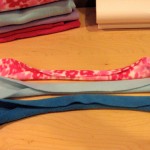
You’ll need some fleece. You can use up to 3 colors for each tug toy. Mine was leftover from another project.

Fold the fleece in half, selvage to selvage so you are cutting strips along the direction the fabric stretches (the selvage will be on the end of your strips, not on the length). Cut a strip 3″ – 4″ wide. I went with 3.5″. Repeat until you have three strips total.

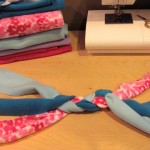
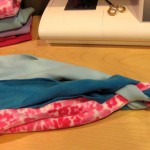
Lay the strips lengthwise side-by-side. Fold them in to loose tubes at the middle so that the rough edges aren’t as noticeable when you start to braid.


Braid the middle 10″ or so of the strips. When you fold this in half, it will become the loop handle.
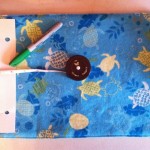
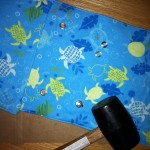
Fold the strips in half and line up the matching colors. If you are using all one color, just split the strips from each side into 3 groups of 2.

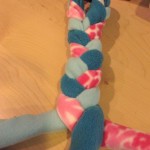
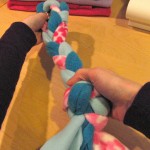
Start braiding tightly till the end. You can make it look neater by wrapping the pairs of strips around each other into a tube so you don’t see as many rough edges.

Tie the whole tug toy in a knot above the loose ends. I like to make the knot loosely but starting fairly high, then pull it down towards the end until it is nice and tight.

Trim the ends to make them even, and you are done!

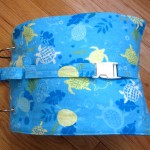
Quiet Book Cover Tutorial

There are a million ways to sew a quiet book cover, but this tutorial covers (ha!) what I did. To see how I sewed together my pages, read this post.

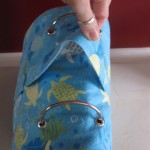
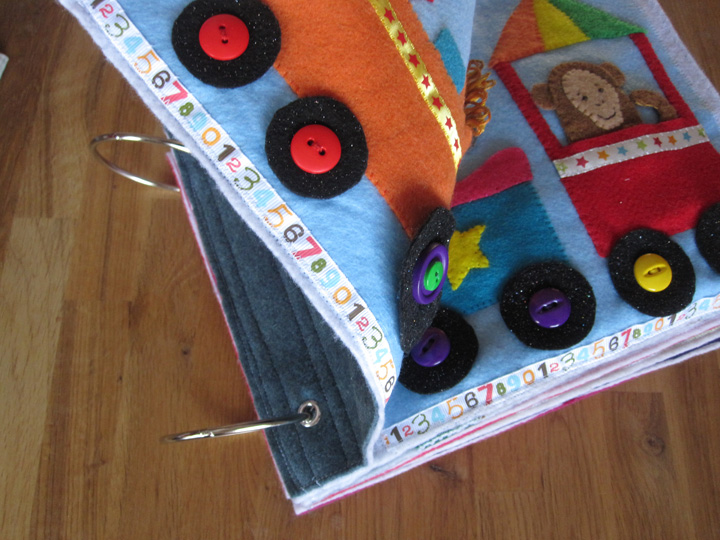
I used 3″ diameter binder rings I bought here. I had 1 yard of flannel and a 29″ x 11″ piece of fusible fleece from my leftovers pile. I also used a white, 1″ plastic buckle from my dog collar supplies. They sell black ones in fabric stores.

  1. I started with two rectangles of flannel. You could use different fabric for the cover and inside, but I was using some I already had. My width was 30″ and height was 12″. To find your width: (page width x 2) + the diameter of your rings + 2″ for overhang + 1″ seam allowance. To find your height: page height + 2″ for overhang + 1″ seam allowance. I also cut a piece of fusible fleece 1″ smaller and ironed it to the back of one piece.
  2. I sewed the two sides together, right sides facing, leaving a 4″ hole to turn it.
  3. Turn it right side out and press. (Clip the corners first if you’d rather they not be rounded. I like that.)
  4. Top stitch all the way around, closing your hole in the process.
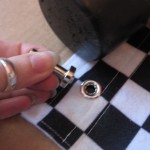
  5. Fold the cover in half to find your center, then measure half the diameter of your rings from the fold. Use the same template you used on your pages to mark grommet holes. Repeat on the other side.
  6. Install your grommets. You will have two sets of grommets centered on your cover piece that are set apart the diameter of your rings (3″ for me.)
  7. I made two lengths of straps with half of the buckle on the end of each one. I believe my finished sizes were 30″ x 1″ and 8″ x 1″. I attached the short one to the front with the buckle aimed away from the spine.
  8. I attached the long strap right behind the short one going in the opposite direction, across the spine and around the book to hold it closed when buckled.
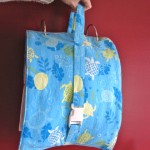
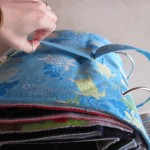
  9. With the buckle closed, I determined how tight I wanted the strap and sewed the extra into a handle by sewed the strap down on the other side of the spine (see photos for clarification.)

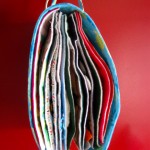
That isn’t even all of my pages! I bought extra rings so I can keep the pages not in use organized. Swapping the pages out regularly will keep the quiet book interesting for Jax.

I’m bringing about half the pages shown there on the plane ride. I chose the ones most exciting to him that don’t have tiny parts. I also punched holes in the top of a freezer bag and have that in there with a notebook, crayons and stickers.

We should be in the air right now as this post goes live. Wish us luck!

How To Sew Quiet Book Pages

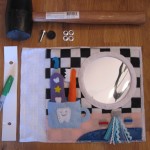
Here is a little tutorial on how I sew up my final quiet book pages. My designs are 9″ x 9″ on a felt background. I sew my final pages using 9″ x 12″ felt sheets – white for the front and colored or patterned for the back. If your pages are a different size you’ll have to modify accordingly.

  1.  Pin your design to the white felt. I put mine close to the right edge but leave about a half inch.
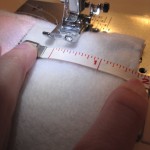
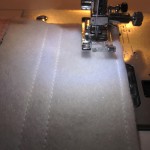
  2. Zigzag stitch around all four sides. If you have dangly bits, make sure you hold them out of the way!
  3. On the reverse side, pin on the background (wrong sides facing.)
  4. Sew all the way around.
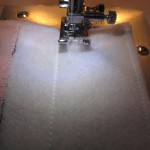
  5. On the front, I sew a line 1.75″ from the left edge. I use a hole on my machine as my guide.
  6. Sew another line just inside of it. I use my presser foot as my guide.
  7. Sew a line just to the side of the far left seam like in step 6.
  8. Gather what you need to put in grommets. I made a template so all of my pages would match up.
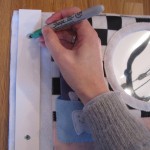
  9. Mark your holes. Place them in the channel you made for strength.
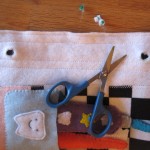
  10. Cut out holes as directed on your grommet package.
  11. Put in your grommets as directed on the package.
  12. All done!

When I have a 2-page spread, I sew the right-hand page with steps 1 – 4. Sew the left-hand page like steps 1 – 4 but align everything to the left of the page instead of the right. Place the pages together, right sides facing. Sew over the far left seam, then make the same seams as in steps 5 – 7. Continue on to make your grommets. You’ll now have a separate page you can take out of the book and the two halves will always stay together!

I hope this helps! I’ll post about my cover soon… I still have to make it!

iSpy Bag Tutorial

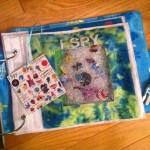
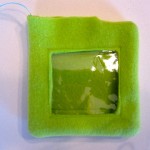
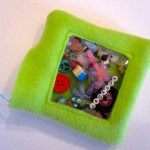
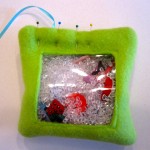
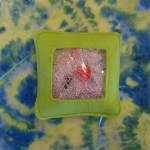
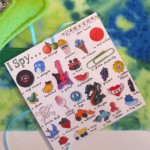
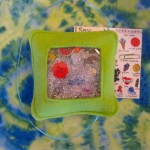
Update:The iSpy bag came out so freaking cute, but I ultimately decided it was too thick for the quiet book. I’ll be posting my redo of it tomorrow or Monday. But, I still plan to use the method blow to make iSpy games as fun, easy gifts!

I love iSpy games! They have all kinds of fun trinkets buried in beads/pellets/rice and you have to squish them around to find everything. It’s a little beyond Jax right now, but I wanted to make one and have it be able to attach to a page in his quiet book.

On the quiet book page

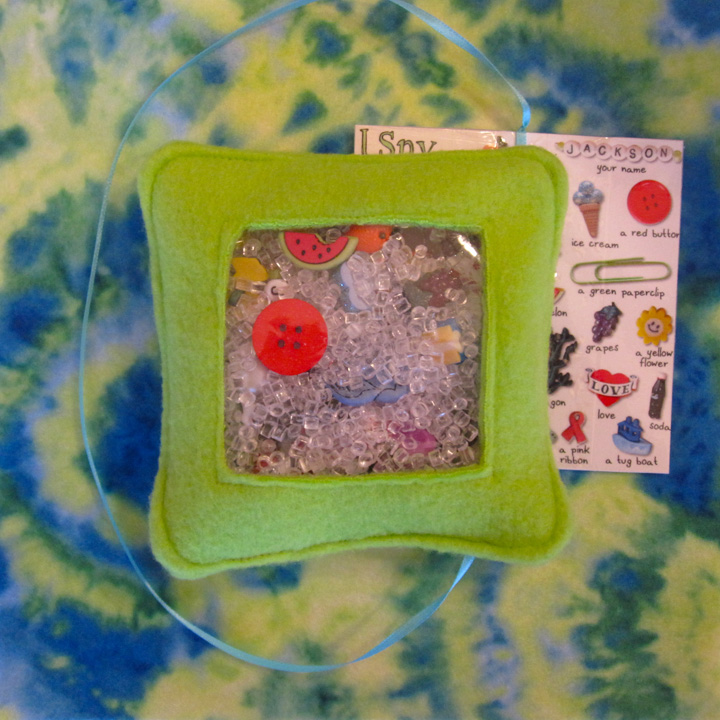
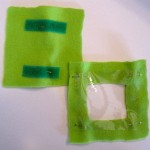
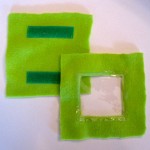
The page itself is simple. I took a piece of fancy felt (tie dye) and sewed down two strips of Velcro so the game would have a place to live when it wasn’t in use. This page will be thick, but most of mine are.

Here’s how you make an iSpy bag. They are fun to make even if you aren’t making a quiet book!

You’ll need:

  • fleece scraps (mine were two 6″ squares)
  • a scrap of clear vinyl (mine was about 5″)
  • poly pellets, beads or rice
  • ribbon (to attach your key card)
  • fun objects (buttons, trinkets, paperclips…)
  • print out of your objects (laminated or covered in clear packing tape)
  • sewing machine/thread/scissors
  • Velcro (if you are attaching it to a Quiet Book page

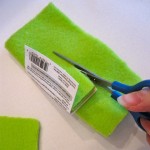
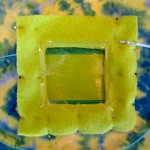
I started with two pieces of fleece that were about 6″ square. I sewed the other half of the Velcro strips to the back piece. I took the front piece and folded it in half. I took a square of scrap cardboard and folded that in half as well. I centered it over the fold of the fleece and cut it out to make the window hole.

I took a square of clear vinyl that was larger than my window and sewed it to the wrong side of the fleece, then trimmed it down to about 1/4″. I pinned the front and back pieces together, right sides facing, and added one end of a ribbon. (I sewed the ribbon into a side seam then pulled it up through the side I left open. I wanted it to be anchored into two seams.) I sewed around 3 sides then turned it right side out. I was going for rounded corners, so I didn’t clip mine before turning.

I took all my fun objects I’d collected and placed them in the bag. I mostly had decorative buttons I’d found for a great price at the craft store. They gave me a really good assortment of objects to search for. Then I filled the bag about 2/3 full of poly pellets. I folded in the open side and pinned it shut. I top stitched around the whole bag, going 2 times over the open side (and testing the seam by trying to pull it open afterwards. You don’t want pellets going everywhere!)

For my key card, I laid out my objects beforehand and took a photo of them on a white background. In Photoshop, I rearranged them a bit and added text. (You can download the font I used for free here. It is made from my handwriting.) I printed the 4″ square on 4″ x 6″ photo paper and trimmed it down. I don’t have and laminating pouches, so I took clear packing tape and covered both sides to make it waterproof and more stable. I expect I’ll need to replace it eventually if it gets too folded. I punched a hole in the top and tied it to the other end of the ribbon.

So fun! I’ve played with it a bit with Jax and he was excited when we found the “choo choo”! I think adults can have just as much fun as kids. I may do something with iSpy bags as gifts or party favors in the future. They take so little time to make!

Glass Instagram Photo Magnets

As soon as I got my iPhone, I started using Instagram. It’s fun, free and lets you make your less-than-exciting cell phone photos interesting with filters. But what do you do with the tiny square photos it saves? While I always have mine set to save the original hi-res photos, I wanted to do something with the processed images. So I thought of the magnets I’ve made as gifts for years.

little tins are great for gift sets

Supplies:

  • Clear glass floral marbles (shaped like flattened globes) – avoid the iridescent kind, they are hard to see through.
  • Strong, round craft magnets. I find these in the craft store in various sizes.
  • Your Instagram photos (or magazine clippings, pretty paper, etc…) printed to fit your chosen size of marbles.
  • E-6000 glue
  • Scissors (and I sometimes use a circle punch the size of my magnets, but it’s currently lost.)
  • Toothpicks for glue spreading.
  • Optional: metal tin for giving your magnets as a gift set (found in craft stores.)

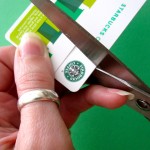
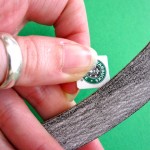
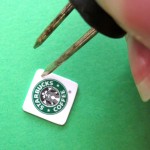
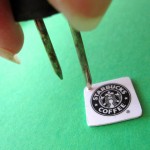
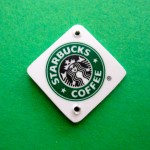
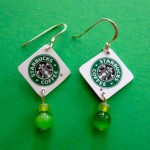
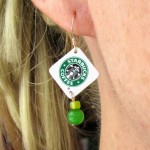
Recycled Starbucks Card Earring Tutorial

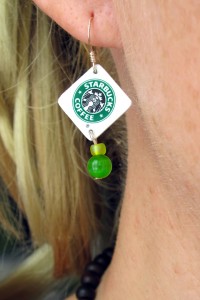
Inspired by my search around the internet for Starbucks-themed crafts, I put together a the first in a series of Starbucks tutorials.

Everyone knows I am a huge Starbucks fan, so I often get their cards as gifts. They are so cute and I can’t seem to throw them out when they are empty. When I saw it was possible to turn them into jewelry, I had to give it a try!

These will make a great gift for our favorite barista. I’ll be making more styles, but this tutorial features Starbucks logo from the upper corner of two cards.

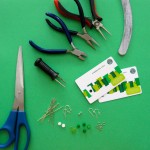
What you need: 2 Starbucks cards, scissors, emory board or sandpaper, something to punch a small hole (I used a corn cob holder!), beads and earring findings (I used two silver french hooks, 2 head pins, 2 large seed beads and two round beads) and jewelry-making tools.

Super Easy DIY Chalkboard

I’ve been wanting some sort of chalkboard in Jackson’s playroom for some time now. I just wasn’t sure what would work. The room was built to be a living room and has outlets everywhere. We have the baby proofed, but their placement blocked me from being able to just paint a chalkboard onto the walls.

When I discovered they make chalkboard spray paint, I knew just what I wanted to do. I measured out the wall where the chalkboard would be to find out how wide I’d need to make it so it could both be centered and cover the outlet. Three feet wide was just perfect.

Supplies:
In the clearance aisle of the craft store, I purchased a 2’x3′ frame that was 50% off. It was a tacky gold that wasn’t my style at all, so I also grabbed some spray paint. At the hardware store, I had them cut down a 2’x4′ piece of chipboard (I brought my frame and tested it after he cut 12″ off the board. Good thing I did – it was too short because the board hadn’t been 2’x4′ after all!) I also grabbed the chalkboard spray paint there. Here is the full list:

I started by sanding the frame so it was no longer shiny and sanding one side of the chipboard to rough it up. Then I set up a drop cloth outside and laid out both pieces. I did three light coats of spray paint on the frame, waiting 15 minutes or so in between. I did about 4 light coats on the board with the chalkboard paint. (Quick tip: I thought my paint was clogged, but it turned out my too-big gloves were blocking part of the spray and causing spatter!)

The hard part comes next: waiting! When everything was dry, I brought it inside to cure. Resist the urge to try the chalkboard for 24 hours. Easier said than done!

24 hours later, it was time to prime the chalkboard with a layer of chalk. I found that the spray paint left a layer of black sooty dust after it dried, so I covered the whole thing in chalk as directed, then used paper towels to get all the chalk and black dust up.

All that was left was to put the frame back together (minus the glass it came with) and hang it up! My frame came with one teeny tiny picture hook so I got a picture hanging kit rated for up to 50 lbs. It looks great under his art gallery! I chose a frame that had a perfect dip in the molding to hold our chalk.

What do you think of our little project? It was so fast and easy, and Jax was super excited when I hung it up!

He was so excited, he couldn't stand still!

(Check out my Friday Follow-Up about this project!)