Tag Archives: Jewelry

Colorful Clay Jewelry Craft for Kids

This holiday season, Jax, who is almost 5, asked to make gifts for his grown up friends. He’s been very interested in play dough lately, so I suggested clay jewelry and trinket bowls. He loved that idea, so we headed to the craft store for some supplies.
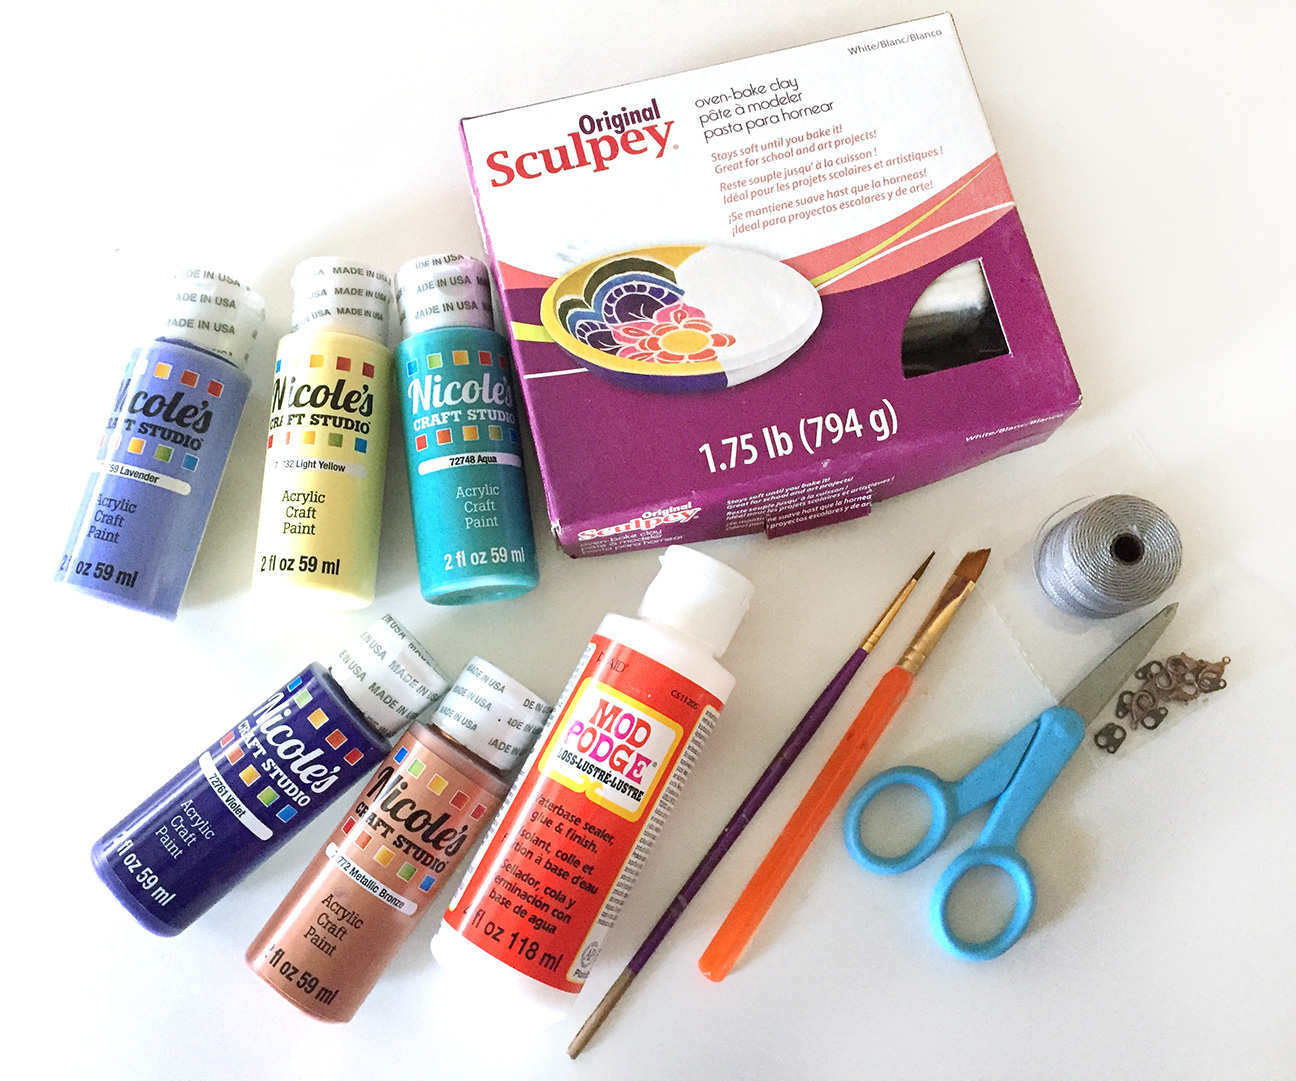
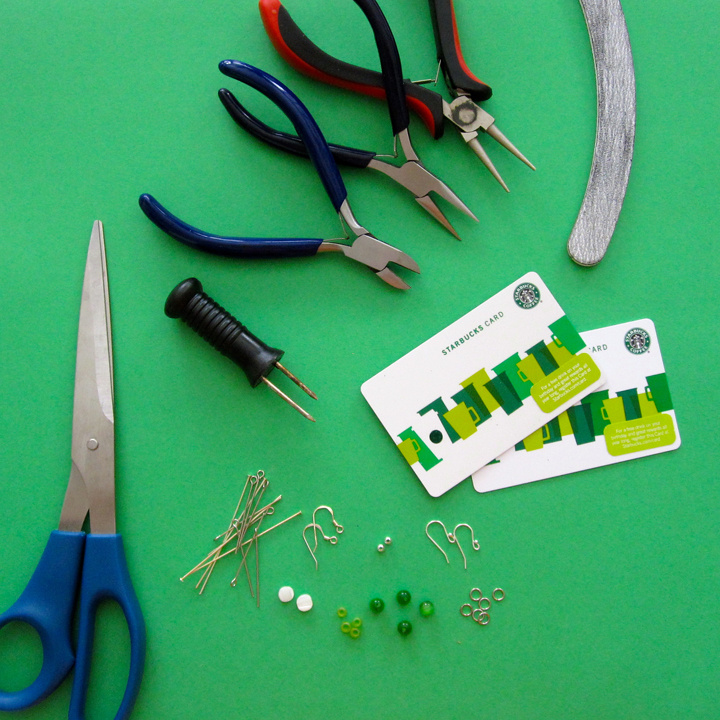
Colorful Clay Jewelry Craft for Kids

What We Used:

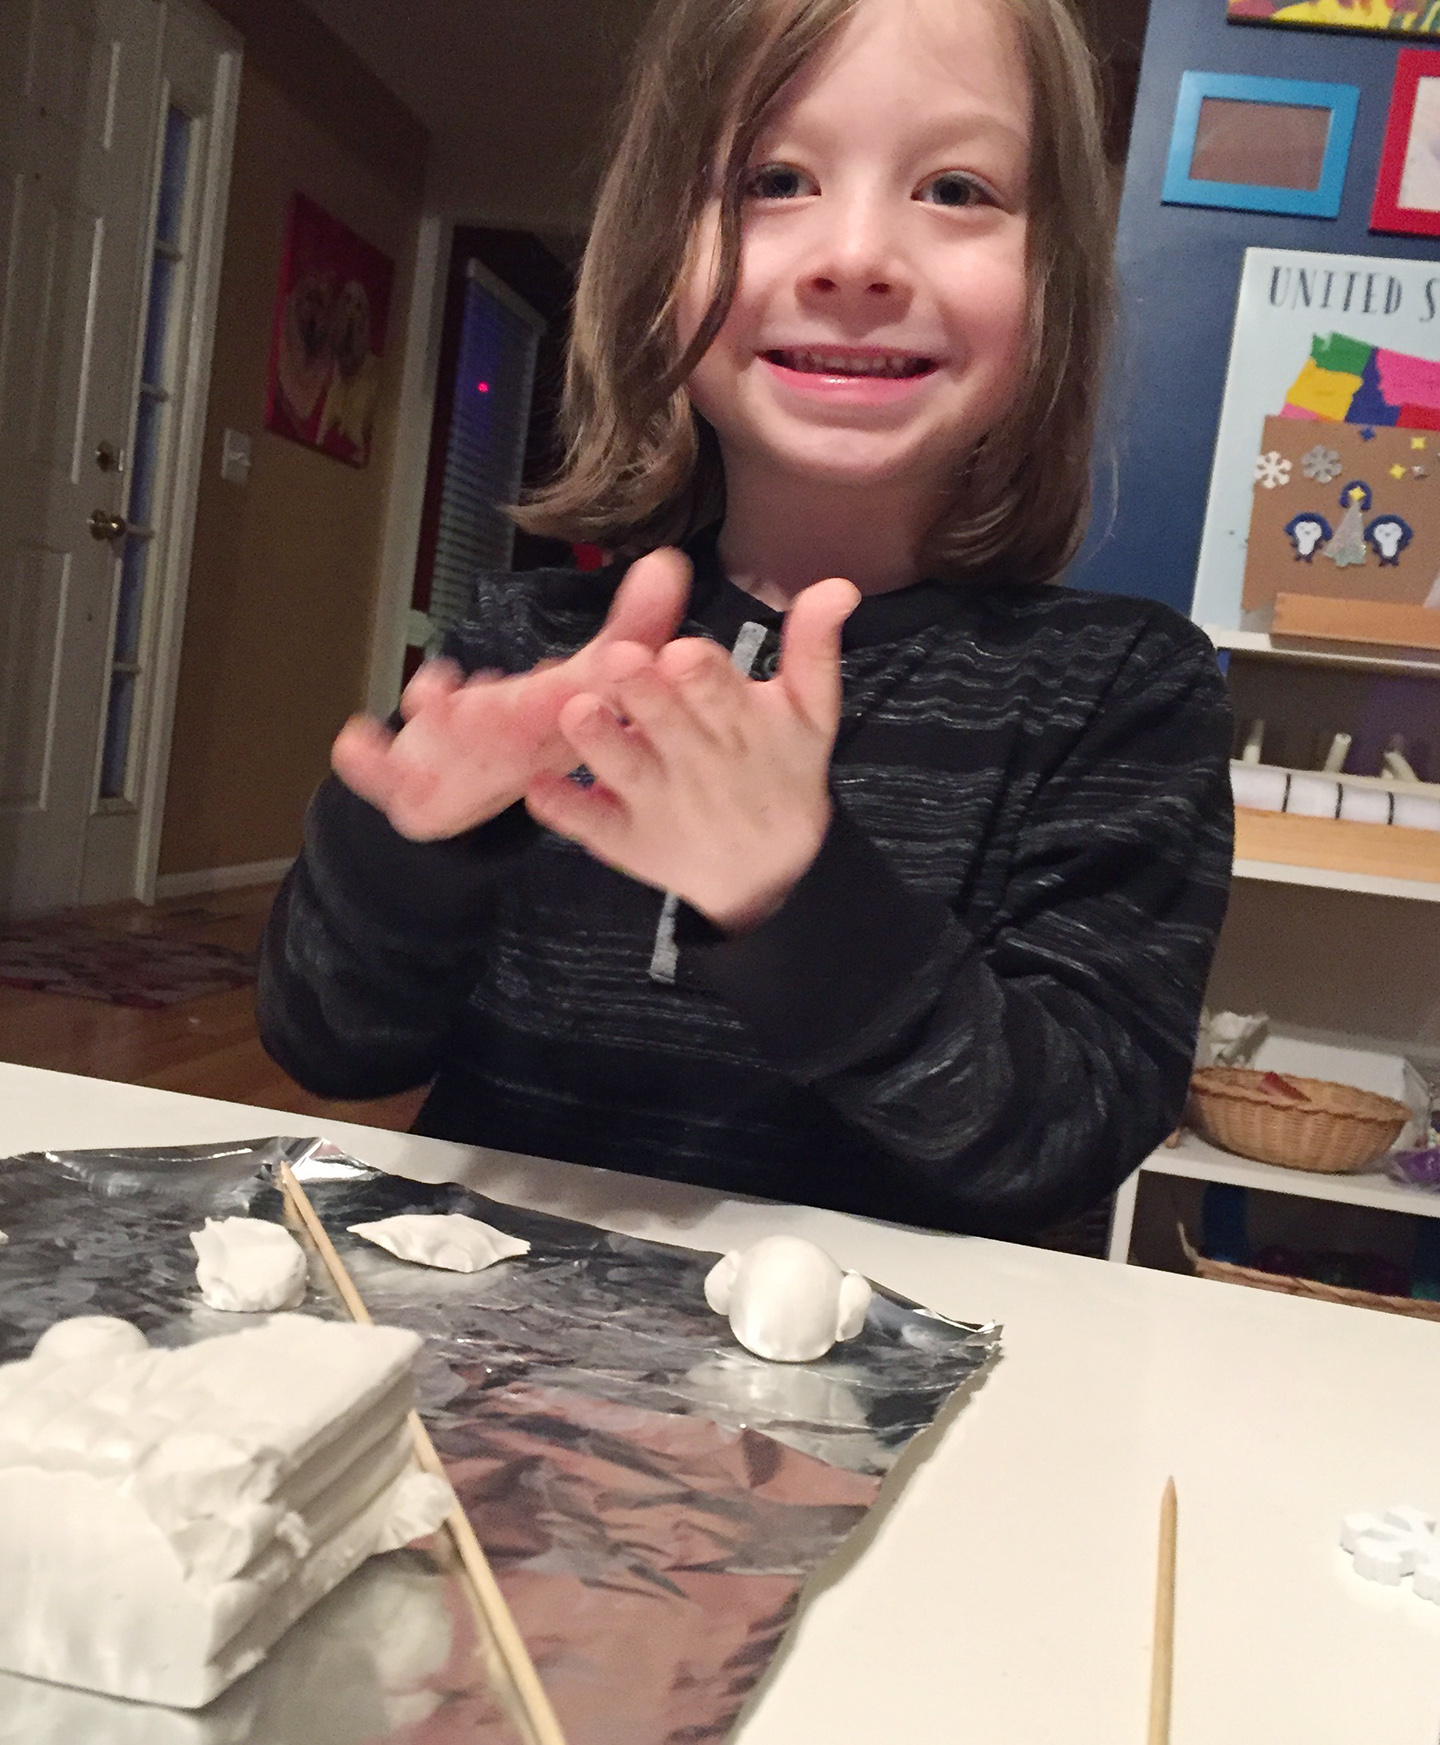
We used Sculpy oven bake clay so that we wouldn’t have to wait too long for it to harden. I got a large white pack with a 50% off coupon. It left him with plenty to play with. He’s quite fond of making clay Kirbys!

Colorful Clay Jewelry Craft for Kids

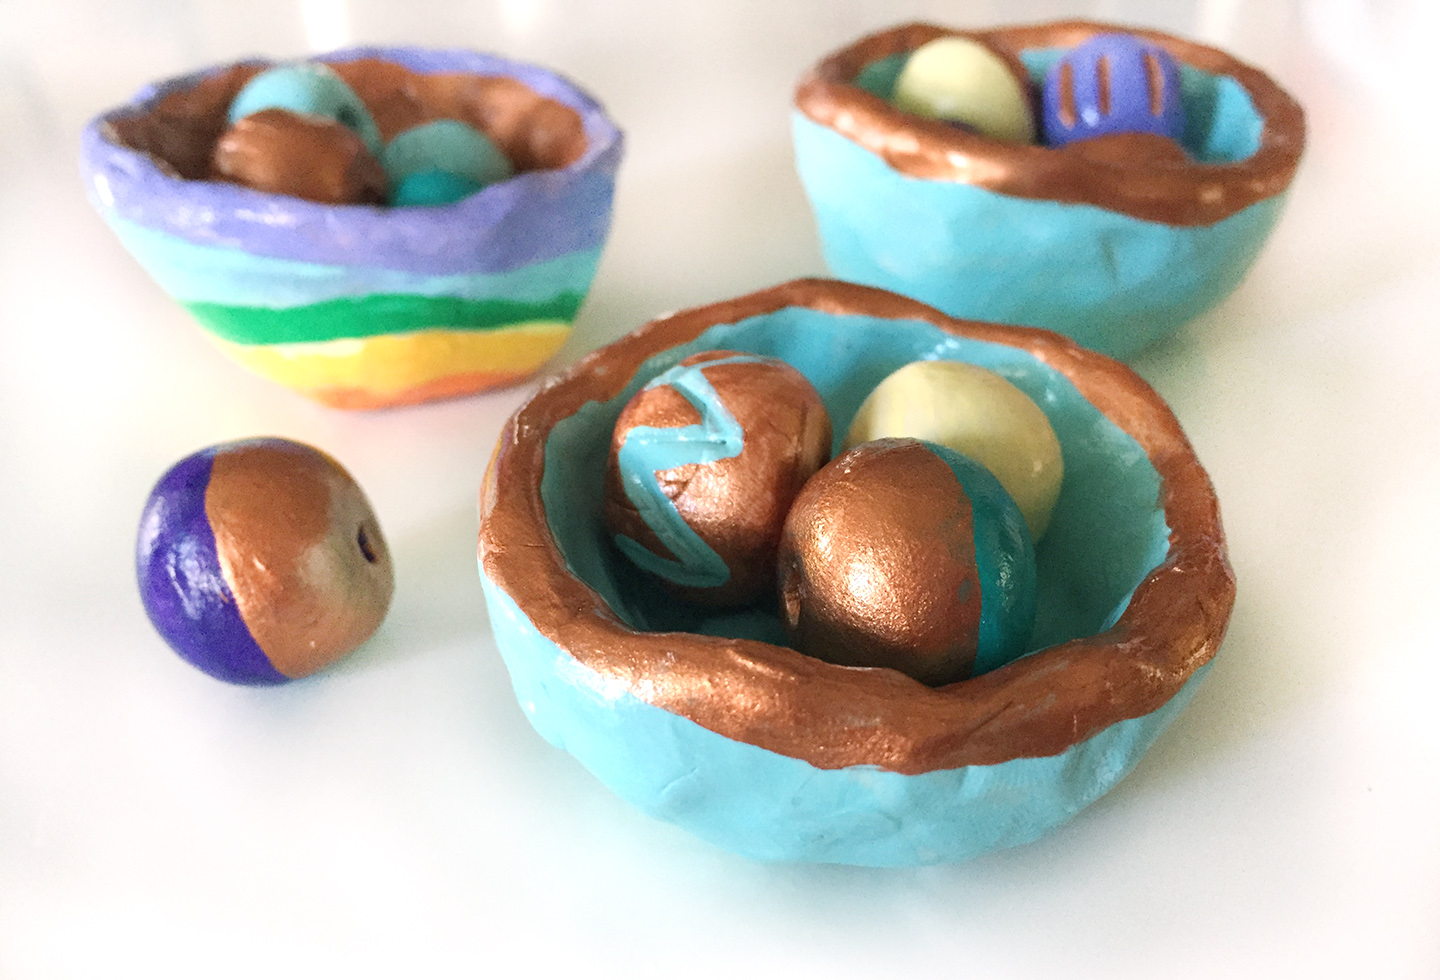
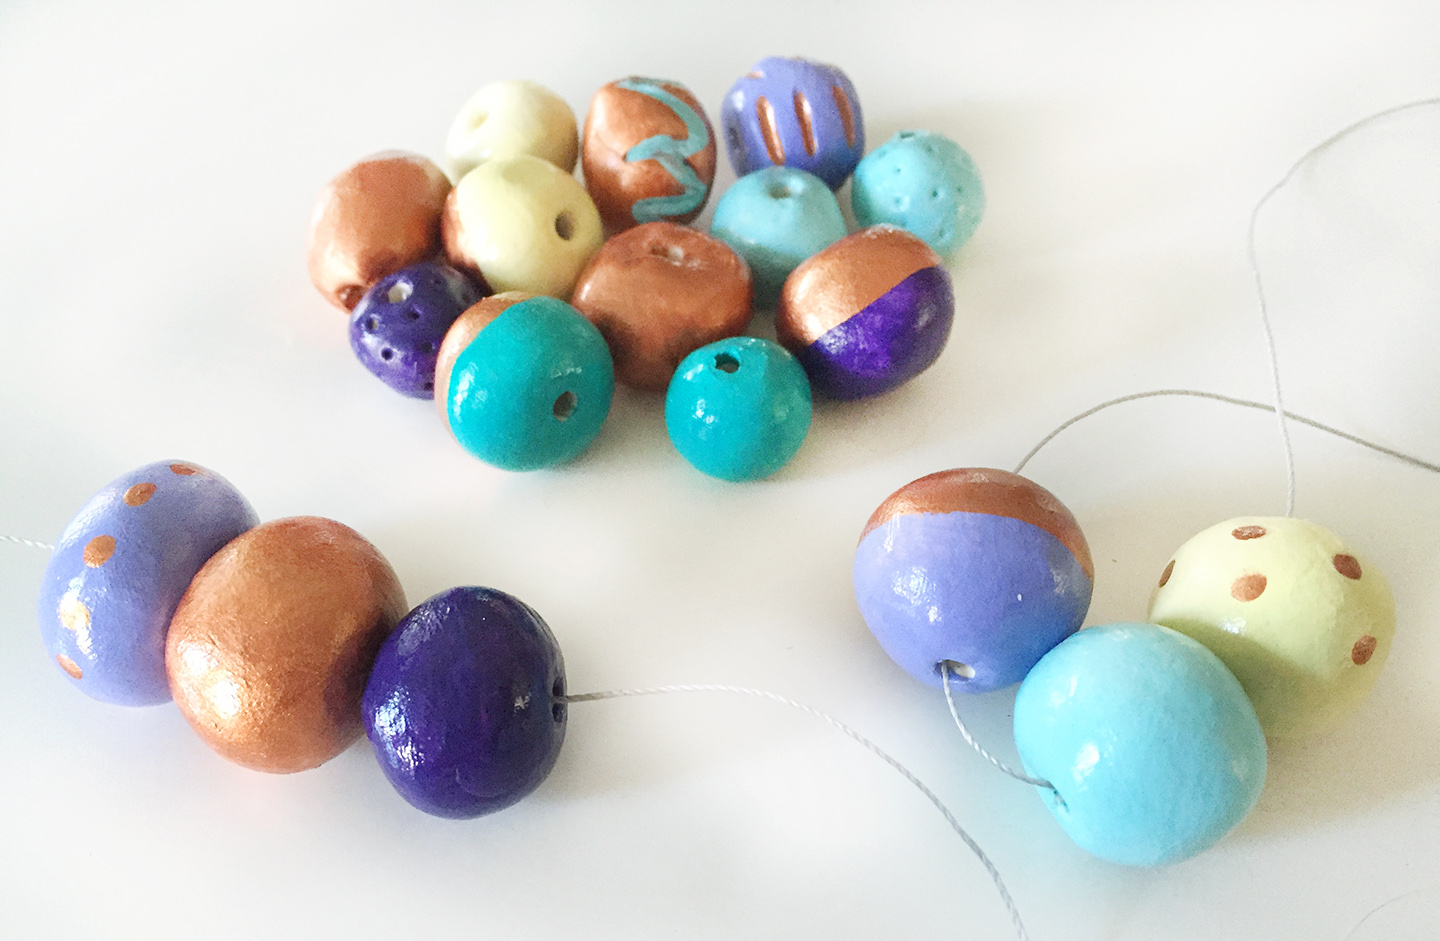
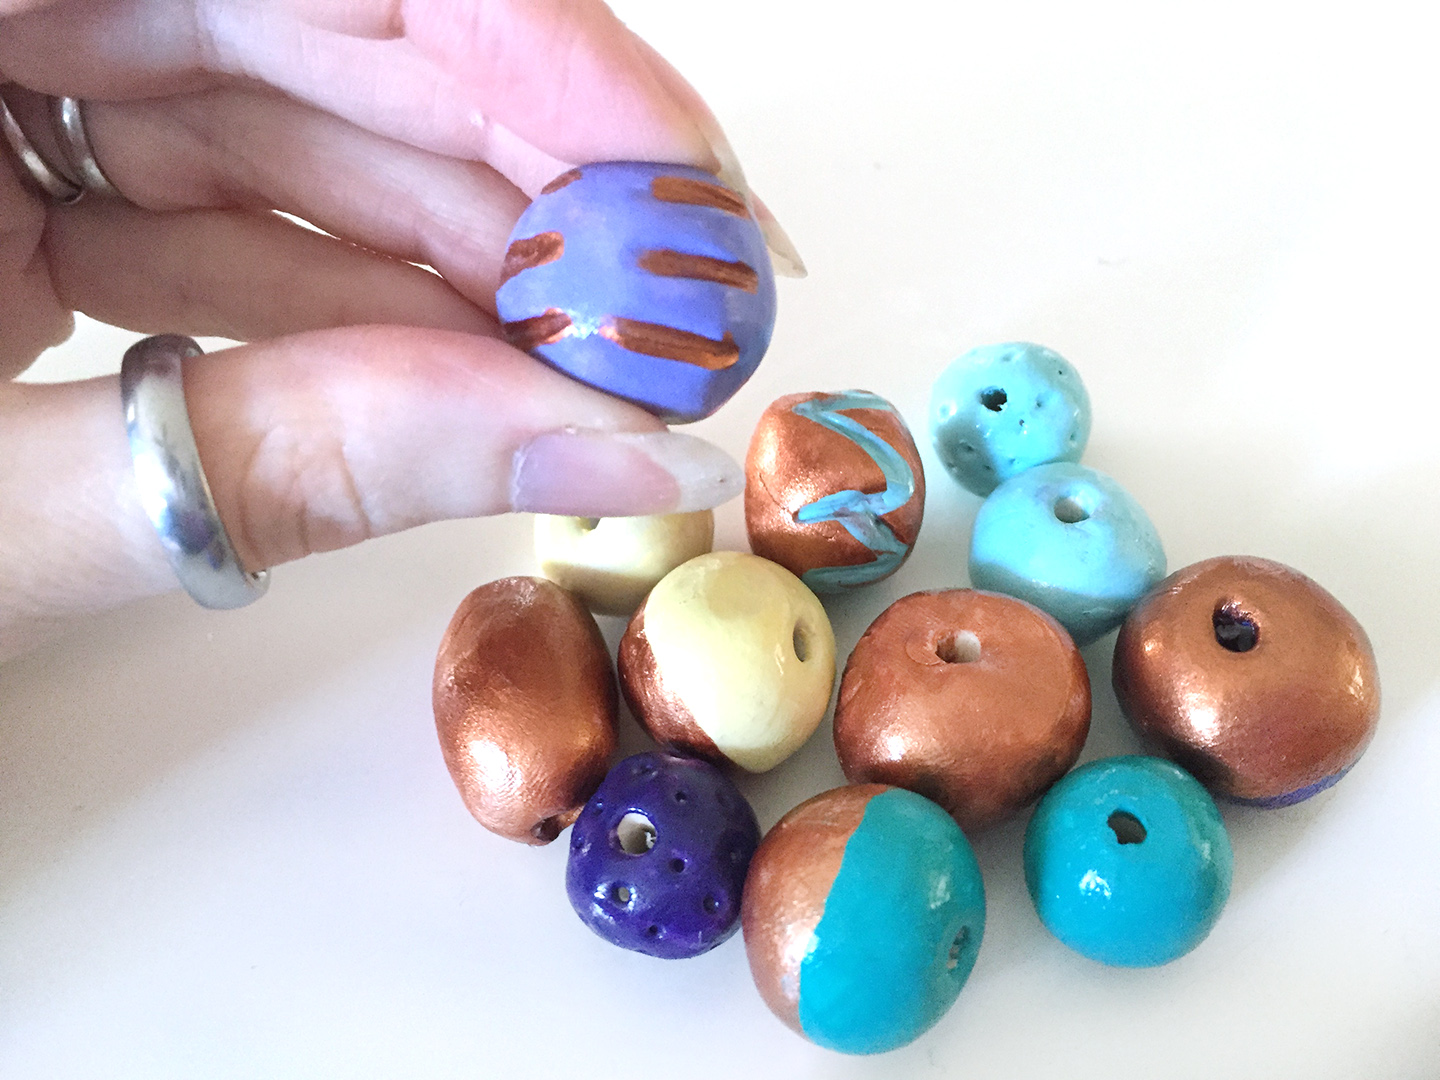
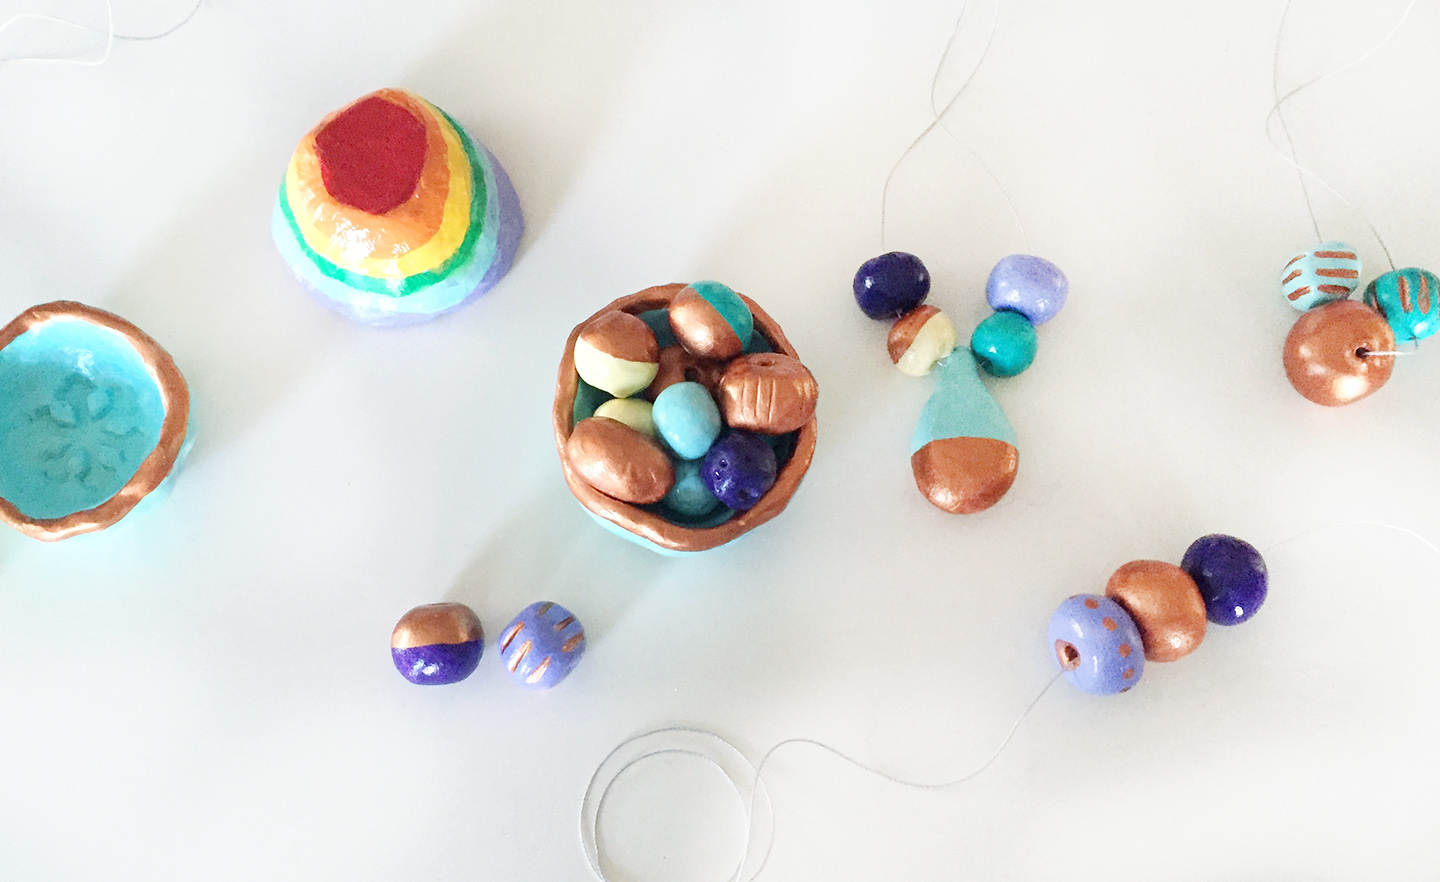
To make the beads, Jax rolled various sizes of spheres and I poked holes in them with a bamboo skewer.  We used the skewers to add texture to some of the beads. We made stripes and dots.

Colorful Clay Jewelry Craft for Kids   Colorful Clay Jewelry Craft for Kids

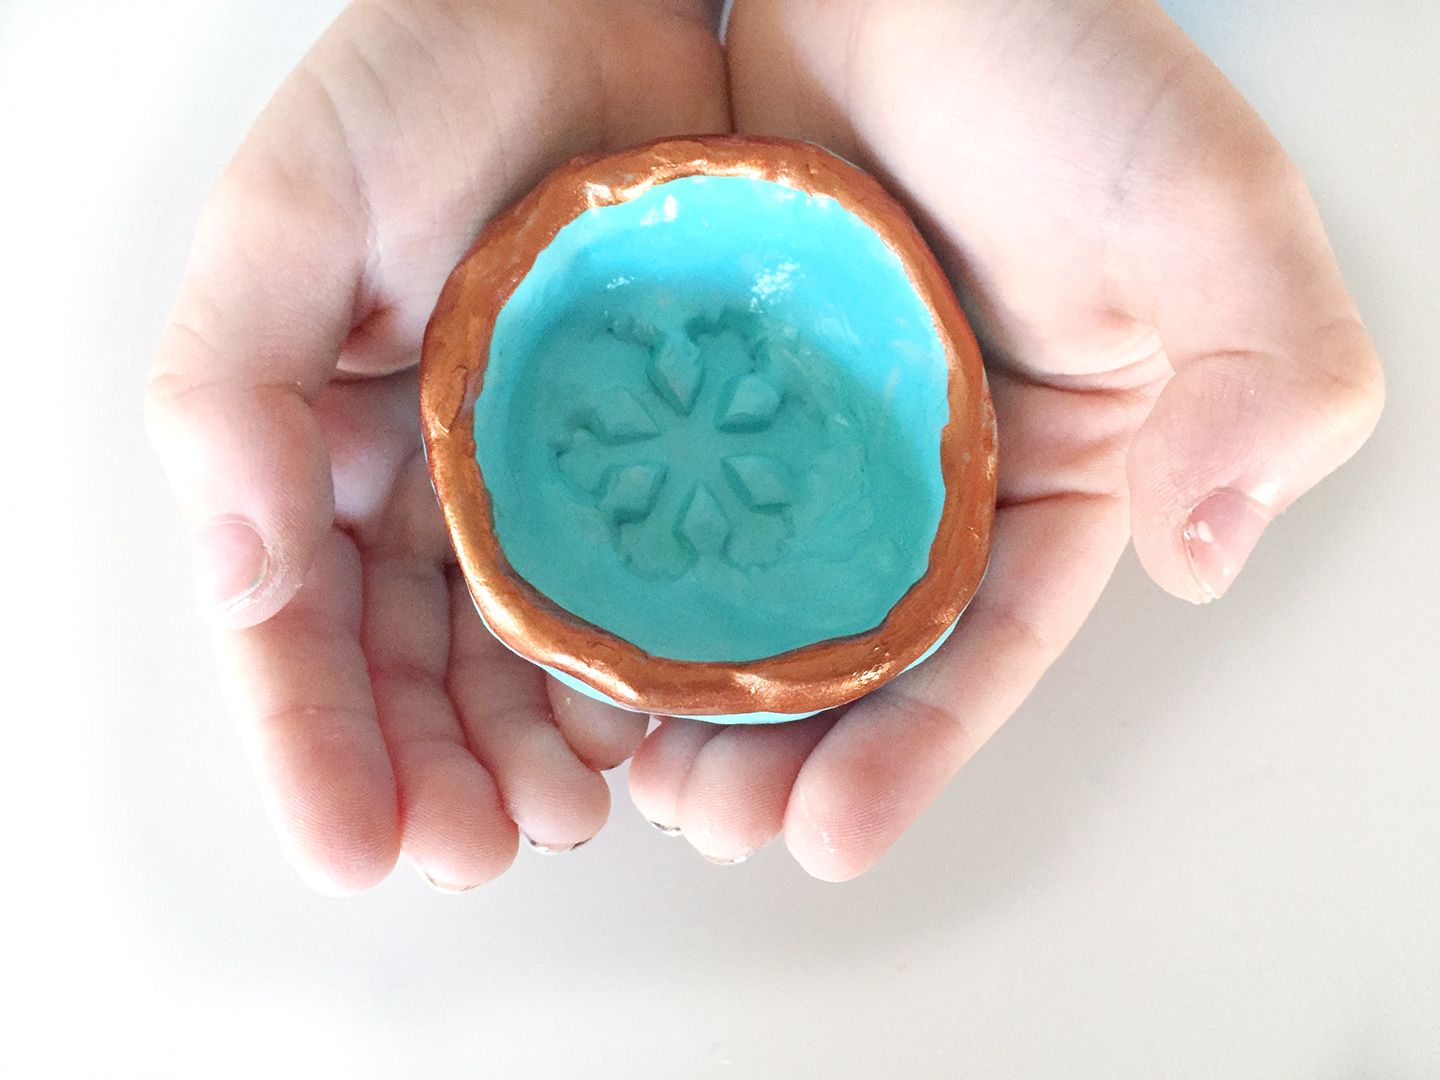
The small bowls started as a larger ball of clay that I had Jax dent and squeeze into a bowl shape. Younger kids will need help with this. In some of them, Jax used a foam snowflake sticker to stamp an impression in the bottom of the bowl.

Colorful Clay Jewelry Craft for Kids

Jax also make a few other fun things with the clay while I poked all the holes and pre-heated the oven (follow your clay’s instructions). I baked ours in two sessions, since the bowls and beads were fairly thick (and bedtime was approaching!)

Colorful Clay Jewelry Craft for Kids

The next day, we spent some of our homeschool time painting all our beautiful beads, bowls and crafts! I stuck the beads on skewers and toothpicks to paint them. Jax found them to be too tricky, so he told me colors and patterns to use while he painted the bowls.

Colorful Clay Jewelry Craft for Kids

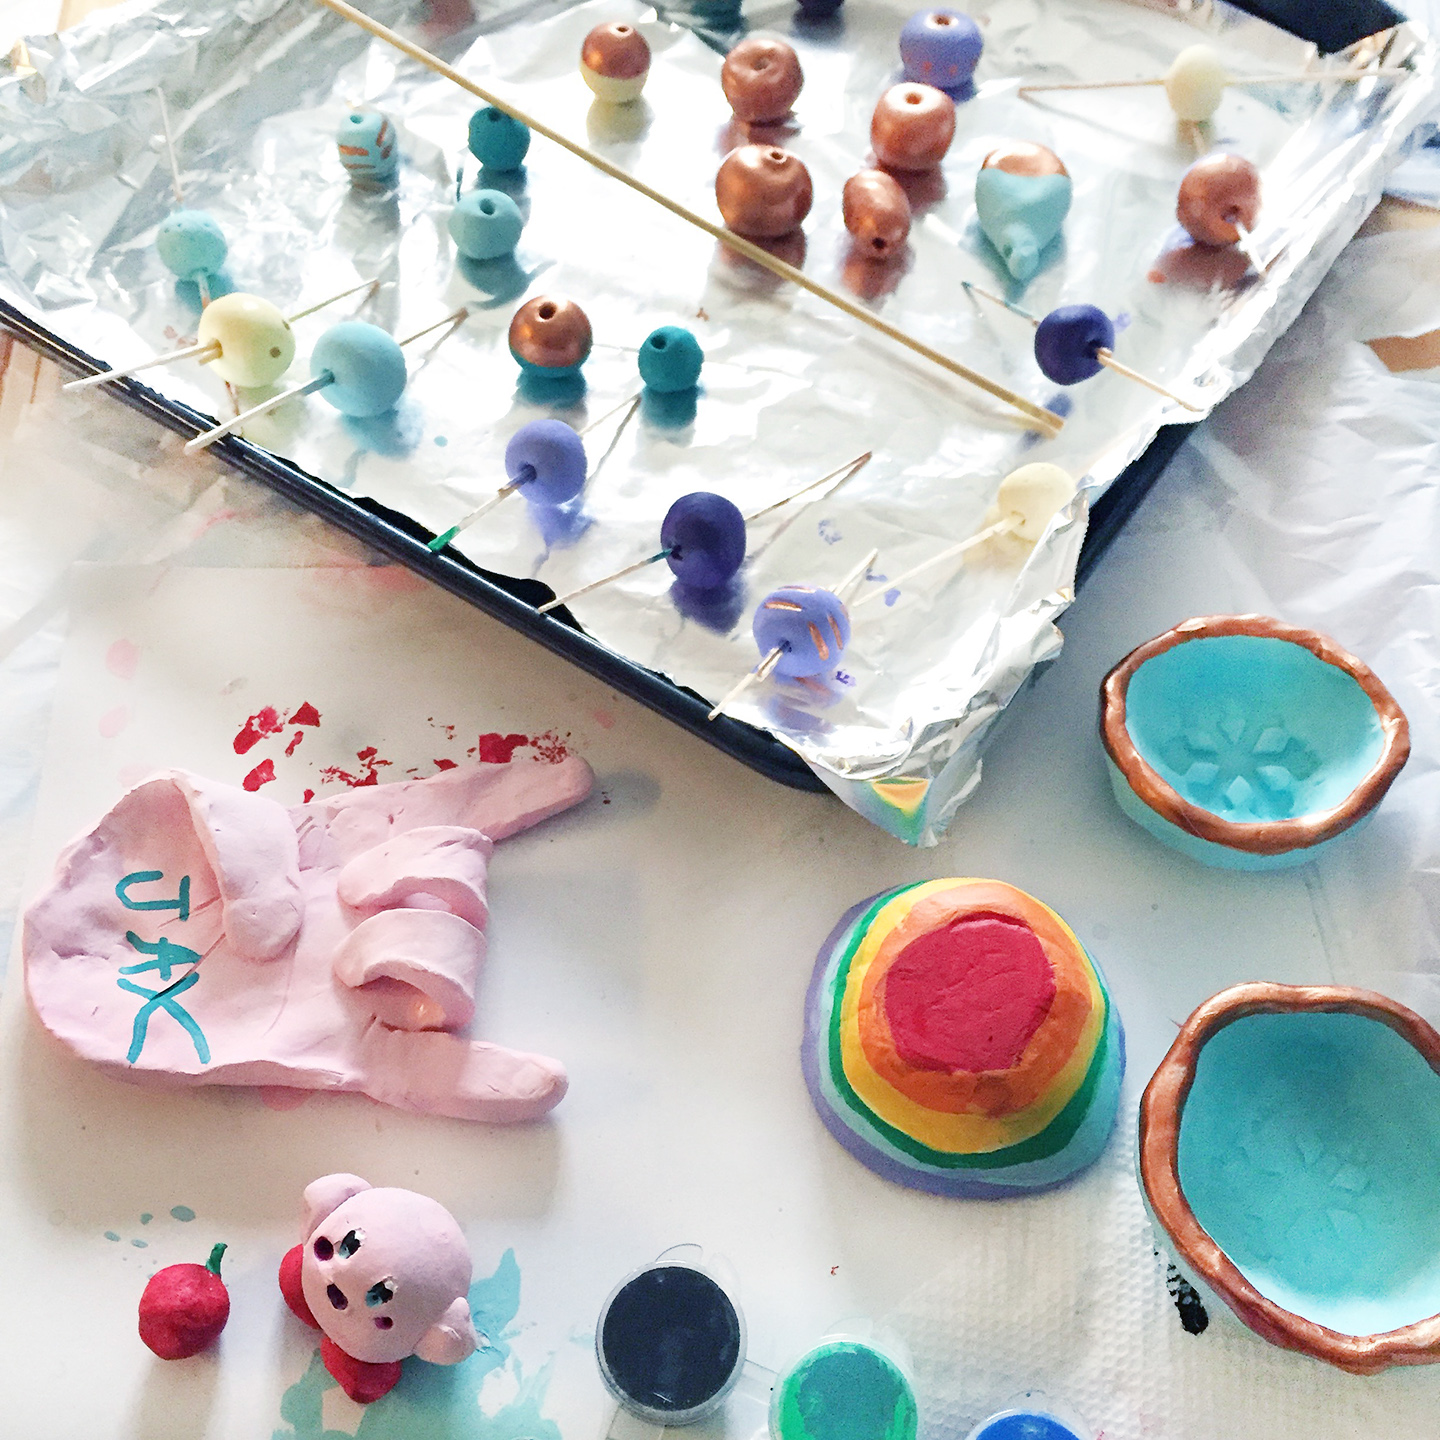
We traced Jax’s hand in clay to make this rockin’ ornament for a guy friend!

Colorful Clay Jewelry Craft for Kids

That evening I coated them with glossy Mod Podge to seal in the paint. Any acrylic sealer would work. To coat all sides of the beads, I strung them on cord and painted them while they hung.

Colorful Clay Jewelry Craft for Kids

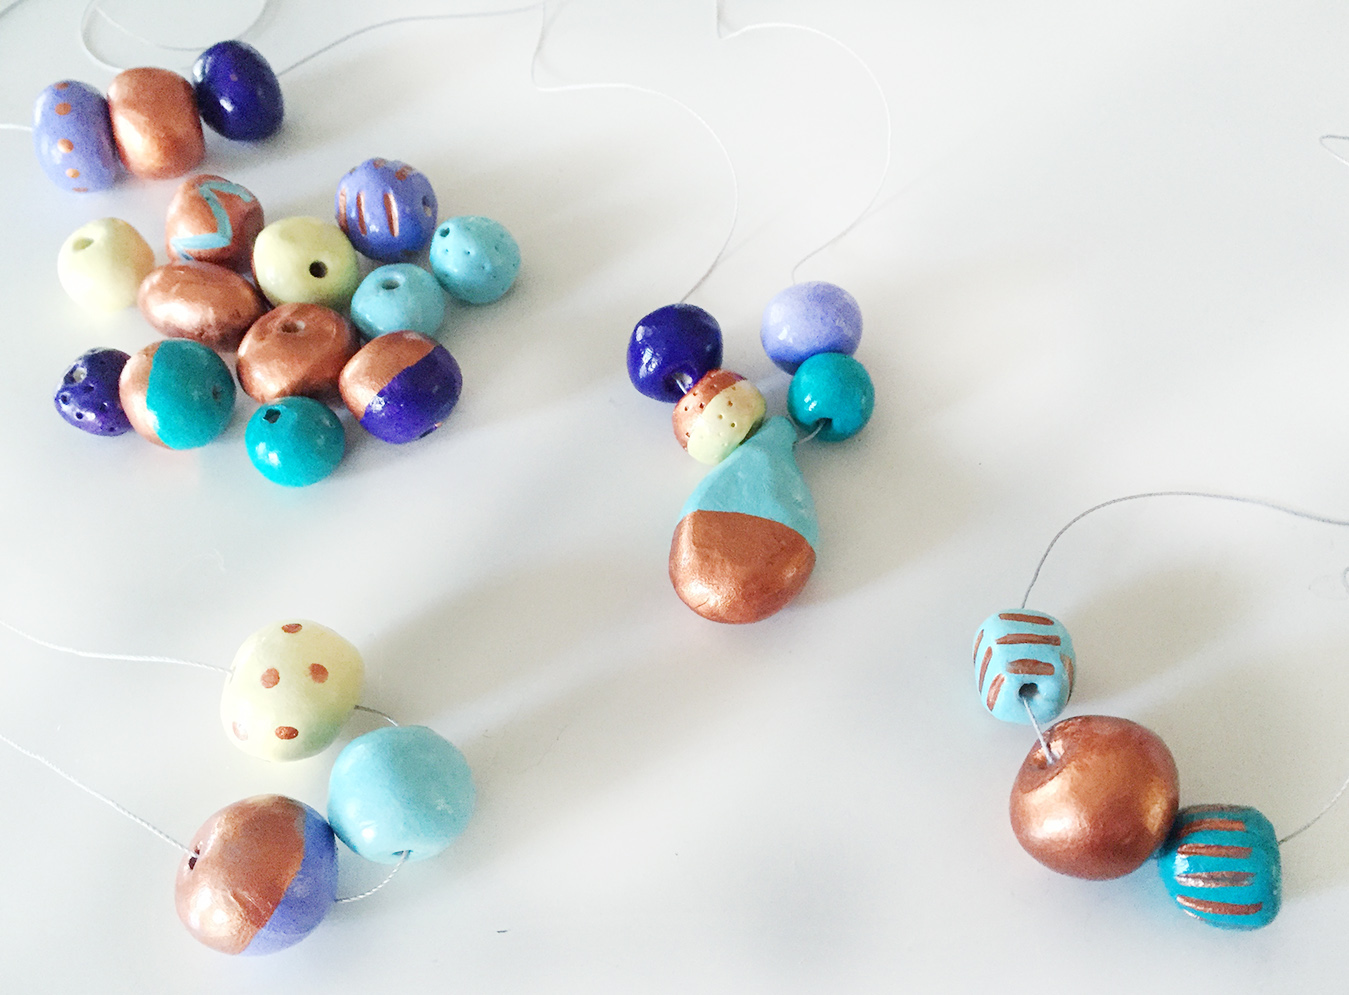
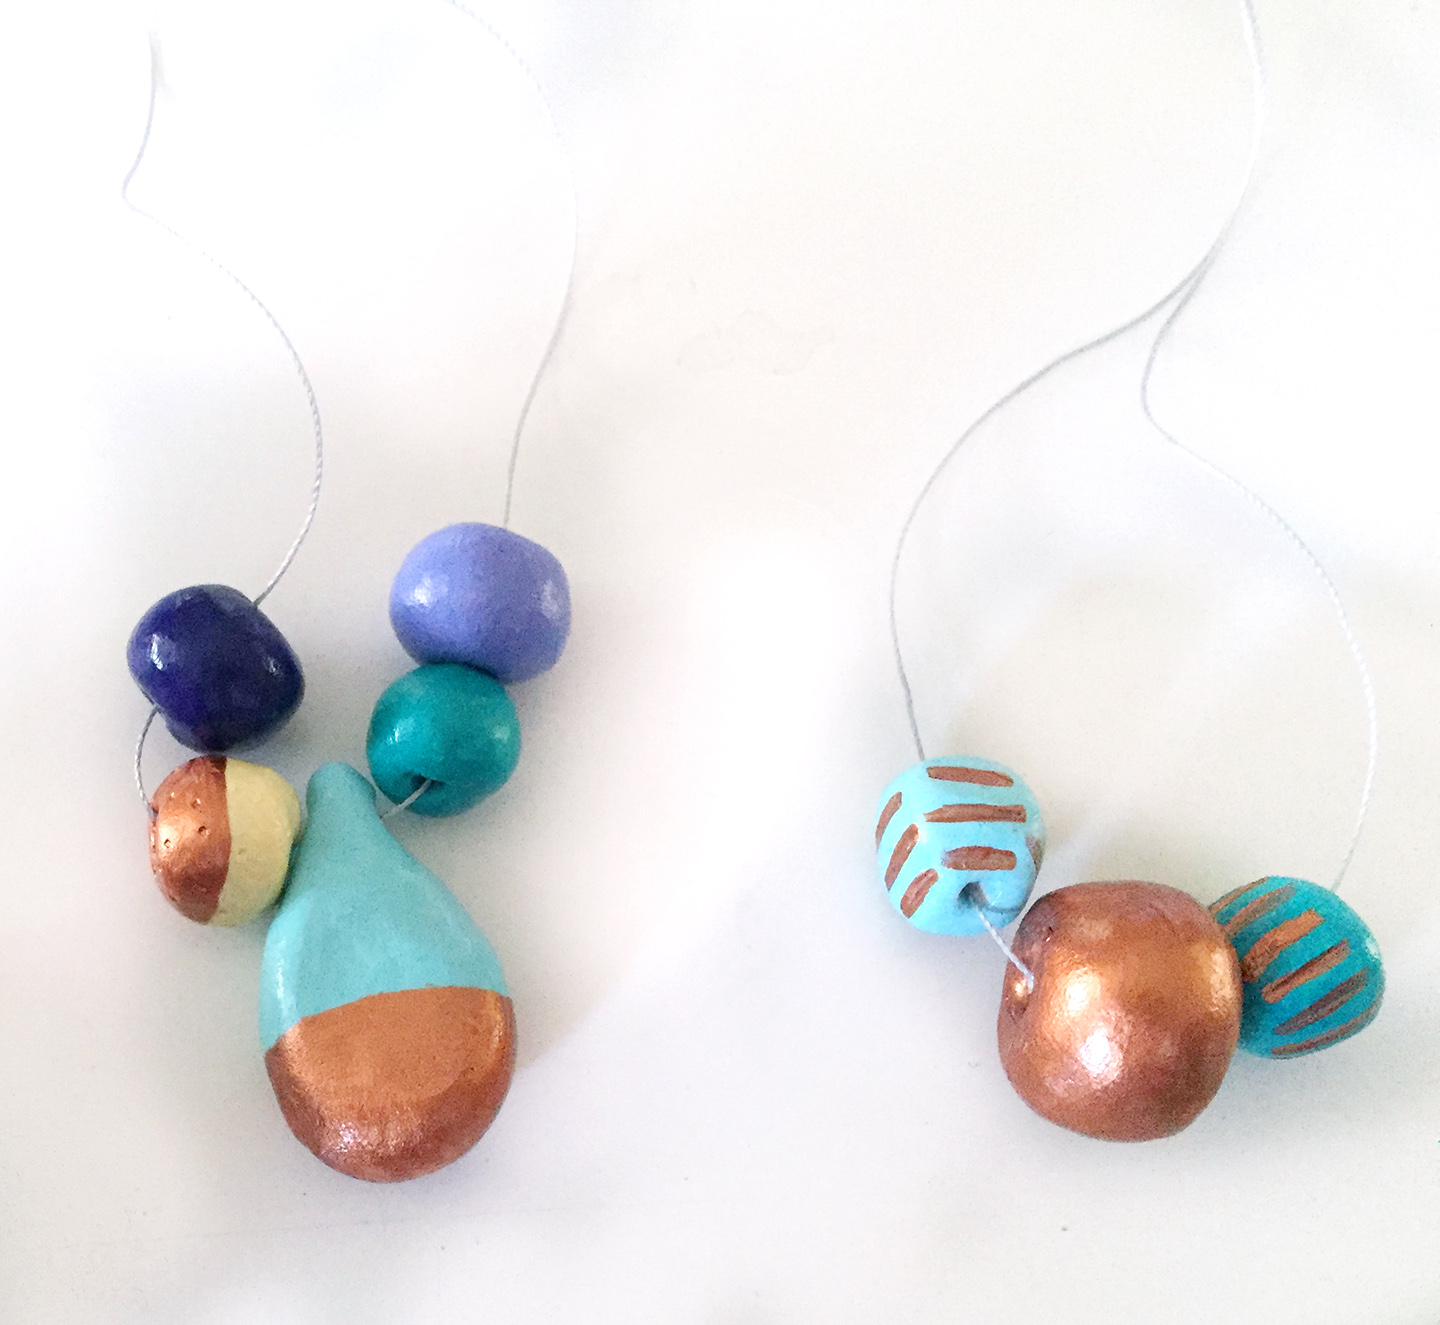
To make our necklaces, I had Jax choose 3-5 beads to string onto a long cord. I tied on copper-toned lobster clasps and tab rings, then sealed the knots with Fray Check. I think he chose beautiful combinations!

Colorful Clay Jewelry Craft for Kids

We really enjoyed working on this craft together. I think a child just a couple years older would be able to do it all (besides the oven) themselves.

Jax has been so proud to hand out his gifts! He’s been telling everyone that they were made with love.

Colorful Clay Jewelry Craft for Kids

Felt and Sequin Dangle Earrings

Felt and Sequin Dangle Earrings

I keep my sequins in a vintage canning jar beside my sewing area, and all the pretty, sparkly colors have been calling to me recently. I wanted to make a quick project with them, so I combined my love of felt and fun, dangle earrings!

Felt and Sequin Dangle EarringsNo patterns needed for this one – just have fun!

Felt and Sequin Dangle Earrings

What I Used:

Felt and Sequin Dangle Earrings

I started by cutting out shapes in my felt and laying them out with sequins to create a design I enjoyed. I then cut out a second set. Make sure you cut a backing piece for each earring body. Decorate the earring fronts by sewing down the felt shapes and adding sequins and French knots as embellishment.

Felt and Sequin Dangle Earrings

Here is how I made mine:

I cut my base out in a rounded teal diamond shape. I had a honeydew green circle the size of a nickel and a blue-gray square, slightly bigger than a sequin. I laid the pieces out and started by sewing down the center square. With the same thread, I sewed on the center sequin. I then switched thread colors and sewed on 4 contrasting sequins around the circle.

With the same thread color, I added a French knot to the center sequin. Switching thread colors to match the circle, I stitched it down. I then started alternating adding matching sequins and stitching French knots.

Felt and Sequin Dangle Earrings

Repeat everything for the front of the second earring.

I then created a tassel. I cut a length of three colors of floss, cut those in half and then tied then together at the midpoint. I then folded them in half and used one of the thread colors to tie knot loops around the bundle. After my last knot, I ran my needle up through the top of the tassel and let the tail stick out with the others at the top. I trimmed the bottom, then made a second one to match.

With thread matching my background, I stitched the tassels to the backsides of the earrings. I made stitches that were hidden by the sequin on the front. I then began sewing the front and back together for each earring. I paused at the top and sewed on a jump ring. Make sure the rings face the way they need to in order hang the right way from your earring wires.

Finish the earrings by attaching the earring wires. I had fun with the colors and made a bright pink and purple set that is slightly smaller.

Felt and Sequin Dangle Earrings

I really enjoyed making these and may design some more to give as gifts or sell in my Etsy shop. Let me know if you make some! Stop by our Facebook page or share a photo with me on Instagram or Twitter (username @iolstephanie). Be sure to share the project with a friend who sews!

Felt and Sequin Dangle Earrings

The Happy Bat Necklace

Here’s a little felt tutorial for you! I made a quick Halloween necklace during a break from sewing quiet book pages.

Make Some Happy Bats:

  1. Grab the pattern here. Cut out two felt bat pieces (front and back) for each bat. The small bats can be tricky to cut out! I did one side at a time, then matched them up and trimmed.
  2. Embroider the faces: Satin stitch fangs, back stitch smiles and French knot eyes. Be creative!
  3. Sew the center bat pieces together with a blanket stitch around the edges.
  4. Cut two 10″ lengths of your ribbon. I used a thin black satin and transparent purple.
  5. Layer a small bat around the edge of the center bat with the ends of one set of ribbons coming out of the other side. Blanket stitch around the edges, making small stitches when you cross the bat and ribbons.
  6. Repeat on the other side.
  7. Try the necklace out for length and trim the ribbons as needed. Using jewelry pliers, attach your ribbon clamp clasp. Mine came with some chain for adjustability.


Sunday Souvenir: High School Jewelry-Making

I guess I’ve always loved designing and making jewelry. I was lucky that my high school offered a metal jewelry-making class. My memory of high school details is not great, but I think it was my senior year that I took it. That was the last year it was offered. (My class was the last to graduate from the original high school. For the next few years, students were bussed elsewhere while they tore it down and remodeled. Sad!)

I had so much fun in this class! I made a lot of rings in swirly designs. My biggest project was carving a cat ring out of wax then casting it in silver. I was definitely the most prolific student in that year’s class. The teacher, Mr Fields, would come to me with silver wires or wax molds he found to see if I had ideas for them. I won a departmental award for the class.

Did your school have any unusual classes?

Leave a comment if write a Sunday Souvenir and you’d like your link to be added!

Necklace Giveaway!

Time for a giveaway! The prize is a necklace handmade by me and perfect for fall. It would look great with both work and casual clothes. The necklace is made of beautiful green-blue stone beads with hints of yellow, round wood beads, small glass seed beads and a wooden pendant. The clasp is magnetic, so it’s easy to put on and off.

To enter, like us on Facebook (if you haven’t already). For a second entry, follow me on Twitter (if you haven’t already). Then come back here and leave a comment letting me know which of the two you completed. Make sure you leave an email address so I can contact you if win.

The contest will run until noon on Saturday. I almost want to keep the prize for myself, but I have one more pendant to make my own.

Good luck!

Recycled Starbucks Card Earring Tutorial

Inspired by my search around the internet for Starbucks-themed crafts, I put together a the first in a series of Starbucks tutorials.

Everyone knows I am a huge Starbucks fan, so I often get their cards as gifts. They are so cute and I can’t seem to throw them out when they are empty. When I saw it was possible to turn them into jewelry, I had to give it a try!

These will make a great gift for our favorite barista. I’ll be making more styles, but this tutorial features Starbucks logo from the upper corner of two cards.

What you need: 2 Starbucks cards, scissors, emory board or sandpaper, something to punch a small hole (I used a corn cob holder!), beads and earring findings (I used two silver french hooks, 2 head pins, 2 large seed beads and two round beads) and jewelry-making tools.