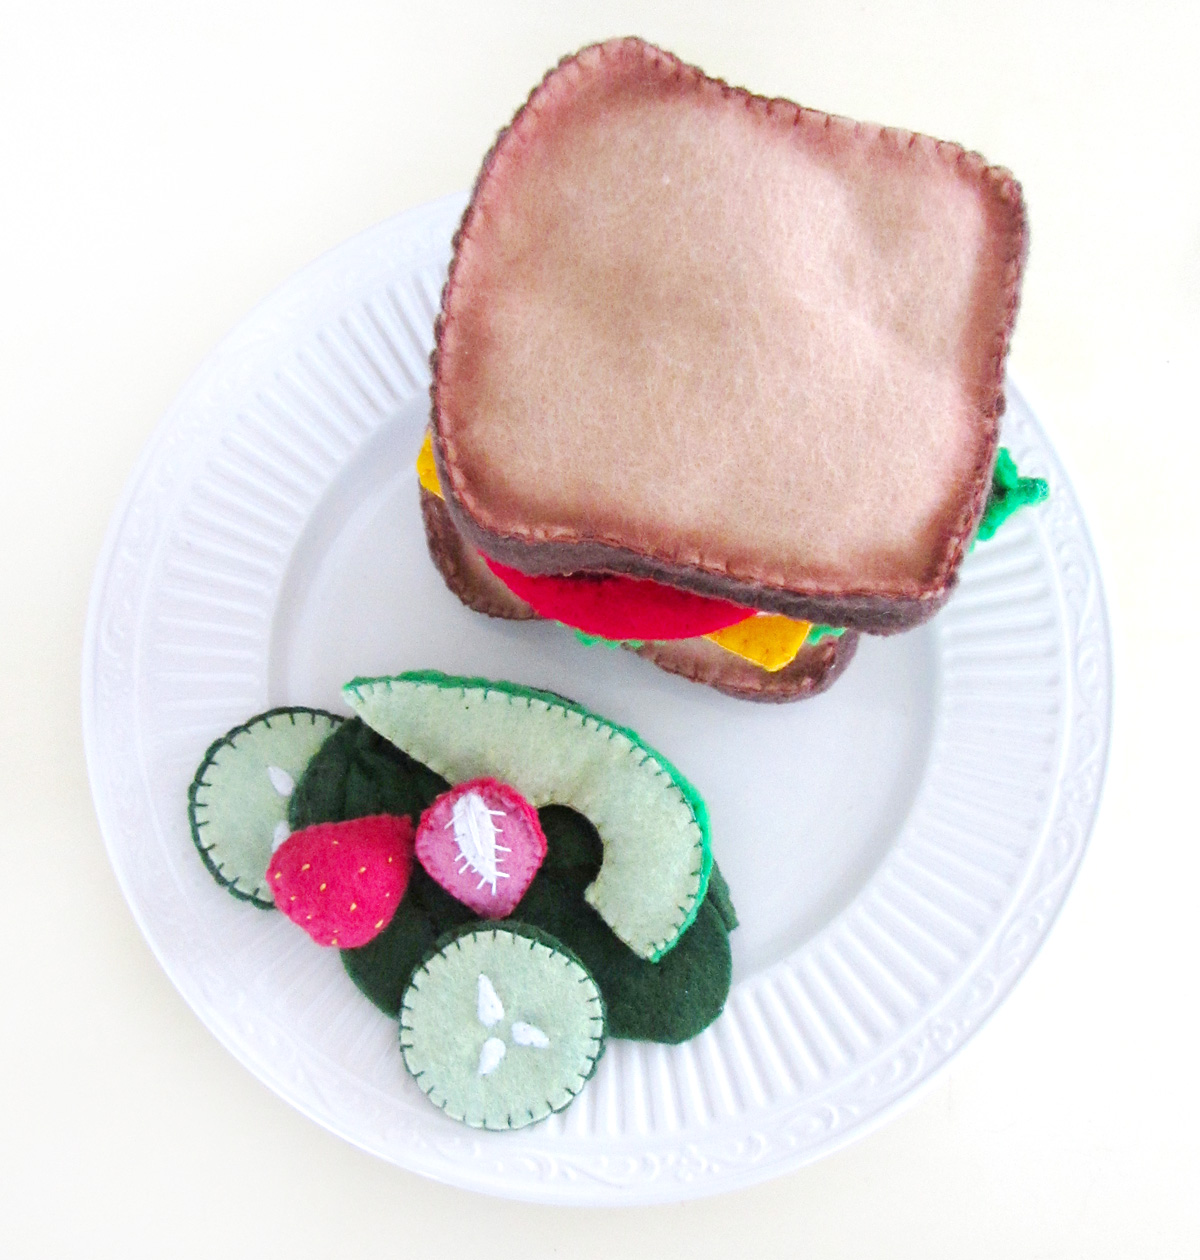
Have you caught the felt food bug yet? Felt food is super adorable and quite easy to make. I’ve been dying to design some for Jax, but needed to wait until he was old enough to keep them picked up. We have a golden retriever who would find felt food equally as fun!
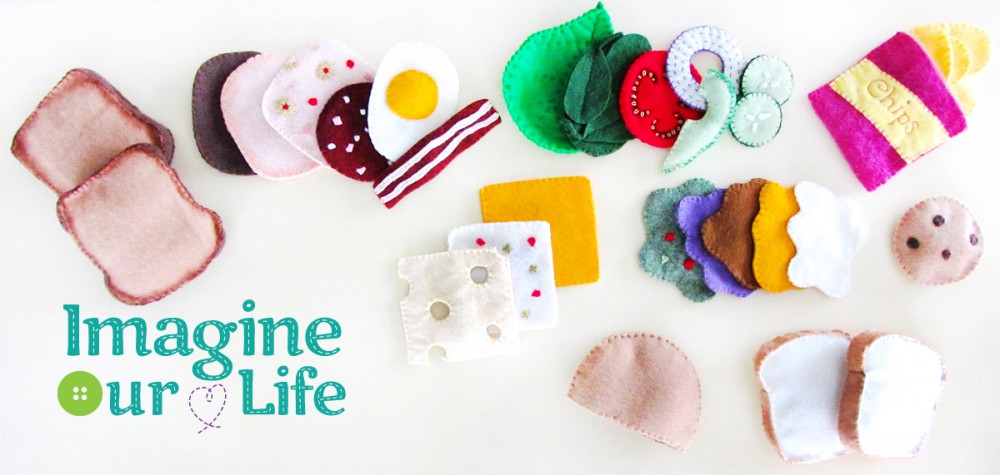
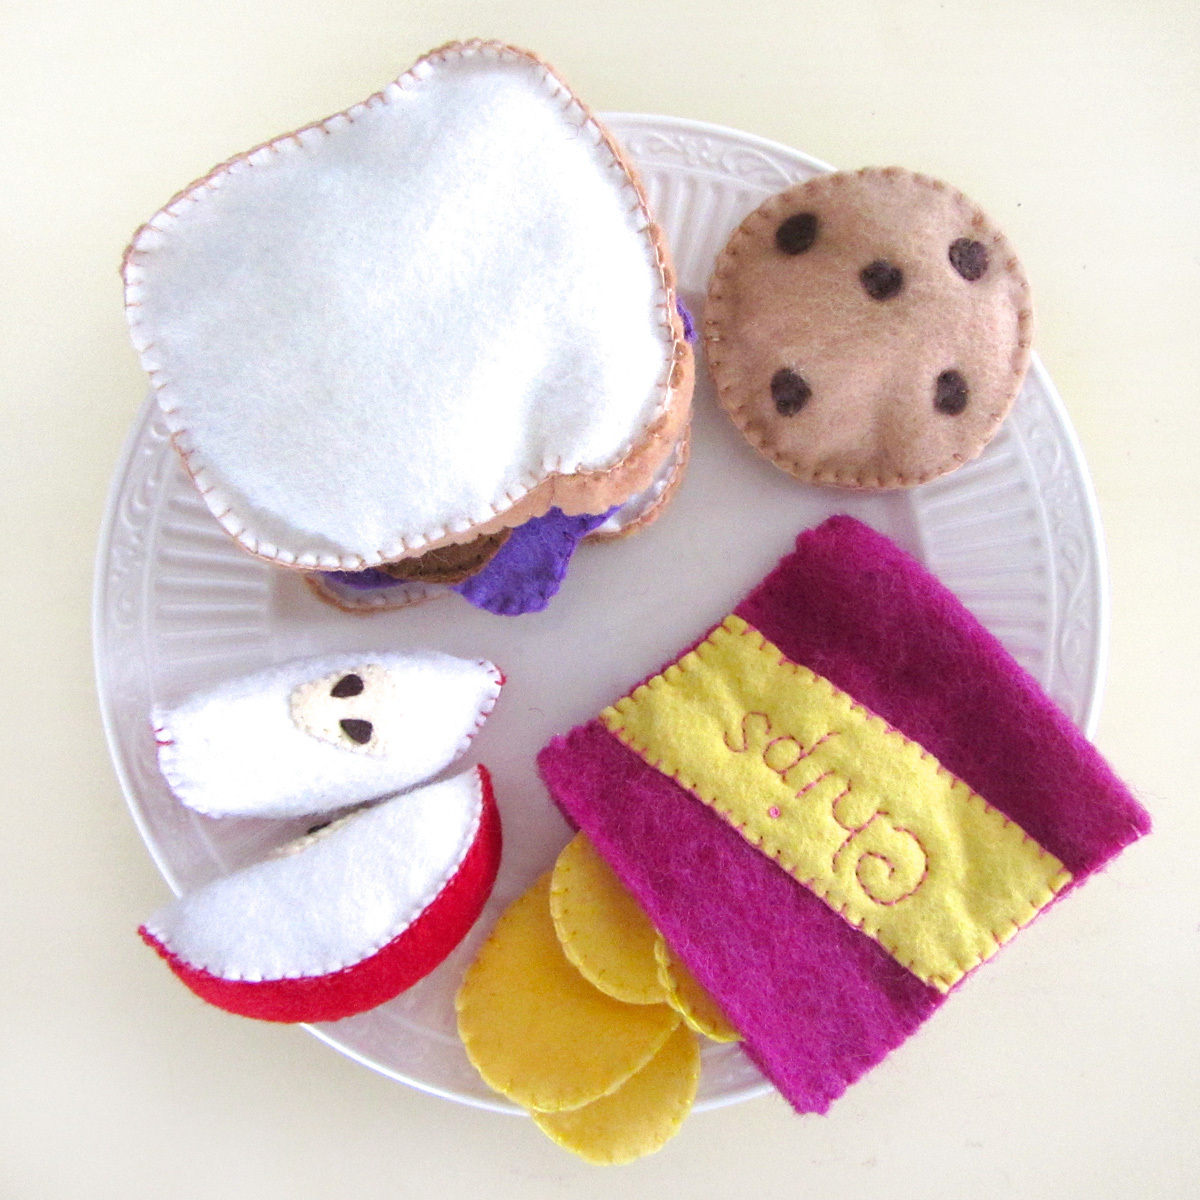
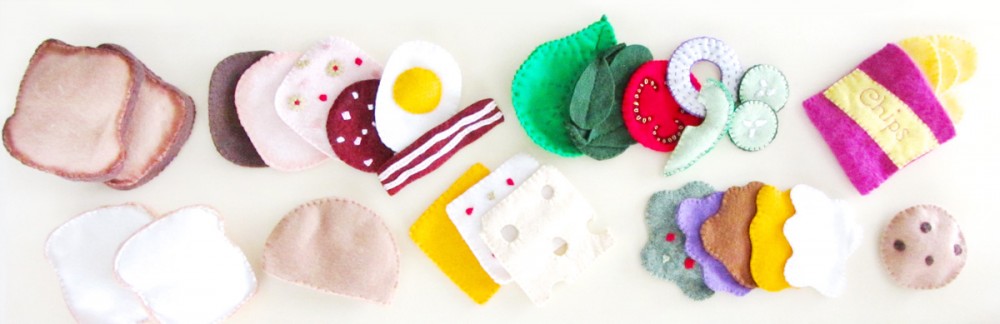
I had so much fun designing and sewing a felt sandwich set for Jax, that I wanted to share the free pattern with you all. This set includes all sorts of goodies for your sandwich shop: breads, proteins, cheeses, veggies and spreads. And don’t forget chips and a cookie!
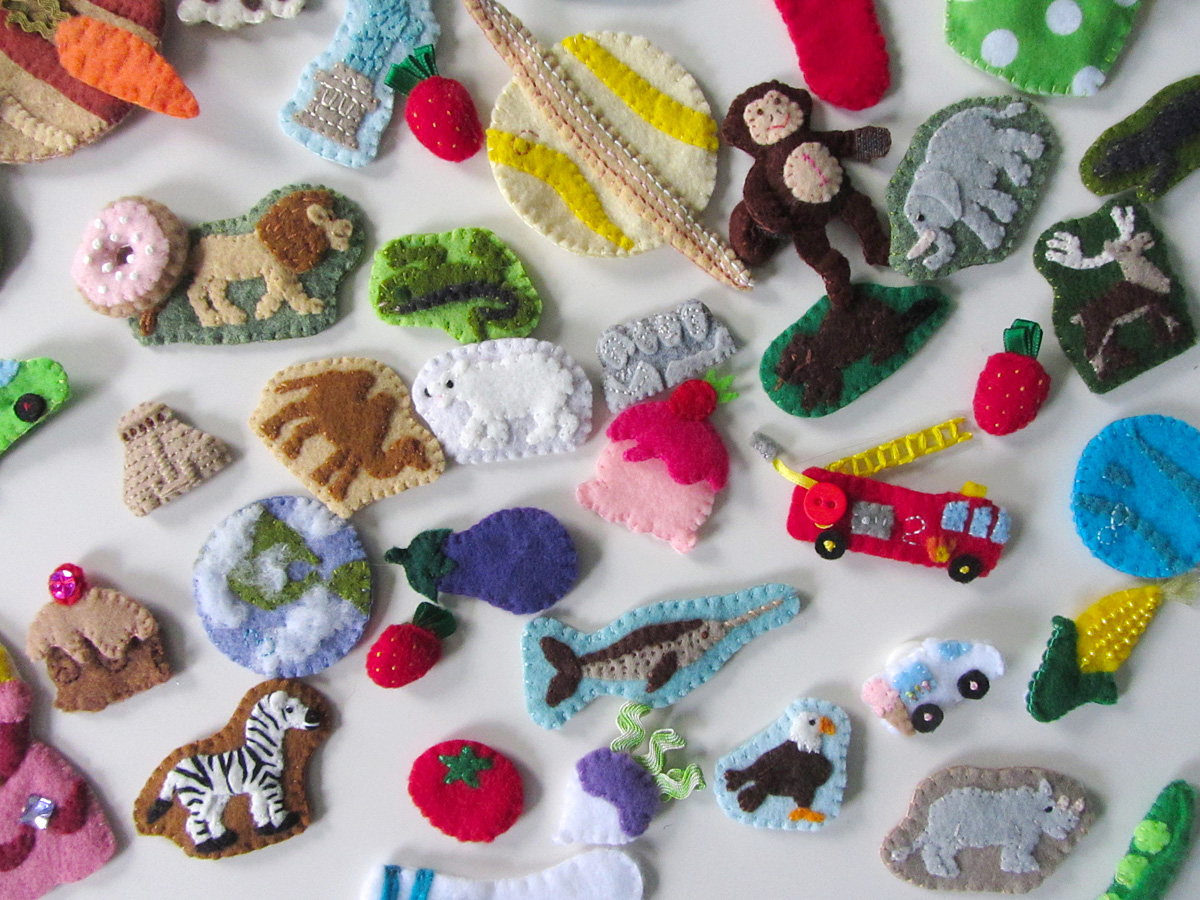
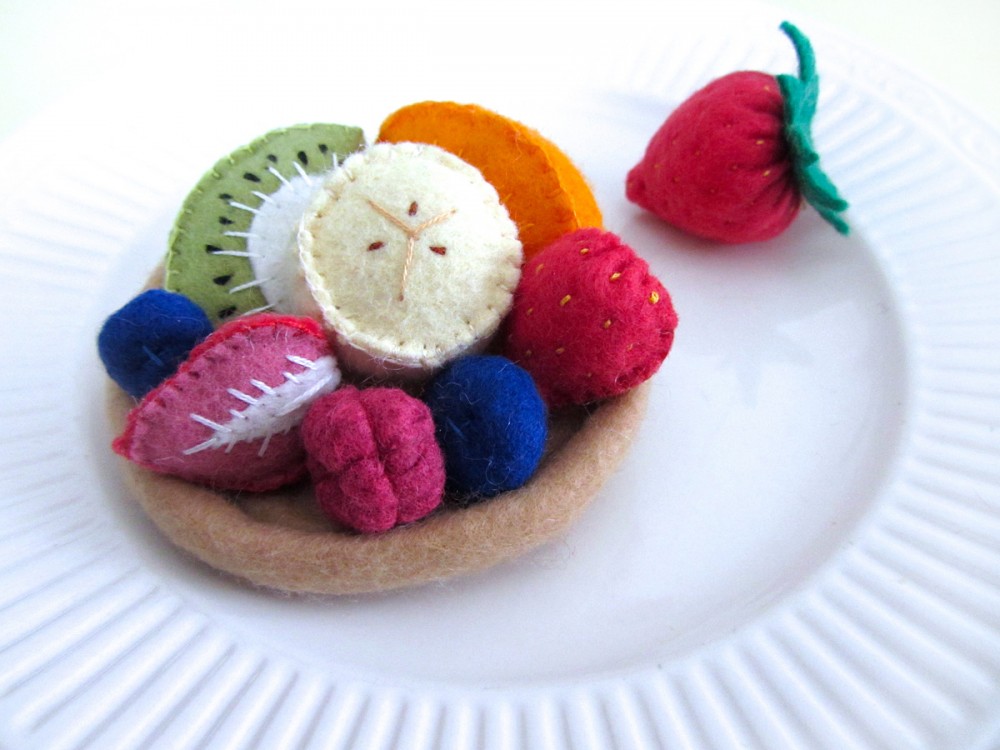
I’ve also been sewing a lot of sliced fruits to go along with the sandwiches. Follow my Play Kitchens & Food Pinterest board for many of the tutorials I followed. I did create some of the fruits on my own. I can share those later if there is interest.
What I Used
I used a hodge-podge of felts for this project – whatever I had on hand! Some is wool blend felt from American Felt and Craft, some is cheap craft felt by the yard from Joann’s Fabric and the chip bag is thick 100% wool from the craft store. Here is the pattern I made.
Breads
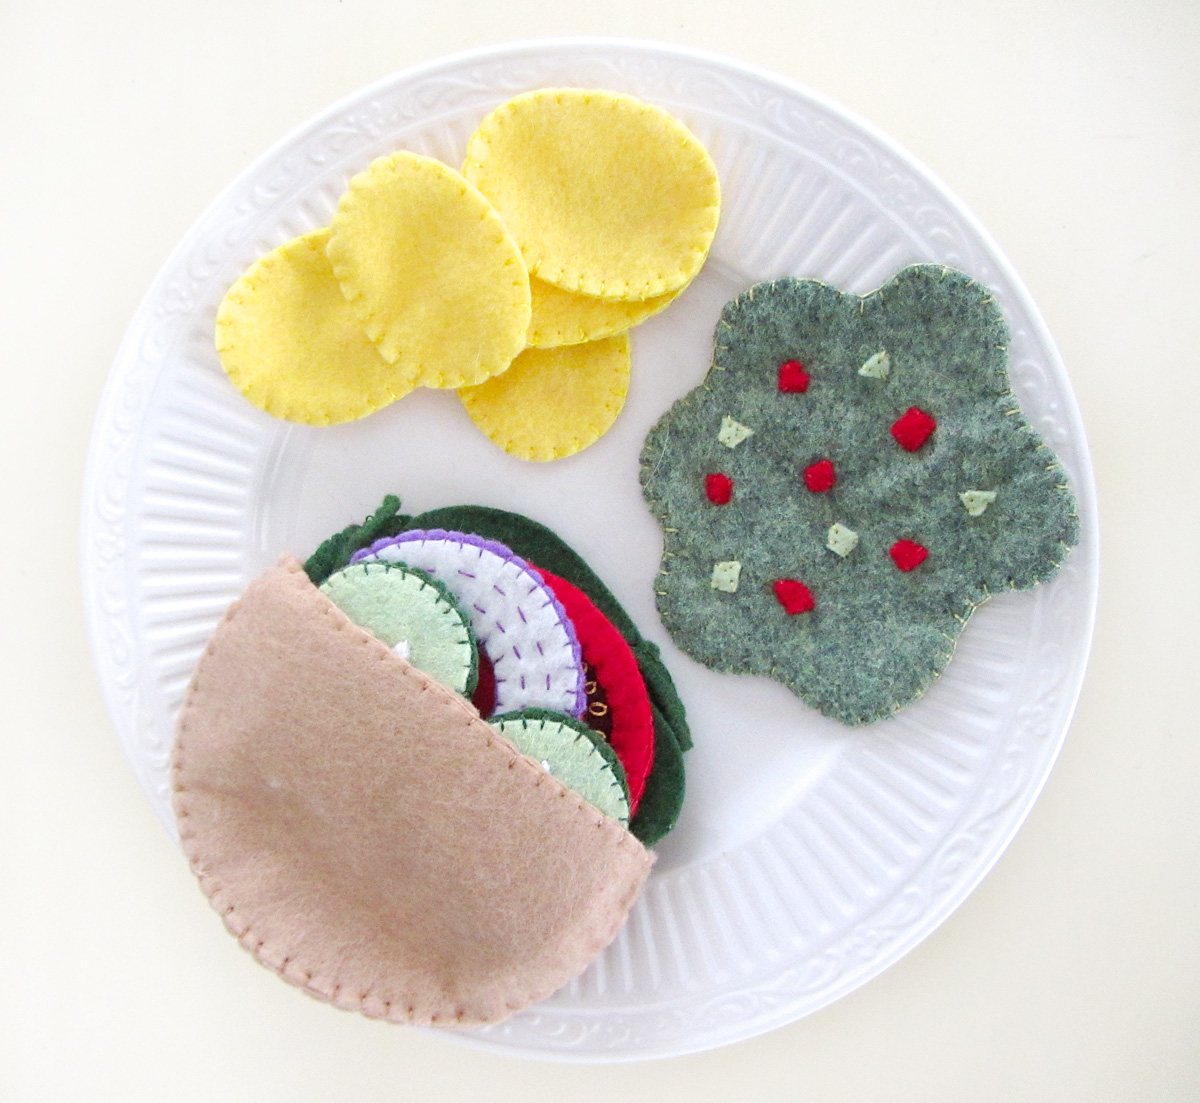
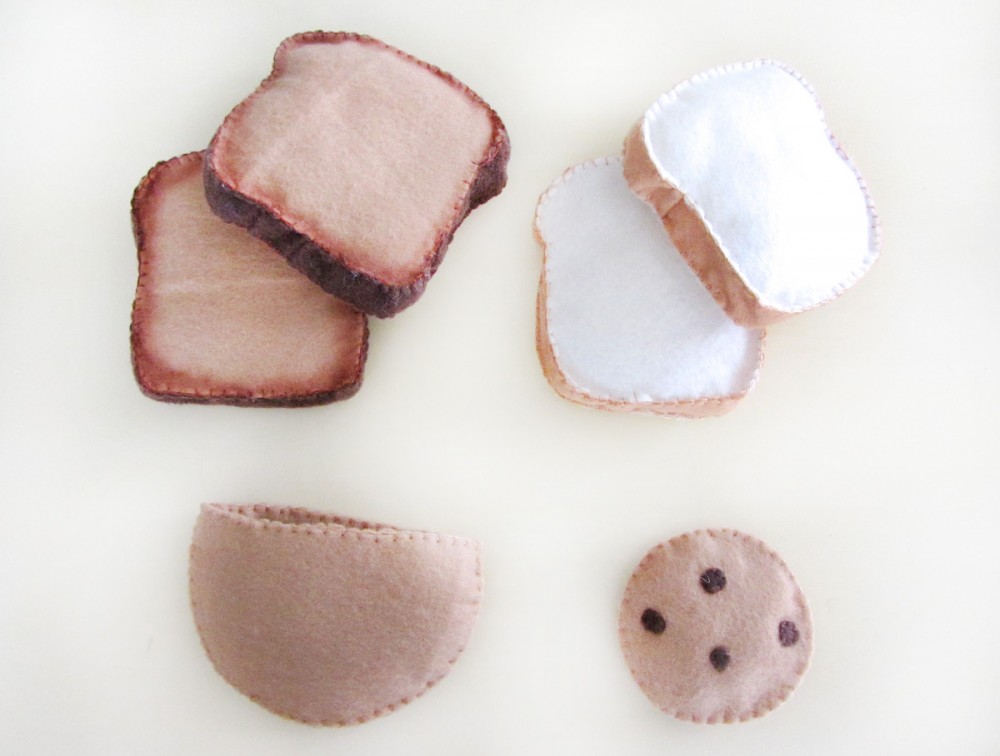
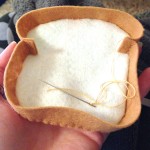
For the pita pocket, I placed two layers together and sewed them together along the straight edge with a blanket stitch. I repeated this with the last two pieces to have the two sides of the pocket. I placed them together and sewed through all the layers along the curve.
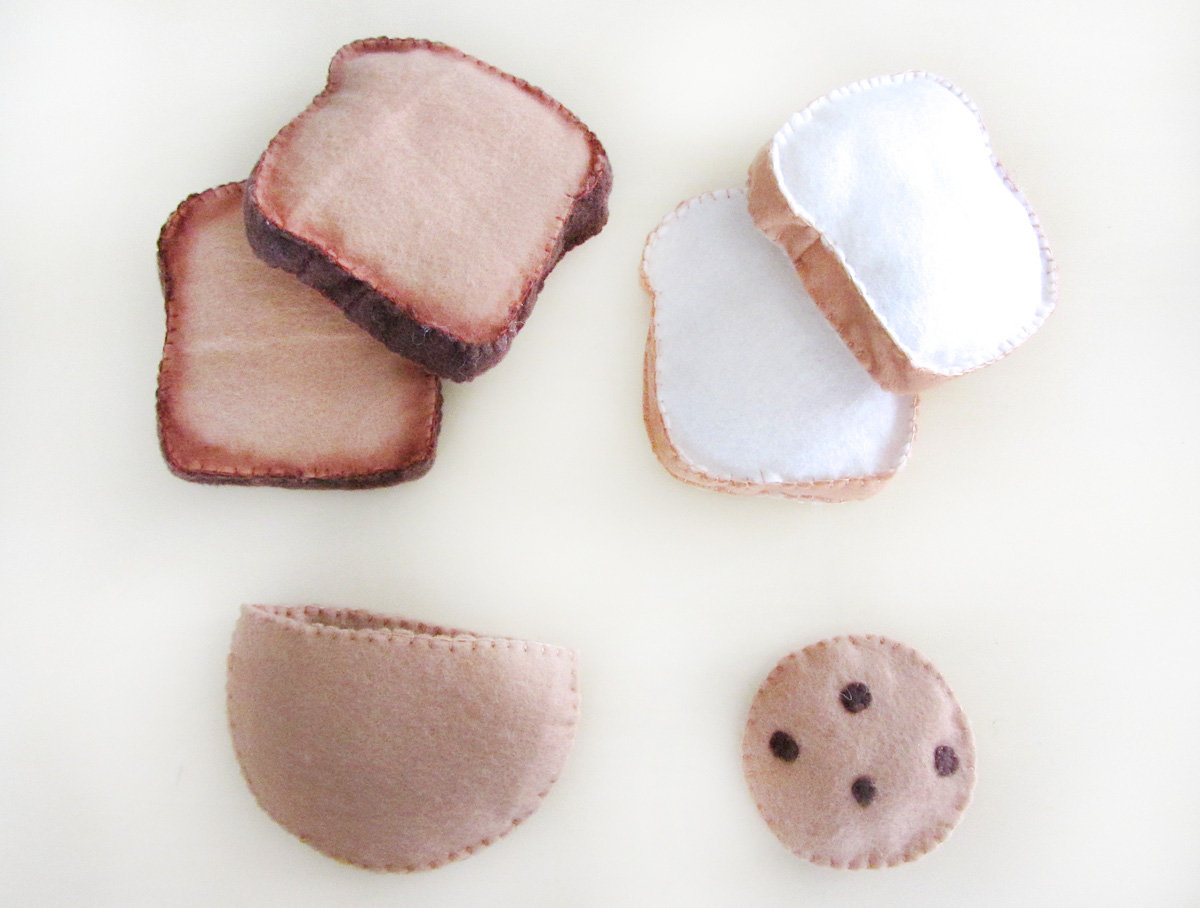
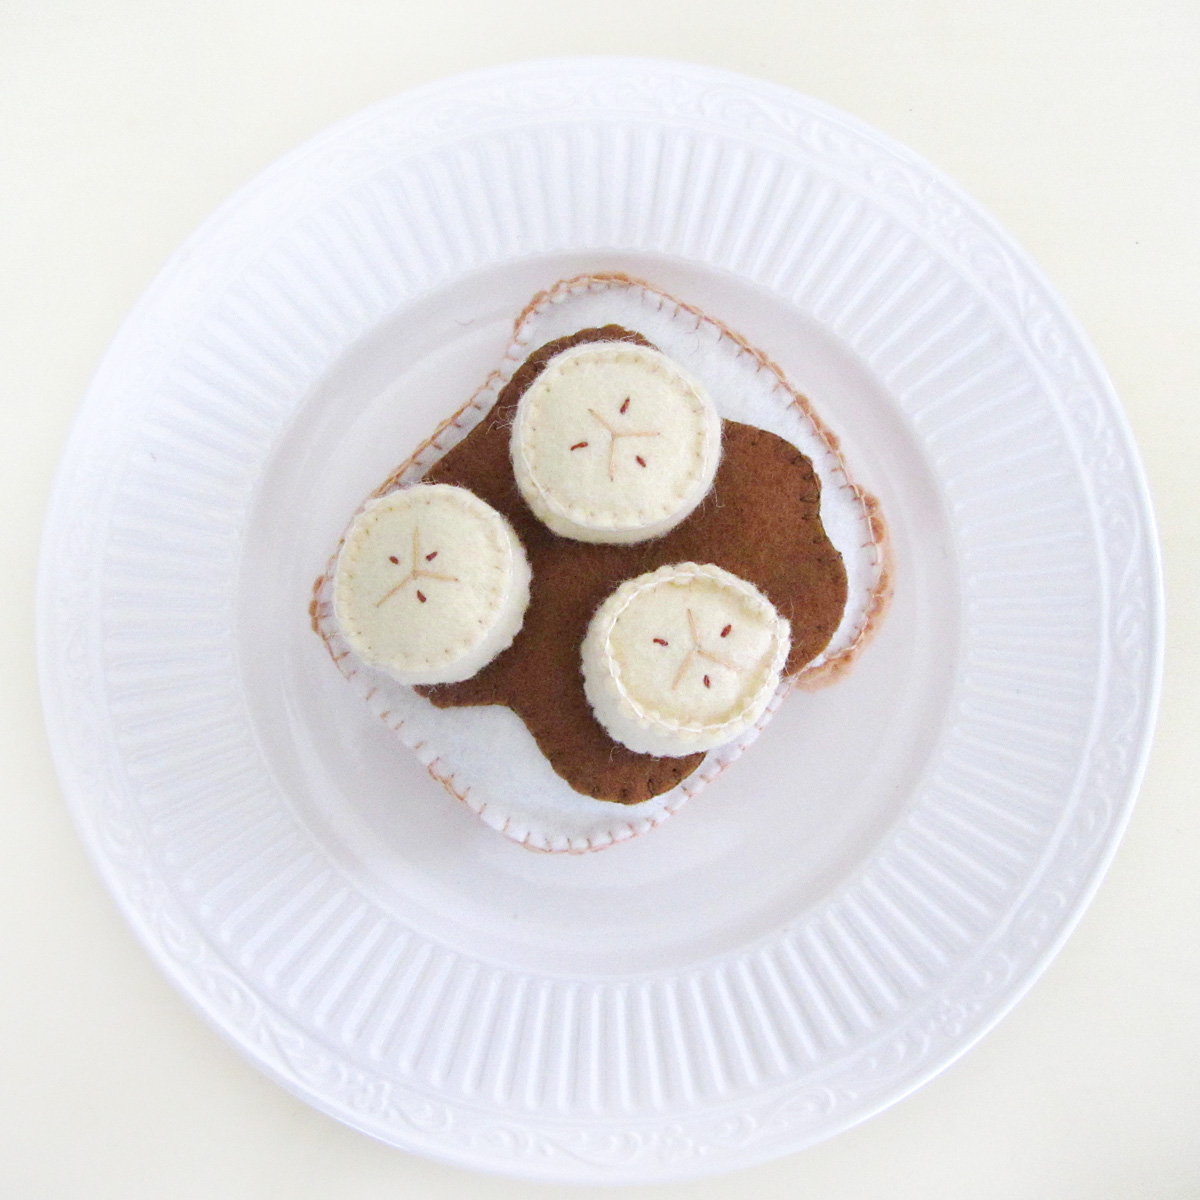
 For the sliced breads, I cut two strips of crust for each slice. Using a blanket stitch, one strip got sewn around the top curve of one bread piece and the other around the square bottom. The strips were trimmed and sewn together at the base of the curves on each side. I then blanket stitched the other side of the bread on, pausing halfway to lightly stuff it with poly-fil.
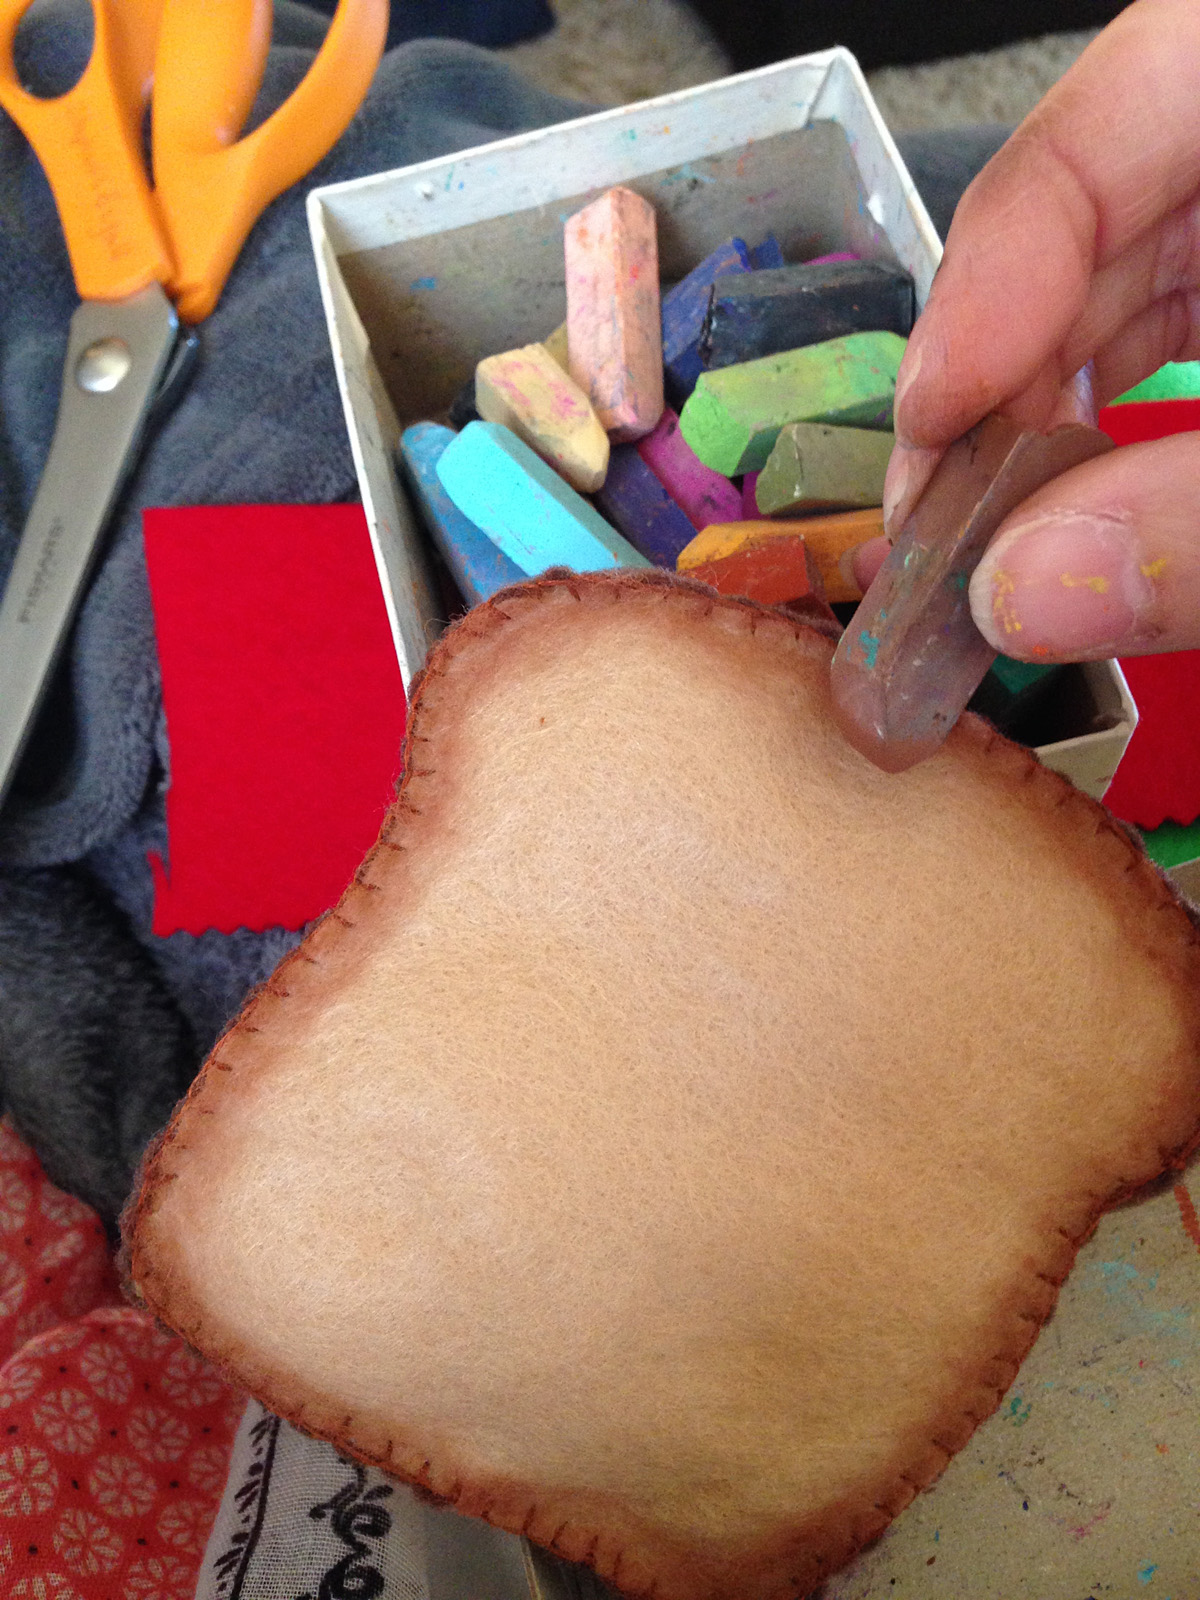
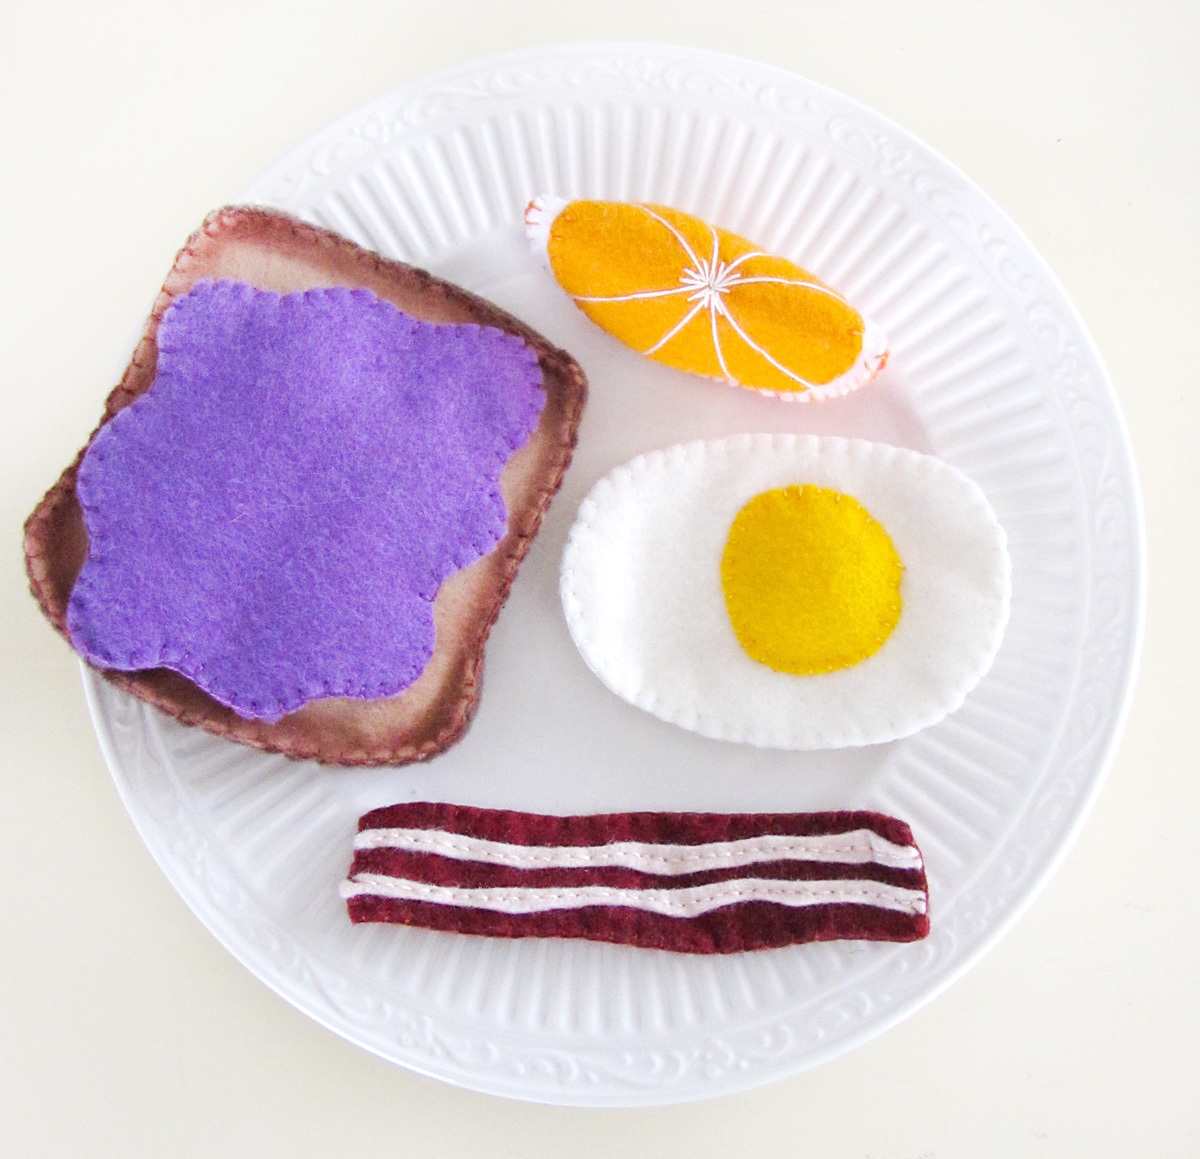
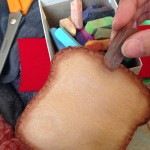 I used artists’ pastels to add shading to the brown toasted bread. I colored lightly around the edges of each side, then “set” it by getting the colored felt wet and drying it overnight. We haven’t had any rub off yet, but Jax is gentle. I do not recommend doing this if any felt food will be in someone’s mouth! And do be sure your pastels are non-toxic.
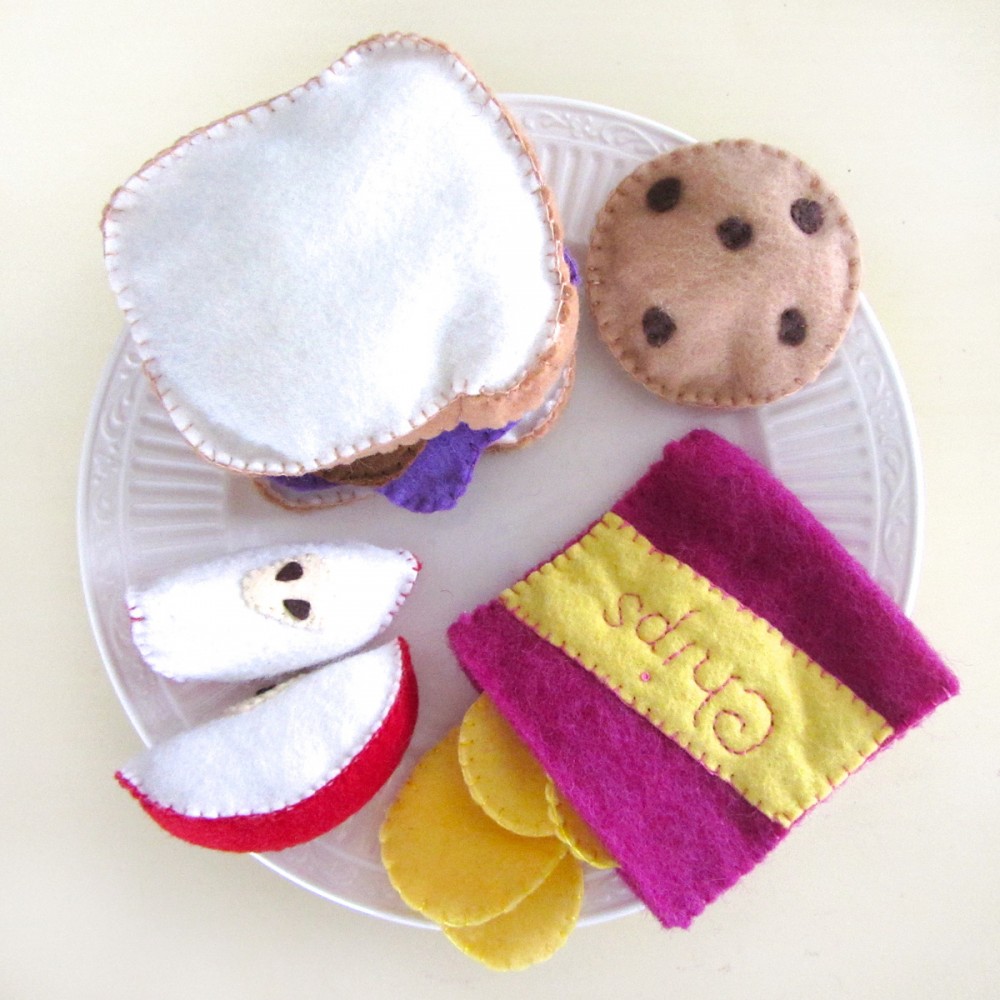
The cookie is very simple! I cut little chocolate chips and glued them down with a dab of felt glue. I sewed mine down as well. I then sewed the two sides together with a blanket stitch, pausing halfway to lightly stuff the cookie. (All of the items in my breads section were done with cheap craft felt.)
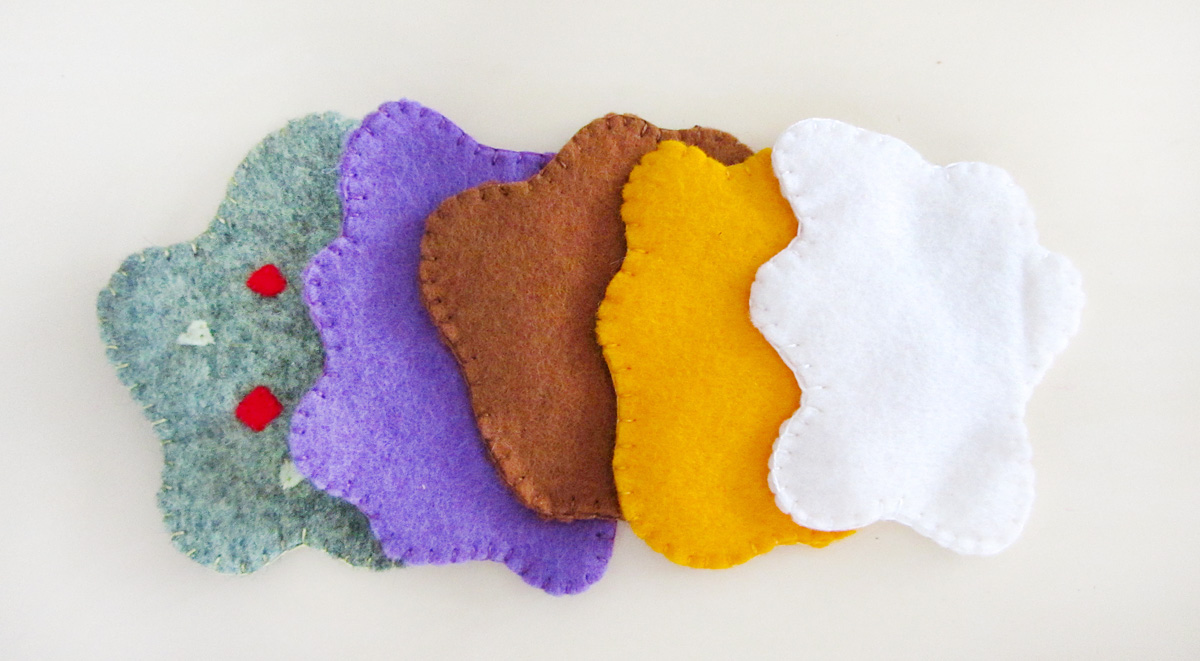
Spreads
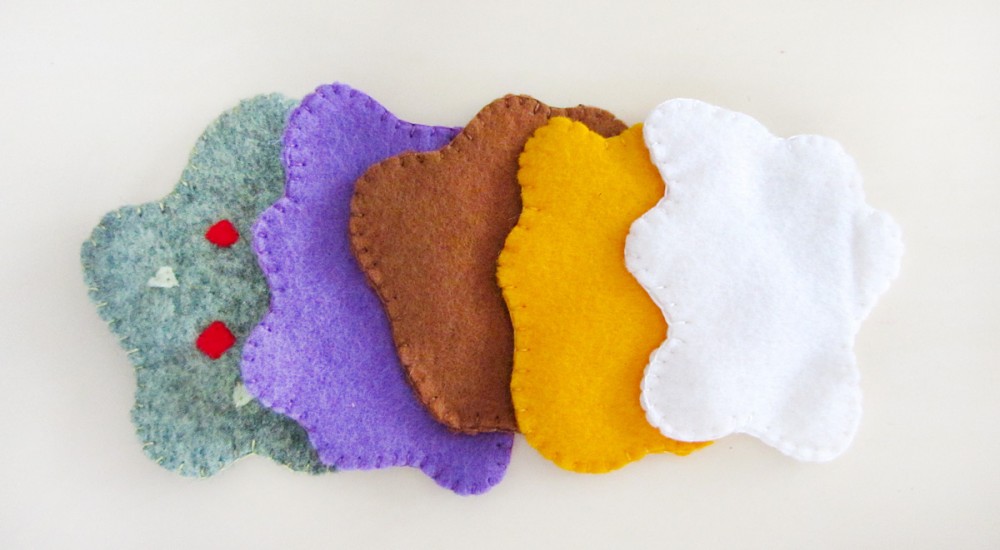
For each of the spreads, I sewed the front and back pieces together. On the guacamole, I also glued then sewed down little scraps of red and green felt before sewing the whole piece.
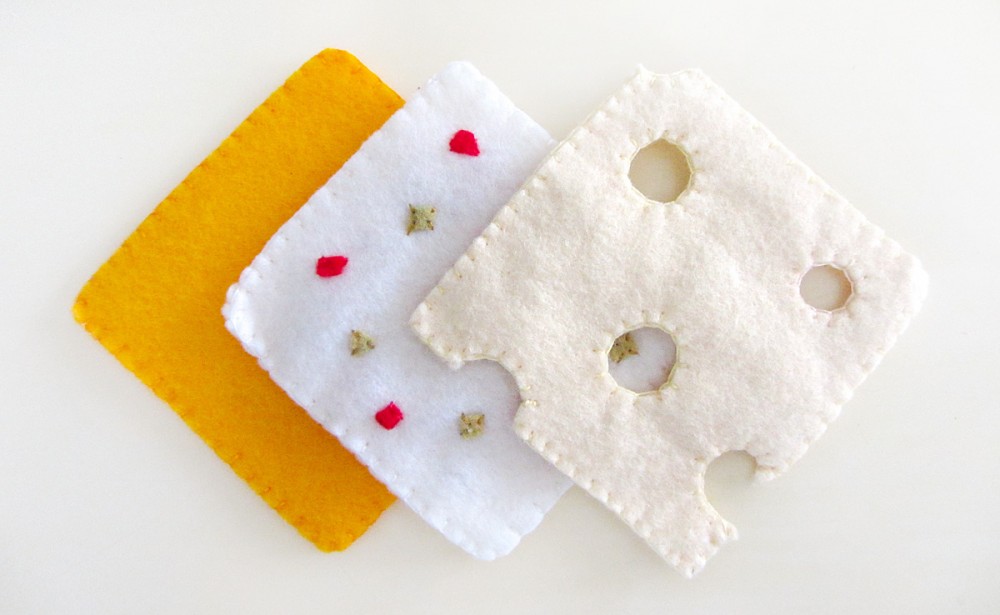
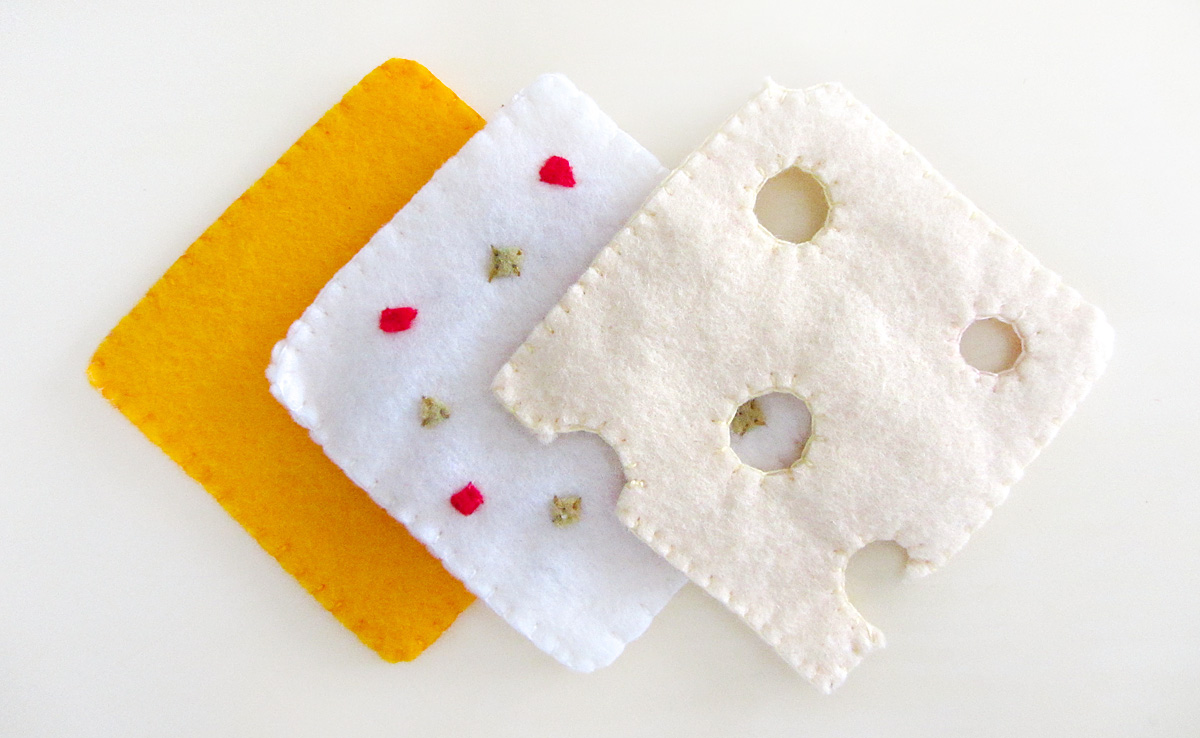
Cheeses
I made three kinds of cheese, but you could easily add your favorites. For each of them, I sewed the front and back pieces together. On the pepper jack, I also glued then sewed down little scraps of red and green felt before sewing the whole piece.
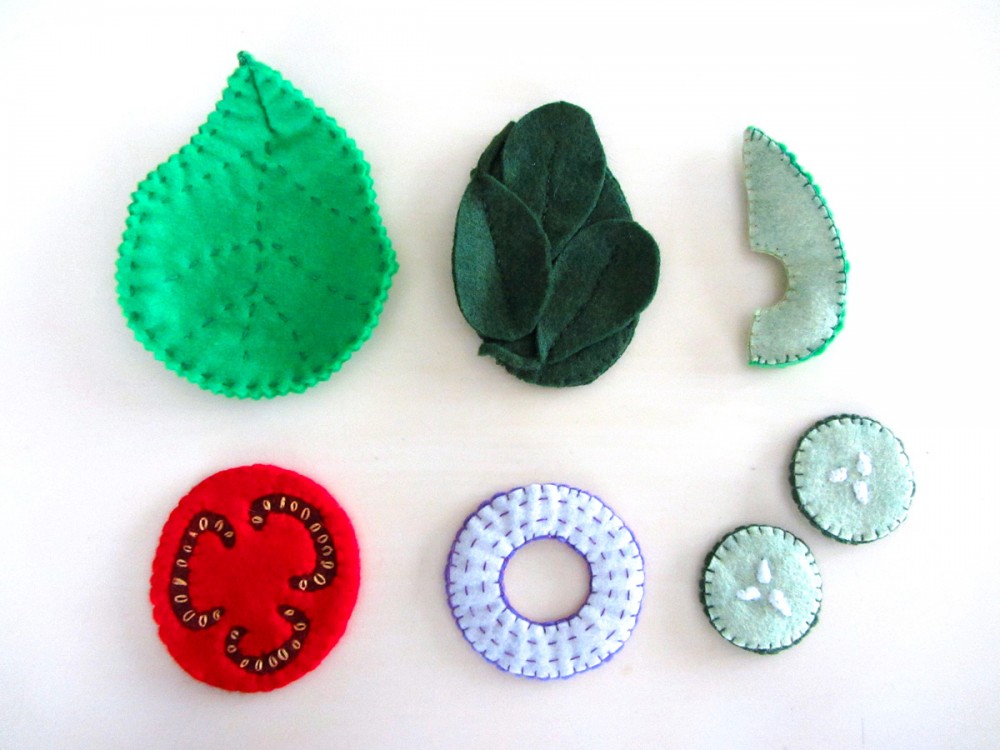
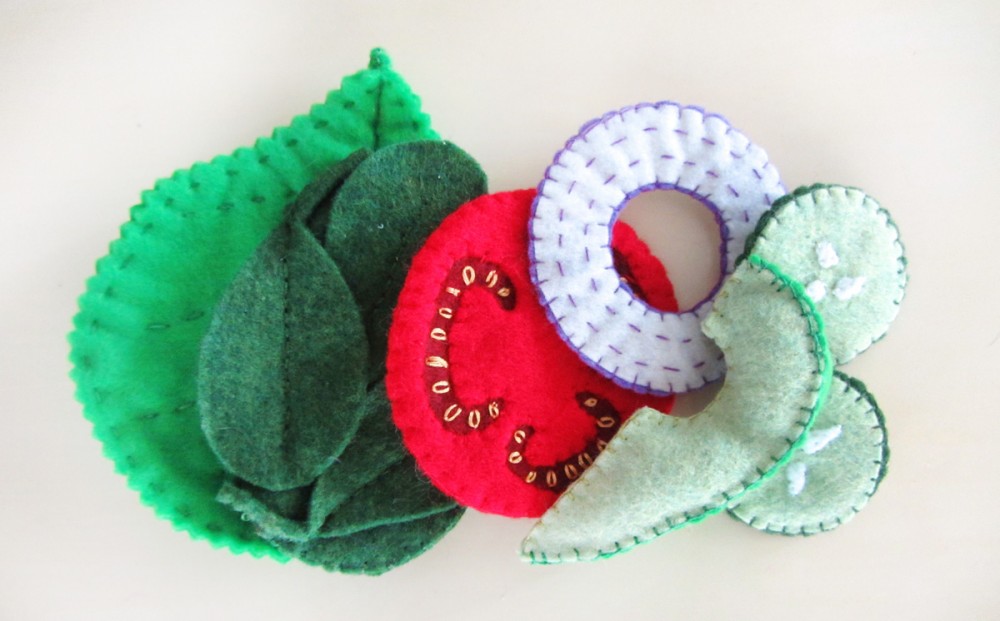
Produce
Being a vegetarian, I wanted lots of tasty, colorful fruits and veggies for Jax’s sandwich set. They take a bit more work but add so much!
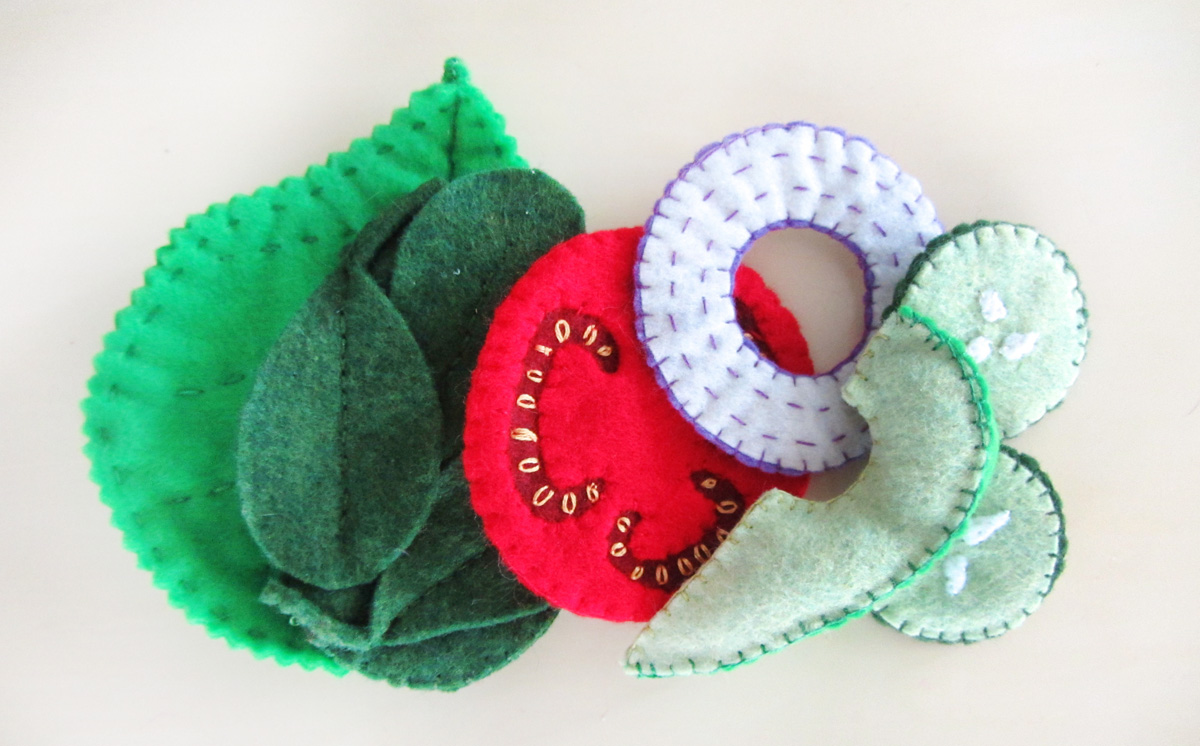
For the lettuce, I cut mine out with pinking shears for a zigzag edge. I sewed the two sides together with a running stitch (a dashed line stitch that looks the same on both sides.) I pinched the base together into a tiny dart and stitched it to make the stem. I used a running stitch to add veins.
To make the spinach, I stitched three leaves to one of the base pieces using a back stitch up the center vein of each. I then blanket stitched the front and back together.
When sewing the avocado, I started by sewing the two sides of the avocado flesh together along the straight edge with the pit hole. I then blanket stitched the back piece on to make a wedge, pausing to fill it with stuffing.
The tomato takes a bit of embroidery time. I laid each side of the tomato down onto one of the inner pieces, then sewed down the holes. Using gold thread, I stitched the seeds with a lazy daisy stitch (Bring your needle up and down at the same spot, but before you pull the loop tight, make a tiny perpendicular stitch at the top to tack it in place.) Once all the seeds were done, I stitched the two sides together with a blanket stitch.

For the red onion, I made two rows of dashed running stitch to each white ring. I then sandwiched the purple skin piece between the white rings and blanket stitched it together. The purple will show a bit as though you sliced the onion thinly.
The cucumbers started with seeds that were tacked down with glue, then stitched on. I sewed 3 to each side. I then layered the skin piece between two flesh pieces and blanket stitched it all together, the same as with the onion.
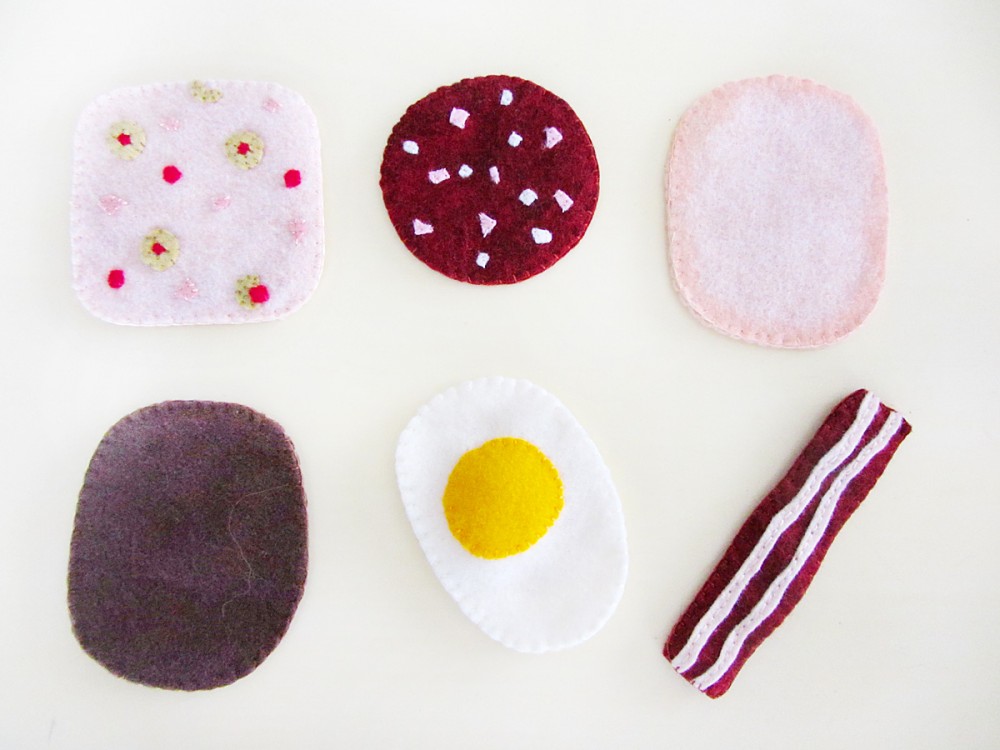
Proteins
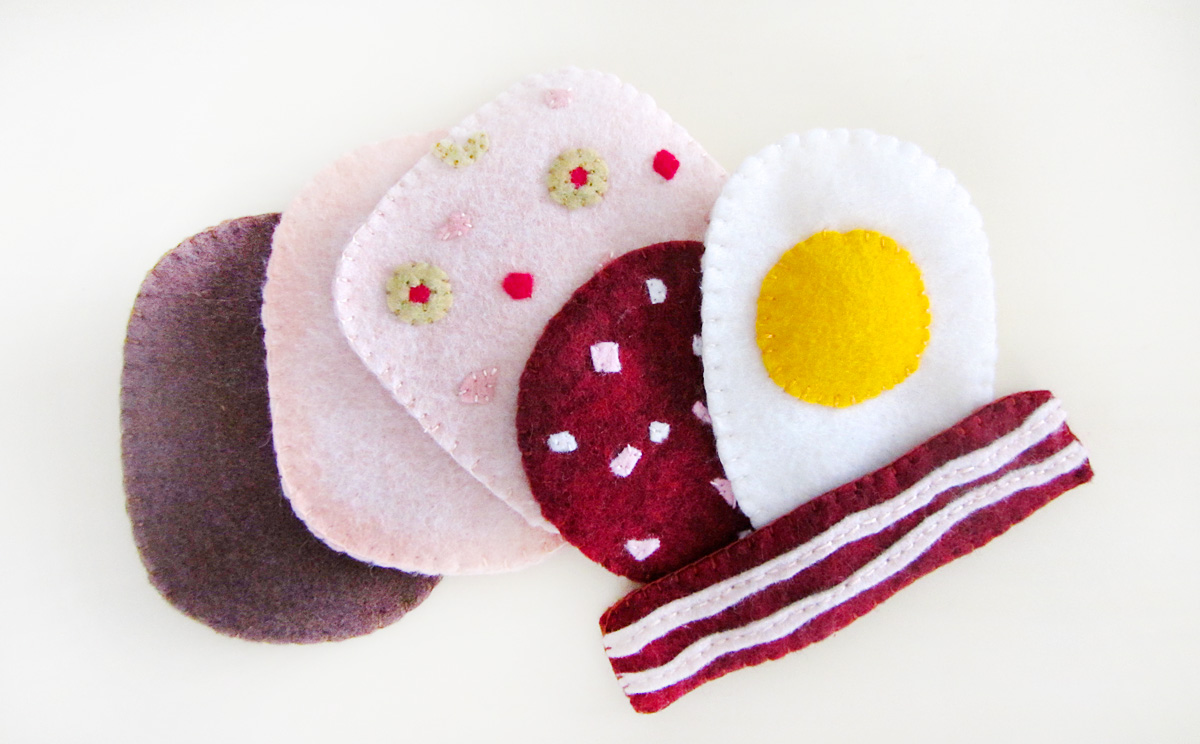
I know olive loaf is pretty yucky in real life, but it sure looks adorable made of felt! Jax like olives, so I thought he would find it fun. I cut whole and partial olives, red square pimentos and random pink scraps. I glued and sewed them down to both pieces of a really lovely pale peachy pink felt, then stitched the two sides together with a blanket stitch. I did the salami the same way as the olive loaf, using pink and white random scraps for the little bits in it.
For the two sandwich meats, I simply sewed the two sides together with a blanket stitch. On the turkey, I used the same pastel technique as the toast to add some shading.

The fried egg is simple. I stitched the yolk down to one side, pausing to add some stuffing. I then sewed both sides together with a blanket stitch.
To make the bacon, I cut two wiggly pink strips for each side. I glued and sewed them down, then sewed the two sides together.

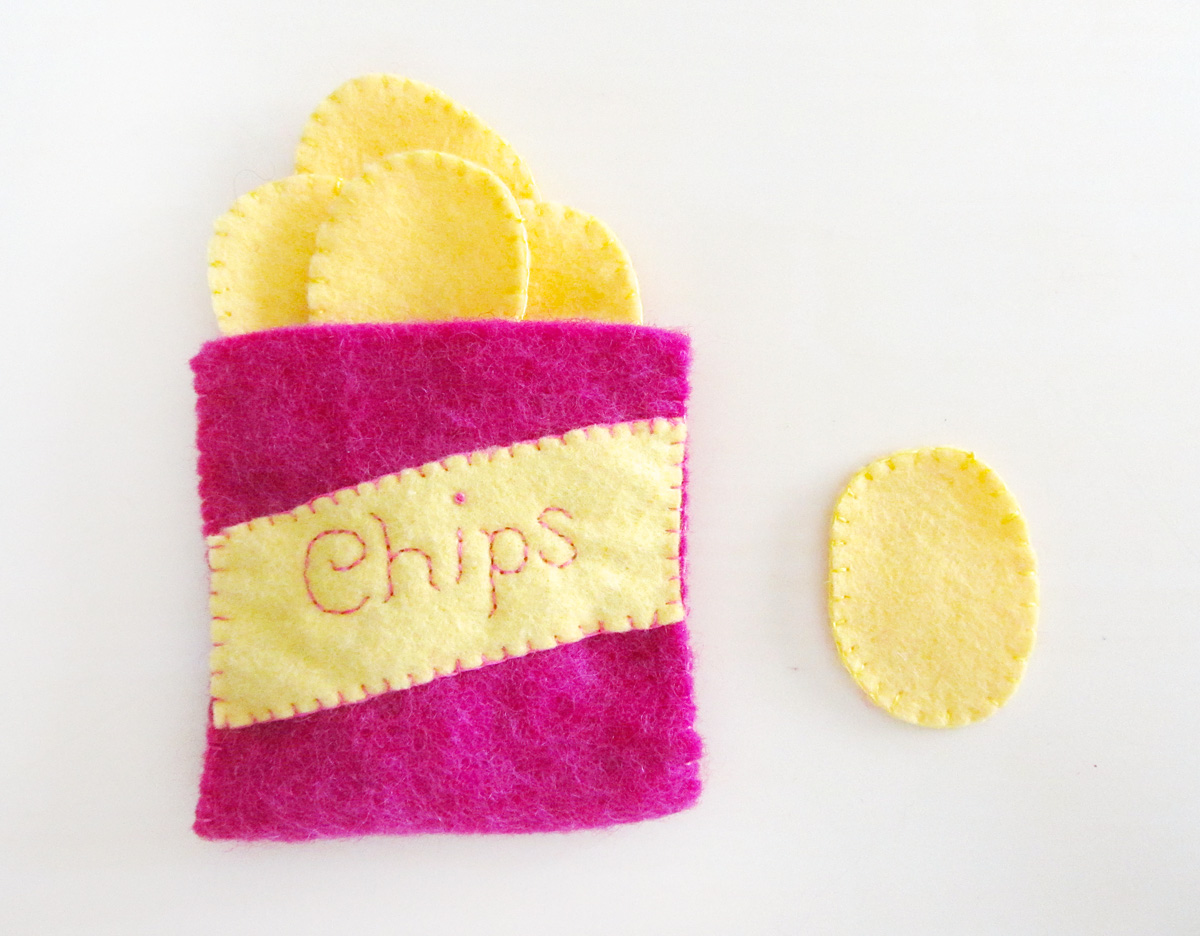
Chips
I used a very thick 100% wool for my chip bag, so it did not require a double layer of felt. You can double up the same way as with the pita pocket if needed. I also cut my bag on the fold so I didn’t need to sew the bottom. I used back stitch and a french knot to make my chip label. After stitching the lettering onto the label, I stitched the label onto the bag front with a blanket stitch. I then stitched the side of the bag closed into a pocket.
The chips were made by simply blanket stitching two layers of felt together.
There are so many fun combinations you can make with this felt food set – especially if you add some pieces of fruit! Which piece is your favorite?
 No patterns needed for this one – just have fun!
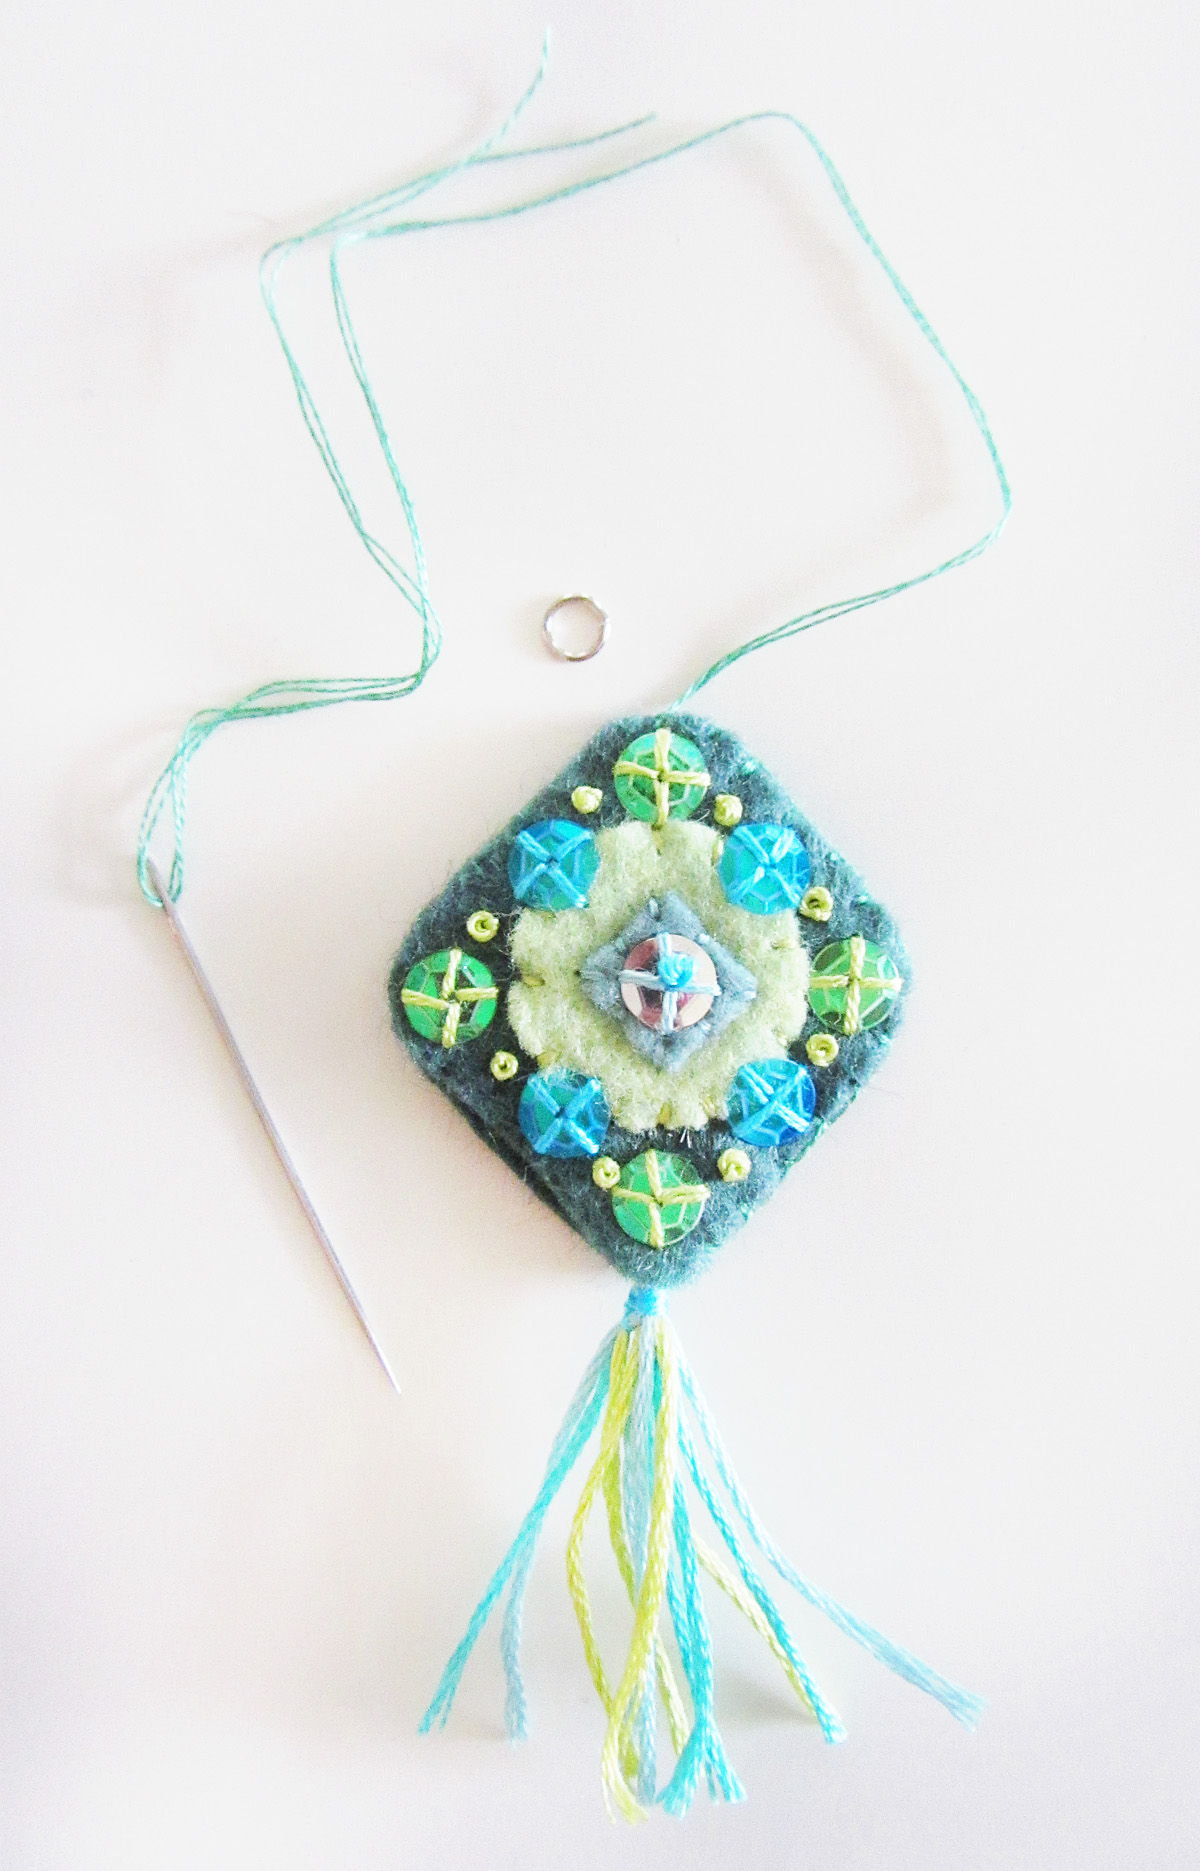
and jump rings