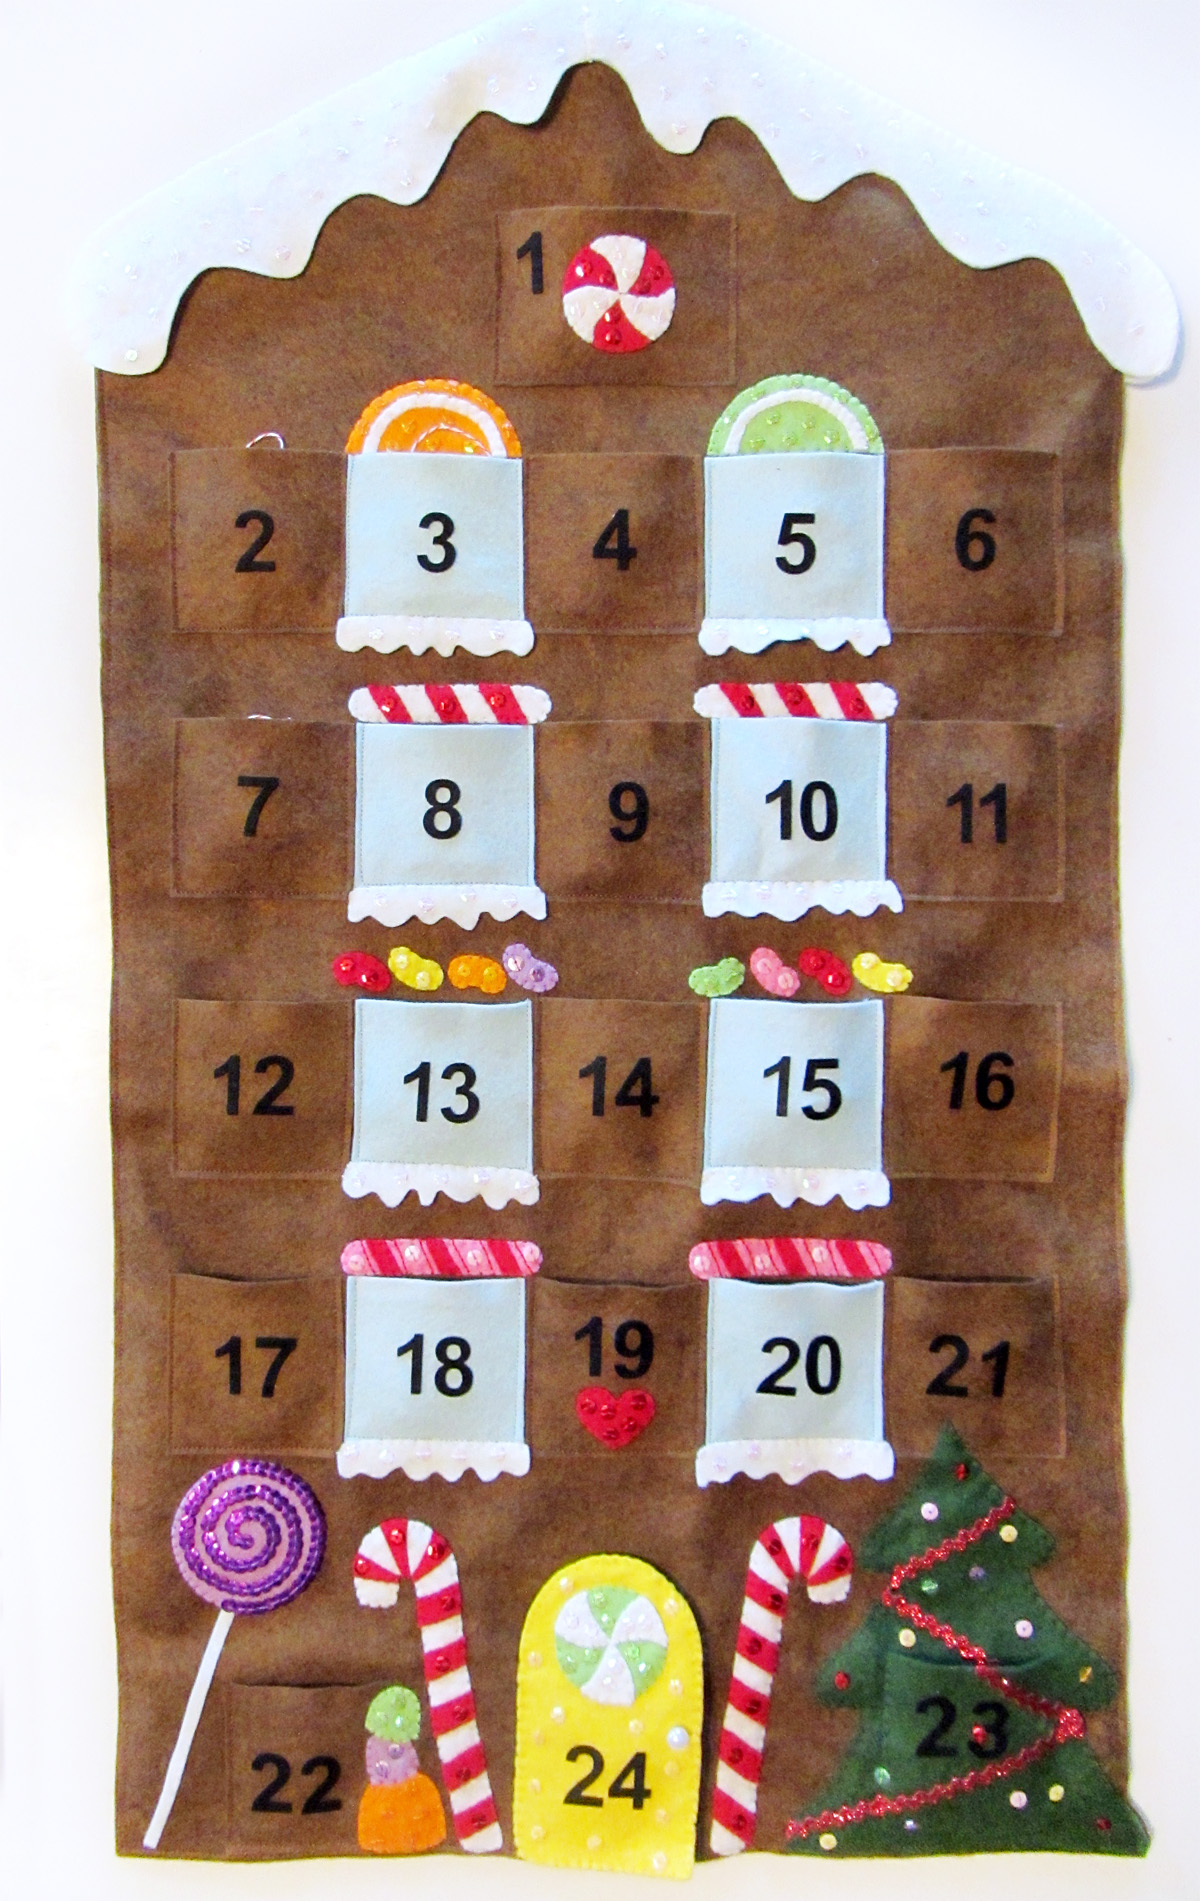
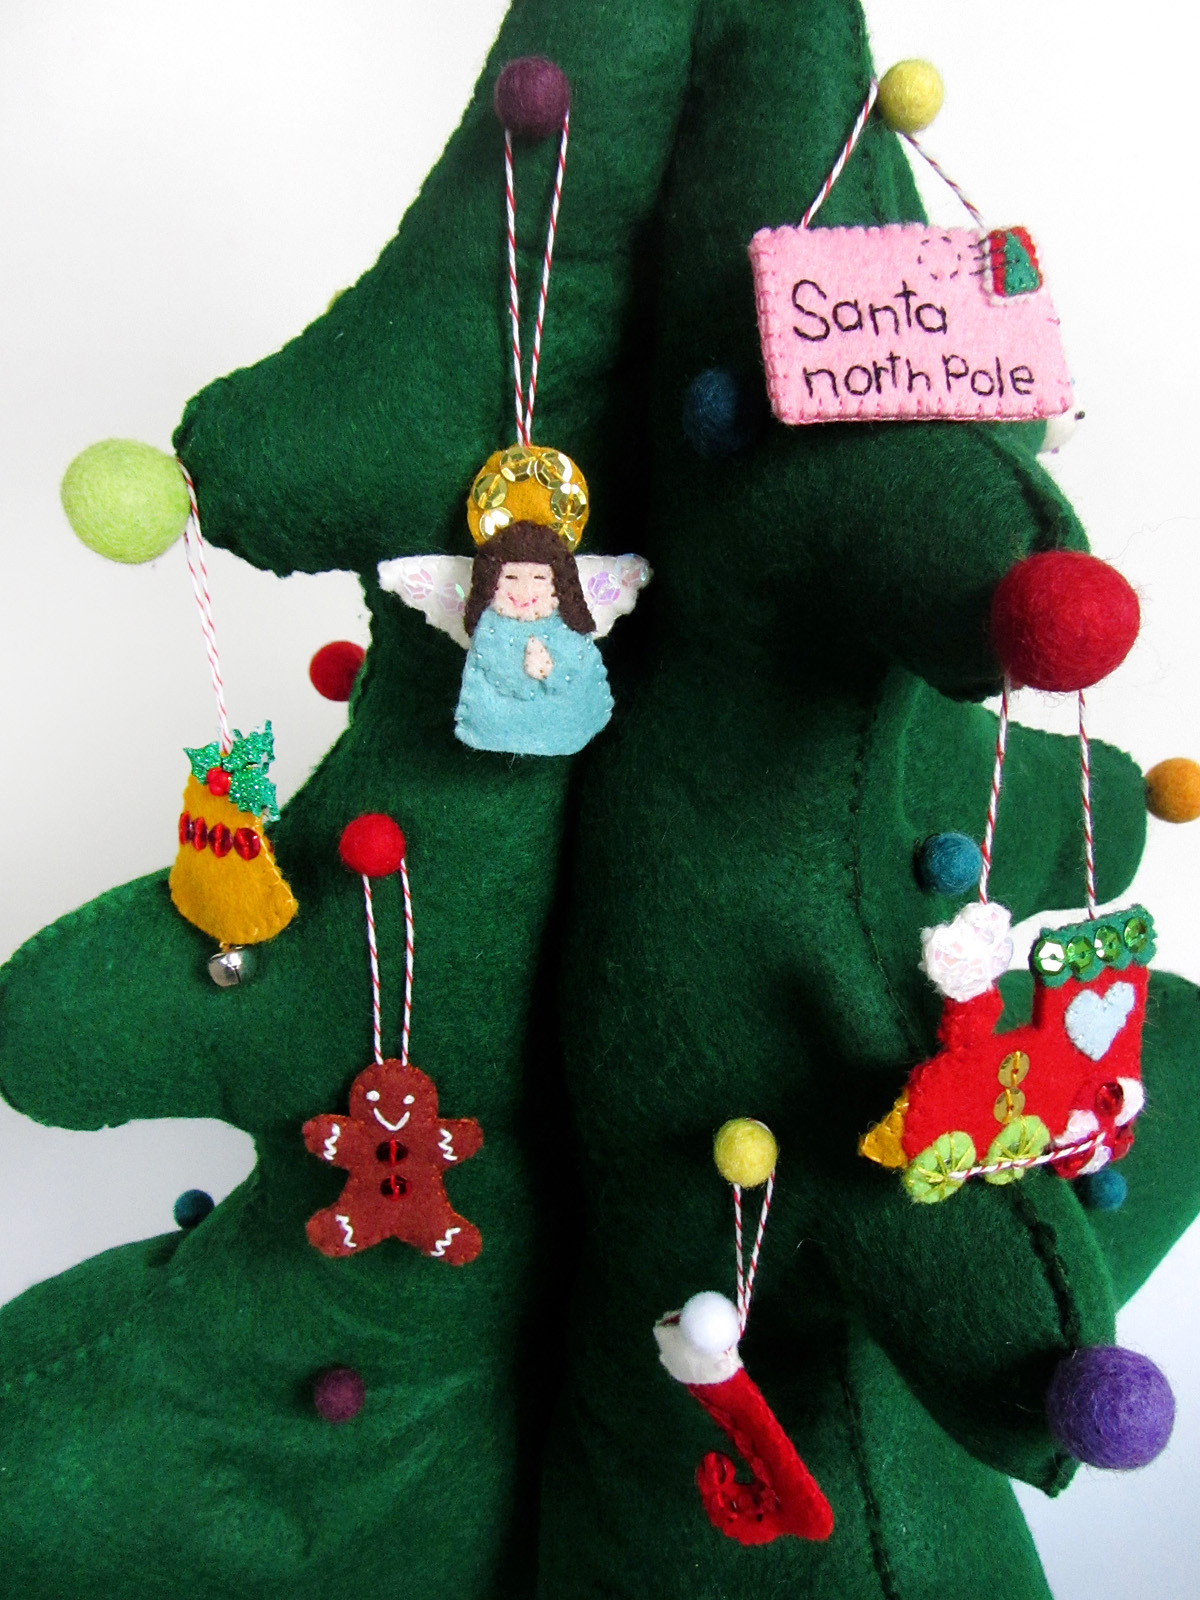
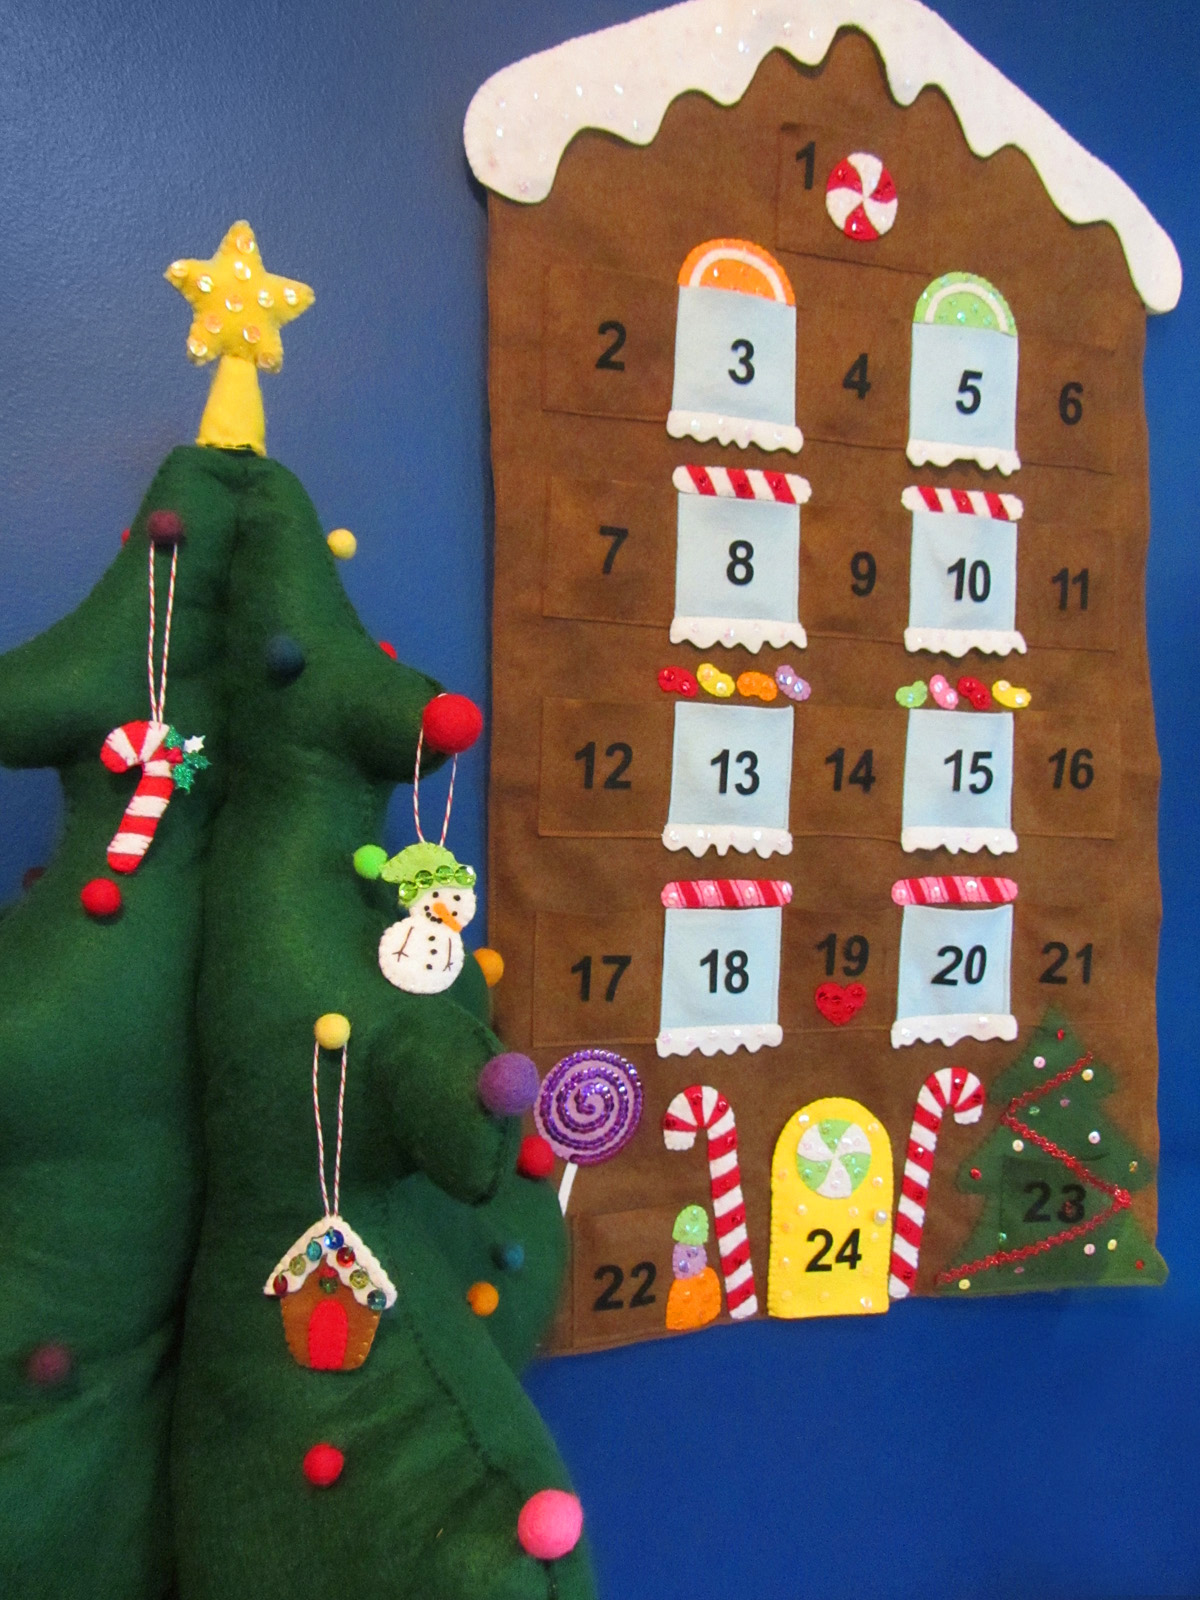
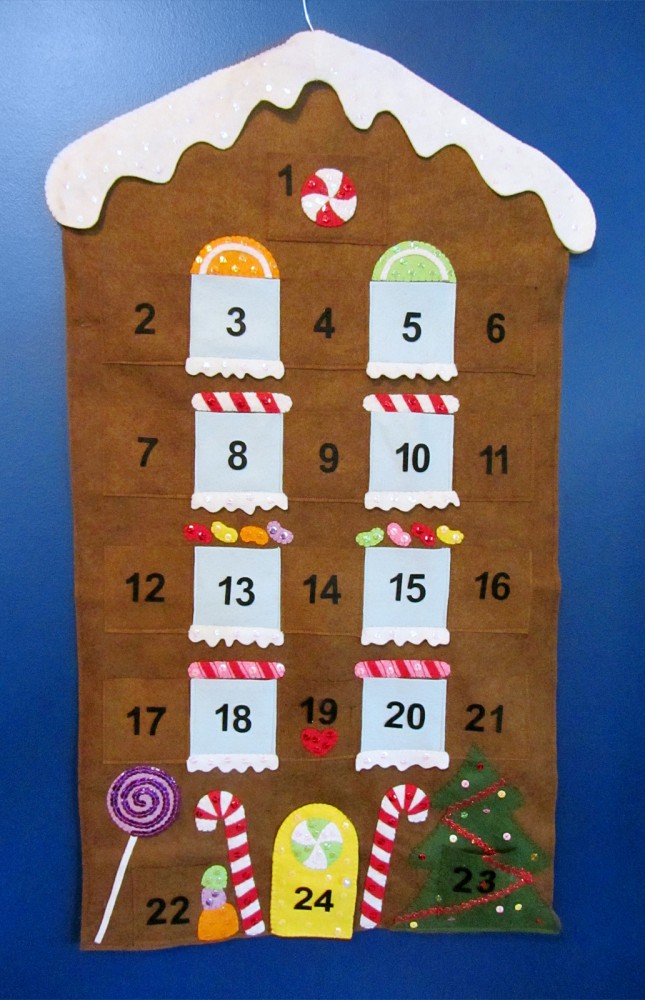
Last year I had so much fun sewing Jax a Christmas Tree Play Set and 24 Mini Advent Ornaments, but I didn’t have time to make a calendar to put them in. This year I started off my Christmas sewing season by creating a hanging gingerbread house advent calendar.
Thank you to American Felt and Craft for all of the beautiful supplies used in this project!
What I Used:
- The Pattern
- Two 31″ x 17″ Felt Pieces in teddy bear
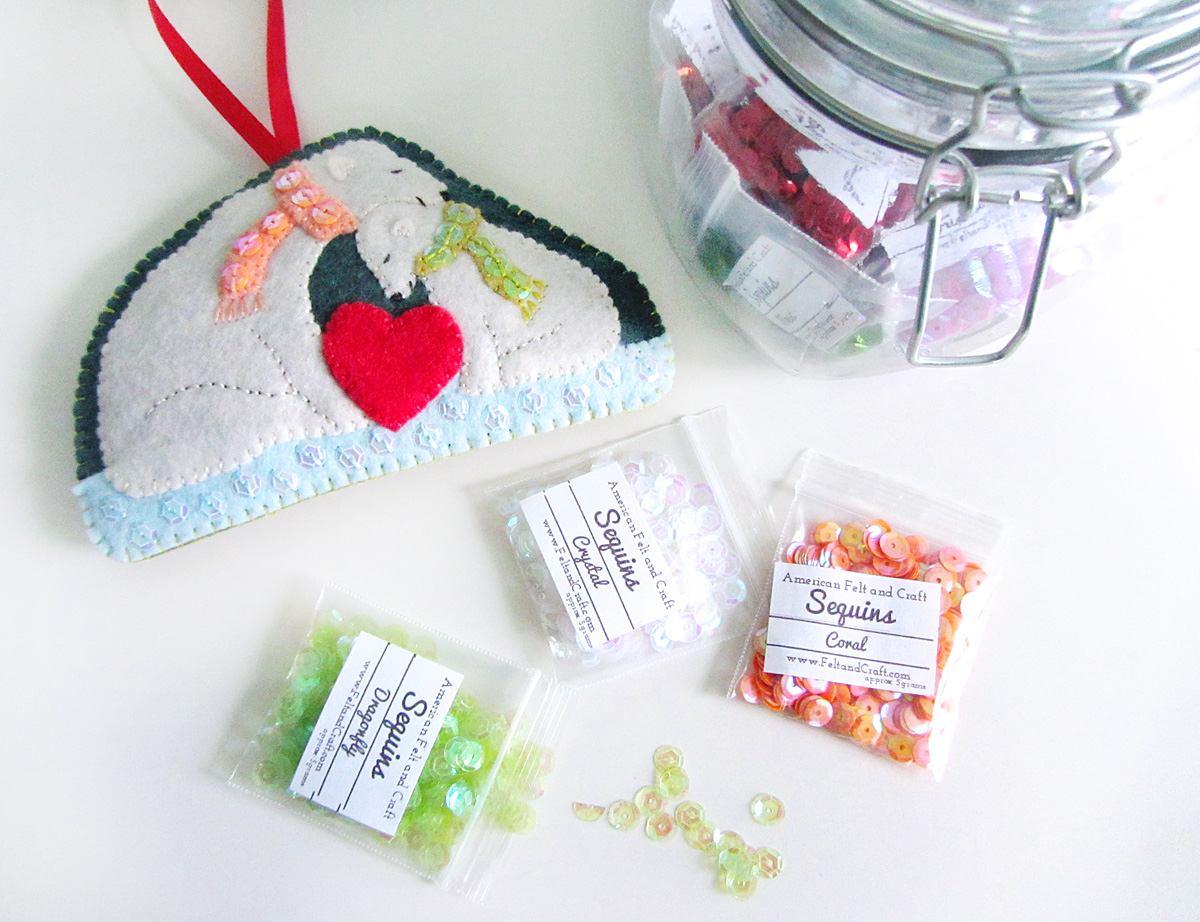
- Assorted Felt (in white, flamingo, lipstick, orange juice, lemon meringue, key lime pie, fresh cut grass, sparrow and lavender)
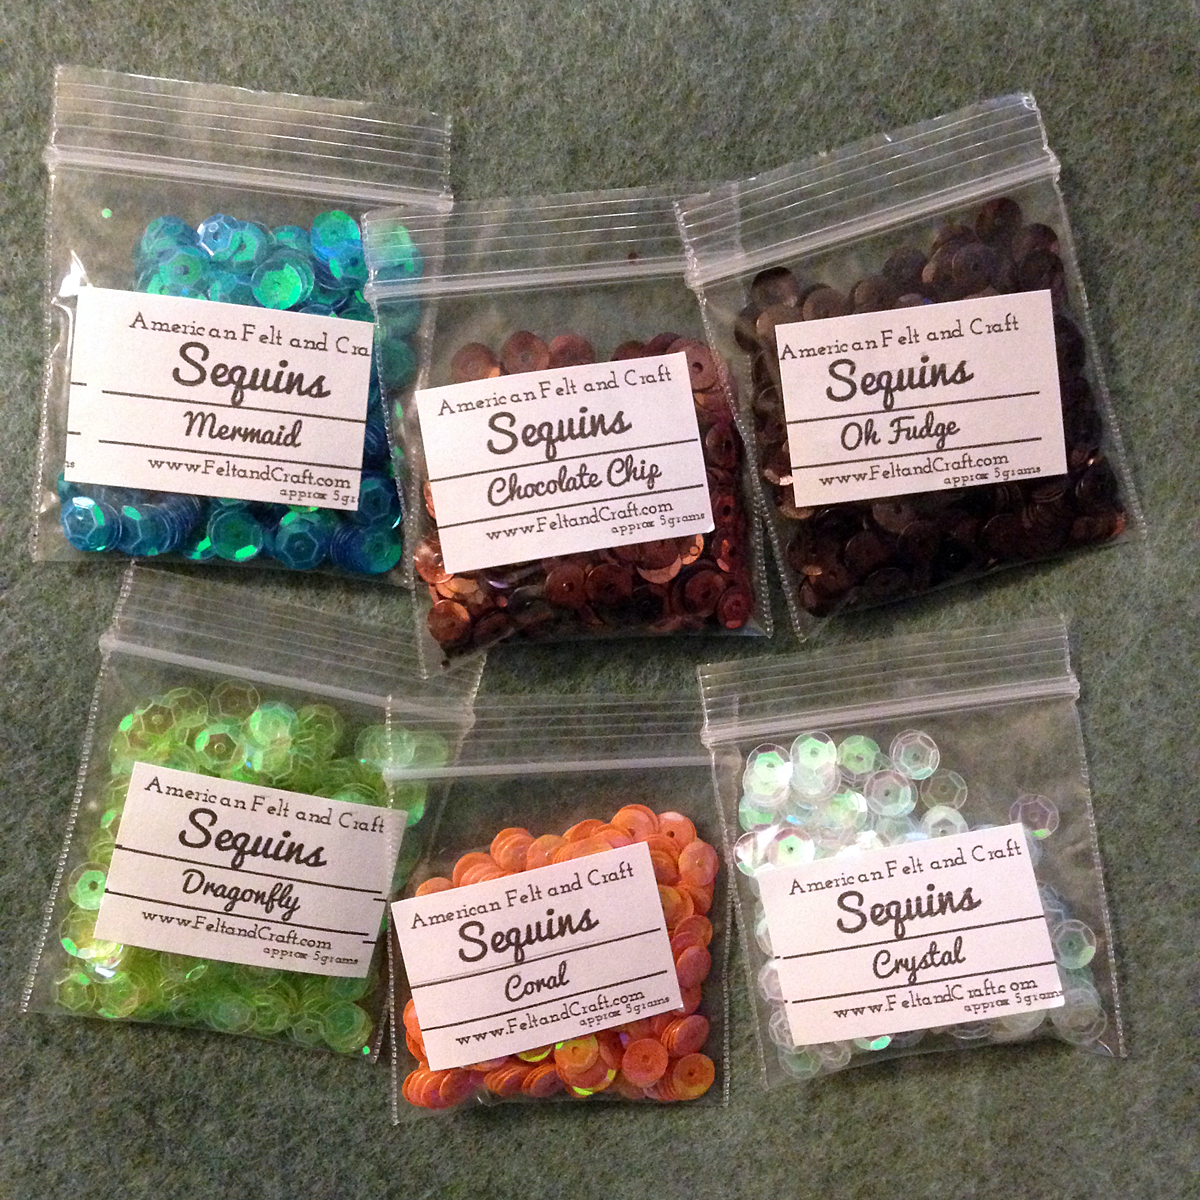
- Assorted Sequin Colors (in classic red, goldfish, buttercup, dragonfly, orchid,
grape soda, baby pink and crystal)
- Glitter RicRac (red)
- Hook & Loop Tape (I used brown and yellow, but any color works.)
- Pearl Button
- Felt Glue

- Scissors, needles, thread
(sewing machine recommended for pockets)
- Hanger (full size)
- Optional:
Advent Pre-Cut Adhesive Number Set
I started sewing this project before I had the brown background felt, so I began with all the smaller pieces. I will list the tutorial sections in an order that makes sense, but there is definitely some flexibility.
The Roof
I created the advent calendar with the ability to come off the hanger. The roof is a separate piece that sits on top of the hanger like a hat with a hole for the hook. I cut my roof pieces out of 9: x 12″ sheets, so each side is made of two halves sewn together. On the front half, I decorated it with crystal sequins. When sewing the two sides together, I only sewed the tops, leaving a 2″ hole at the center-top for the hanger hook.
The Calendar & Pockets
There is a diagram in the pattern showing how I cut and laid out the calendar body. Once you cut two rectangles that are 31″ x 17″, lay your hanger and the top and trim off the corners, leaving a 0.5″ seam allowance. Set aside one calendar piece to use as the back. (Optional – leave an extra bit at the lower right corner if you want the Christmas tree to extend a bit past the edge. Once the tree is on, you can trim it down. Otherwise, just cut off the extra tree.)
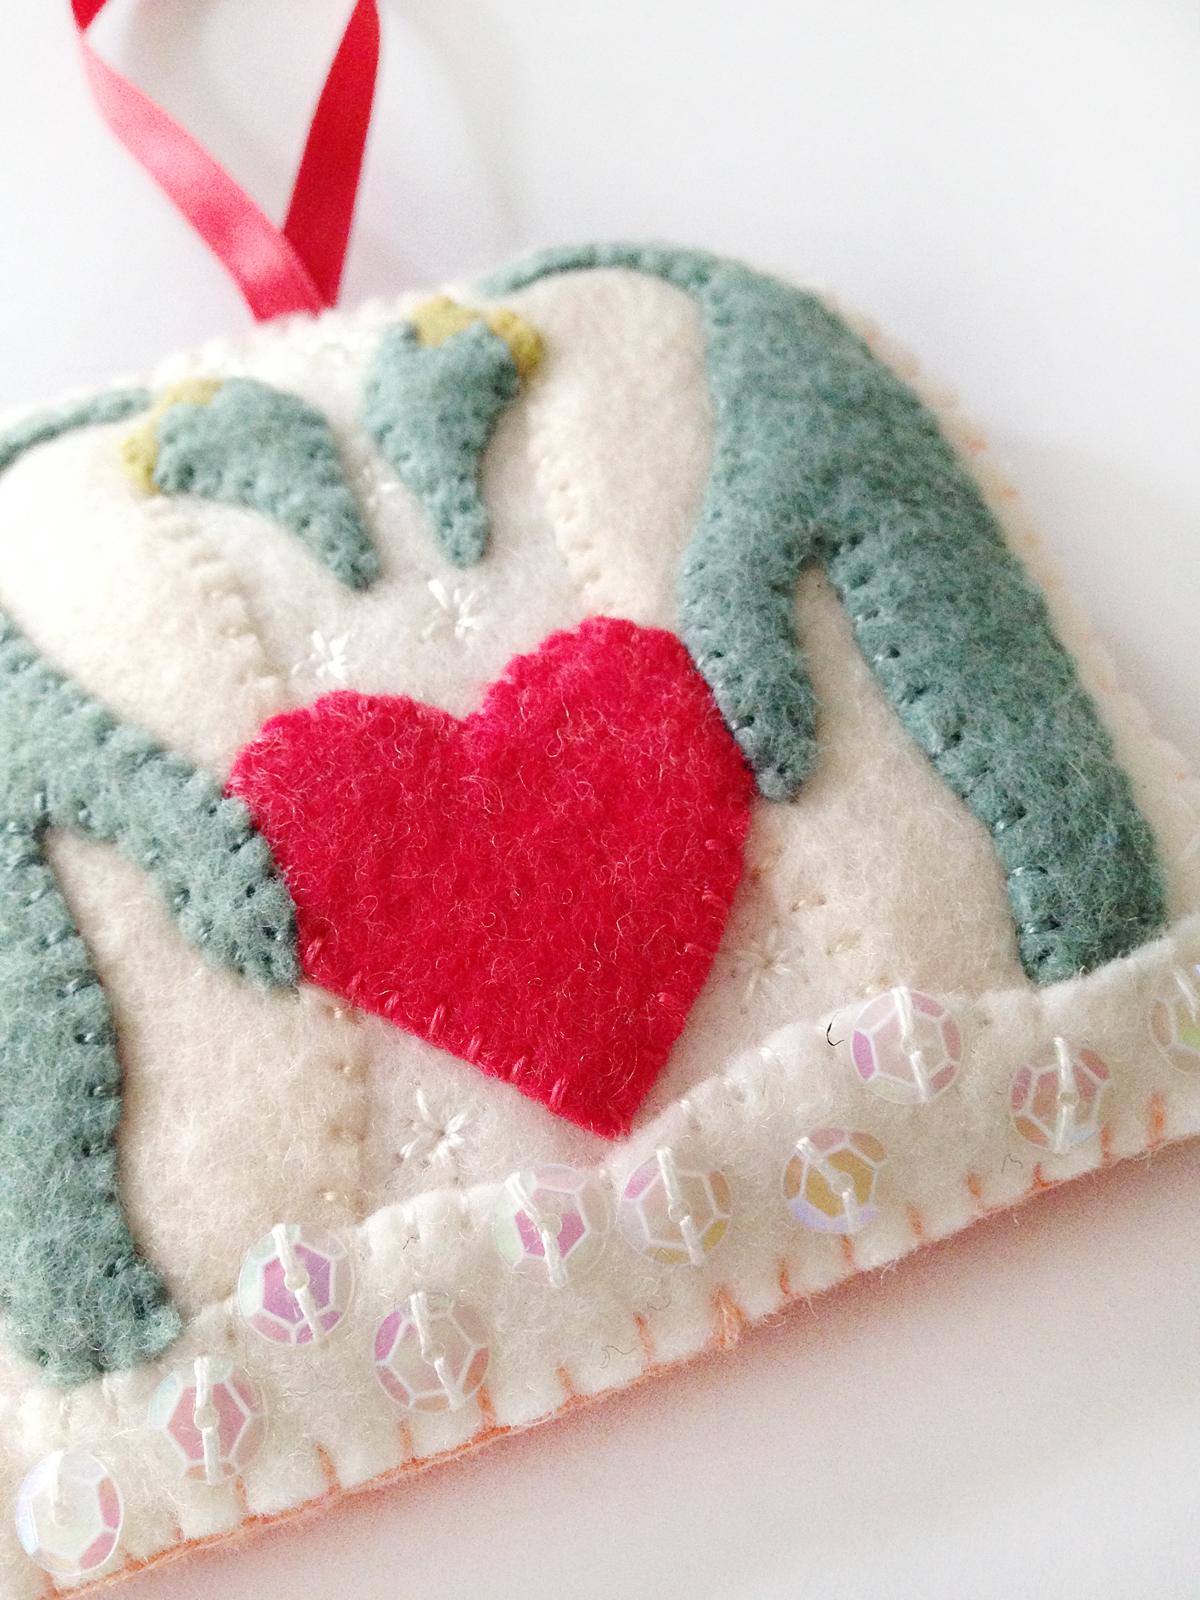
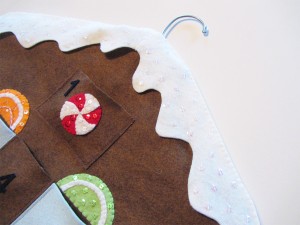
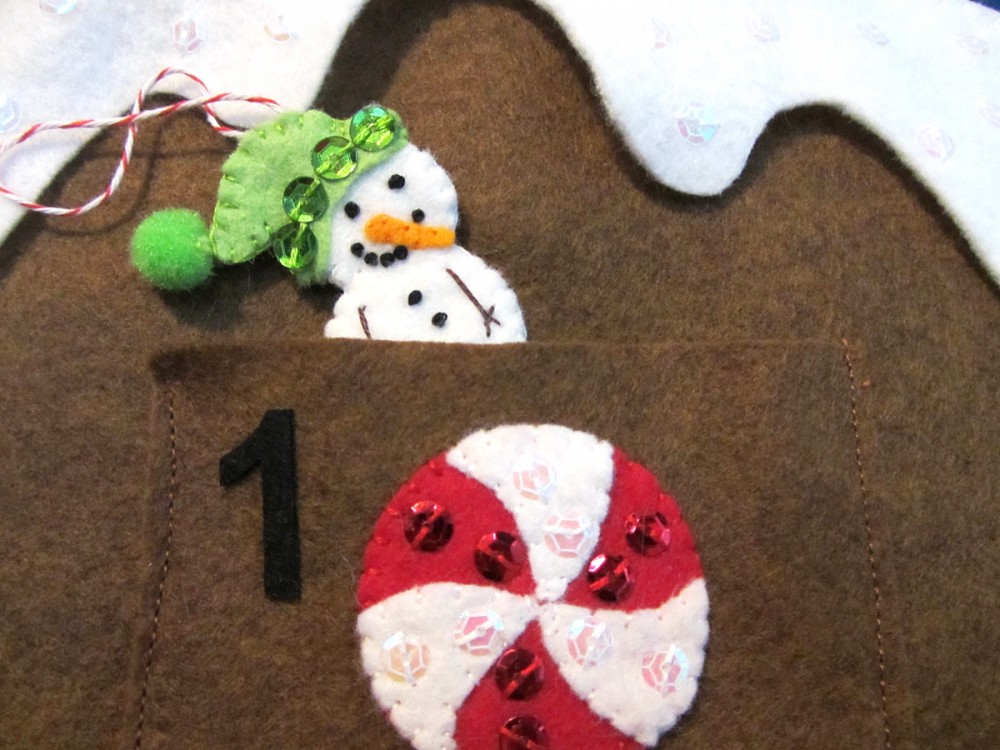
Attach your numbers to the pocket squares. I used adhesive numbers, which saved so much cutting time. If you are cutting them yourself, gluing them on with felt glue will work just fine. On pocket 1 (a rectangle), layer white swirls on top of a red circle to make a peppermint swirl candy. Sew it to the pocket and add red sequins. On pocket 19, sew on the red heart and add some red sequins.
Take your time laying out and pinning all the pockets. I’ve provided measurements for between each row. Unless you have many hours to fill, you probably want to use a sewing machine for all the pockets. I got mine done in under an hour that way. One pocket without a number goes at the center bottom of the calendar. It will be behind the door. (The tree pocket – 23 – is sew separately.)
Snowy Sills
Cut out 8 snowy window sill pieces and sew sequins on them. Using felt glue, tack them on to the bottom of the blue pockets. I glued mine on before sewing on the pockets, but you can do it either way. Sew down the tops of the snow pieces, leaving the bottoms hanging loose.

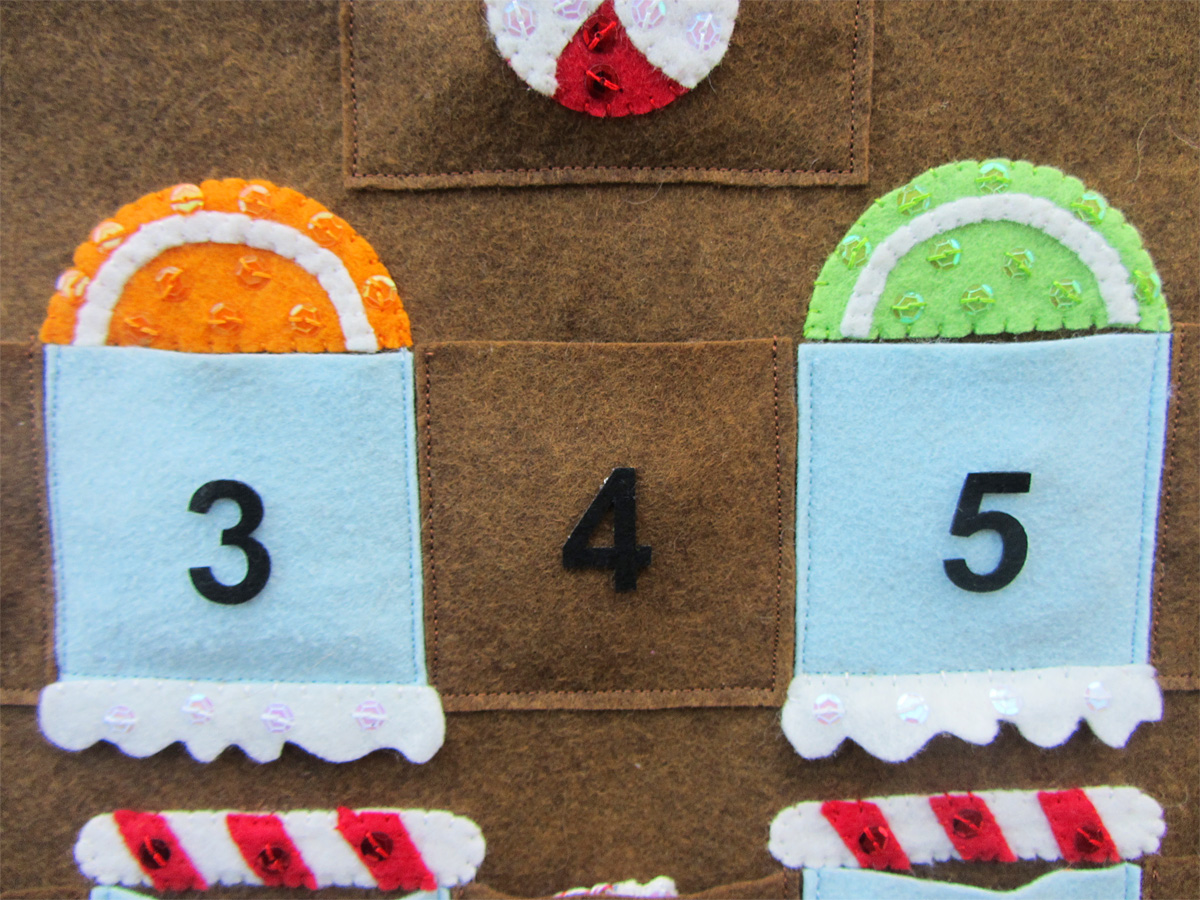
Fruit Slices
For each fruit slice, tack down the white rind with a light layer of glue (too much and it is hard to sew though) then sew it down. Add matching sequins to the colored parts, then sew them down directly over pockets 3 and 5.
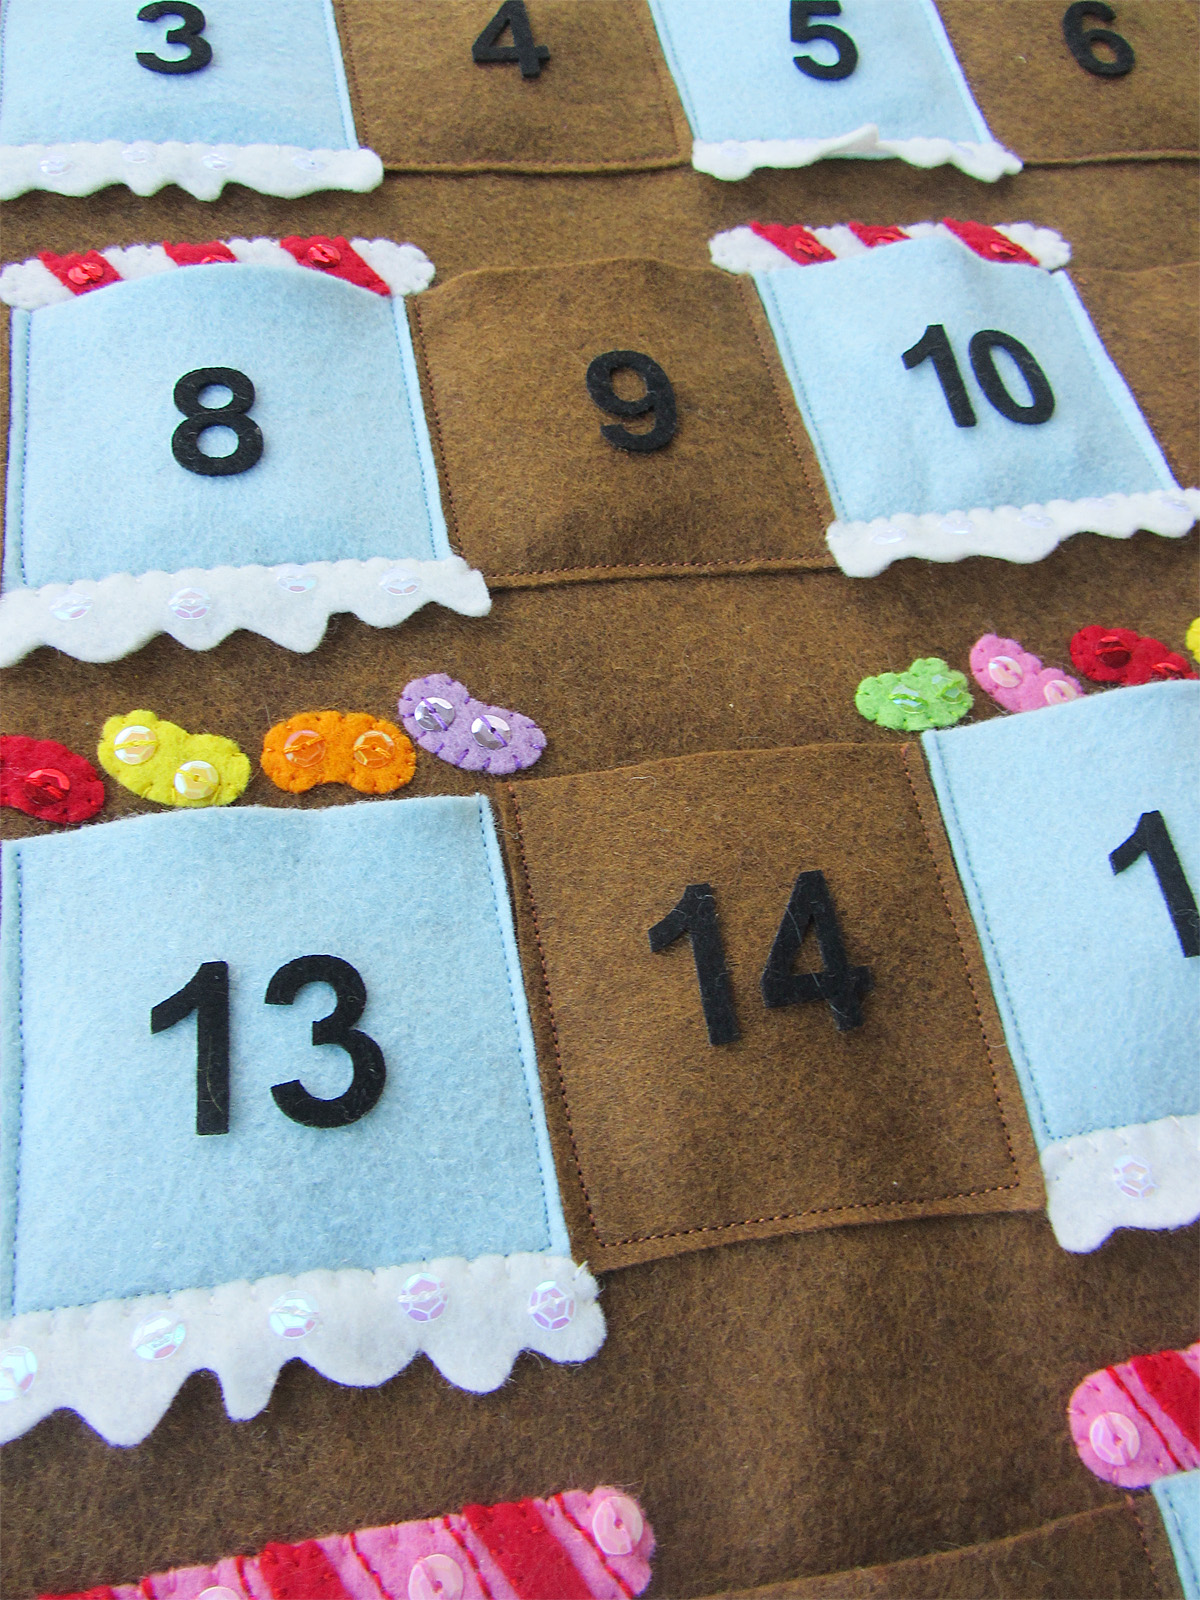
Candy Sticks
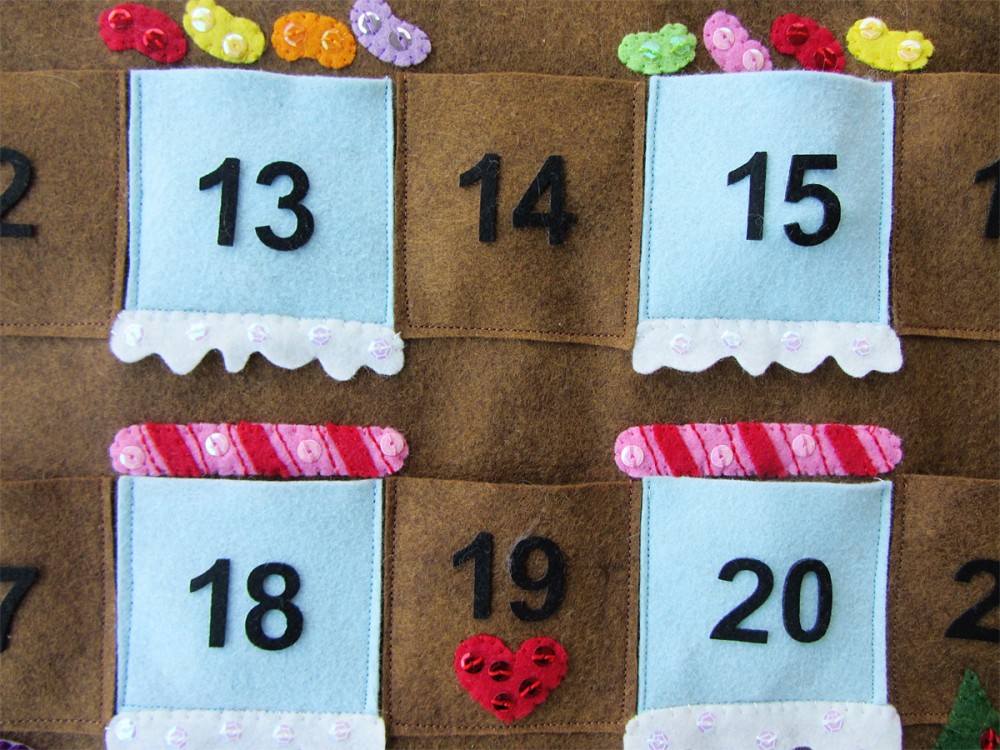
For the red and white candy sticks, tack down then sew on the red stripes, added red sequins. Sew them down above pockets 8 and 10. For the pink and red candy sticks, tack down and sew on the thinner red stripes. Using a back stitch, sew a stripe on each side of the red felt stripes. Add a few pink sequins, then sew them down above pockets 18 and 20.

Jelly Beans
I tacked down the jelly beans directly onto the calendar. White sewing them down, I alternated their direction and added matching sequins. Four jelly beans go over pocket 13 and pocket 15.

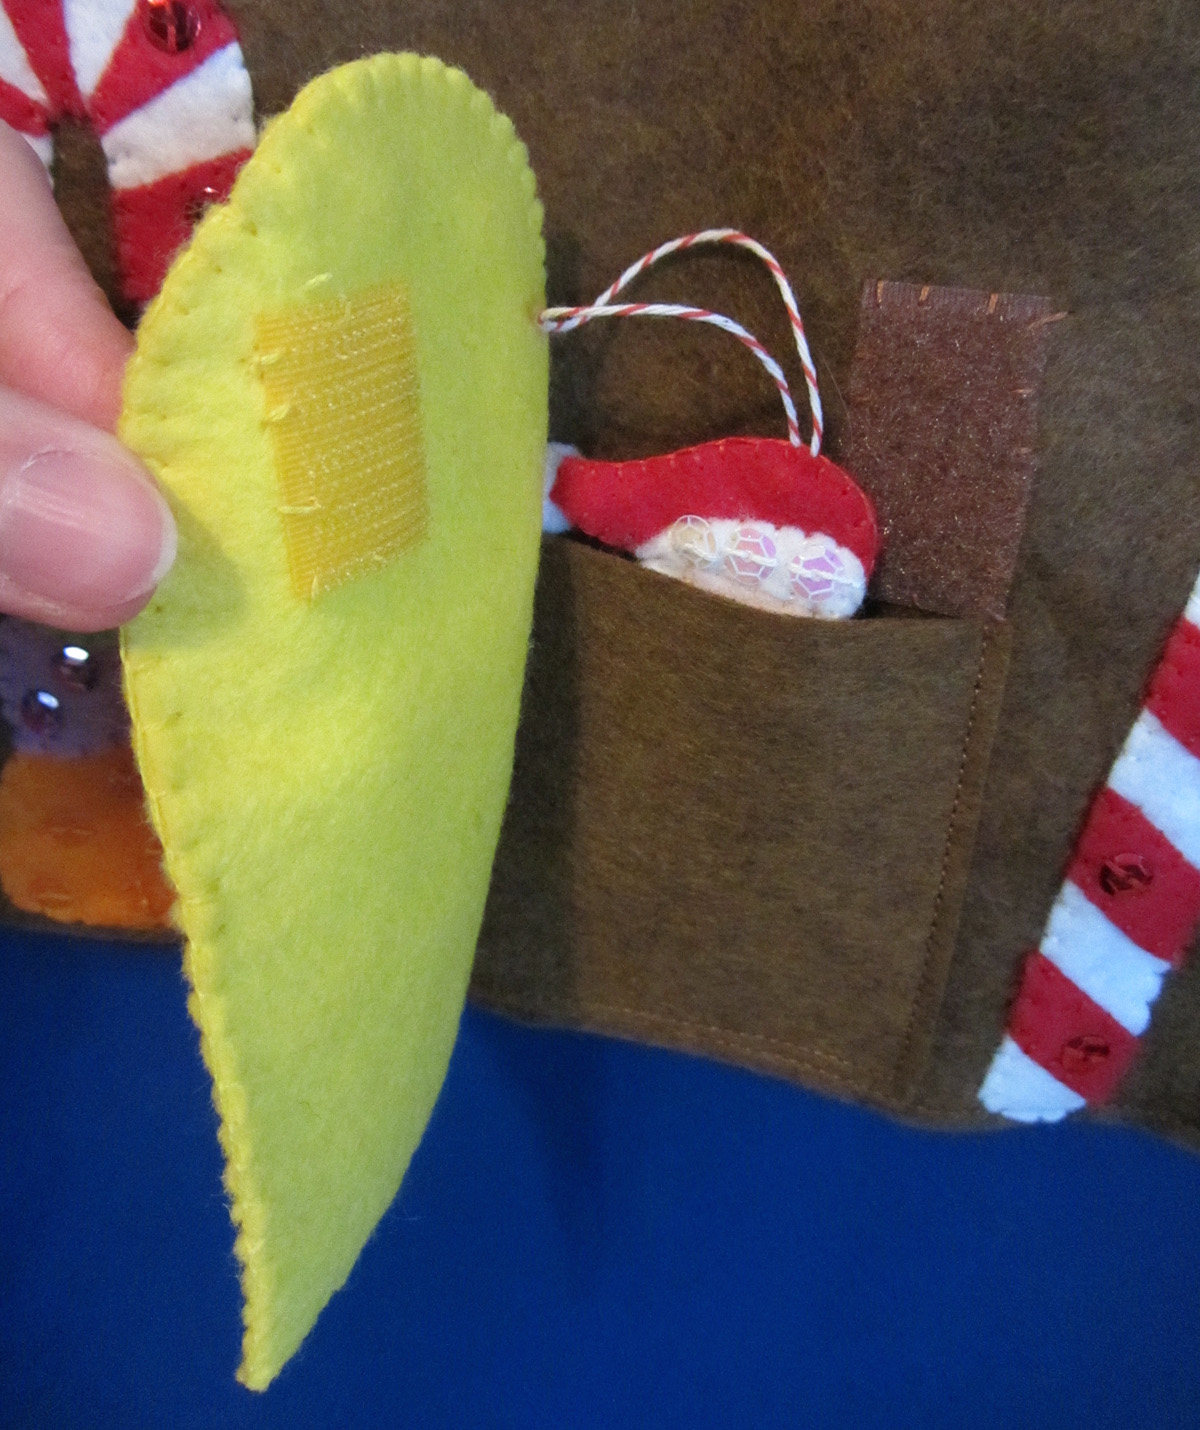
Door
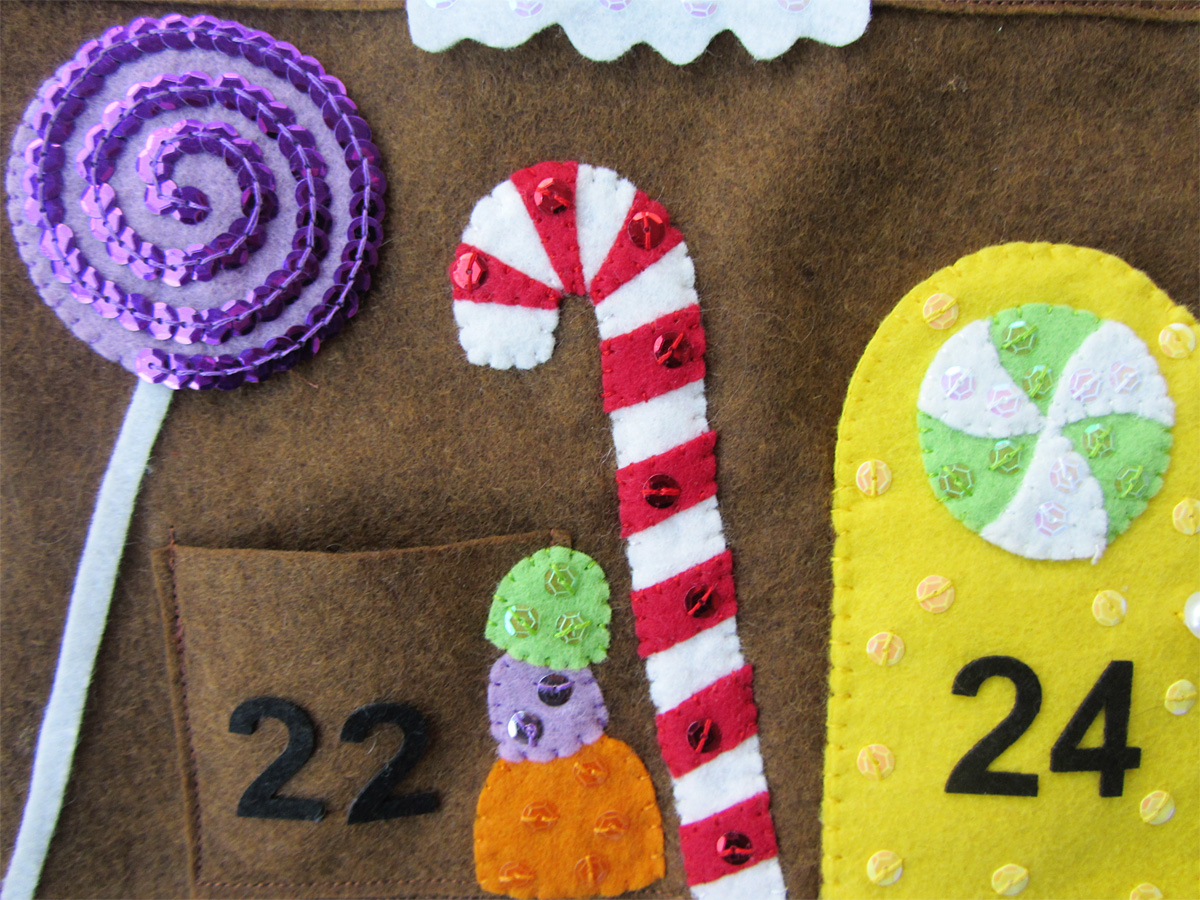
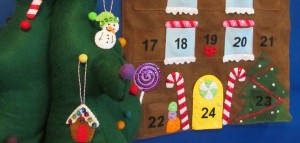
On the front piece of the door, sew on a green peppermint swirl candy (using the same technique as the red). The number 24 goes below that with room for a pearl button door knob on the right. I added yellow sequins to the door. On the back door piece, I sewing on a piece of hook tape. I sewed it on high enough to be above the pocket on the calendar. On the calendar, I sewed down some loop tape lined up to close the door. I sewed the two sides of the door together starting at the left side of the curved top. When I got around to the straight left side, I stitched both layers down to the calendar to make the hinged side of the door.

Candy Canes
The candy canes are sewn the same way as the red and white candy sticks. I provided a pattern for all of the stripes around the cured part, then one stripe you can repeat down the straight part. I sewed the candy canes down on either side of the door at a slight angle.
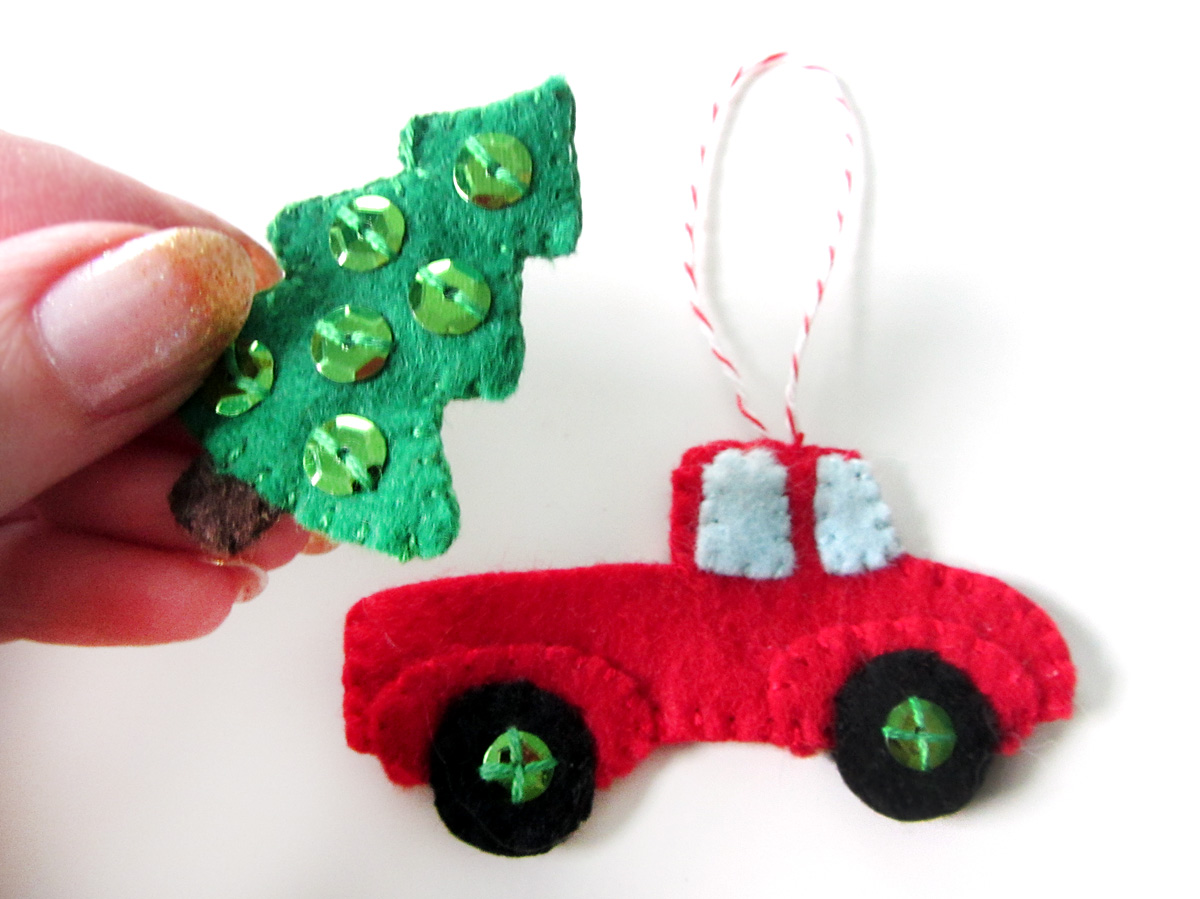
Christmas Tree
The tree sticks out a bit past the lower right edge of the calendar. You can either cut your calendar to have a matching bump-out like I did, or trim your tree to fit the corner. Using felt glue I attached my glitter ric rac down and folded the ends behind the tree. It held really well once dry. Once I decided the position of the tree’s pocket, I glued on more ric rac to the pocket square to match what was under it on the tree. I added assorted sequins to the tree and the pocket, stuck the number onto the pocket, then sewed on the pocket and tree by hand. The tip of the tree extends a bit onto pocket 21.

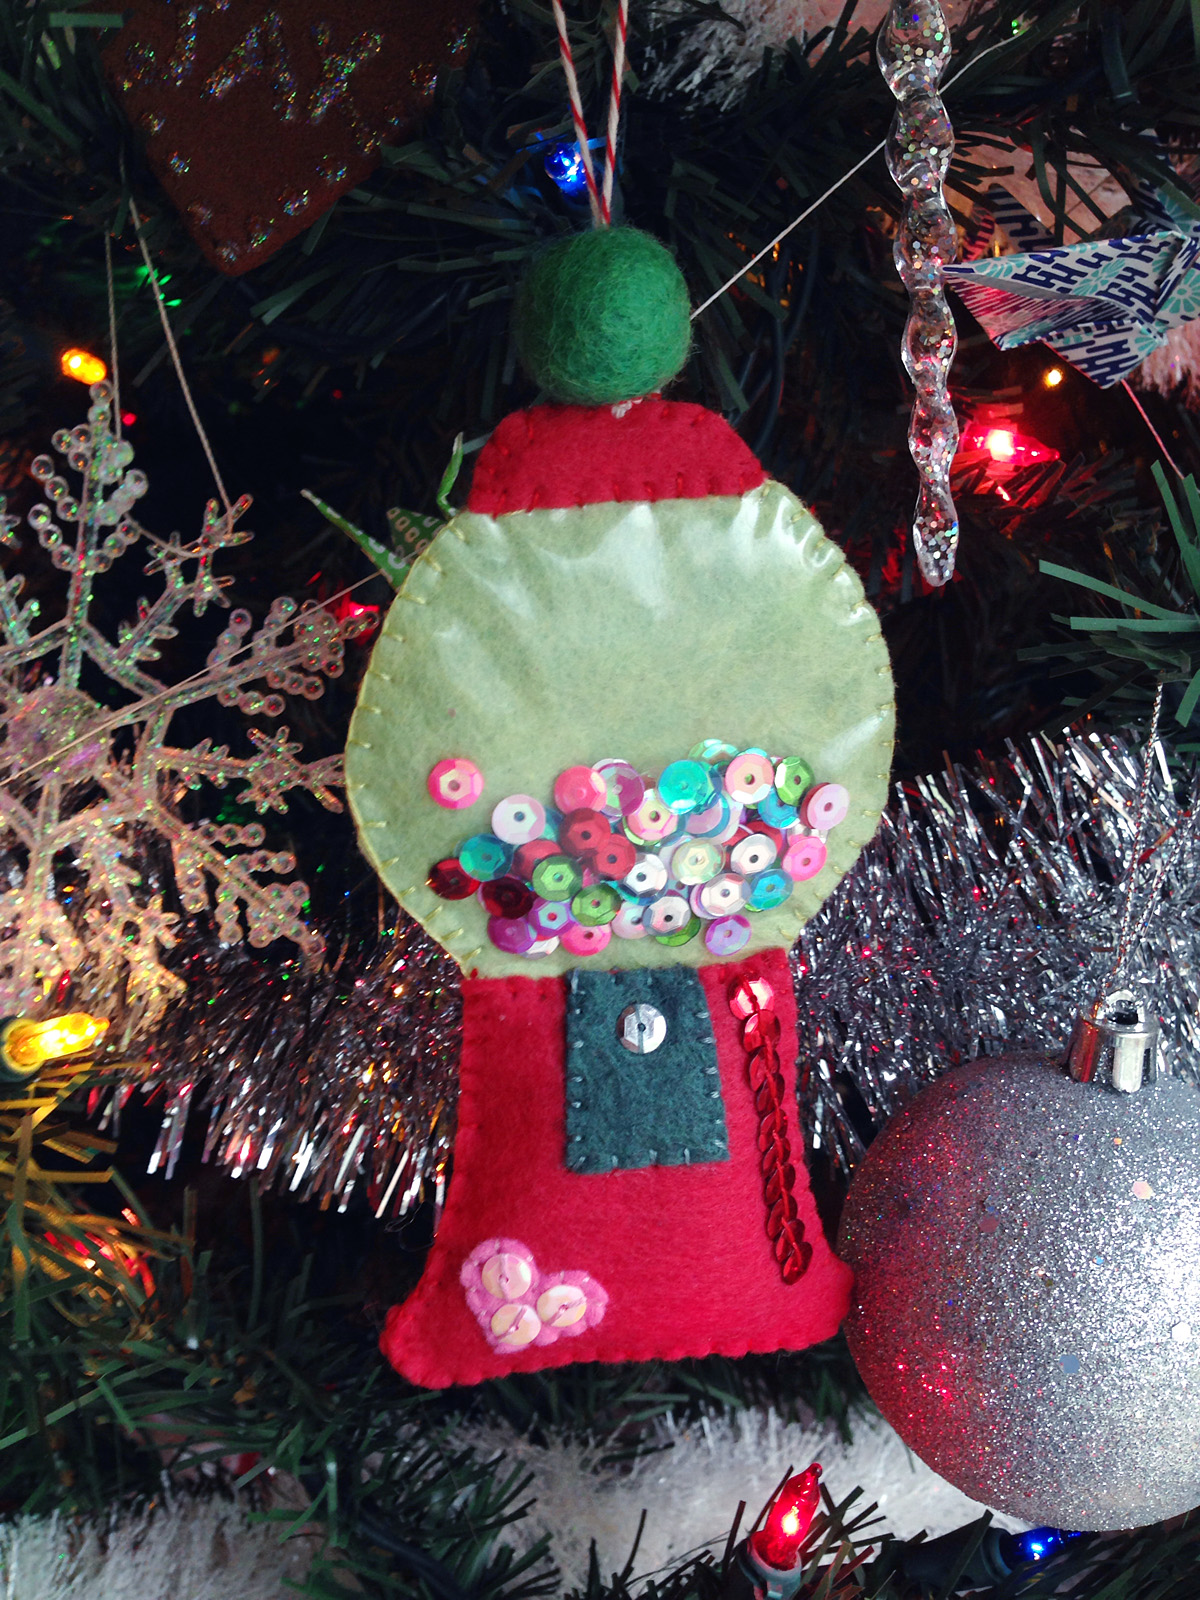
Gumdrops
The stack of gumdrops overlaps the right side of pocket 22. I tacked them down in a tospy turvy pile, sewed them down and added sequins.
Lollipop
The lollipop stick is glued down to the calendar. If you plan to sew it as well, use a light layer of glue. I didn’t bother sewing mine. On the lavender circle, sew a purple sequin to the center. Add sequins in a line making a spiral. (To add sequins in a line, bring your needle up through the felt beside your first sequin and through the hole of sequin 2. Come back down through sequin 1. Repeat, coming up beside sequin 2, through sequin 3 and down through sequin 2. Repeat. The last sequin gets a second stitch to tack it down.]
 Construction
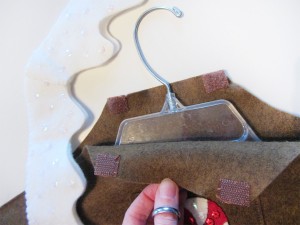
When sewing the back on, I used a sewing machine. I sewed the left, bottom and right sides completely, but only sewed halfway up each slope at the top. On either side of where the hanger hook goes, add some hook and loop squares. The snowy roof just slides on top.

All done! I hope you enjoyed this free pattern. You can find the rest of my Christmas projects here. If you make one of my projects, please share a photo! You can find me on Facebook, Twitter, and Instagram.
If you follow me on Facebook but are not getting my post, I apologize! FB is only showing my posts to 10-15% of those of you who have liked the page, and wants me to pay to show it to more. I can’t afford that, but feel terrible that many of you miss out on advanced copies of patterns, sneak peeks and polls for new projects. You can set your account to get notifications when I post (no more than once per day) by clicking the “like” button a second time and setting your notification preferences. Hopefully that will help.
Thank you for all the well wishes for Jax as he recovered from pneumonia. We are finally back to normal here! If you’d like to support this site of send a little surprise to Jax, you can find his wishlist here. We are saving up to surprise him with a Wii U from GameStop.