Tag Archives: DIY

DIY Montessori 3-Part Cards

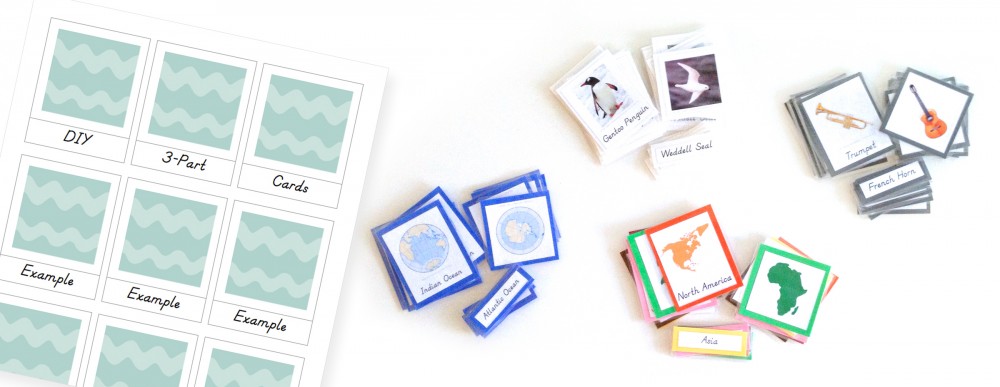
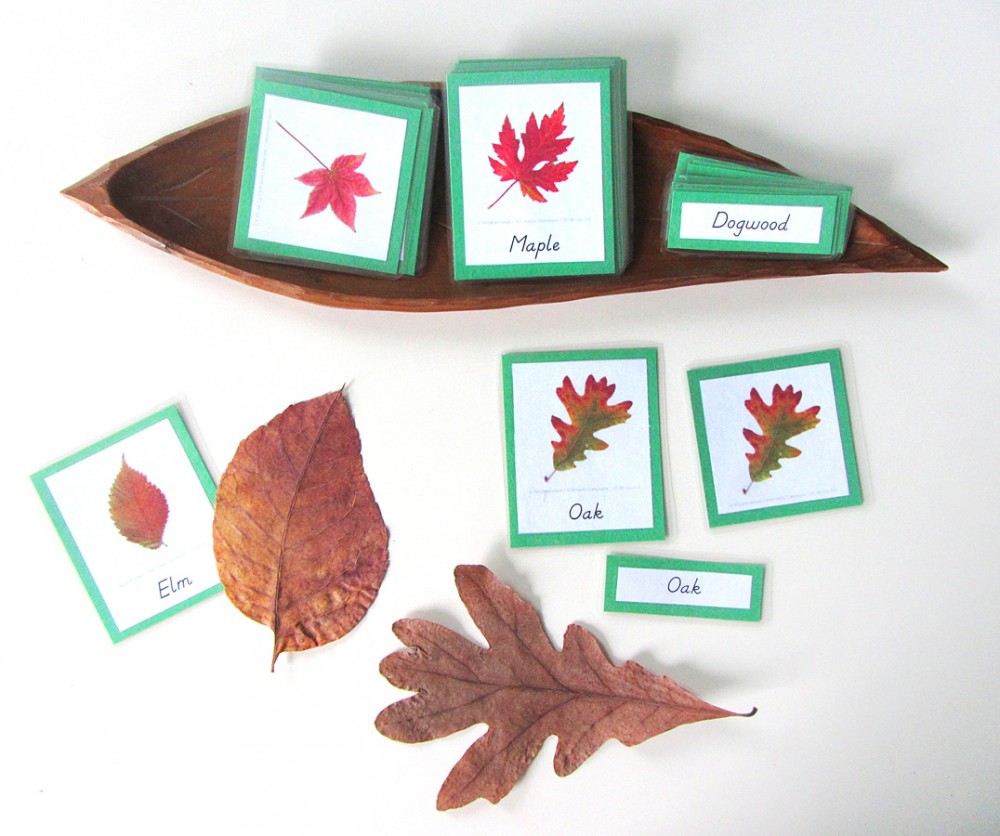
I get a lot of questions asking how I make my 3-part cards. I’m a graphic designer, so I use Adobe InDesign to do mine. It works well for me, but I’ve had a lot of requests for something more universal for those of you who have your own ideas for 3-part cards.

DIY 3-Part Cards

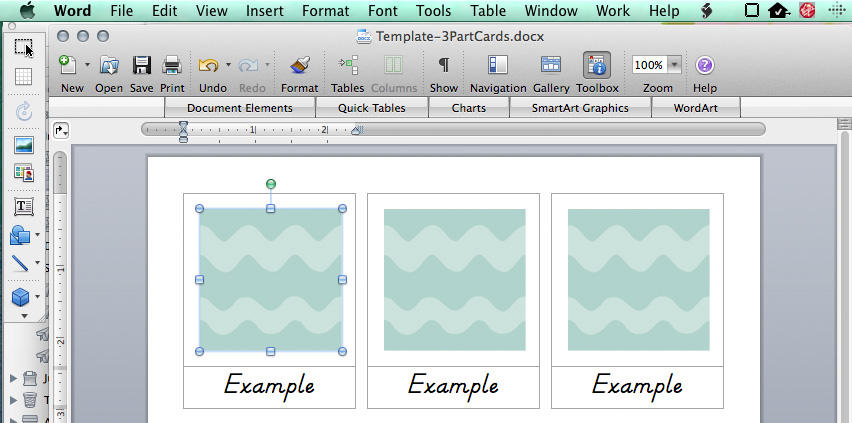
I recently sat down and worked out a layout in Microsoft Word that is very similar to mine. The main difference is there is no spot for an image credit. Being a graphic designer, I am very big on not using photos without permission. For my free printables, I first look to my own personal photo library, then search on Wikipedia Commons. I always put the required attribution tag under photo I use publicly.

What You Need:

DIY 3-Part Cards

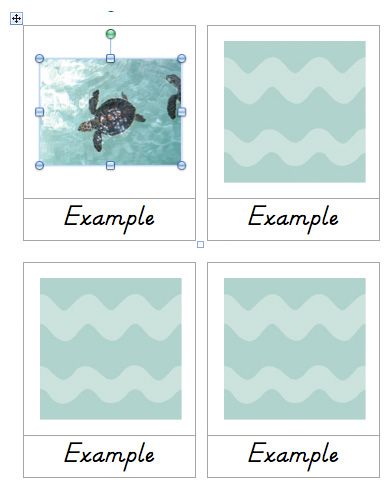
Start by selecting the box you’d like to add a photo to.

DIY 3-Part Cards

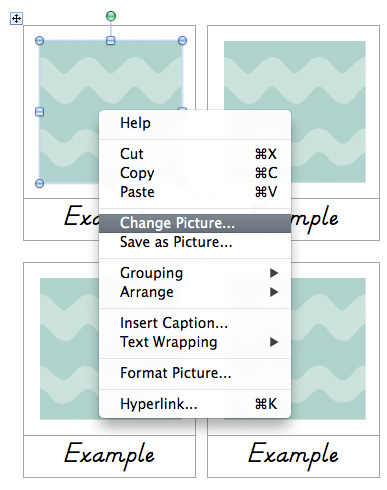
Right-click and choose “Change Picture…” I am on a Mac, so your view may be a bit different.

DIY 3-Part Cards

Choose your photo and insert it. If it wasn’t a nice square photo, no worries! We can crop it! I like to make mine square when I can, but sometimes I have to leave them as-is to avoid cropping something important.

DIY 3-Part Cards

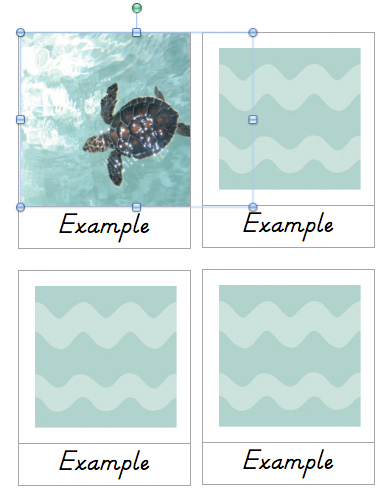
Drag a corner of the picture to make it larger. Don’t worry about it getting too big. You want the main area to be a good size for you final square. (In this case, it is the sea turtle.)
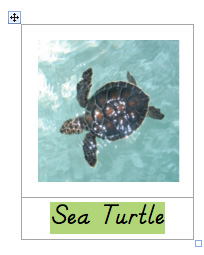
DIY 3-Part Cards     DIY 3-Part Cards

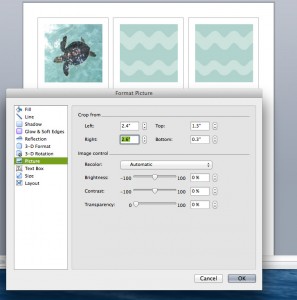
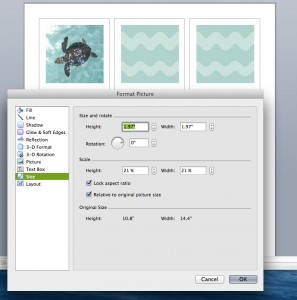
DIY 3-Part CardsNext you’ll want to open the “Format Picture” window. You can get to it from the menu bar (“Formatting” menu), right-clicking or via the “Formatting Palette” that appears when an image is selected. You will want to go to “Crop” and use the arrows to gradually crop the photo down to a square that you are happy with. Pop over to the “Size” tab to make sure the width and height are the same. If you are going for the size of square I always use, you can set the width to 1.97″ once you have it cropped to a square.

After that, you are ready to change the text. You can also change the font. Do this for each card.

This file is for the cards you cut into two pieces each: pictures only and labels only. In most cases you’ll also want the full labeled card. I recommend you set up your whole sheet as instructed above and then either copy/paste it to a second page or save it as a second file. With that second page or file, you’ll take out the dividing line.

DIY 3-Part Cards     DIY 3-Part Cards

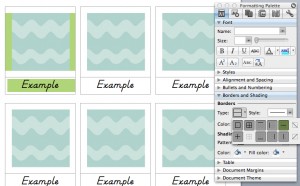
Select the two rows that make up a card’s table. In the Formatting Palette, choose borders. You’ll want to turn off the box with the middle horizontal line (highlighted green here). The line will still be there on your file after you turn it off, but it will be lighter. The light gray line is just to show you where the table is. Remove the line for each card to have a set of full cards.

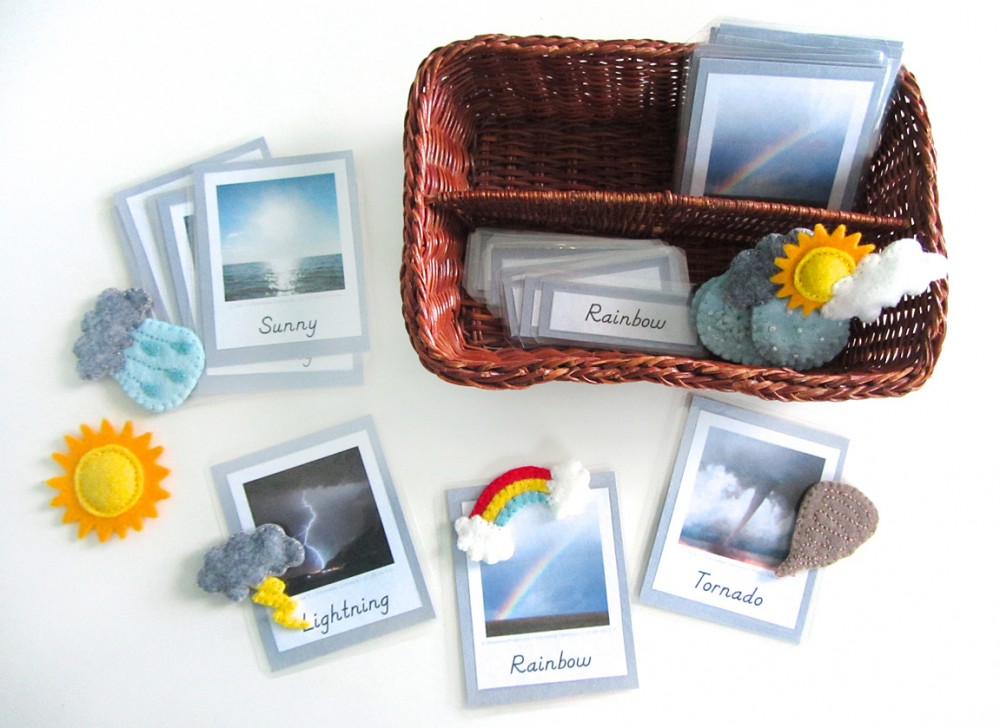
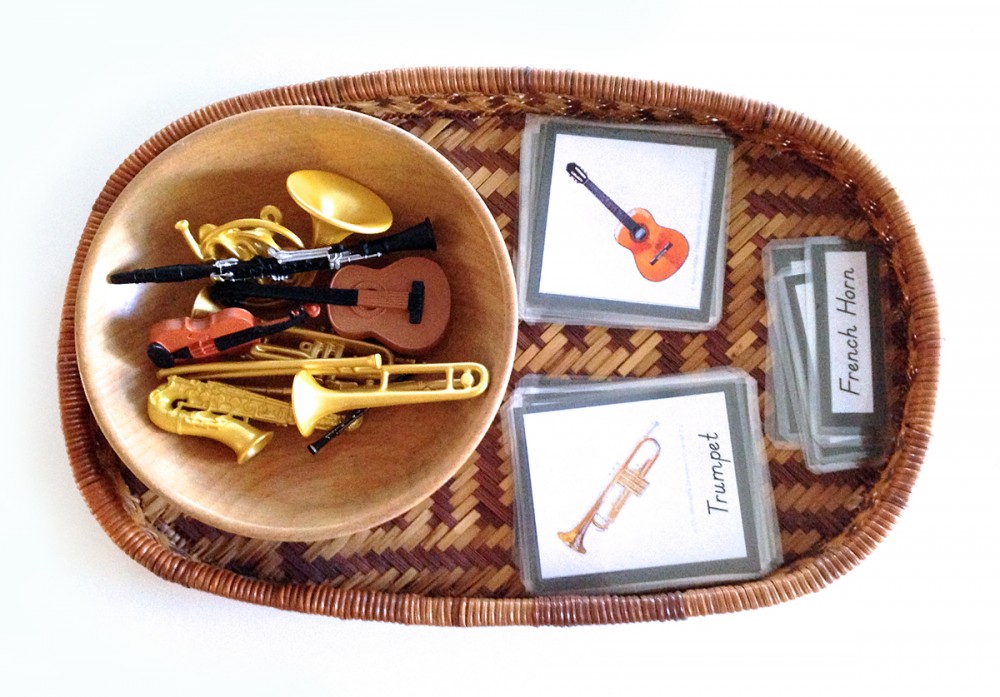
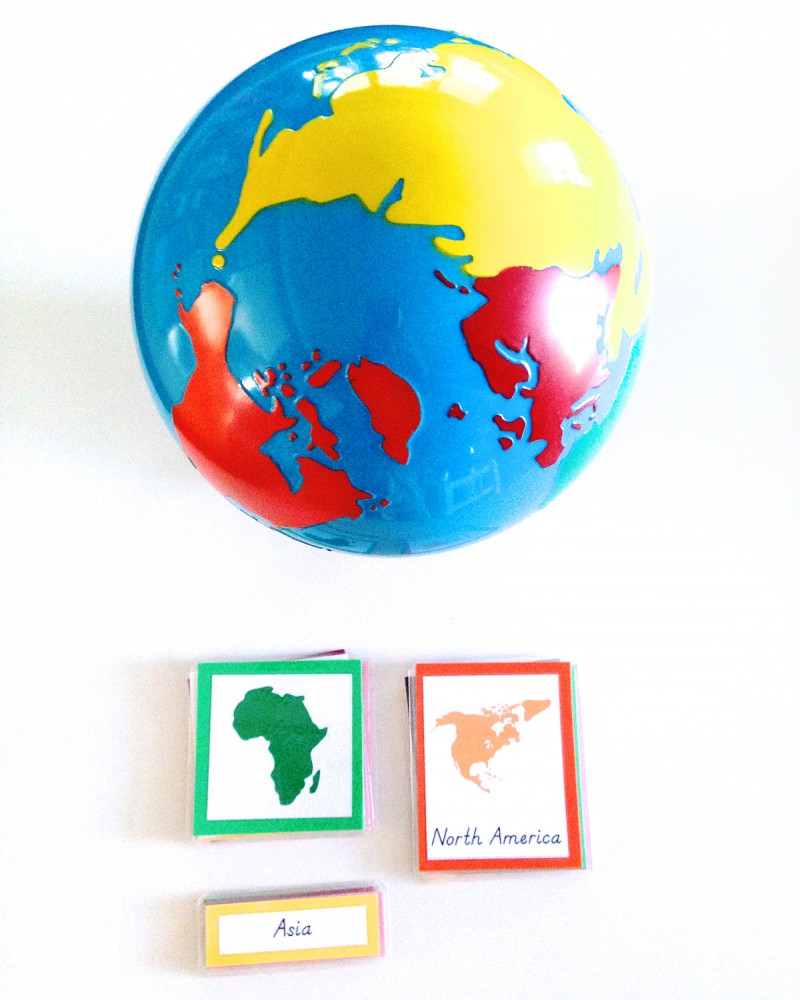
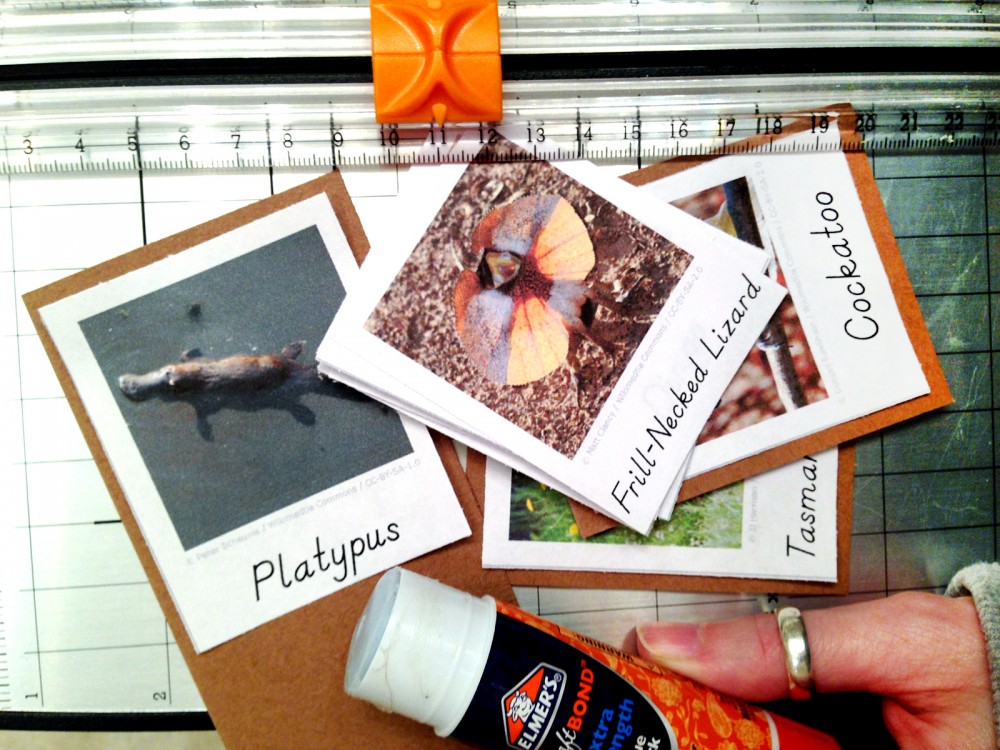
Once you have your cards printed and cut, use a dab of glue to attach them to card stock. Trim the card stock to have about a 3mm border. I like to match the color of the card stock to the theme of the cards. For my continent cards, I used the color that represents the continent in Montessori. Then I’d make cards for each continent’s animals and use that same continent color for the card stock. Sometimes my choice is arbitrary. I chose gray for music. Whenever I make a new set of cards for music studies, I mount them on gray card stock.

This next step is really what makes the 3-part cards look beautiful and last for ages. Lamination! This is my favorite laminator. I bought it is June of 2013 and it is still going strong. I bought these laminating pouches. I have about a quarter left int he pack after all that time.

My hint for laminating: when laying your cards out on the laminator sheet/pouch, put a dab of glue stick on the back of them. That way, they won’t slide around when you are feeding it through the machine.

DIY 3-Part Cards

Once they are out of the machine, trim them down (I leave about 2mm of clear plastic border). All done!

Here are some links to some of my previous free 3-part cards:

DIY 3-Part Cards

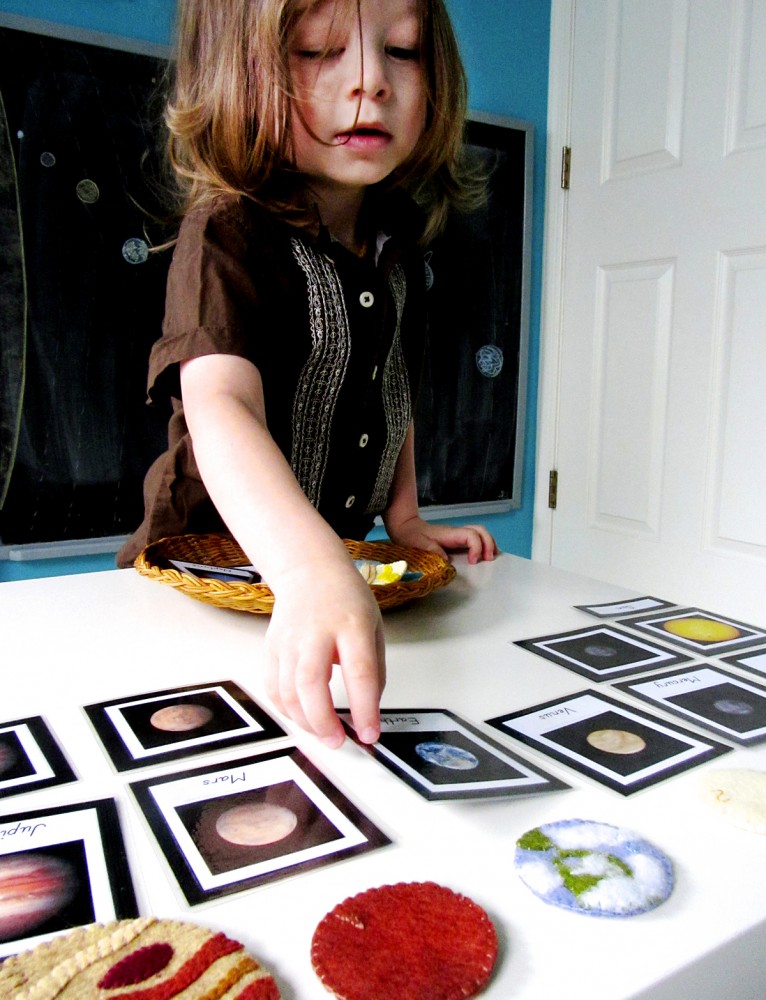
Solar System 3-Part Cards

Find more Montessori-inspired ideas at Living Montessori Now’s Montessori Monday!

Montessori Monday

Felt and Sequin Dangle Earrings

Felt and Sequin Dangle Earrings

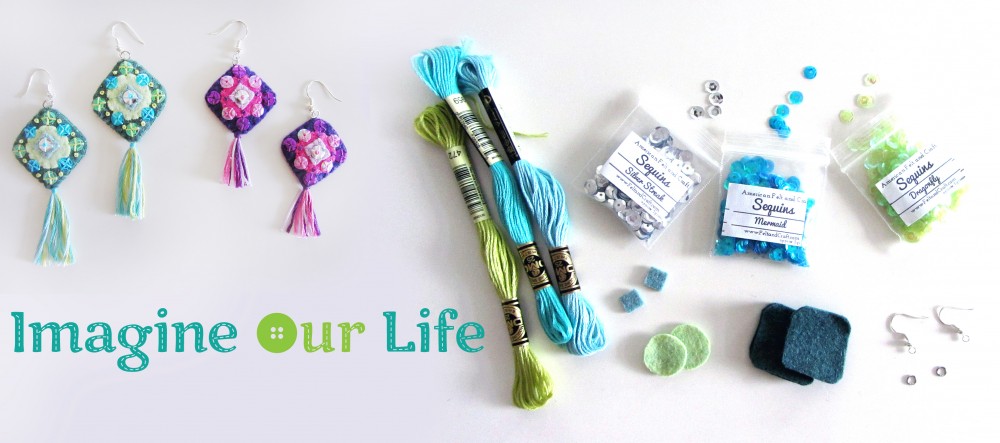
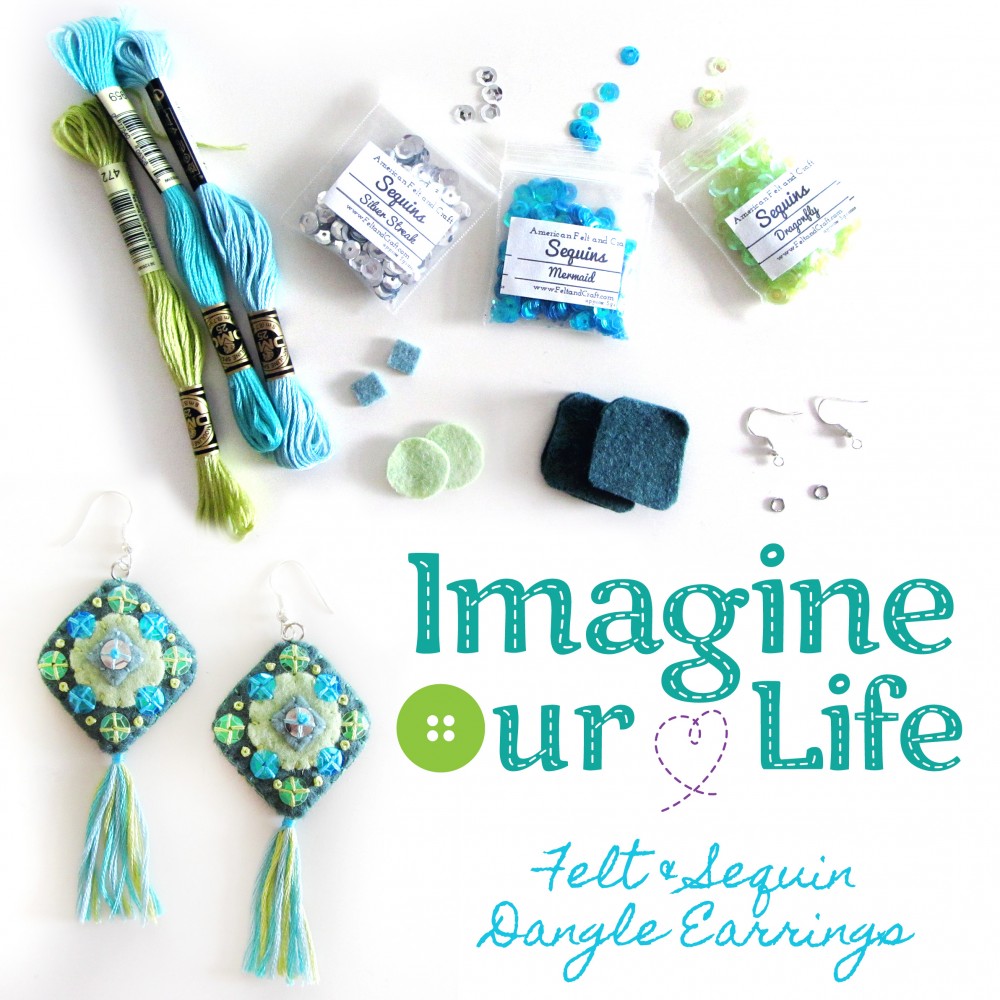
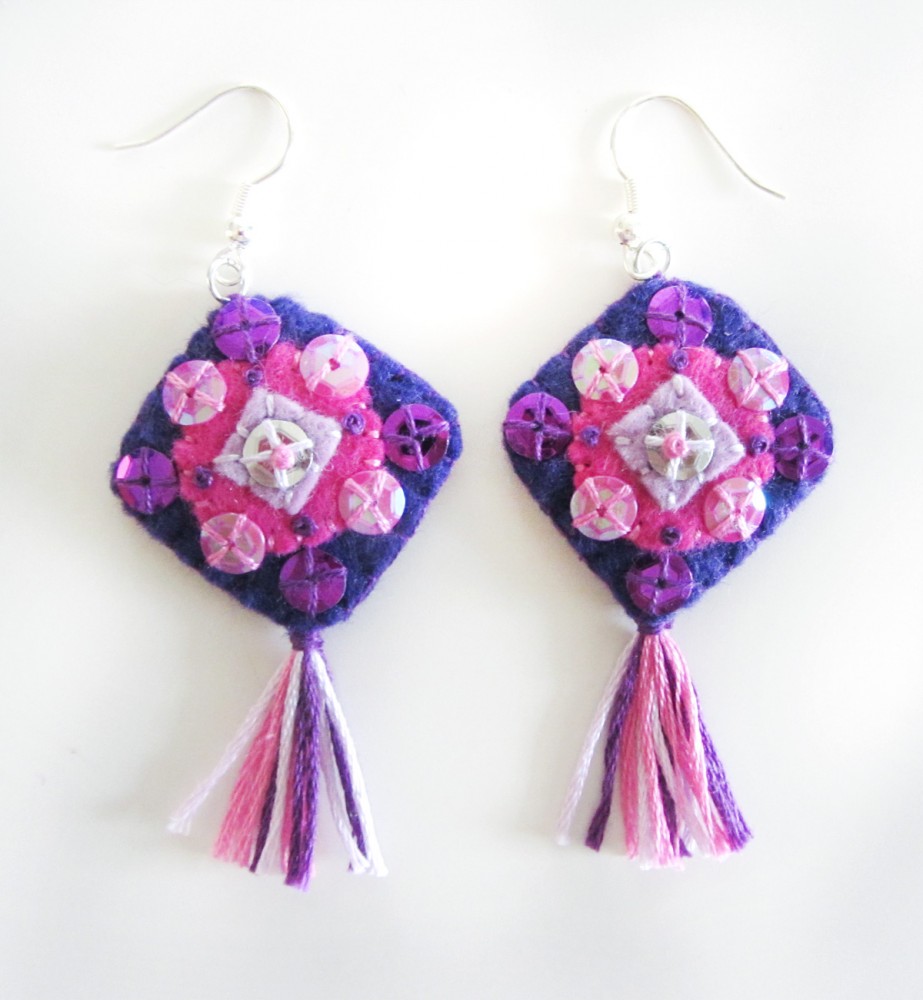
I keep my sequins in a vintage canning jar beside my sewing area, and all the pretty, sparkly colors have been calling to me recently. I wanted to make a quick project with them, so I combined my love of felt and fun, dangle earrings!

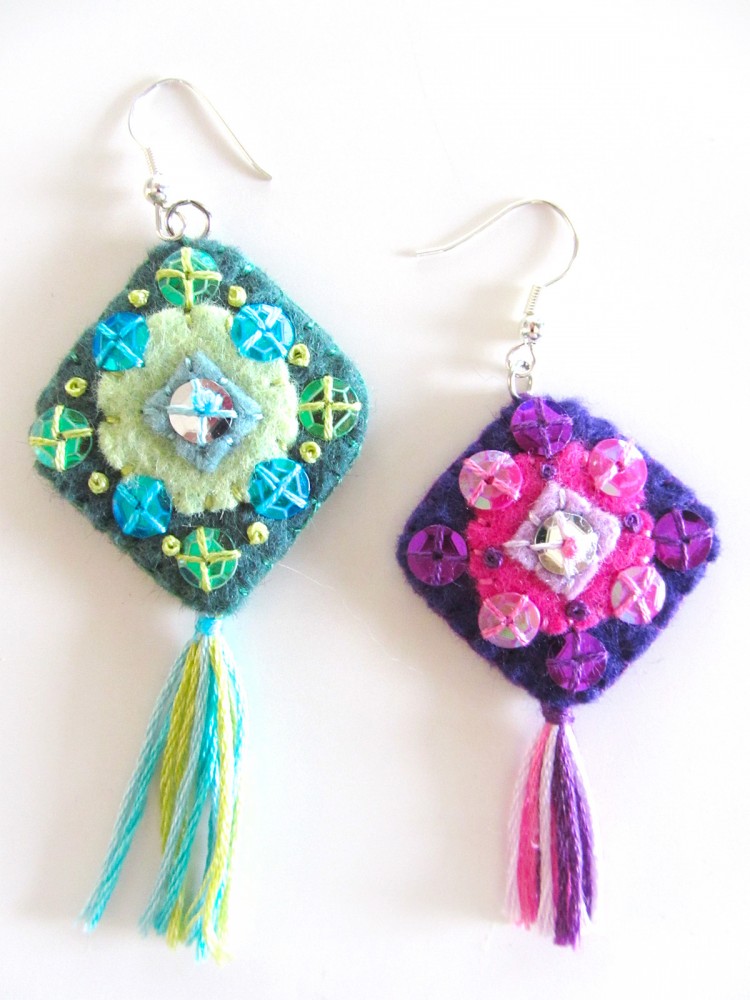
Felt and Sequin Dangle EarringsNo patterns needed for this one – just have fun!

Felt and Sequin Dangle Earrings

What I Used:

Felt and Sequin Dangle Earrings

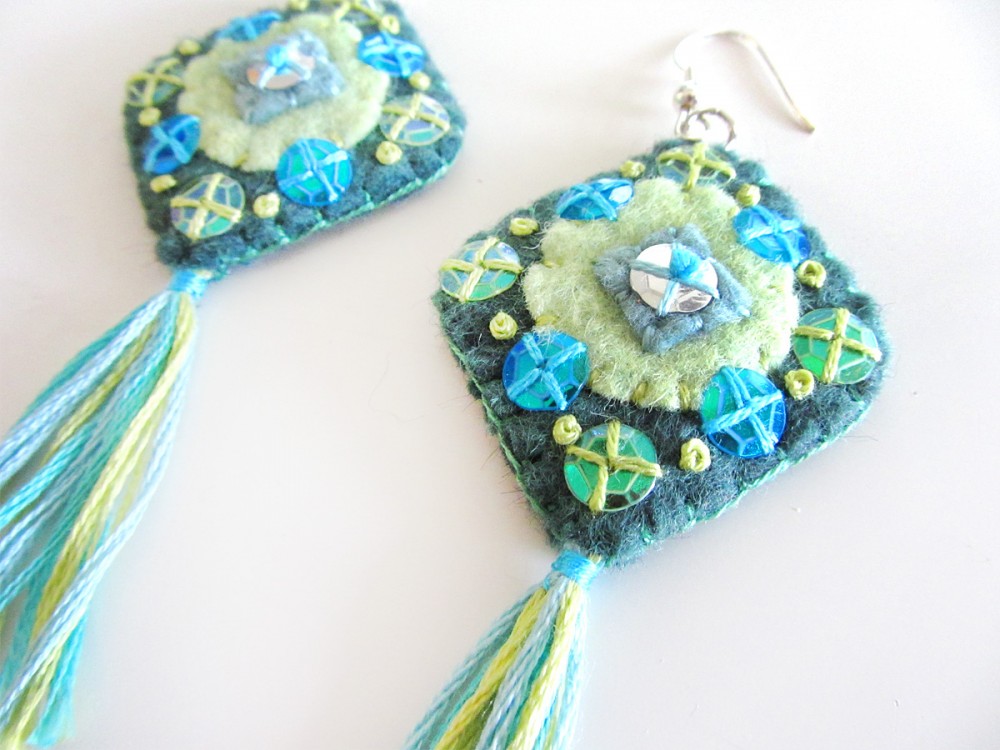
I started by cutting out shapes in my felt and laying them out with sequins to create a design I enjoyed. I then cut out a second set. Make sure you cut a backing piece for each earring body. Decorate the earring fronts by sewing down the felt shapes and adding sequins and French knots as embellishment.

Felt and Sequin Dangle Earrings

Here is how I made mine:

I cut my base out in a rounded teal diamond shape. I had a honeydew green circle the size of a nickel and a blue-gray square, slightly bigger than a sequin. I laid the pieces out and started by sewing down the center square. With the same thread, I sewed on the center sequin. I then switched thread colors and sewed on 4 contrasting sequins around the circle.

With the same thread color, I added a French knot to the center sequin. Switching thread colors to match the circle, I stitched it down. I then started alternating adding matching sequins and stitching French knots.

Felt and Sequin Dangle Earrings

Repeat everything for the front of the second earring.

I then created a tassel. I cut a length of three colors of floss, cut those in half and then tied then together at the midpoint. I then folded them in half and used one of the thread colors to tie knot loops around the bundle. After my last knot, I ran my needle up through the top of the tassel and let the tail stick out with the others at the top. I trimmed the bottom, then made a second one to match.

With thread matching my background, I stitched the tassels to the backsides of the earrings. I made stitches that were hidden by the sequin on the front. I then began sewing the front and back together for each earring. I paused at the top and sewed on a jump ring. Make sure the rings face the way they need to in order hang the right way from your earring wires.

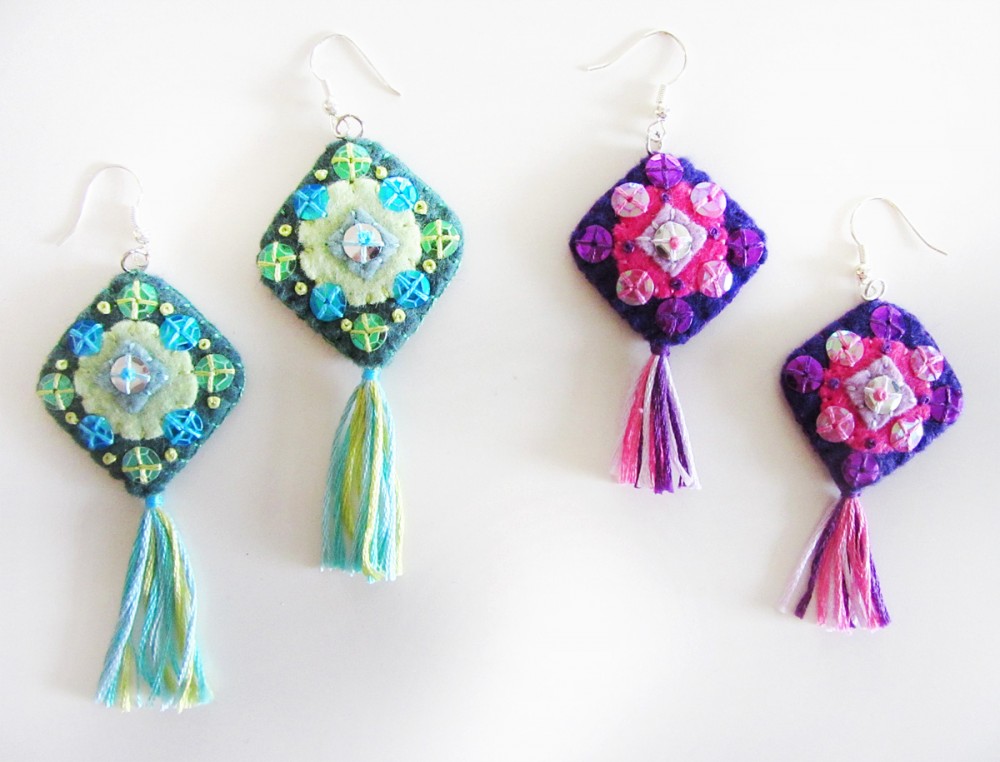
Finish the earrings by attaching the earring wires. I had fun with the colors and made a bright pink and purple set that is slightly smaller.

Felt and Sequin Dangle Earrings

I really enjoyed making these and may design some more to give as gifts or sell in my Etsy shop. Let me know if you make some! Stop by our Facebook page or share a photo with me on Instagram or Twitter (username @iolstephanie). Be sure to share the project with a friend who sews!

Felt and Sequin Dangle Earrings

DIY Washi Phone Case

If you have an iPhone (like me) and a talent for dropping said iPhone (like me) then a good impact-proof case is a must. However, those strong cases are never cute. I need cute!

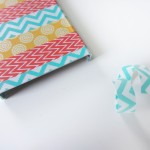
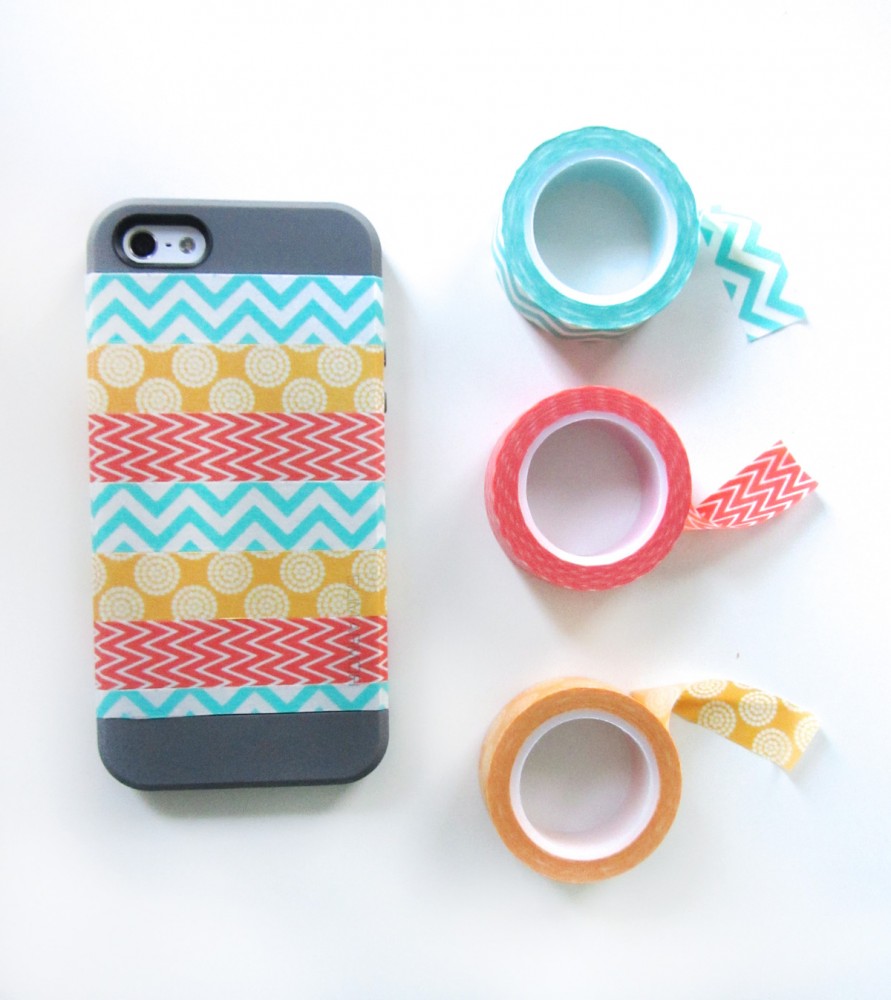
DIY Washi Tape Phone Case

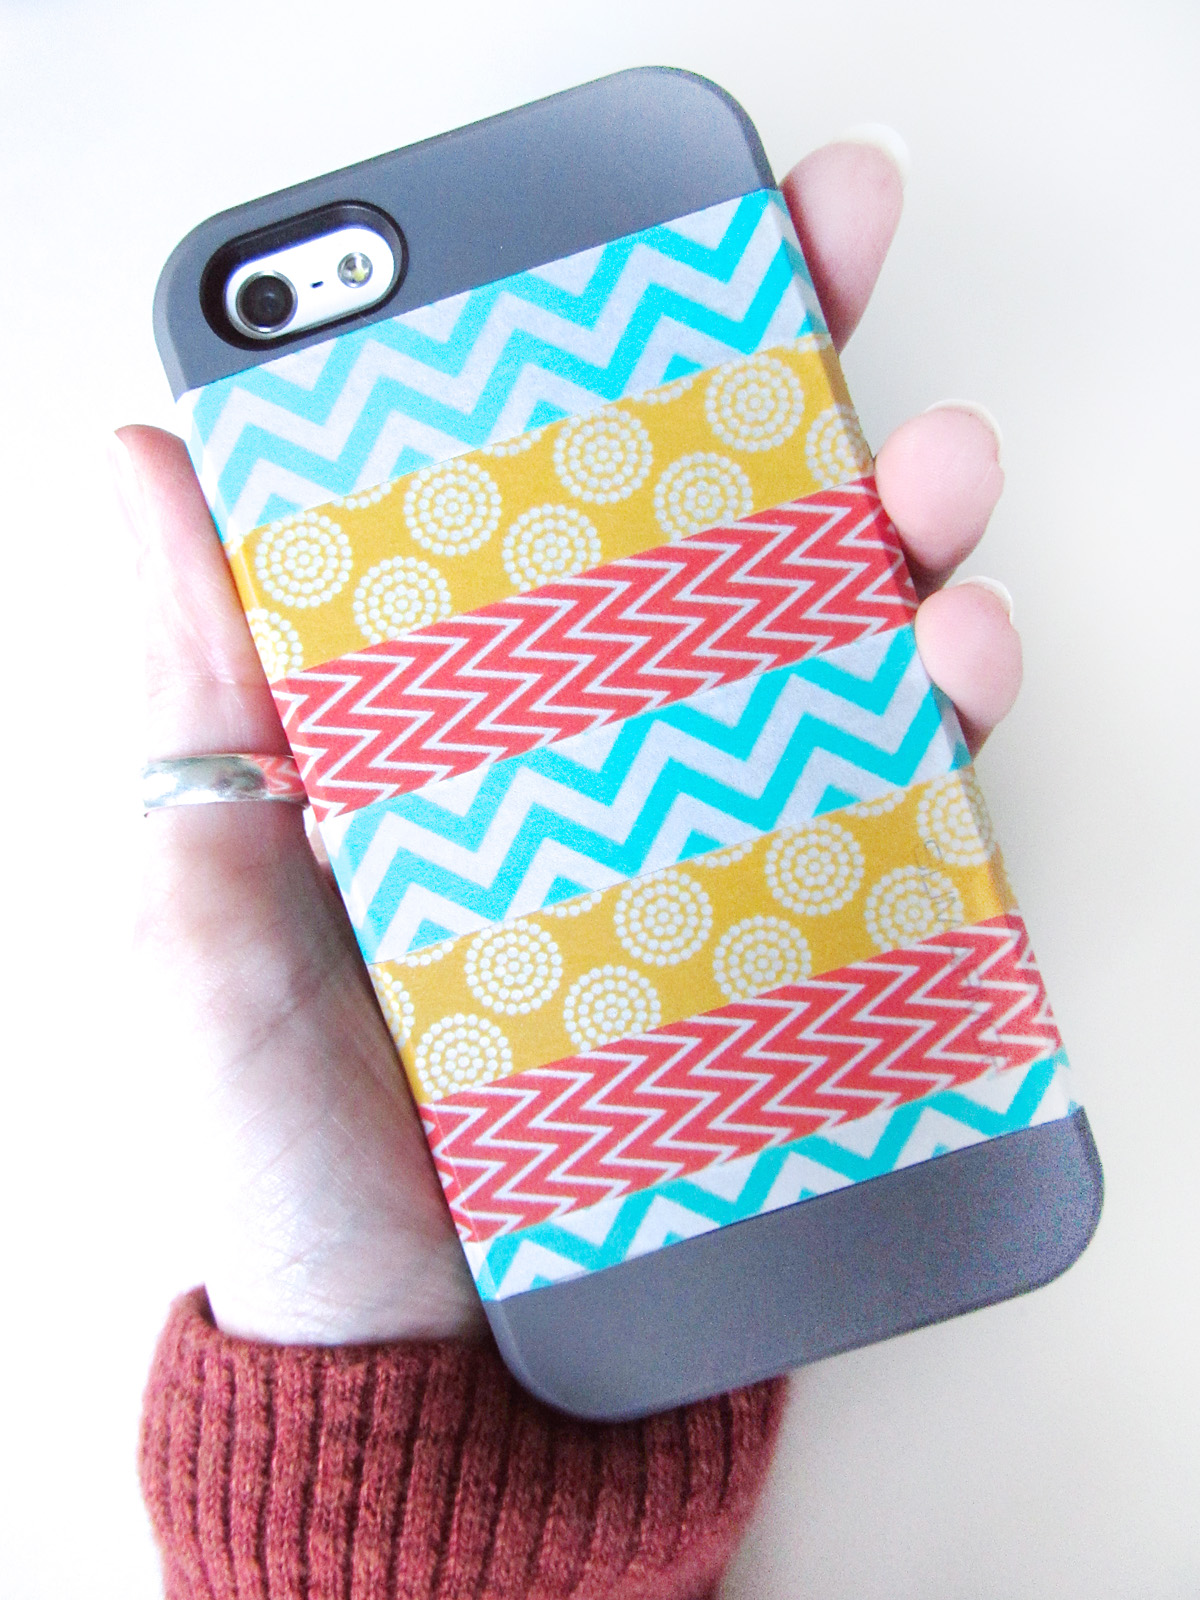
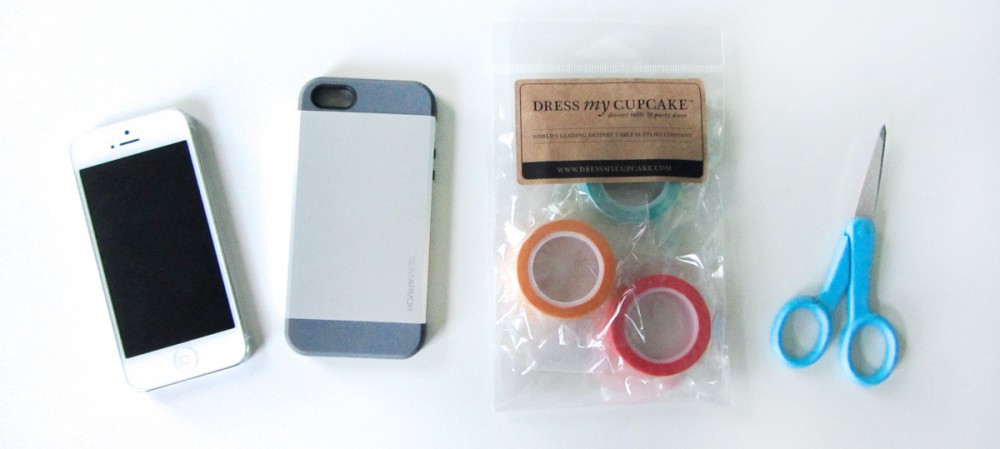
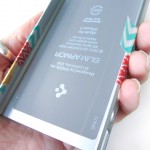
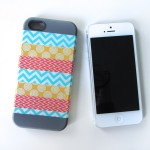
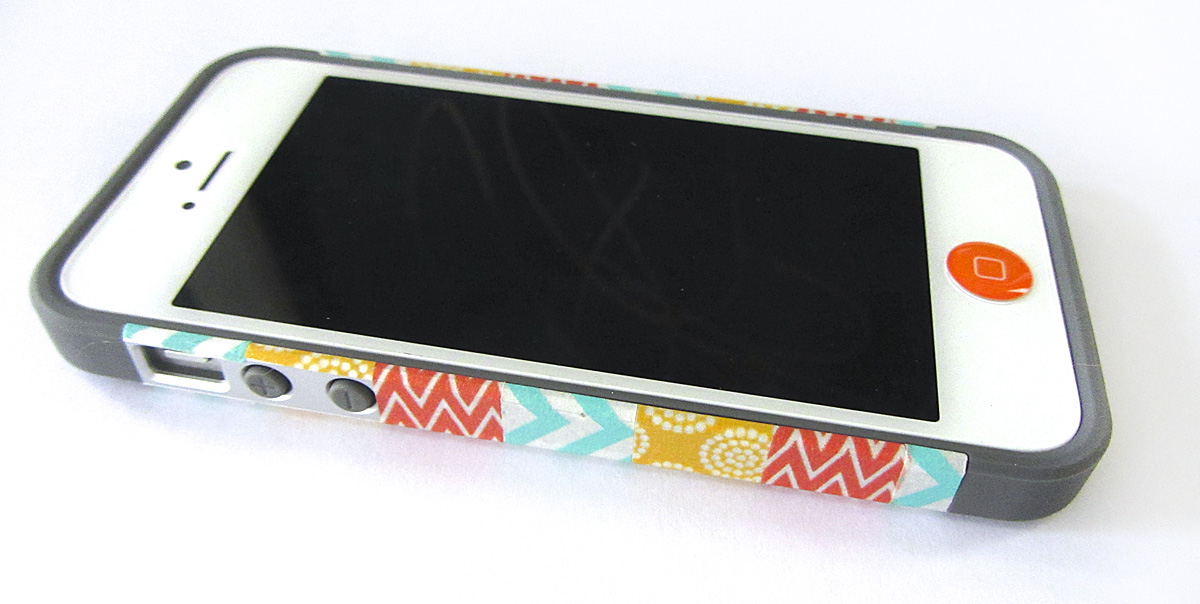
DIY Washi Tape Phone CaseI’d been using Otterbox cases for years. They come in a lot of colors, but aren’t cheap, so I’m stuck with the same look for a long time. I was having trouble with the silicone part of the case wearing out and the hard part cracking, so my husband suggested I try Spigen cases. The color options are a bit better – the case is in two pieces and you can buy extra colors separately. However, I really didn’t like that the inside color was black on all but one and I was over solid colors. I ended up buying the one option that came with a gray inner piece and a silver outer piece (Satin Silver) with the intention of making it beautiful!

DIY Washi Tape Phone Case

Have you used washi tape? I’m sure there aren’t many people who haven’t at this point, but if not, go get some now! It is beautiful patterning masking tape that can be used for decoration and easily removed. It was the perfect solution to my ugly but functional phone case! I’ve been decorating my new case and switching it up every few weeks. So easy!

What I Used

DIY Washi Tape Phone Case

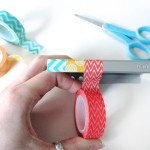
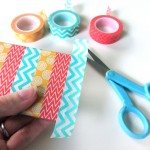
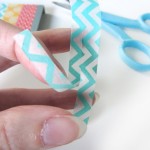
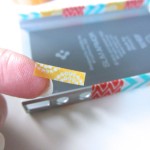
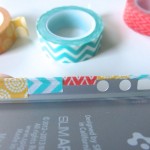
It’s as simple as cutting strips of tape and sticking them on the case! Take your phone out first so you can wrap the edges of the tape to the inside where they won’t be seen. Be creative! Sometimes I use all one pattern of tape. Sometimes I let the case color show through.

DIY Washi Tape Phone Case

Have you decorated anything unusual with washi tape?

DIY Sewing Labels

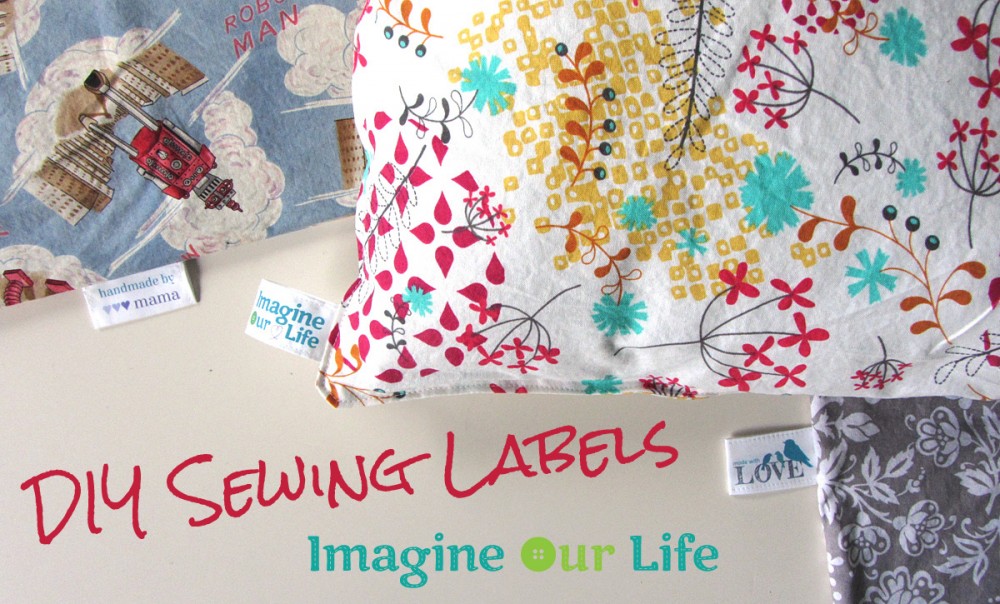
DIY Sewing Labels

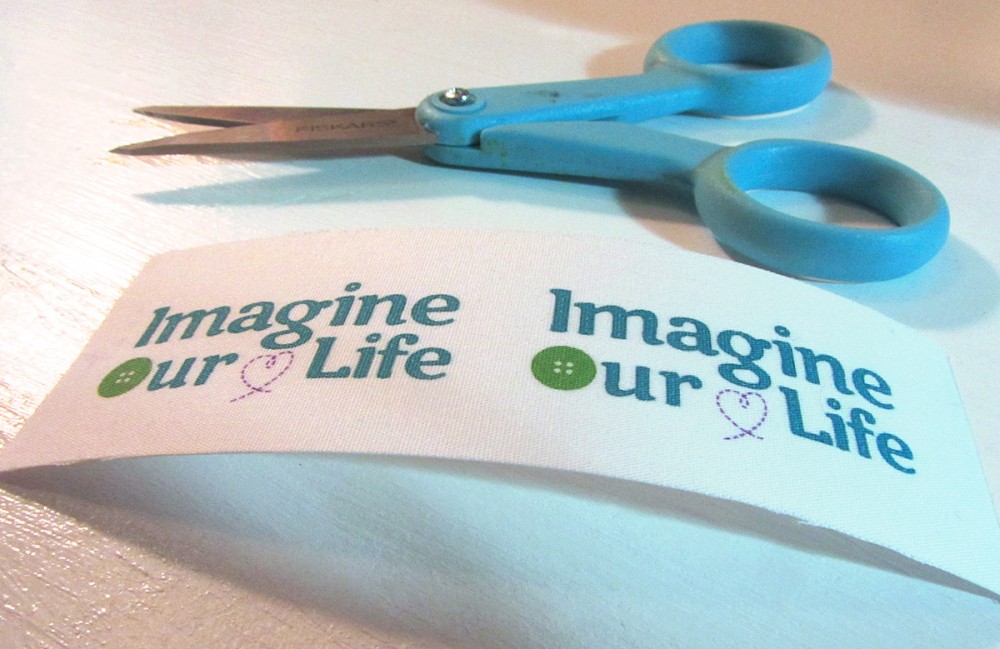
Here is a quick little project you can do to personalize your sewing projects: DIY sewing labels!

Materials

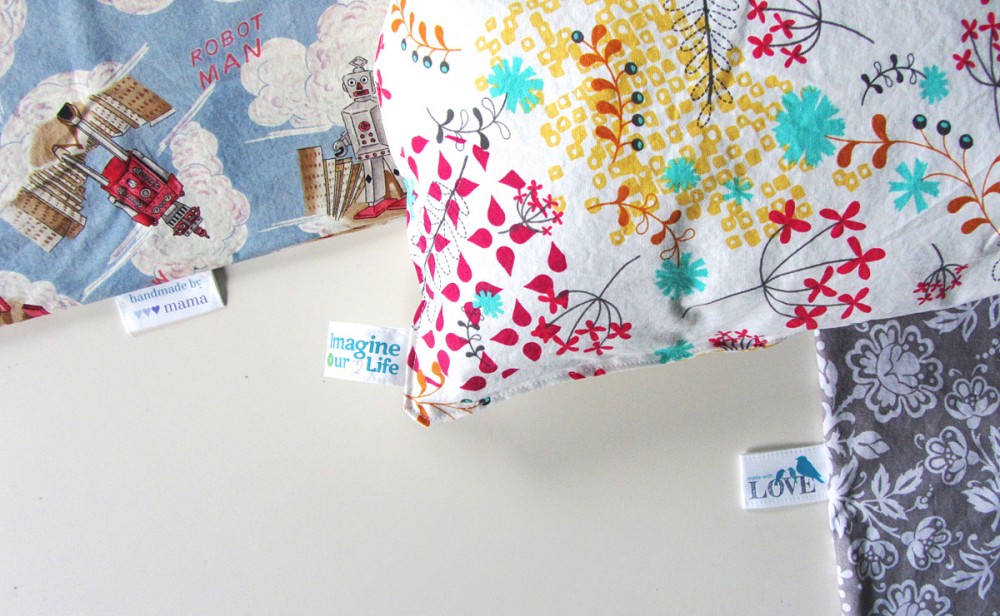
 To create your own sewing labels, you need to start by designing them. I made mine in Illustrator and just used my logo. For side tags, I laid out two logos side by side so they could be folded in the middle. For top tags (like the kind that would be in the neck of a shirt), I just had the design on the top half. If you wanted washing directions (or anything else), you could put it on the other side.

DIY Sewing Labels

I created a couple of quick Word files to get you started. I included some free designs you can use. If you use the designs I made, you’ll need to download two free fonts from Google: Elsie Swash Caps & Crafty Girls. Of course, you can totally do your own thing!

DIY Sewing Labels

Side Labels

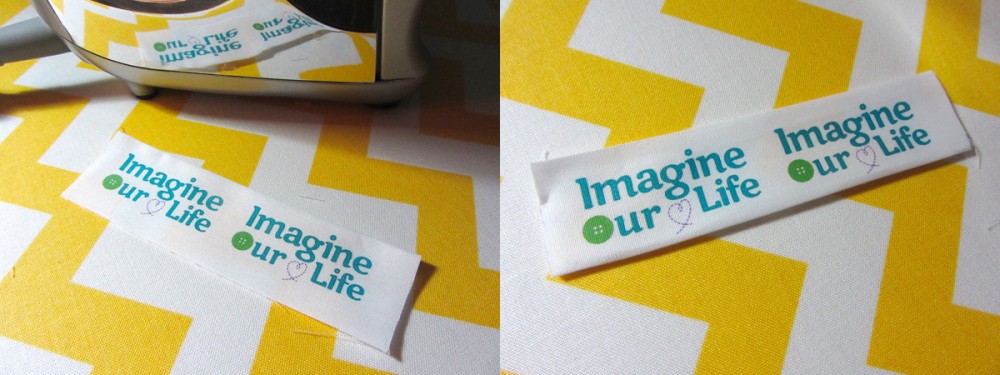
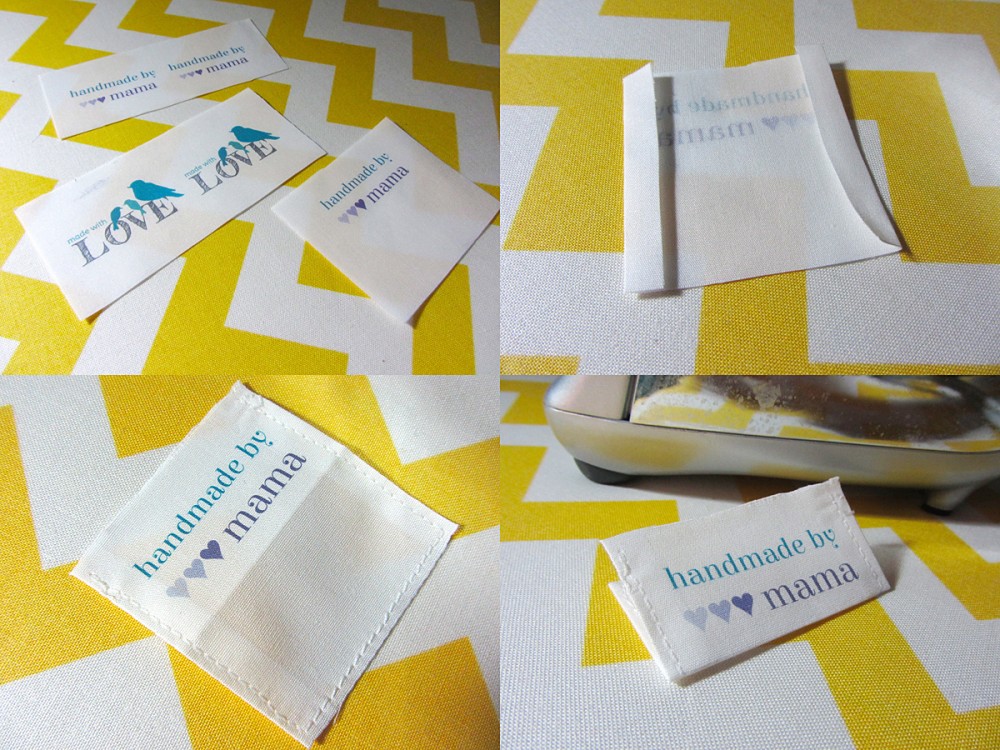
Follow the directions on your printer fabric, then cut out your label, making sure you have enough space to have .25″ extra all around. Iron the label flat. Iron the two long sides towards the back of the label.

DIY Sewing Labels

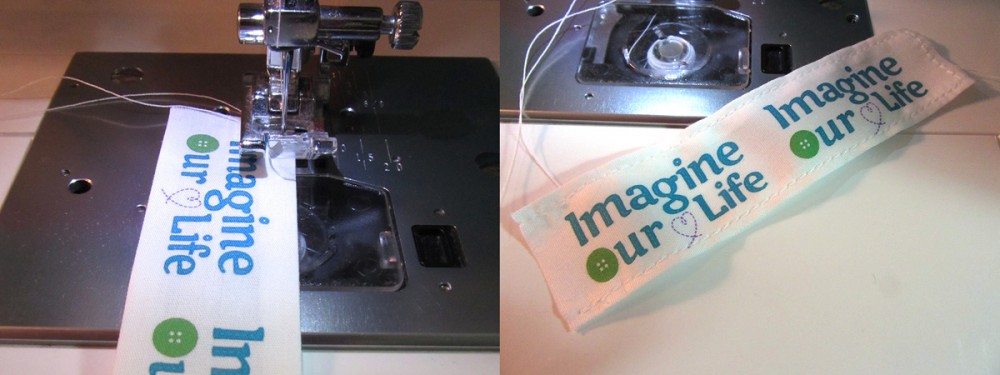
On your sewing machine, sew the folded edges, staying very close to the edge. I used my presser foot as a guide. (See the photos.) I sewed around three sides because I didn’t want to have to stop and start again. You could even go all the way around if you wanted to.

DIY Sewing Labels

Iron the seams flat again, then fold the label and press the fold well.

DIY Sewing Labels

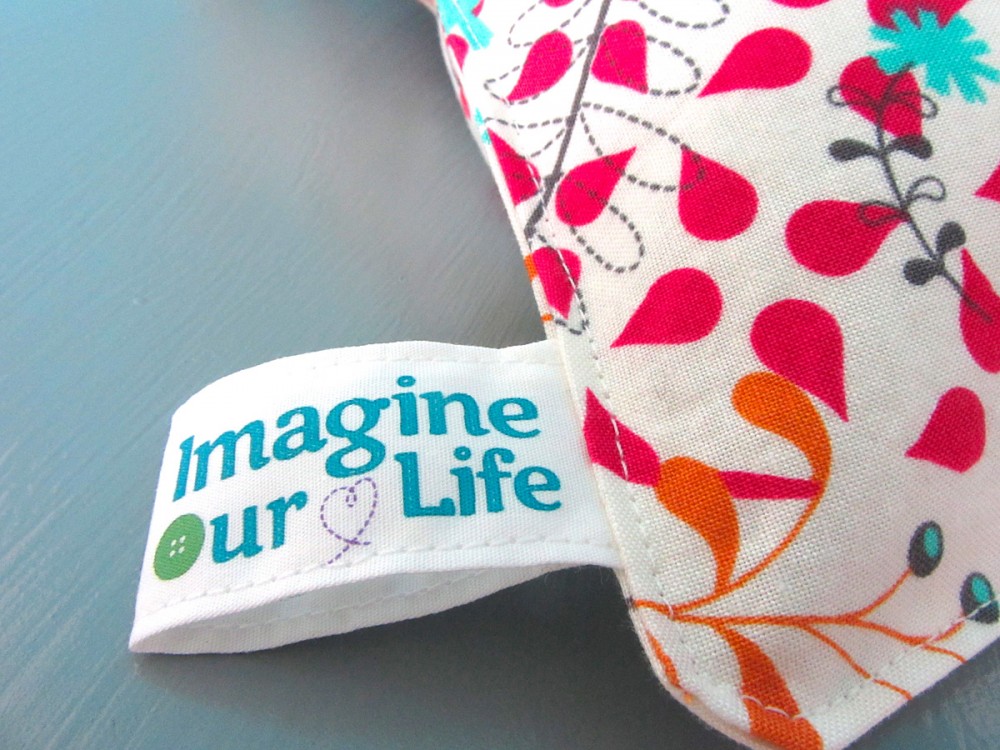
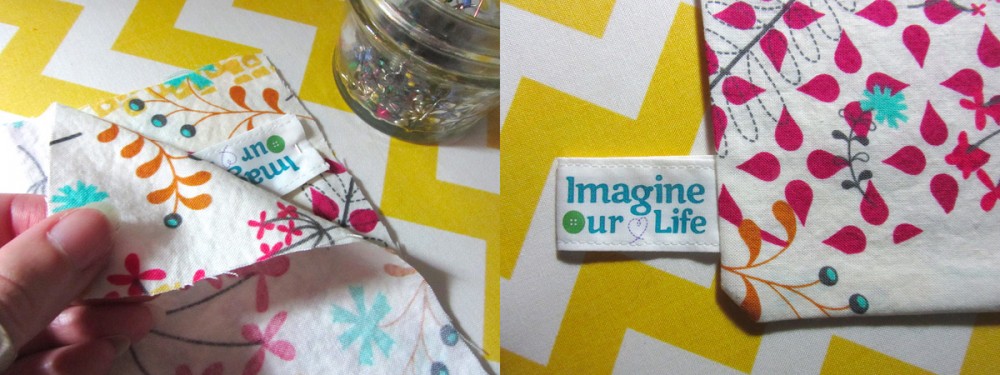
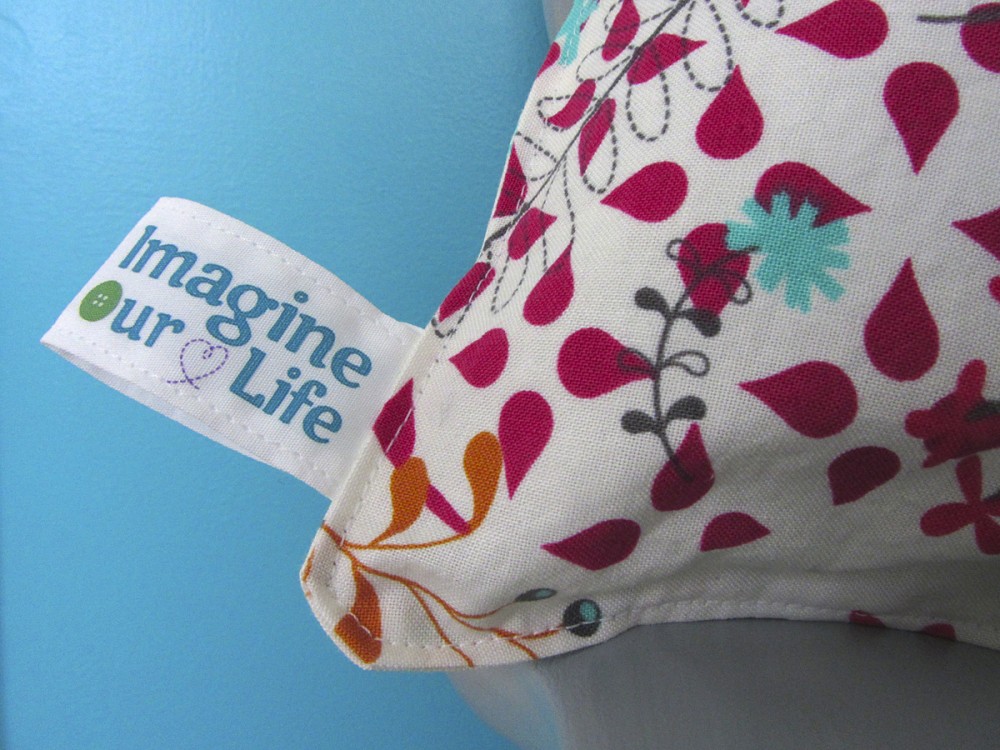
To add your tag to your sewing project, place it between the right sides of the fabric with the non-fold end in your seam.

DIY Sewing Labels

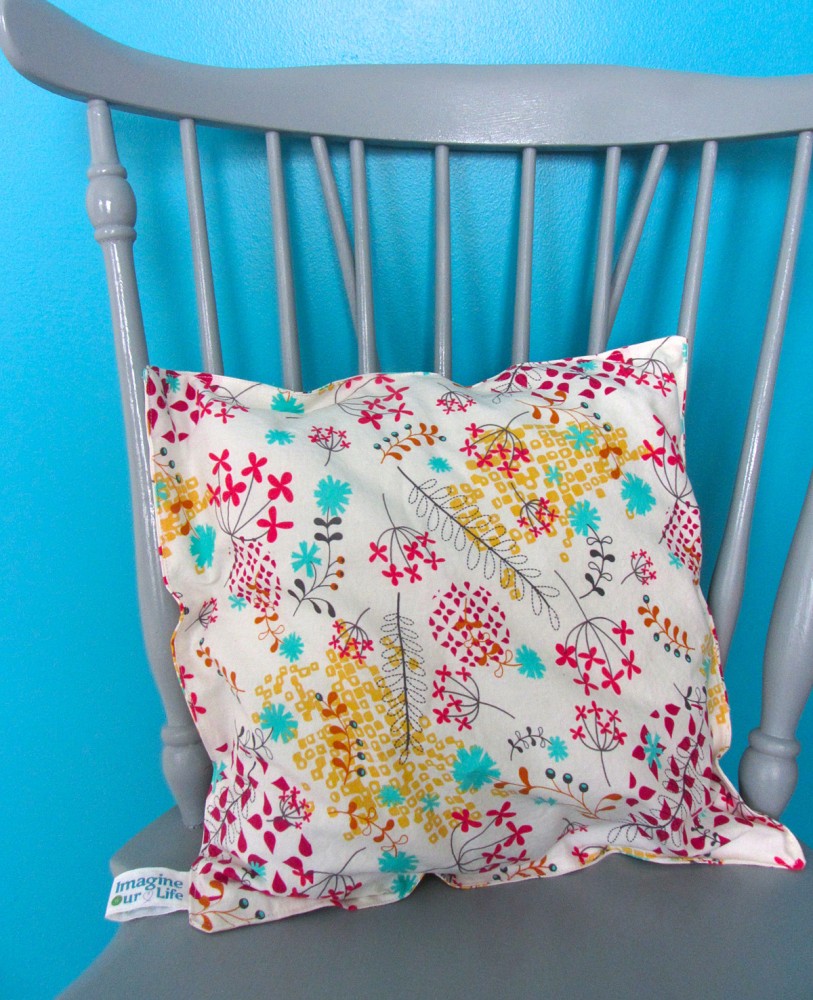
Turn your project right side out and press your seam. I added a top stitch to this quick pillow.

DIY Sewing Labels

Top Labels

Top labels are made the same way, but the two short sides are the ones you want to fold under.

DIY Sewing Labels

If you want to be sure your labels don’t unravel inside the fold, you could add some Fray Check, or have a larger seam allowance and fold the edges under twice. I didn’t bother, though.

DIY Sewing Labels

If you make a project with a custom sewing tag, I’d love to see! Tag a photo to me on Instagram @iolstephanie (I can’t see it if you are private. Just come comment on one of my photos and I’ll follow you.) Or stop by our Facebook page and post a photo!

DIY Sewing Labels

Happy sewing!

Here’s a Pinterest – ready photo for your boards! You can find me on Pinterest here.

DIY Sewing Labels

DIY Montessori Color Tablets

Back when I started homeschooling Jax, we chose a letter and number a week to focus on. He was super excited to learn, but every day turned into a struggle. He couldn’t focus, no matter how fun things seemed. He was dying to learn, but it almost seemed like he was just too young at just under 3yo.

I stepped back and switched to unschooling while I did a lot of reading and research. The unschooling was enlightening. I let his interests lead the way and turned them into teachable moments. He learned more than he did during our two months of traditional homeschooling! However, the things he was asking to learn – spelling, addition/subtraction – were tricky to teach a 3yo who wasn’t mentally ready for abstract concepts.

This lead me to Montessori. All I’d known about it was that Montessori schools let the children go at their own pace. What I discovered after researching, is that Montessori allows a young child (3-6yo is when academics really start) to start learning right away by using concrete materials, then gradually moving to the abstract. For example, using beads to introduce the concept of quantity, or having tactile “sandpaper letters” that a child can feel and experience when being introduced to letter forms and their sounds. They also focus a lot on practical life activities that set a child up to handle daily tasks and improve their manual dexterity – needed to move into the early stages of writing.

We’ve only been formally using Montessori for about a month, but I did switch my teaching methods to match up as soon as it looked like the right fit for Jax. Thanks to Jax’s generous aunt and uncle, he was gifted much of the language materials he’ll need over the next year or two. And, I’ve been hard at work doing DIY projects to get some of our other materials together.

DIY Montessori Color Tablets

DIY Montessori Color TabletsSensorial

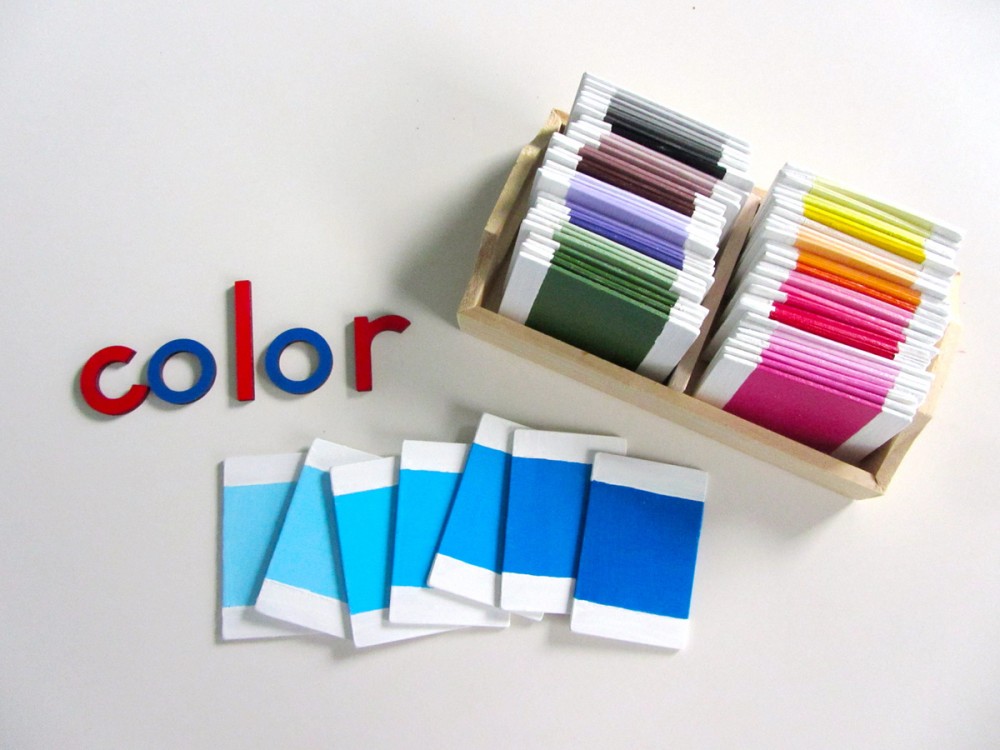
Montessori encourages children to work with their senses – activities called “Sensorial“. These might include sound boxes, activities involving tastes or smells, or this project: color tablets. There are three sets of Montessori color tablets. The first introduce the basic concept of colors, and the second works to teach colors and matching. Jax has aced these concepts through other activities, so we are coming in on the final box.

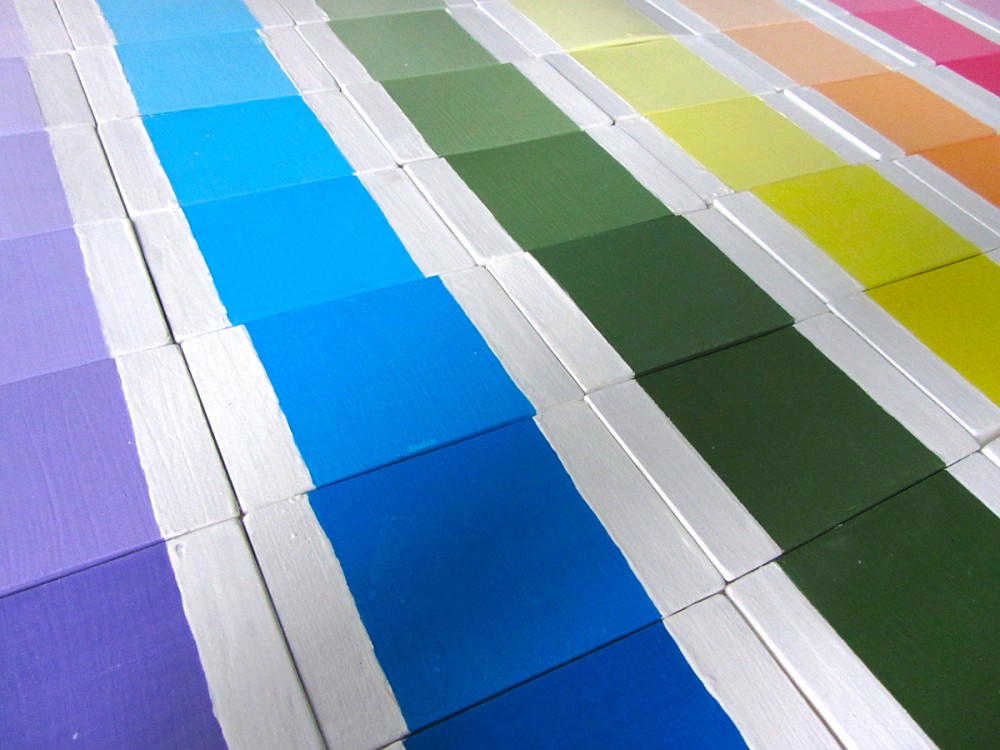
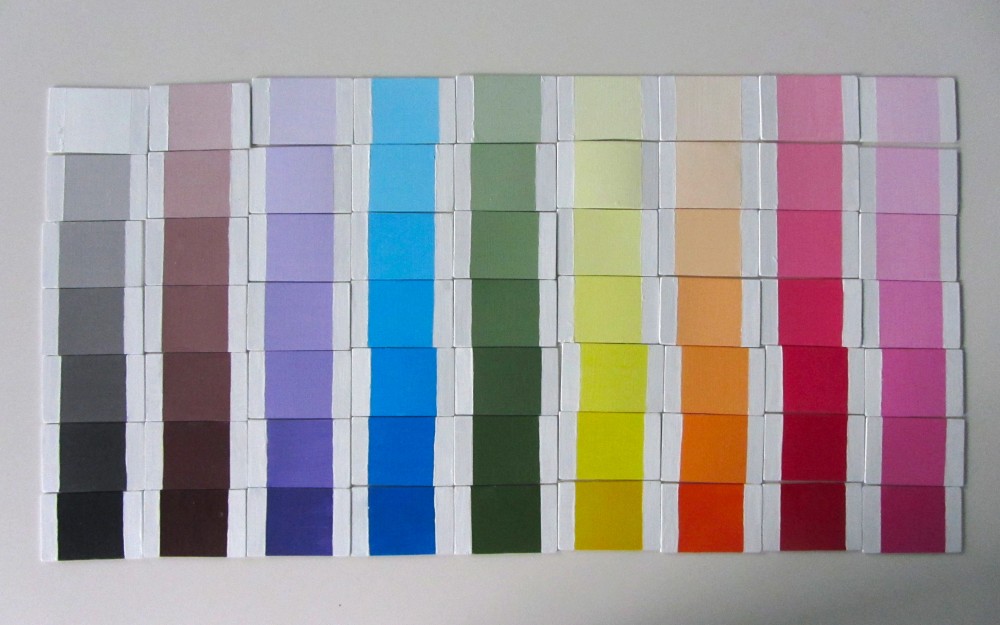
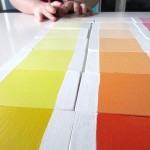
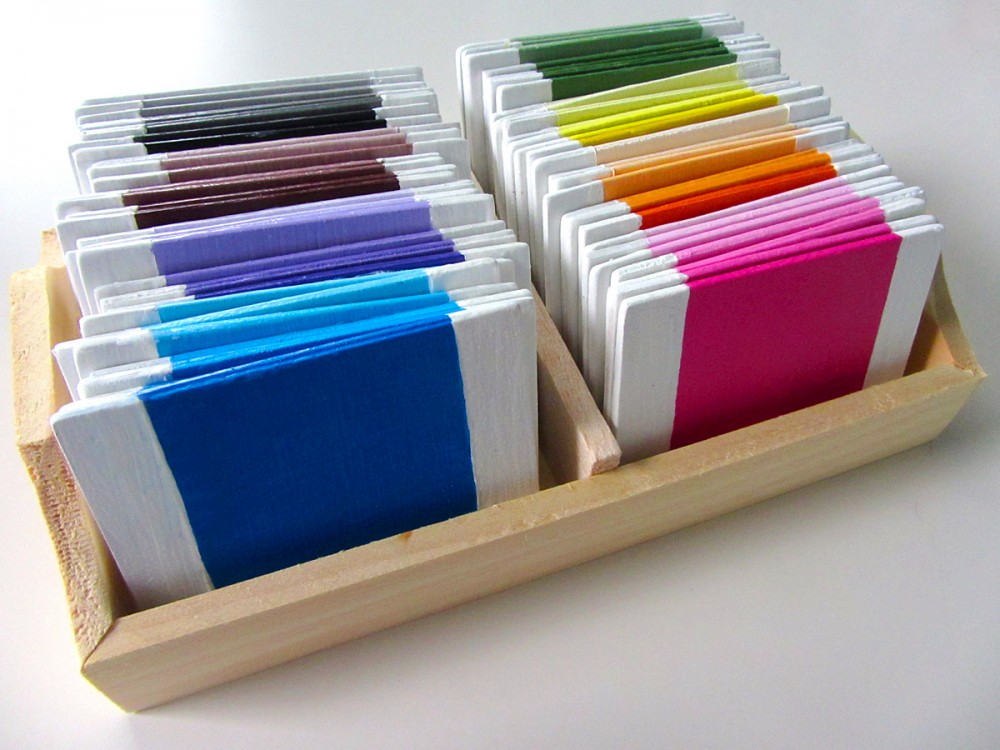
I am doing the traditional Montessori “color box 3” which is always 7 shades of 9 colors. It teaches the color spectrum, as well as dark/light and discerning subtle differences. This translates to a better grasp on comparisons/differences, patterns and visual acuity that helps with language and math later on.

There are many activities you can do with color tablets:

  • Sort them from lightest to darkest
  • Play ispy with objects around the room
  • Sort buttons/objects to match the color tablets
  • Compare them at a distance (a child has to fetch a lighter/darker tablet from across the room, without having the original with him to compare)

DIY Montessori Color Tablets

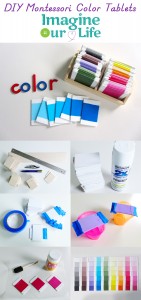
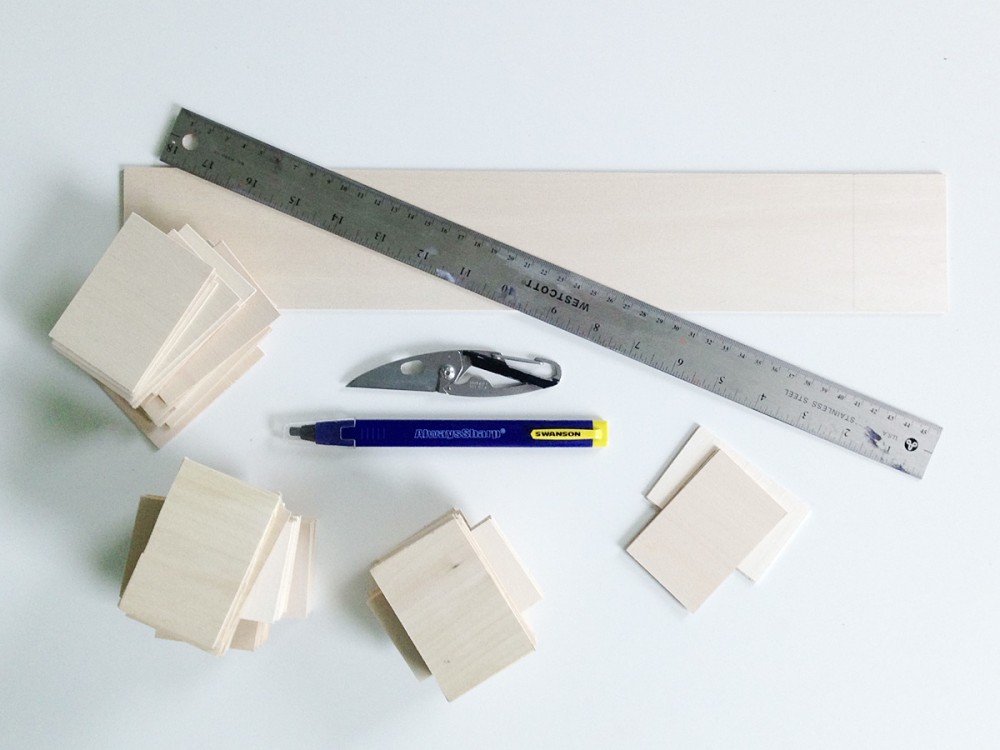
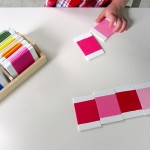
To make our DIY Montessori color tablets, I bought 6 pieces of balsa wood from the craft store, each were 3″ x 24″ x 3/32″. Using a ruler, pencil and a utility knife, I scored 2″ wide rectangles on both sides, then gently snapped them apart. I made 63 total.

DIY Montessori Color Tablets

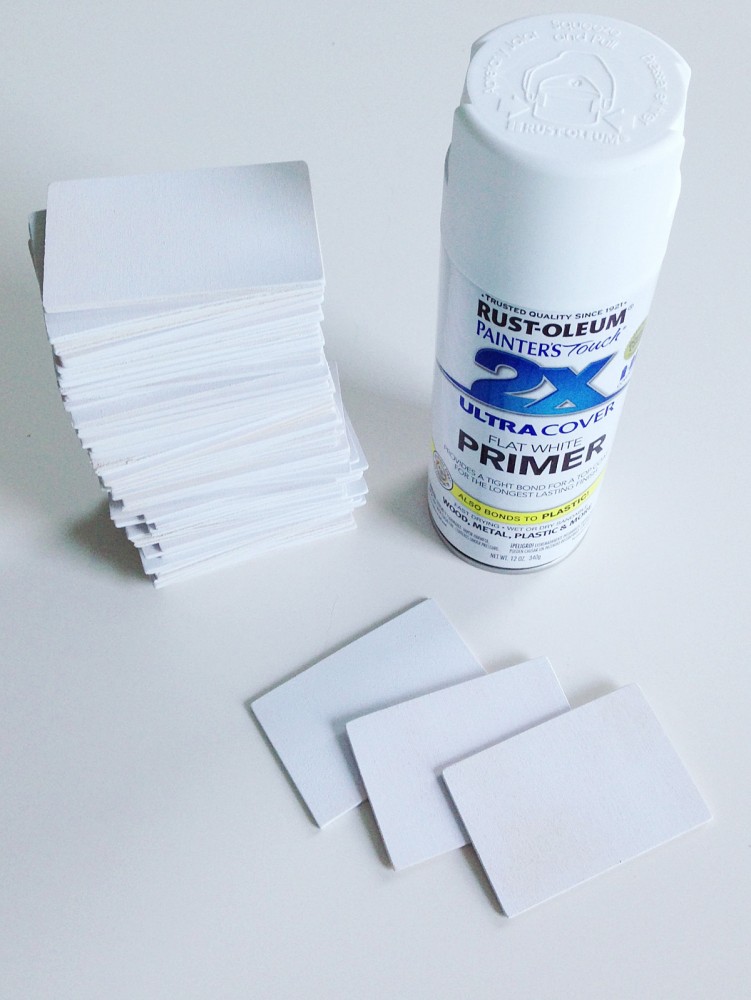
I sanded them down (tedious!) and sprayed them with primer.

DIY Montessori Color Tablets

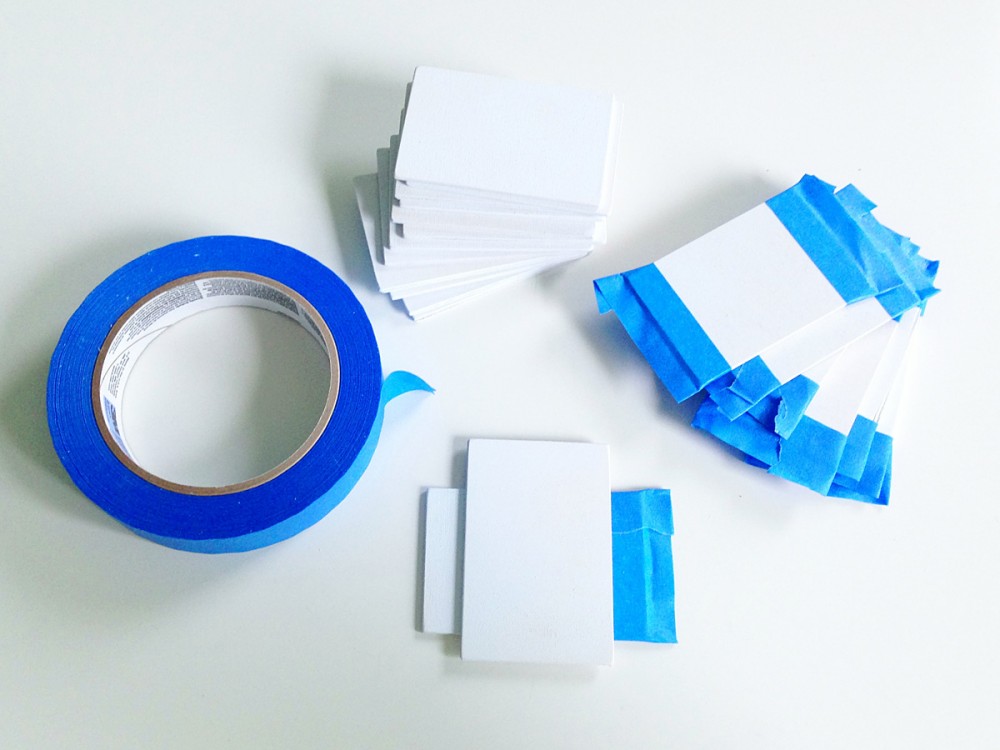
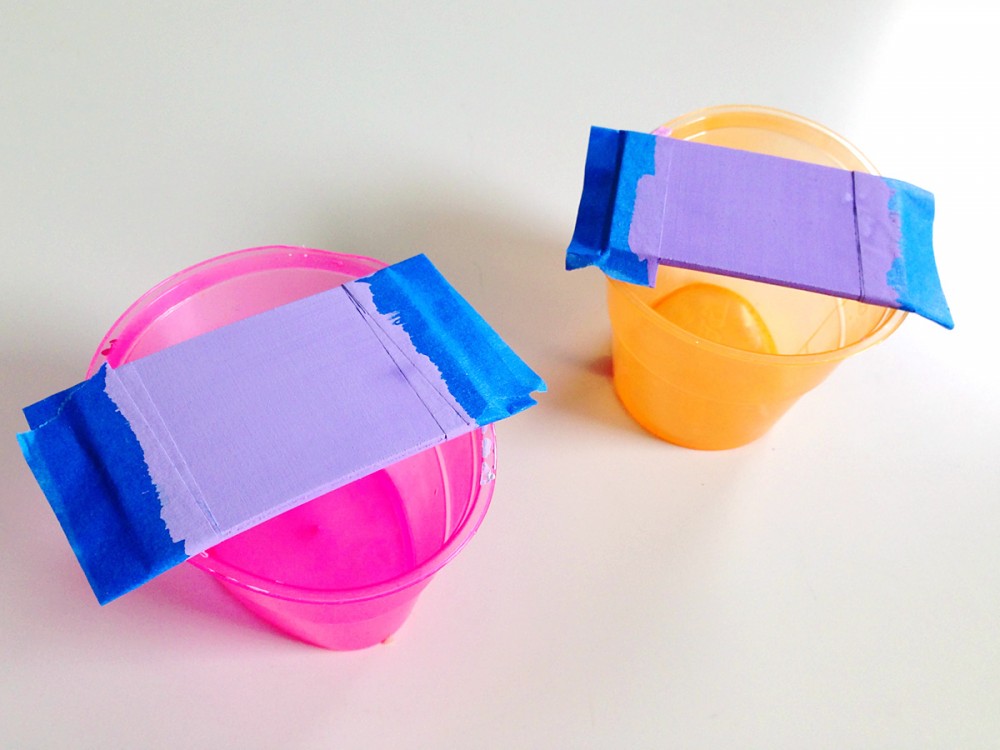
Using the 2″ wide tablets as a guide, I taped off the edges of each tablet. Traditionally early Montessori tablets were made of silk thread, so there were white edges to grasp so students didn’t stain the threads. The uniform look of the white edges help to isolate the quality (color) that the tablets are focusing on. Isolation of quality is big in Montessori materials.

DIY Montessori Color Tablets

I painted the tablets, doing one color at a time. I mostly started with the darkest color – straight from the bottle or tube, then added white in increasing levels. For some of the lighter shades I started with white and added drops of color. I mostly used craft paints to save money, but I did find that the color seeped under the tape. On the tablets I used my expensive artists’ acrylics I had no seepage. Since the next step was to remove the tape and paint the edges white, I wasn’t too concerned. I was happy to use the less expensive paint.

DIY Montessori Color Tablets

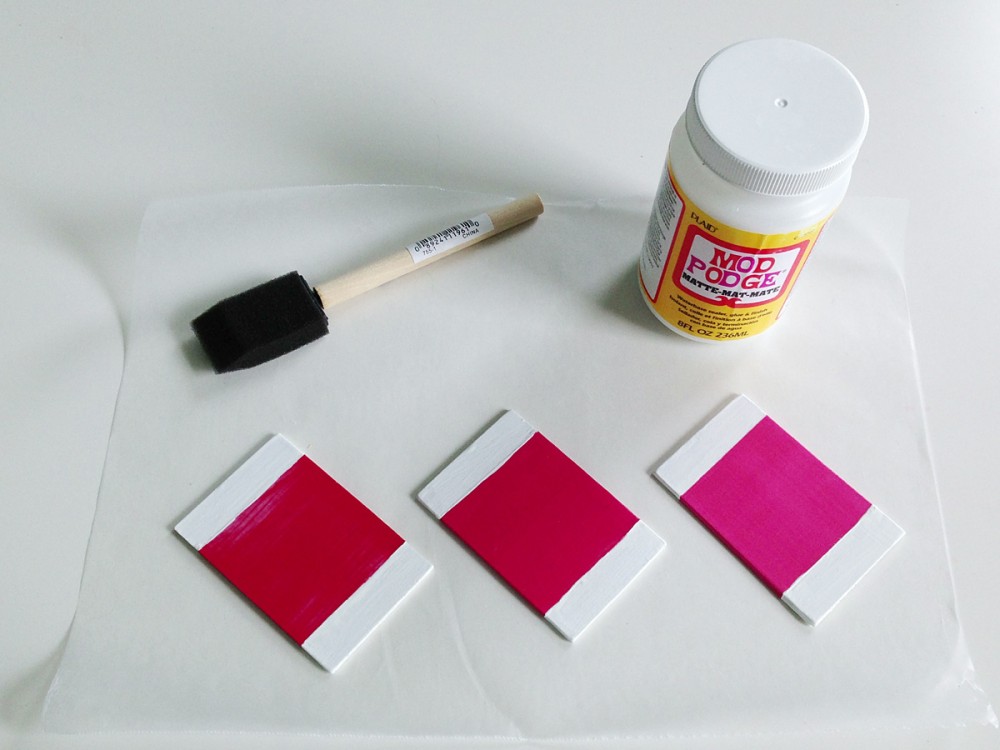
Once the colors and edges were painted and dry, I used matte Mod Podge to seal them. I chose matte because I didn’t want the shiny glare of gloss to make discerning the shades more difficult. I figured I could always add a second coat with gloss if I didn’t like the matte, but the matte is actually the perfect level of shine for me.

DIY Montessori Color Tablets

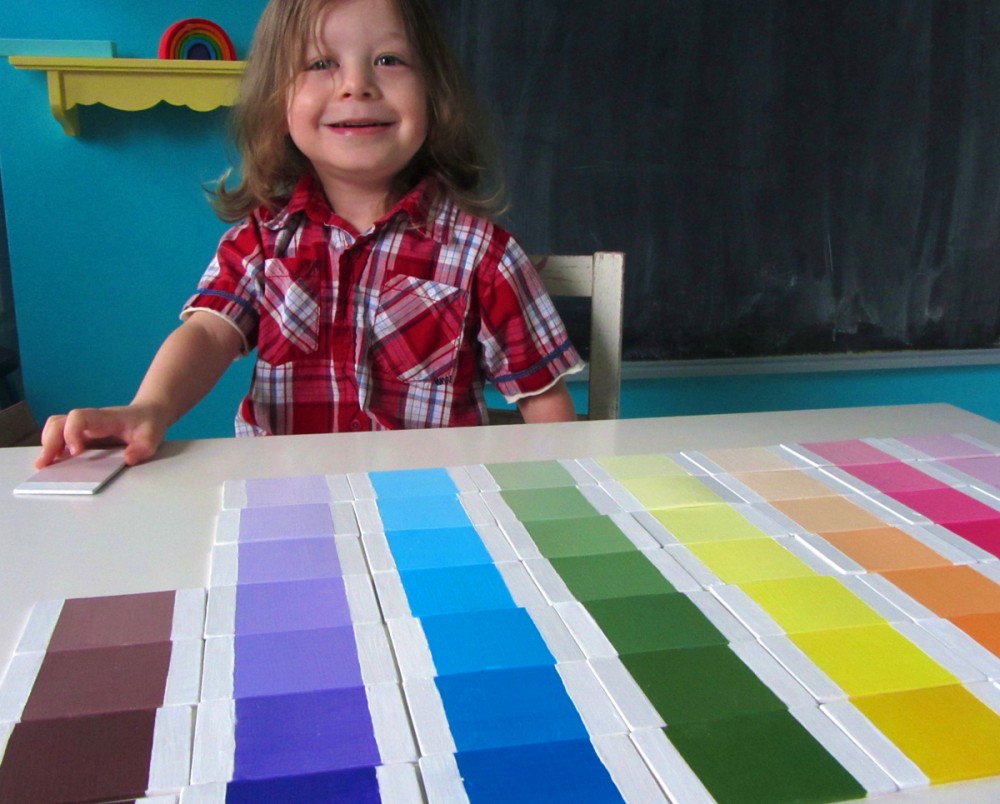
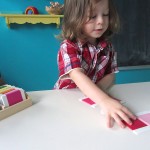
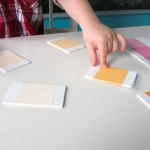
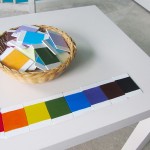
Jax’s first presentation of the color tablets went well! He knew instinctively which colors were lighter and darker. When he focused, he could correct his own errors. He also enjoyed making patterns of light/dark/light/dark. He is a rainbow lover, so anything with rainbow colors to order makes him happy.

IMG_2250

While I only had him grade two colors mixed up so far, we did work together to lay them all out for a photo. He helped me correct any mistakes and was so proud of the finished work!

DIY Montessori Color Tablets

This project was simple to do, just tedious due to there being 63 tablets. I need to get a better box for them eventually, but we’ll just keep them mixed up in a basket for now.

Check out the Montessori Monday link up for more ideas!

Montessori Monday

DIY Montessori Color Tablets

DIY Dollar Store Cake Stands

DIY Dollar Store Platters

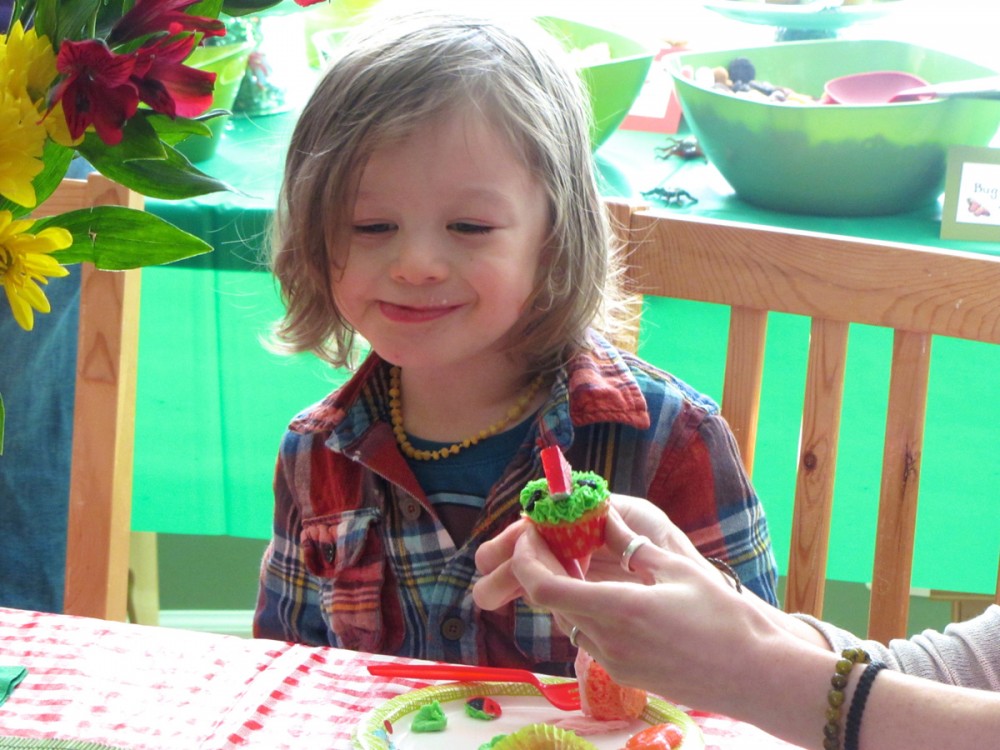
My sweet little man is 3! Yesterday we celebrated with friends and family at his bug-themed third birthday party. It was so much fun. Seeing your child SO happy just makes your heart want to burst!

3!

My budget for the party was very small. I don’t have a lot of serveware for parties, so I hit up the dollar store for inspiration. They had some great bowls in spring colors – I grabbed some in green. I didn’t find anything to feature the stars of my food table – the mini cupcakes!

bugcupcaketrio

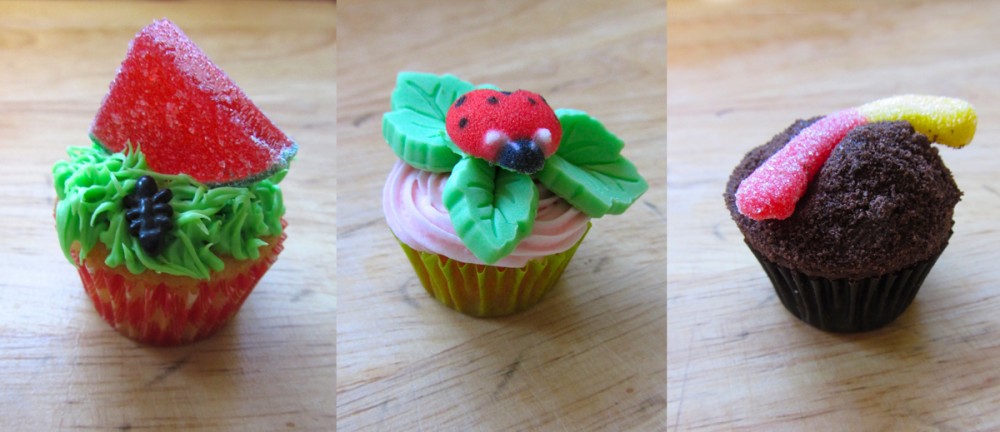
Bug Mini Cupcakes

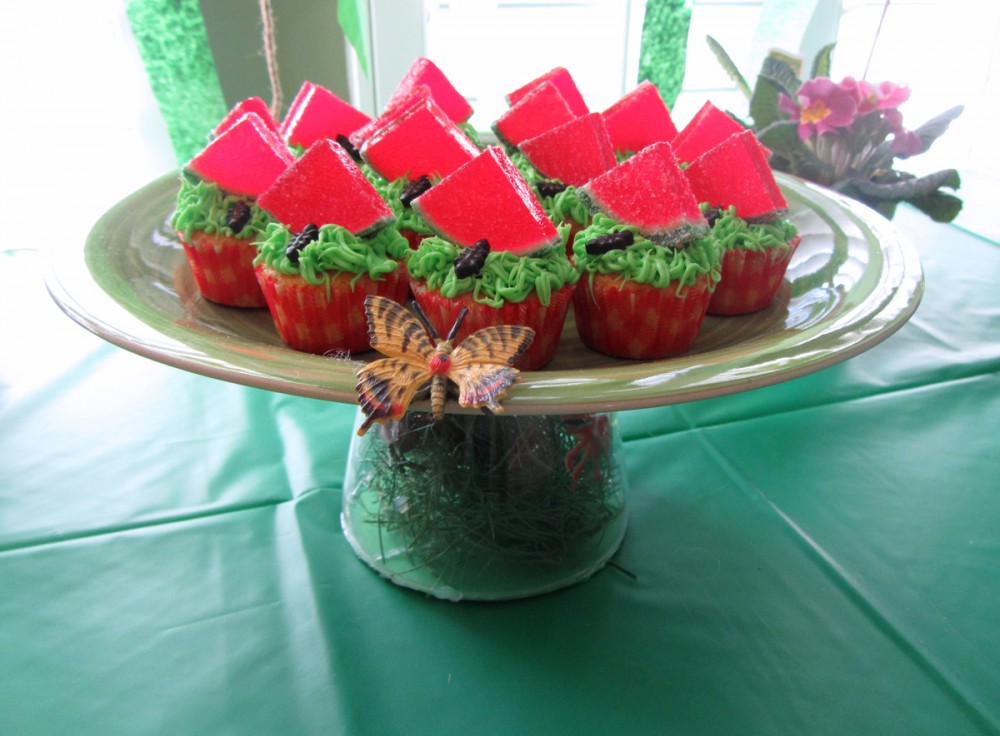
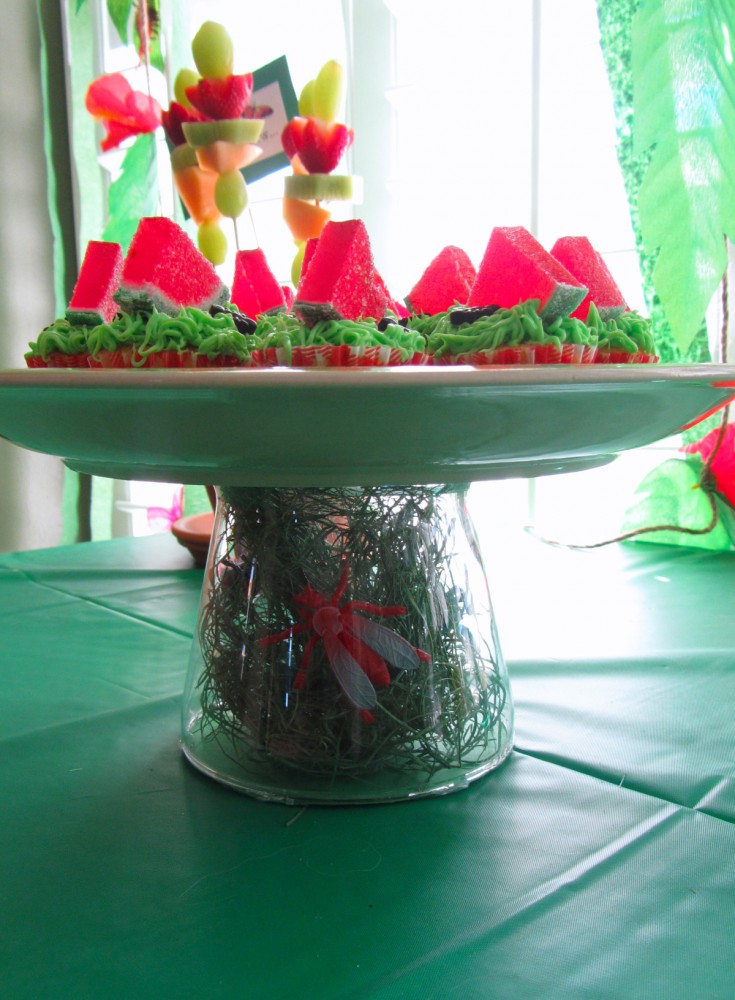
Picnic Ants: This was a lemon cupcake with lemon frosting (tinted green and piped with a grass tip), little black ant sprinkles, and watermelon slice candies. I baked them in red gingham cupcake liners. (I had a custom listing set up on Etsy will my three liner choices.)

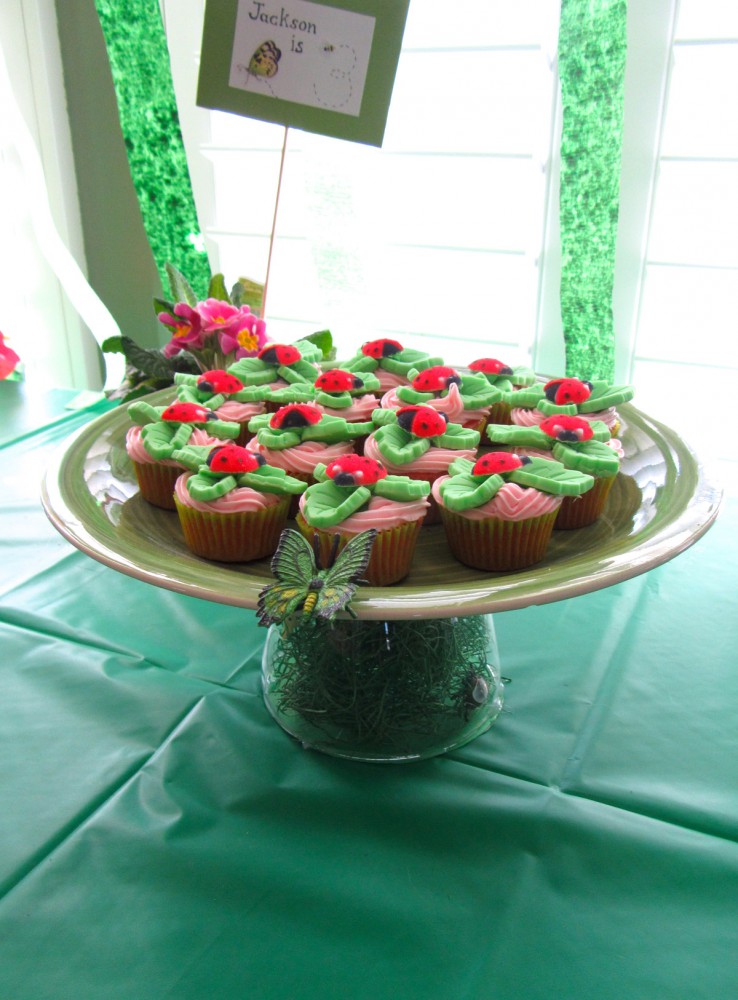
Ladybugs & Leaves: These cupcakes were strawberry, strawberry swirl icing and fondant leaves I cut out with a cutting and embossing set. I added little pressed sugar ladybugs. I baked them in lime green cupcake liners.

Worms & Dirt: Our chocolate cupcakes were chocolate with fudge frosting, crushed Dark Chocolate Fudge Stripe cookies and sour worms. They were baked in simple brown cupcake liners.

I’d seen plenty of Pinterest pins with candlesticks and plates turned into cake stands. I decided to put my own spin of the idea! I got three green plates, three glass votives and some Super Glue Bond-All, all from the dollar store. I had already ordered plastic bugs and found a bag of decorative grass at the thrift store for $1, but saw both of those things at the dollar store as well.

DIY Dollar Store Platter

Pin me!

Pin me!

My supplies:

  • dinner plates
  • glass votives
  • super glue
  • plastic bugs
  • decorator grass
  • cardstock
  • hot glue & hot glue gun

I started by applying super glue to the bottoms of both the plates and the votives and letting it sit for a few minutes. Then I placed the votives on the plates and weighed them down with soup cans. They slide a little while the glue was still a little wet, so I made sure to recenter them after a few minutes. After drying for an hour, I flipped the stands right-side-up and weighed them down overnight.

The finishing touch was a butterfly hot glued to the edge of each cake stand!

This slideshow requires JavaScript.

To customize them for the party (something that can be undone, as hot glue peels off of glass), I hot glued some cute bugs to the insides of the votives, placing them so their backs showed well. I then stuffed the grass inside. I had traced and cut some circles of green card stock to fit the openings. I hot glued the those on as bases.

I’m so happy with how the cake stands turned out! they worked perfectly for the mini cupcakes and the rest of the party decor!

IMG_1653

For more details about Jax’s party, visit my personal blog, Stvlive.com.

IMG_1636

DIY Holiday Tree Decorations – 3 Tutorials!

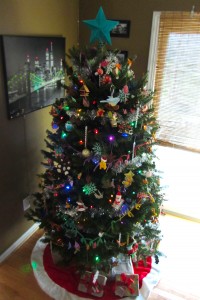
I feel like I’ve been waiting forever to get a Christmas tree, though it is only one week into December. Maybe because I started sewing felt ornaments in October? Last night we finally picked out a tree. An hour of living room tree surgery later, Jax and I hung our decorations.


For his first two Christmases, I only used unbreakable ornaments – mostly colorful balls and stars and plastic snowflakes. This year, we skipped the boring balls and mixed handmade ornaments with special family heirlooms. (Though I did keep the fragile glass and crystal ones in the box for another couple of year!)

I adore how the tree turned out! It is full of love and handmade touches. Jax told me it is his “favorite Christmas tree!” and that he loves it. Here are three little tutorials for some of what I created.

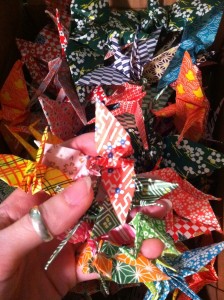
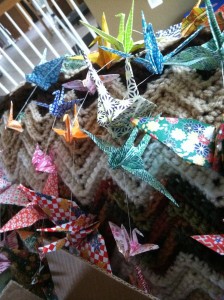
DIY Origami Crane Garland

Supplies:
Origami Paper
Beading Needle
Beading Cord

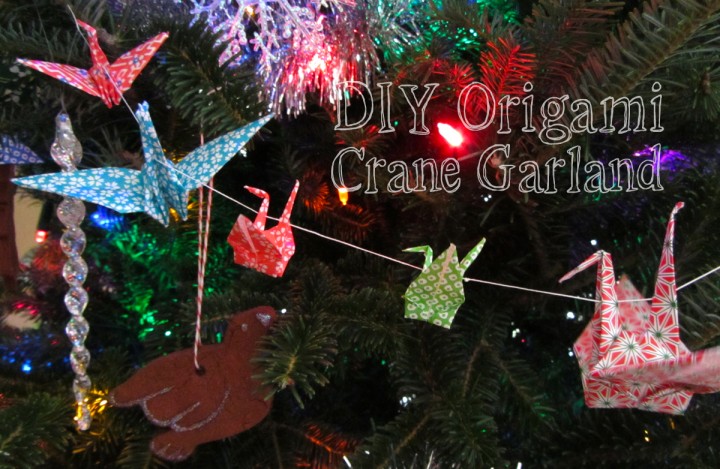
I originally made these origami crane garlands back in January for Jax’s sushi-themed birthday party. A friend had the great idea of reusing them on our Christmas tree. I’d been looking forward to pulling them back out all year!


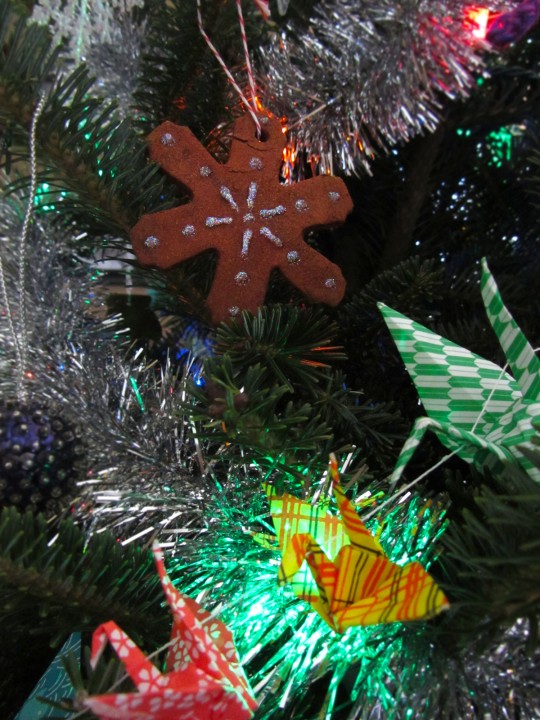
Start by folding your cranes. I can do this in my sleep, as I used to make hundreds of teeny tiny cranes when I was little. I used three sizes of origami paper, the medium and large were purchase in the craft store, then I bought this 3″ paper for the tiny ones. Using strong thread (I used this) cut to your desired length and a needle, poke your need through the tail and neck of the first bird (for a horizontal garland) or up through the body (for a vertical garland). Tie a knot after each bird and repeat until your garland is the desired length. To make my knots, I made a slip knot, then ran my needle through the loop and pulled it tight.

I made three 6 foot lengths of garland which made them much easier to manage. Those birdies love to tangle up when not in use!

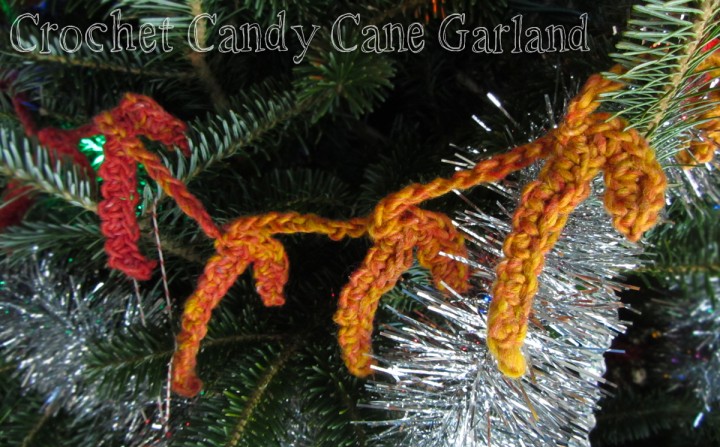
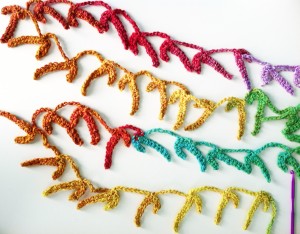
Crochet Candy Cane Garland

Supplies:
Mosaic Yarn in Psychedelic
H Crochet Hook
Pattern
Tacky Glue
Wax Paper
Ironing Board
Pins (rust proof)
Old Paintbrush

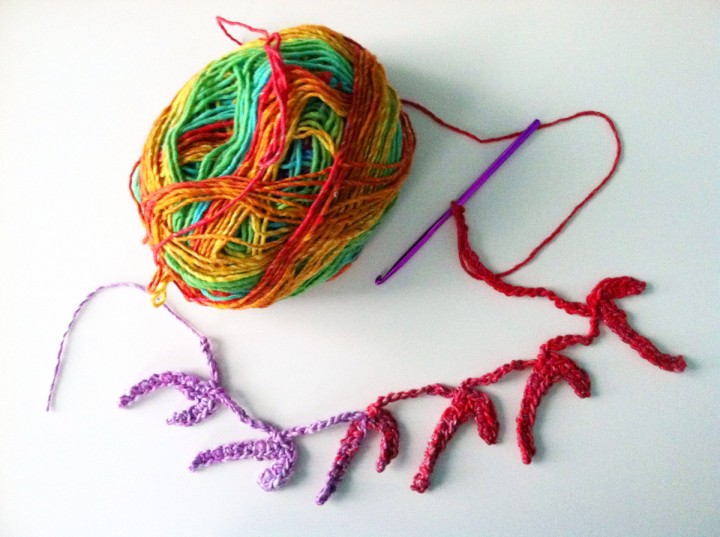
I hadn’t crocheted since having Jax, but after pulling out an old crochet hook to try to get a hairball out of the vacuum tube (I know, yuck!) I was itching to get back to it. I’d already had Jax pick out a ball of yarn to make pompoms ornaments with, but decided to do a garland instead. After washing the hook (hah!), I took a look online for easy garland patterns and fell in love with this candy cane one.

You could certainly got with yarn in more traditional Christmas colors, but Jax likes rainbows. Our yarn was Bernat Mosaic Yarn in Psychedelic. I followed the pattern, except that I did 18 chains where it asks for 14. I wanted an extra inch of space between the candy canes. After doing two repetitions I had the pattern memorized, and no longer bothered with the stitch marker. I used the full ball of yarn and the garland was the perfect length for our 6 ft tree.


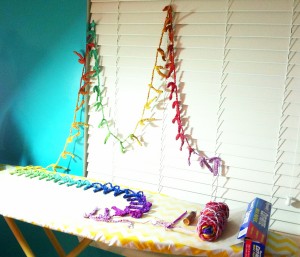
I worked on crocheting it for 3 evenings, and every night before bed I’d lay out wax paper on my ironing board and wet the completed candy canes with water. I pinned them down flat in their proper shape and then brushed on a 50/50 mixture of white tacky glue and water with an old paint brush. I left them to dry overnight. I liked doing this in batches, as they wouldn’t have all fit on my ironing board at once.

Painting the glue mixture onto one side of the candy canes gave them enough stiffness to hold their shape while still being soft to the touch on the other side. If you really want them sturdy, dunk the whole thing in the mixture.

DIY Cinnamon Ornaments

Supplies:
Cookie Cutters
Cinnamon Powder (4 cups)
Apple Sauce (4 cups)
Drinking Straw
White Glue (half bottle)
Parchment Paper
Baker’s Twine
Puffy Paint

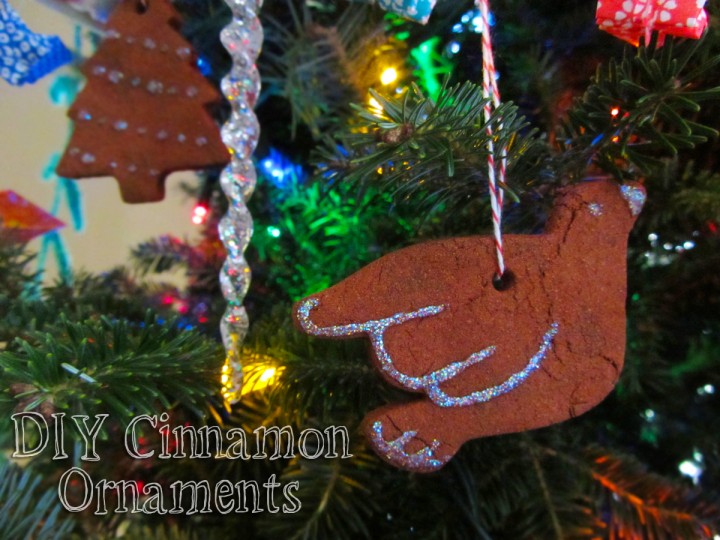
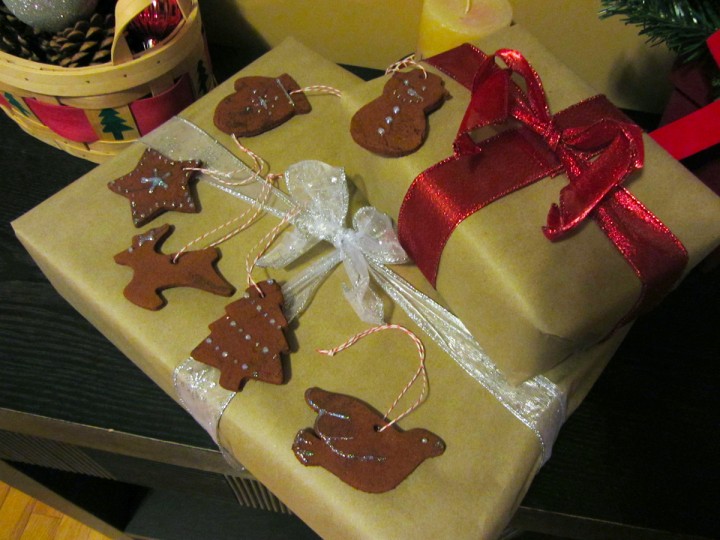
There are many tutorials and recipes for cinnamon ornaments online, but I just did my own thing. They turned out perfect and the house smells great! I ordered my cinnamon in bulk from Amazon. I have a full bag left. My cookie cutters are similar to the ones linked above, but it is a 30 piece set I found at the thrift store. My twine and parchment were ordered from Zulily (some good deals there, but they deliver via donkey – i.e. SO SLOW!)

Pre-heat your oven to 200° F. Mix together the cinnamon and applesauce in a big bowl. Stir in white glue until the dough is a good cookie dough consistency. I used half a 7-ish oz bottle.


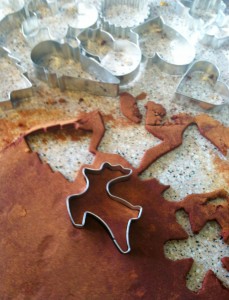
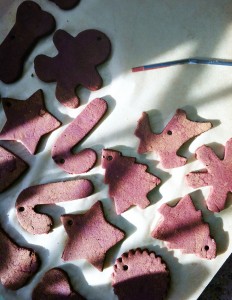
Sprinkle cinnamon on your work surface and roll out batches of dough, using cookie cutters to cut out fun shapes. I did an assortment of holiday shapes, then a bunch of dog bones for my friend who is a pet sitter. Using a drinking straw, punch holes for hanging. (The dough goes up into the straw and you end up with a perfect hole. Place your shapes onto parchment lined cookie sheets. I was able to stuff my oven with two large cookie sheets and two mini ones (meant for our toaster oven). If you have more than two racks in your oven, you could do more than that at once.

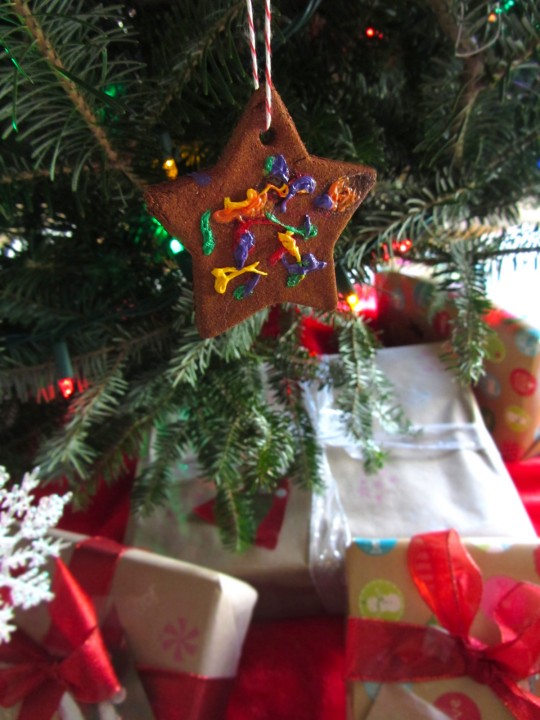
Jax’s Star

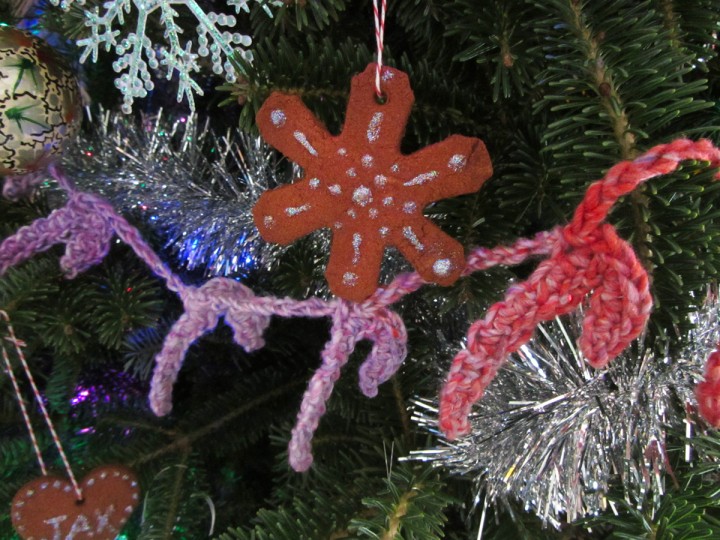
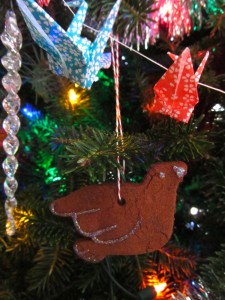
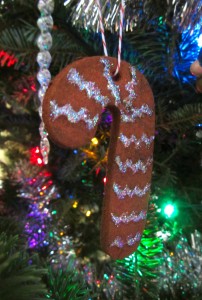
Place the ornaments in the oven and enjoy the smell over the next 3 hours. Flip the ornaments after 1.5 hours so they dry out on both sides. Pull them out and allow them to cool before decorating. I decorated mine with a glittery puffy paint (meant for fabric). We also tested a white puffy paint, but felt it looked too harsh. A mixture of the two was nice, but two much work going over things twice. You could also use actual royal icing, but the ornaments may end up more delicate. Jax enjoyed squeezing out multicolored paints onto his ornaments. When I was decorating, I ended up liking best the ornaments I painted simplistically with delicate lines.

We let our paint dry for a couple hours while we ate dinner, then tied loops of bakers twine for hanging. If you use ribbon, you might need larger holes. The holes shrink a bit as the ornaments bake.

Have you made any of the ornaments featured on Imagine Our Life? Post a photo of your tree to our Facebook page! Jax would love to see it!

DIY Ribbon Station

Scroll down for a giveaway!
This couldn’t be easier!

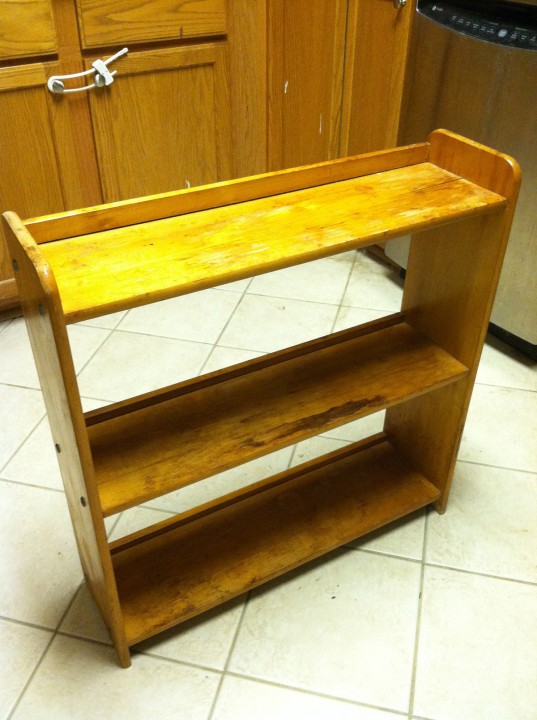
I’m in the process of turning Jax’s old nursery (a room that adjoins our master bedroom) into a craft room. A spare room down the hall is becoming Jax’s big boy room. My budget is pretty much nonexistent, so I’m thrifting and salvaging whatever I can. On a recent trip to my childhood home, I picked up this old hutch shelf that was on the floor of the basement under our utility room table.

After driving it the 60 miles home, de-spider-egging it, sanding it and washing it, I had this:

Not a pretty sight…

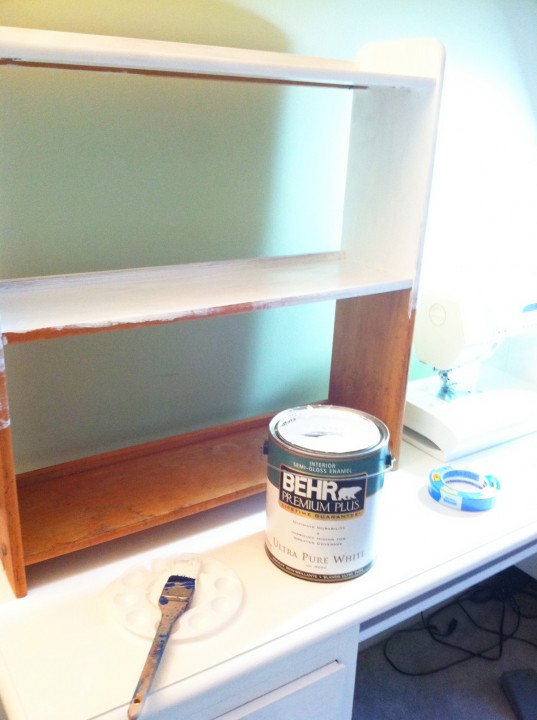
It had good bones, and I am in need of craft room storage. eventually I’d like a table for the room that is wide enough to put these shelves on. For now, they will take up a chunk of my vintage desk. The desk came in the basement of our house when we bought it. Since the desk was painted white (but needed a fresh coat), I decided to paint the shelves as well.

For both the desk and the hutch, I used white paint that we had in the basement. I also used it on a vintage dresser from my childhood basement.

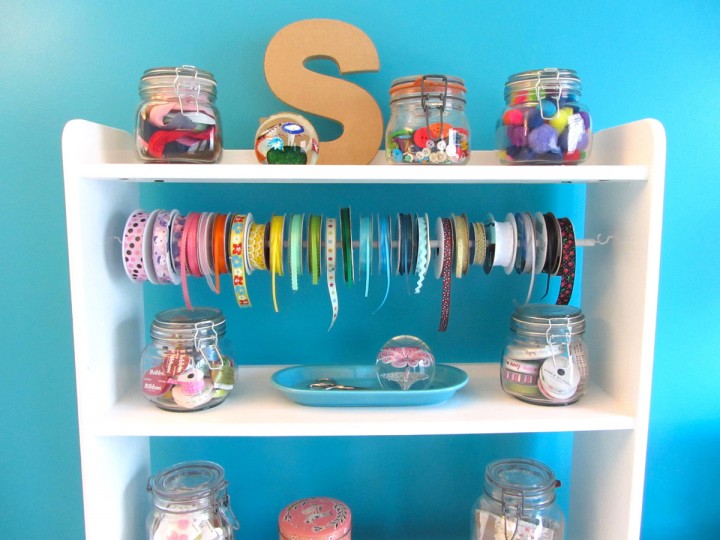
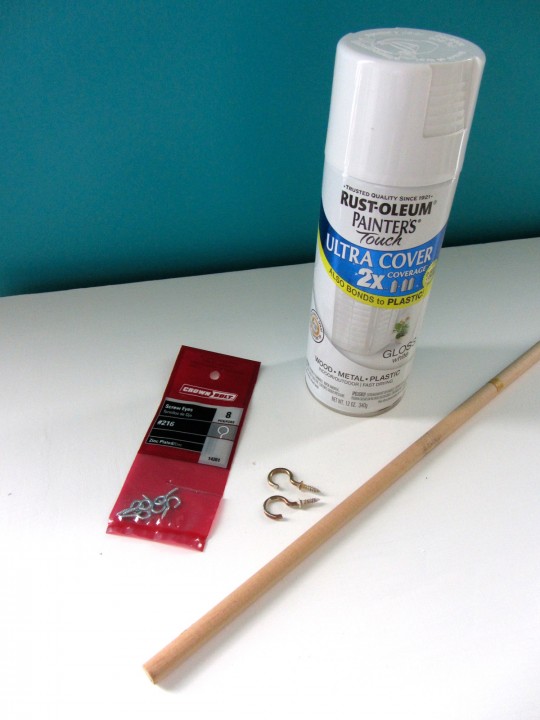
Once it was painted with two coats, I headed to the hardware store. I got a dowel, spray paint and screw-in eye hooks. (I already had the larger screw-in hooks.) My shelf was about 25.5″ wide inside the shelf. I had my dowel (which came in a 3′ length) cut down to 24″. I chose a 3/8″ dowel because it is strong and less likely to bow under the weight of the ribbon spools. It is exactly the width of the holes in most of my spool, so the smaller spools got put in vintage jars.

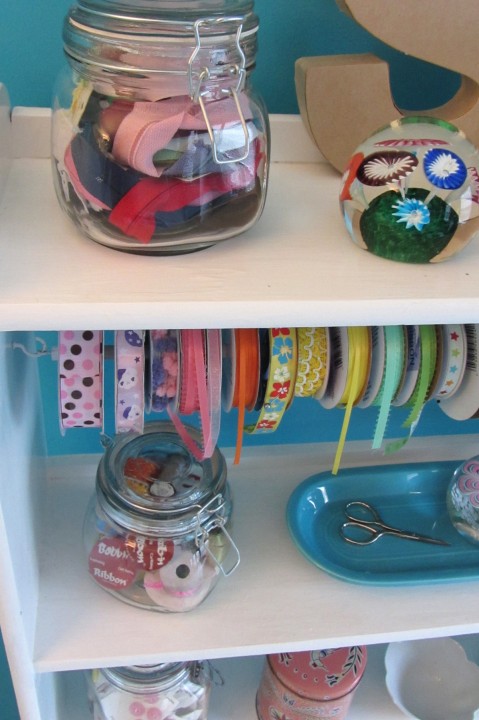
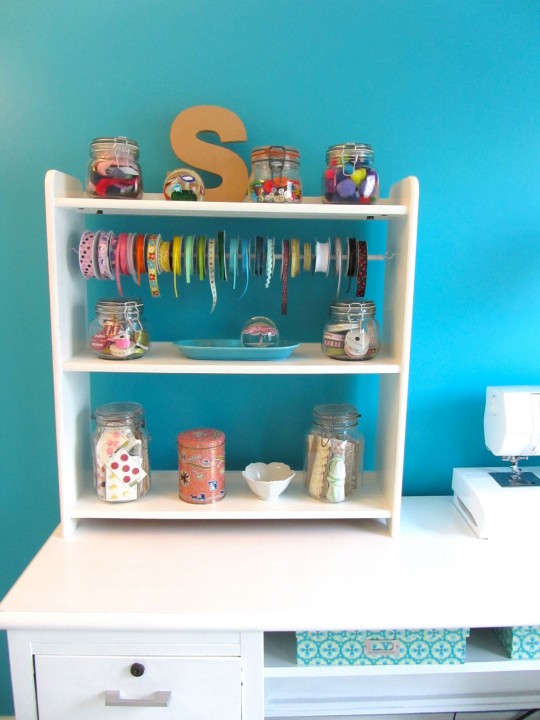
I screwed the eye hooks into the ends of the dowel and spray painted the whole thing, as well as the two hooks. When it was all dry, I screwed the hooks into the sides of the shelf and loaded my ribbon on the dowel. I ended up opening my hooks wider so I could slide the eye hooks down onto them easily.

Scissors on hand to cut my ribbon.

It was so simple, but works so well!

My shelves don’t have a lot going on yet (don’t mind that unpainted letter S up there – I just got it int he dollar spot at Target.) I haven’t even finished painted the room, so I’ve yet to fully move in. But I am so happy to get all those pretty ribbons out of ziplock baggies!

What do you think of how it turned out?

Introducing Sponsors!

Do you have a blog or a business you’d like to advertise on Imagine Our Life? Ad spaces are now available here. I am giving away a chance to win a code for one free month of advertising on this blog. The winner will receive a free side bar ad. Enter below!

a Rafflecopter giveaway

Jackson’s 2nd Birthday – Sushi Party

Ask my son what he wants for dinner and his answer will most likely be “sushi!” Of course, he doesn’t really eat actual sushi, but we go to our favorite sushi spot and sit at the bar. They bring him bowls of miso soup with rice and heaps of tofu and little plates of crab sticks. He adores it! So when I was brainstorming his birthday party theme, sushi crossed my mind and I knew it would be perfect.

Decorations
My decorations were a combination of items I owned, items from the thrift and dollar stores and items I purchased from a party supply. I decided to focus on only one room – the kitchen.

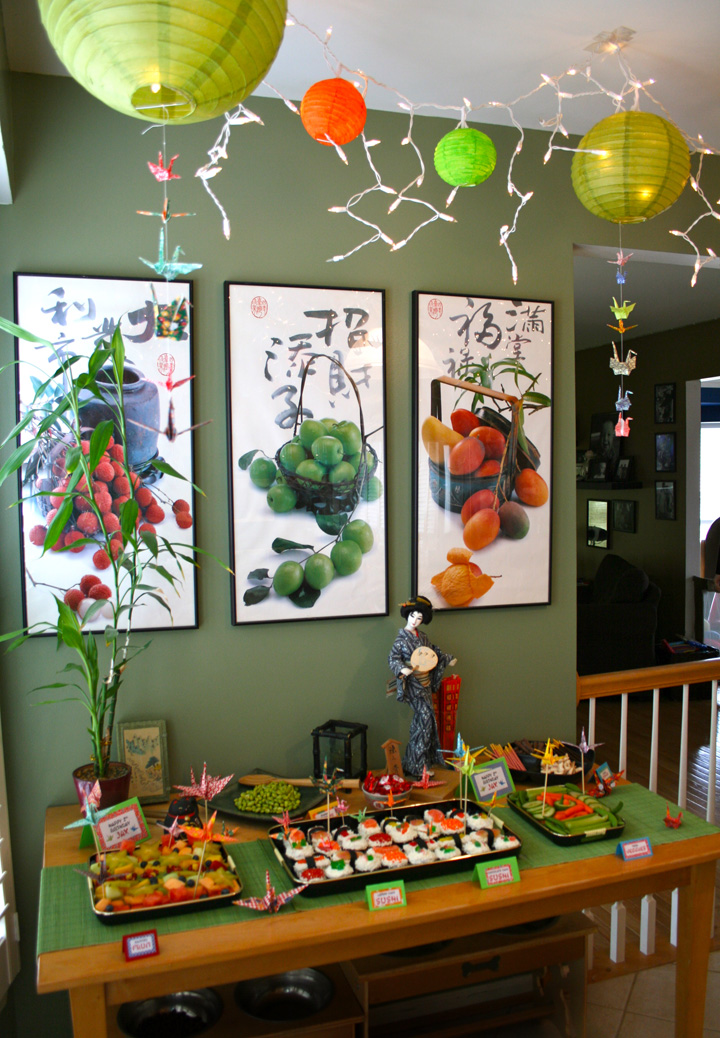
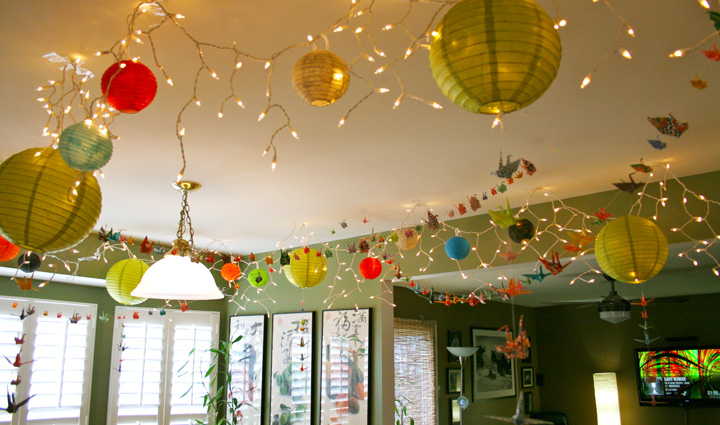
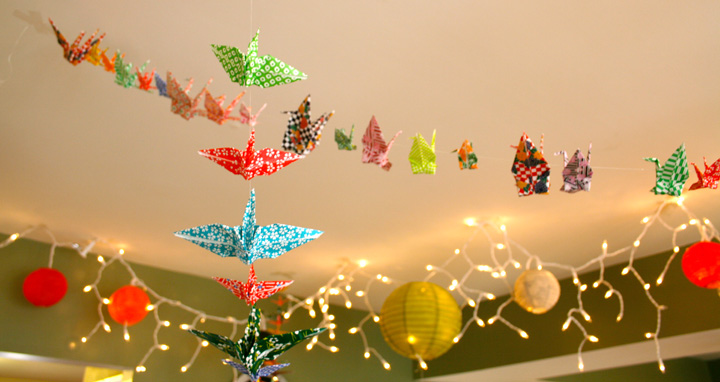
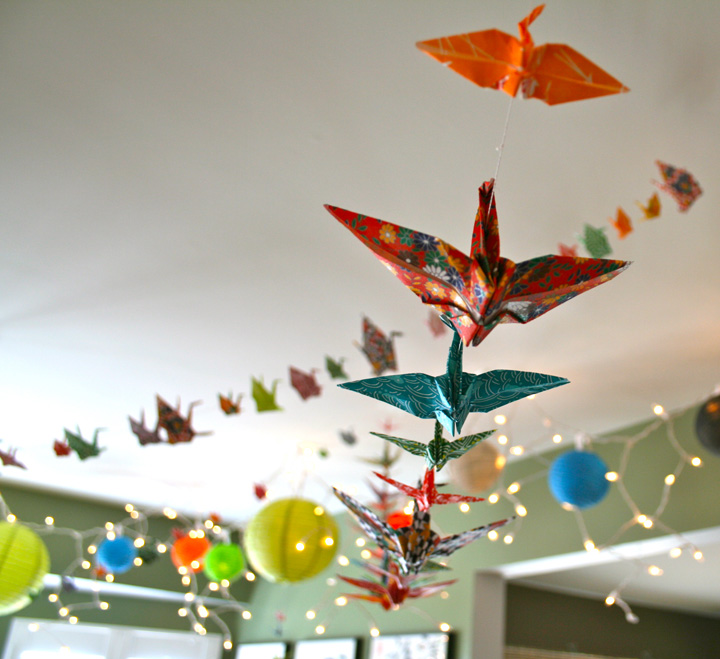
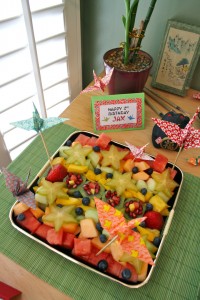
For the ceiling, I purchased a set of green paper lanterns and 2 sets of small, white paintable lanterns. I painted them a variety of colors using craft paints I already owned. I hung our old icicle lights on the kitchen ceiling and then added the lanterns. I had envisioned the lanterns as well as lots of paper cranes. Using three sizes of origami paper in beautiful traditional patterns, I folded about 250 – 300 cranes over the month of January.

Crane Mini Tutorial: Fold your cranes. I can do this in my sleep, as I used to make hundreds of teeny tiny cranes when I was little. Using strong thread (I used this) cut to your desired length and a needle, poke your need through the tail and neck of the first bird (for a horizontal garland) or up through the body (for a vertical garland). Tie a knot after each bird and repeat until your garland is the desired length. To make my knots, I made a slip knot, then ran my needle through the loop and pulled it tight.

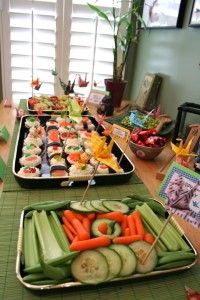
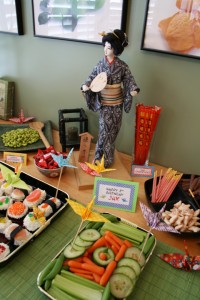
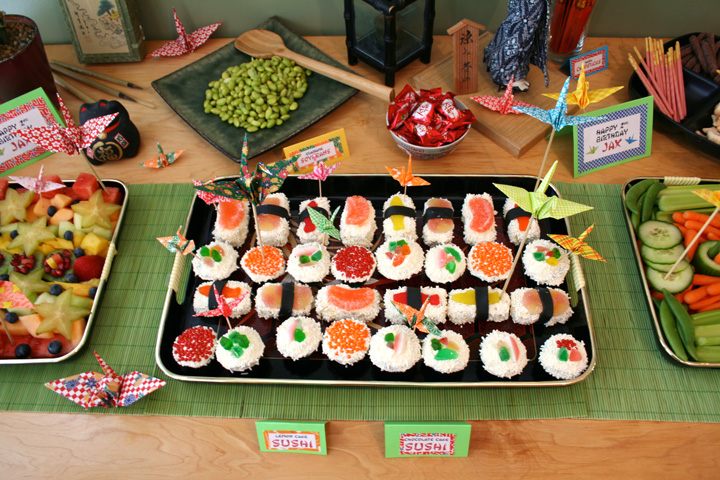
The food table is our kitchen table push up against a wall. The Asian prints were already there. They are from a calendar a Chinese restaurant gave us years ago. From around the house I added: one of my many bamboo plants, my beloved Geisha doll that my grandpa gave me when I was little, a maneki neko and a black bamboo candle holder. I also used our new bamboo placemats as a table runner. From the thrift store, I was able to add a set of Japanese food trays that held cupcakes, fruit and veggies. I also found a pretty sumi-e ink set that I displayed with some brushes and a green square platter for serving edamame. I added handmade labels to all the dishes with both the English and Japanese names (or at least what the internet told me the Japanese names were!) I glued some toothpicks and skewers onto some cranes to embellish the food.


Food
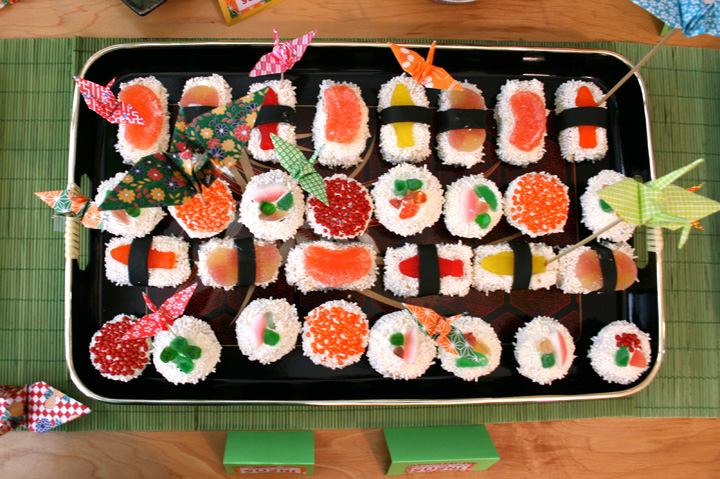
The main attraction was the sushi cupcakes. I am so happy at how they came out! And they were so simple. I made a ton of them – two full cakes worth – and provided cupcake boxes so guests could bring home 3 or 4 mini cupcakes.

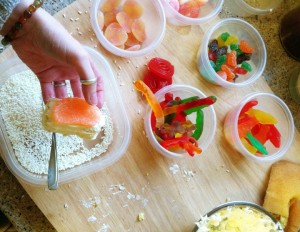
Sushi Cupcake Mini Tutorial: You’ll need cake, white frosting, lots of white jimmies/sprinkles, red and orange pearl sprinkles (I purchased all my sprinkles from the Etsy shop Sweet Estelle’s Baking Supply), assorted gummy candies (I used large Swedish fish, candy orange slices, gumdrop peaches, strawberries and cream gumdrops, gummy worms and gumdrops), green or black mini cupcake papers, black fondant (I dyed some green I already had black), and one of these great cutters. For my round maki sushi, I made dark chocolate cake in green mini cupcake papers. This made the papers look really dark green. I frosted them with cream cheese frosting, stuck on some sliced candies or pearl sprinkles, then covered the rest of the frosting with white jimmies.

For my nigiri style cupcakes, I baked lemon cake in two 1/4 sheet pans and chilled them for a few hours. I used the cutter to make perfectly even rectangles. I rolled out the black fondant and cut it into strips. I frosted everything but the bottom of the cake (I used more cream cheese frosting but with lemon extract added), laid candies on top (for the orange slices, I rolled them flat with a rolling pin), then wrapped a strip of fondant seaweed around some of them. I covered the exposed frosting with lots of sprinkles. I chilled all the cupcakes overnight to help the frosting firm up a bit. They were great, and I had none left after the party.

Jax loves fruit, so despite him being a winter baby, I treated him to all his favorite off-season fruits. The party had been underway 30 seconds when he was already stealing watermelon off the fruit tray! For the tray, I laid out rows of watermelon, honeydew, cantaloupe and mango, with star fruit and blueberries on top. The center was a row of kiwi “sushi”. I hollowed out some thick kiwi slices and stuck some sticks of watermelon and cantaloupe in the hole. A sprinkle of pomegranate seeds on top finished them. With my extra fruit, I mixed a big bowl of salad for the counter with: watermelon, kiwi, honeydew, strawberries, blueberries, grapes and pomegranate seeds. Just about all of the fruit was eaten. I also had a veggie tray with carrots, celery, sugar snap peas and a cucumber “sushi” made like the kiwi ones but with veggies.

Other food: I had a tray of Asian cookies from our local international market that were a big hit. On the origami table, there was a tray of savory snacks including rice crackers, siracha and wasabi peas and a Japanese snack mix. The wasabi peas were the only thing at the party not really eaten. I served shelled edamame that was a big hit with all the toddlers at the party.

Drinks: On the counter I had a tea station with green, black and oolong teas. There was also lemonade, a pitcher of ice water and cold juice boxes.

Treat Bags:
The treat bags went along with the theme. At Target’s Dollar Spot, I bought stuffed toy sushi and sushi erasers. I also added a set of pretty painted chopsticks, origami paper & instructions, a party horn with tinsel and an assortment of Asian cookies such as Pocky. I packed them in inexpensive clear bags and tied them with colored string. The tags were paper circles I wrote Thank You in Japanese on one side and English on the other. I added a mini paper crane to each bag.

Activities:
Jax is too young to really do any formal games and crafts at his parties just yet, so I set up an origami table with lots of paper, books and instructions. Both the older kids and the adults enjoyed the challenge of figuring out the origami designs.

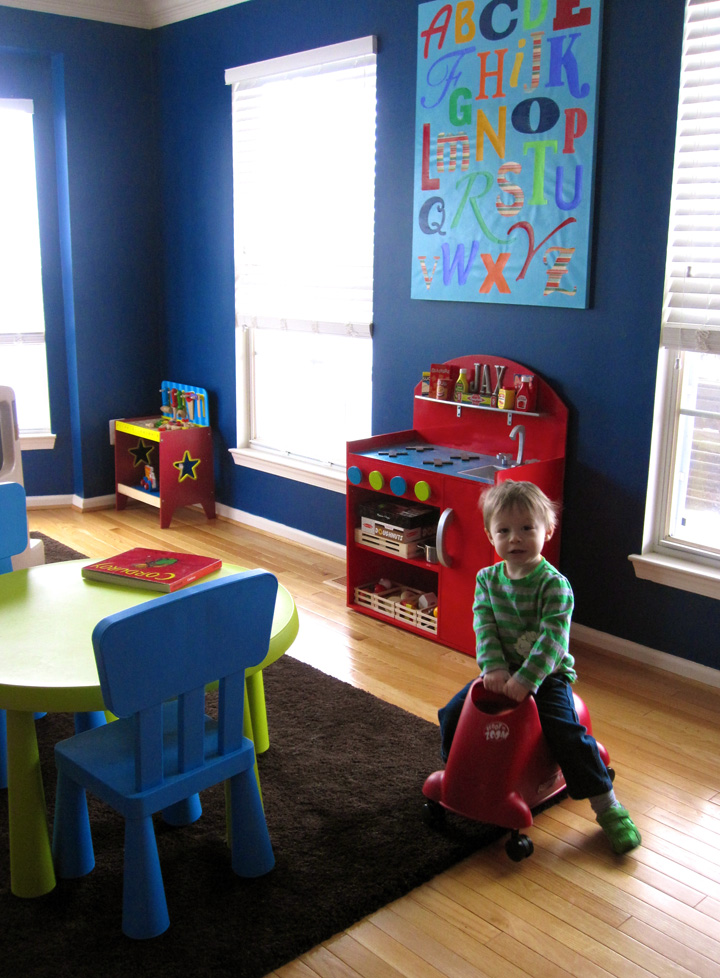
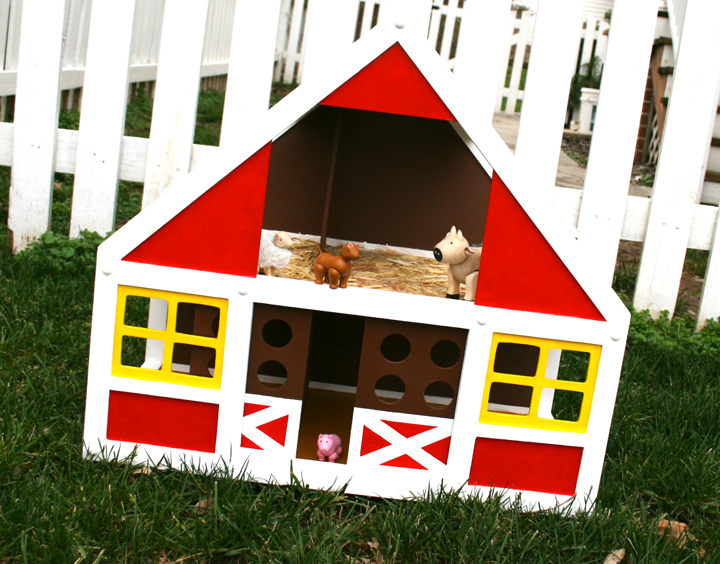
We had the Washington Capitals game on, as we are big fans (they lost, boo…) but the playroom was the other big attraction. Jax adored playing both with the kids his age and the older ones. He also spent some quality time playing with his relatives. Some big hits in the playroom were: Jax’s barn, his little kitchen and the tool bench he got for Christmas always had a crowd.

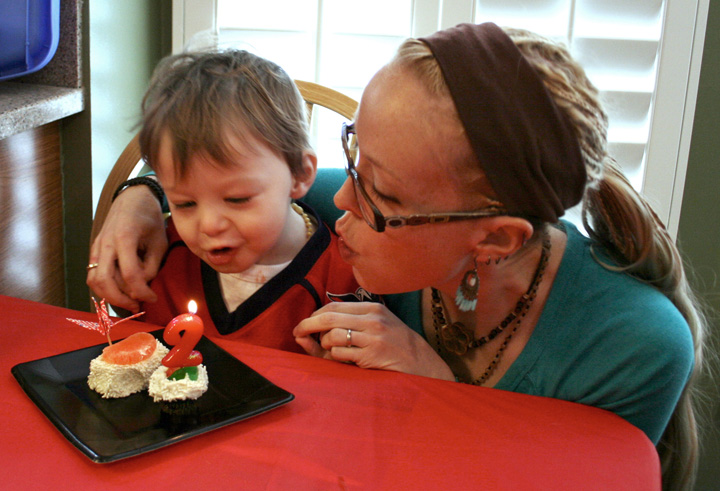
Candles… Take 1!
Highlights:
My favorite moments? Jax’s face when we started singing him “Happy Birthday”. The fact that he loved blowing out the candles so much he asked to do it again later on. And I obliged! Seeing him leaning sweetly on an older boy, hanging on his every word. Spending time with friends I see too little of.

Candles… Take 2!

It was a great party! I can’t believe my sweet little baby is 2!
The $2 Toddler Art Gallery

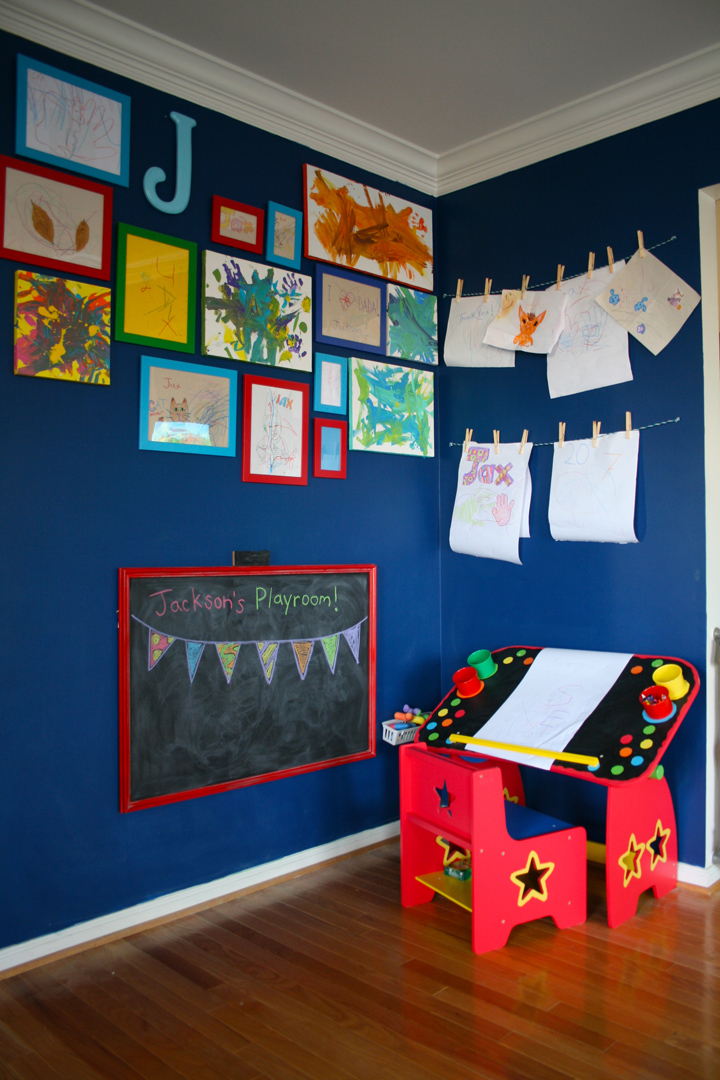
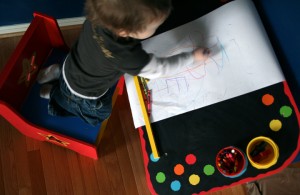
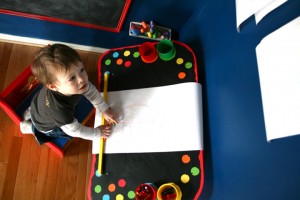
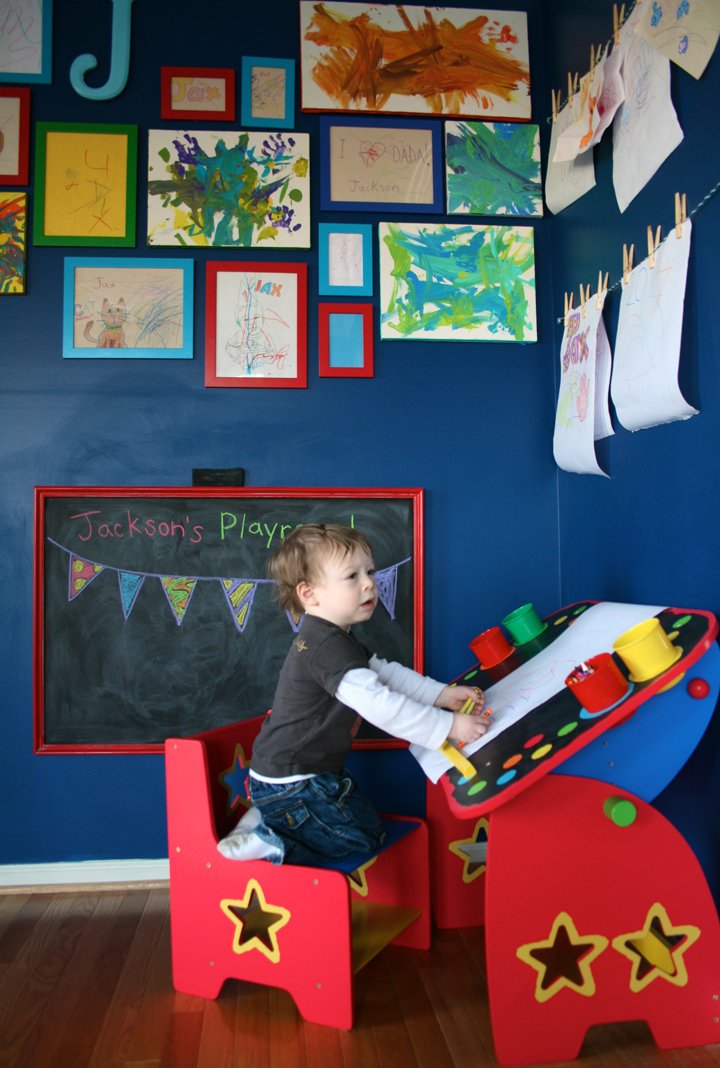
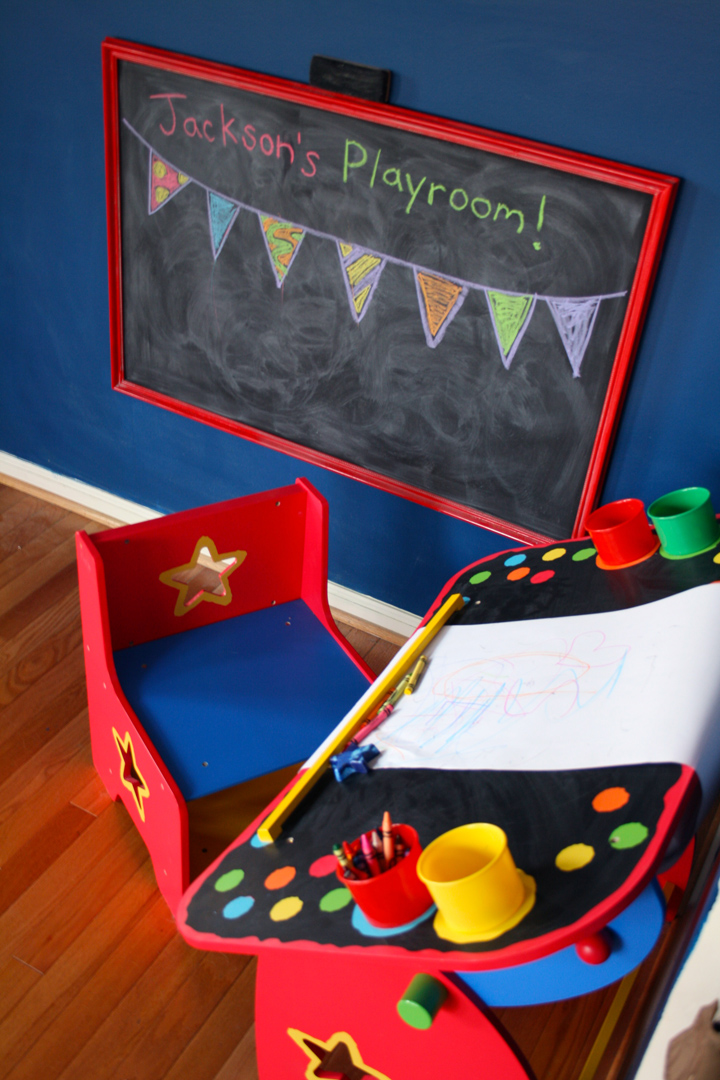
I’ve been working on a creativity corner in Jax’s playroom since last summer when he was just old enough to start coloring with chalk instead of eating it. This past Christmas, his wonderful aunt and uncle bought him an adorable art desk from his wishlist that looks so great with the chalkboard I made for him. The desk comes with a hidden roll of paper, so we’ve been churning out the scribbles together with nowhere to put them when we go to start a new one.


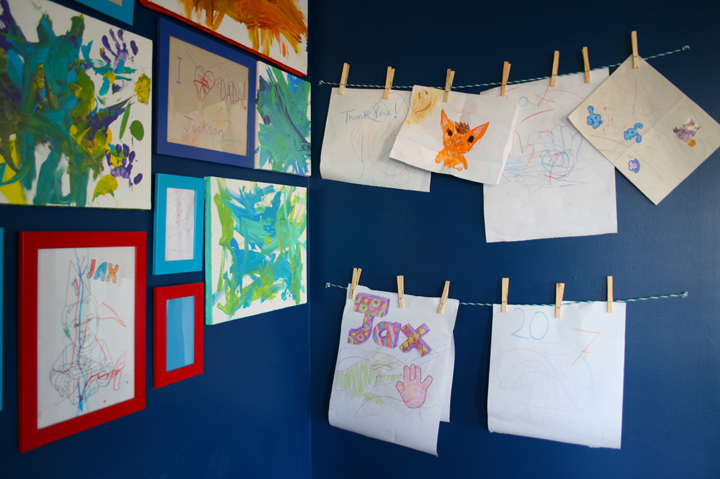
I needed a way to quickly store our new drawings in the creativity corner in a way that lets us enjoy them. Then we could move our favorites into the growing art gallery. Here is what I came up with…

Clothes Line ($1 for 70′ at the dollar store)
Clothes Pins ($1 for 36 at the dollar store)
Nails, Hammer, Level, Scissors (already had them)
Total Cost: $2!

This really couldn’t be easier and doesn’t really require a tutorial. All I did was cut two lengths of clothes line, double knot each end and nail them to the wall through the knots, using a level to make sure it was straight. Clip some clothes pins to it and you are ready to hang your masterpieces!

And I really love how his desk looks with the blue walls and red frame of the chalkboard. I know primary colors aren’t trendy for kids’ rooms right now, but I wanted to choose something a color scheme that would fit in with the already-blue walls, be easily DIY-able and be available in affordable toys and furniture.

Stay tuned for a post with some more playroom updates! In the meantime, pull up a chair and grab a crayon!

DIY Large Scale Alphabet Art

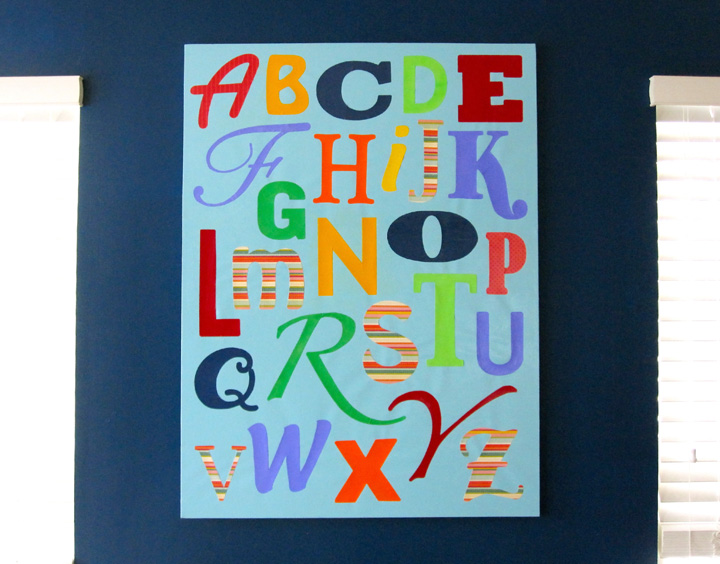
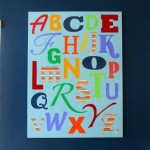
I’ve been wanting some art for Jax’s playroom for quite a while. Large scale art is quite expensive, so it was time for a little DIY. I knew the first piece I wanted to make would involve the alphabet. Jax can recognize 90% of the alphabet and loves to point out the letters he knows.

The only thing I bought for this project is spray paint. I got Rustolium Painter’s Touch in aqua satin finish. I already had the 30″ x 40″ blank canvas – a gift from a dear friend before she passed away. The scrapbook paper and Mod Podge is from my craft stash.


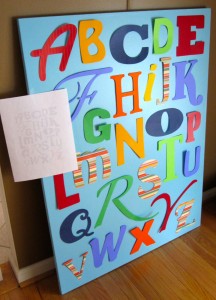
To start, I created a 30″ x 40″ document in Photoshop and started laying out the alphabet in different fonts until I was happy with how it looked. I then cut everything up into templates and printed them out (in light gray to save ink.) If you’d like my pattern, download a zip file here. If you have a different size canvas, you’ll have to scale the templates accordingly.

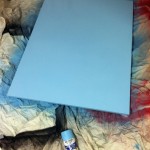
Spray painting the canvas took all of 5 minutes and I only needed one good coat. I’m planning to use the leftover paint on a smaller canvas for the reading nook.

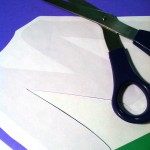
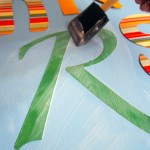
The part that took the longest was cutting out the letters. The templates print out backwards, so I’d lightly tape one to the back of my paper and cut out both the template and paper at the same time. Some letters, like the F and R, were too big to print in one piece. I had to print them in parts and tape it together before cutting the letter out. As I cut each letter, I’d tape it to my canvas using my layout as a guide, choosing colors as I went.


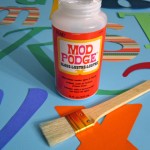
Once everything was cut, I was ready to glue the letters down. I used the leftover Mod Podge from my barn project. I started with a paint brush but it started shedding so I switched to a foam brush. I simply picked up a letter (throwing out the tape), painted a layer of glue on the canvas, placed the letter back down, smoothed it out and painted glue over top. I found heavier scrapbook paper worked better. My very thin dark blue paper wrinkled up as it was drying. I made sure the glue covered the whole canvas for an even finish.


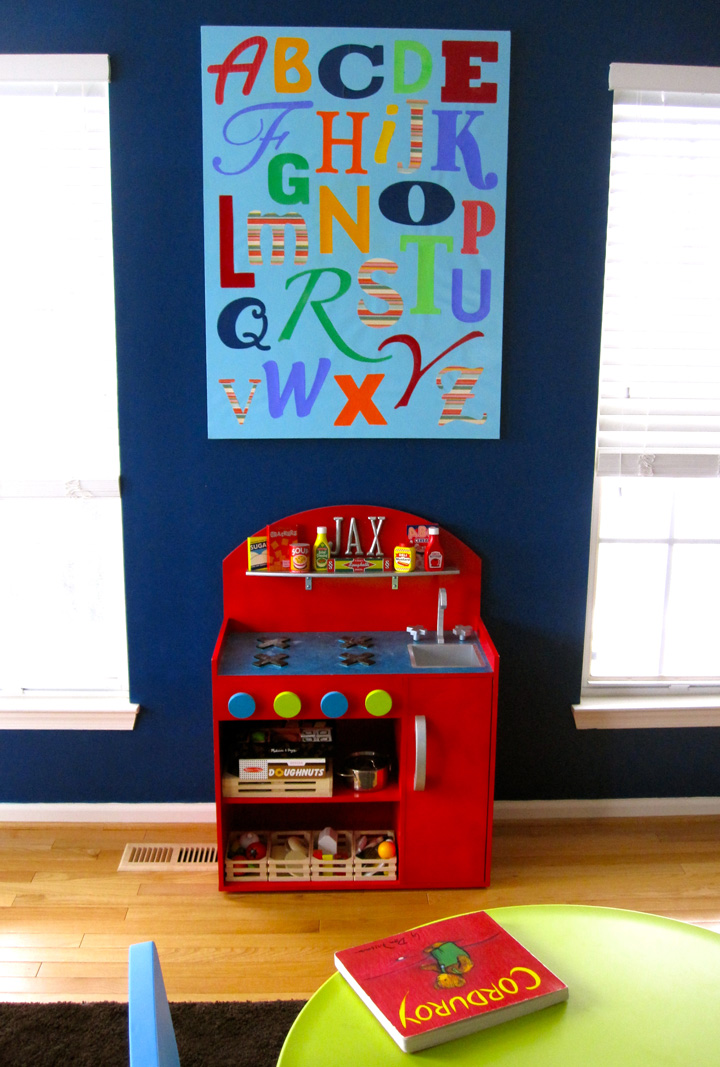
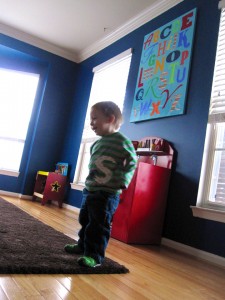
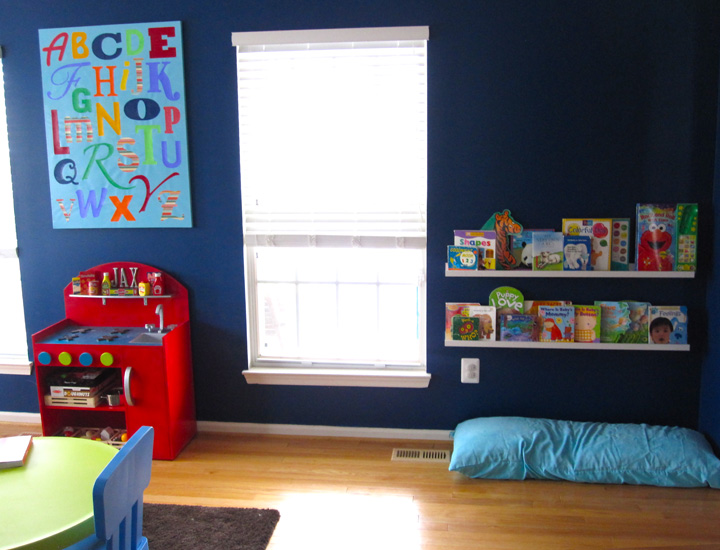
I let the canvas dry overnight and was so happy when I saw the result in the morning light. It looks so colorful and happy in the playroom and fits perfectly between the windows over Jax’s little kitchen. (Side note: I just bought wood to add two more shelves to his kitchen. Those Melissa & Doug food boxes drive me nuts stacked like that!)

What do you think of our ABC art?

Jax’s Barn – Wooden Dollhouse Makeover

Jax’s Barn

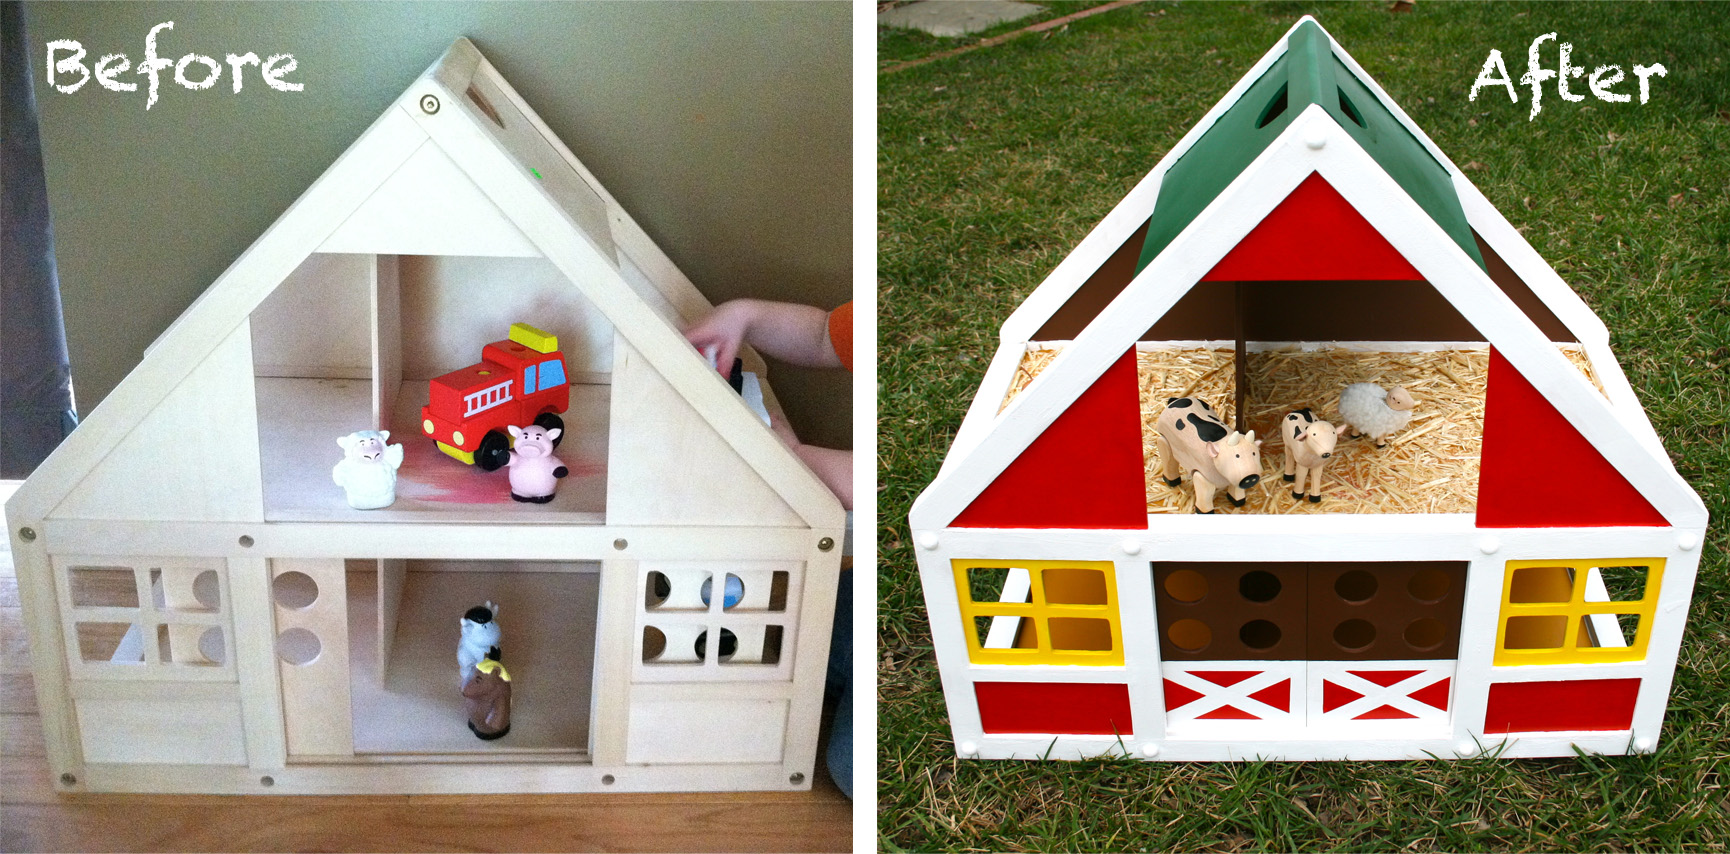
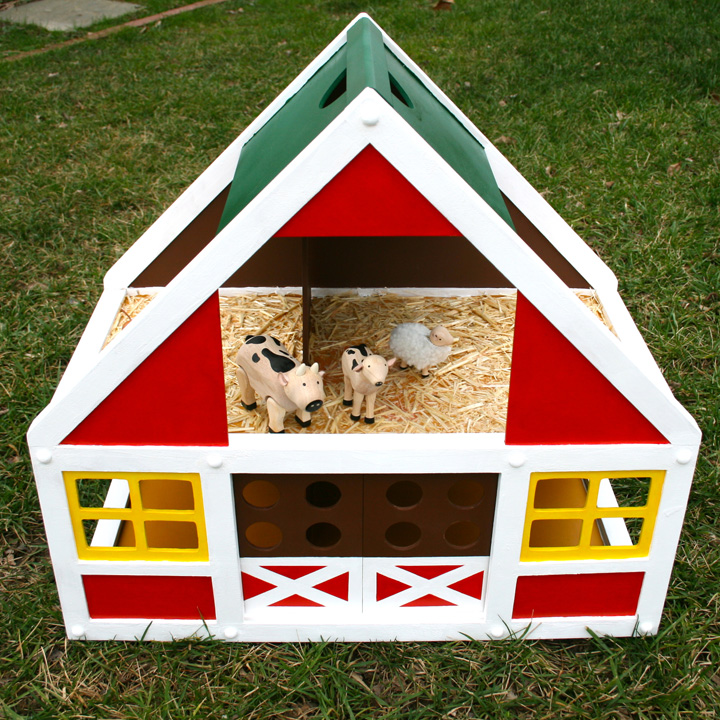
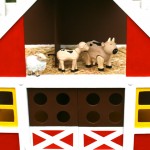
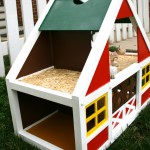
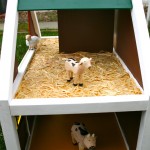
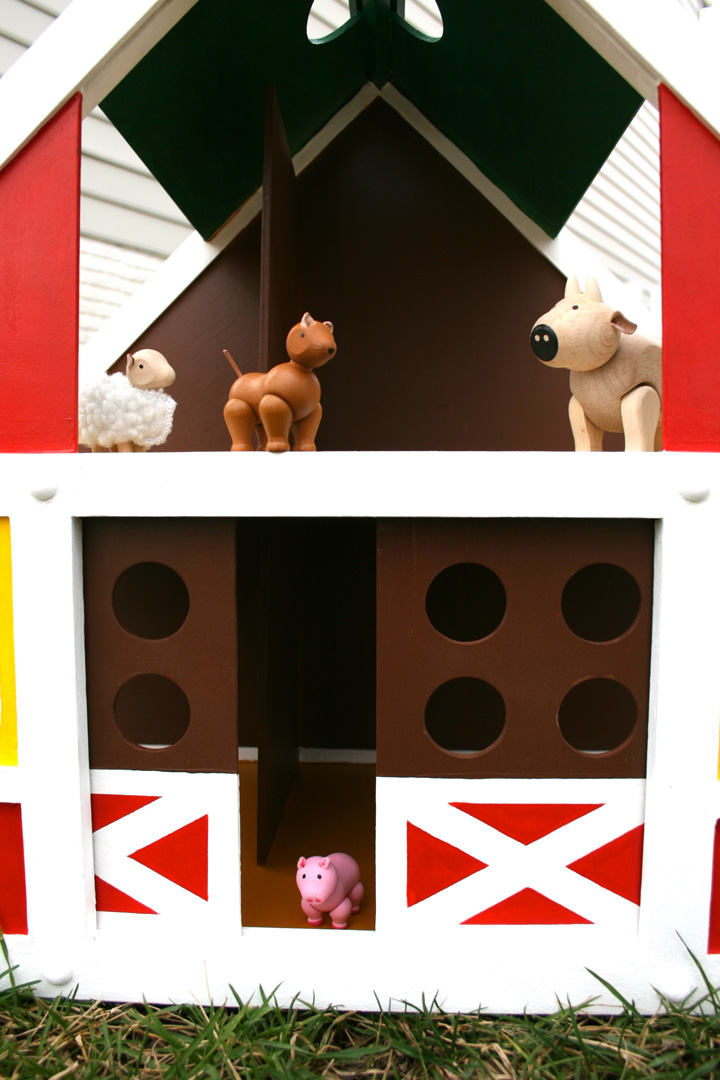
Jax’s Christmas present is done! I started with an under $10 thrift store dollhouse and turned it into a sweet little barn for Jax to enjoy.


It took me about a month of stealing 30 minutes here and there to add more layers of paint. Lots of paint! On the floor of the upper level, there had been a pretty dark red stain. Let’s just call it paint, since the dollhouse didn’t appear to be haunted! I hid the stain and added to the barn feel by using Mod Podge to glue craft straw down and sealed it with a few layers of acrylic sealant. I may eventually do one of those acrylic water kits up there so the floor is smooth, but it works for now. Just a little bumpy for some of the animals. I also filled all the screw holes with wooden plugs I painted white. Once my million coats of paint (to get the edges just so) were dry, I sealed it all with Krylon spray. Right now, I’m just letting the house cure and air out for a few days before wrapping it up.

The animals I got Jax are by Plan Toys. They are so cute, and I love that they are wooden. I wish I could have afforded the horses/stable and the tractor (see Jax’s Wishlist), but at least he has a few friends to start out with. I did get him a farm train to go along with it.

If he plays with his barn a lot, I may sew him a farm play mat with roads for tractors, fields and pastures. What do you think of the makeover?