Tag Archives: Playroom

The $2 Toddler Art Gallery

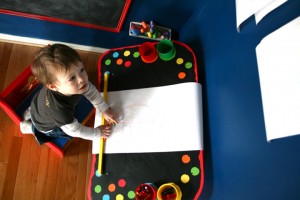
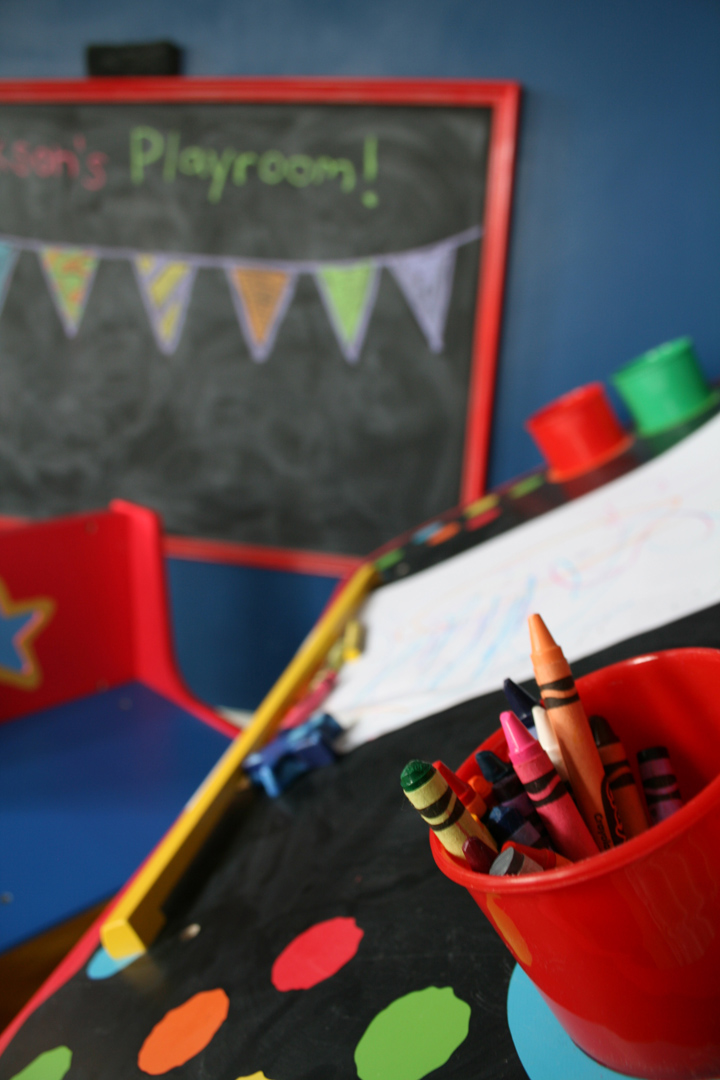
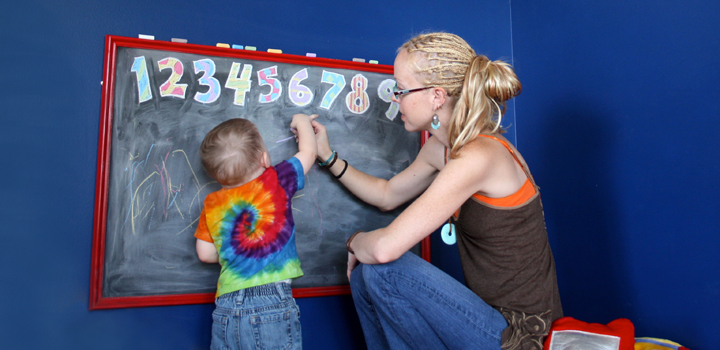
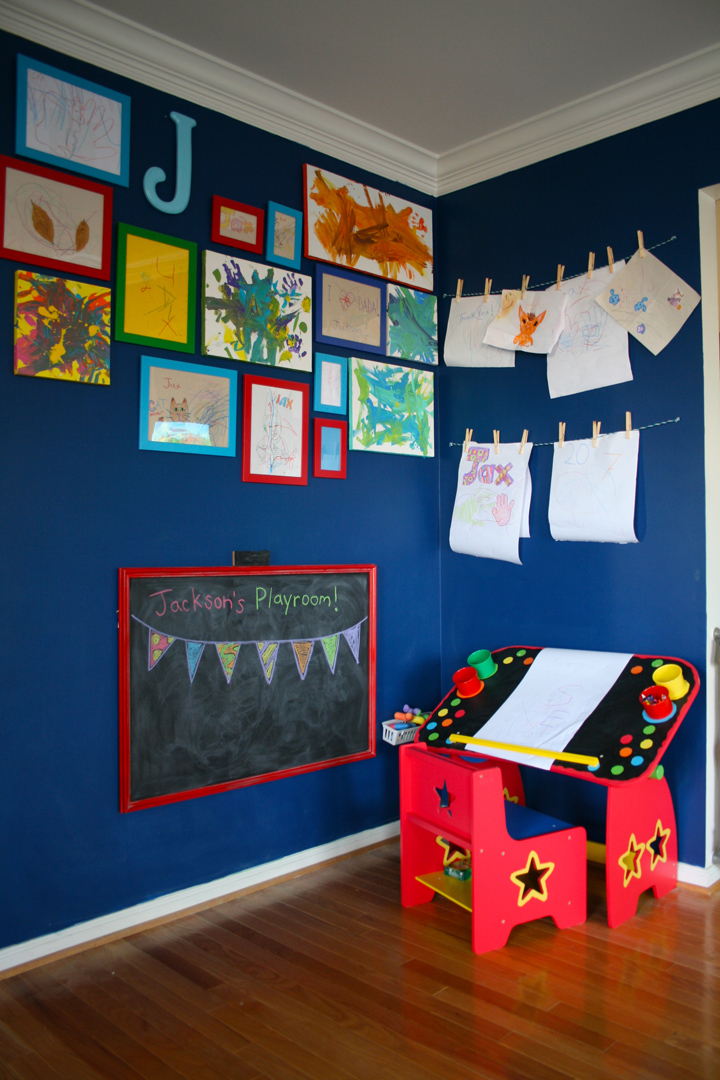
I’ve been working on a creativity corner in Jax’s playroom since last summer when he was just old enough to start coloring with chalk instead of eating it. This past Christmas, his wonderful aunt and uncle bought him an adorable art desk from his wishlist that looks so great with the chalkboard I made for him. The desk comes with a hidden roll of paper, so we’ve been churning out the scribbles together with nowhere to put them when we go to start a new one.


I needed a way to quickly store our new drawings in the creativity corner in a way that lets us enjoy them. Then we could move our favorites into the growing art gallery. Here is what I came up with…
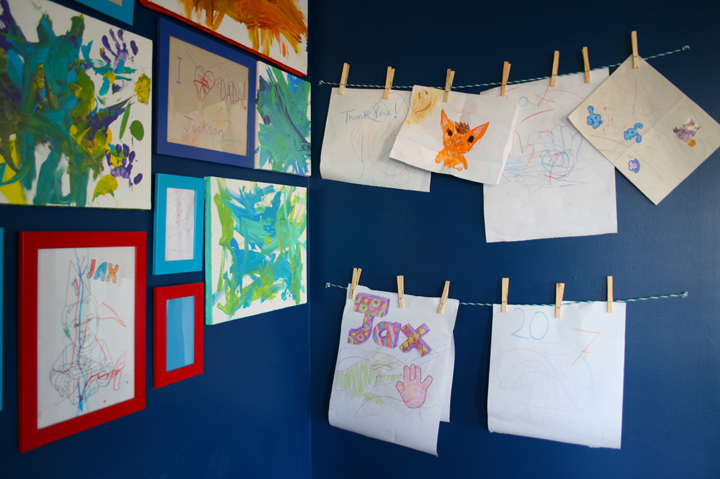
Clothes Line ($1 for 70′ at the dollar store)
Clothes Pins ($1 for 36 at the dollar store)
Nails, Hammer, Level, Scissors (already had them)
Total Cost: $2!

This really couldn’t be easier and doesn’t really require a tutorial. All I did was cut two lengths of clothes line, double knot each end and nail them to the wall through the knots, using a level to make sure it was straight. Clip some clothes pins to it and you are ready to hang your masterpieces!
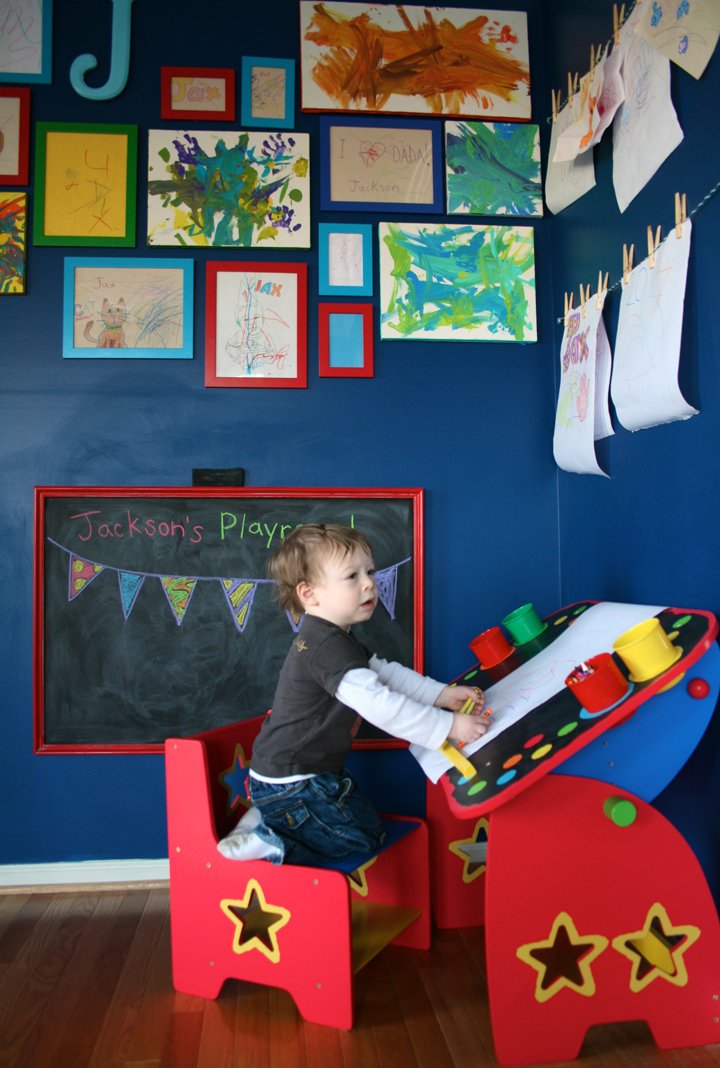
And I really love how his desk looks with the blue walls and red frame of the chalkboard. I know primary colors aren’t trendy for kids’ rooms right now, but I wanted to choose something a color scheme that would fit in with the already-blue walls, be easily DIY-able and be available in affordable toys and furniture.
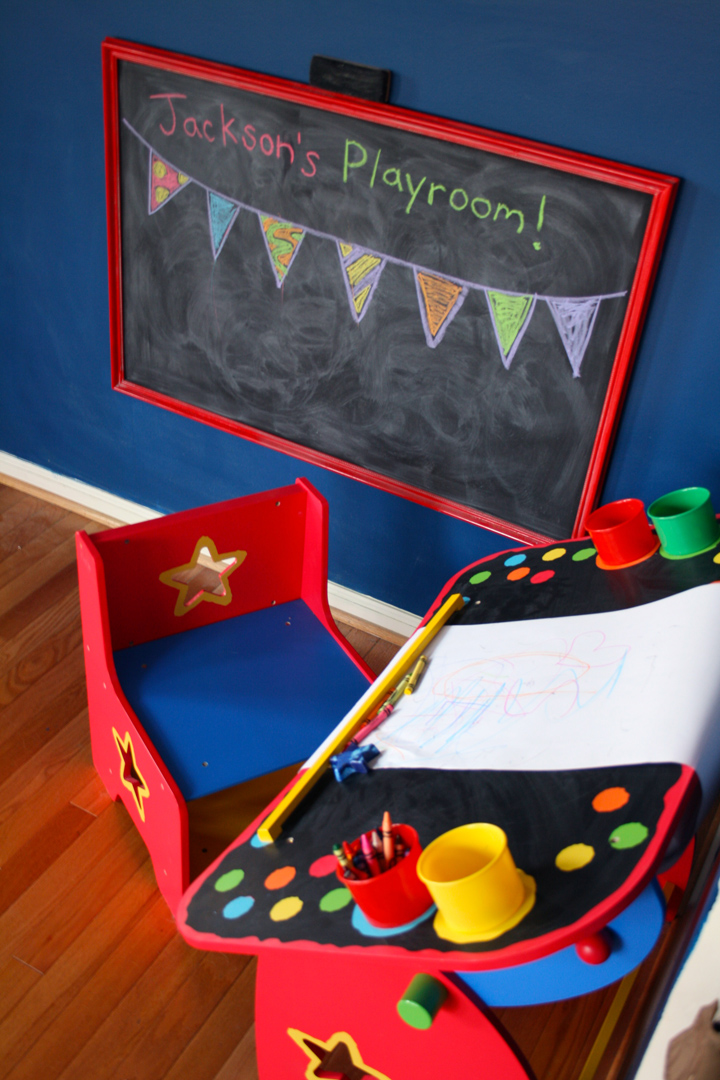
Stay tuned for a post with some more playroom updates! In the meantime, pull up a chair and grab a crayon!

DIY Large Scale Alphabet Art

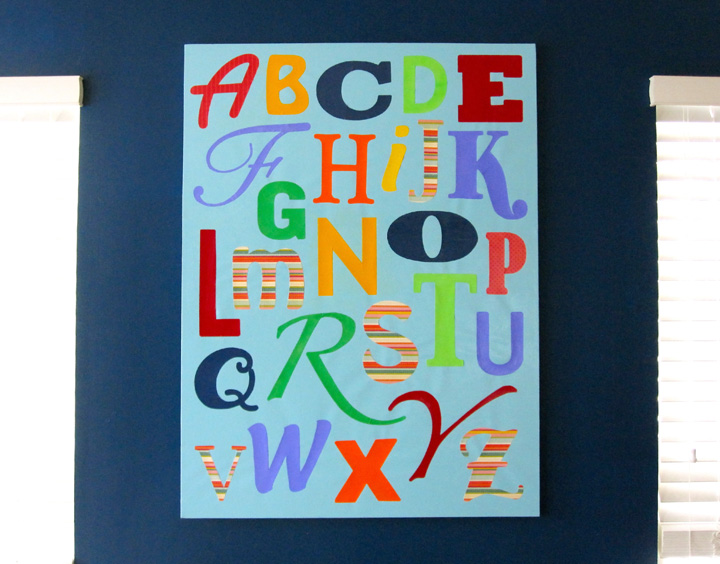
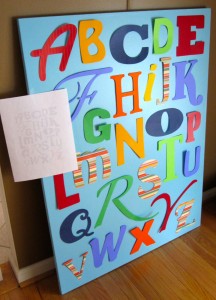
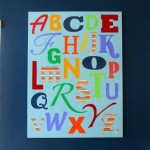
I’ve been wanting some art for Jax’s playroom for quite a while. Large scale art is quite expensive, so it was time for a little DIY. I knew the first piece I wanted to make would involve the alphabet. Jax can recognize 90% of the alphabet and loves to point out the letters he knows.

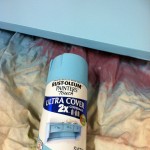
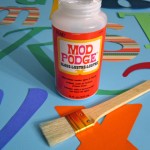
The only thing I bought for this project is spray paint. I got Rustolium Painter’s Touch in aqua satin finish. I already had the 30″ x 40″ blank canvas – a gift from a dear friend before she passed away. The scrapbook paper and Mod Podge is from my craft stash.


To start, I created a 30″ x 40″ document in Photoshop and started laying out the alphabet in different fonts until I was happy with how it looked. I then cut everything up into templates and printed them out (in light gray to save ink.) If you’d like my pattern, download a zip file here. If you have a different size canvas, you’ll have to scale the templates accordingly.

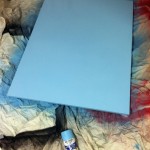
Spray painting the canvas took all of 5 minutes and I only needed one good coat. I’m planning to use the leftover paint on a smaller canvas for the reading nook.

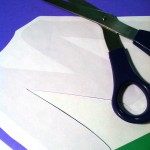
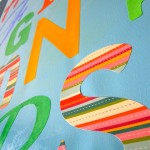
The part that took the longest was cutting out the letters. The templates print out backwards, so I’d lightly tape one to the back of my paper and cut out both the template and paper at the same time. Some letters, like the F and R, were too big to print in one piece. I had to print them in parts and tape it together before cutting the letter out. As I cut each letter, I’d tape it to my canvas using my layout as a guide, choosing colors as I went.


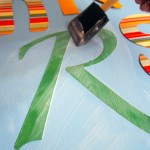
Once everything was cut, I was ready to glue the letters down. I used the leftover Mod Podge from my barn project. I started with a paint brush but it started shedding so I switched to a foam brush. I simply picked up a letter (throwing out the tape), painted a layer of glue on the canvas, placed the letter back down, smoothed it out and painted glue over top. I found heavier scrapbook paper worked better. My very thin dark blue paper wrinkled up as it was drying. I made sure the glue covered the whole canvas for an even finish.


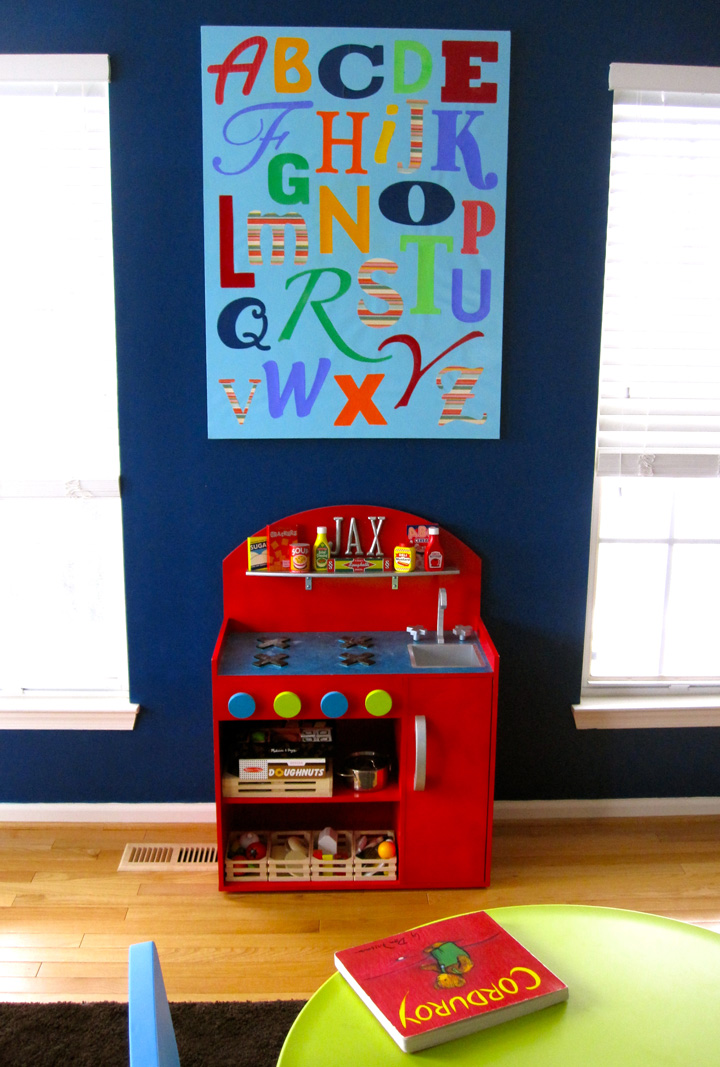
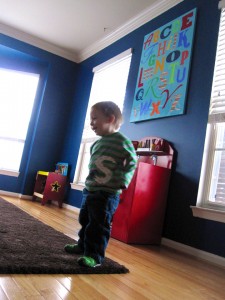
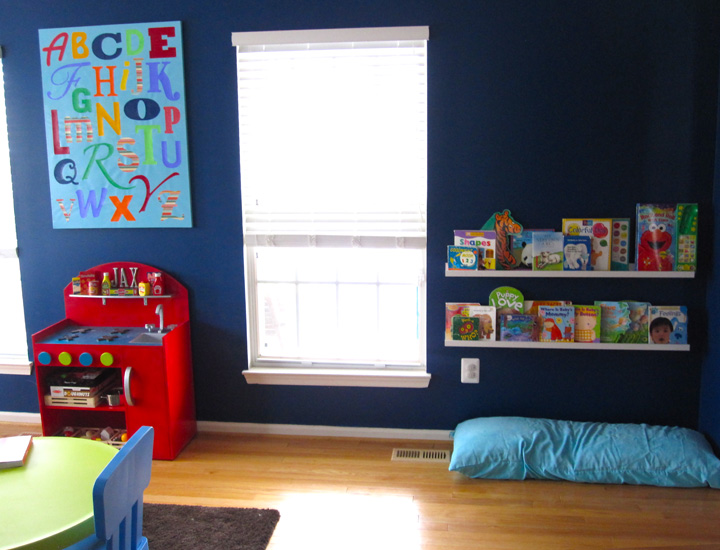
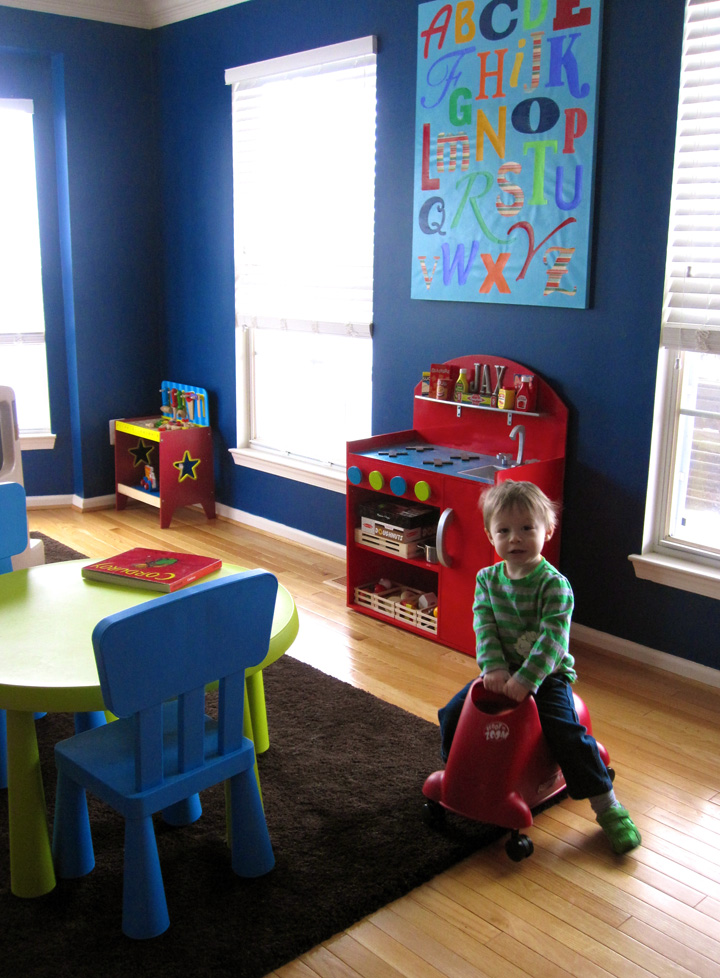
I let the canvas dry overnight and was so happy when I saw the result in the morning light. It looks so colorful and happy in the playroom and fits perfectly between the windows over Jax’s little kitchen. (Side note: I just bought wood to add two more shelves to his kitchen. Those Melissa & Doug food boxes drive me nuts stacked like that!)

What do you think of our ABC art?

Jax’s Book Nook

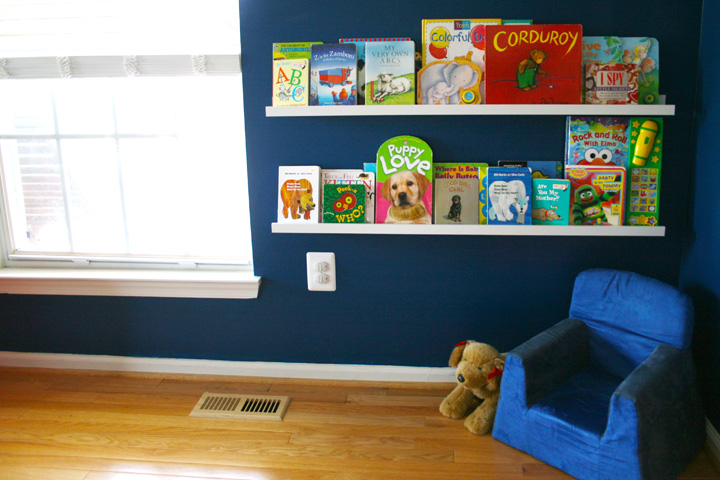
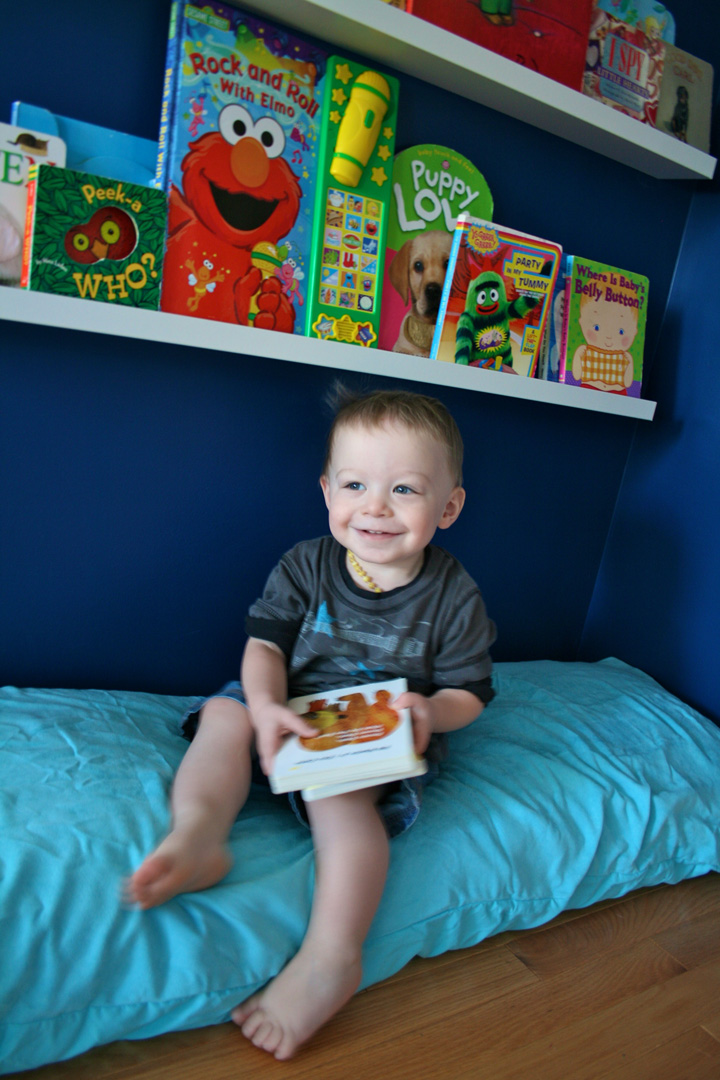
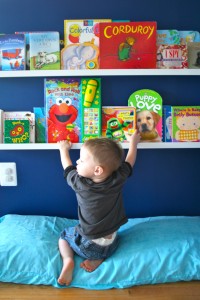
Jax now has a reading corner in his playroom! My husband hung the two Ikea picture rails we recently bought. There is plenty of room to add a couple more above for even more storage later on. Jax can either have his P’Kolino Little Reader Chair (currently on sale) in there, or some floor pillows to stretch out on. He’s still getting the hang of sitting still in his chair, so I opted for a long pillow for now. Because of the novelty, he is all about clearing the bottom shelf of books at every opportunity. We went through that when we got his playroom shelves. It wears off!

I really love how the books look forward-facing on the wall! He loves to pick out his favorites and bring them to us to read. He says “Buh! Ree!” *signing please* Awww!

New Playroom Shelves

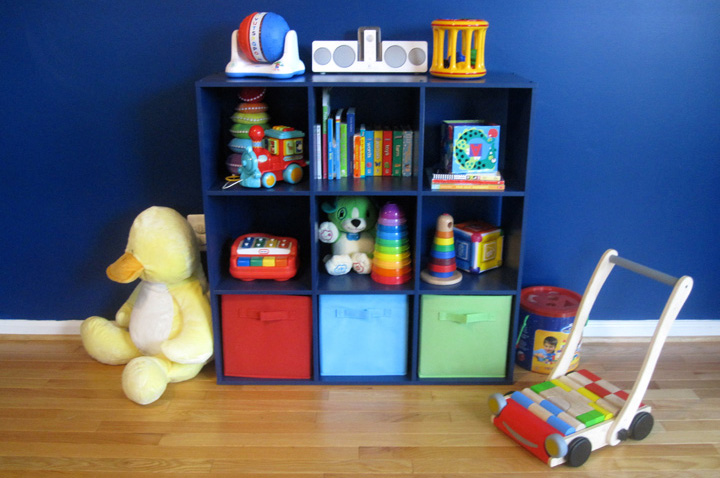
I finally got shelves for Jackson’s playroom! Target had blue cube shelves on sale this week. They match our walls perfectly! I also chose three bins for the bottom row in fun colors found around the room. We put cars in one bin, balls in another, and random toys in the third.

I used a power screwdriver (and a stud-finder) for the first time while anchoring it to the wall! I need to load up my old iPod with kids tunes for when he is playing in there.

The shelves are a big novelty to Jax right now since they are so new. He wants to take everything off of them and dump out the bins! But he’s been learning to put toys away, so we’ll be working on that with these new shelves.

We need some posters or art for that wall still. There may a fun DIY project in our future!


Friday Follow-up

I plan to start doing follow-up posts on Fridays to let you know how past an ongoing projects are working out! If there is something in particular you’d like to hear more about, just leave a comment.

DIY Chalkboard Update: Jax seriously LOVES his chalkboard! So far I am only letting him have the chalk when I am in the playroom with him, since he’d likely hide it in strange places or color on his toys. Or, you know, eat it. (He’s actually really good about not putting things in his mouth, but he gets distracted sometimes and forgets.)

Baby Apple Tree

It’s holding up really well, though I’ve found it hard to get really clean, due to a slightly gritty texture. My board was smooth, so I have to assume it is the paint. The dusty look doesn’t really bother me, though. It looks very “classic chalkboard” to me. I plan to refresh the chalkboard surface eventually with the remaining spray paint.

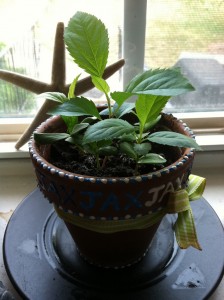
Jax’s Apple Plant: So, when I was cutting open an apple for Jax about a month ago, I found that the seeds inside it had sprouted! We planted them in a pot and hoped for the best. Well, 4 or 5 of the sprouts have grown strong and the plant is now a few inches high! Grow, apple tree, grow!

Super Easy DIY Chalkboard

I’ve been wanting some sort of chalkboard in Jackson’s playroom for some time now. I just wasn’t sure what would work. The room was built to be a living room and has outlets everywhere. We have the baby proofed, but their placement blocked me from being able to just paint a chalkboard onto the walls.

When I discovered they make chalkboard spray paint, I knew just what I wanted to do. I measured out the wall where the chalkboard would be to find out how wide I’d need to make it so it could both be centered and cover the outlet. Three feet wide was just perfect.

Supplies:
In the clearance aisle of the craft store, I purchased a 2’x3′ frame that was 50% off. It was a tacky gold that wasn’t my style at all, so I also grabbed some spray paint. At the hardware store, I had them cut down a 2’x4′ piece of chipboard (I brought my frame and tested it after he cut 12″ off the board. Good thing I did – it was too short because the board hadn’t been 2’x4′ after all!) I also grabbed the chalkboard spray paint there. Here is the full list:

I started by sanding the frame so it was no longer shiny and sanding one side of the chipboard to rough it up. Then I set up a drop cloth outside and laid out both pieces. I did three light coats of spray paint on the frame, waiting 15 minutes or so in between. I did about 4 light coats on the board with the chalkboard paint. (Quick tip: I thought my paint was clogged, but it turned out my too-big gloves were blocking part of the spray and causing spatter!)

The hard part comes next: waiting! When everything was dry, I brought it inside to cure. Resist the urge to try the chalkboard for 24 hours. Easier said than done!

24 hours later, it was time to prime the chalkboard with a layer of chalk. I found that the spray paint left a layer of black sooty dust after it dried, so I covered the whole thing in chalk as directed, then used paper towels to get all the chalk and black dust up.

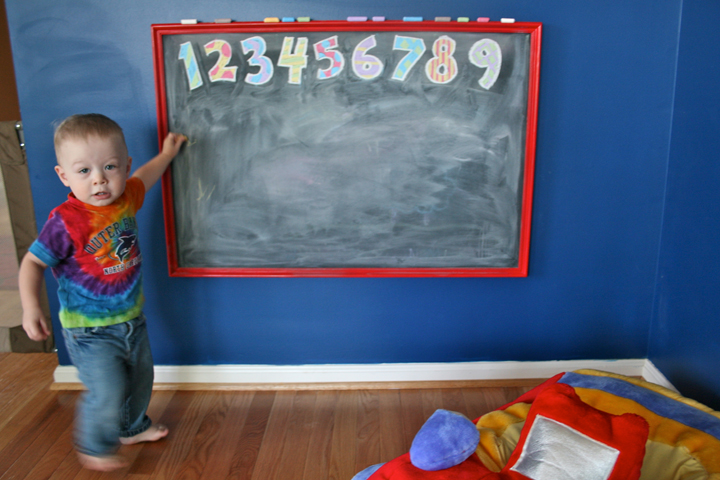
All that was left was to put the frame back together (minus the glass it came with) and hang it up! My frame came with one teeny tiny picture hook so I got a picture hanging kit rated for up to 50 lbs. It looks great under his art gallery! I chose a frame that had a perfect dip in the molding to hold our chalk.

What do you think of our little project? It was so fast and easy, and Jax was super excited when I hung it up!

He was so excited, he couldn't stand still!

(Check out my Friday Follow-Up about this project!)

Colorful Playroom Art Gallery

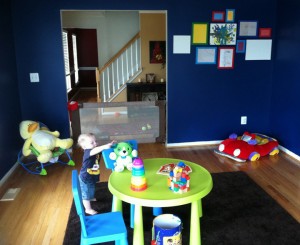
Our playroom has been a blank canvas since before we even became parents. I love color and painted in a rich blue despite the fact we had now furniture for it. It became the craft room whenever I’d host a party. The room has seen: painting, coloring, photo booths of various themes and even tie-dye (with a tarp down on a hot, stormy day).

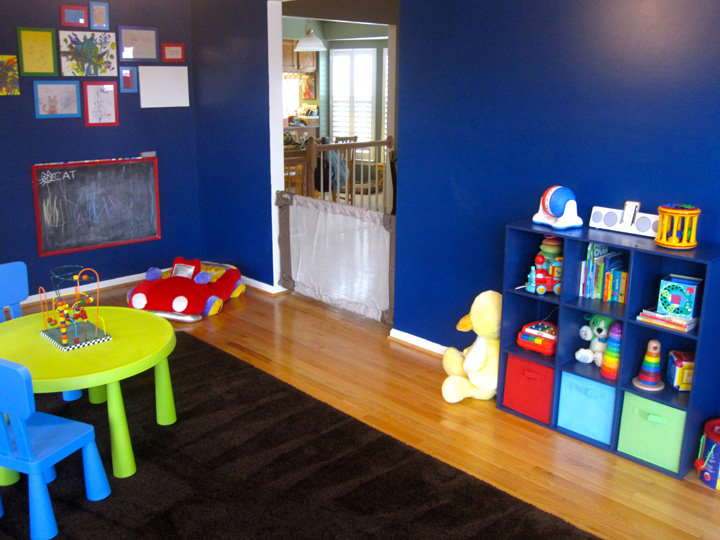
When Jax became mobile, it was clear he needed a safe place of his own to play – free from hazards and dogs who steal baby toys (and shred them into 10,000 tiny pieces. Don’t ask.) So we put up some great wide gates (that double as travel gates when we rent a beach house) and got a soft, brown rug from Ikea.

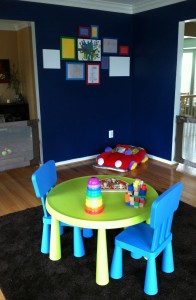
Fast forward to now… The playroom is Jax’s favorite place (besides my breastaurant! Hah!) and he runs to the gate, begging to “pway”. He’s getting old enough to start taking interest in different activities, so as a part of introducing him to art, I wanted to introduce art to his playroom. Back to Ikea we went (with the long drive perfectly timed during nap) where we chose a table a chair set for him to play and make artwork at.

My other reason for going was the great, inexpensive frames they carry. I chose four large frames and four small ones in bright colors. Back at home, I laid them out on the dining room table, along with his first painting and two blank canvas he’ll paint on soon. When I was happy with the collage of frames, I put them up on the wall, eye-balling it, as I wasn’t feeling too particular about placement. I have a feeling the gallery will grow and change with time anyway.

For now, the plan is to rotate his paper artwork in the frames and hang all his canvas art up as well. As you can see, his first painting currently holds a place of honor. I painted over the edges to hide the staples using one of the colors we had used. The bottom half of that wall is going to become a chalkboard eventually. I might have more fun with that than Jax!

How do you display your child’s artwork? I’d love more ideas, as I know I’m going to have a hard time letting go of any of it!