Tag Archives: Art

Autumn Leaves Quiet Book & Fall Homeschool Unit

Autumn Leaves Quiet Book & Fall Homeschool Unit

This quiet book page was designed last year, but I ran out of time before autumn ended to actually sew it. This year I made sure to pause my projects and get it finished. We don’t have any trips coming up that require a quiet book, so I especially like making ones that fit in well on our Montessori homeschool shelves. This page certainly does!

Autumn Leaves Quiet Book & Fall Homeschool Unit

There are a number of features to this page: practice with snaps (which improves motor skills and the ability to dress yourself), sorting colors,  sorting sizes, and counting.

Autumn Leaves Quiet Book & Fall Homeschool Unit

I included three bins with snaps to add number labels. (The labels can also be placed on the trees!) I left it open for Jax to decide how to use the bins. He could potentially put the largest quantity of leaves in the largest bin, or he could put the largest sized leaves in it. This is something you could explore with your child.

Autumn Leaves Quiet Book & Fall Homeschool Unit

When you are finished with the page, you can snap the bins to the trees for storage.

What I Used:

This biggest bummer about this project is that I bought the leaf buttons last year, and now they are no longer made by the manufacturer! When I posted to our Facebook page about it, I linked to the one source I had seen so far. But now all 10 packs are sold out.

Autumn Leaves Quiet Book & Fall Homeschool Unit

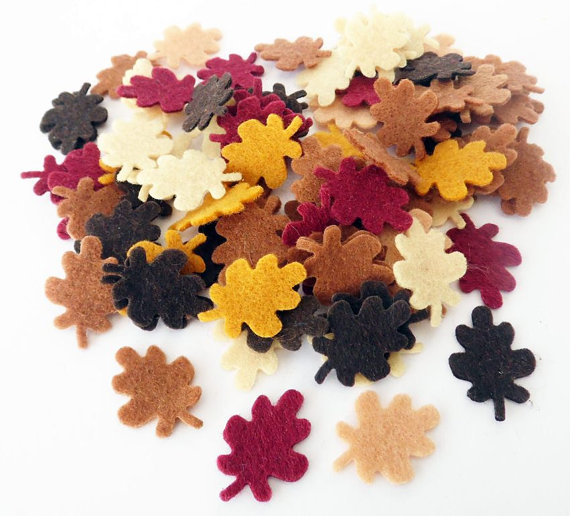
Here are a few non-felt button options you could try. I’m not sure how well sewing a snap to a plastic button would work though. There is a pack of 12 buttons that match the colors and sizes I used, but you’d need multiple packs to have the same number as me. Here is a larger listing of those buttons. This is another brand, but the colors and sizes seem more assorted. There are a number of felt die cut leaves on Etsy, but they all seem to be larger. This seller has some that are 25mm. (Last photo below copyright Planeta Costura.)

etsy

You may be better off cutting out your own out of felt. If you want to skip snaps, you could just cut one layer of felt for each leaf (I recommend thicker wool-blend felt), but be aware they are more likely to get damaged or lost. You could take the time to cut 2 layers per leaf and sew them together. It’s so frustrating that they aren’t sold anymore!

Sewing the Page

Background: I started by cutting everything out and pinning it down: first the ground, then the trunks, then the tree tops (green, red, then yellow). I sewed down the tree trunks, then sewed down the tree tops. Then I sewed down the top edge of the ground that was showing between the trees.

Note: This is how I sew my quiet book pages together. Because I sew all the way around the edge while sewing on the backing, I don’t usually bother to sew elements along the edges of the page.

Autumn Leaves Quiet Book & Fall Homeschool Unit

Leaves: For all of the leaf buttons, I used A LOT of stitches to attach snaps to the backs. Then I coated the stitches with Fray Check and let them dry overnight.

Tree Snaps: On the green tree, I sewed down 3 size 1 snaps. I sewed the matching halves to the backs of the green leaf buttons. On the red tree, I sewed 6 size 2/0 snaps on to the tree top and the red leaves. On the yellow tree, I sewed down 9 size 4/0 snaps to the tree top and leaves. Not that I left a 2″ area on the left without snaps to allow for where I sew my binding and add grommets. I have not added grommets yet. I usually do that right before a trip when I need to link pages together.

I added a size 1/0 snap to each tree trunk to hold either the numbers or the bins.

Numbers: I back stitched numbers on the fronts of each number pieces and the other half of those 3 size 1/0 snaps to the backs. Then I sewed them together.

Autumn Leaves Quiet Book & Fall Homeschool Unit

Bins: The bins were just sewn together with an open top. I cut mine on a fold so I didn’t have to sew the bottom. I added a snap to each one – one half of the snap set on each side of a bin. These snaps let you either attach the number label or attach the bins to the trees.

Montessori Use

Autumn Leaves Quiet Book & Fall Homeschool Unit

This page works well as a Montessori activity for our autumn unit. I adore this wooden leaf tray I found at a thrift store! It is perfect for presenting the leaves or other autumn supplies. I’ve also laid it out in a tray with the leaves spread out on the ground just like Jax finds them outside.

Autumn Leaves Quiet Book & Fall Homeschool Unit

Here is our current main shelf of our homeschool room. The bells will be featured in an upcoming post!

Autumn Leaves 3-Part Cards

Autumn Leaves 3-Part Cards

In the Montessori method, 3-part cards are an essential tool that can follow your child through multiple levels of development. They can be used in any subject to aid in adding vocabulary, learning to sort/classify, reading practice and so much more. Three-part cards are made up of two photos – one with a label, one without – as well as a separate label. Younger children start with the labeled card to help them learn the vocabulary. One of the best ways to use them is with small objects that match the photos. Older kids can work with the unlabeled card, matching the correct words or writing their own.

Autumn Leaves 3-Part Cards

I put together a set of 3-part cards for Jax to learn how to recognize various leaves in our area. I used only trees that can be found in our area, but they are very common ones. You are welcome to use my free pdf to make your own set! I am hoping to take our cards out on a walk once more leaves start changing colors so we can match them up. (Our server caching is causing troubles for some people. Here is an alternate download link!)

Autumn Leaves 3-Part Cards

To make mine, I cut them out, glued them to green card stock (this is simply a color I chose to assign to all my future botany collateral) then laminated them. It makes them shiny and strong. I really love my laminator – as everyone told me I would!

Autumn Leaf Watercolors

Autumn Leaf Watercolors

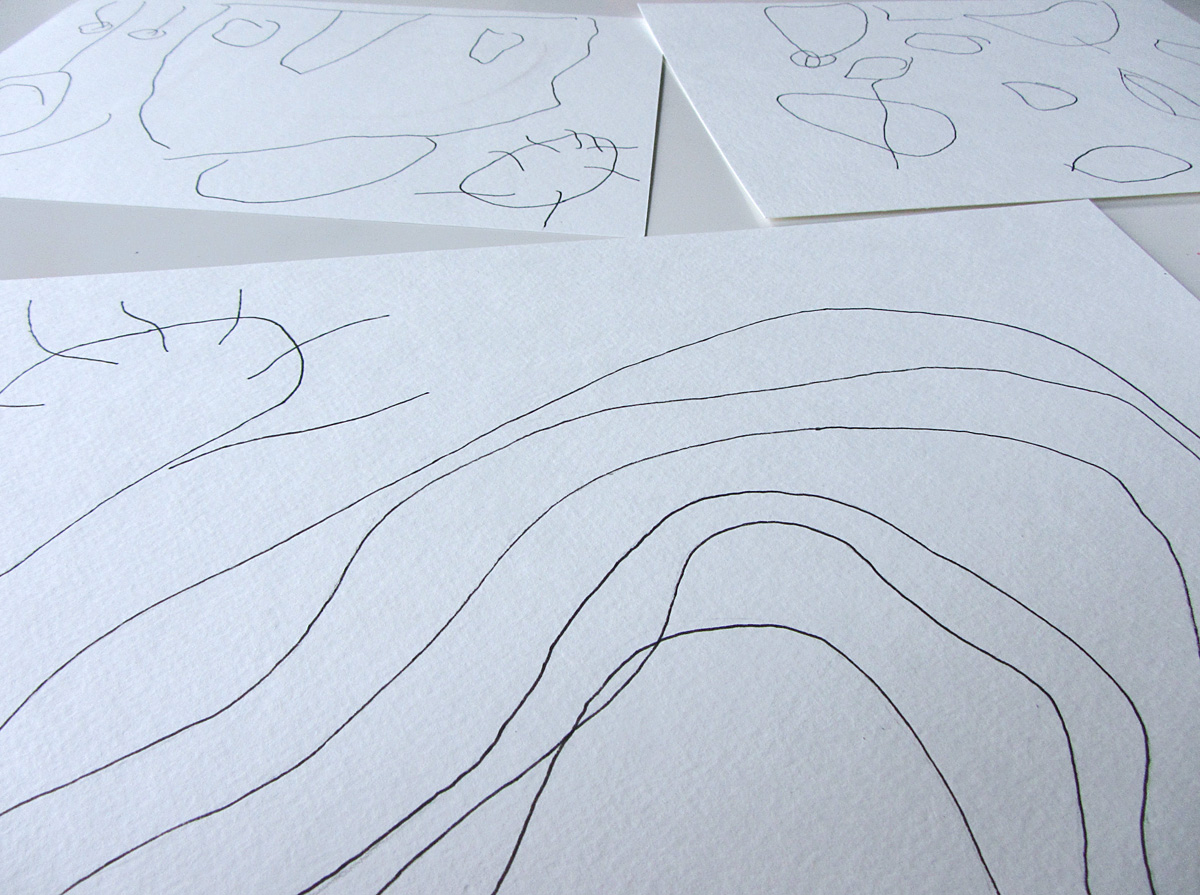
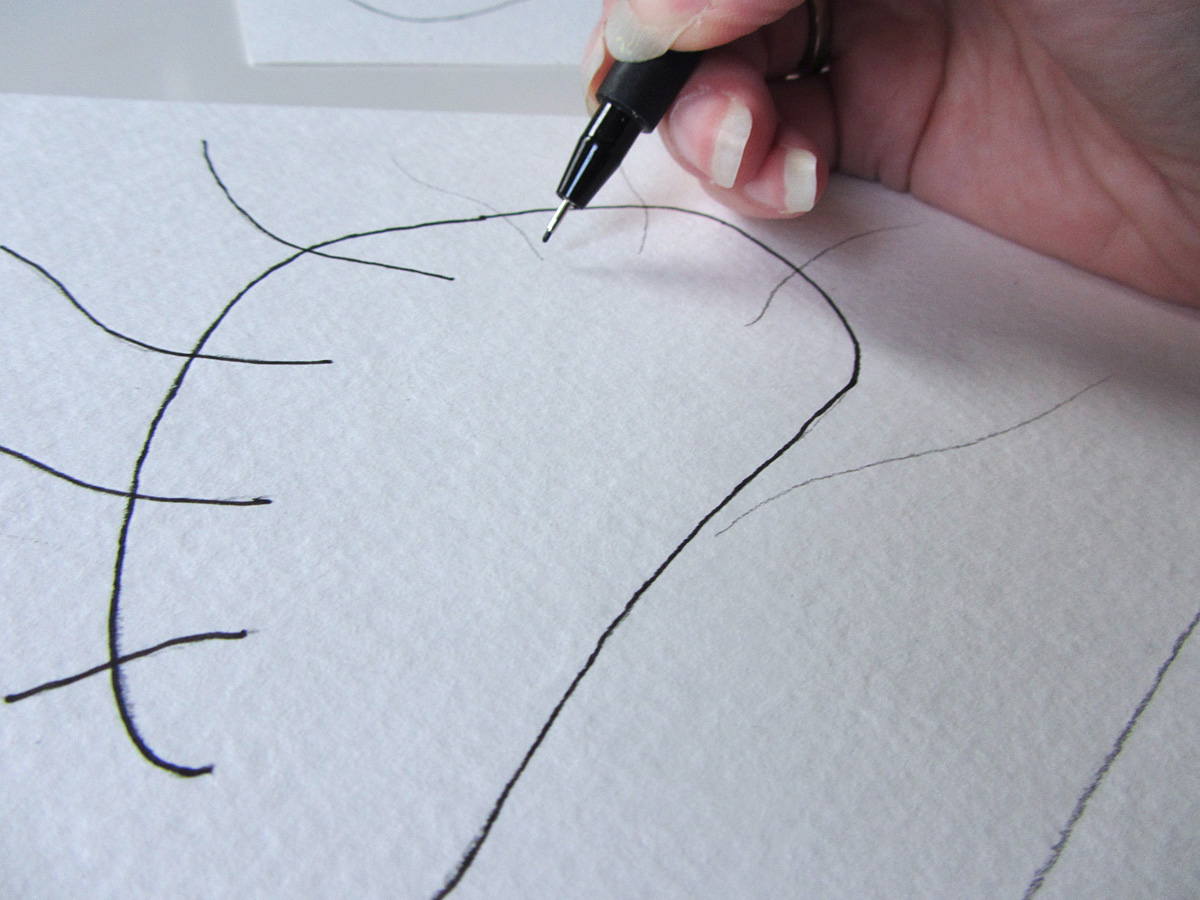
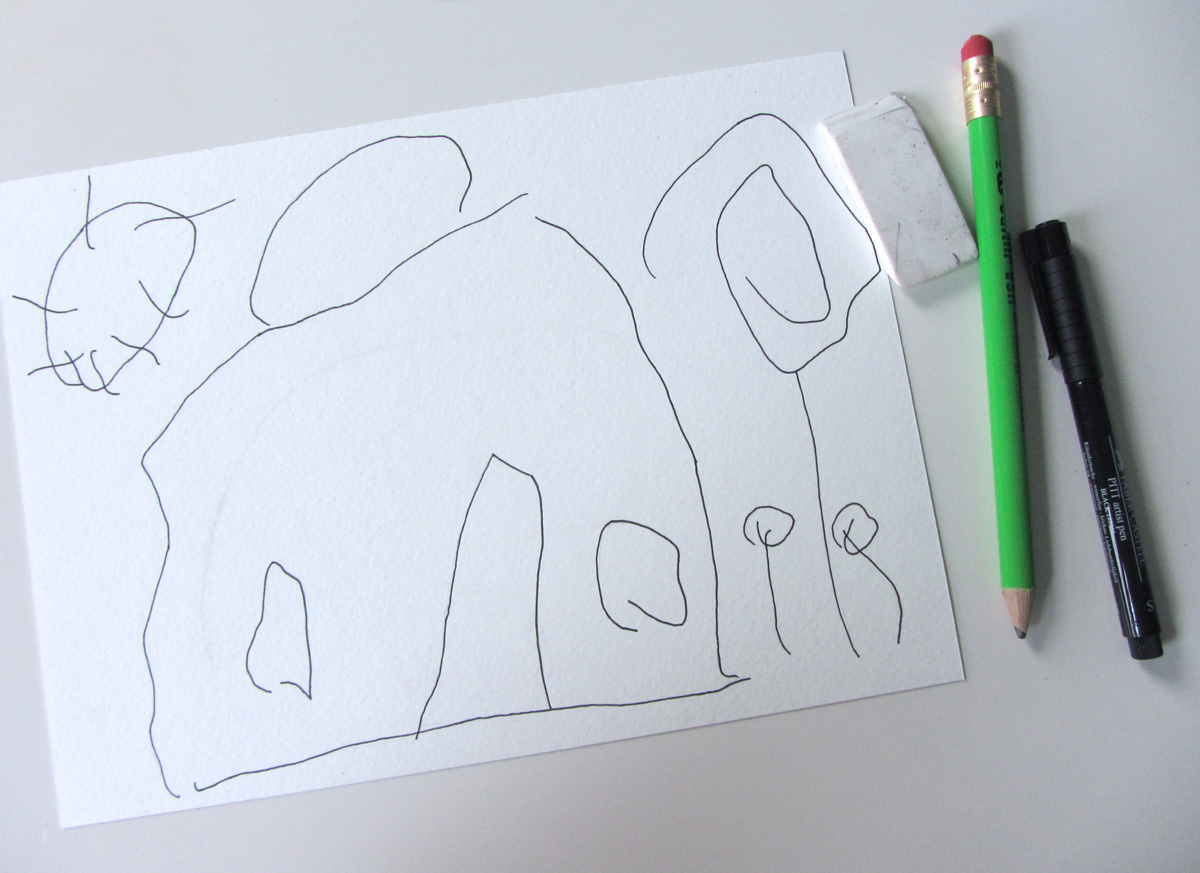
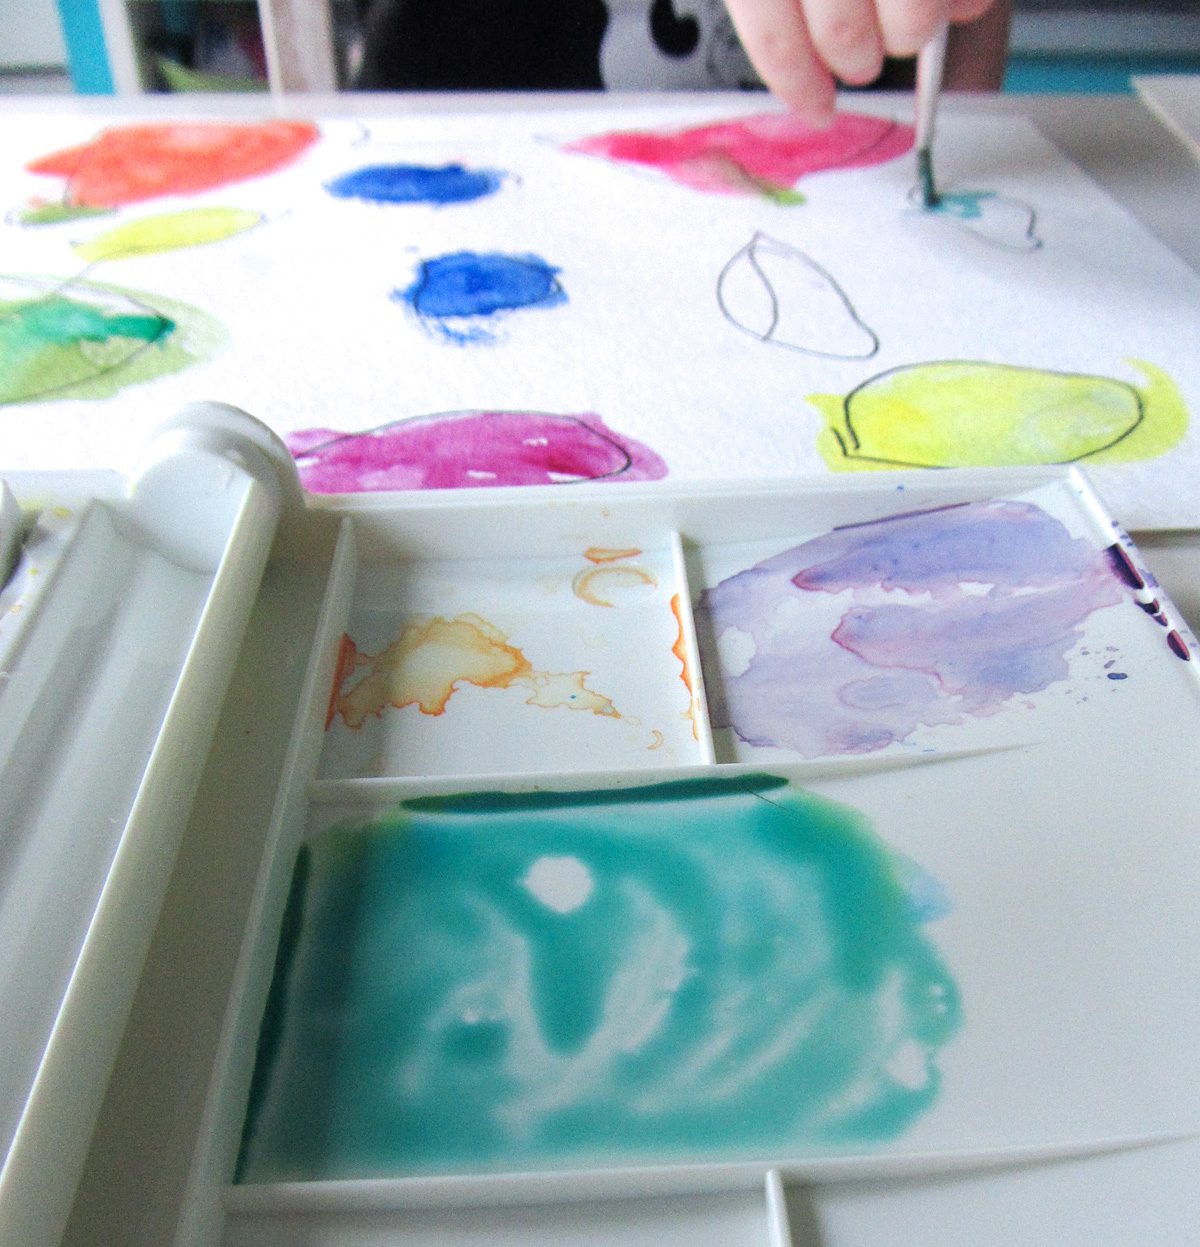
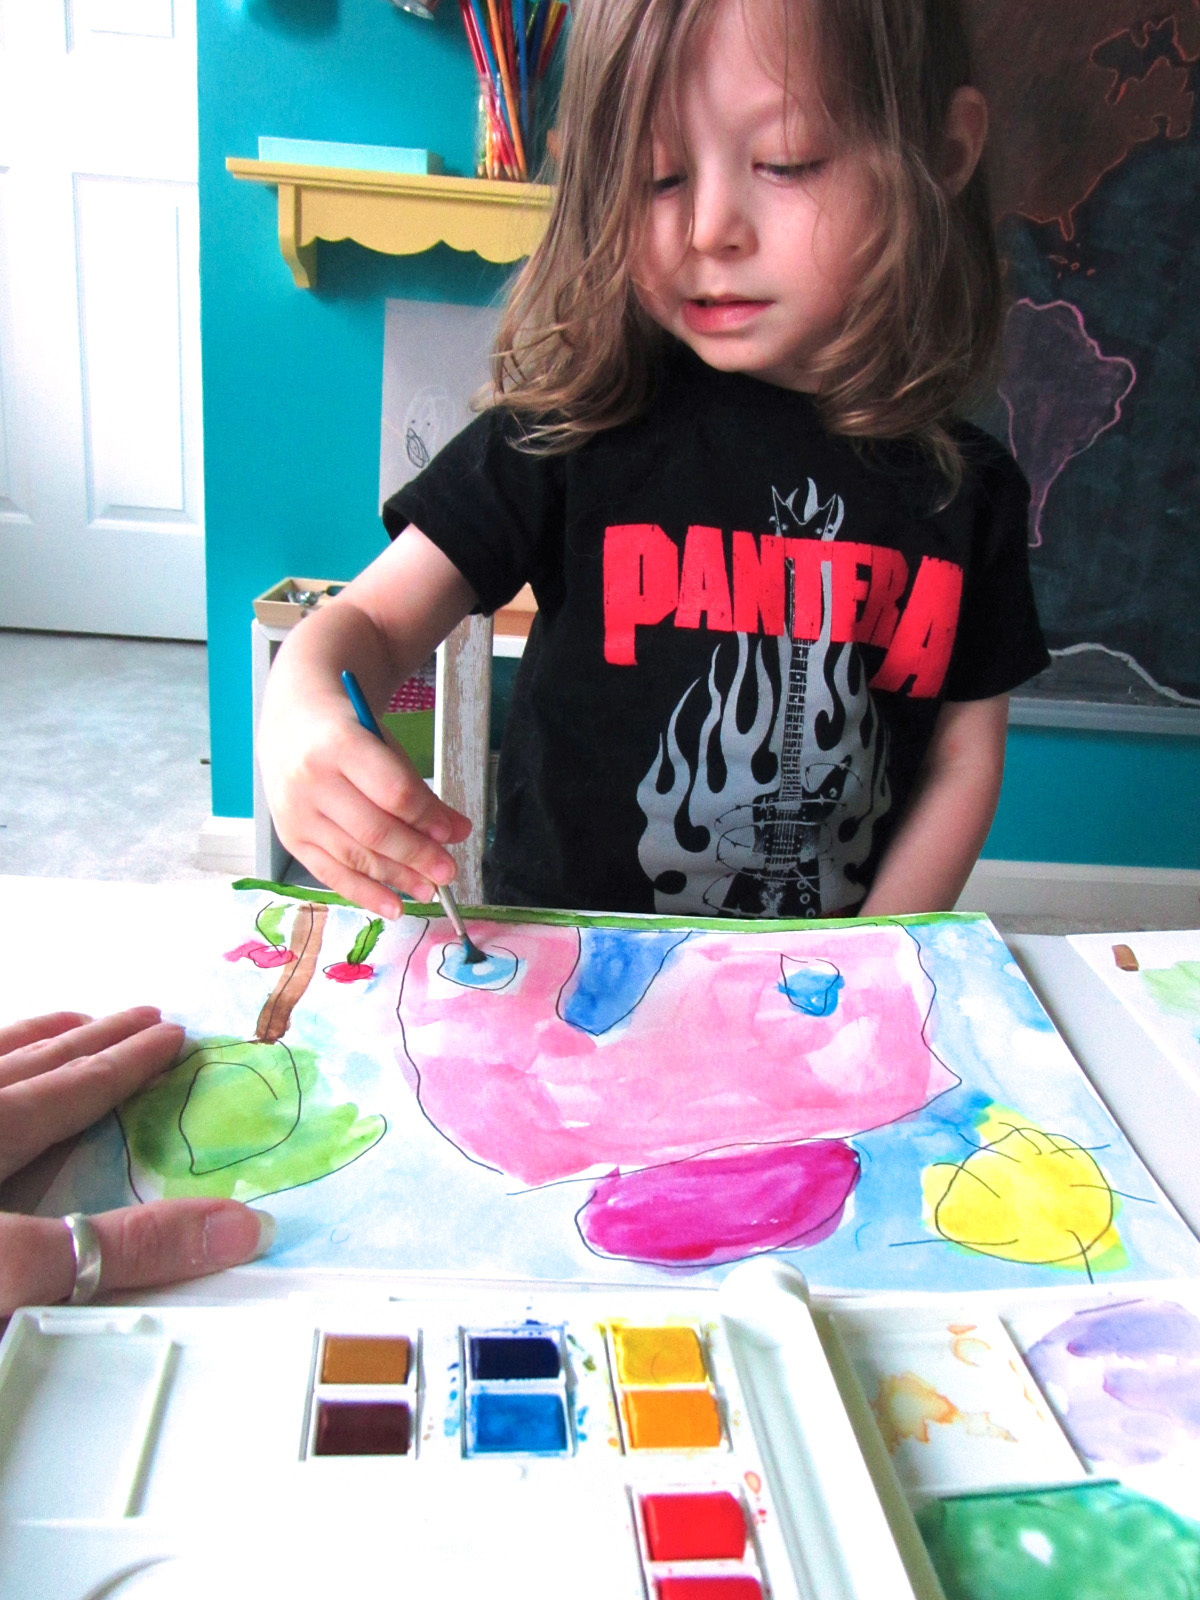
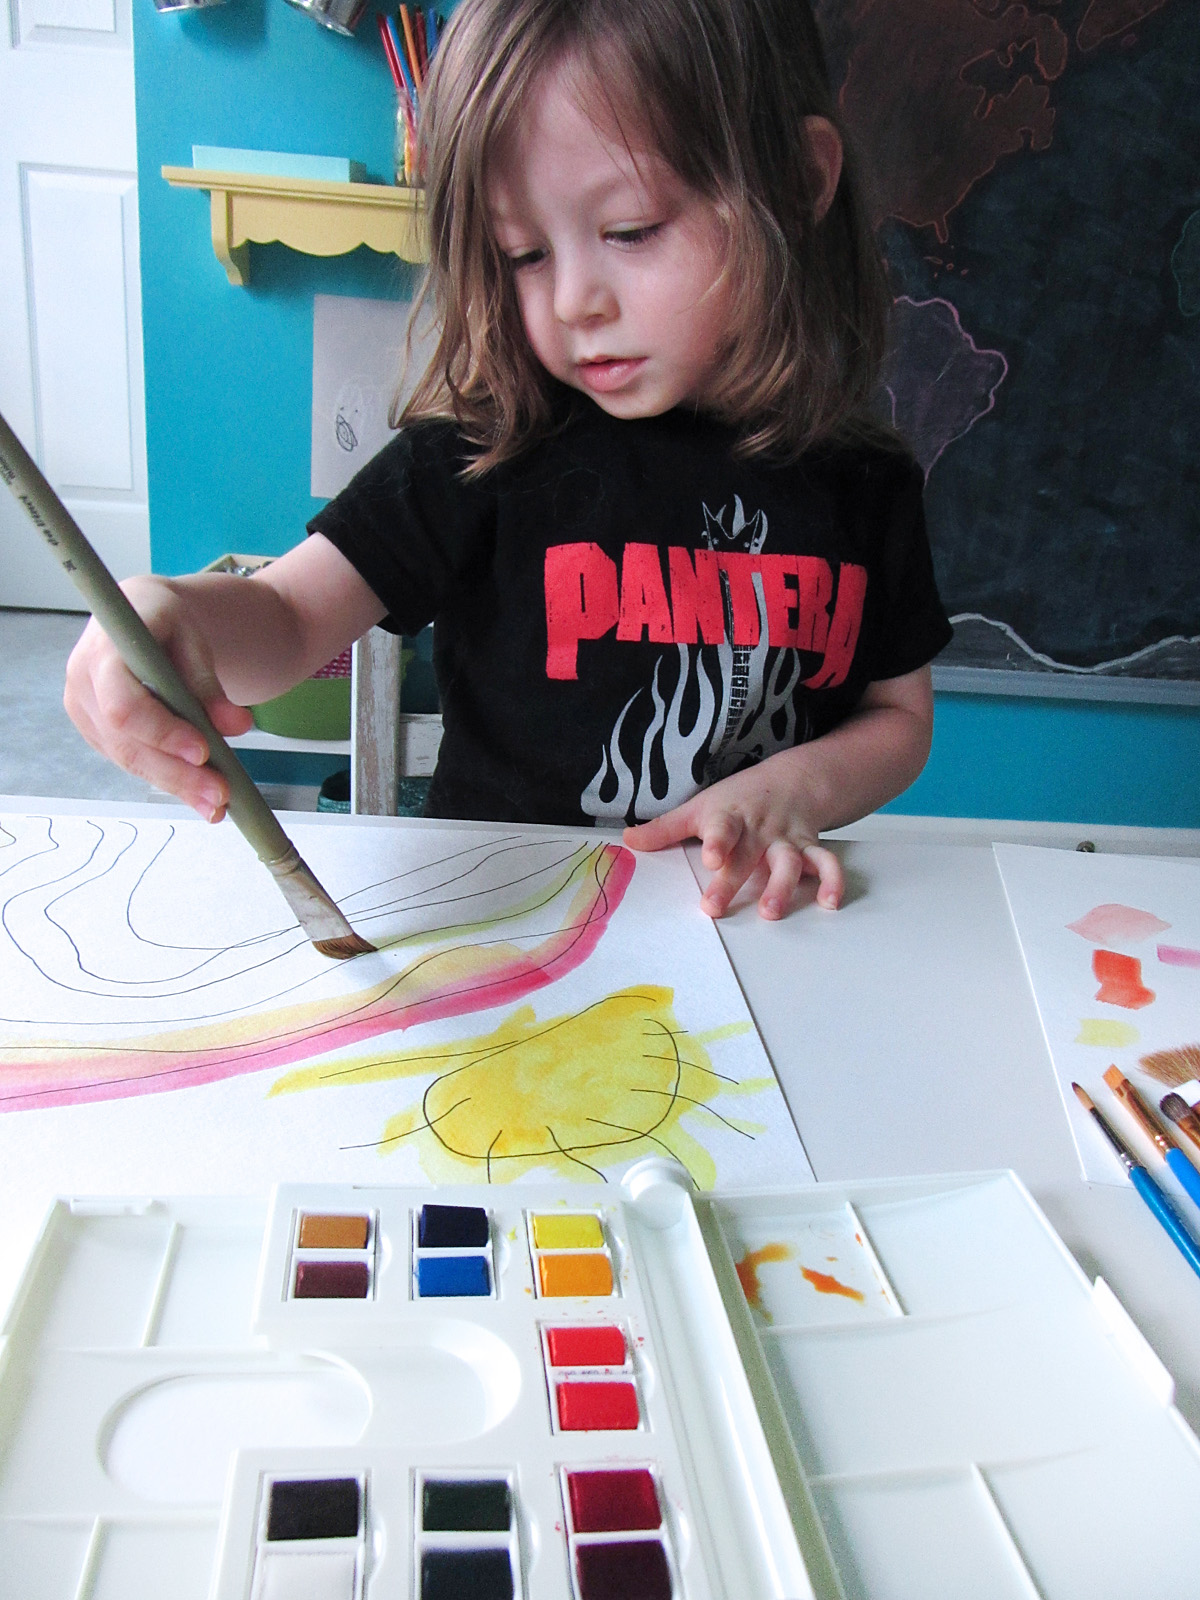
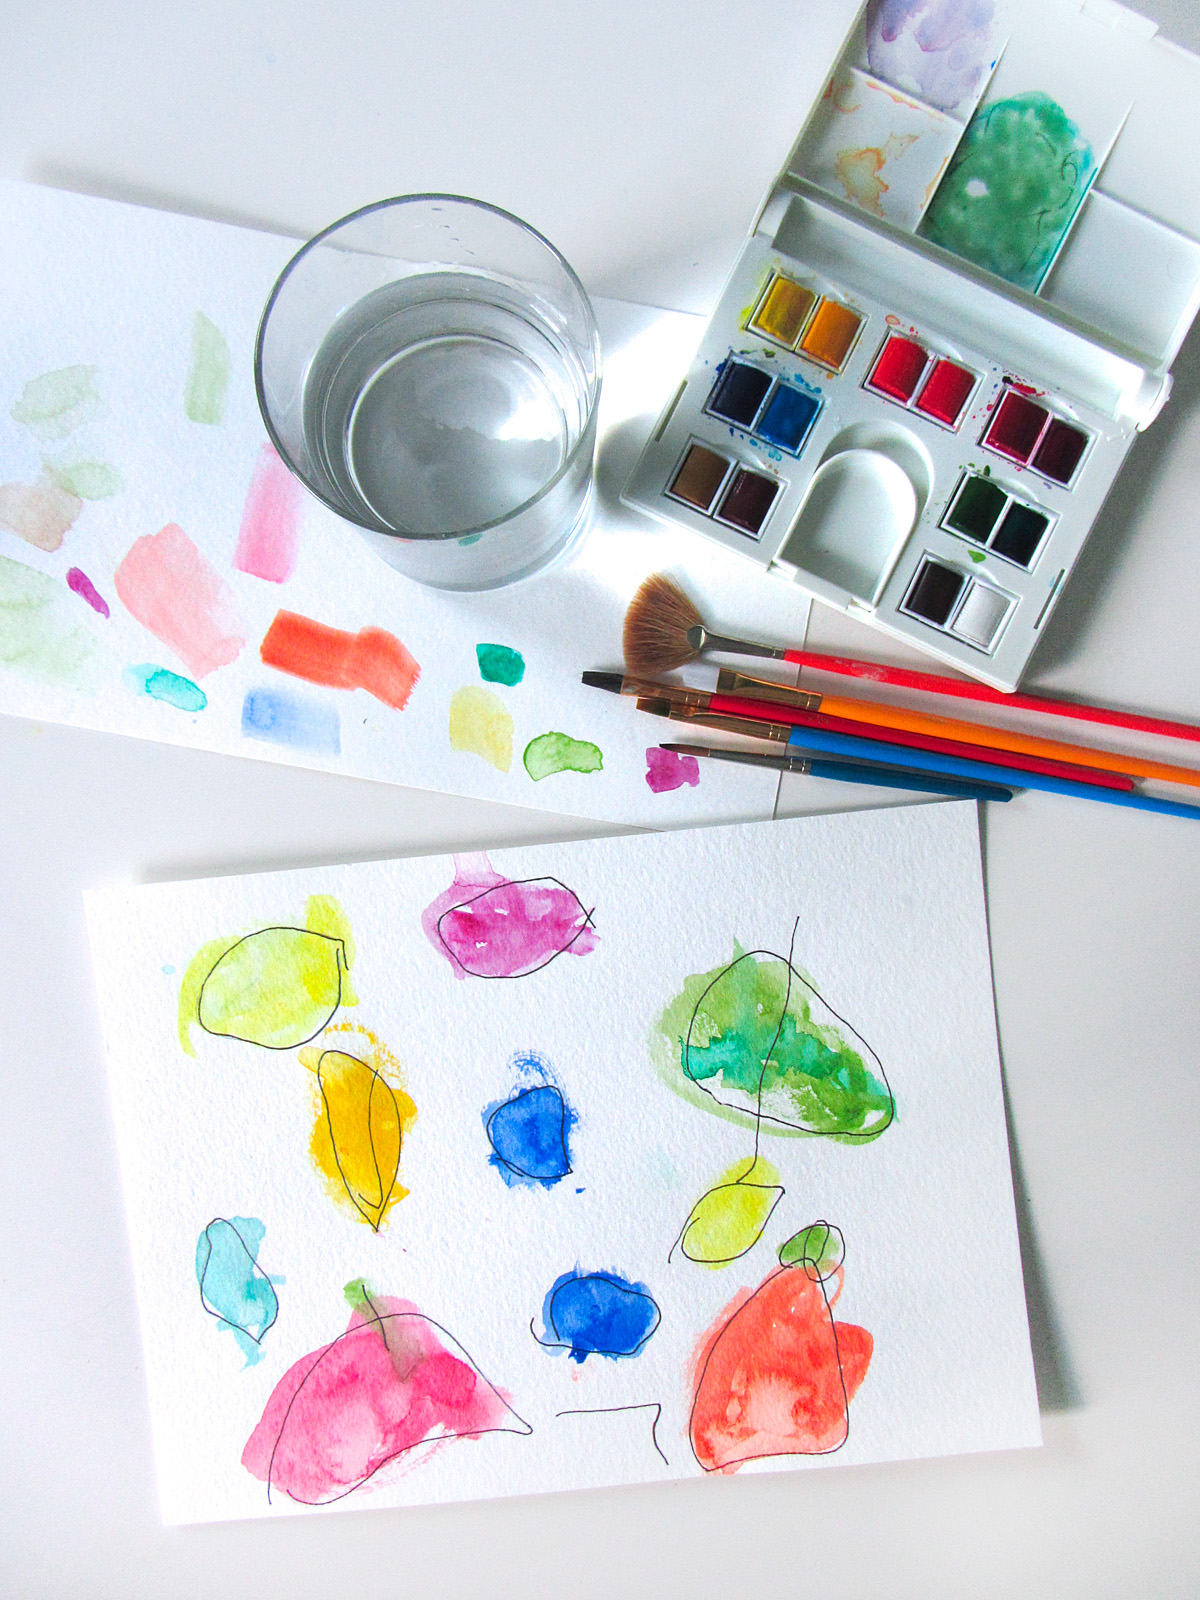
We needed a quick afternoon activity the other day, so I took some watercolor paper and traced some leaves using my artist pen. (For the exact materials and techniques I used, see my recent watercolor post.) Then Jax and I each painted in our leaves with watercolor paints.

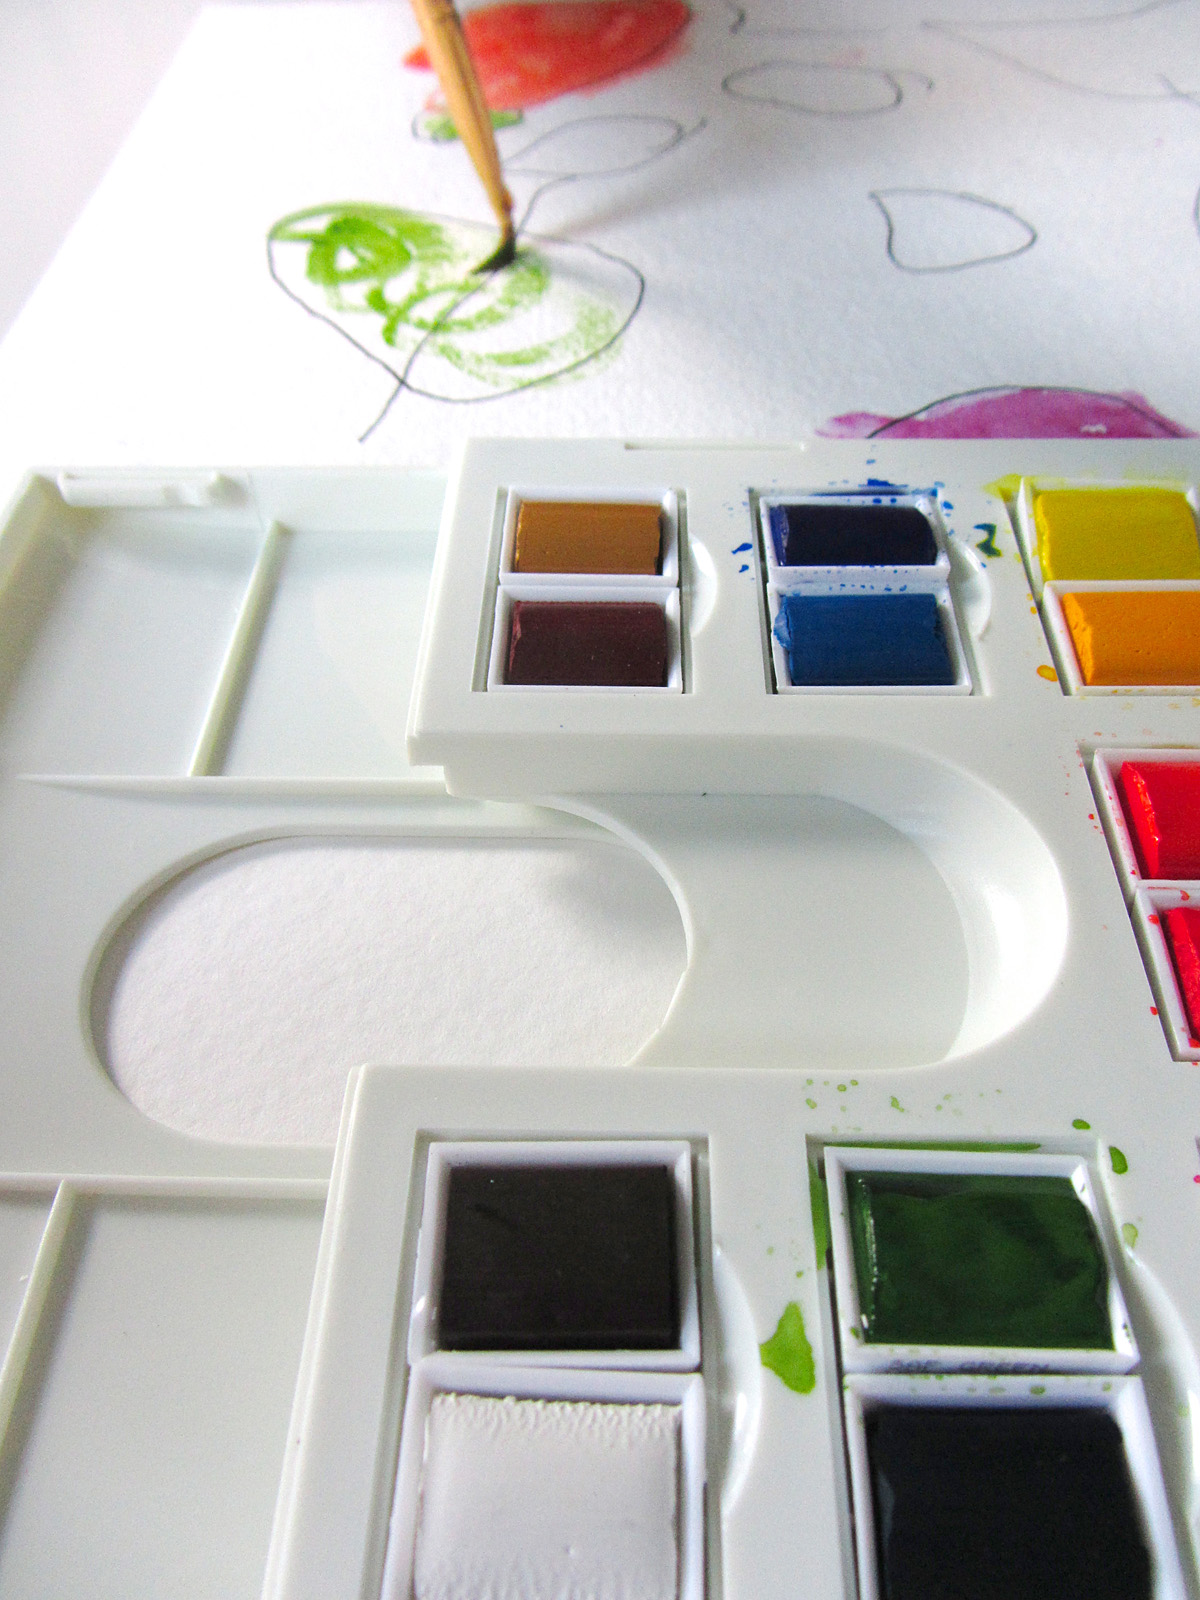
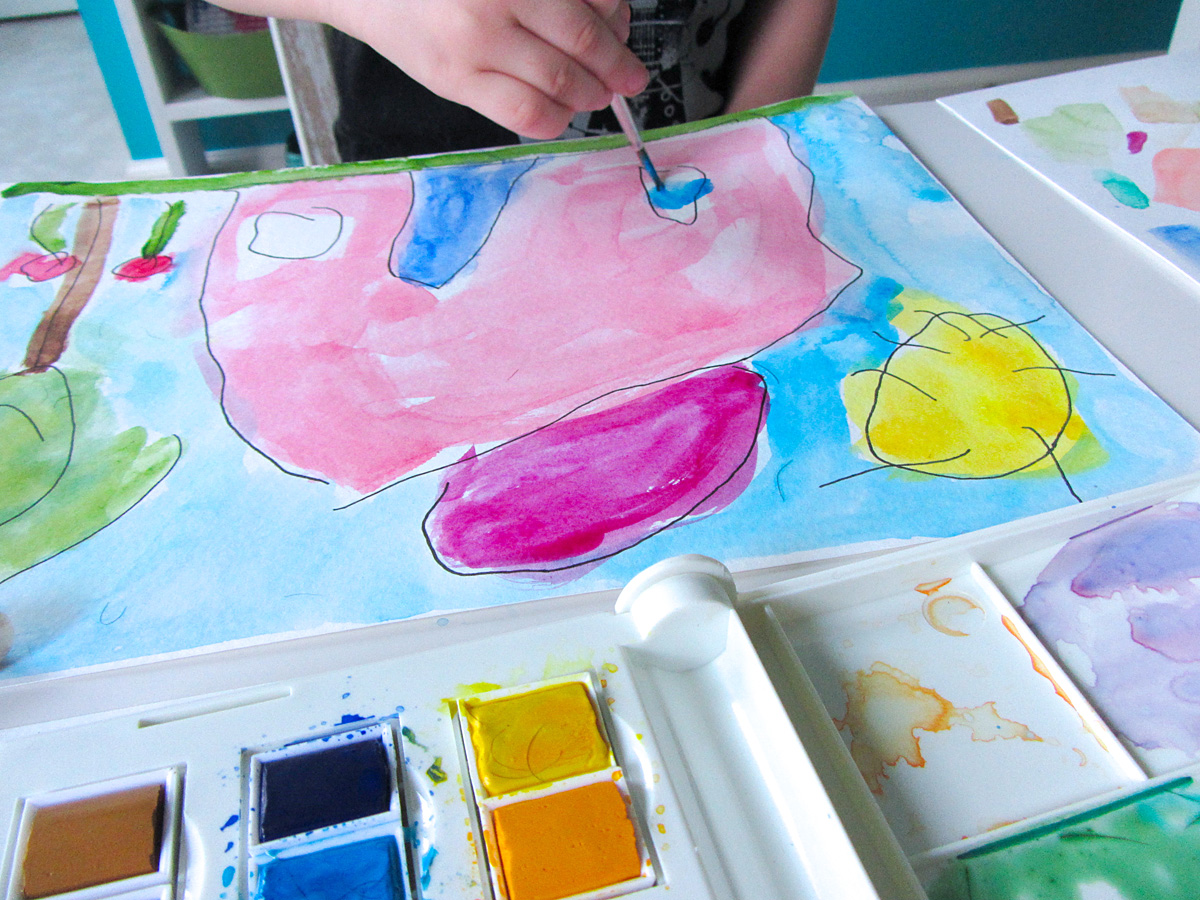
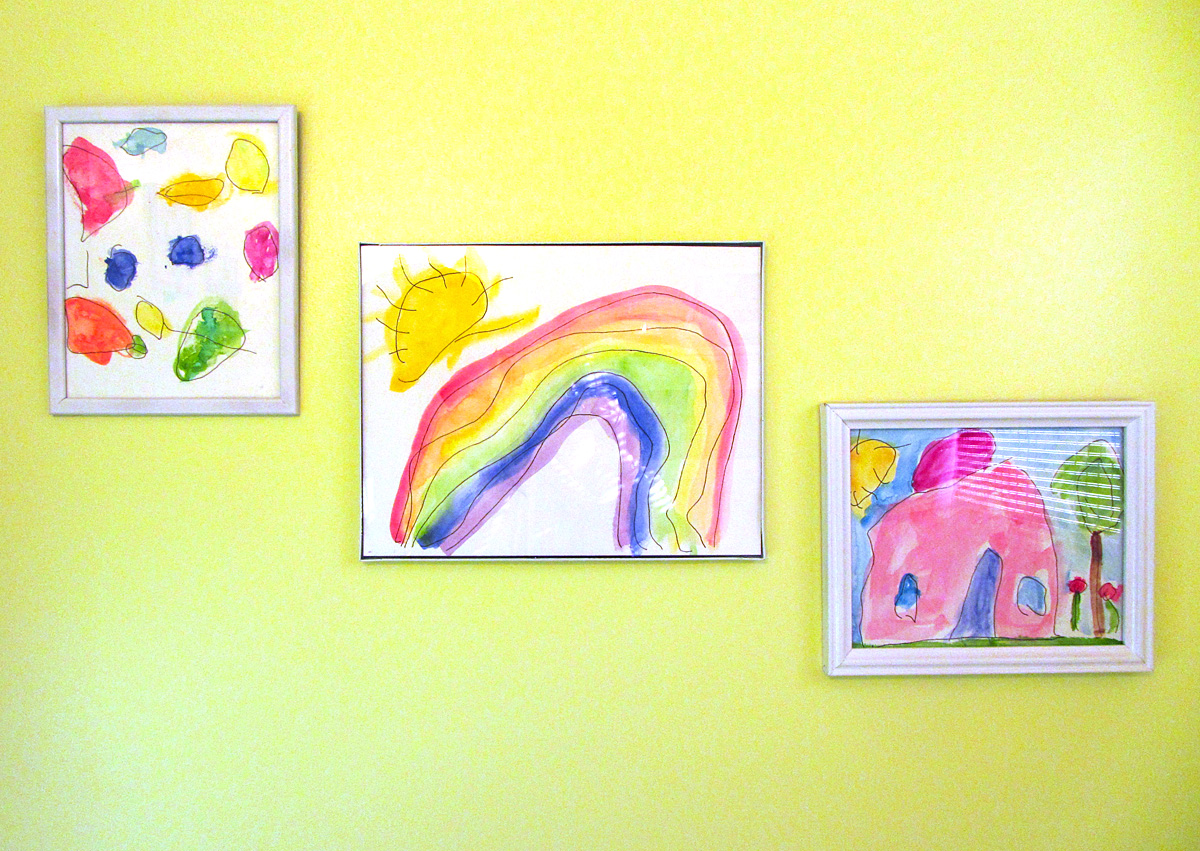
Jax was very set on painting his leaves only the proper colors you’d find in nature. He also wanted to add a red sky and green ground (he still does sky and ground as little strips at the edges of the page!)

Autumn Leaf Watercolors

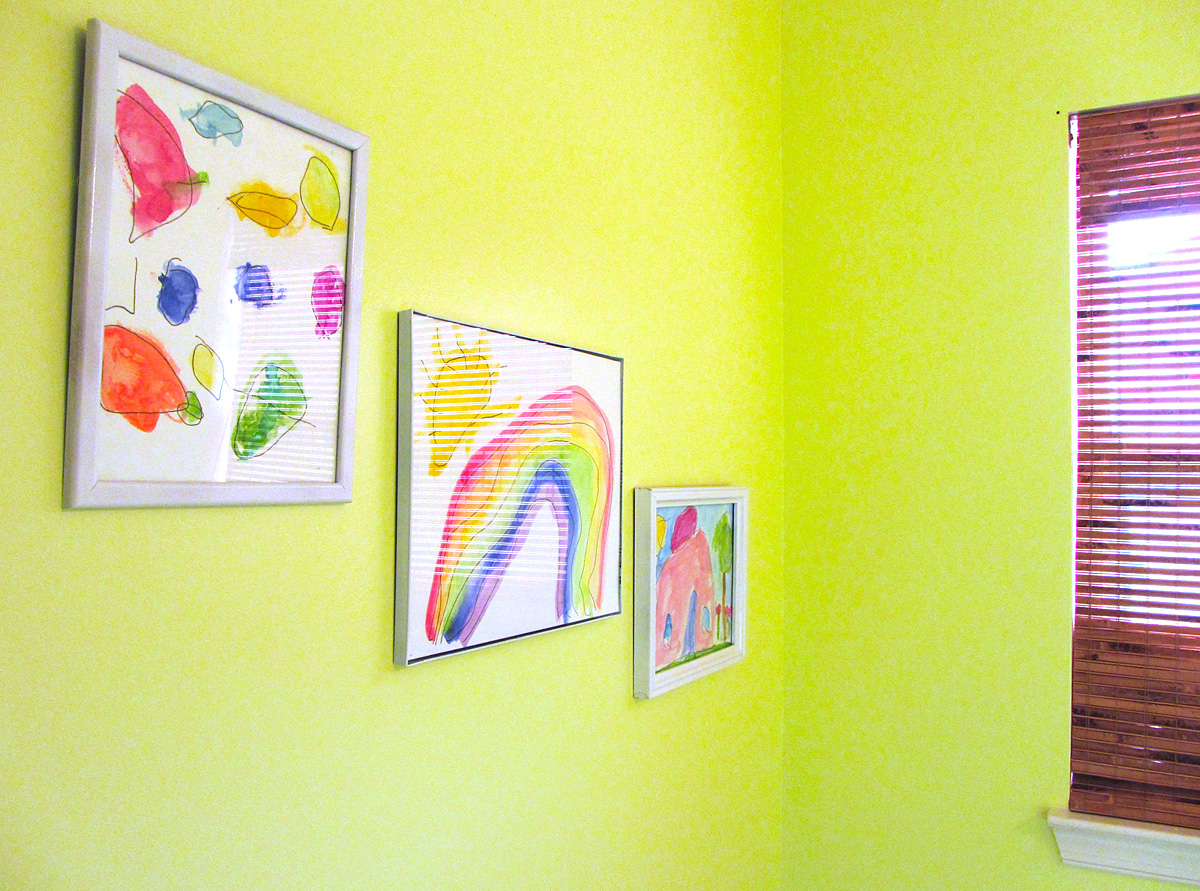
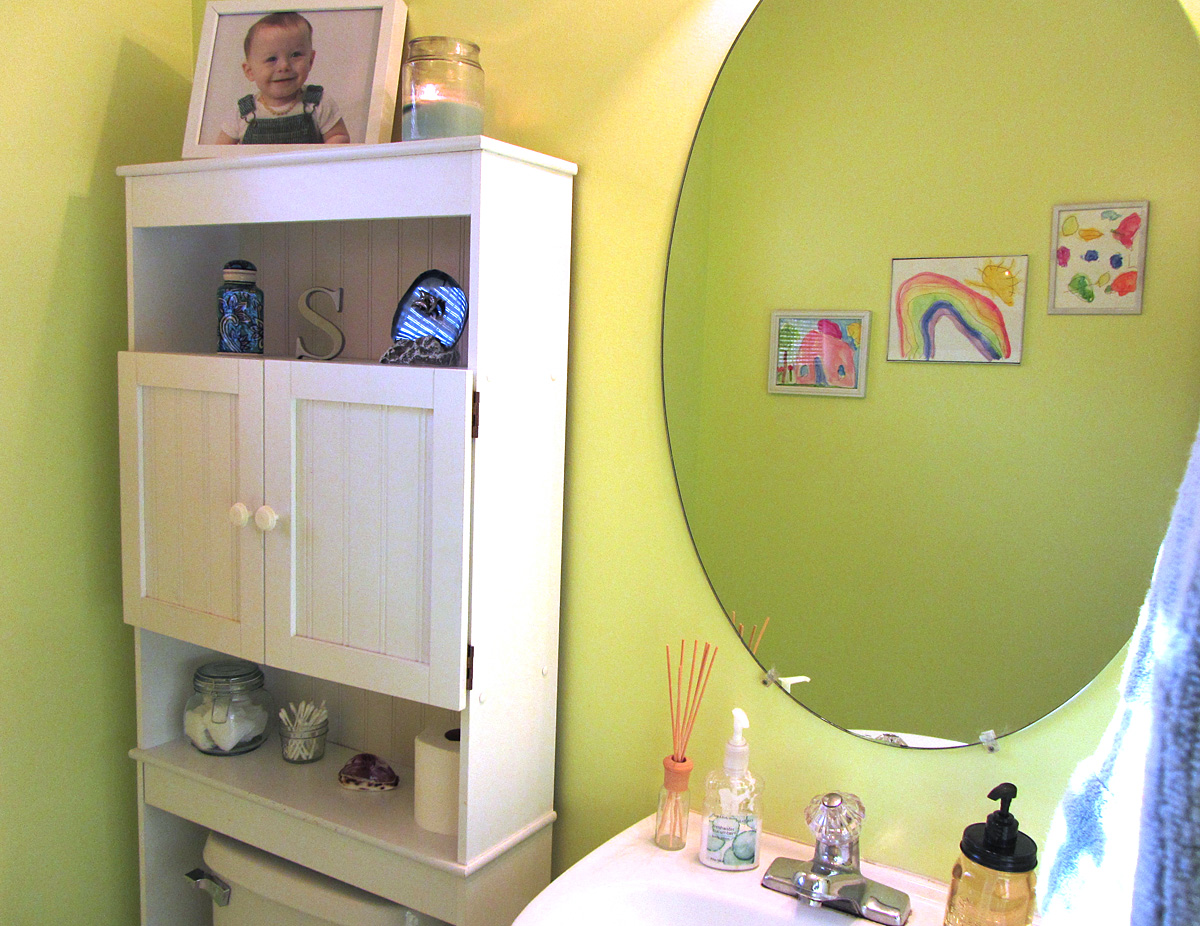
We both ended up with beautiful artwork, worthy of a frame!

For an even quicker activity, print out my free leaf coloring sheet!

Autumn Nature Walk

Autumn Nature Walk

This past weekend was beautiful here in northern Virginia! Jax and I grabbed a basket and set out looking for early autumn treasures. The leaves are just now starting to turn, so we focused mainly on other items.

Autumn Nature Walk

We found all sorts of seeds and acorns, bits of birch bark, leaves and acorns. Jax quickly got into our “treasure hunt” and was very excited to show me each new find!

Autumn Nature Walk

We brought our bounty home to look through and enjoy.

Autumn Sensory BinAutumn Sensory Bin

I don’t do many sensory bins, but I should! I pulled together an autumn sensory bin for Jax using our nature walk treasures. I added them to a basket of dried corn, and autumn season stickers I’d laminated and cut out. I provided a wooden bowl from the thrift shop and a little wooden spoon (from an old brown sugar jar.)

Autumn Sensory Bin

Jax jumped right in and started scooping the contents and exploring the textures. I’d drawn a few autumn items on our schoolroom chalkboard along with writing the words. I had Jax hunt for those three stickers in the sensory bin, then let him choose three more for me to draw. Next time he can hunt for all six.

Autumn Sensory Bin

We plan on doing many more autumn-themed activities throughout the season. Do you have any fun ideas for us? Let me know here, or send me ideas via Pinterest, Twitter, Facebook or Instagram.

Here is a Pinterest-ready photo for you to pin!

Autumn Leaves Quiet Book & Fall Homeschool Unit

I am linking up to the wonderful Montessori Monday! If you do any homeschooling, I urge you to check out the weekly link up for great ideas!

Montessori Monday

Watercolor Painting with Toddlers

Watercolor Painting with Toddlers

This past weekend was a 3-day holiday weekend here in the U.S. thanks to Labor Day. My husband announced we would be painting our powder room. I love color in my house, so I he didn’t have to ask twice. But of course I never DIY something halfway, so I was immediately brainstorming ways to involve Jax in the decorating.

Watercolor Painting with Toddlers  IMG_2918

Once we chose a lovely spring green called Pear by Behr, I was inspired to try watercolor painting with my toddler! The bright citrus color just begged for some sweet watercolor paintings to be hung on it! Don’t be afraid to try watercolors. It is great medium for young kids!

Watercolor Painting with Toddlers

The materials you need are: watercolor paper, watercolor paints, a pencil and eraser and an art pen. I have a fine art degree, so I bought nicer watercolor paints that I could add to my fine art supplies as well as use with Jax. Mine is the Cotman Watercolor Compact Set. I have this 11″ X 15″ Watercolor Paper Pad that was 40% off at the craft store for back-to-school. I used a Faber-Castell Pitt Artists’ Pen, also from the craft store (with a 50% off coupon.) I also used a bunch of old thrift and dollar store picture frames and a can of white spray paint.

Start by having your little one draw pictures on the watercolor paper with a pencil. Remind them they don’t need to color anything in at that point. We are just making the outlines. I LOVE that Jax loves to draw actual pictures now instead of just rainbows and scribbles. (He still loves drawing rainbows, though!)

Watercolor Painting with Toddlers

While they are drawing their second picture, trace their pencil lines with the waterproof artist’s pen. Jax got ahead of me to I send him to the school shelves to choose an activity to do until I finished tracing. When you are finished tracing and the ink is dry, erase the pencil lines.

And then comes the fun part! Painting!

Painting his rainbow.

Painting his rainbow.

I started out loading and cleaning Jax’s brushes for him. I showed him how he could get extra water on his brush to spread the paint more if it starts to get dry. We explored the different marks each brush made.

I let him do some careful paint loading, and also let him help mix colors in the tray. When he painted his house scene, he asked that we “work together” on the sky, so I helped fill it in. I think he was worried he’d mess it up.

Watercolor Painting with Toddlers

Jax really enjoyed painting!

"House"

“House”

"Fruits & Veggies"

“Fruits & Veggies”

"Rainbow"

“Rainbow”

He was so proud to see them hanging up in the finished powder room.

Have you tried watercolor paints with your toddler? When Jax was even younger, I painted outside with him on canvas with acrylics.

Watercolor Painting with Toddlers

Watercolor Painting with Toddlers

How can you not smile when you see art like this?

Recycling Old Crayons

We eat out more than most families – I’m vegetarian and my husband is not. It can be hard to cook meals that satisfy us both. It can be easier (and often cheaper) for us to each pick out what we want in a restaurant instead of us having to cook two dinners at home.

One side effect to eating out with a toddler is I end up with a lot of kids’ menu crayons in my purse. I’ve been collecting them in a baggy for some time (as well as broken ones from home and party leftovers) and was finally ready to create something new with them.

There are plenty of recycled crayon tutorials online, though we just winged it. I heated the oven to 275° F and sat down at lunch time to rip the wrappers off. Ugh! Easier said than done! I ended up dropping the crayons into a glass of warm water. After a little soak, 90% of then peeled right off. Some of them were difficult to peel regardless of what I did. I think the baggy got left in the car at one point.

Sorting by color is a great toddler activity!

When the crayons were all peeled, I broke them up into a bowl. Jax loves to sort items by color right now, so he helped me put all the like colors together into cupcake tins. I also did a rainbow one with some extras. My tins are Reynolds Wrap Fun Shapes I’ve had forever, but you could use a normal tin or a silicone mold.

We stuck them in the oven and I watched until they were all melted. It was maybe 20 minutes. The deeper the crayons, the longer it takes. Quality crayons like Crayolas melt the best and color the best. Cheap, waxy crayons (which we unfortunately had a lot of) don’t melt as well or color as dark. I’d recommend Crayolas if you are making these as a gift. I made a trio of crayons (not shown) with just some of the primary color Crayolas we’ve collected, and they color great.

When they were fully melted, I  took them out of the oven to cool. I sped up the cooling by sticking them in the fridge. They popped right out of the tins once solid again. They look so cute all stacked in a treat bag! Jax loves then, even though some of them don’t color very dark due to the cheap crayons. I’ll definitely be making these again!

The $2 Toddler Art Gallery

I’ve been working on a creativity corner in Jax’s playroom since last summer when he was just old enough to start coloring with chalk instead of eating it. This past Christmas, his wonderful aunt and uncle bought him an adorable art desk from his wishlist that looks so great with the chalkboard I made for him. The desk comes with a hidden roll of paper, so we’ve been churning out the scribbles together with nowhere to put them when we go to start a new one.


I needed a way to quickly store our new drawings in the creativity corner in a way that lets us enjoy them. Then we could move our favorites into the growing art gallery. Here is what I came up with…

Clothes Line ($1 for 70′ at the dollar store)
Clothes Pins ($1 for 36 at the dollar store)
Nails, Hammer, Level, Scissors (already had them)
Total Cost: $2!

This really couldn’t be easier and doesn’t really require a tutorial. All I did was cut two lengths of clothes line, double knot each end and nail them to the wall through the knots, using a level to make sure it was straight. Clip some clothes pins to it and you are ready to hang your masterpieces!

And I really love how his desk looks with the blue walls and red frame of the chalkboard. I know primary colors aren’t trendy for kids’ rooms right now, but I wanted to choose something a color scheme that would fit in with the already-blue walls, be easily DIY-able and be available in affordable toys and furniture.

Stay tuned for a post with some more playroom updates! In the meantime, pull up a chair and grab a crayon!

DIY Large Scale Alphabet Art

I’ve been wanting some art for Jax’s playroom for quite a while. Large scale art is quite expensive, so it was time for a little DIY. I knew the first piece I wanted to make would involve the alphabet. Jax can recognize 90% of the alphabet and loves to point out the letters he knows.

The only thing I bought for this project is spray paint. I got Rustolium Painter’s Touch in aqua satin finish. I already had the 30″ x 40″ blank canvas – a gift from a dear friend before she passed away. The scrapbook paper and Mod Podge is from my craft stash.


To start, I created a 30″ x 40″ document in Photoshop and started laying out the alphabet in different fonts until I was happy with how it looked. I then cut everything up into templates and printed them out (in light gray to save ink.) If you’d like my pattern, download a zip file here. If you have a different size canvas, you’ll have to scale the templates accordingly.

Spray painting the canvas took all of 5 minutes and I only needed one good coat. I’m planning to use the leftover paint on a smaller canvas for the reading nook.

The part that took the longest was cutting out the letters. The templates print out backwards, so I’d lightly tape one to the back of my paper and cut out both the template and paper at the same time. Some letters, like the F and R, were too big to print in one piece. I had to print them in parts and tape it together before cutting the letter out. As I cut each letter, I’d tape it to my canvas using my layout as a guide, choosing colors as I went.


Once everything was cut, I was ready to glue the letters down. I used the leftover Mod Podge from my barn project. I started with a paint brush but it started shedding so I switched to a foam brush. I simply picked up a letter (throwing out the tape), painted a layer of glue on the canvas, placed the letter back down, smoothed it out and painted glue over top. I found heavier scrapbook paper worked better. My very thin dark blue paper wrinkled up as it was drying. I made sure the glue covered the whole canvas for an even finish.


I let the canvas dry overnight and was so happy when I saw the result in the morning light. It looks so colorful and happy in the playroom and fits perfectly between the windows over Jax’s little kitchen. (Side note: I just bought wood to add two more shelves to his kitchen. Those Melissa & Doug food boxes drive me nuts stacked like that!)

What do you think of our ABC art?

Jax’s 20 Month Painting

It is so, so pretty outside! The husband is cooking chili (My apple butter can wait till tomorrow. Chili, yum!), sun is shining and the baby finally took off his cranky pants.

We took advantage of the warm fall weather to do Jax’s 20 month painting. This time I added a sea sponge and showed him how to blot with it. He did a couple times, but them switched to using it like a brush with big strokes. We used autumn paint colors (mostly because that is all I have left!)

Jax’s 19 Month Canvas Painting

We were delayed in doing Jax’s monthly painting. First there was a hurricane which soaked the ground, then flooding in the area from heavy rains. We had a tiny window of one afternoon where the ground was finally dry (my knees actually still got wet!) before more storms rolled through.

Jax seemed to understand that we were going to paint when I told him he was going to “dip dip and paint!” When I handed him the paintbrush he dunked it in the paint right away and started putting it on the canvas. I let him choose the paint bottles, but I vetoed the burnt umber. I have to keep the colors similar because he blobs them on so thick and smears it around. Brown would just turn it all into a big mess.

When he was all done, he accidentally stuck his hand in a paint plate and laughed. I showed him he could finger paint, so he added a bit more color that way. Once I paint the edges, we’ll add it to his gallery. I need to create a second section and fill all the frames with some of the pictures he’s been coloring lately.

I know we are going to cherish all these canvas paintings as he grows up. Do you have any childhood artwork you cherish?

Sunday Souvenir: Drawings

I drew this picture when I was 5 of a mug given to me by an elderly relative. It is still one of my favorite mugs! I was sooo proud of this drawing and thought it looked just like the mug’s design. My dad must have thought I did pretty well, since he snapped a photo of it.

I remember starting to understand drawing what you see and not what you think you see while making this. I’ve always loved to draw!

This drawing I did in high school when we had a week off of school due to crazy ice storms. I set up the still life on the table and spent many many hours a day drawing my oboe, the sheet music and the table cloth. We had this drawing scanned and printed so we’d have copies that would last. I’m not sure where the original is, perhaps downstairs in my portfolios. I need to frame it or one of the copies at some point.

Leave a comment if write a Sunday Souvenir and you’d like your link to be added!

Jax’s 18 Month Painting

Two hands? Why not!

We are keeping up with our monthly canvas paintings and I’ve really noticed a difference now that Jax is 18 months old.

He recently mastered dipping his food into sauces and dips. He calls it “di di” (dip dip). I laid out four plates of paint for him (hiding the bottles – he gets very distracted if he sees them), handed him a paint brush and told him to dip dip. And, he did without hesitation. He had a lot of fun dipping then making a few paint strokes before choosing a new color. It really looked like he was starting to understand he could paint a new color when he dipped in one first.

At the end of the painting I helped him make hand a foot prints on it to have a record of how big he was at 18 months old. Then we cleaned up together, with me washing him off and him splashing in the tub of water.

It came out great and he had so much fun! I’ll be hanging it on the wall as soon as I paint over the staples on the edge of the canvas.

Finished painting

Sweet Edible Playdough

Sweet is an understatement!

I wanted to introduce Jax to playdough, but I wasn’t sure if he would try to eat it. I looked online, and most edible recipes involved peanut butter – something we haven’t added to his diet yet. I finally found one made with powdered sugar. Way more sugar than I’d want him to eat, but I planned to teach him to keep it out of his mouth.

Turns out, he thinks it is way too sweet to eat anyway! We had fun playing with it, but it gets a little sticky in warm toddler hands after a while.

Here’s the process:

Jax’s July Painting

I hope everyone had a safe and fabulous fourth of July! Jax and I celebrated by nursing to the sounds of fireworks going off around our neighborhood. The noise didn’t seem to bother him, so maybe next year he’ll be able to stay up and watch them.

This weekend we did his second monthly painting! This time I painted the canvas yellow for him, then we poured paint onto the canvas and he used both brushes and his fingers to make a beautiful mess. It had to dry overnight because he piled on the paint, but it looks great!

He had very little paint on him this time. I think he is figuring out that it goes on the canvas – not his belly button!

 He also did a mini painting as part of the prize in our first giveaway. I think it looks adorable…

Finished Paintings

Colorful Playroom Art Gallery

Our playroom has been a blank canvas since before we even became parents. I love color and painted in a rich blue despite the fact we had now furniture for it. It became the craft room whenever I’d host a party. The room has seen: painting, coloring, photo booths of various themes and even tie-dye (with a tarp down on a hot, stormy day).

When Jax became mobile, it was clear he needed a safe place of his own to play – free from hazards and dogs who steal baby toys (and shred them into 10,000 tiny pieces. Don’t ask.) So we put up some great wide gates (that double as travel gates when we rent a beach house) and got a soft, brown rug from Ikea.

Fast forward to now… The playroom is Jax’s favorite place (besides my breastaurant! Hah!) and he runs to the gate, begging to “pway”. He’s getting old enough to start taking interest in different activities, so as a part of introducing him to art, I wanted to introduce art to his playroom. Back to Ikea we went (with the long drive perfectly timed during nap) where we chose a table a chair set for him to play and make artwork at.

My other reason for going was the great, inexpensive frames they carry. I chose four large frames and four small ones in bright colors. Back at home, I laid them out on the dining room table, along with his first painting and two blank canvas he’ll paint on soon. When I was happy with the collage of frames, I put them up on the wall, eye-balling it, as I wasn’t feeling too particular about placement. I have a feeling the gallery will grow and change with time anyway.

For now, the plan is to rotate his paper artwork in the frames and hang all his canvas art up as well. As you can see, his first painting currently holds a place of honor. I painted over the edges to hide the staples using one of the colors we had used. The bottom half of that wall is going to become a chalkboard eventually. I might have more fun with that than Jax!

How do you display your child’s artwork? I’d love more ideas, as I know I’m going to have a hard time letting go of any of it!