 Ask my son what he wants for dinner and his answer will most likely be “sushi!” Of course, he doesn’t really eat actual sushi, but we go to our favorite sushi spot and sit at the bar. They bring him bowls of miso soup with rice and heaps of tofu and little plates of crab sticks. He adores it! So when I was brainstorming his birthday party theme, sushi crossed my mind and I knew it would be perfect.
Decorations
My decorations were a combination of items I owned, items from the thrift and dollar stores and items I purchased from a party supply. I decided to focus on only one room – the kitchen.
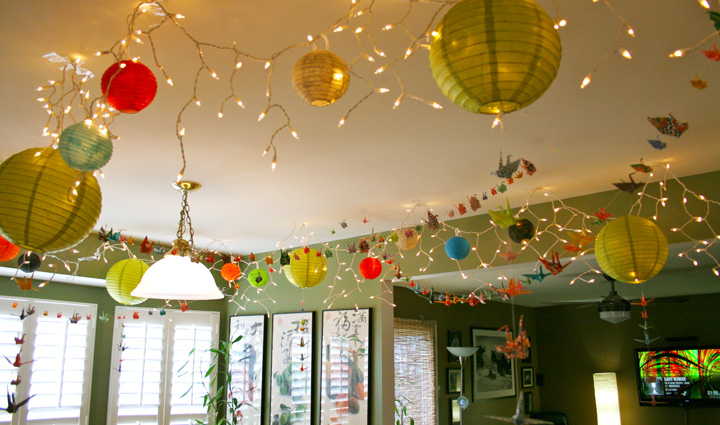
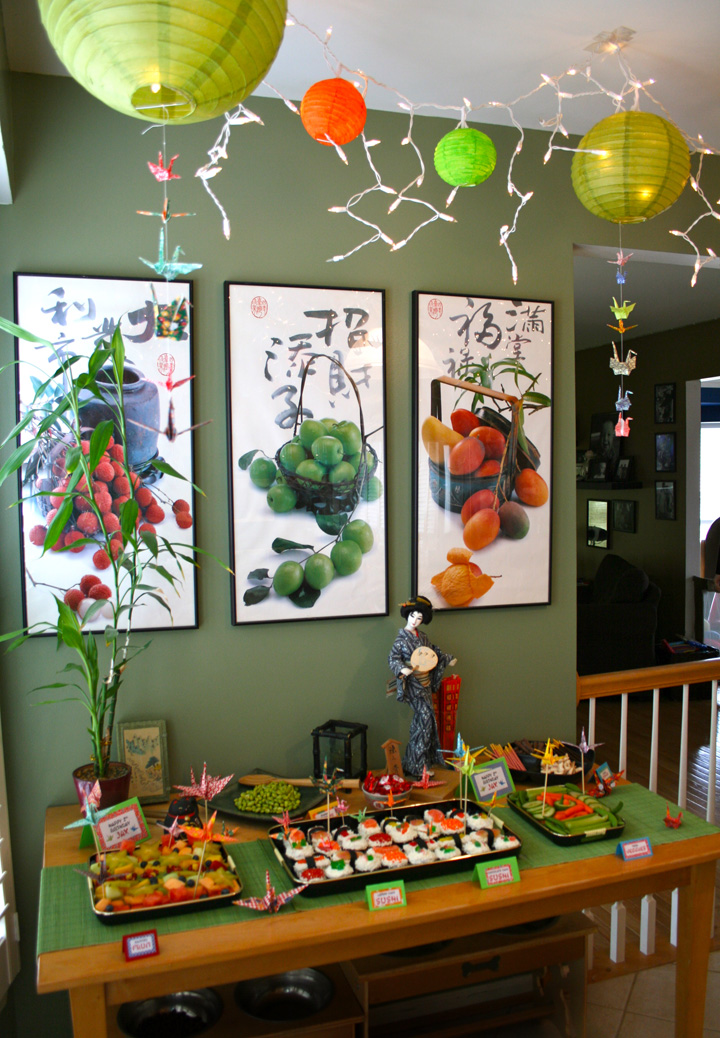
For the ceiling, I purchased a set of green paper lanterns and 2 sets of small, white paintable lanterns. I painted them a variety of colors using craft paints I already owned. I hung our old icicle lights on the kitchen ceiling and then added the lanterns. I had envisioned the lanterns as well as lots of paper cranes. Using three sizes of origami paper in beautiful traditional patterns, I folded about 250 – 300 cranes over the month of January.
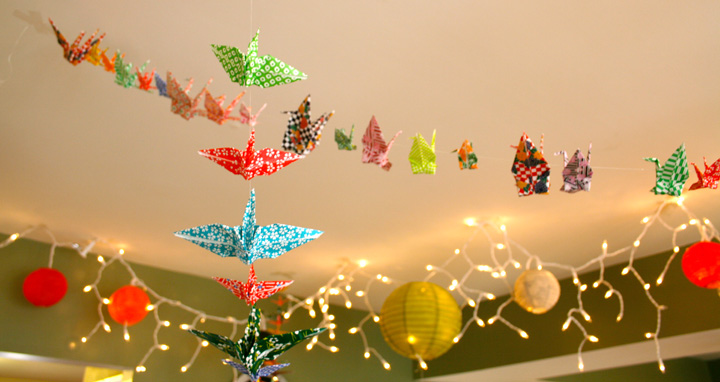
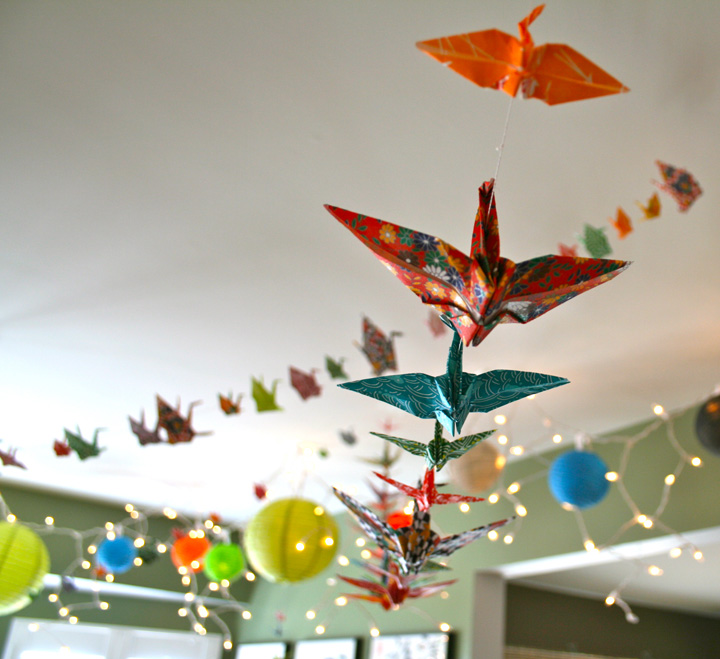
Crane Mini Tutorial: Fold your cranes. I can do this in my sleep, as I used to make hundreds of teeny tiny cranes when I was little. Using strong thread (I used this ) cut to your desired length and a needle, poke your need through the tail and neck of the first bird (for a horizontal garland) or up through the body (for a vertical garland). Tie a knot after each bird and repeat until your garland is the desired length. To make my knots, I made a slip knot, then ran my needle through the loop and pulled it tight.
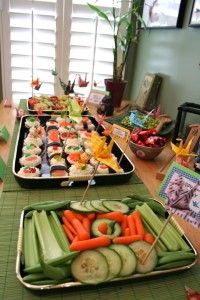
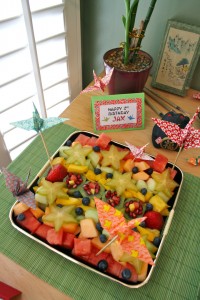
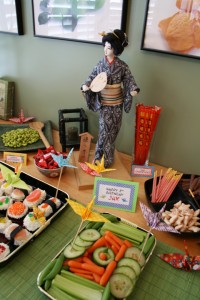
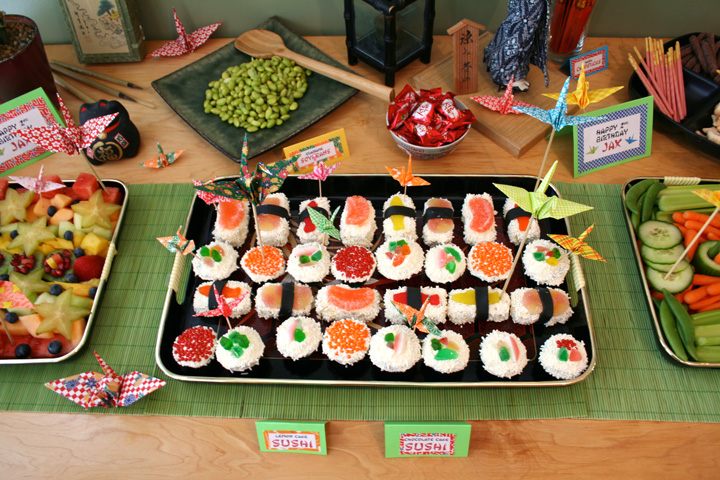
The food table is our kitchen table push up against a wall. The Asian prints were already there. They are from a calendar a Chinese restaurant gave us years ago.  From around the house I added: one of my many bamboo plants, my beloved Geisha doll that my grandpa gave me when I was little, a maneki neko and a black bamboo candle holder. I also used our new bamboo placemats as a table runner. From the thrift store, I was able to add a set of Japanese food trays that held cupcakes, fruit and veggies. I also found a pretty sumi-e ink set that I displayed with some brushes and a green square platter for serving edamame. I added handmade labels to all the dishes with both the English and Japanese names (or at least what the internet told me the Japanese names were!) I glued some toothpicks and skewers onto some cranes to embellish the food.
Food
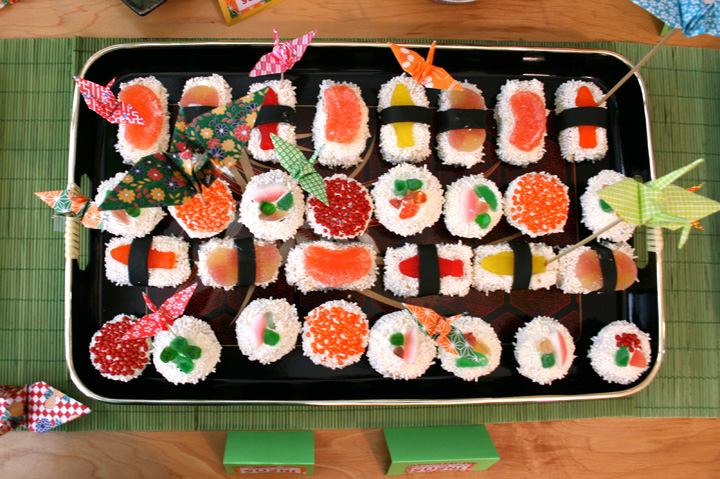
The main attraction was the sushi cupcakes. I am so happy at how they came out! And they were so simple. I made a ton of them – two full cakes worth – and provided cupcake boxes so guests could bring home 3 or 4 mini cupcakes.

Sushi Cupcake Mini Tutorial: You’ll need cake, white frosting, lots of white jimmies/sprinkles, red and orange pearl sprinkles (I purchased all my sprinkles from the Etsy shop Sweet Estelle’s Baking Supply), assorted gummy candies (I used large Swedish fish, candy orange slices, gumdrop peaches, strawberries and cream gumdrops, gummy worms and gumdrops), green or black mini cupcake papers, black fondant (I dyed some green I already had black), and one of these great cutters. For my round maki sushi, I made dark chocolate cake in green mini cupcake papers. This made the papers look really dark green. I frosted them with cream cheese frosting, stuck on some sliced candies or pearl sprinkles, then covered the rest of the frosting with white jimmies.
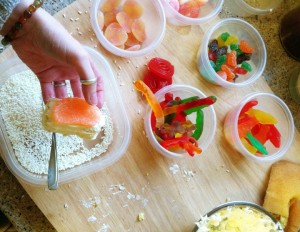
For my nigiri style cupcakes, I baked lemon cake in two 1/4 sheet pans and chilled them for a few hours. I used the cutter to make perfectly even rectangles. I rolled out the black fondant and cut it into strips. I frosted everything but the bottom of the cake (I used more cream cheese frosting but with lemon extract added), laid candies on top (for the orange slices, I rolled them flat with a rolling pin), then wrapped a strip of fondant seaweed around some of them. I covered the exposed frosting with lots of sprinkles. I chilled all the cupcakes overnight to help the frosting firm up a bit. They were great, and I had none left after the party.
Jax loves fruit, so despite him being a winter baby, I treated him to all his favorite off-season fruits. The party had been underway 30 seconds when he was already stealing watermelon off the fruit tray! For the tray, I laid out rows of watermelon, honeydew, cantaloupe and mango, with star fruit and blueberries on top. The center was a row of kiwi “sushi”. I hollowed out some thick kiwi slices and stuck some sticks of watermelon and cantaloupe in the hole. A sprinkle of pomegranate seeds on top finished them. With my extra fruit, I mixed a big bowl of salad for the counter with: watermelon, kiwi, honeydew, strawberries, blueberries, grapes and pomegranate seeds. Just about all of the fruit was eaten. I also had a veggie tray with carrots, celery, sugar snap peas and a cucumber “sushi” made like the kiwi ones but with veggies.
 Other food: I had a tray of Asian cookies from our local international market that were a big hit. On the origami table, there was a tray of savory snacks including rice crackers, siracha and wasabi peas and a Japanese snack mix. The wasabi peas were the only thing at the party not really eaten. I served shelled edamame that was a big hit with all the toddlers at the party.
Drinks: On the counter I had a tea station with green, black and oolong teas. There was also lemonade, a pitcher of ice water and cold juice boxes.
 Treat Bags:
The treat bags went along with the theme. At Target’s Dollar Spot, I bought stuffed toy sushi and sushi erasers. I also added a set of pretty painted chopsticks, origami paper & instructions, a party horn with tinsel and an assortment of Asian cookies such as Pocky. I packed them in inexpensive clear bags and tied them with colored string. The tags were paper circles I wrote Thank You in Japanese on one side and English on the other. I added a mini paper crane to each bag.
 Activities:
Jax is too young to really do any formal games and crafts at his parties just yet, so I set up an origami table with lots of paper, books and instructions. Both the older kids and the adults enjoyed the challenge of figuring out the origami designs.
We had the Washington Capitals game on, as we are big fans (they lost, boo…) but the playroom was the other big attraction. Jax adored playing both with the kids his age and the older ones. He also spent some quality time playing with his relatives. Some big hits in the playroom were: Jax’s barn, his little kitchen and the tool bench he got for Christmas always had a crowd.
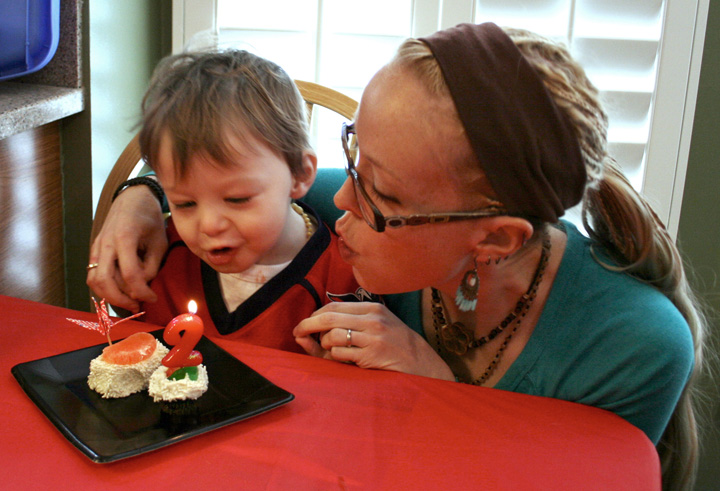
- Candles… Take 1!
Highlights:
My favorite moments? Jax’s face when we started singing him “Happy Birthday”. The fact that he loved blowing out the candles so much he asked to do it again later on. And I obliged! Seeing him leaning sweetly on an older boy, hanging on his every word. Spending time with friends I see too little of.

- Candles… Take 2!
It was a great party! I can’t believe my sweet little baby is 2!
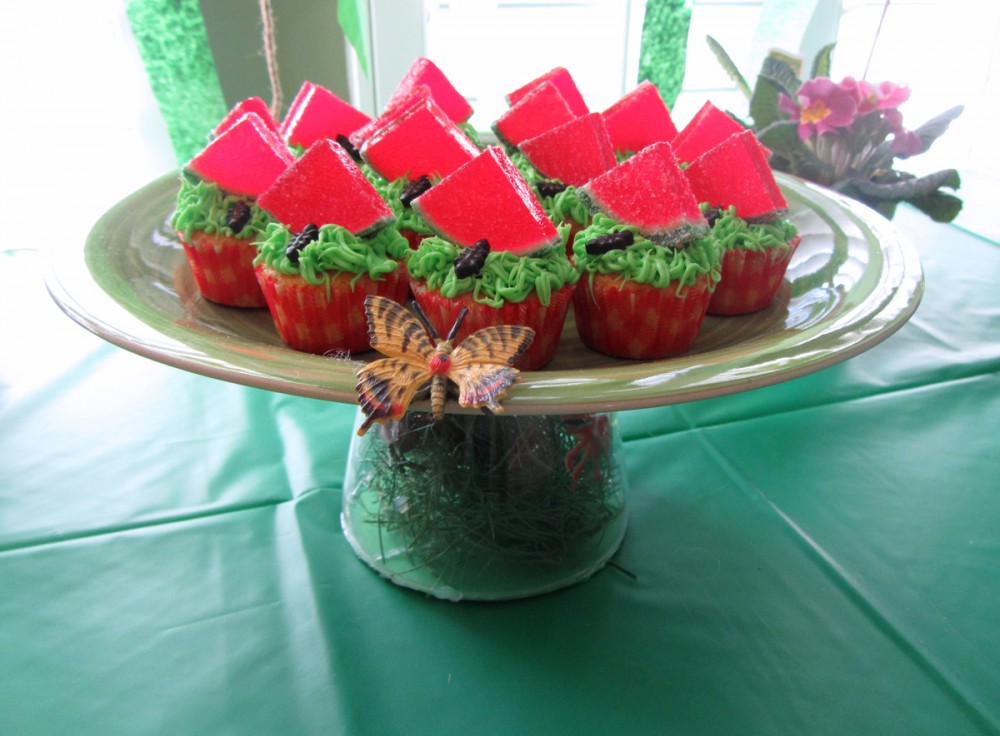
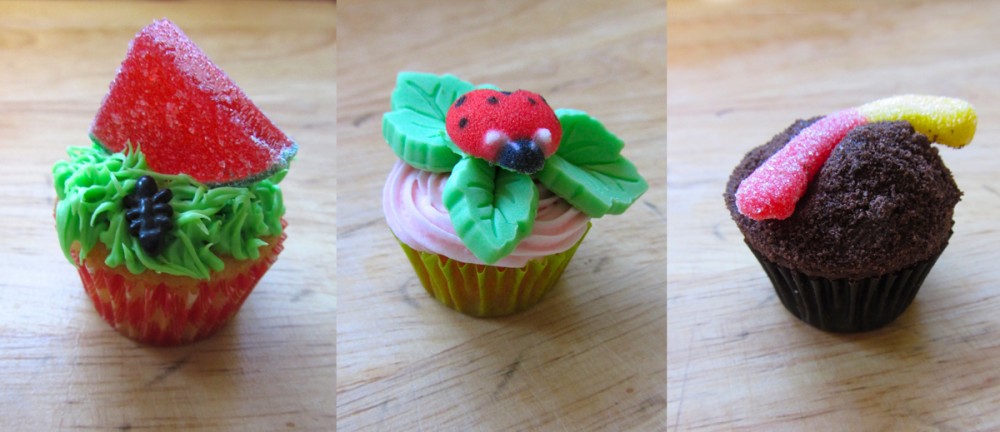
, and watermelon slice candies. I baked them in red gingham cupcake liners. (I had a custom listing set up on Etsy will my three liner choices.)
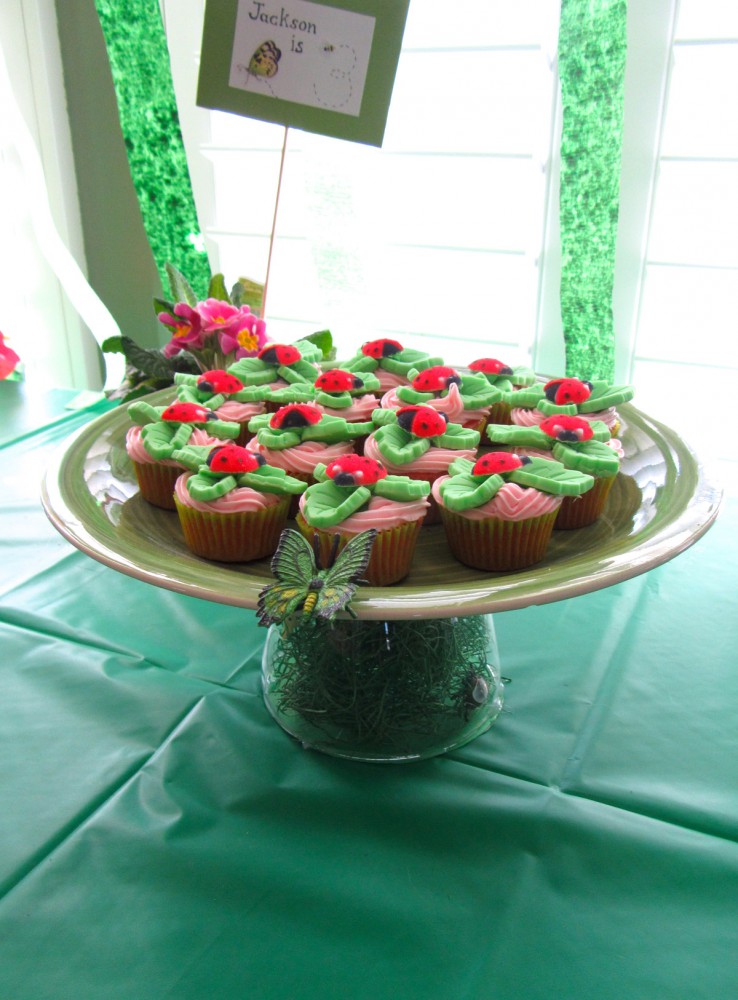
. I added little pressed sugar ladybugs
. I baked them in lime green cupcake liners.
. They were baked in simple brown cupcake liners.

