I feel like I’ve been waiting forever to get a Christmas tree, though it is only one week into December. Maybe because I started sewing felt ornaments in October? Last night we finally picked out a tree. An hour of living room tree surgery later, Jax and I hung our decorations.
For his first two Christmases, I only used unbreakable ornaments – mostly colorful balls and stars and plastic snowflakes. This year, we skipped the boring balls and mixed handmade ornaments with special family heirlooms. (Though I did keep the fragile glass and crystal ones in the box for another couple of year!)
I adore how the tree turned out! It is full of love and handmade touches. Jax told me it is his “favorite Christmas tree!” and that he loves it. Here are three little tutorials for some of what I created.
DIY Origami Crane Garland
Supplies:
Origami Paper
Beading Needle
Beading Cord
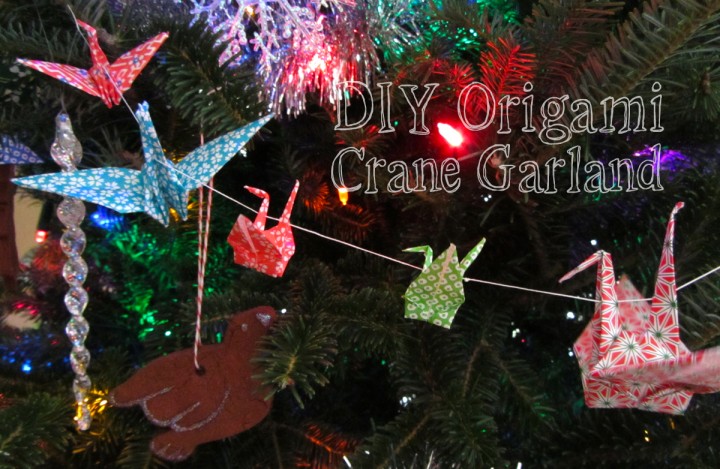
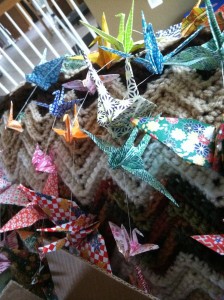
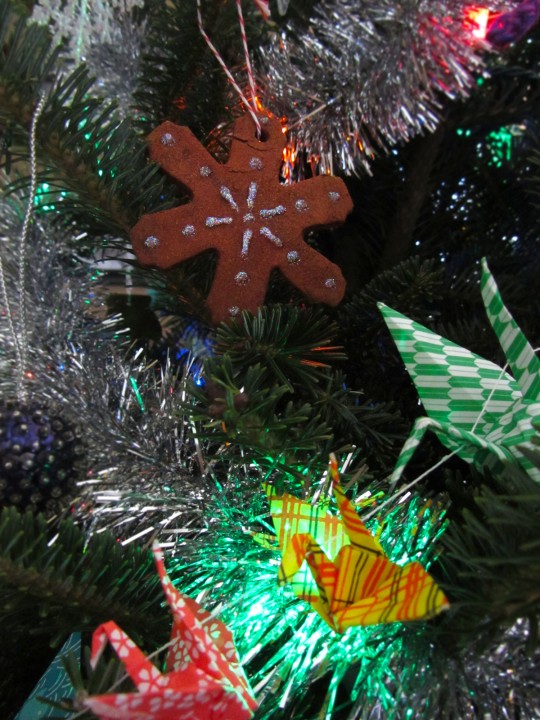
I originally made these origami crane garlands back in January for Jax’s sushi-themed birthday party. A friend had the great idea of reusing them on our Christmas tree. I’d been looking forward to pulling them back out all year!
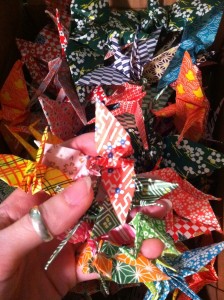
Start by folding your cranes. I can do this in my sleep, as I used to make hundreds of teeny tiny cranes when I was little. I used three sizes of origami paper, the medium and large were purchase in the craft store, then I bought this 3″ paper for the tiny ones. Using strong thread (I used this
) cut to your desired length and a needle, poke your need through the tail and neck of the first bird (for a horizontal garland) or up through the body (for a vertical garland). Tie a knot after each bird and repeat until your garland is the desired length. To make my knots, I made a slip knot, then ran my needle through the loop and pulled it tight.
I made three 6 foot lengths of garland which made them much easier to manage. Those birdies love to tangle up when not in use!
Crochet Candy Cane Garland
Supplies:
Mosaic Yarn in Psychedelic
H Crochet Hook
Pattern
Tacky Glue
Wax Paper
Ironing Board
Pins (rust proof)
Old Paintbrush
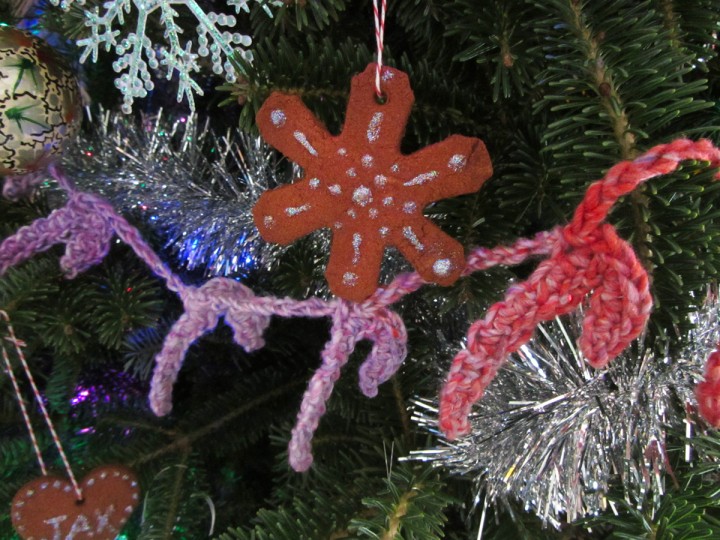
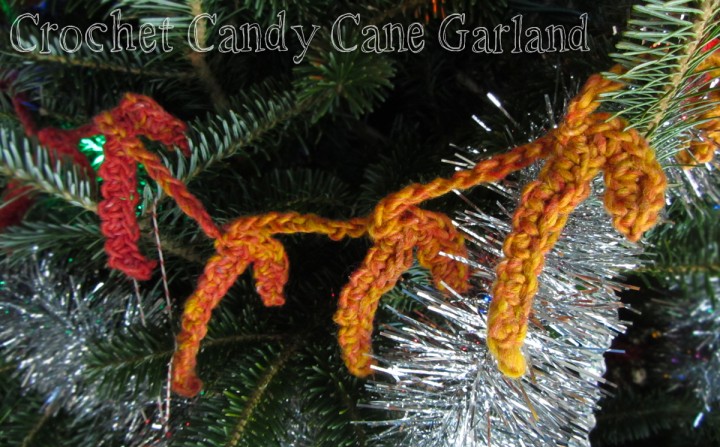
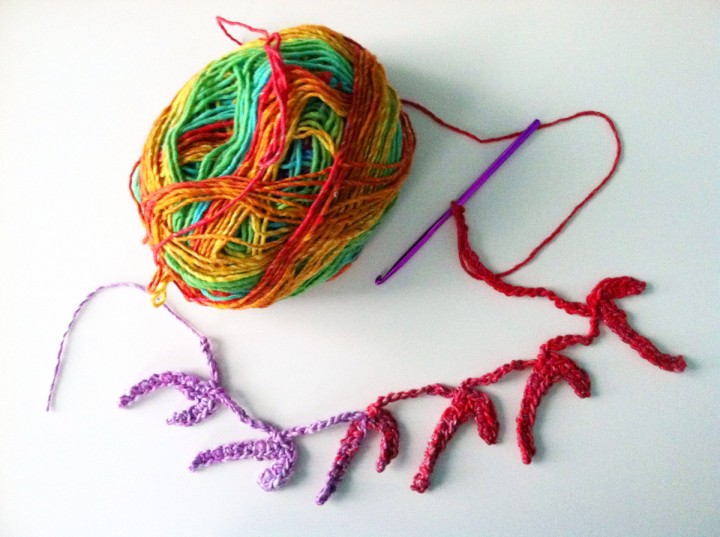
I hadn’t crocheted since having Jax, but after pulling out an old crochet hook to try to get a hairball out of the vacuum tube (I know, yuck!) I was itching to get back to it. I’d already had Jax pick out a ball of yarn to make pompoms ornaments with, but decided to do a garland instead. After washing the hook (hah!), I took a look online for easy garland patterns and fell in love with this candy cane one.
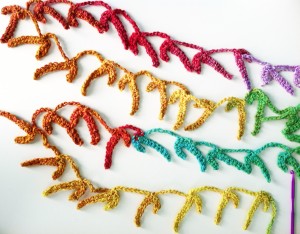
You could certainly got with yarn in more traditional Christmas colors, but Jax likes rainbows. Our yarn was Bernat Mosaic Yarn in Psychedelic. I followed the pattern, except that I did 18 chains where it asks for 14. I wanted an extra inch of space between the candy canes. After doing two repetitions I had the pattern memorized, and no longer bothered with the stitch marker. I used the full ball of yarn and the garland was the perfect length for our 6 ft tree.
I worked on crocheting it for 3 evenings, and every night before bed I’d lay out wax paper on my ironing board and wet the completed candy canes with water. I pinned them down flat in their proper shape and then brushed on a 50/50 mixture of white tacky glue and water with an old paint brush. I left them to dry overnight. I liked doing this in batches, as they wouldn’t have all fit on my ironing board at once.
Painting the glue mixture onto one side of the candy canes gave them enough stiffness to hold their shape while still being soft to the touch on the other side. If you really want them sturdy, dunk the whole thing in the mixture.
DIY Cinnamon Ornaments
Supplies:
Cookie Cutters
Cinnamon Powder (4 cups)
Apple Sauce (4 cups)
Drinking Straw
White Glue (half bottle)
Parchment Paper
Baker’s Twine
Puffy Paint
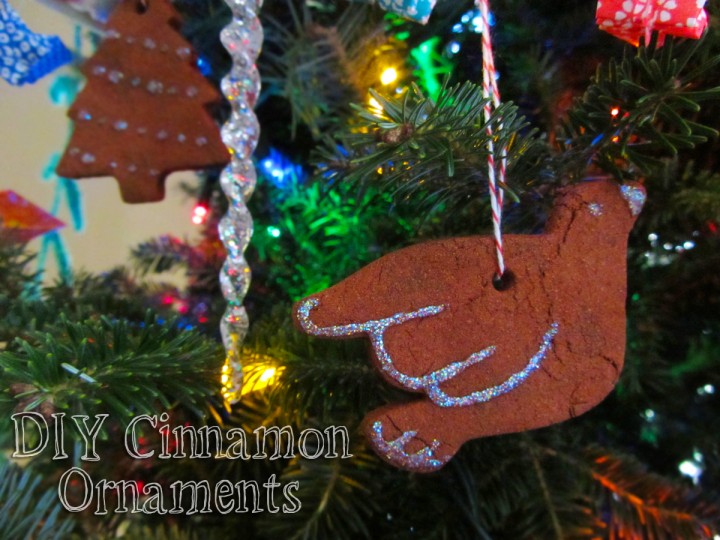
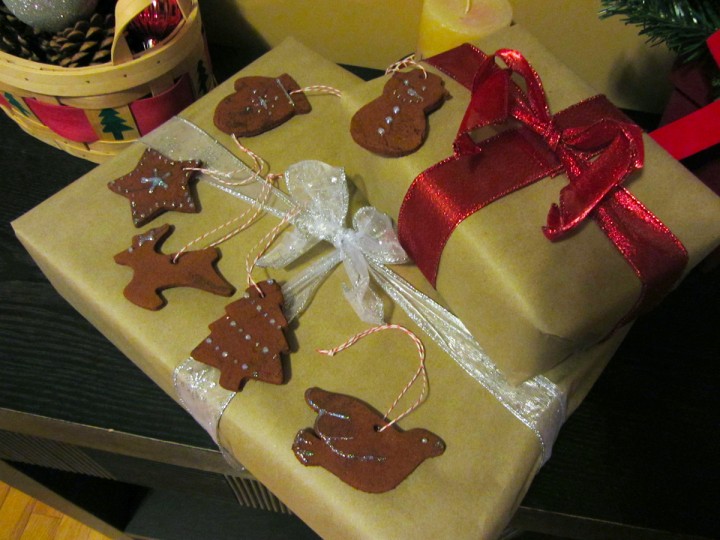
There are many tutorials and recipes for cinnamon ornaments online, but I just did my own thing. They turned out perfect and the house smells great! I ordered my cinnamon in bulk from Amazon. I have a full bag left. My cookie cutters are similar to the ones linked above, but it is a 30 piece set I found at the thrift store. My twine and parchment were ordered from Zulily (some good deals there, but they deliver via donkey – i.e. SO SLOW!)
Pre-heat your oven to 200° F. Mix together the cinnamon and applesauce in a big bowl. Stir in white glue until the dough is a good cookie dough consistency. I used half a 7-ish oz bottle.
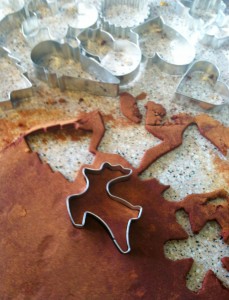
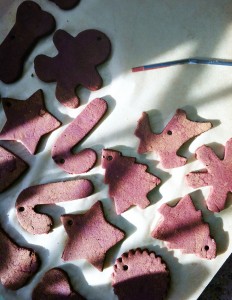
Sprinkle cinnamon on your work surface and roll out batches of dough, using cookie cutters to cut out fun shapes. I did an assortment of holiday shapes, then a bunch of dog bones for my friend who is a pet sitter. Using a drinking straw, punch holes for hanging. (The dough goes up into the straw and you end up with a perfect hole. Place your shapes onto parchment lined cookie sheets. I was able to stuff my oven with two large cookie sheets and two mini ones (meant for our toaster oven). If you have more than two racks in your oven, you could do more than that at once.
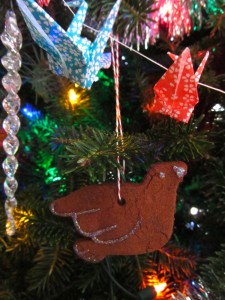
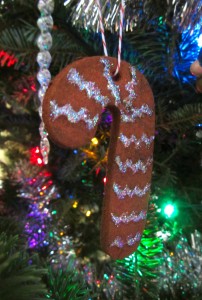
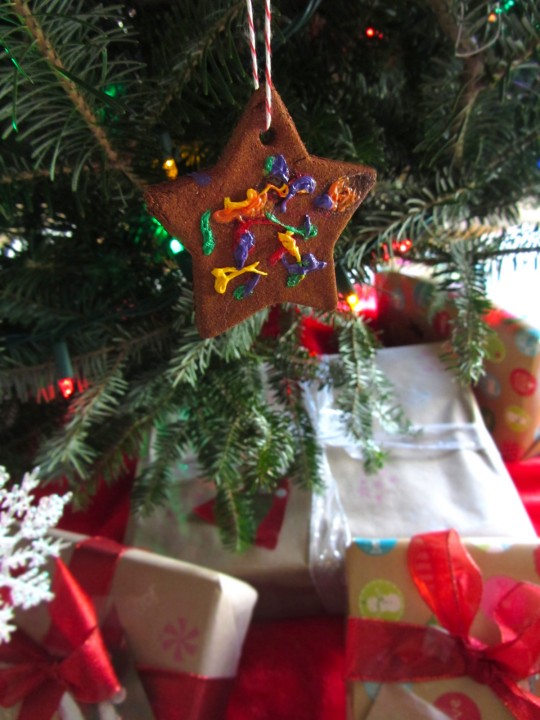
Place the ornaments in the oven and enjoy the smell over the next 3 hours. Flip the ornaments after 1.5 hours so they dry out on both sides. Pull them out and allow them to cool before decorating. I decorated mine with a glittery puffy paint (meant for fabric). We also tested a white puffy paint, but felt it looked too harsh. A mixture of the two was nice, but two much work going over things twice. You could also use actual royal icing, but the ornaments may end up more delicate. Jax enjoyed squeezing out multicolored paints onto his ornaments. When I was decorating, I ended up liking best the ornaments I painted simplistically with delicate lines.
We let our paint dry for a couple hours while we ate dinner, then tied loops of bakers twine for hanging. If you use ribbon, you might need larger holes. The holes shrink a bit as the ornaments bake.
Have you made any of the ornaments featured on Imagine Our Life? Post a photo of your tree to our Facebook page! Jax would love to see it!

