My dollhouse quiet book is complete! It turned out so sweet and cute. I really enjoyed doing a girlie project! Click an link below to go to the other pages of the book for patterns and instructions.
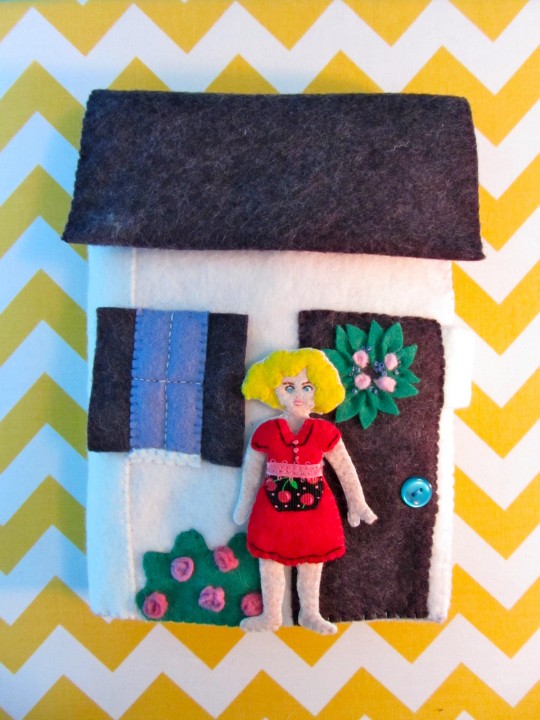
There is no pattern for the cover, but I will go over everything I did. Leave a comment here or on the Facebook page if you have any questions!
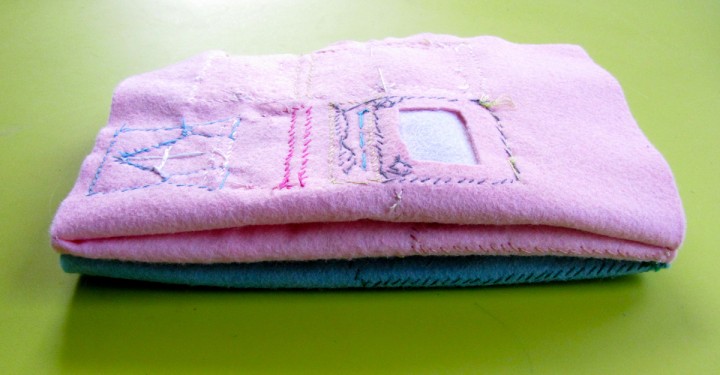
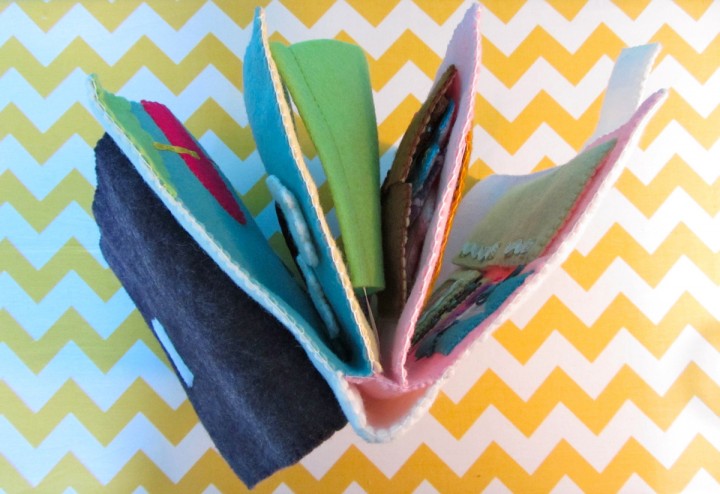
Stack the three folded pages like a book. I did mine: kitchen, bed/bath, then the backyard.
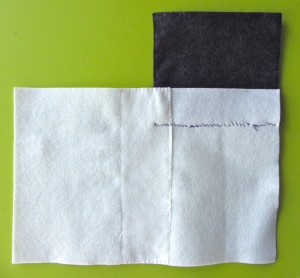
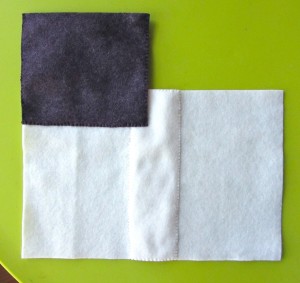
Sew together the two center pages along three sides (top edge of book, outer edge and bottom edge.) Don’t go all the way to the center of the middle page with your stitching (see photo above), but leave a gap so the book can easily fold closed.
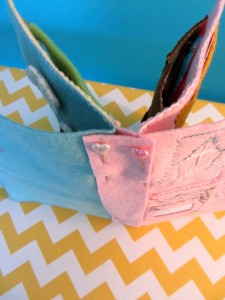
Do one last step to prepare your pages to be covered. Cut a strip of felt to cover the spine of your book. I used pink, since many of my pages use that color.
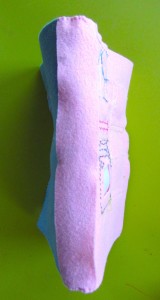
Sew the spine along the top and bottom edges. I also added a couple stitches on either side of the spine in the center to hold it in place.
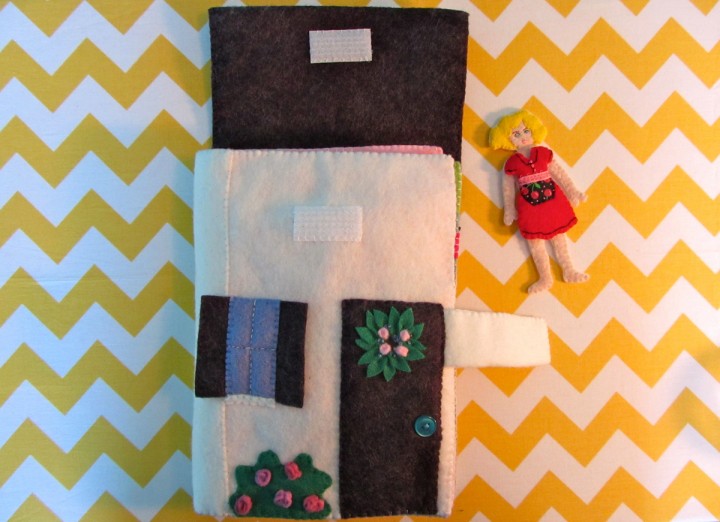
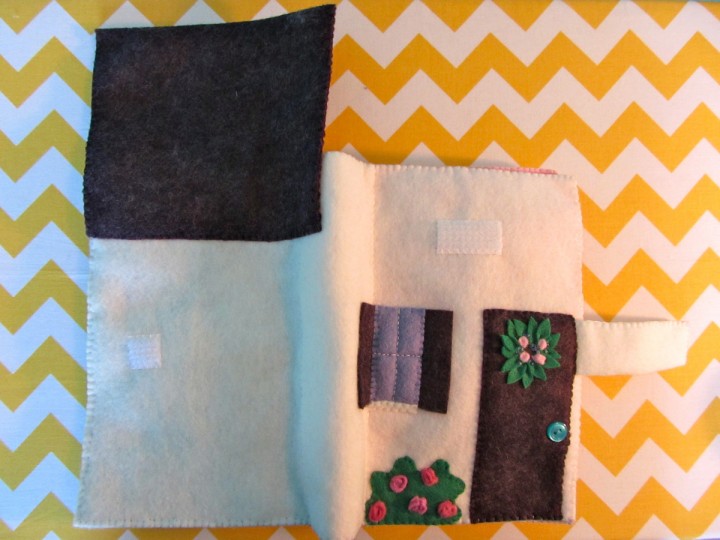
inside of cover – outside of cover
Cut two 8.5″ wide x 9″ high pieces of felt in your cover color. Overlap them so they fit perfect around your closed book. I pinned one to the front and one to the back, then overlapped them and pinned. Sew both sides of the overlap. I had the front side of my stitching on the outside of the cover, even though one of the overlaps is on the inside.
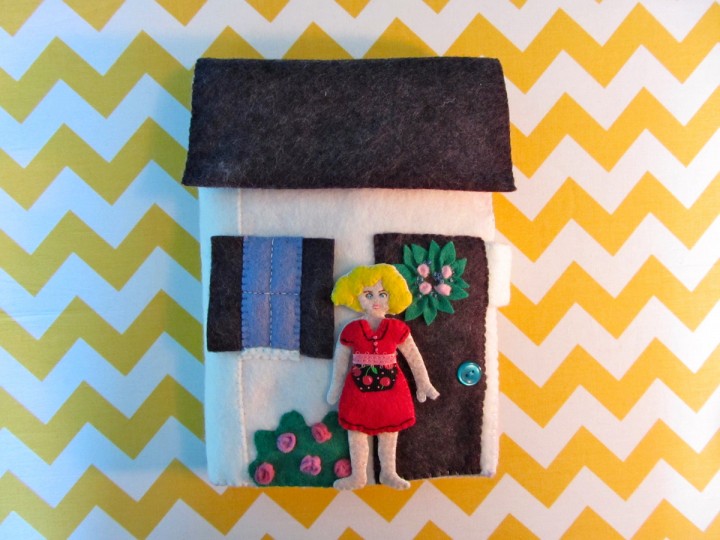
Take a 12″ x 6.5″ piece of felt in your roof color and fold it in half (to 6″ x 6.5″) The fold will be the part of the roof that hangs down over the door when folded over the top of the book. I sewed my Velcro on last, careful to go through one layer of felt, but you can do it before sewing the roof. Sew the sides of the roof closed and sew the third side down to the cover as shown above.
I added another closure – a little strap in my cover color (2 layers of felt with Vecro) that wraps around the open pages and Velcros closed. Normally this kind of strap is attached to the back, but I didn’t want to have a square of Velcro on the front of my book. I pinned mine in place then sewed a door down over top of it. My door was 2.25″ wide x 5.5″ high to be the right scale for the doll. A vintage button works great as a door knob.
 I made a wreath on the door by cutting little leaf shapes and sewing them down in a circle. I cut tiny pink trapezoids then folded the points in and sewed them down into rose buds. I added some periwinkle French knots.
To make a shuttered window, cut your window shape, then cut the shutter color twice as wide. Center the window on the shutter felt and sew through both to attach it to the cover. The shutters hang free. I back stitched the window panes and added a strip of white for the window sill.
I added a green blob to make a rose bush. Cut 1″ strips of felt about 1/4″ thick and tapered at both ends to make the roses. Stitch the point at one end down, then fold and twist it into a spiraling circle shape, stitching it down as you go.
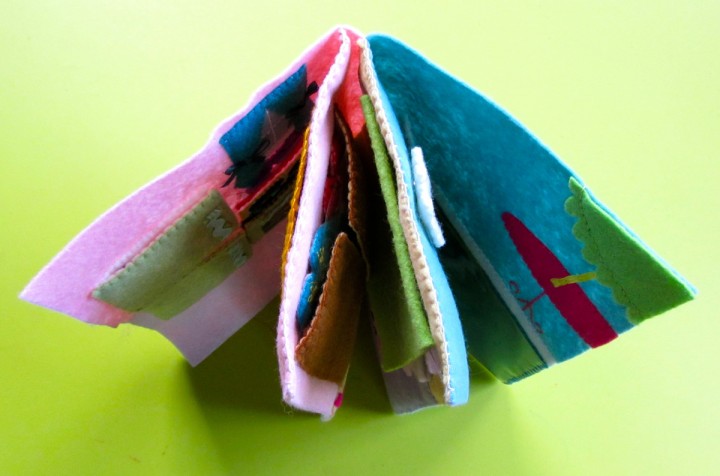
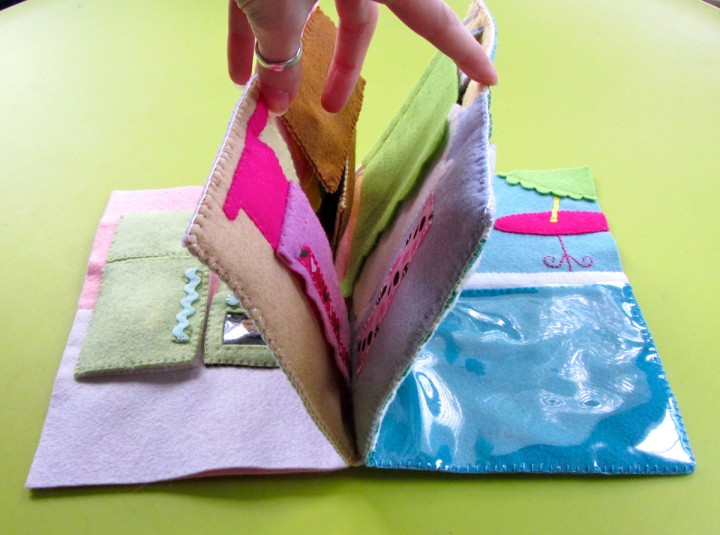
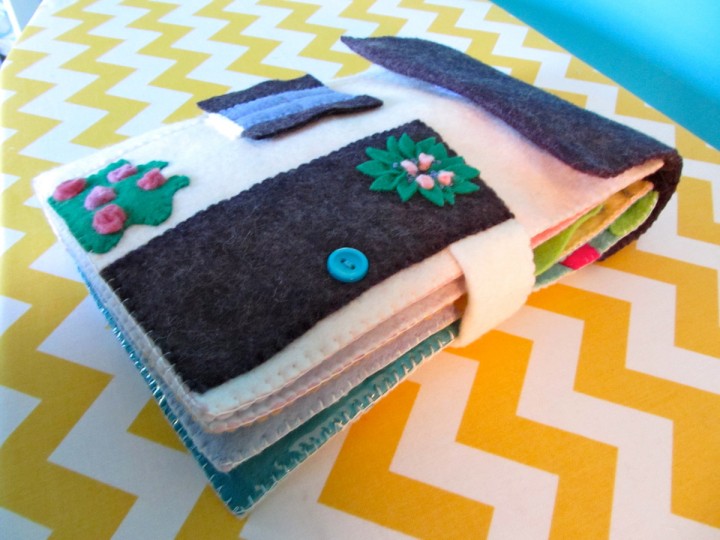
Sew the cover to the first and last page similar to how you sewed the inner pages. Stop sewing along the top and bottom when you get to the spine. The cover will bubble out when the book is open, but fit snug when folded closed.
You could probably add a handle along the center of the roof piece if you wanted to. The cover turns the whole book into a sweet little house and holds the book snug and closed.
This quiet book is a lot of work (aren’t the all??) but SO worth it! You end up with hours of adorable, girly fun. I admit to having fun with it! A lot of the pieces are tiny, so this is for the 3 and up crowd, but it is a homemade treasure that will stay in the family for years.
I hand sewed this entire book with wool blend felt provided by American Felt and Craft. One a project like this that you want to stand up to many, many hours of playtime, it is absolutely worth the extra expense of wool felt. The colors I used for this cover are: white, wild blueberry, jade, forget me not, pink tutu, orchid and sweet pea. AF & C has some brand new delicious looking colors of felt in that I can’t wait to try!
If you sew this quiet book, I’d love to see photos! Email me or post them to our Facebook page. Happy sewing!

