Update:The iSpy bag came out so freaking cute, but I ultimately decided it was too thick for the quiet book. I’ll be posting my redo of it tomorrow or Monday. But, I still plan to use the method blow to make iSpy games as fun, easy gifts!
I love iSpy games! They have all kinds of fun trinkets buried in beads/pellets/rice and you have to squish them around to find everything. It’s a little beyond Jax right now, but I wanted to make one and have it be able to attach to a page in his quiet book.

On the quiet book page
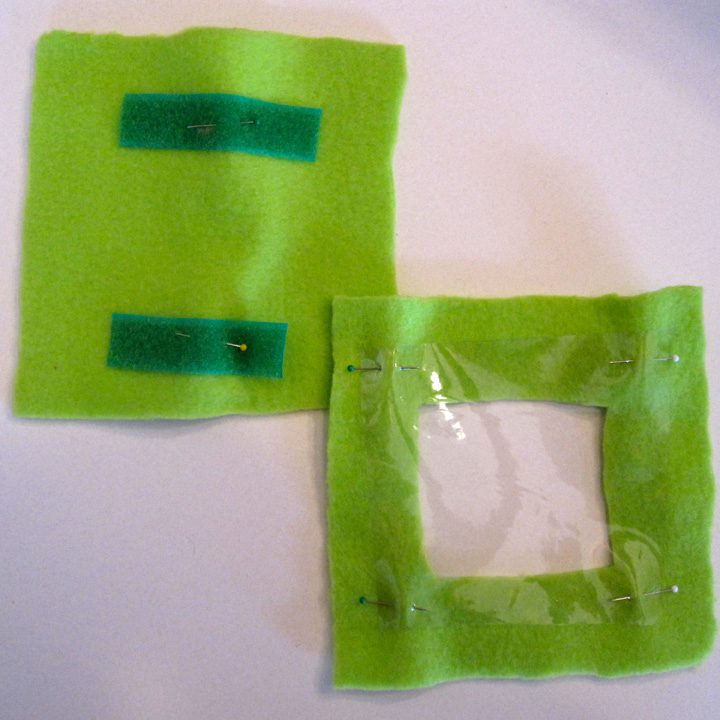
The page itself is simple. I took a piece of fancy felt (tie dye) and sewed down two strips of Velcro so the game would have a place to live when it wasn’t in use. This page will be thick, but most of mine are.
Here’s how you make an iSpy bag. They are fun to make even if you aren’t making a quiet book!
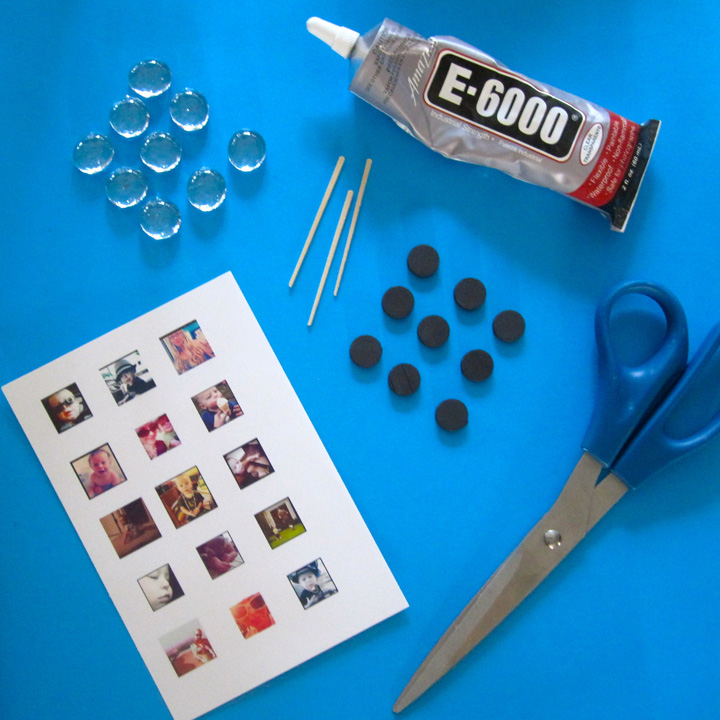
You’ll need:
- fleece scraps (mine were two 6″ squares)
- a scrap of clear vinyl (mine was about 5″)
- poly pellets
, beads or rice
- ribbon (to attach your key card)
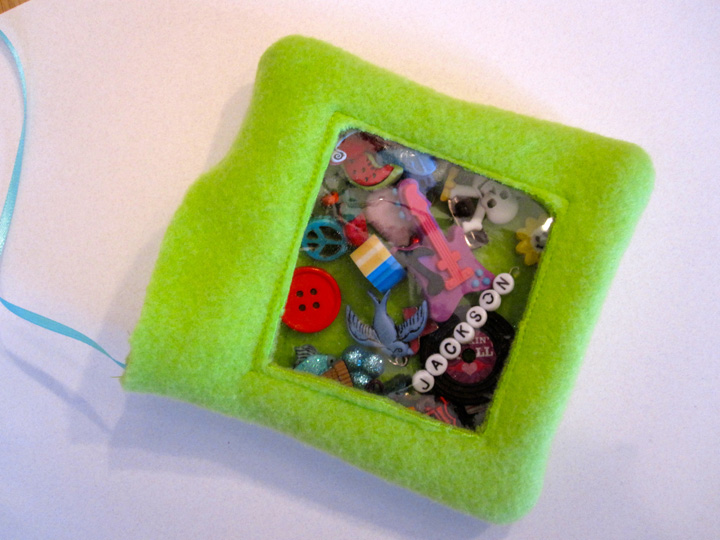
- fun objects (buttons, trinkets, paperclips…)
- print out of your objects (laminated or covered in clear packing tape)
- sewing machine/thread/scissors
- Velcro (if you are attaching it to a Quiet Book page
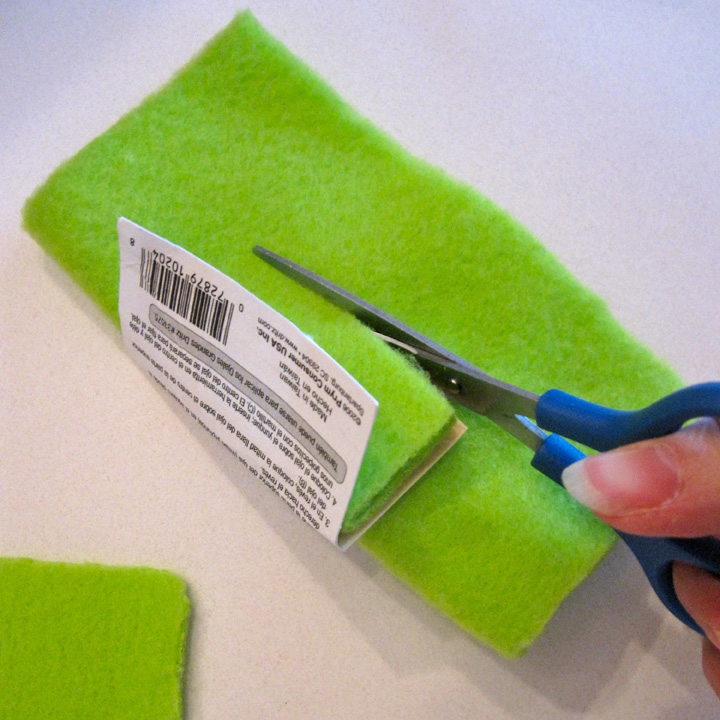
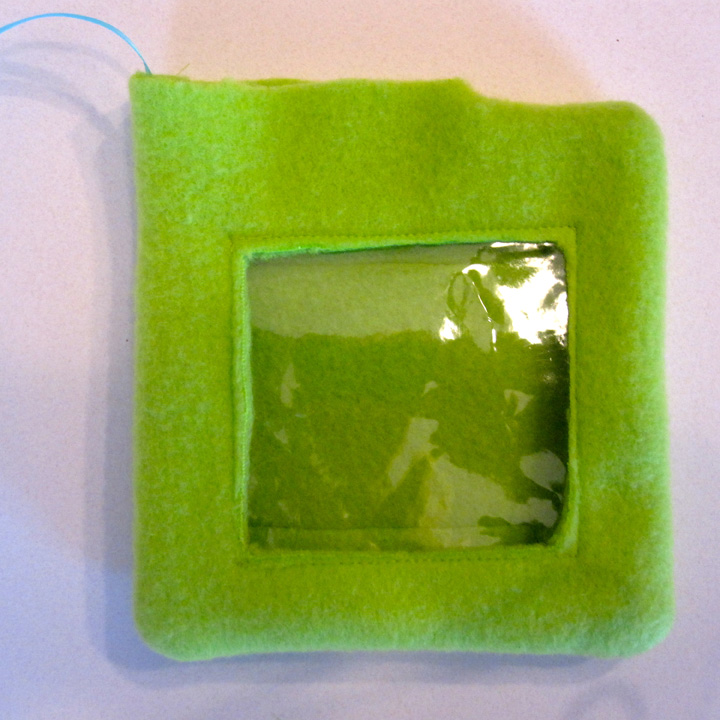
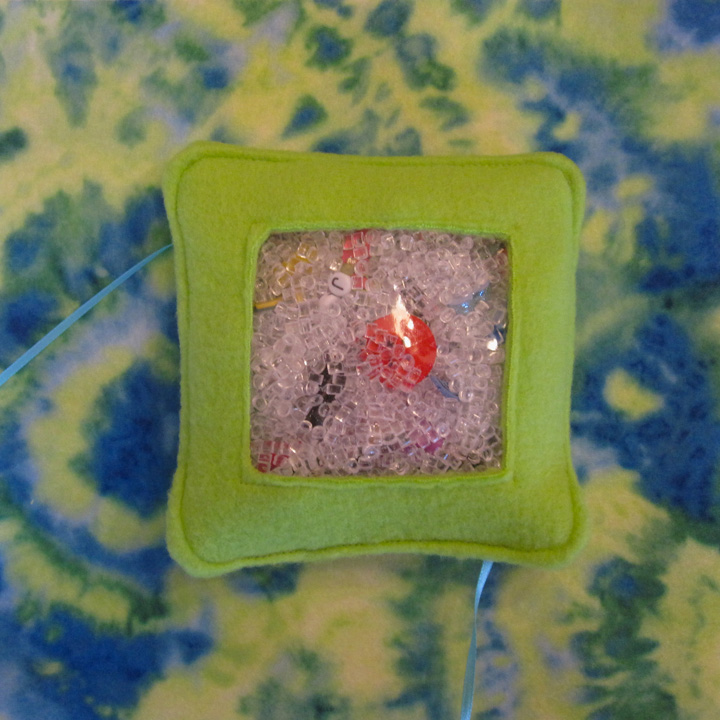
I started with two pieces of fleece that were about 6″ square. I sewed the other half of the Velcro strips to the back piece. I took the front piece and folded it in half. I took a square of scrap cardboard and folded that in half as well. I centered it over the fold of the fleece and cut it out to make the window hole.
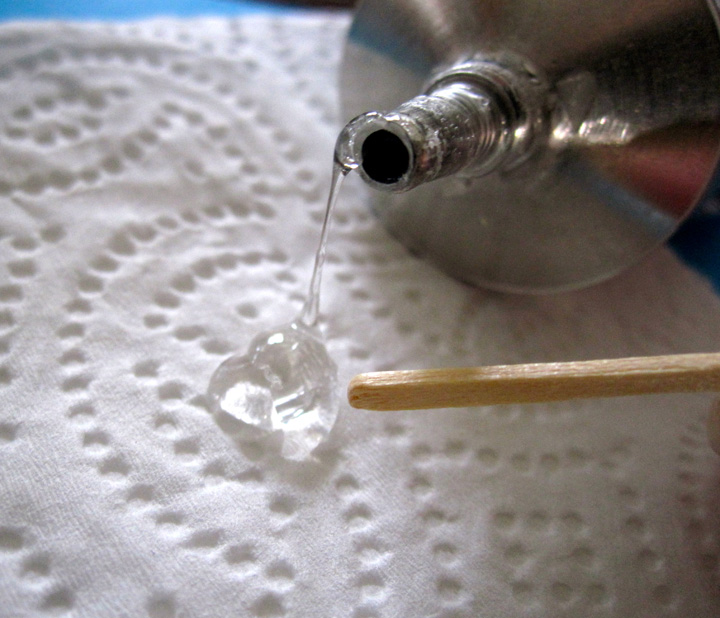
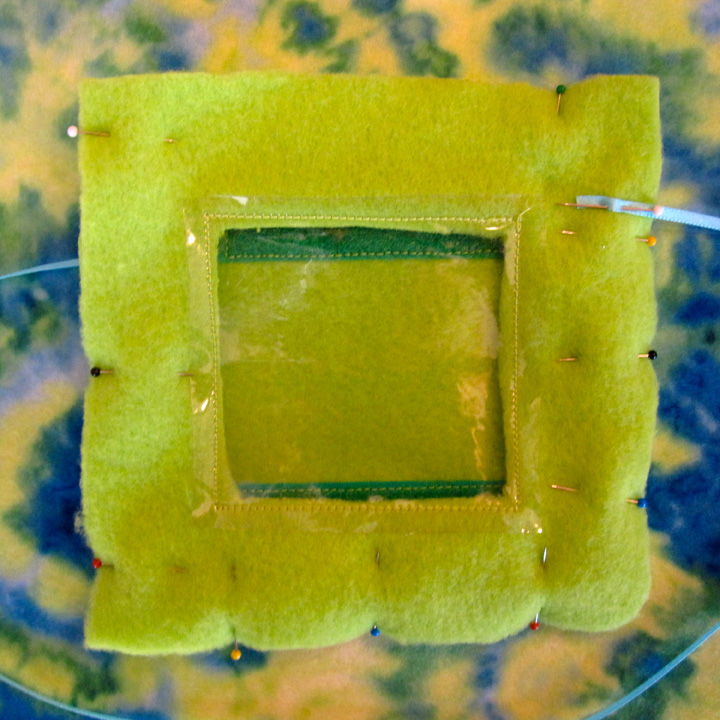
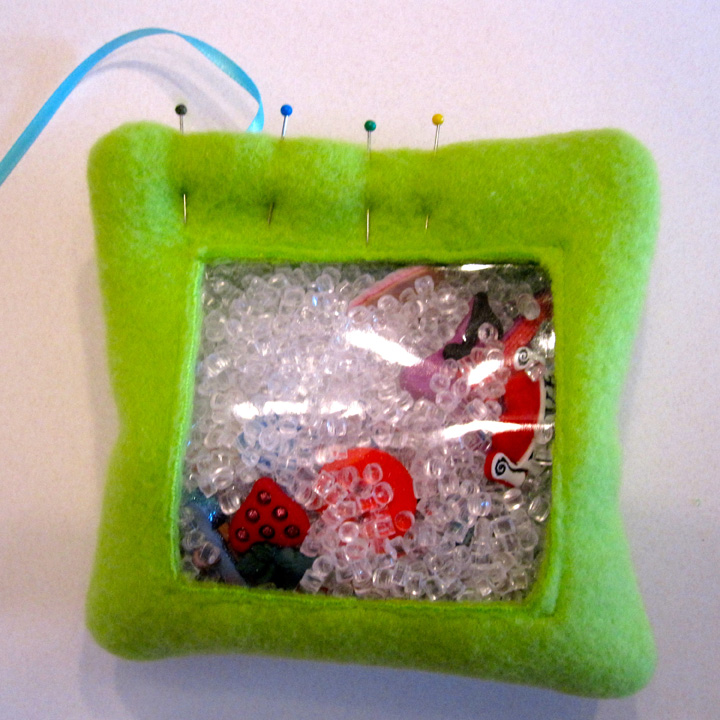
I took a square of clear vinyl that was larger than my window and sewed it to the wrong side of the fleece, then trimmed it down to about 1/4″. I pinned the front and back pieces together, right sides facing, and added one end of a ribbon. (I sewed the ribbon into a side seam then pulled it up through the side I left open. I wanted it to be anchored into two seams.) I sewed around 3 sides then turned it right side out. I was going for rounded corners, so I didn’t clip mine before turning.
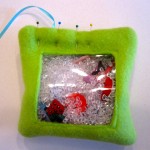
I took all my fun objects I’d collected and placed them in the bag. I mostly had decorative buttons I’d found for a great price at the craft store. They gave me a really good assortment of objects to search for. Then I filled the bag about 2/3 full of poly pellets. I folded in the open side and pinned it shut. I top stitched around the whole bag, going 2 times over the open side (and testing the seam by trying to pull it open afterwards. You don’t want pellets going everywhere!)
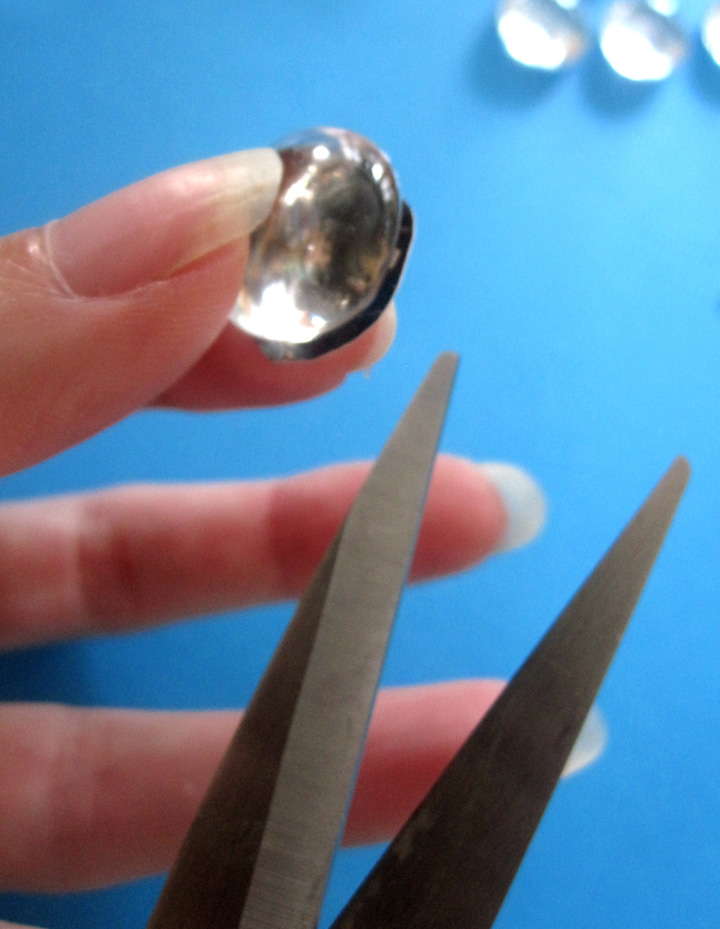
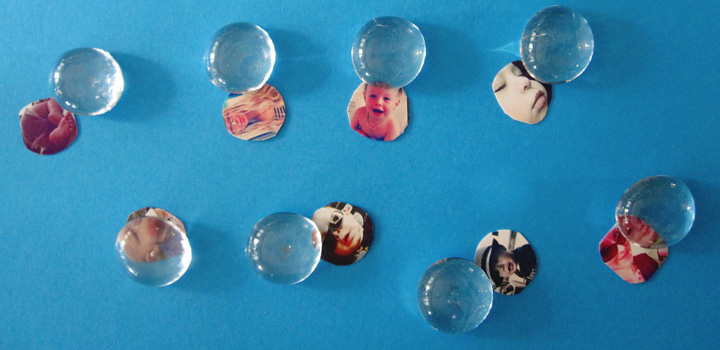
For my key card, I laid out my objects beforehand and took a photo of them on a white background. In Photoshop, I rearranged them a bit and added text. (You can download the font I used for free here. It is made from my handwriting.) I printed the 4″ square on 4″ x 6″ photo paper and trimmed it down. I don’t have and laminating pouches, so I took clear packing tape and covered both sides to make it waterproof and more stable. I expect I’ll need to replace it eventually if it gets too folded. I punched a hole in the top and tied it to the other end of the ribbon.
-
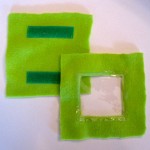
- Cut a hole out of one square
-
- Sew Velcro on the back of the bag (if needed) and sew the vinyl to the wrong side of the window.
-
- Trim the vinyl down.
-

- Pin right sides together and add a ribbon. Sew 3 sides.
-

- Turn right side out and pull the ribbon out
-
- Add your objects then fill 1/2 to 2/3 full of pellets
-
- Pin the hole closed with the ribbon coming out
-

- After top stitching
-

- Laminate the card, punch a hole and add a ribbon

-
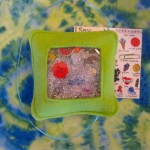
- On the quiet book page
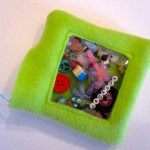
So fun! I’ve played with it a bit with Jax and he was excited when we found the “choo choo”! I think adults can have just as much fun as kids. I may do something with iSpy bags as gifts or party favors in the future. They take so little time to make!