Tag Archives: Toys

Felt Sandwich Set

Have you caught the felt food bug yet? Felt food is super adorable and quite easy to make. I’ve been dying to design some for Jax, but needed to wait until he was old enough to keep them picked up. We have a golden retriever who would find felt food equally as fun!

featured2

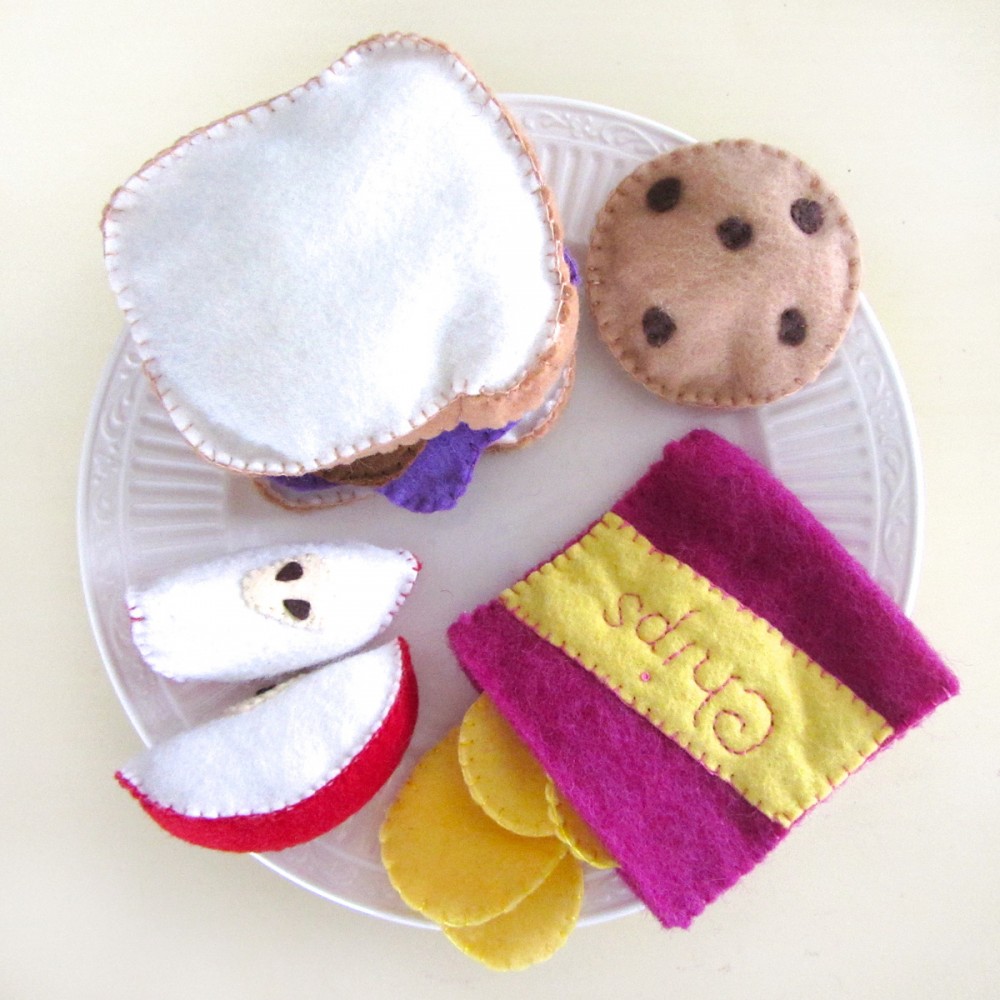
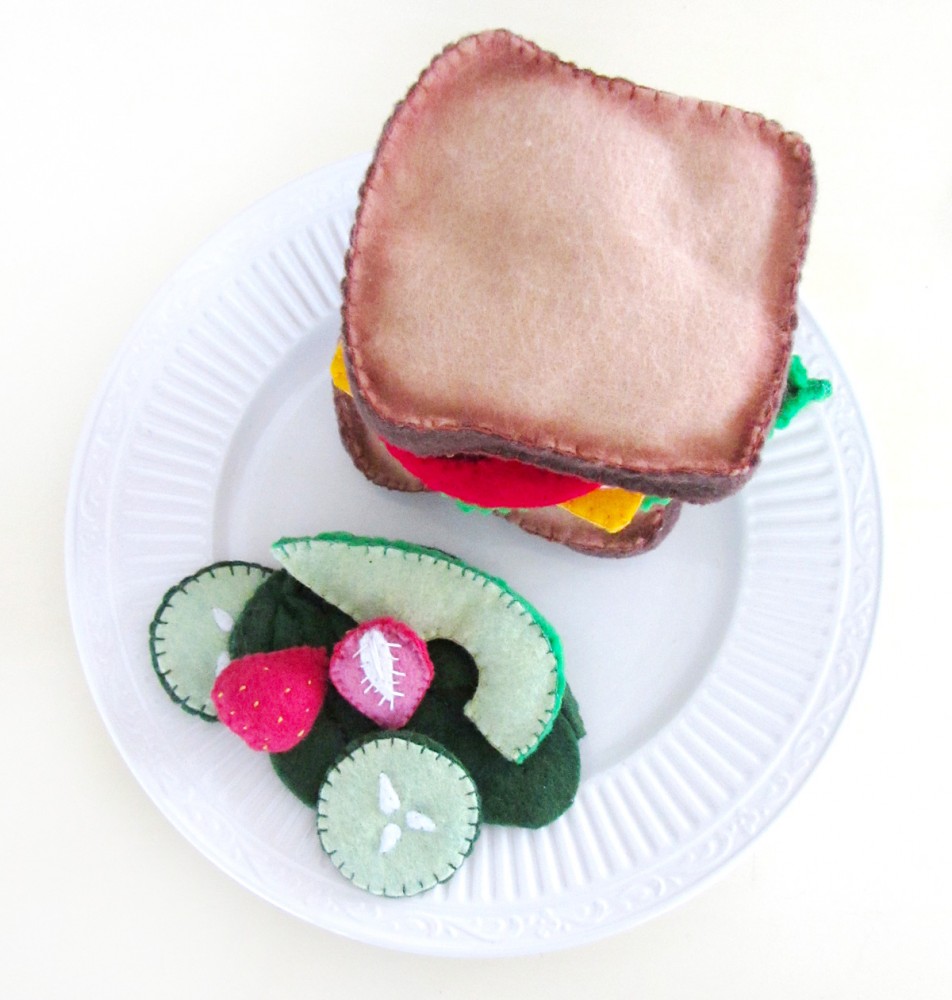
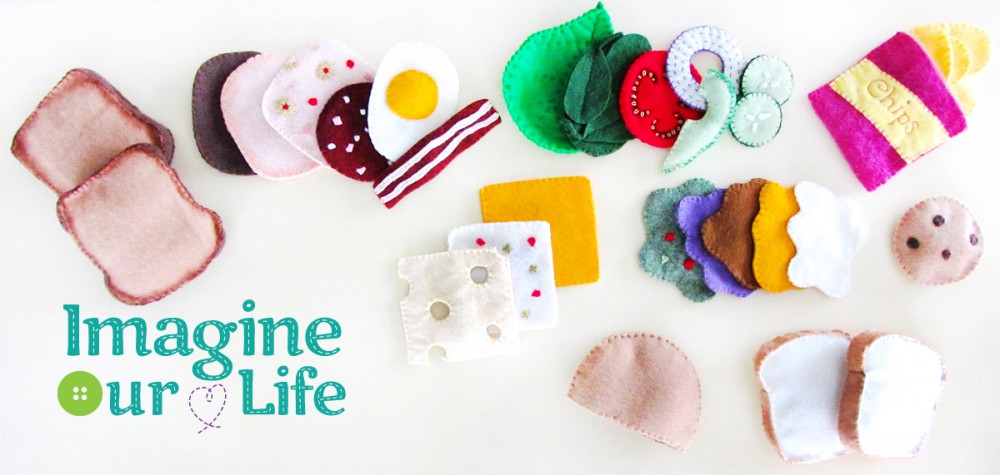
I had so much fun designing and sewing a felt sandwich set for Jax, that I wanted to share the free pattern with you all. This set includes all sorts of goodies for your sandwich shop: breads, proteins, cheeses, veggies and spreads. And don’t forget chips and a cookie!

Felt Sandwich Set

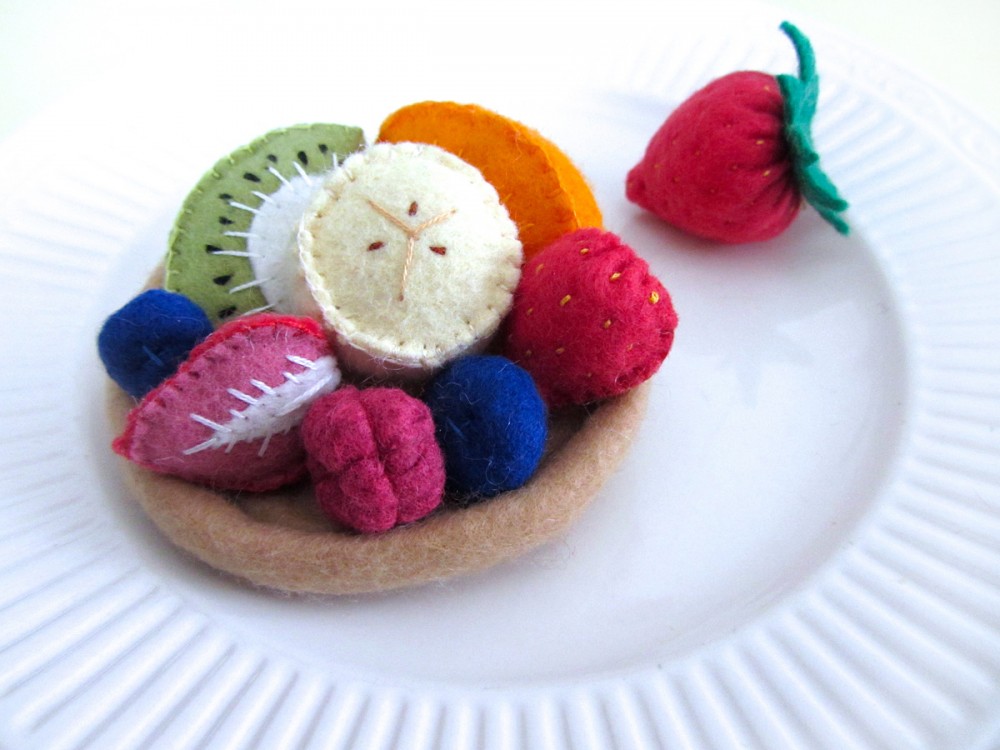
I’ve also been sewing a lot of sliced fruits to go along with the sandwiches. Follow my Play Kitchens & Food Pinterest board for many of the tutorials I followed. I did create some of the fruits on my own. I can share those later if there is interest.

Felt Fruit

What I Used

I used a hodge-podge of felts for this project – whatever I had on hand! Some is wool blend felt from American Felt and Craft, some is cheap craft felt by the yard from Joann’s Fabric and the chip bag is thick 100% wool from the craft store. Here is the pattern I made.

Felt Sandwich Set - Breads

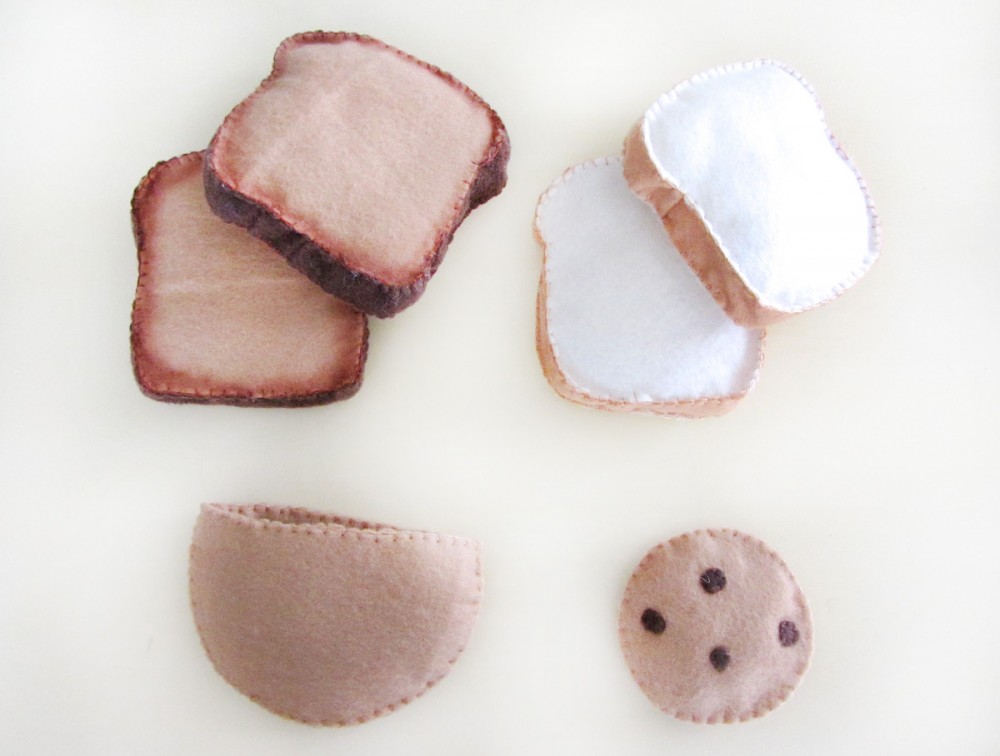
Breads

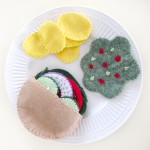
For the pita pocket, I placed two layers together and sewed them together along the straight edge with a blanket stitch. I repeated this with the last two pieces to have the two sides of the pocket. I placed them together and sewed through all the layers along the curve.
Felt Sandwich Set - BreadsFor the sliced breads, I cut two strips of crust for each slice. Using a blanket stitch, one strip got sewn around the top curve of one bread piece and the other around the square bottom. The strips were trimmed and sewn together at the base of the curves on each side. I then blanket stitched the other side of the bread on, pausing halfway to lightly stuff it with poly-fil.
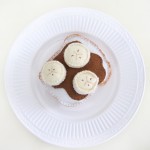
Felt Sandwich Set - BreadsI used artists’ pastels to add shading to the brown toasted bread. I colored lightly around the edges of each side, then “set” it by getting the colored felt wet and drying it overnight. We haven’t had any rub off yet, but Jax is gentle. I do not recommend doing this if any felt food will be in someone’s mouth! And do be sure your pastels are non-toxic.

The cookie is very simple! I cut little chocolate chips and glued them down with a dab of felt glue. I sewed mine down as well. I then sewed the two sides together with a blanket stitch, pausing halfway to lightly stuff the cookie. (All of the items in my breads section were done with cheap craft felt.)

Felt Sandwich Set - Breads

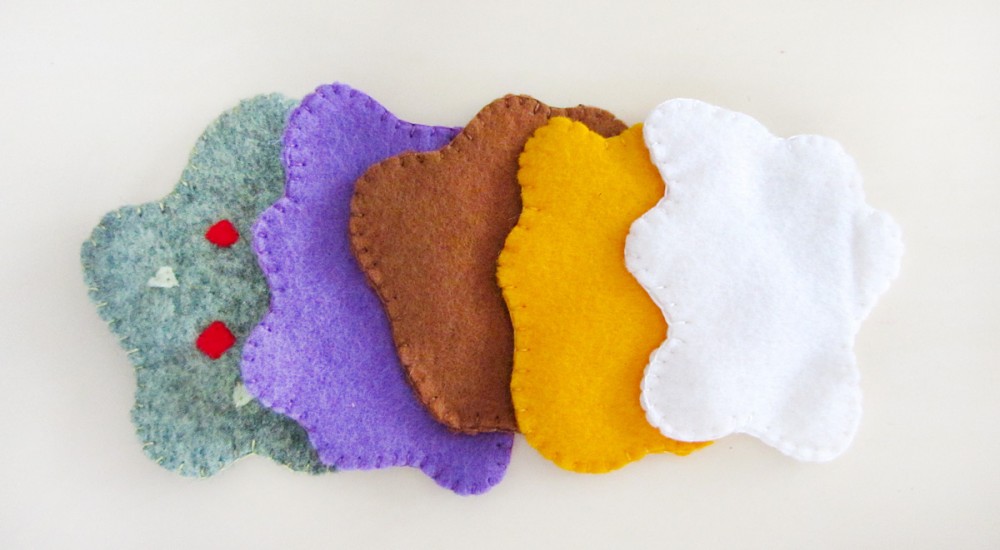
Spreads

For each of the spreads, I sewed the front and back pieces together. On the guacamole, I also glued then sewed down little scraps of red and green felt before sewing the whole piece.

cheese

Cheeses

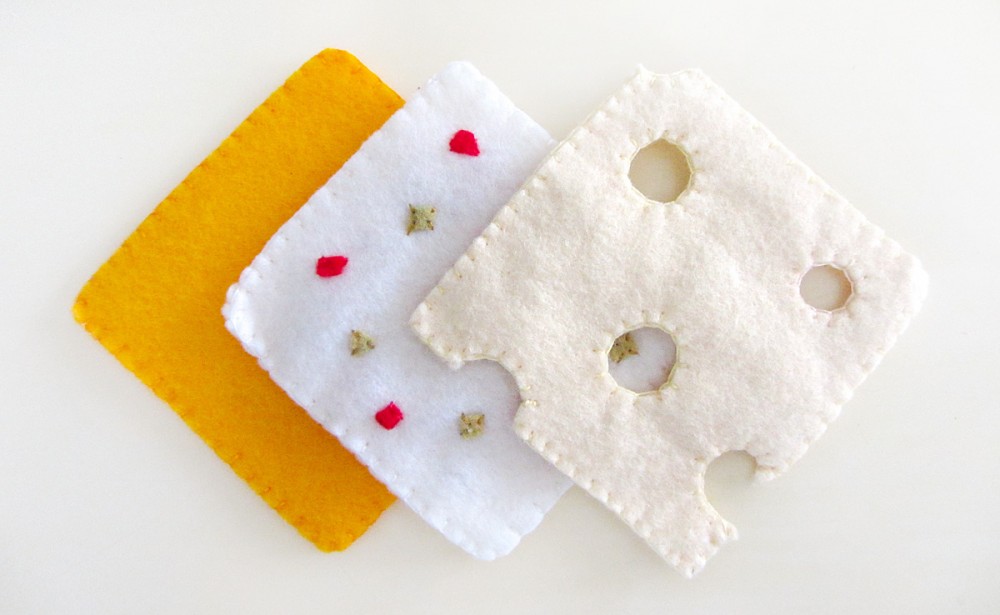
I made three kinds of cheese, but you could easily add your favorites. For each of them, I sewed the front and back pieces together. On the pepper jack, I also glued then sewed down little scraps of red and green felt before sewing the whole piece.

Felt Sandwich Set - Veggies

Produce

Being a vegetarian, I wanted lots of tasty, colorful fruits and veggies for Jax’s sandwich set. They take a bit more work but add so much!

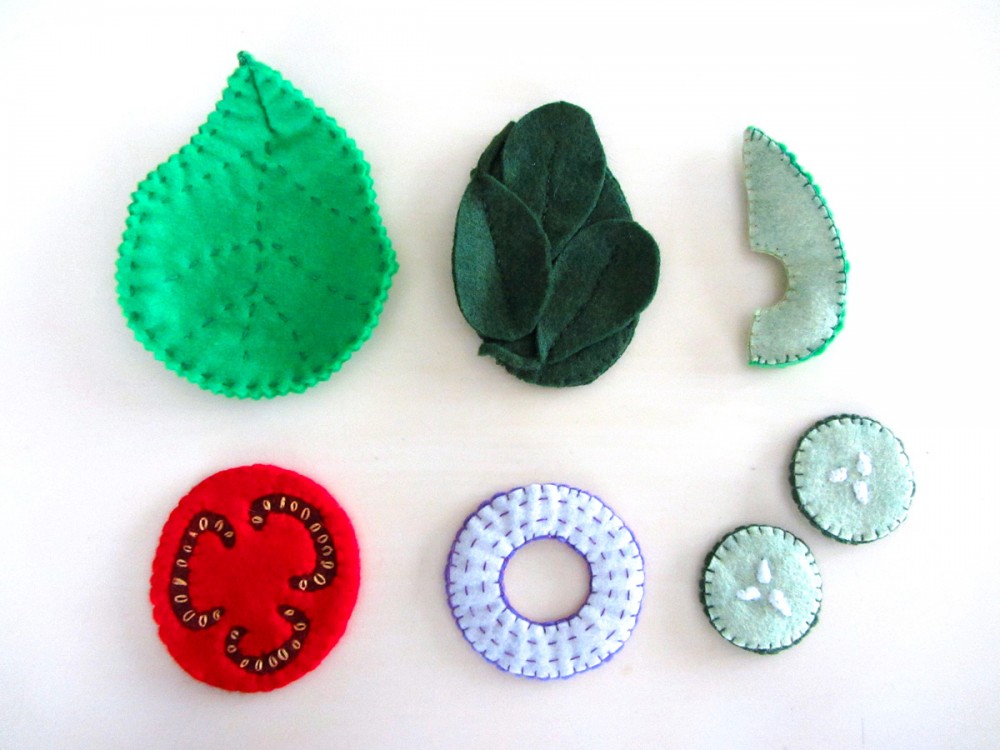
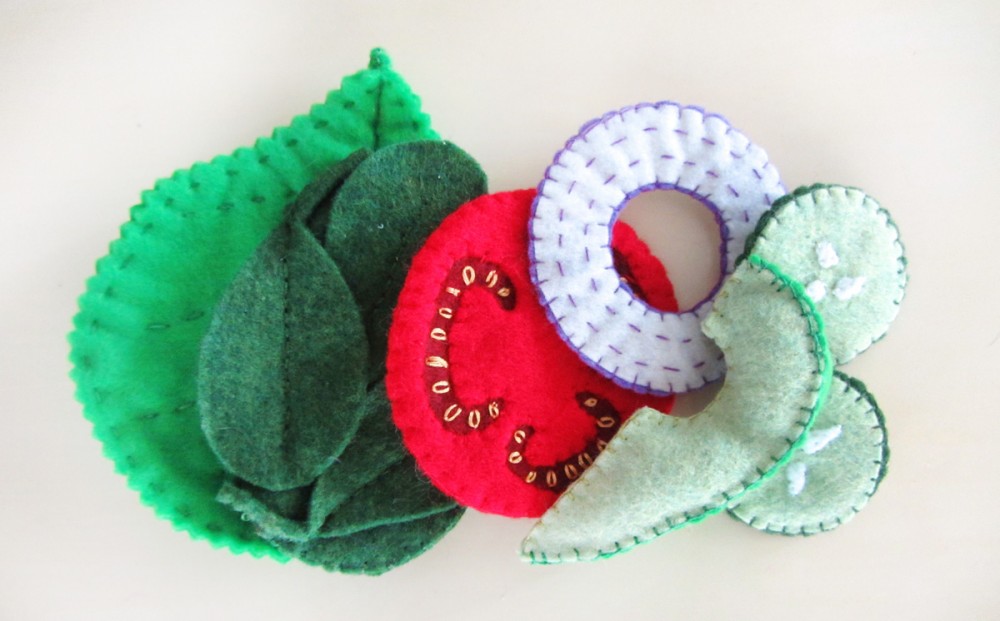
For the lettuce, I cut mine out with pinking shears for a zigzag edge. I sewed the two sides together with a running stitch (a dashed line stitch that looks the same on both sides.) I pinched the base together into a tiny dart and stitched it to make the stem. I used a running stitch to add veins.

To make the spinach, I stitched three leaves to one of the base pieces using a back stitch up the center vein of each. I then blanket stitched the front and back together.

Felt Sandwich Set - Veggies

When sewing the avocado, I started by sewing the two sides of the avocado flesh together along the straight edge with the pit hole. I then blanket stitched the back piece on to make a wedge, pausing to fill it with stuffing.

The tomato takes a bit of embroidery time. I laid each side of the tomato down onto one of the inner pieces, then sewed down the holes. Using gold thread, I stitched the seeds with a lazy daisy stitch (Bring your needle up and down at the same spot, but before you pull the loop tight, make a tiny perpendicular stitch at the top to tack it in place.) Once all the seeds were done, I stitched the two sides together with a blanket stitch.

Felt Sandwich Set

For the red onion, I made two rows of dashed running stitch to each white ring. I then sandwiched the purple skin piece between the white rings and blanket stitched it together. The purple will show a bit as though you sliced the onion thinly.

The cucumbers started with seeds that were tacked down with glue, then stitched on. I sewed 3 to each side. I then layered the skin piece between two flesh pieces and blanket stitched it all together, the same as with the onion.

Felt Sandwich Set - Proteins

Proteins

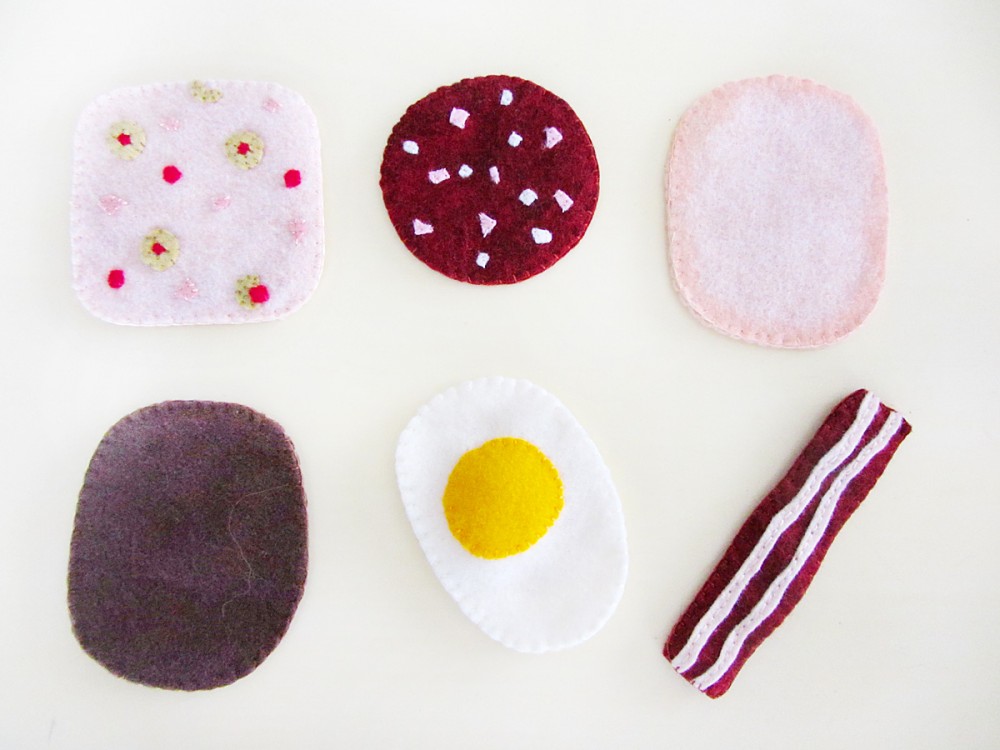
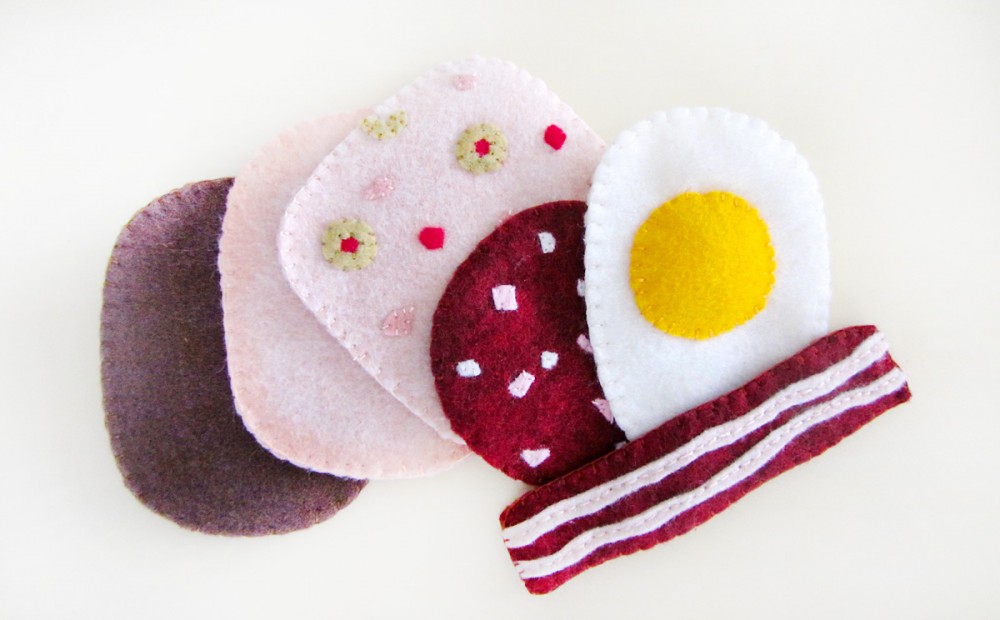
I know olive loaf is pretty yucky in real life, but it sure looks adorable made of felt! Jax like olives, so I thought he would find it fun. I cut whole and partial olives, red square pimentos and random pink scraps. I glued and sewed them down to both pieces of a really lovely pale peachy pink felt, then stitched the two sides together with a blanket stitch. I did the salami the same way as the olive loaf, using pink and white random scraps for the little bits in it.

For the two sandwich meats, I simply sewed the two sides together with a blanket stitch. On the turkey, I used the same pastel technique as the toast to add some shading.

Felt Sandwich Set - Proteins

The fried egg is simple. I stitched the yolk down to one side, pausing to add some stuffing. I then sewed both sides together with a blanket stitch.

To make the bacon, I cut two wiggly pink strips for each side. I glued and sewed them down, then sewed the two sides together.

Felt Sandwich Set - Chips

Chips

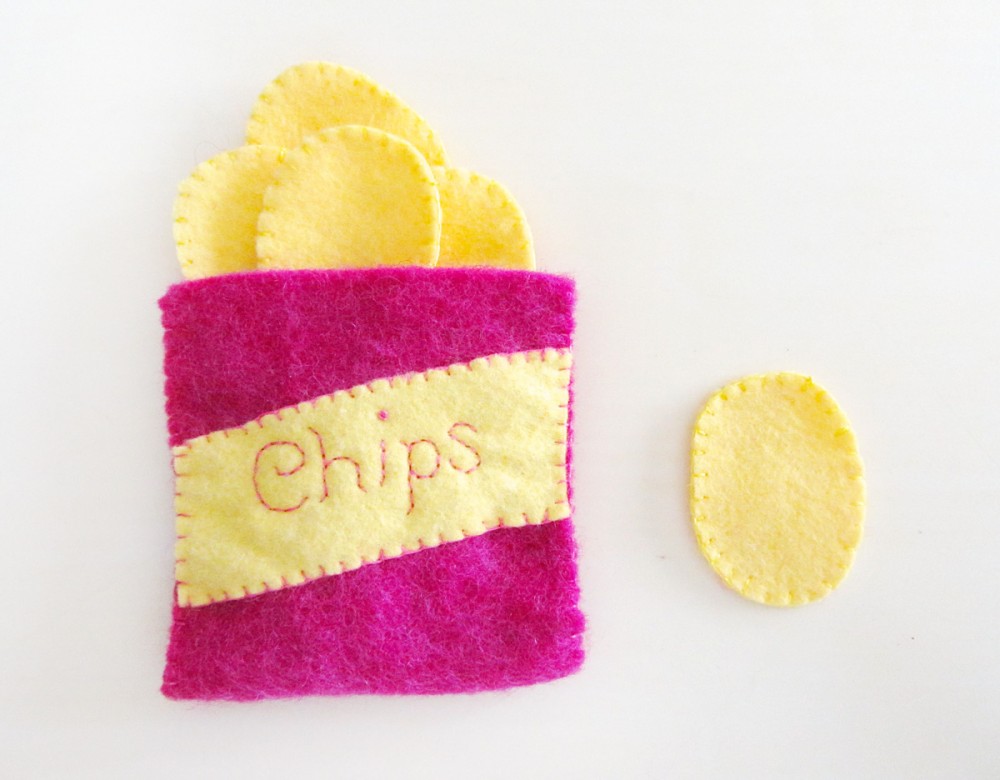
I used a very thick 100% wool for my chip bag, so it did not require a double layer of felt. You can double up the same way as with the pita pocket if needed. I also cut my bag on the fold so I didn’t need to sew the bottom. I used back stitch and a french knot to make my chip label. After stitching the lettering onto the label, I stitched the label onto the bag front with a blanket stitch. I then stitched the side of the bag closed into a pocket.

The chips were made by simply blanket stitching two layers of felt together.

There are so many fun combinations you can make with this felt food set – especially if you add some pieces of fruit! Which piece is your favorite?

Felt Sandwich Set

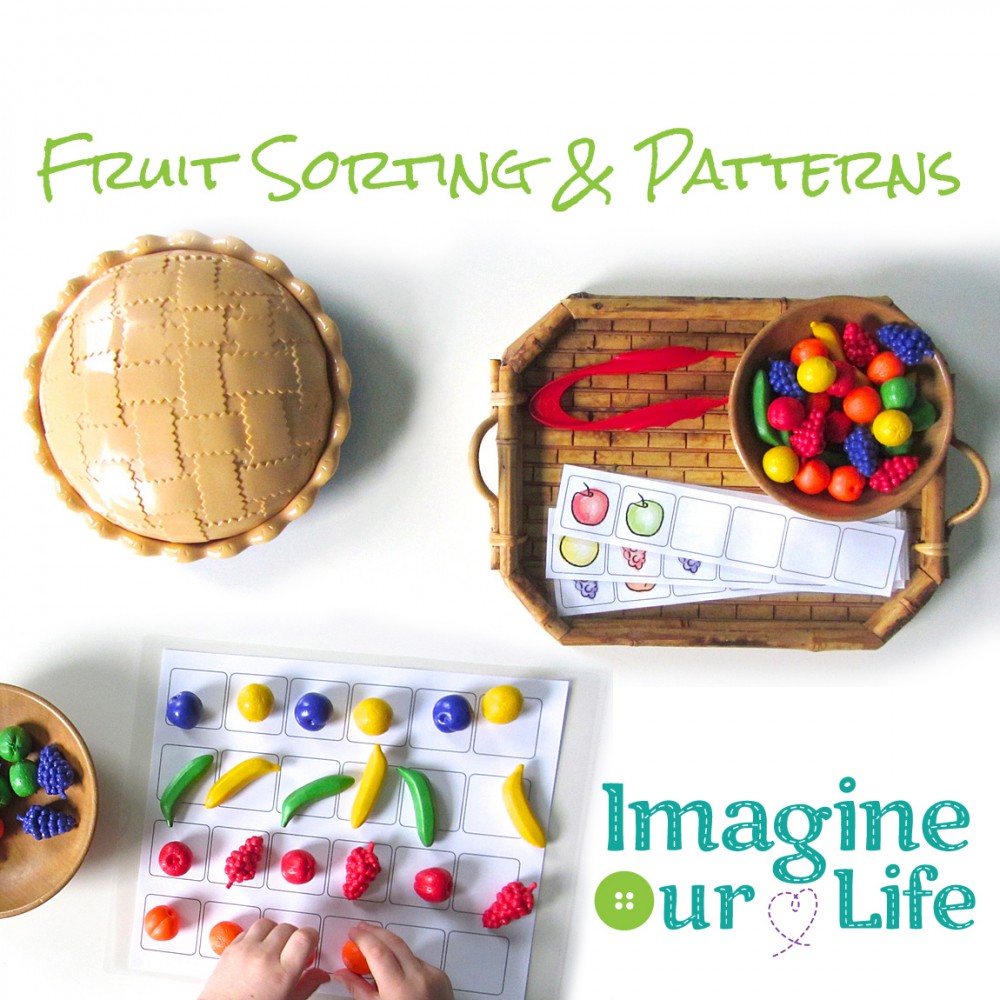
Fruit Sorting & Patterning with Free Printables

Fruit Sorting & Patterning with Free Printables

When I switched to Montessori-style homeschool for Jax at the beginning of the summer, Jax’s aunt and uncle kindly offered to purchase some educational supplies for him. They chose some items off his wishlist, and chose some others themselves.

Fruit Sorting & Patterning with Free Printables  Fruit Sorting & Patterning with Free Printables

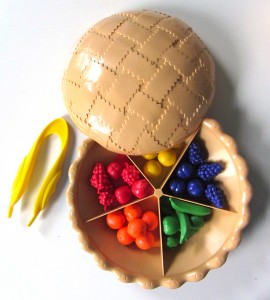
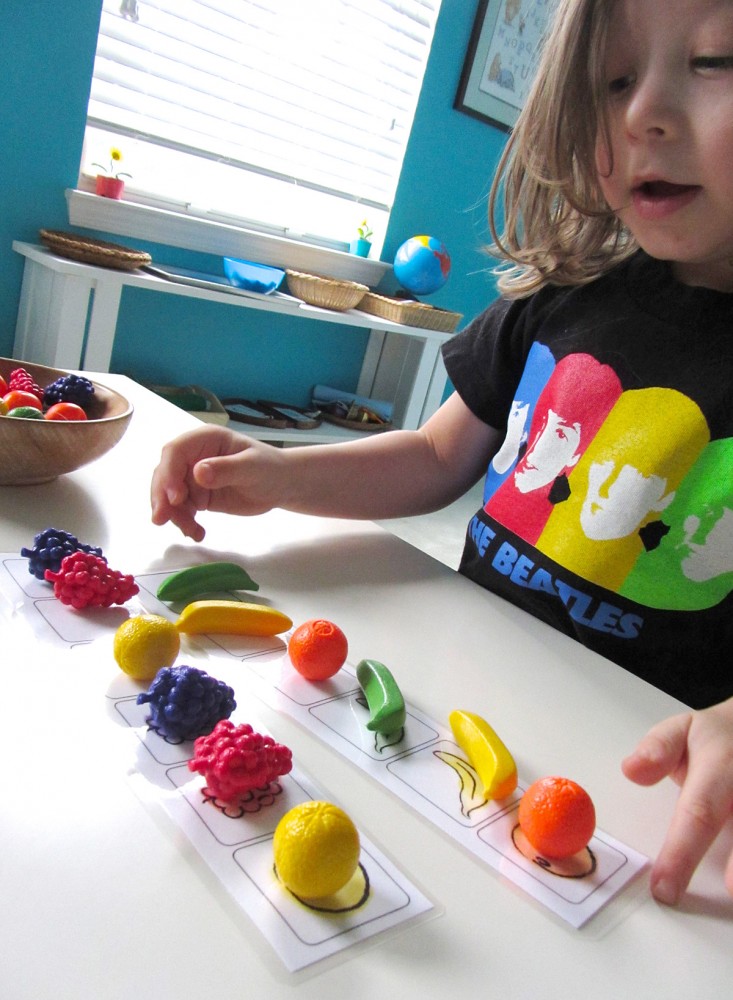
One educational toy they sent was Learning Resources Super Sorting Pie. This little fruit pie has become such a favorite for Jax that we just gave one as a gift at a three-year-old’s birthday party! I keep it in our homeschool classroom to keep it separate from our play toys. He is free to take it out and “play” with it along with the school activity trays I set up each week.

Fruit Sorting & Patterning with Free Printables

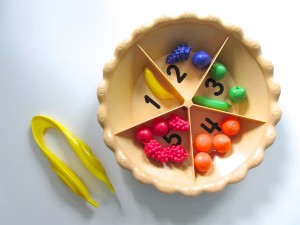
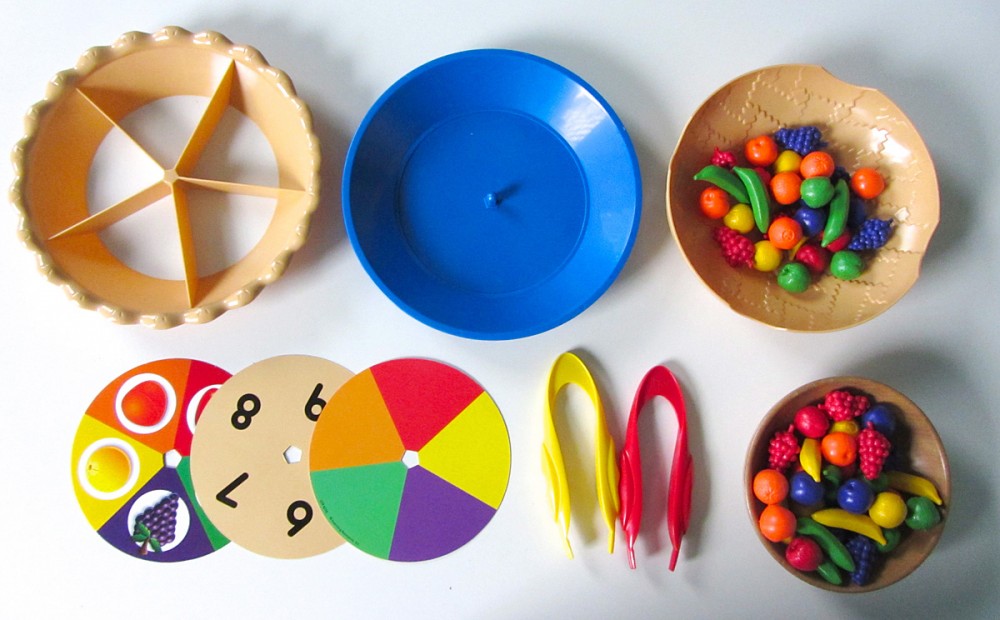
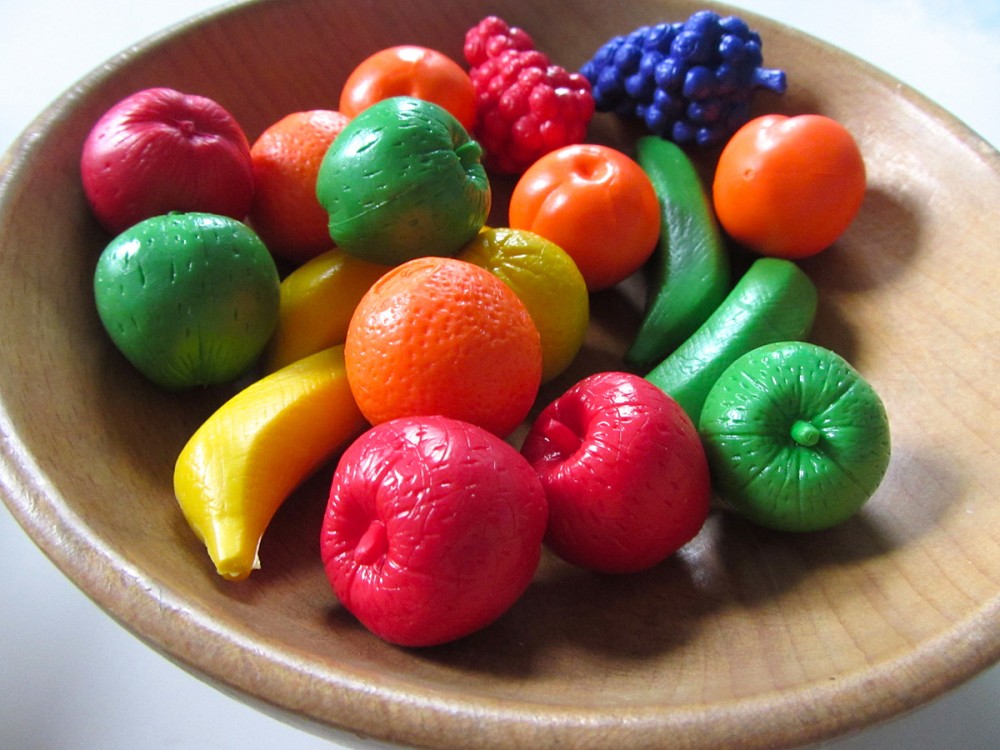
The sorting pie comes with an assortment of little fruits – two color variations of each shape of fruit. The inside is divided into 5ths, and you can pull the dividers out and change between a variety of activity cards to encourage your little one to sort. The set also comes with two plastic tongs to help work on your child’s pincher grip. Jax only uses these about 50% of the time that he plays with the set, but I’ve already seen a huge improvement when he does.

Fruit Sorting & Patterning with Free Printables

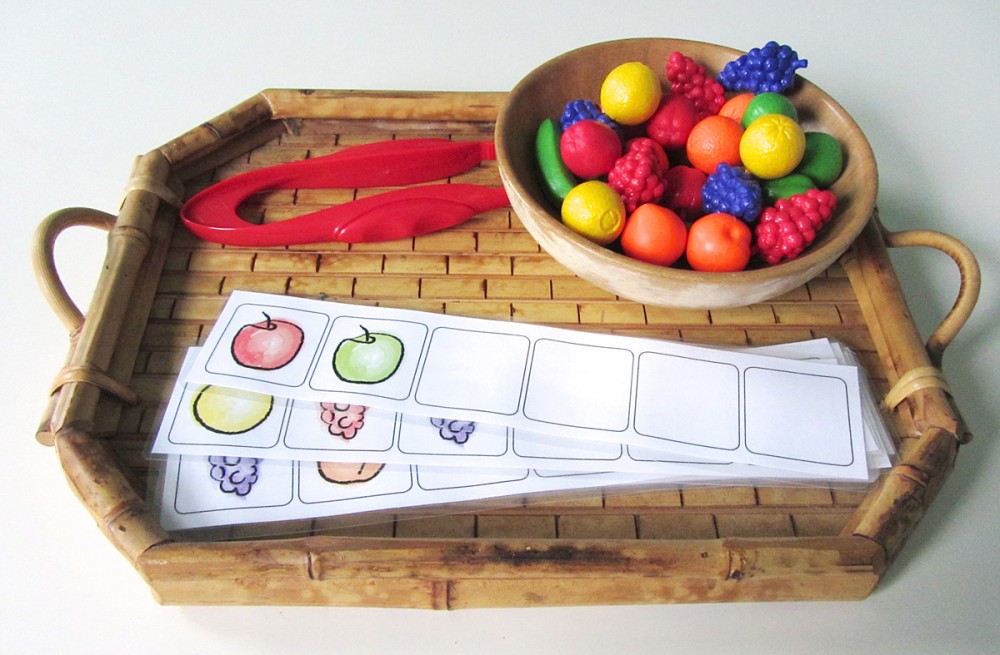
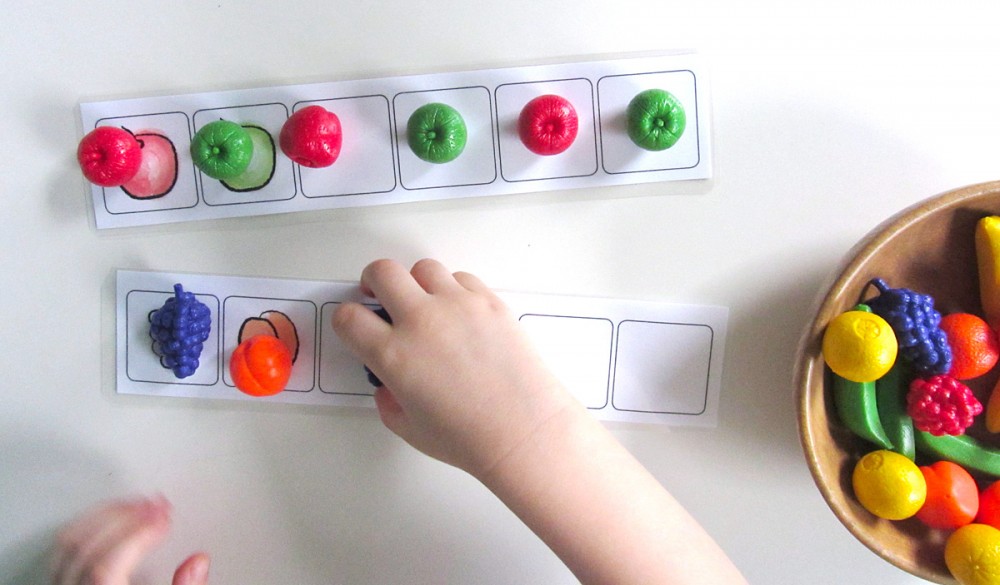
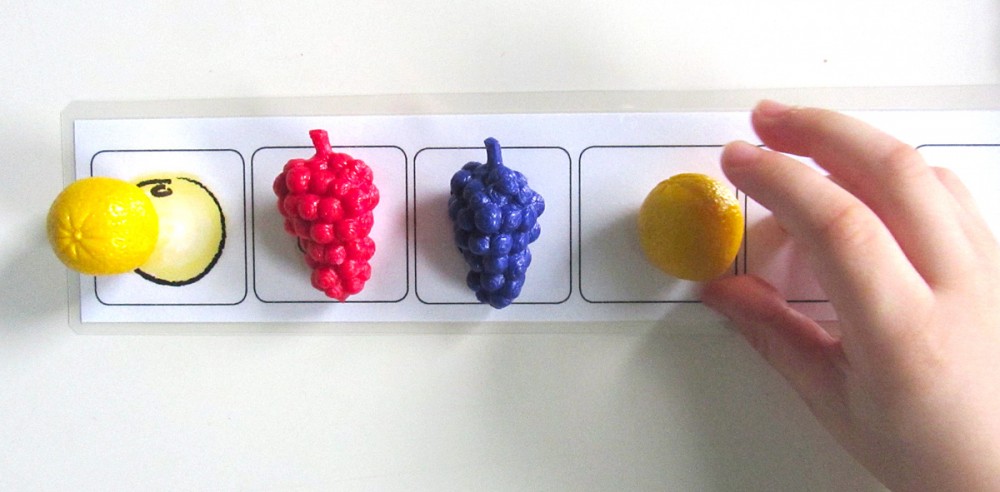
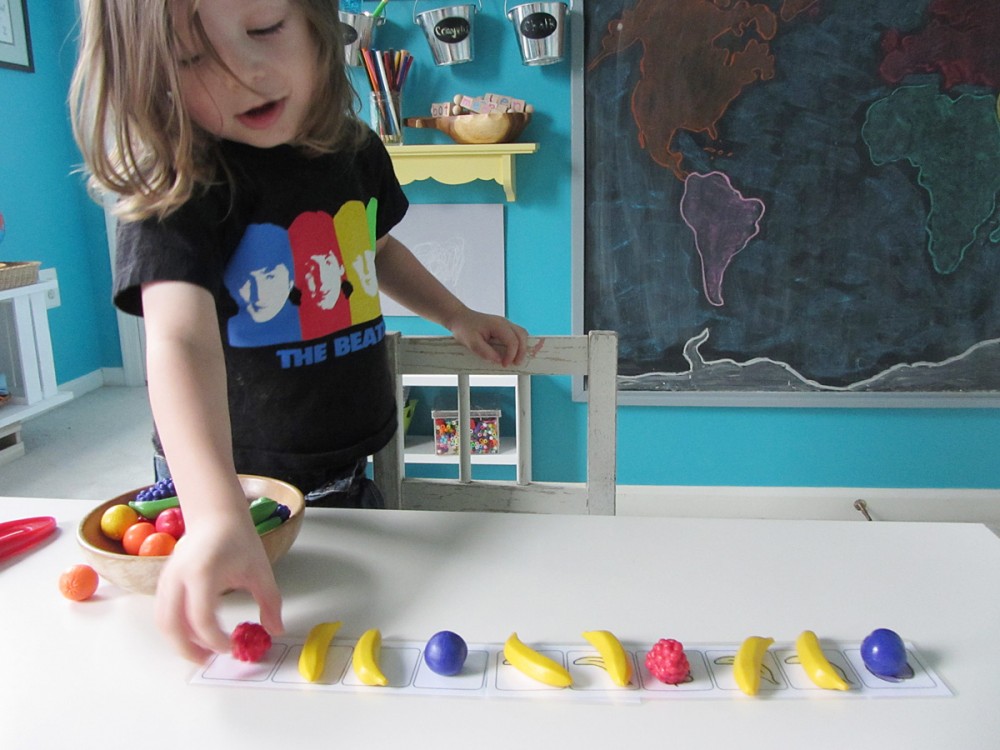
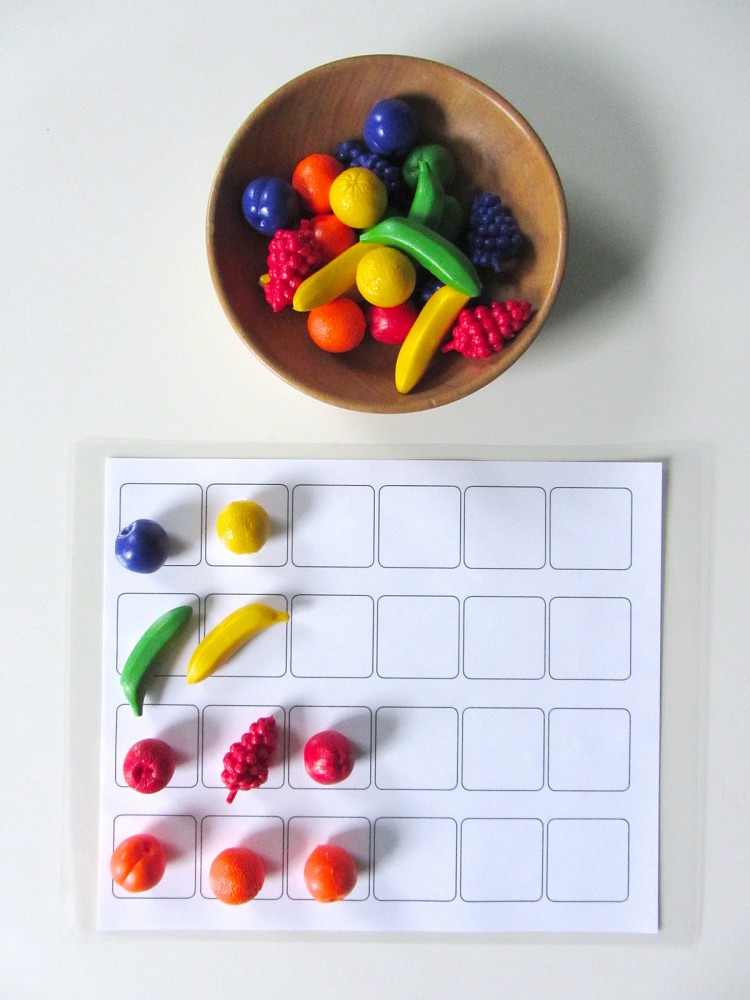
Recently, I wanted to start doing some work with patterning. I didn’t want to have to buy new supplies, so the little fruits in our sorting pie seemed perfect. I used Adobe Illustrator to draw each of the fruits, then laid them out into pattern strips of varying difficulty.

Fruit Sorting & Patterning with Free Printables

I am sharing these printables with you for free! Here is the pattern printable. If you don’t have the Learning Resources Super Sorting Pie, I have added a sheet with fruits you can print and cut out.

Fruit Sorting & Patterning with Free Printables

I recommend laminating everything. I have this laminator and love it! (These are affiliate links, btw. I get a tiny bit of Amazon credit if you purchase it, at no cost to you!)

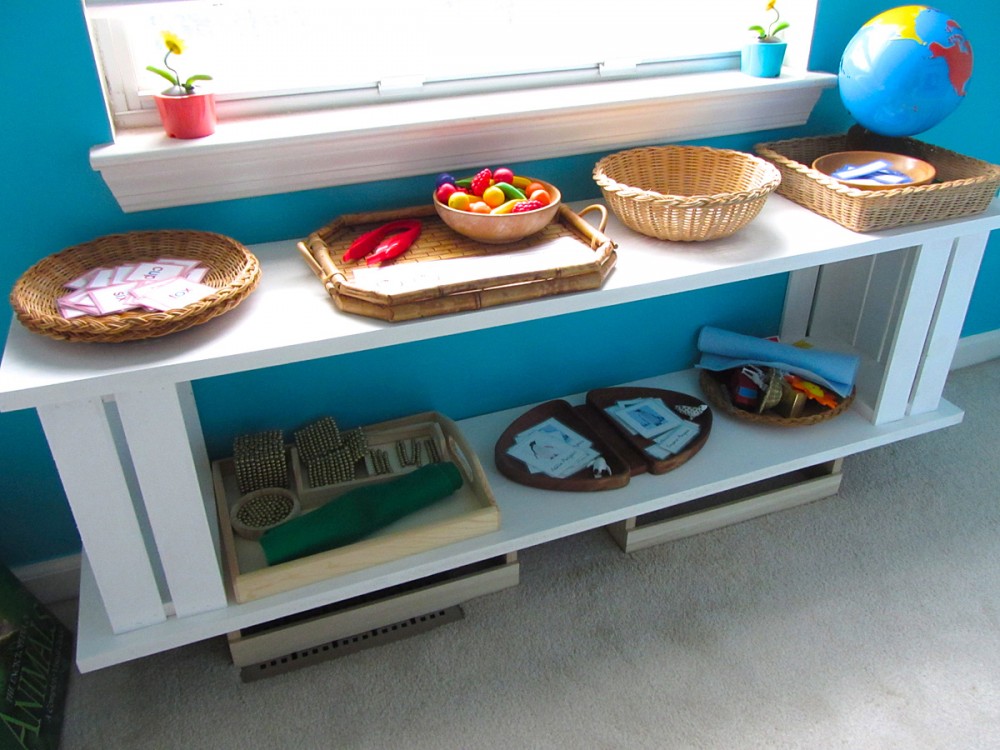
As seen on our Montessori shelves.

As seen on our Montessori shelves.

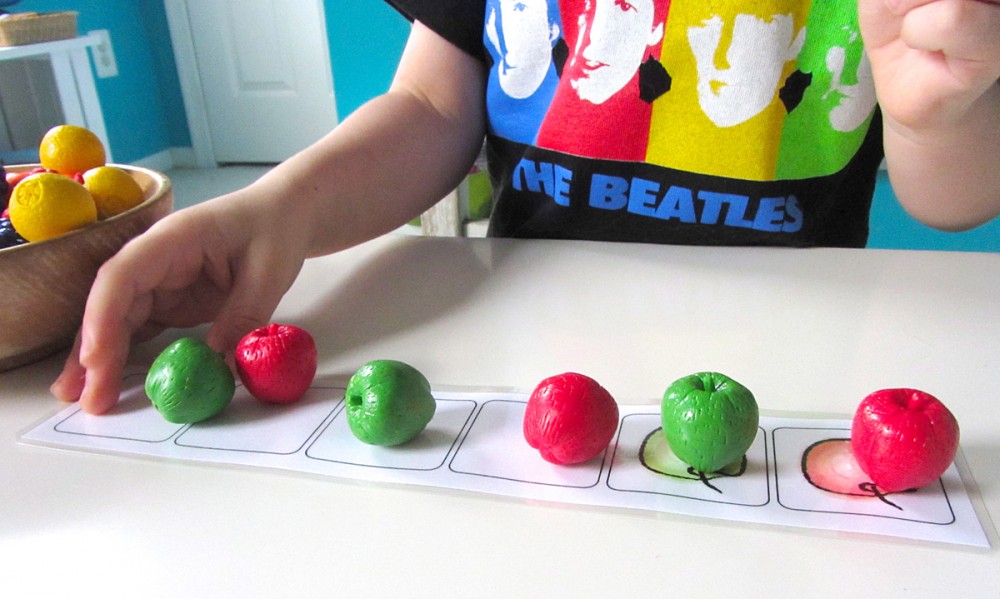
Jax was super excited to see this tray, and was barely able to wait for me to finish prepping everything! We worked our way through all the patterns, starting with the easiest.

Fruit Sorting & Patterning with Free Printables Fruit Sorting & Patterning with Free Printables

I though he’d struggle with the ones that didn’t have a full pattern repeat shown (ie: 1, ?, 3, ?, 2, ?), but he surprised me and had no trouble.

Fruit Sorting & Patterning with Free Printables

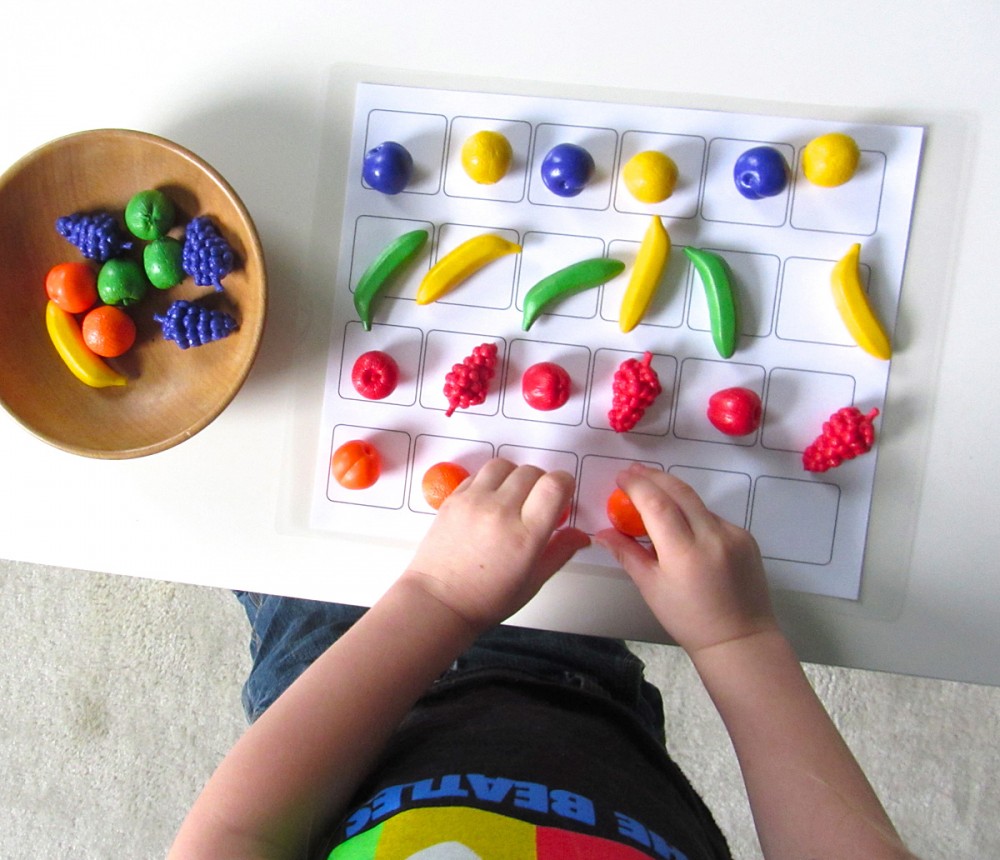
When we got to the two strips that were fully filled in, I extended them with a blank strip. He actually had the hardest time with the really long patterns.

Fruit Sorting & Patterning with Free Printables

Fruit Sorting & Patterning with Free Printables

I’ve also included a blank sheet of patterning squares so you or your child can set up your own custom patterns. I asked Jax to make some patterns, but he just fills the squares randomly at this point. I took a turn and made some patterns for him to complete.

Fruit Sorting & Patterning with Free Printables

This activity was such a favorite that Jax asked to repeat it again before bedtime!

Fruit Sorting & Patterning with Free Printables

Want to pin it? He’s a Pinterest-ready picture! Find me here on Pinterest

Fruit Sorting & Patterning with Free Printables

Happy Monday! Please be sure to take a look at all the great Montessori and homeschool ideas on the Montessori Monday linkup!

Montessori Monday

Felt Peacock Baby Rattle

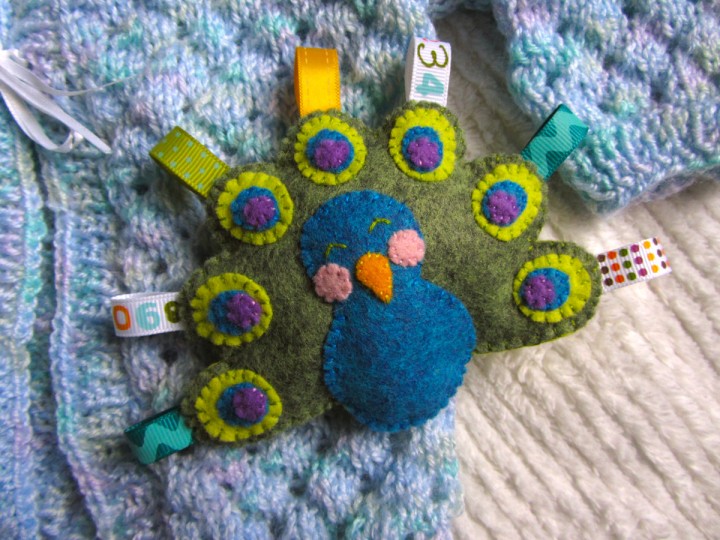
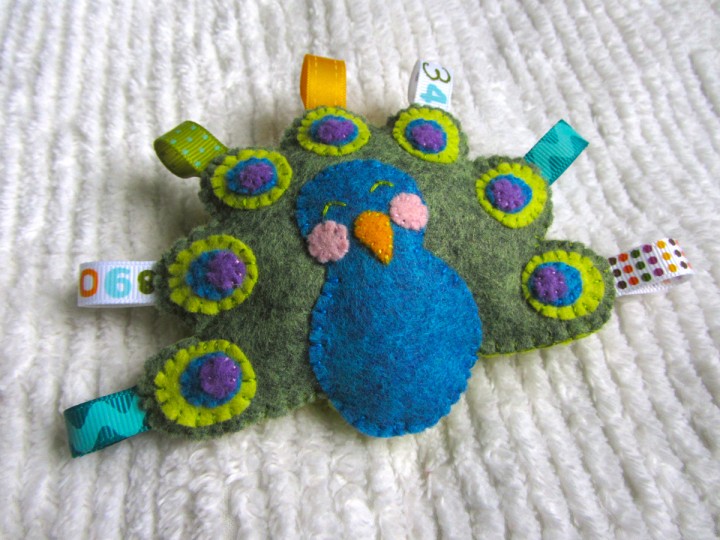
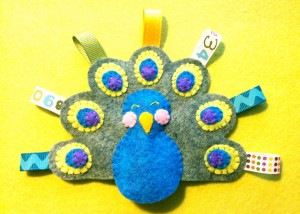
This sweet little guy came about because I needed a gender-neutral baby gift and I wanted to try out some of the new colors of felt available from American Felt & Craft. Plus, it was a great excuse to use some of the cute ribbon scraps I’ve been collecting. I wanted to choose something that isn’t typically made into toys. Owls are SO trendy right now, but it’s time to give some other birds a little love! So, allow me to introduce you to Mr Peacock!

What I Used:

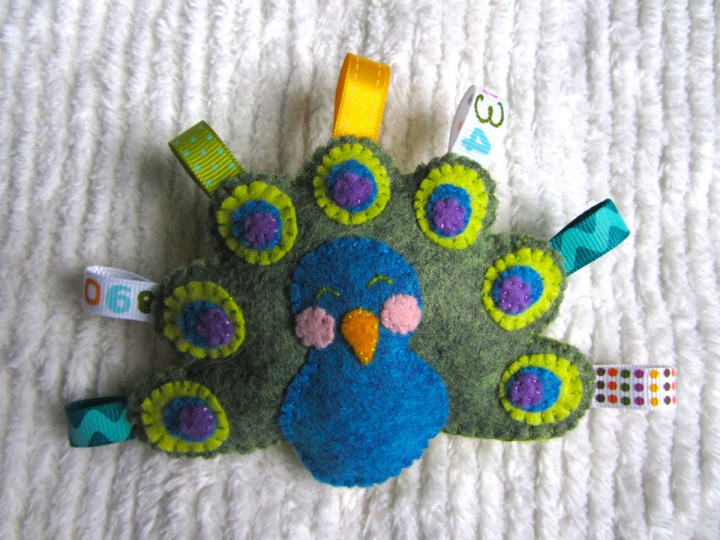
I started this little guy by decorating his body. I sewed his cheeks and beak on and made little eyes by sewing a long stitch then pulling it up into an arch with a tiny little stitch in the middle. I sewed his body to the feather piece with a little bit of batting to make him pop out.

I sewed each of the chartreuse ovals on, catching a loop of ribbon in the stitches of each one. Then I stitched on the aqua ovals and the purple circles.

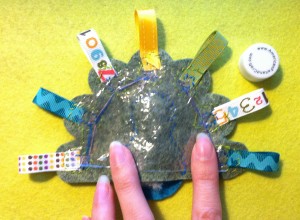
I flipped him over and cut out 2 layers of crinkle material to fit inside him. I traced him, adding about a mm or 2 all around to get my backing piece. The extra space gives more room for stuffing and the rattle. I drew my backing piece up in the pattern, so you could use that if you prefer. I sewed the front and back together with the crinkle material inside, pausing 2/3 of the way around to insert stuffing and the mini rattle (wrapped in some batting.)

All done, and super sweet!

I still have three more Christmas ornaments to share with you this week! Which one should be next? Let me know on our Facebook page.

{ This pattern is free for personal use only. If you would like to purchase a $15 license to sell the finished project in your shop, go here. }

Thrift Store Gems

We hadn’t gone to the kids’ thrift store in a while. The last time we went was right after the holidays and Jax had a bit of a tantrum when I wouldn’t let him carry a mirror around. I wanted to go once before his birthday, though, so we risked it today. Luckily, Jax was super well behaved!

My main goal was warm clothes. Jax has had a big growth spurt and has grown out of his 18m gear. For about $8, here is what I got in size 2t:

A cute Carter’s rock t-shirt, 2 long sleeve thermal tops (one in dark blue to wear under the tee), a Baby Gap sweater and a pair of Baby Gap cargo pants. The pants have soft faux-suede on the pockets.

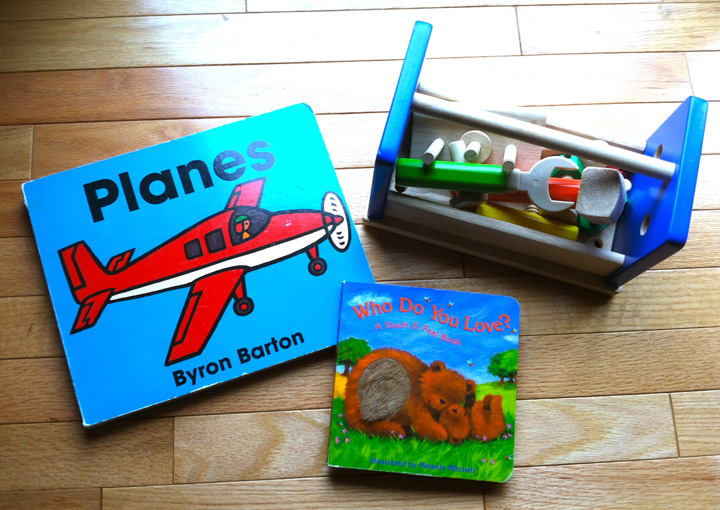
They were having a 10 for $1 book sale, but we really don’t have room for 10 more books! I’ll be getting rid of all his little baby books this spring in a yard sale as it is. I did see two I liked, though. Planes board book and Who Do You Love? touch and feel book.
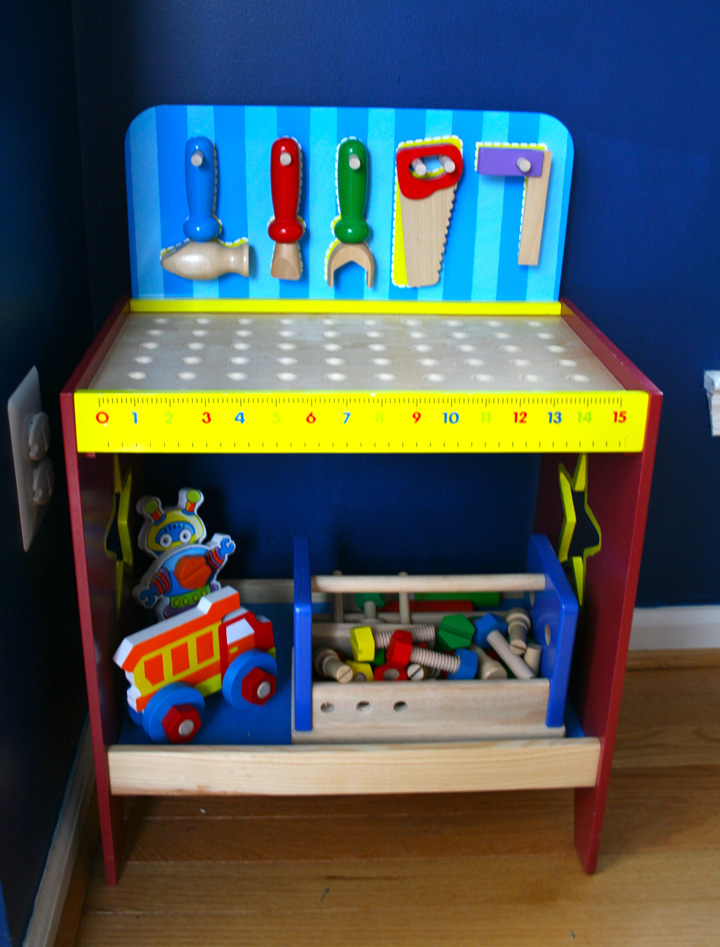
I was excited to see the tool caddy. Jax loves the tool bench he got for Christmas, but I’m not a fan of the nails and bolts not having a proper home. For $2.75 I got a great wooden caddy to store them all, with a few bonus tools and building pieces.

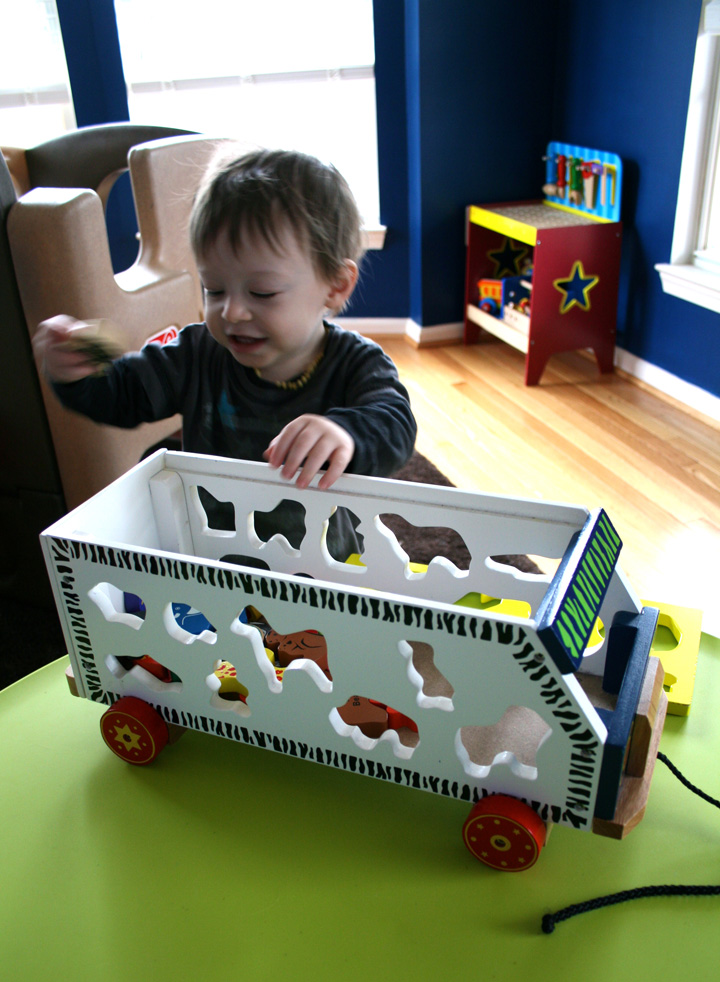
This final item was just one of those steals I couldn’t pass up because it was unique, wooden, a great price and all the parts were there! It is the Battat Safari Animal Bus The bus rolls, has a lid that comes off and comes with wooden animal shapes for each letter of the alphabet. We got it for $5.75.

I can see Jax giving toys a ride in the bus and playing with the animals in his barn. The first thing he did was let several of the animals slide down his playroom slide saying, “wheeee!” Hehe.

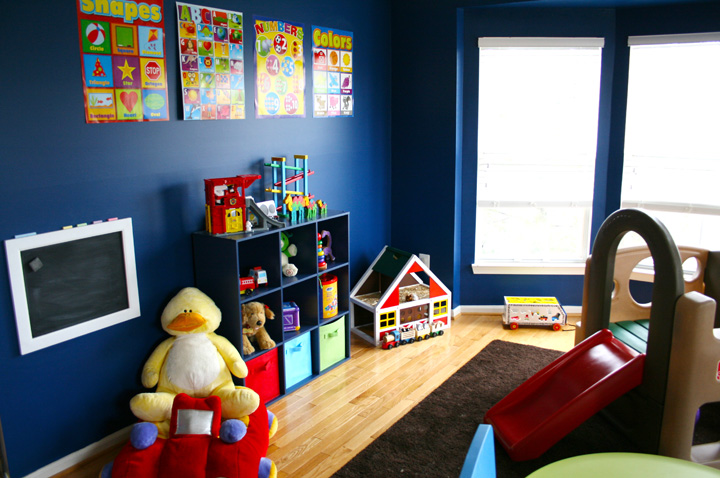
And here is a bonus photo to show a little update we made to the playroom. The dollar store sells teaching supplies, and we came across these great educational posters sold in 2 packs. I love the colors and Jax loves pointing to everything he knows on them.

I was hoping to find some alphabet magnets at the thrift store to go on that little magnet chalkboard I just hung. It used to be in the kitchen of our old house and was impossible to write on. I just gave it a good coat of chalkboard spray and now it works great. I think that will be a good spot for us to practice our letters and numbers.

Thrift Store Gems

After a couple weeks of the kids thrift store being closed, we finally were able to get back into our Monday routine and pay a visit after Starbucks!

Jax loves going because he is allowed to be down on his own two feet exploring instead of strapped into the baby carrier or held back. The shopkeeper doesn’t mind him playing wit the toys and nothing is breakable. (Everything is cheap even if he did break or tear something.) I use the thrift store as a place to practice shopping with Jax. He is getting very good at putting things back if I ask. I’ve even started letting him help at the grocery store after all the practice!

There weren’t many clothes in his size today, but we found toys and books. Because I got some toys, I put together a big box of too-young toys for Jax to give away as soon as we got home. When something “new” comes in, something old goes out!

Here’s what we got for $14:

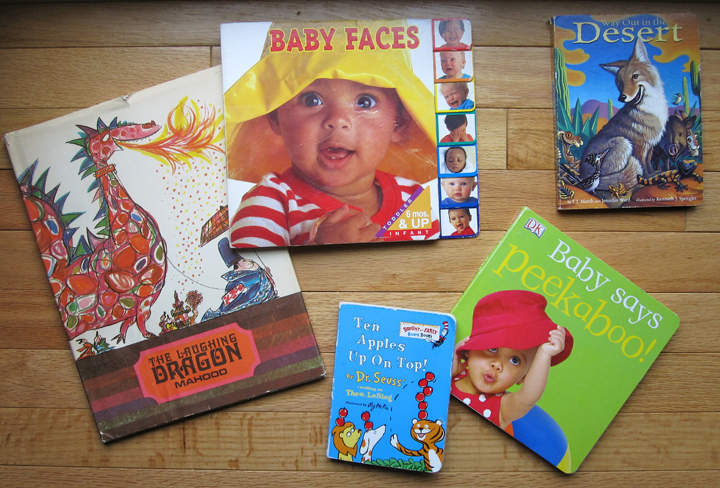
Books: The Laughing Dragon (This book is gorgeous and out of print. A great find!), Baby Faces (Also out of print, this gets great reviews. It shows different emotions.), Way Out in the Desert (I’m putting this one in our bedtime book basket.), Baby Says Peekaboo! (Jax loves books with peekaboo flaps!) and Ten Apples Up on Top! (I handed this to Jax to look at on the drive home and he said “App-Pull! App-Pull!”).


Toys: Little Tikes Wee Waffle Blocks ‘N Bucket (I hadn’t seen this before. I normally avoid sets of plastic blocks, but I like that these are advanced for Jax and will help with his motor skills. For $3.75 they are worth a try! We have a Circo (Target) train like this  Melissa & Doug Stacking Train set with 2 cars that Jax loves. It is his bedroom toy for while I am showering. He has mastered his little train, so I put the one other bedroom toy (a shape sorter he has outgrown) in the donate box and added this train set to his basket.

Clothes: Just a button down I will layer over a thermal. Anything green to match his shoes is good!

Thrift Store Play Kitchen Makeover

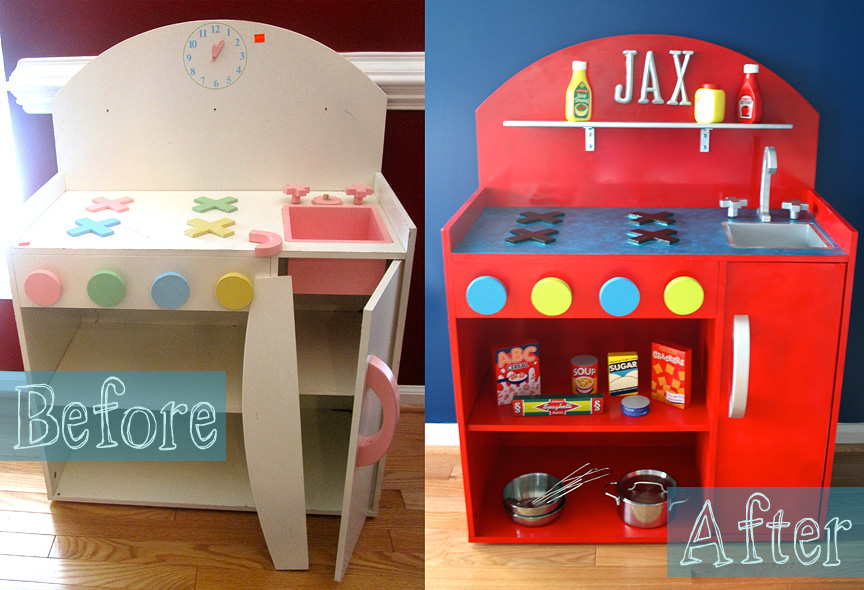
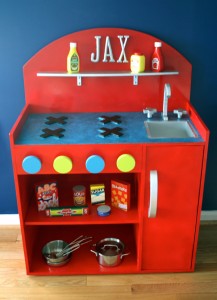
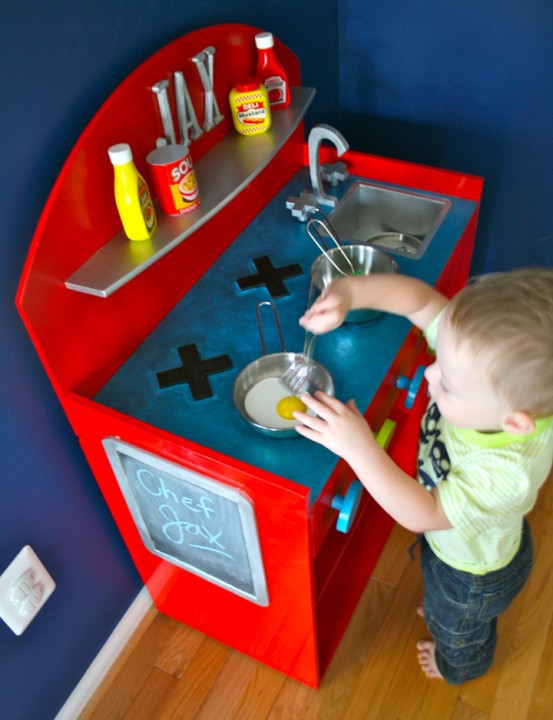
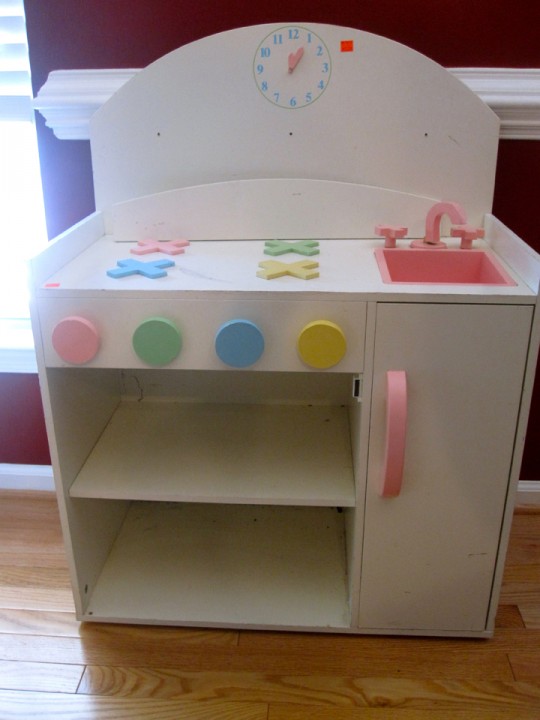
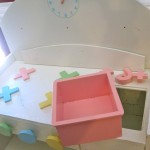
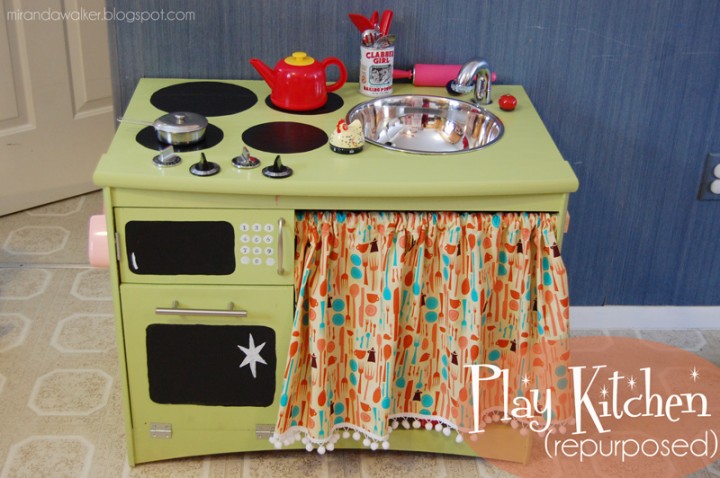
After a weekend of working hard, Jax has his shiny, new custom “retro” play kitchen! I was so lucky to find a wooden kitchen with great “bones” at our local thrift store. It had a lot of water damage, a broken shelf and faucet and a missing door, but the clean, simple lines were perfect. (To see more before pictures, view this post.)

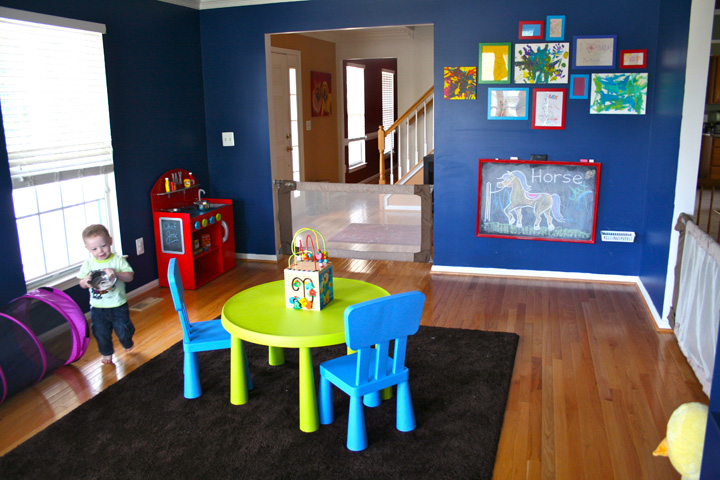
I started the makeover by deciding what I wanted the kitchen to look like. I had already used apple red spray paint when I created Jax’s chalkboard, so I chose that for the main body. His table and chairs are aqua and lime (as well and the shelves I recently put in), so those became the accent colors. I had some leftover glitter paint from a Christmas ornament project, and I knew that would be perfect for hiding any water damage I couldn’t sand out. Here is my color plan.

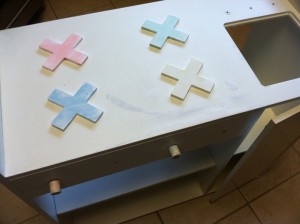
I started by scrubbing out the dirt and mulch in the cabinets then cleaning, sanding and priming the whole thing. I took the back two pieces off, as well as two knobs, but many screws were stripped on the rest of it. I ended up breaking off the knob discs to paint them separately from the dowels they were attached on. They were glued on crooked anyway, so I was able to fix that too.

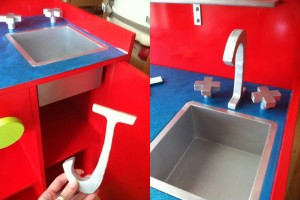
I used a wooden J to replace the faucet

I used 2.5 cans of apple red glossy spray paint (and I ended up needing to get a mini can for a little more coverage where the clock had been.) For all the silver parts I used a mini can of silver spray paint, then a coat of silver craft paint and glossy varnish. The knobs got several coats of craft paint and glossy varnish.

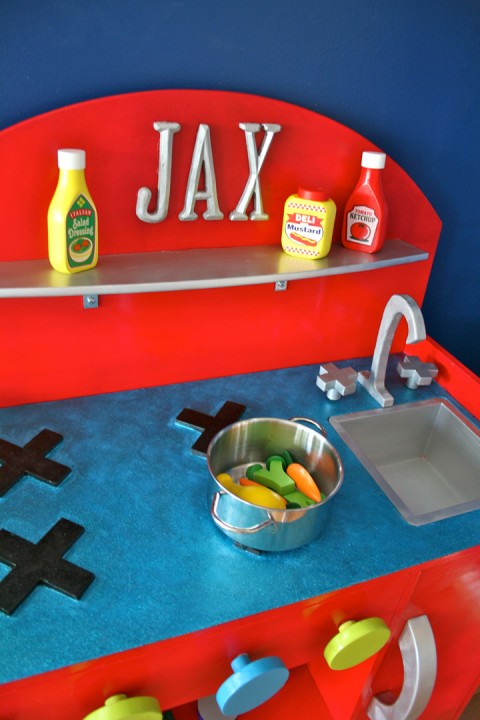
I needed to replace the broken faucet, so I bought a large wooden J and attached it with a wood screw and E-6000 glue. Looks perfect! For the backsplash, I bought smaller letters to spell out his name. Those were attached with the E-6000 glue. My husband glued a small chalkboard I’d painted to the side with Gorilla glue.

The shelf was detached when I bought it, and it wasn’t hard to see why… It just had 3 tiny screw holes. A super nice Home Depot employee helped me pick out the right size screws, as well as which L brackets would work best to fortify the shelf. I chose to leave the brackets unpainted to match the rest of the silver.

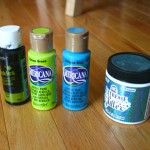
The counter top got two coats of aqua craft paint, then 10,000 (or so) coats of my favorite glitter paint (which is more of a glue with lots of glitter). The burners were painted black, then got a very thick coat of black glittery paint (and a clear coat.)

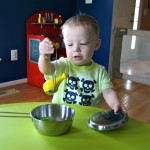
I adore it! It looks perfect in the room, and Jax loves it already. I started him off with Melissa & Doug Wooden Pantry Products and the KidKraft Metal Accessories Set which comes with 3 pots/pans, a lid, 2 utensils and some wooden food. I’m really happy with both purchases. I wish the pantry products had labels on both sides, but they are nice, sturdy wood toys. The pots are holding up great so far, and Jax is enjoying the bonus food items: a chicken leg, fried egg, two carrots and two broccoli florets.

This was such a fun project! I’m already looking ahead to the next playroom DIY… a reading nook!


Friday Follow-up

Don’t forget to enter our necklace giveaway by liking us on Facebook or following us on Twitter, then commenting here by 12 noon EST tomorrow!

Happy Friday! I hope you’ve had a great week! I’ve been super busy between work, rebraiding my hair and two large craft projects. Oh, yeah, and a toddler!

Jax had a spill yesterday while playing with sidewalk chalks with the sitter yesterday. He’s at that age where he thinks he is invincible (maybe that never ends for boys?) He took a few layers of skin off his forehead, but didn’t fuss about it.

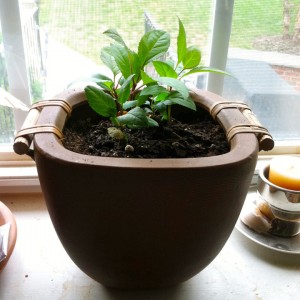
Jax’s baby apple tree is doing great! So well that the roots were popping out the top and bottom of its little pot. So we went to the store yesterday and bought it a larger pot and some soil. It looks much happier!

I decided on my color scheme for Jax’s refurbished toy kitchen. I had thought about doing the tall cabinet as a magnetic fridge door when I got an amazing price on magnetic primer, but then I couldn’t get the door off! In the end, I decided I’d much rather save the primer for when I refresh his chalkboard. Then he can play with magnets on it! (I like these…) So the main body with be the same apple red as his chalkboard frame. the sink, door handle and shelf will get sprayed silver. The knobs are going lime and aqua to match his table. And the counter will be aqua. Because there was a lot of water damage on the counter, I will have to do some camouflaging there. I have aqua glitter paint if I want to do a retro glittery look then clear coat it. Or I can try a more speckled look. The glitter is certainly the easy route.

My quickly Photoshopped color plan (minus the clock)

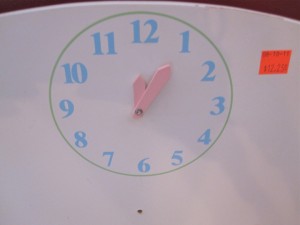
So far the kitchen has been scrubbed, partially disassembled, sanded, and partially primed. I can’t take the clock hand off because they are on there with a strange brad. I’ll have to hand paint that area. My next step is to test the silver spray paint. If that works (I got a very small can) I will get it in aqua and lime for the knobs and counter.

Thrift Store Gems

We hit the motherload at the kids’ thrift store today!

Jax has been having trouble sleeping due to teething, so we were up and ready for our day a little late. The local kid’s thrift store opens at 10 am, so we had breakfast to waste a little time before heading over. I was hoping for some board books and was keeping my eyes out for a wooden kitchen to refurbish. I didn’t expect to find one (they always had small, ugly plastic ones) so I planned to drive over to the adult thrift store after to check for small hutches I could convert.

But, what did I see when I walked in the door? A 100% wooden (be it mostly MDF) kitchen for $12.25! It is missing the large door (the shopkeeper offered to hold it for me if it turns up), but I think I’ll leave it open and put wire baskets on the shelves. The backsplash shelf is broken off but intact. The faucet needs to be reattached and some of the knobs are glued together a little wonky. All-in-all it just needs a good scrub (there is dirt and mulch inside it), a sanding, several coats of paint and some nails and screws.
I’ll have to get some number decals for the clock as it will get painted over. I’m thinking bright red for the whole thing, with all the door and accents in silver. Maybe a magnetic primer under the “fridge” door for magnets. Should I do something special to the backsplash? It will have its shelf halfway down. I love that the sink is wood so I can paint that too! If any of you hardware-inclined friends have suggestions on reattaching the shelf and faucet, let me know – L brackets under the shelf? This is going to be a fun, quick project now that I only have to paint!


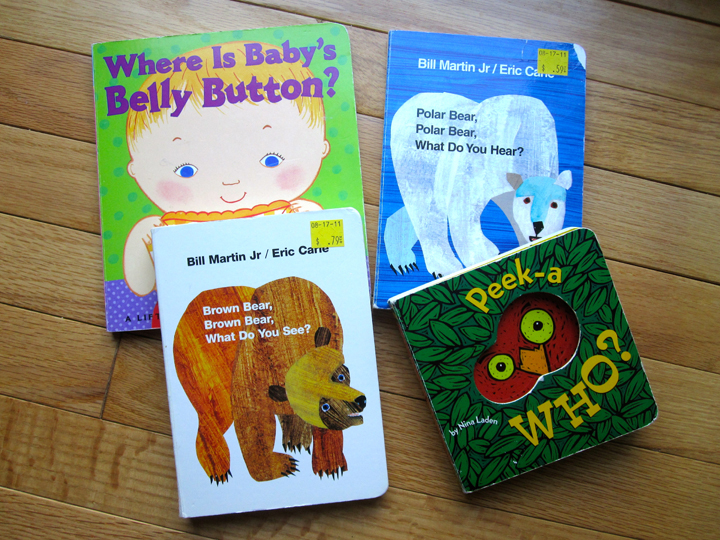
We got lucky in other ways at the store too. I found 4 great board books for Jax. He is BIG into being read to now, and I have to read him at least a dozen books every night (or the same one 10 times!) The thrift store is great for books because they sell them for 10% of the cover price – meaning they were all 59 – 79 cents each! We found: Where Is Baby’s Belly Button? A Lift-the-Flap Book, Peek-A Who? (which has a mirror in the back), Polar Bear, Polar Bear, What Do You Hear? and Brown Bear, Brown Bear, What Do You See?.

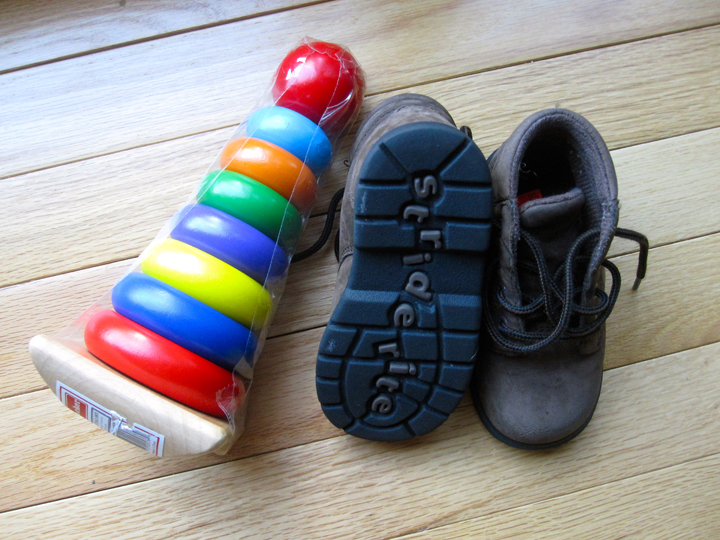
I also got a Melissa & Doug Rainbow Stacker for $1.75. He has stackers, but those are his favorite toys and I like that this one is more advanced with smaller holes. He has to concentrate to put it together. We found Stride Right boots 1.5 sizes up from where Jax is now for $2.50. They are in perfect condition.

Do you thrift shop? I used to in college and only recently started up again. Reusing is great for the environment AND your wallet!

Are Toy Kitchens For Boys?

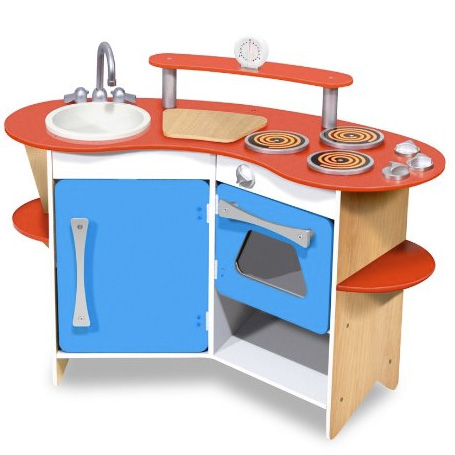
I have my heart set on creating a little play kitchen for Jax in his playroom with adorable wooden food and a DIY kitchen set (my inspiration above is made by Melissa & Doug.) I think it would be a super fun project to take a piece of old furniture and convert it with paint and a little creativity. I loved my play kitchen as a child and I think Jax would too! He will be at the age where kids start playing pretend soon.

But, can toy kitchens be for boys? My husband’s initial reaction was no (and he is an amazing cook!) I say, why not!

What do you think?

MagnaDoodle Pocket Review

When we started planning a road trip from the DC area up to Long Island, I realized I’d need to think up ways to keep Jax amused on the 6 hour trip. He loves to color, but I didn’t want to have crayons thrown around the car. But we found a great replacement: a MagnaDoodle Pocket!

I ordered ours from Amazon because we have Prime free 2-day shipping and the trip was coming up fast. I hid it until we hit the road.

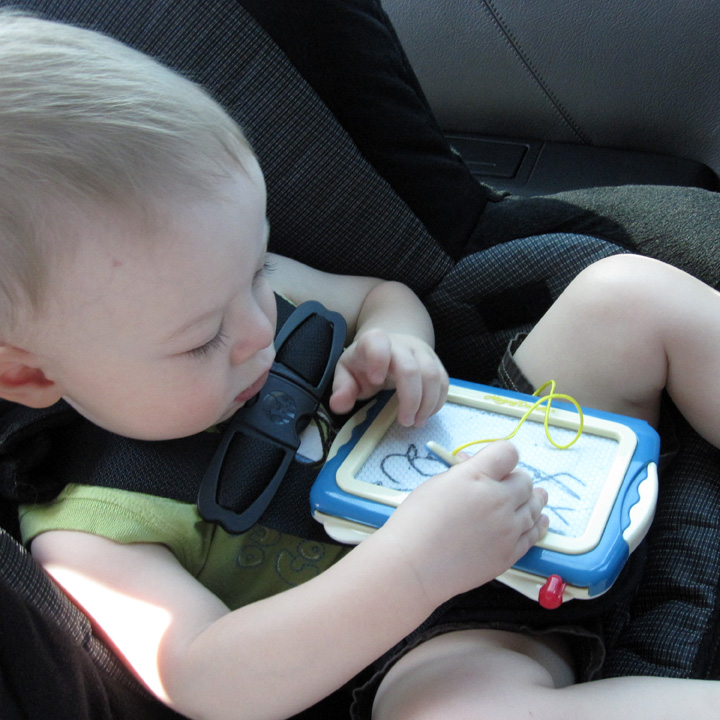
Jax figured out right away how to draw on it. It writes very smoothly and erases in one sweep unless you’ve colored really dark. He loves sliding the stylus back into it’s hole in the side, and he can’t drop it because it is attached. The lever for erasing is too stiff for him to use just yet (it takes me two hands), but he learned to hand it to me whenever he wanted it erased. The size was perfect for his 17-month-old hands and fit easily into my purse or our small day-trip diaper bag.

The MagnaDoodle was a huge hit, both in the car and on our train ride to Manhattan. I’ll definitely consider buying a bigger one with more features as Jax grows. I like the stamps this one comes with.

Best Toddler Sprinklers

Photo by Olena

What’s better on a hot summer day than playing in the sprinkler? I recently started taking 17-month-old Jax to the pool where they have a splash pad at the shallow end. He loves it! So I knew I should try to find the best toddler-safe sprinkler for him to play in.

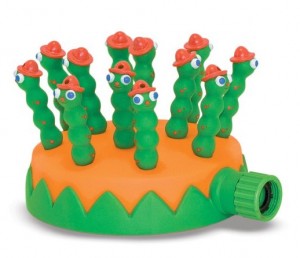
After reading what felt like a million disappointed reviews for all kinds of play sprinklers, I settled on Melissa & Doug Sunny Patch Grub Scouts Sprinkler. The little worms are described as “an entire troop of Grub Scouts who have popped up to work on their Entertainment Merit Badge.” The girly-girl in me was all about the pink flowers on the Melissa & Doug Sunny Patch Blossom Bright Sprinkler, but I decided grubs were more gender-neutral.

The sprinkler is small and colorful with squishy rubber grubs that can’t hurt little feet if stepped on. Attaching it to the hose was easy as the attachment ring spun around on it’s own (instead of having to spin the whole sprinkler.) Jax was drawn to the bright colors before we even got the water going!

The height of the spray will depend on our water pressure and the length/diameter of your hose. We have a very long 100′ 5/8″ hose. With the water turned up all the way, we got 2′ for spray height. I’m thinking with a shorter and wider hose, the spray will be even higher. We decided against getting another hose, as the height was perfect for our little man right now.

The real test came last weekend at my little birthday get-together. Babies ranging from 10-months to 17-months all had the best time playing in it! I think it got more action than the baby pool!

I’d definitely recommend Melissa & Doug’s sprinklers if you have a toddler who loves splashing in water!

Photo by Olena