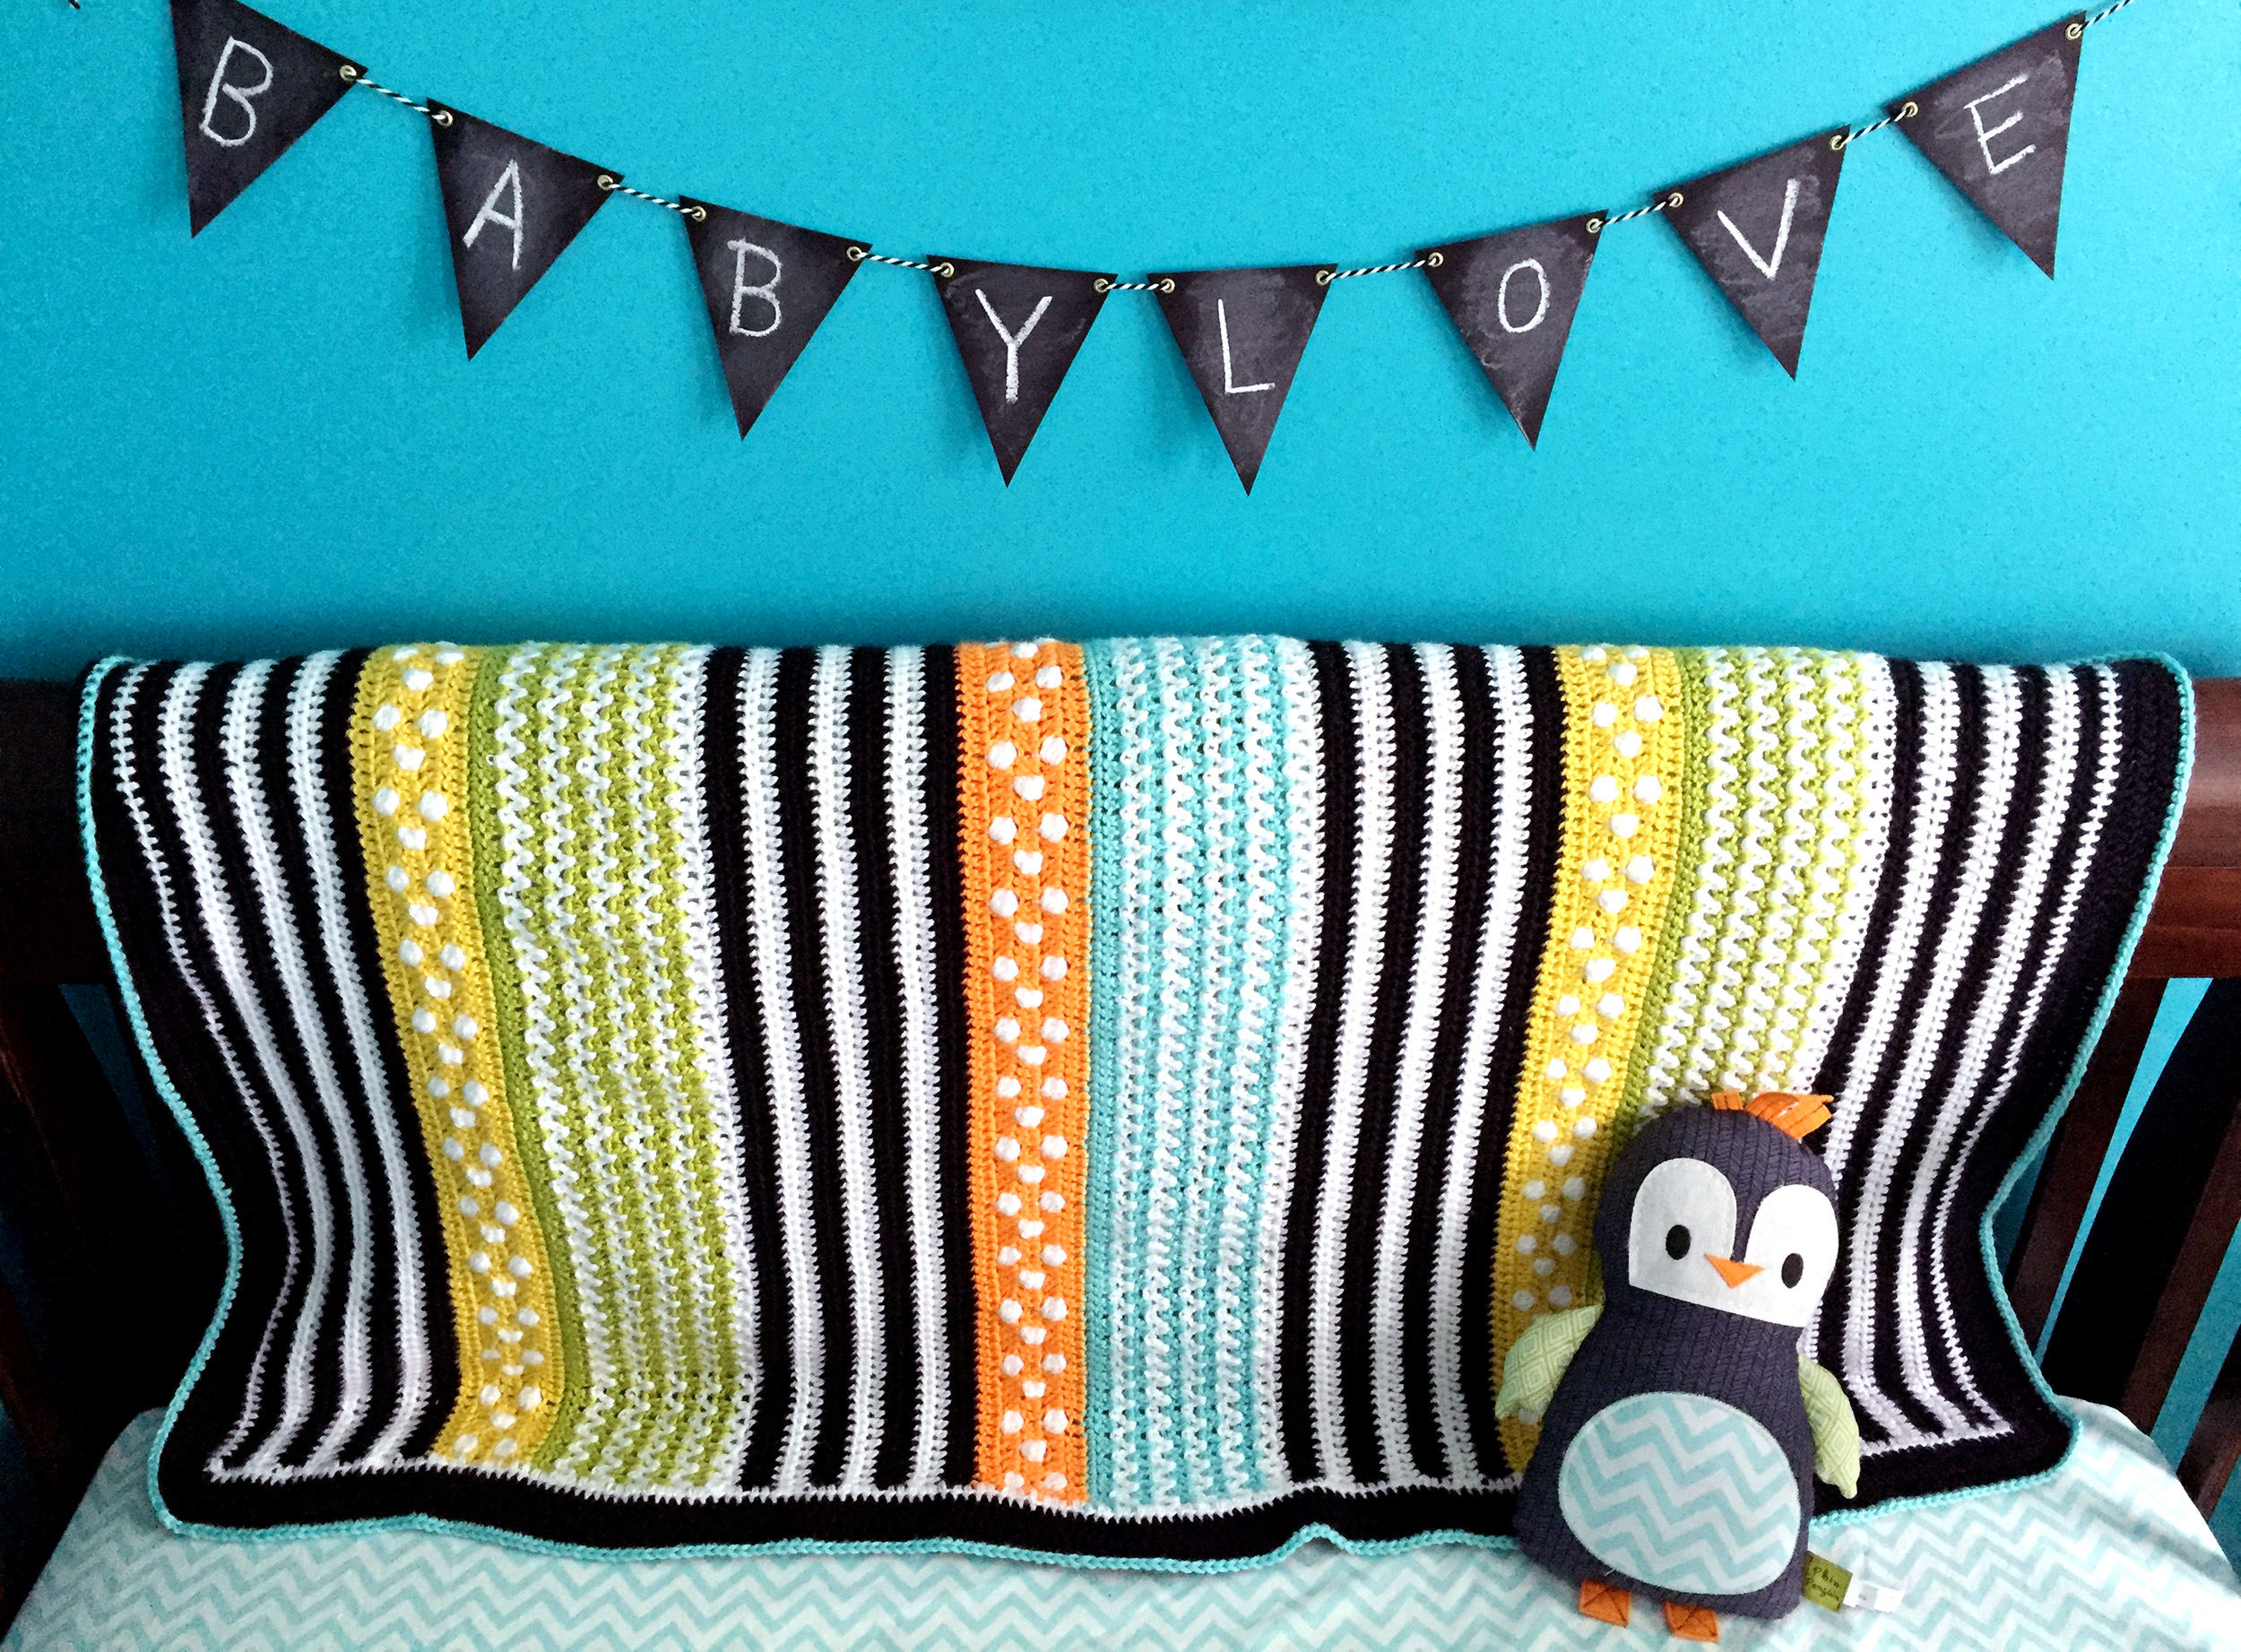
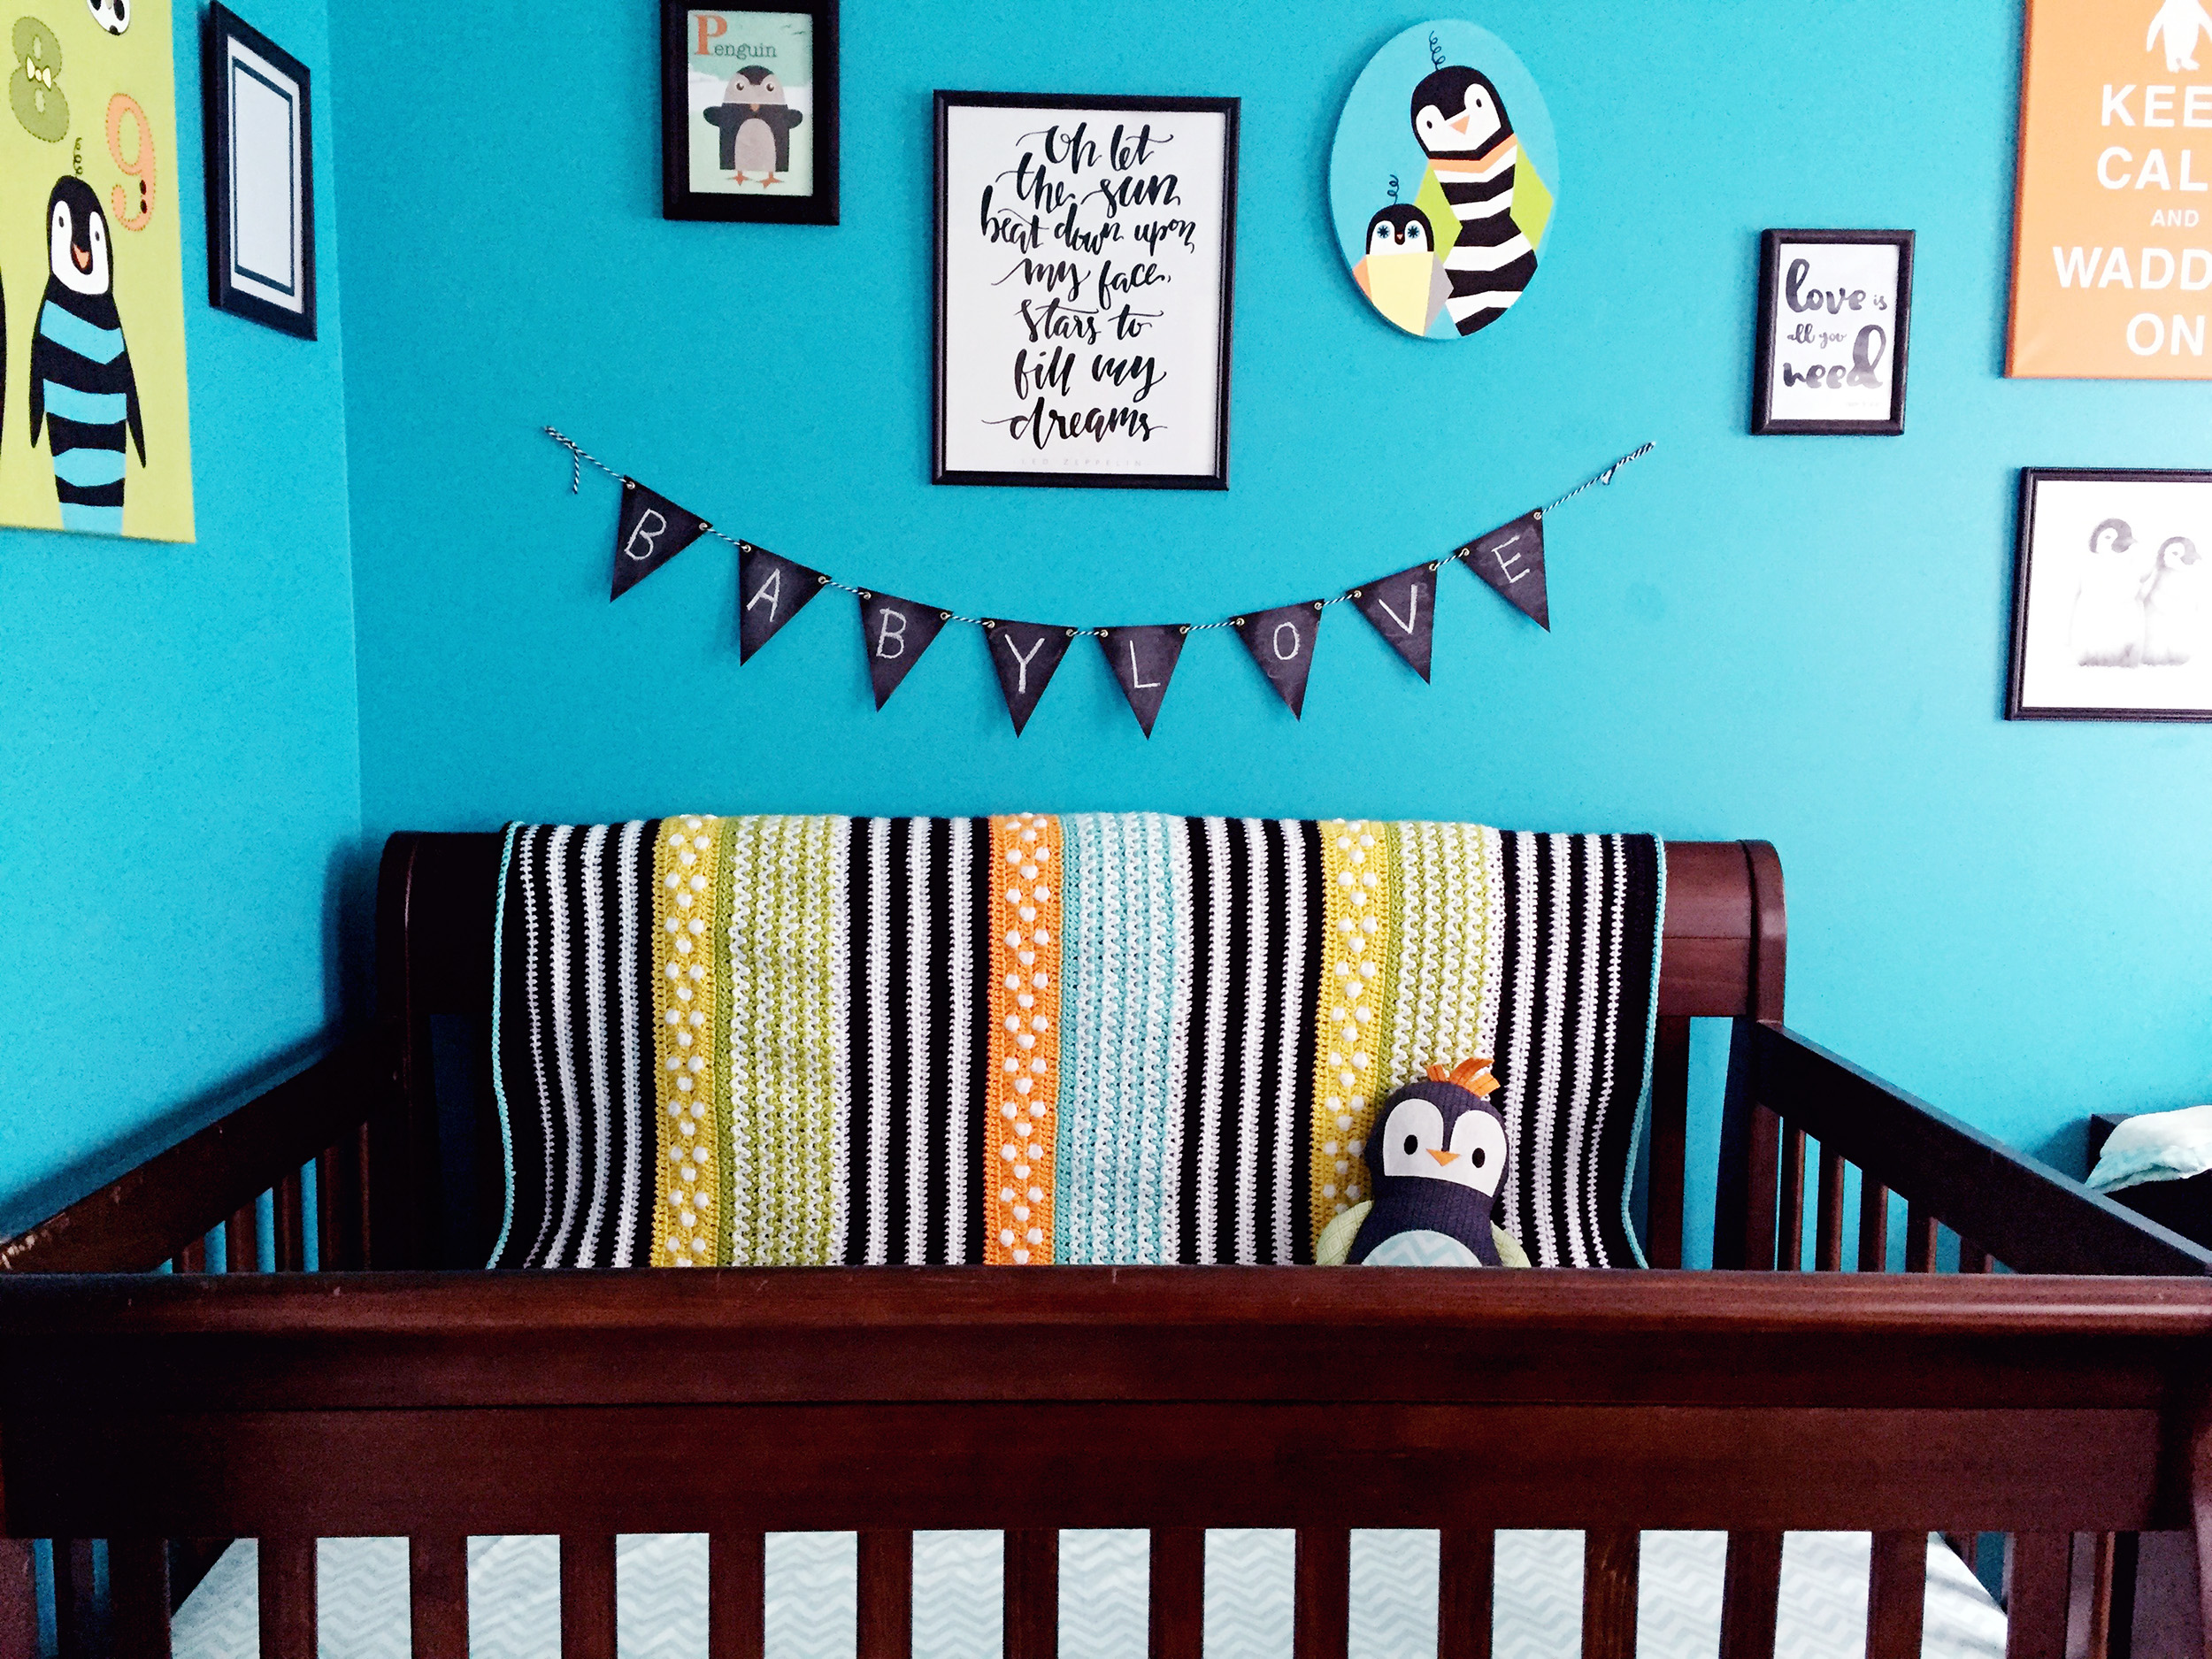
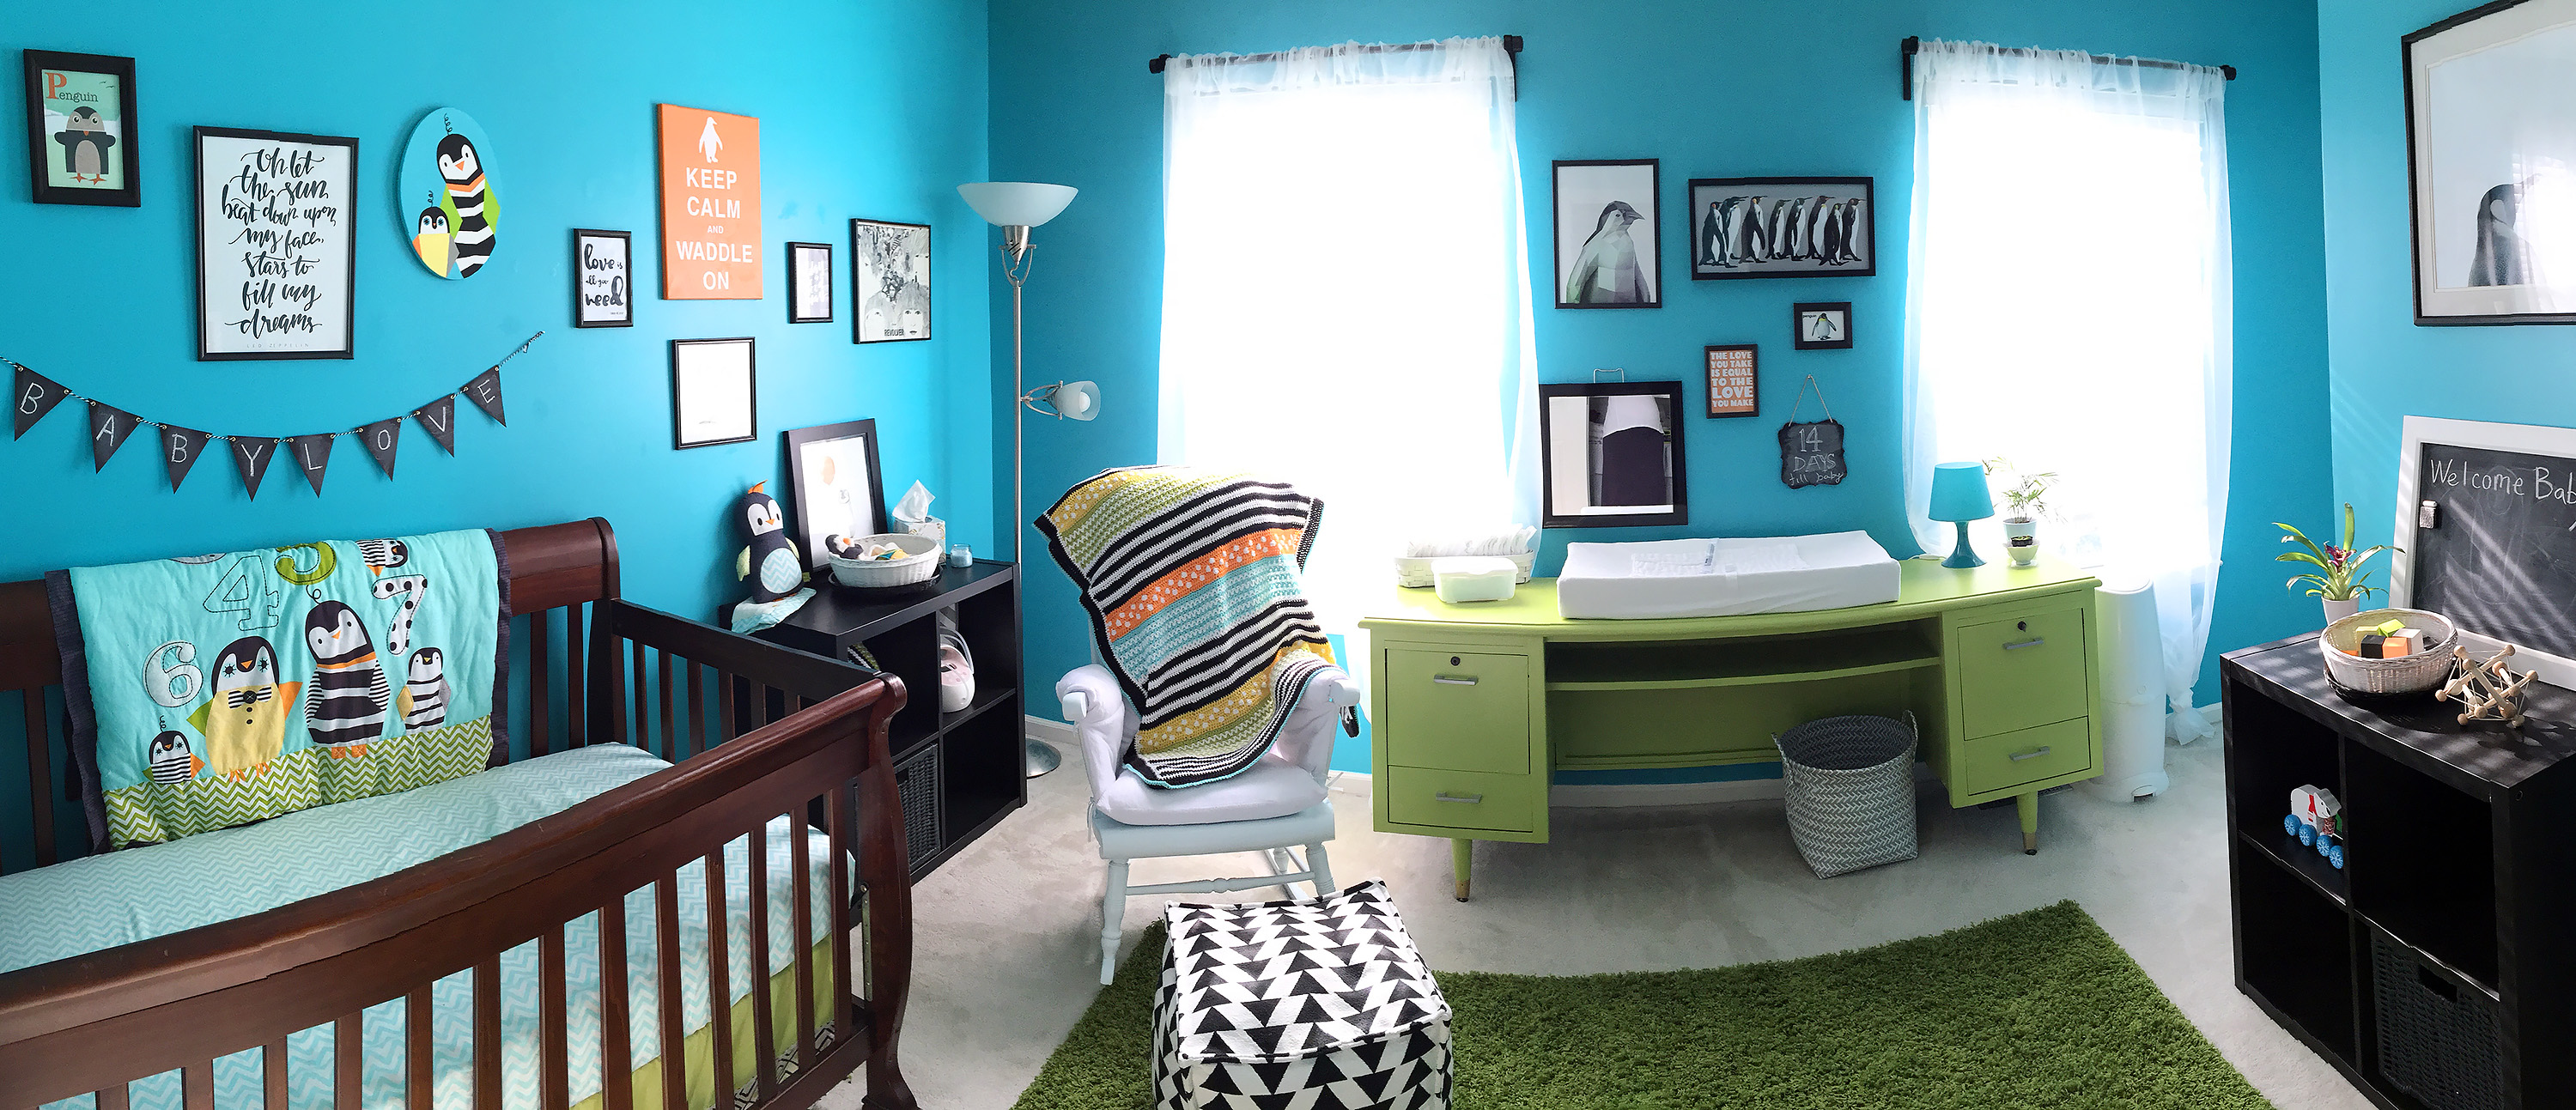
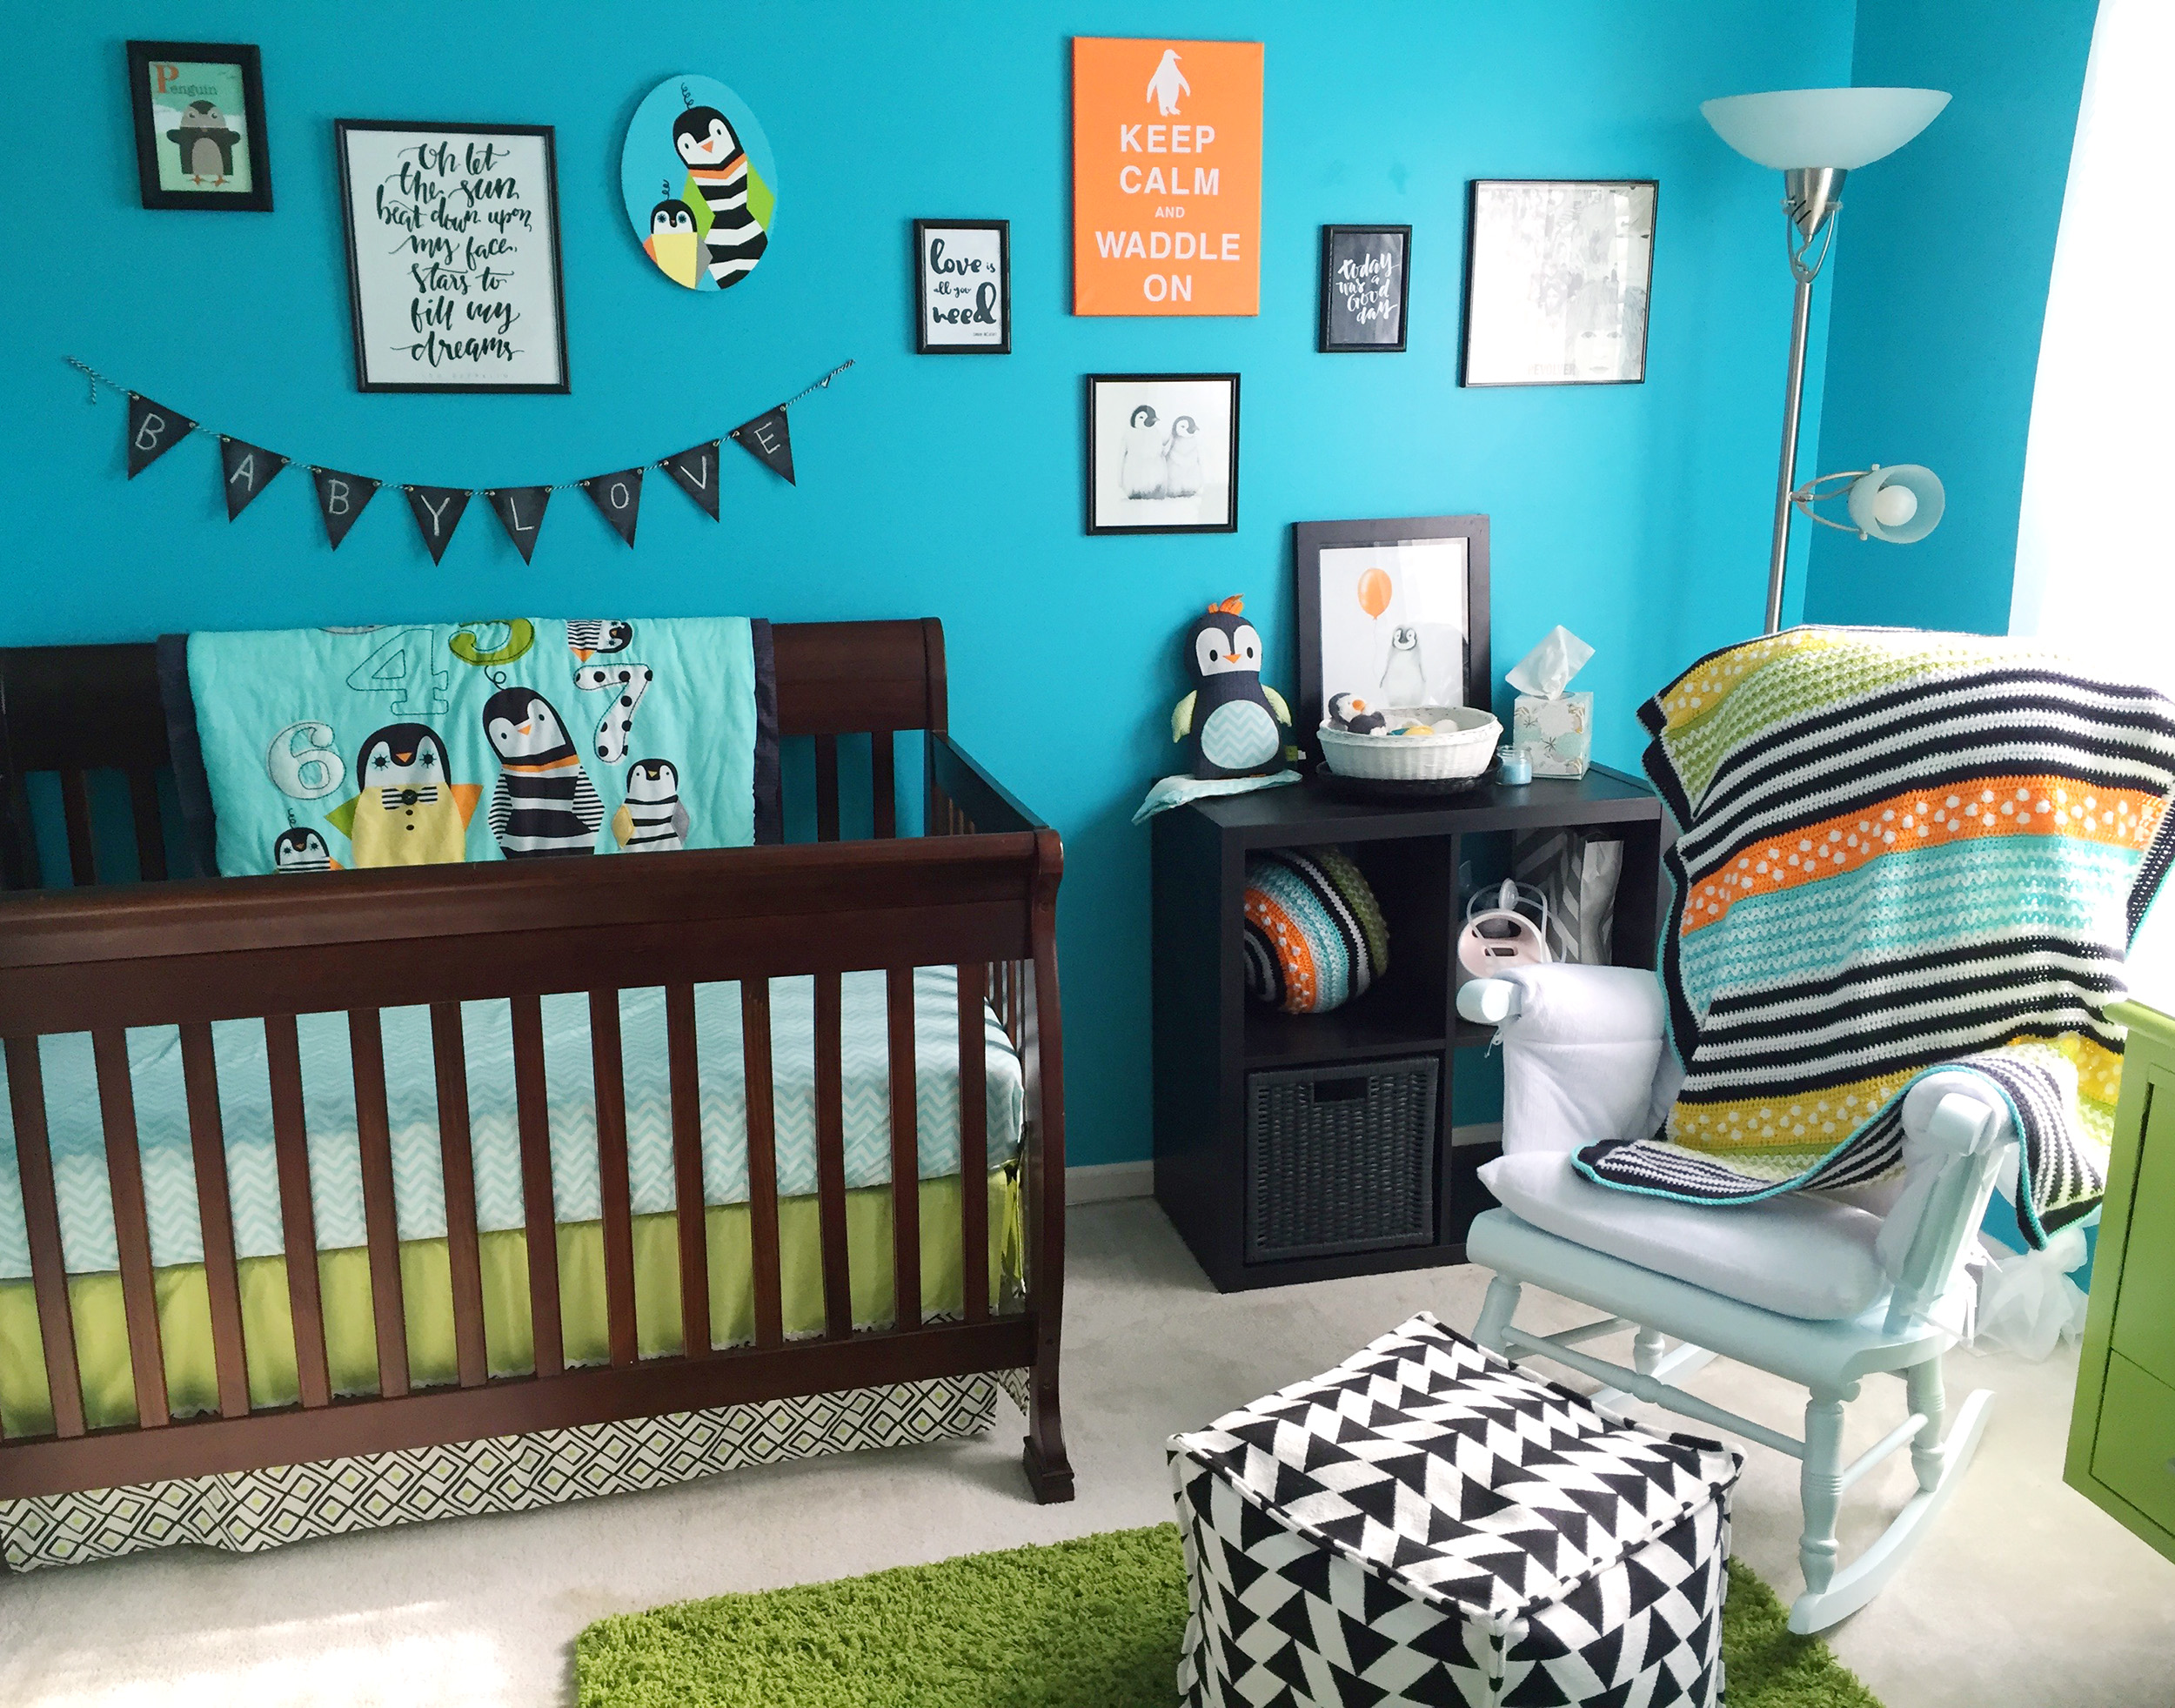
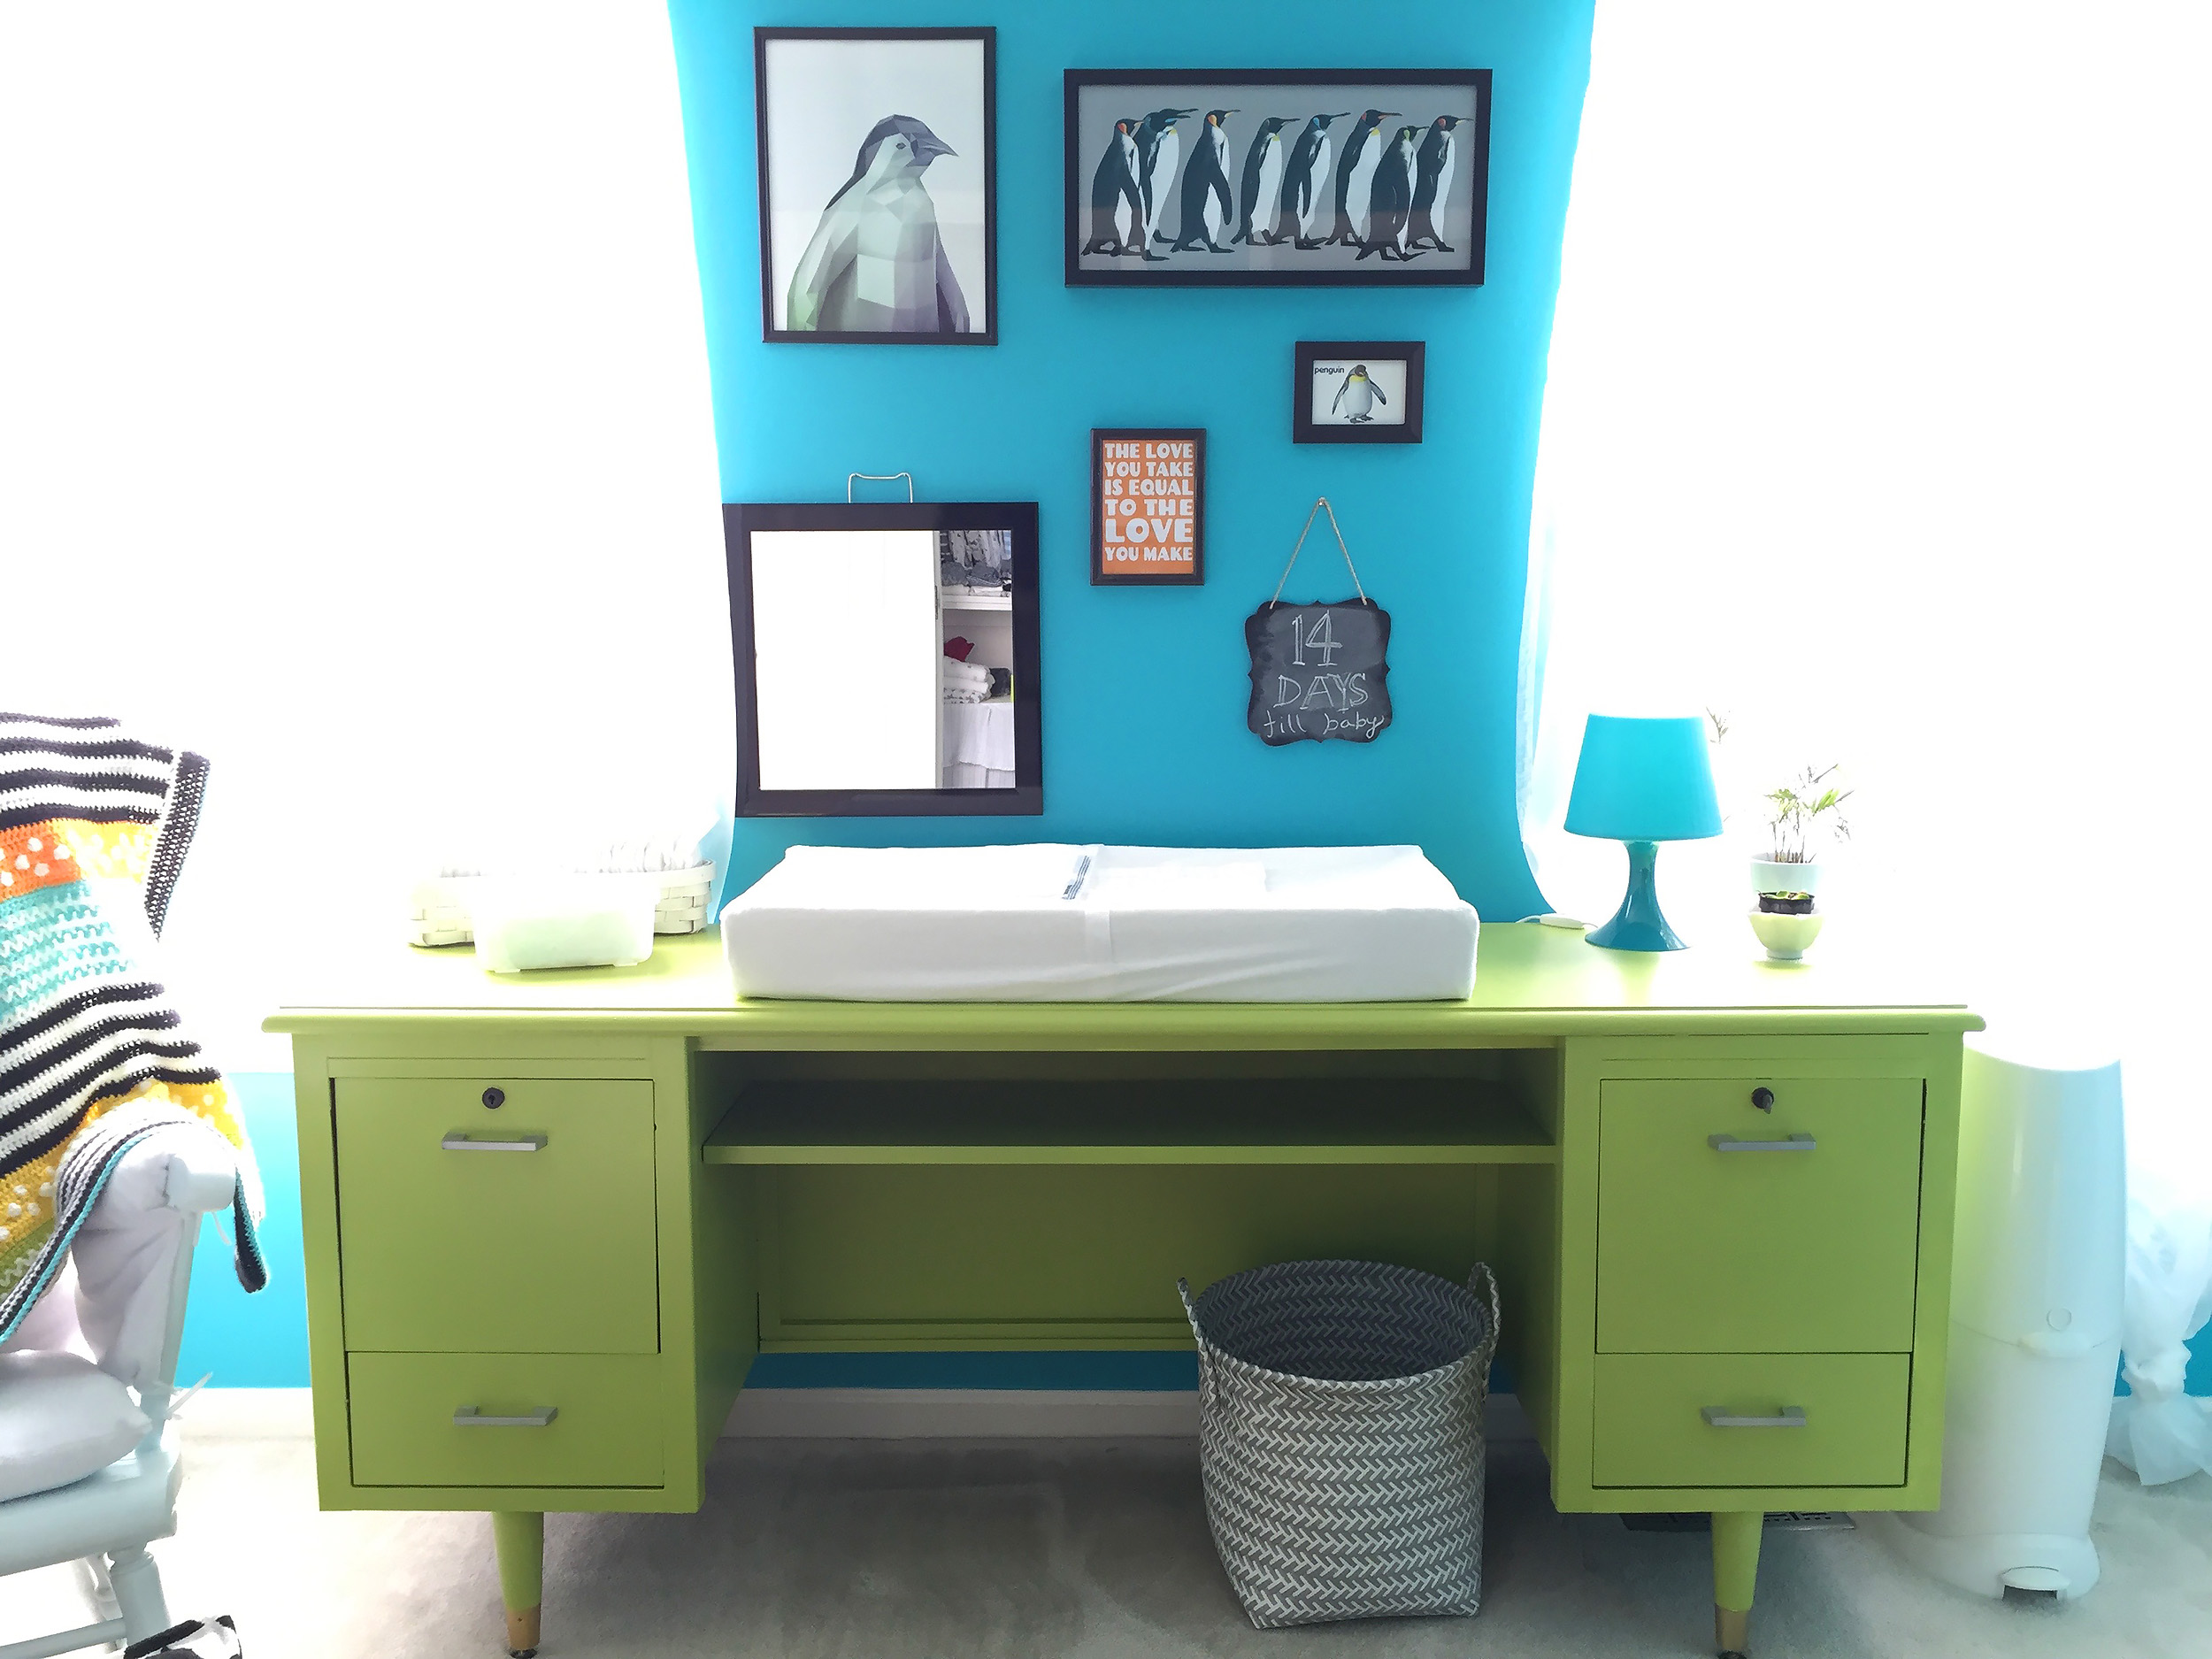
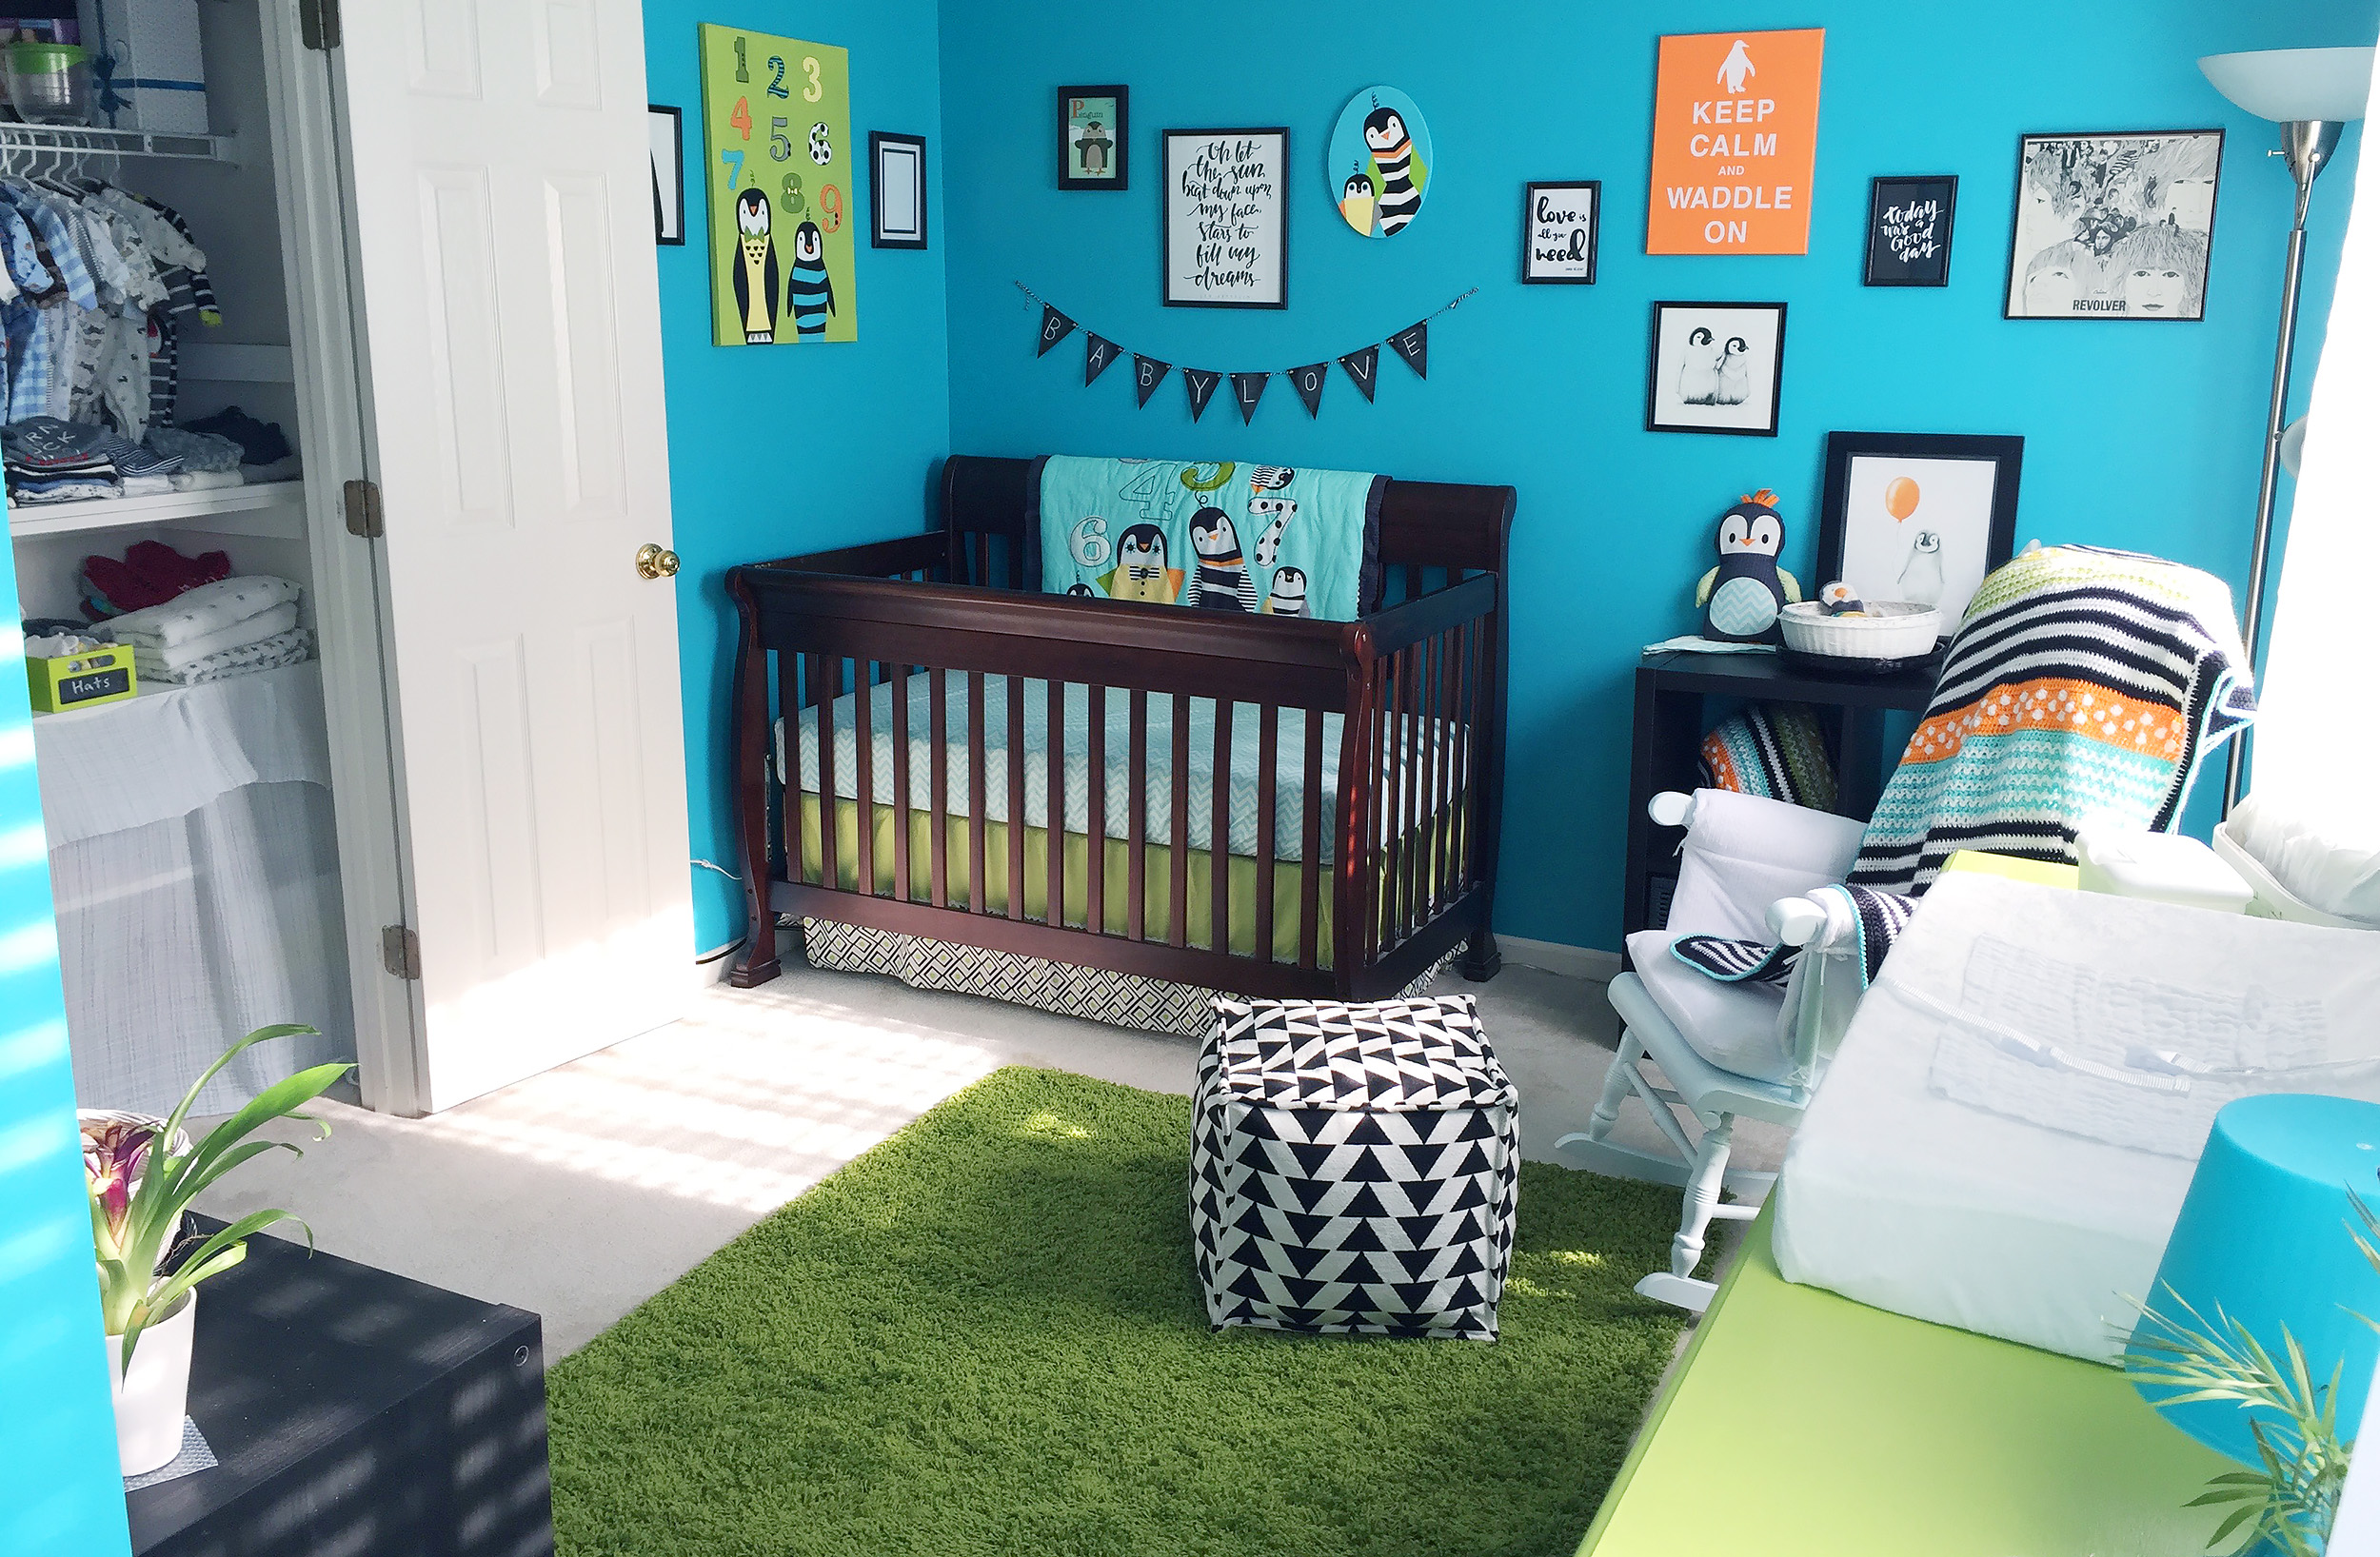
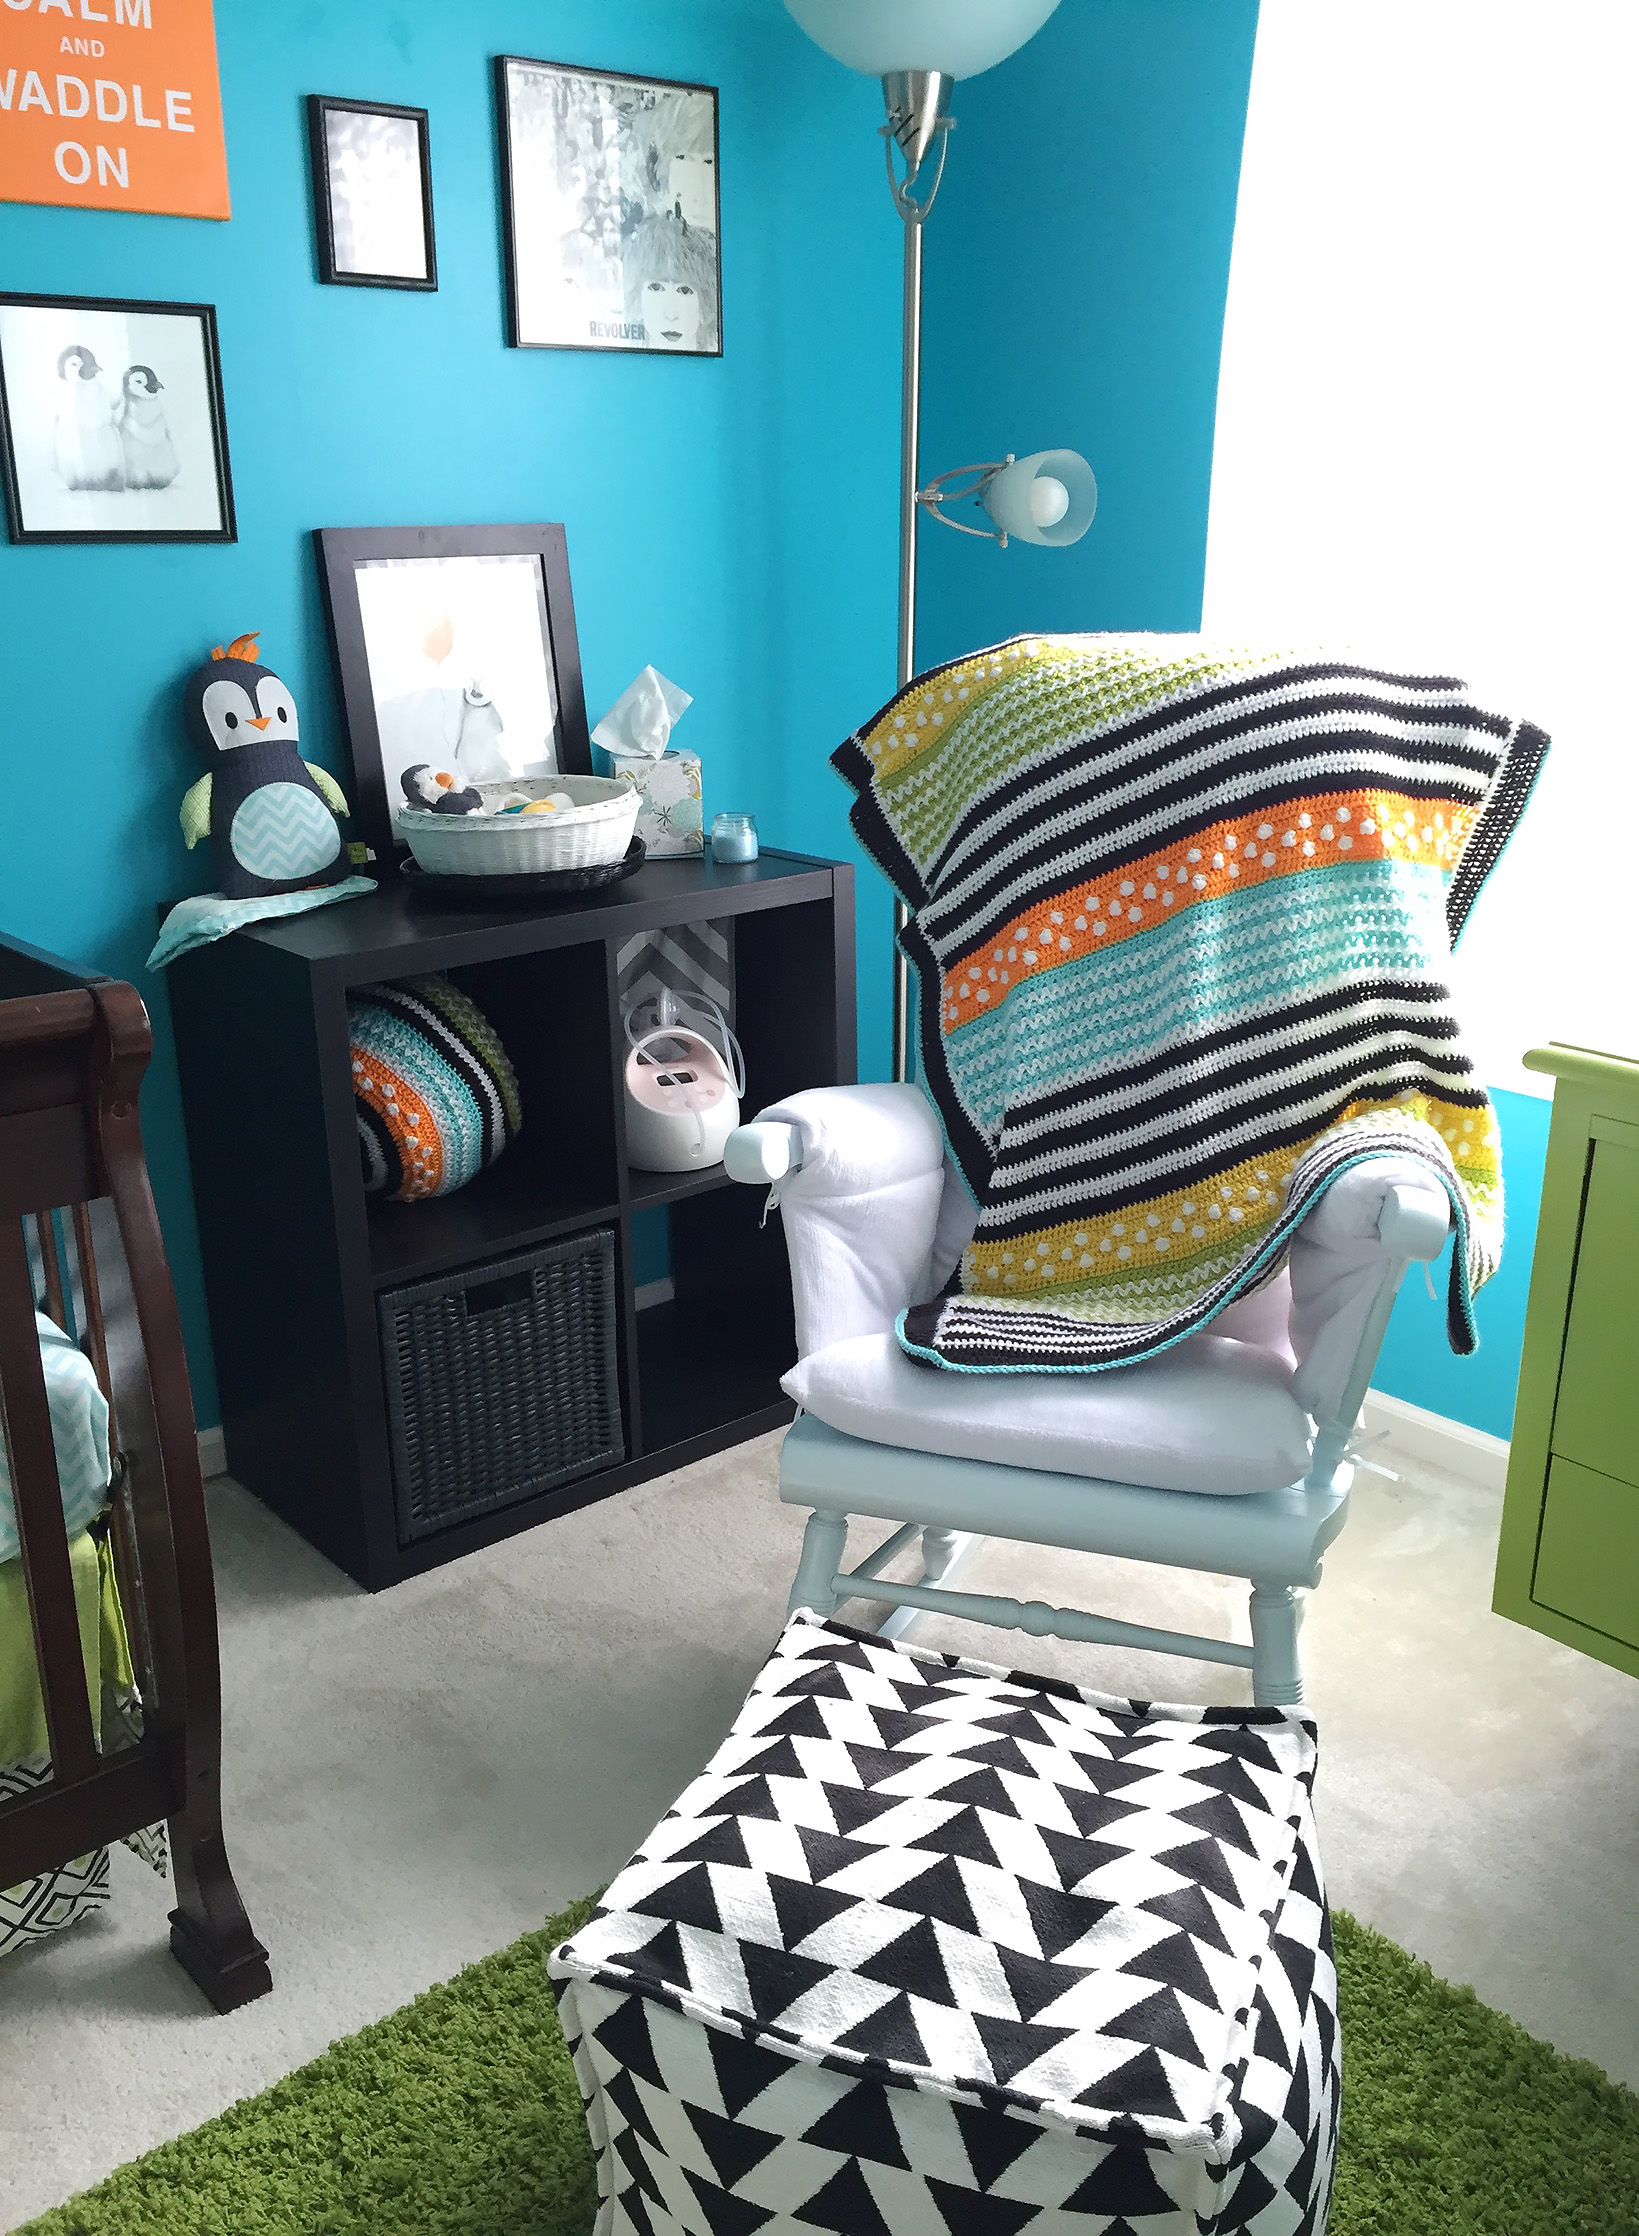
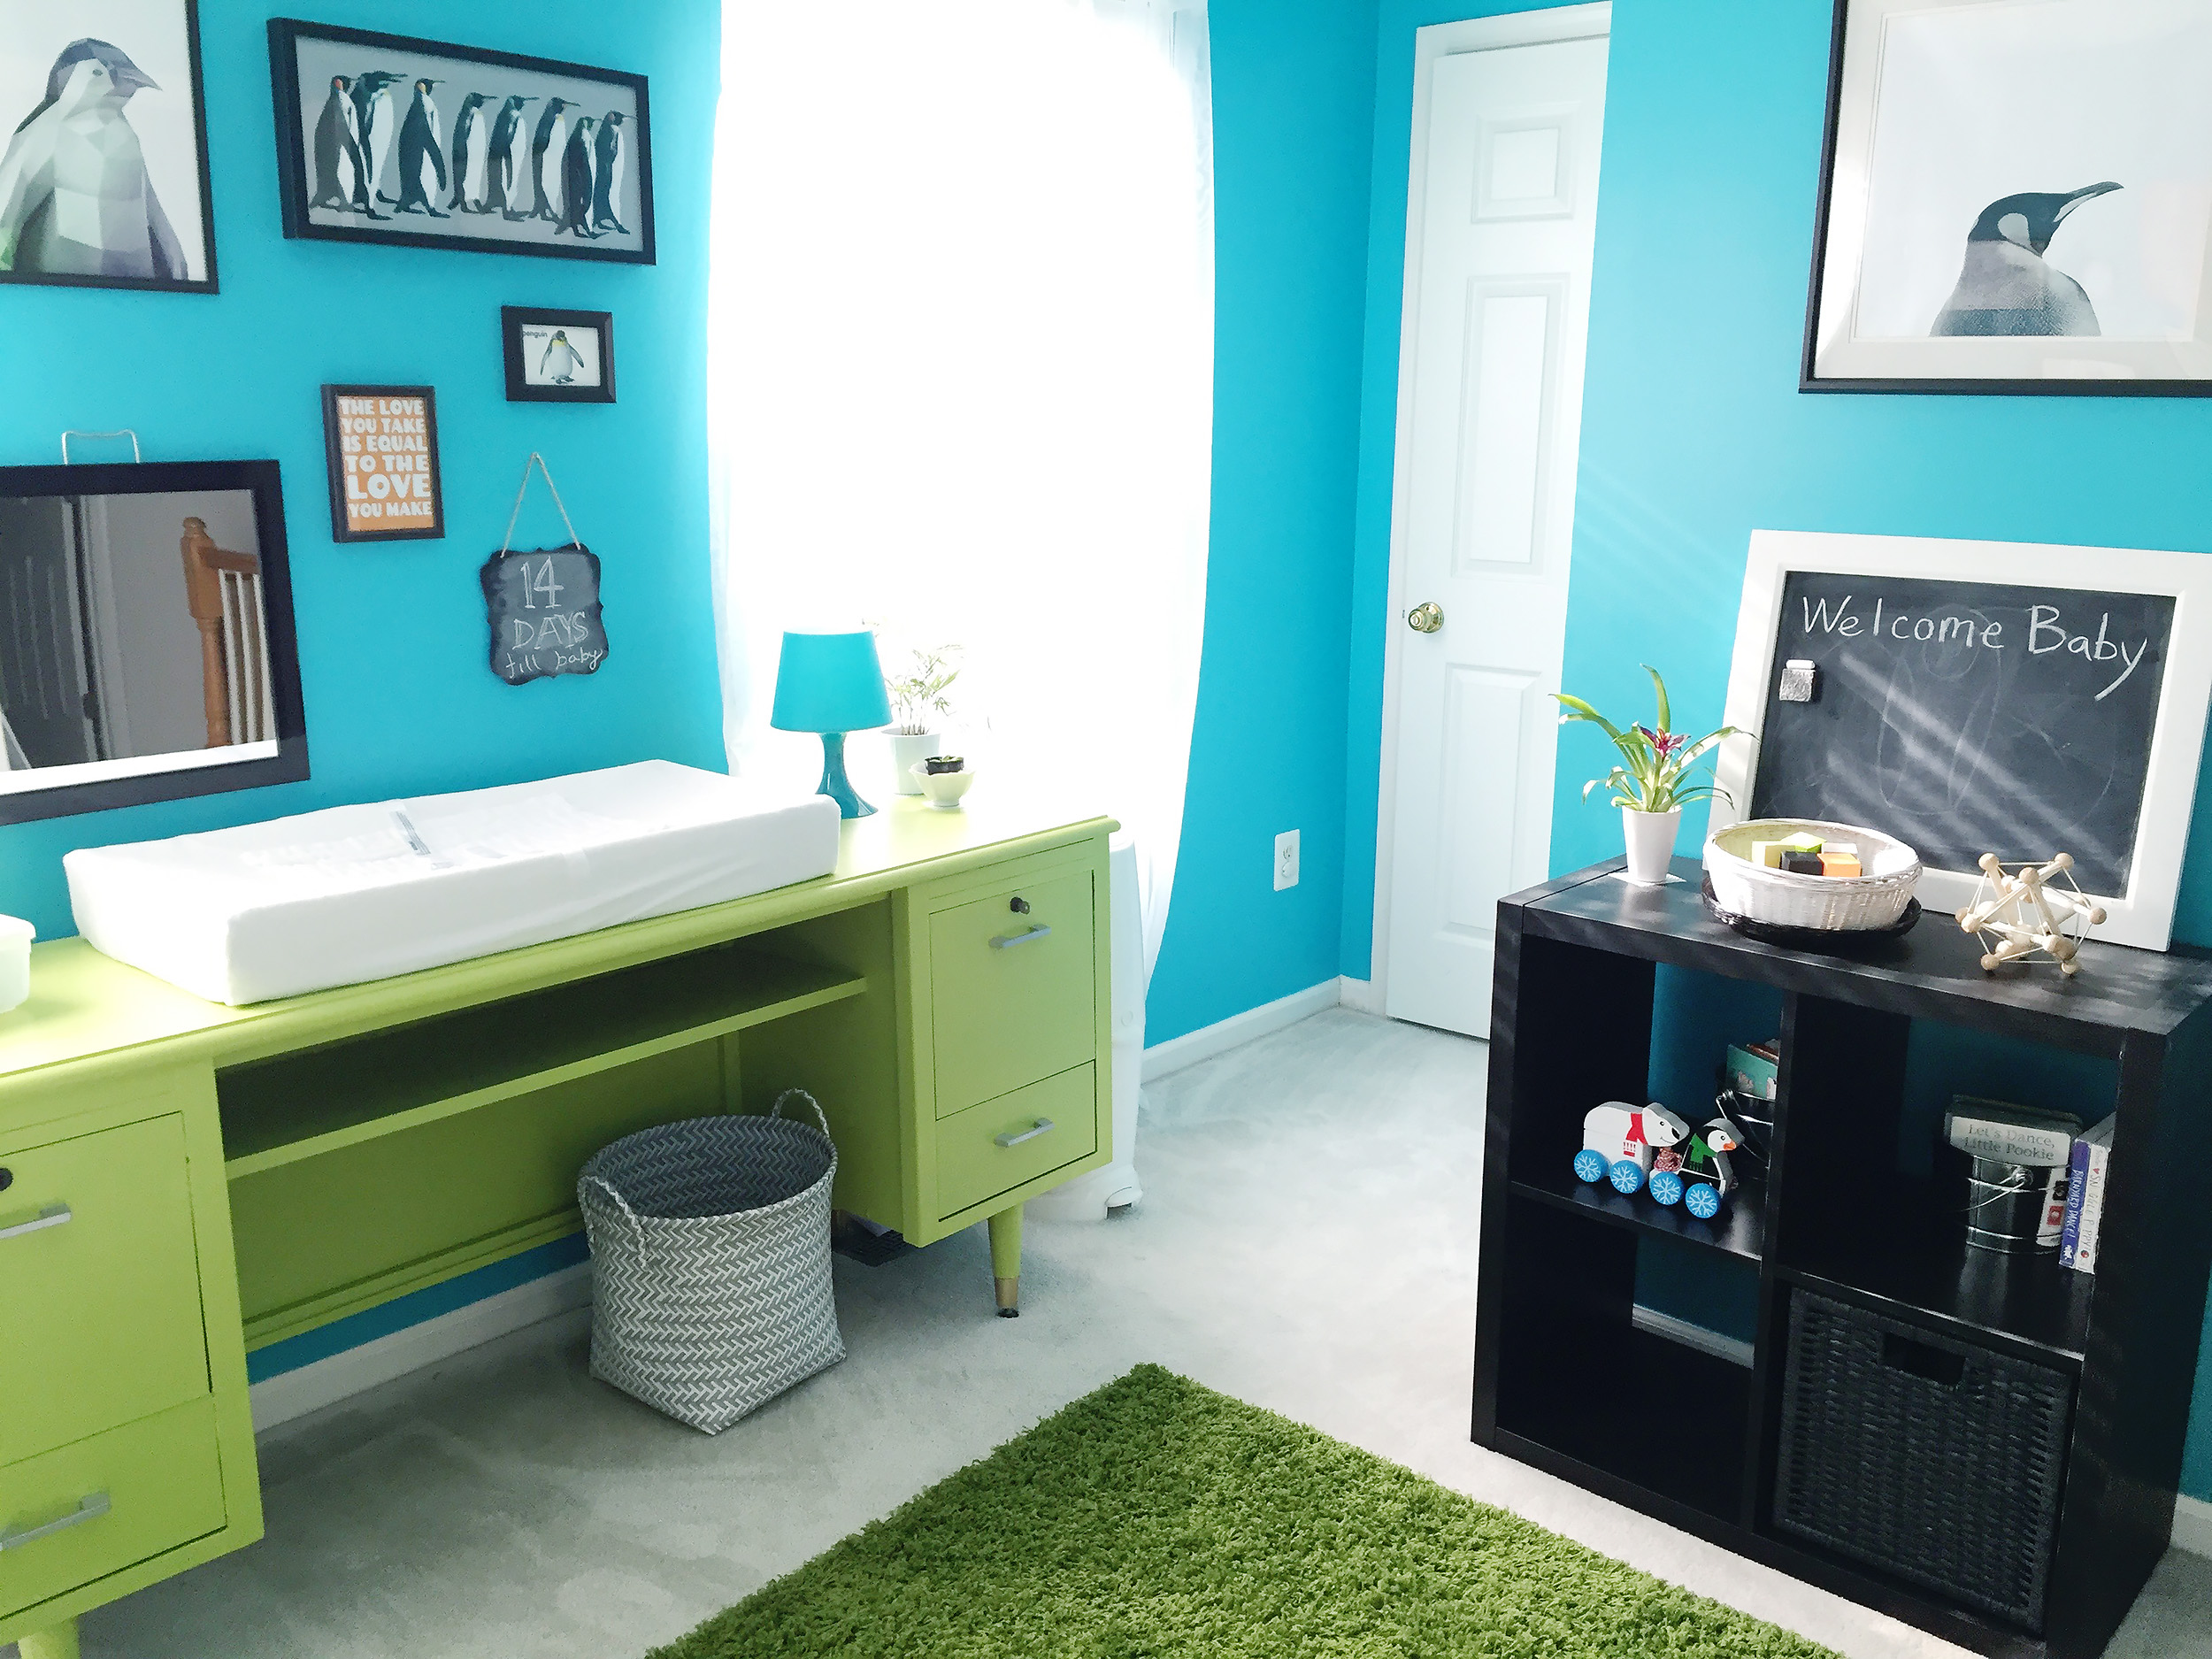
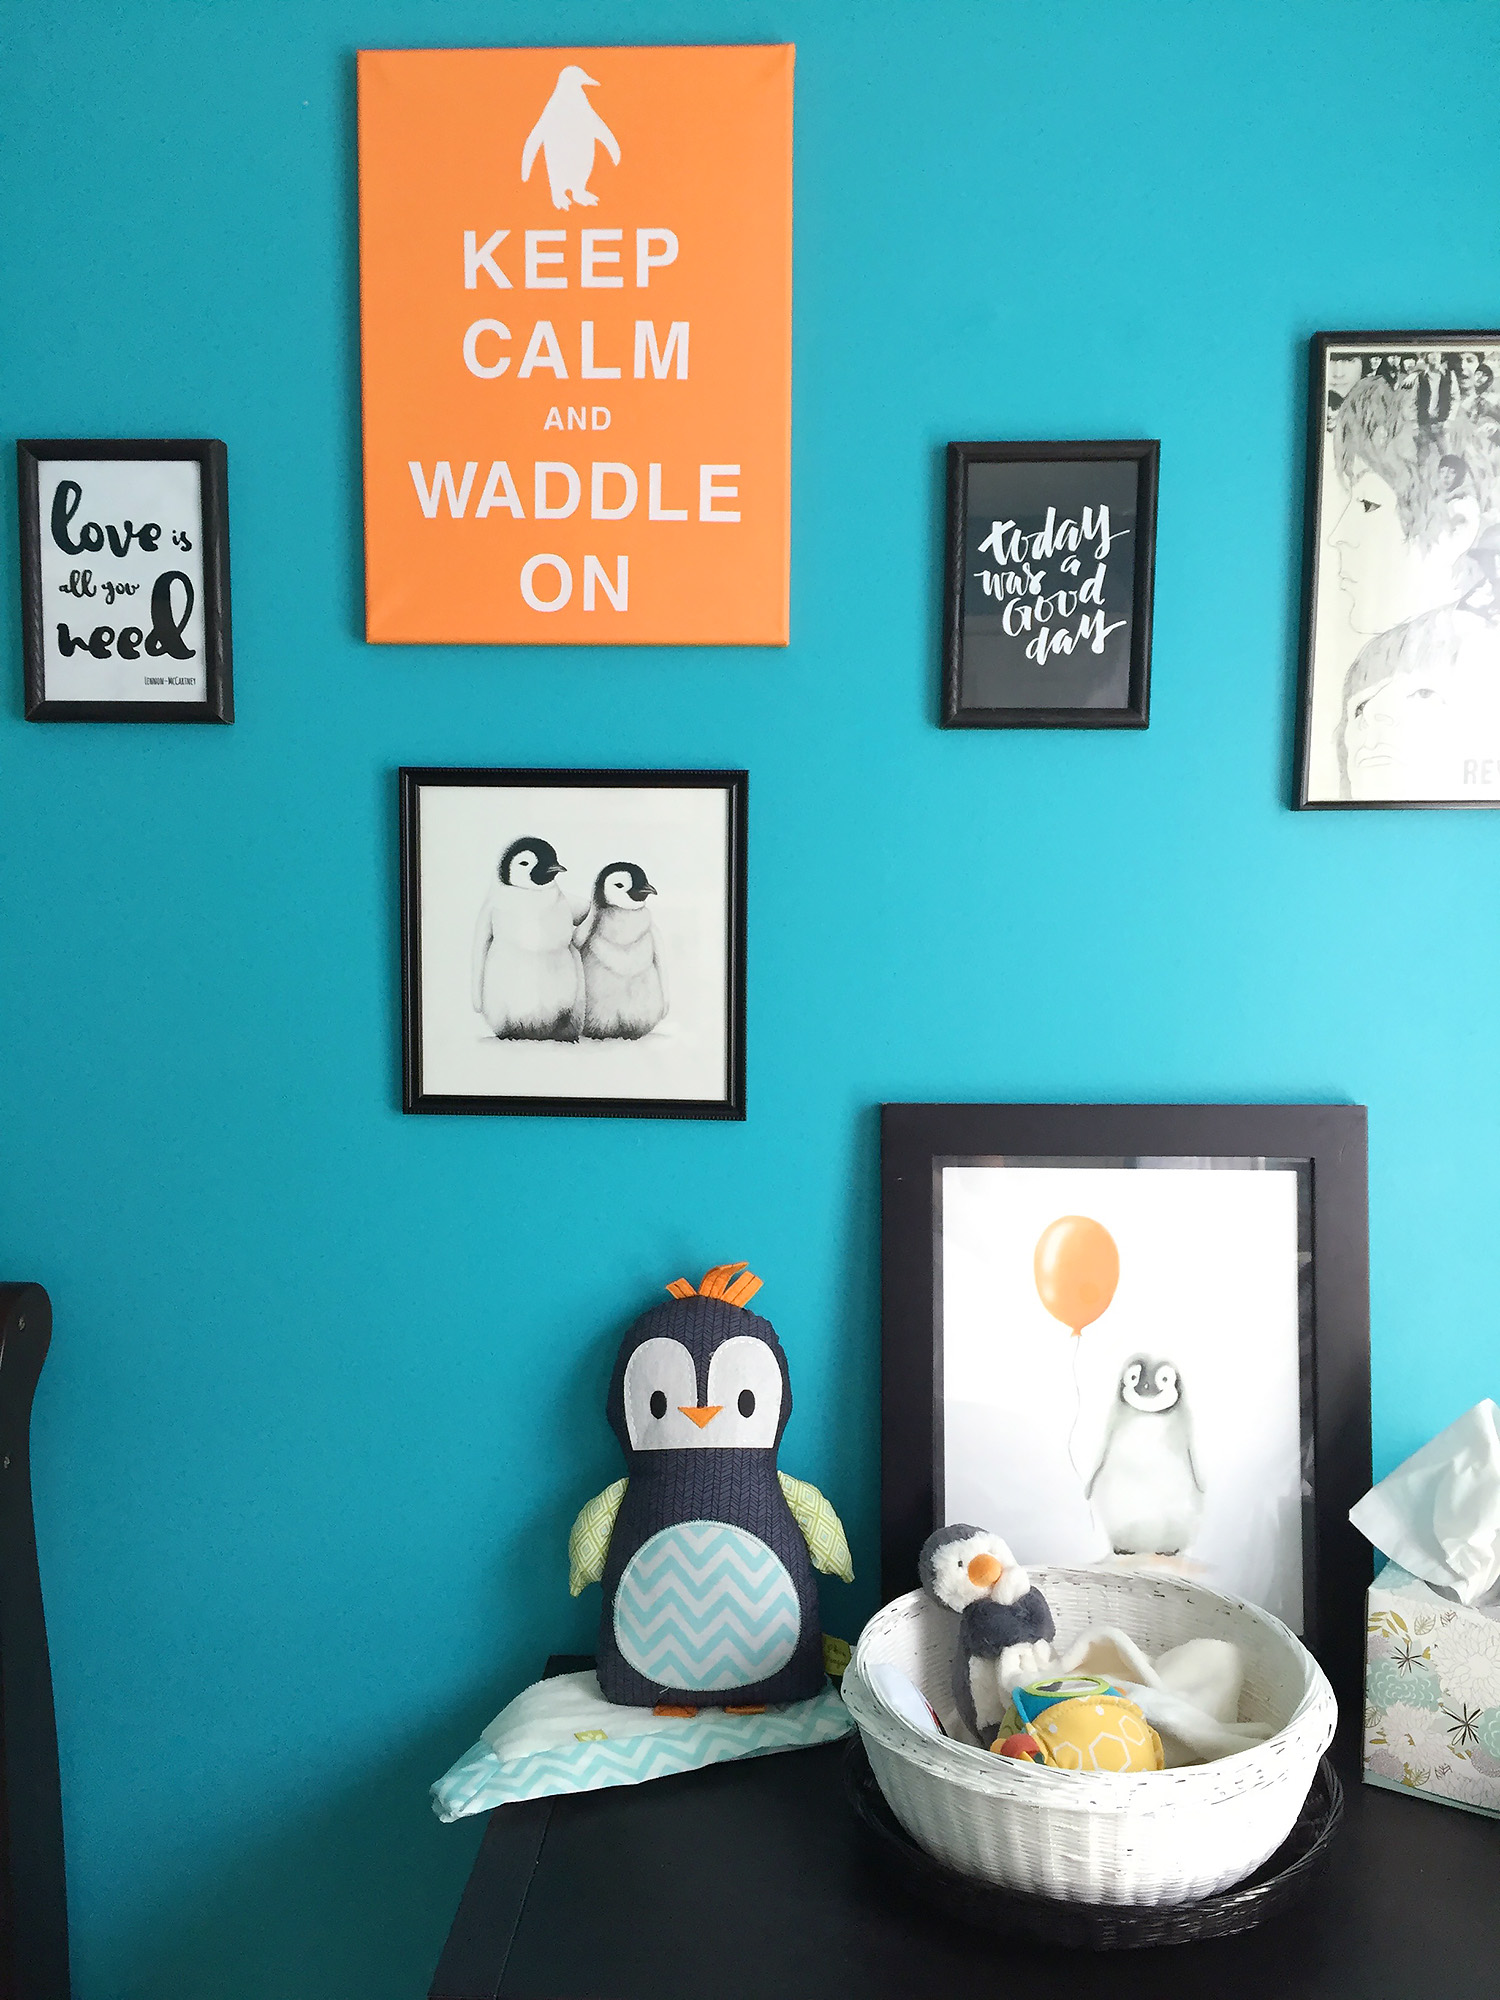
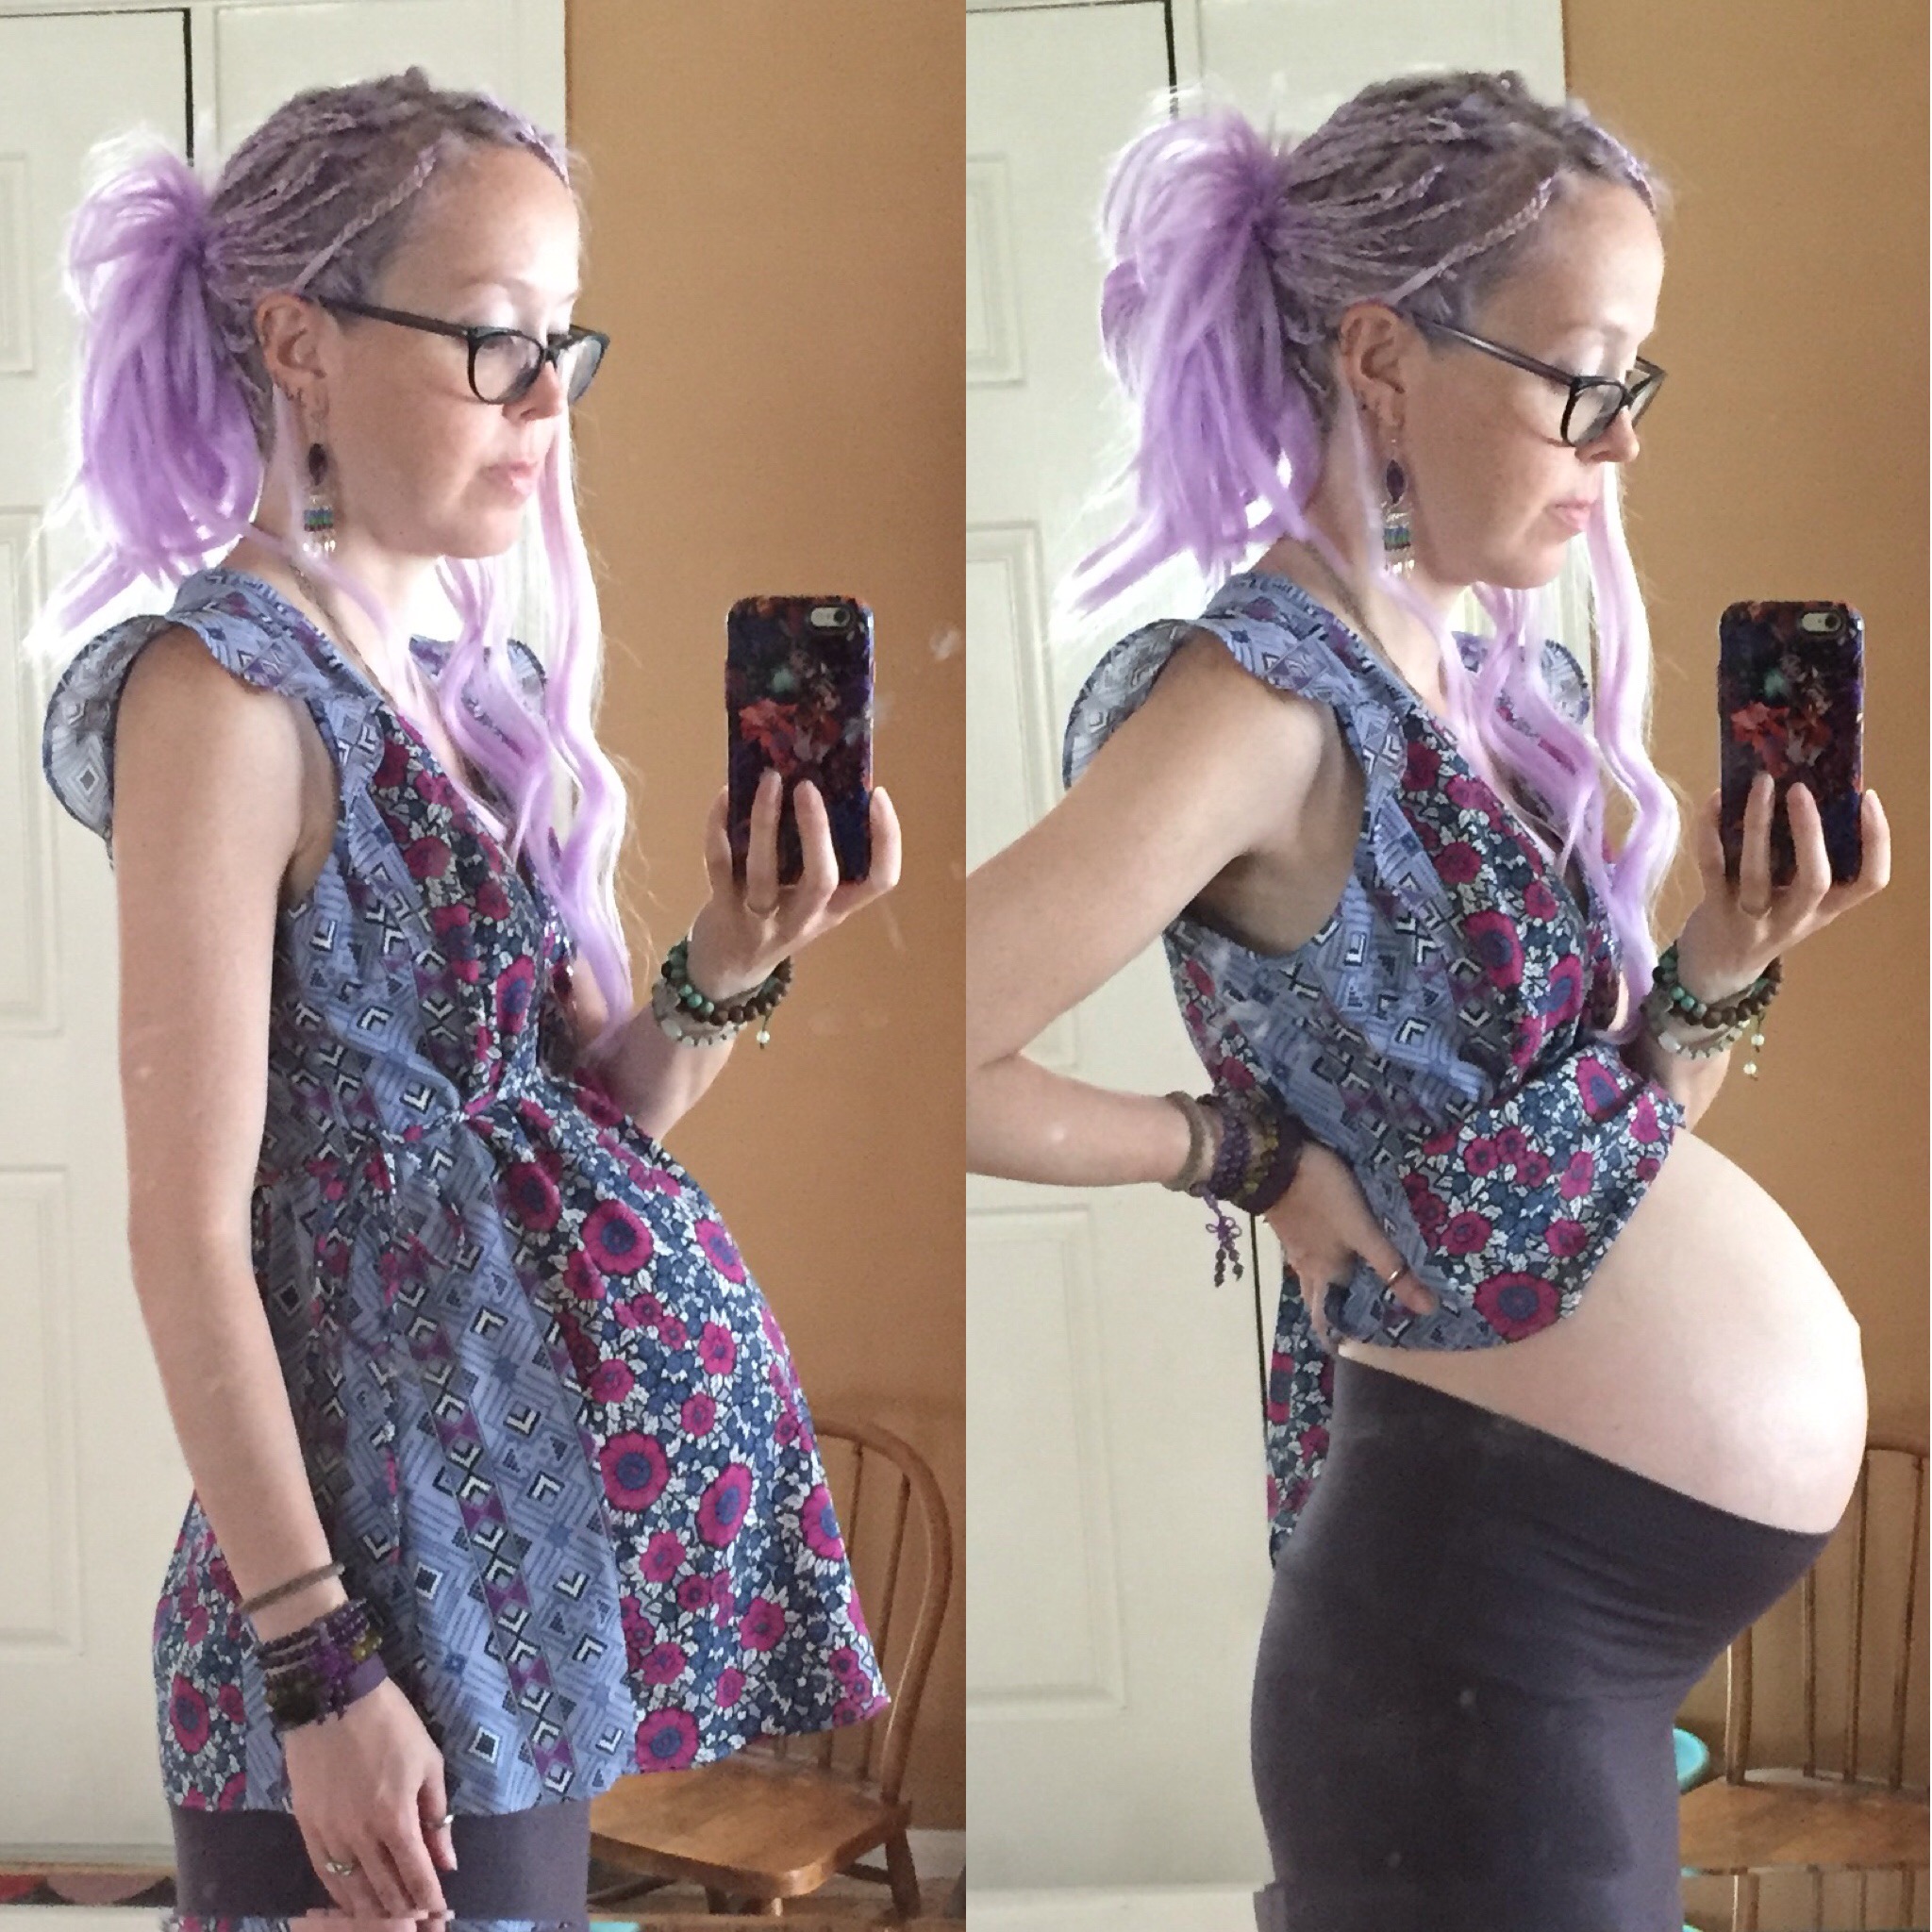
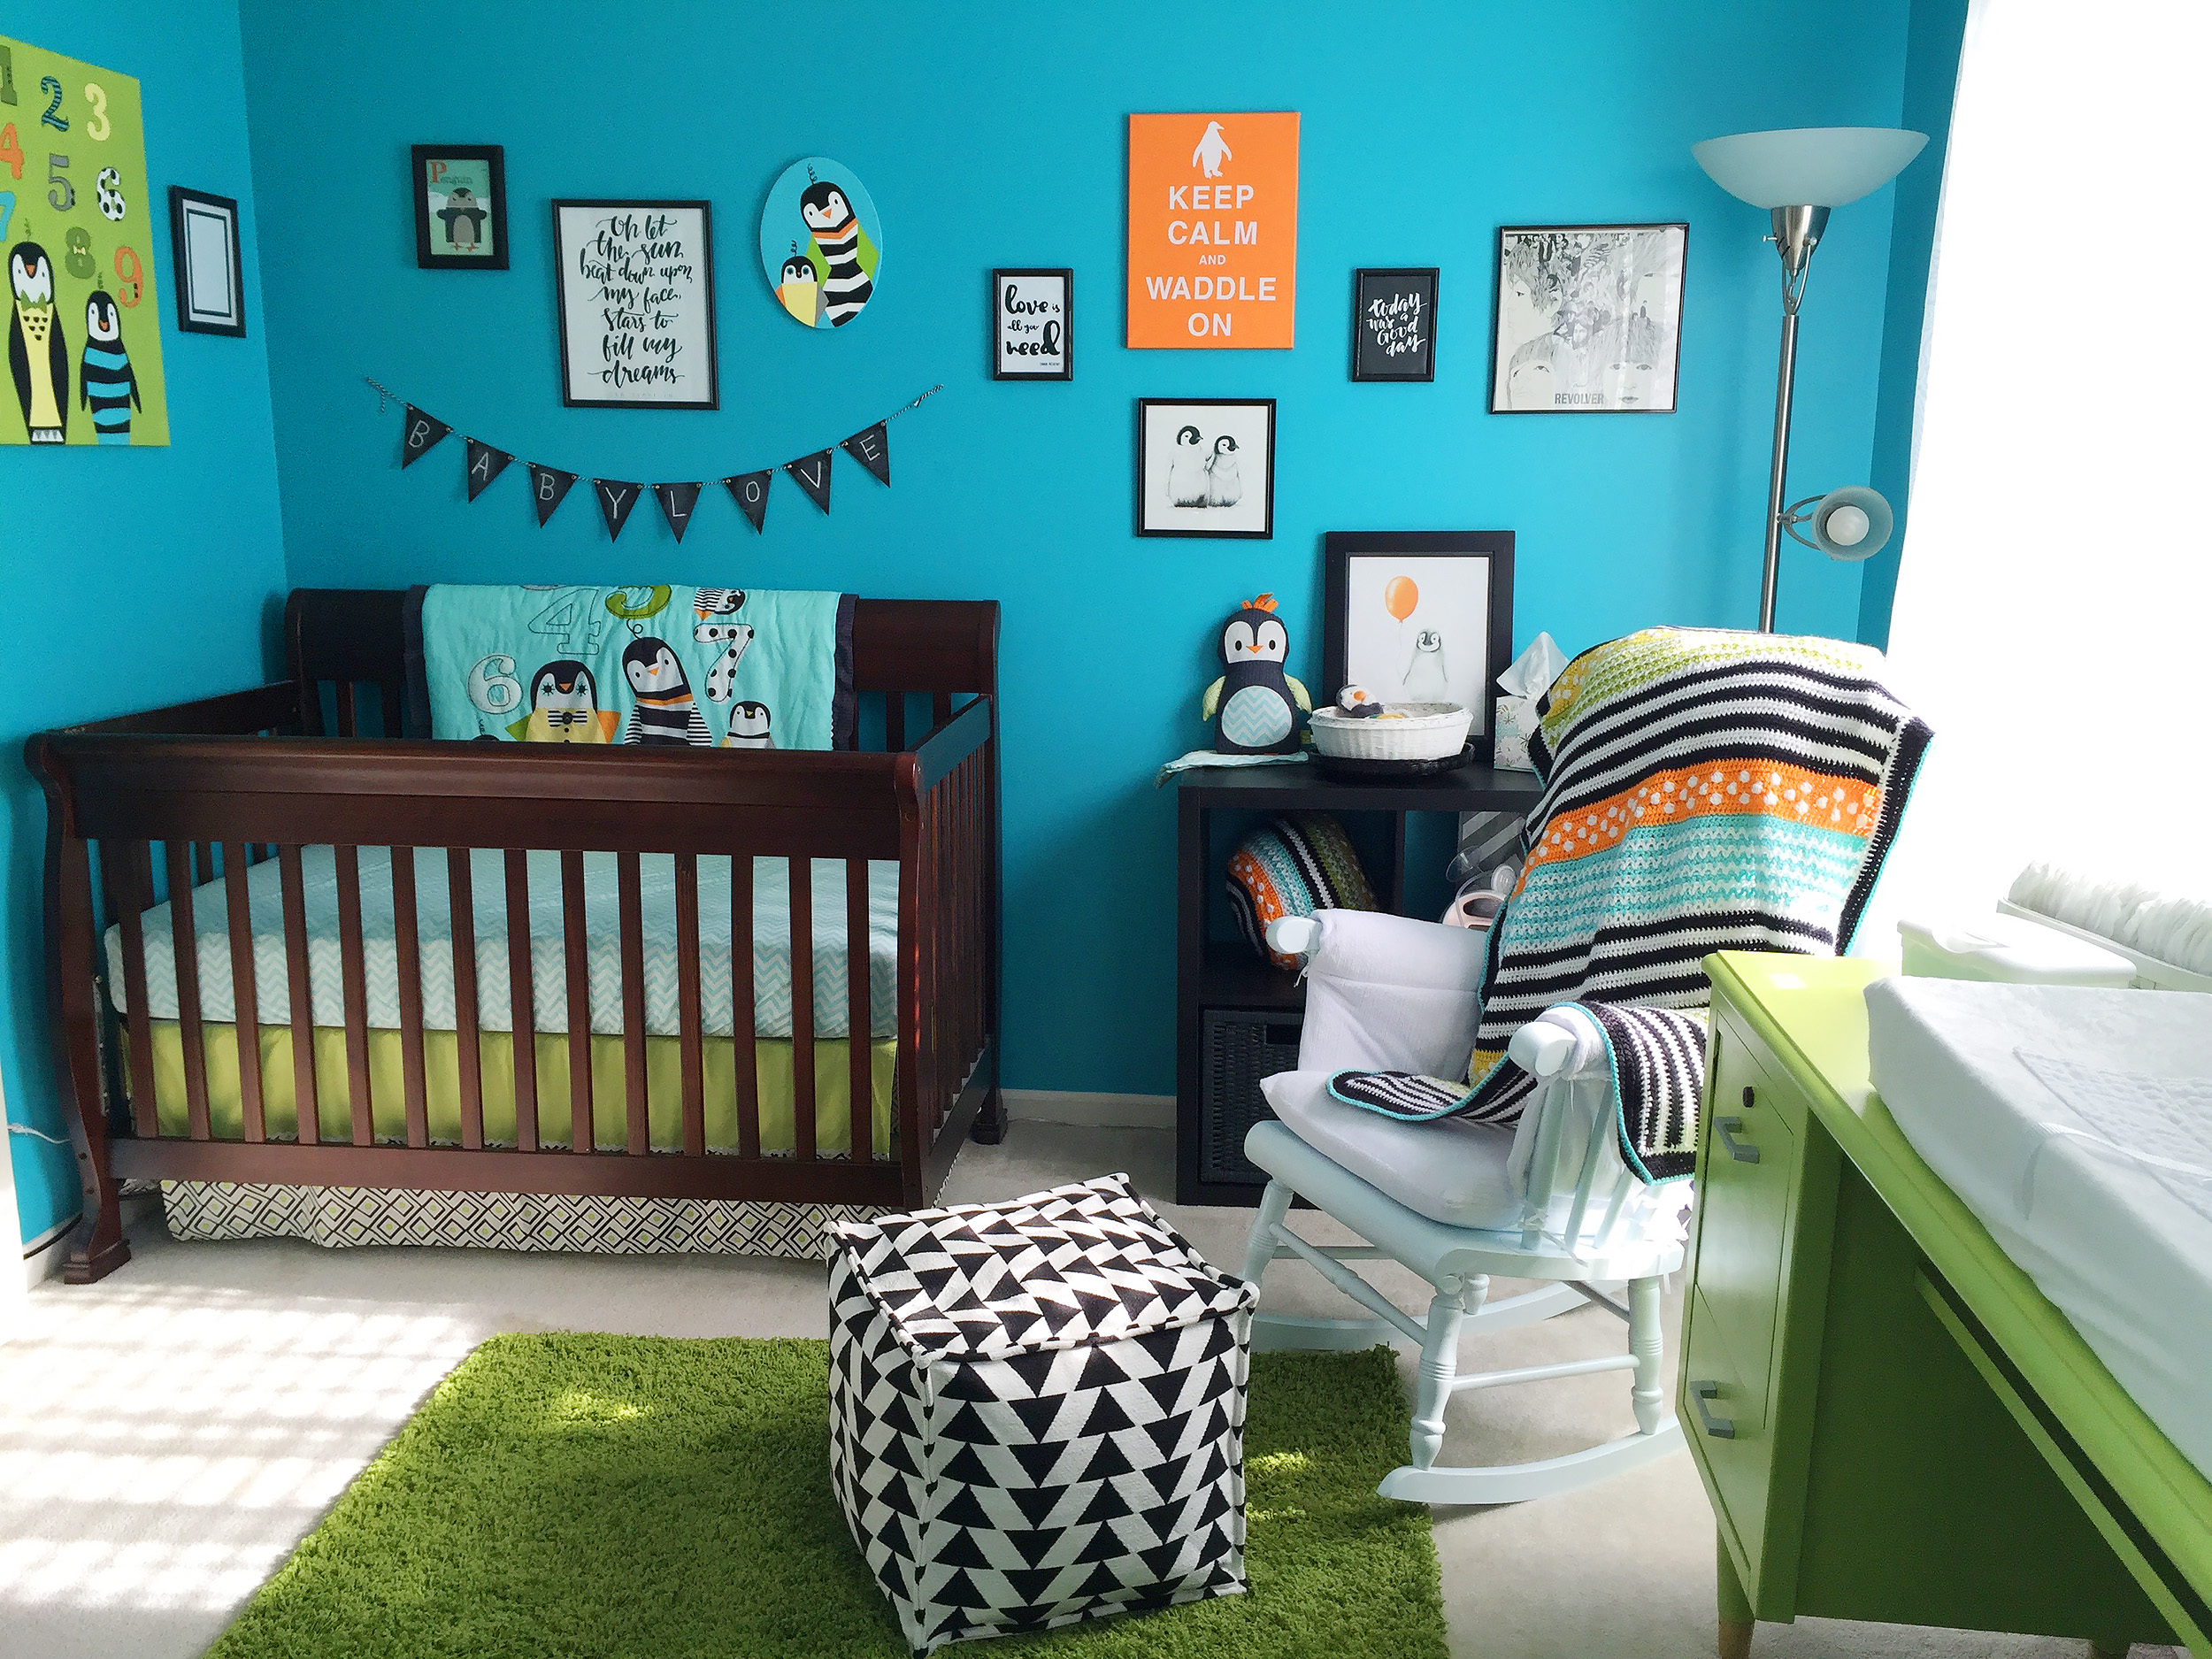
I adore crochet, and while pregnant, I seem to have super speed with it. Jax homeschools, but I enrich his learning with outside classes. That means I have times when I’m waiting outside classrooms – sometimes twice a day. Our nursery bedding was so cute with its fun colors and patterns, that I felt inspired to design a blanket to crochet to match.
Let me preface this by saying I can’t write crochet patterns. I’m terrible at keeping track of what I do while I’m crocheting, as I tend to make it up as I go along. I’ll be giving an overview of what I did for each pattern area, as well as the basic materials and starting size I went with.
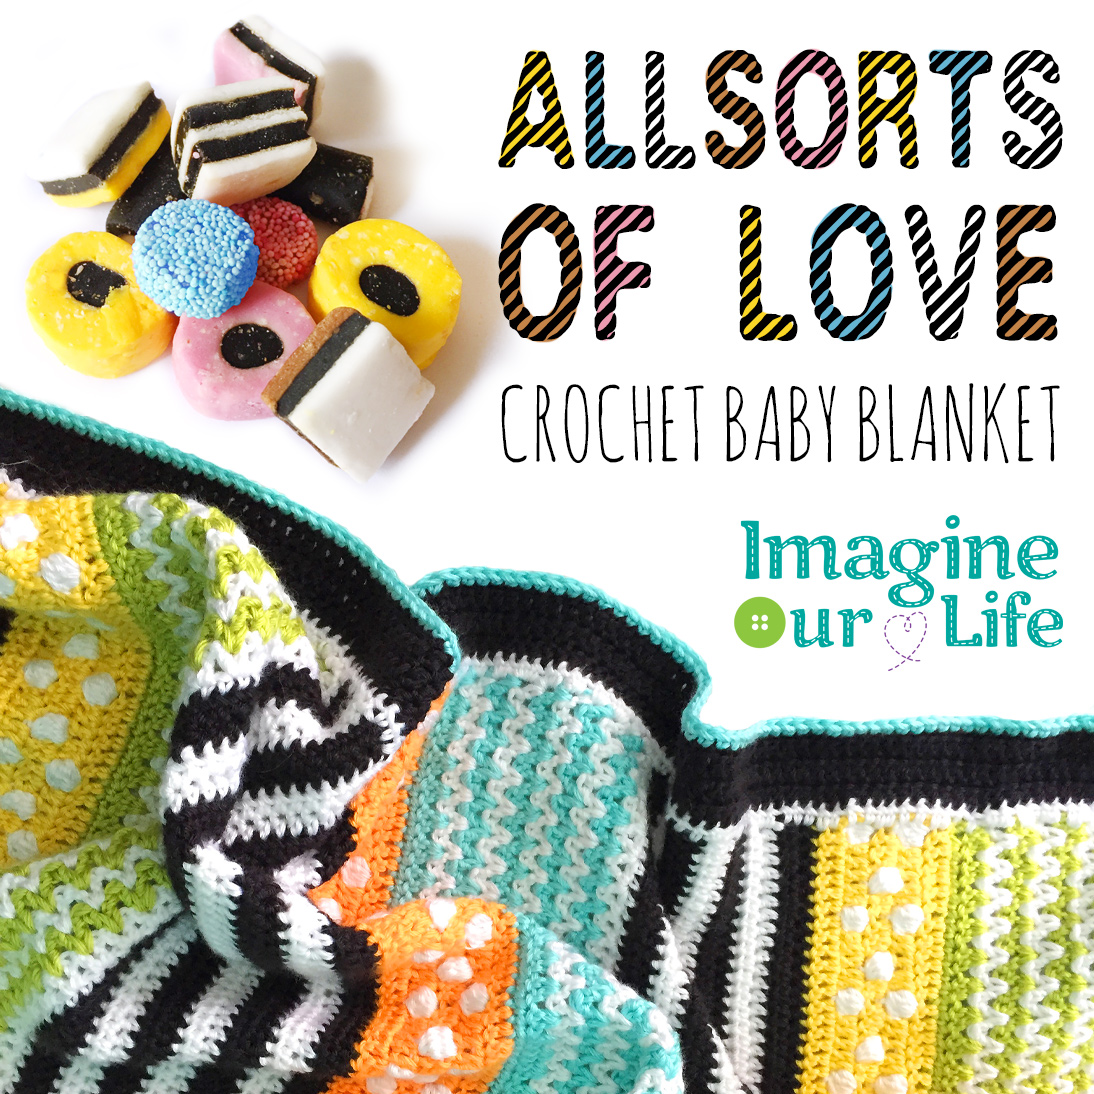
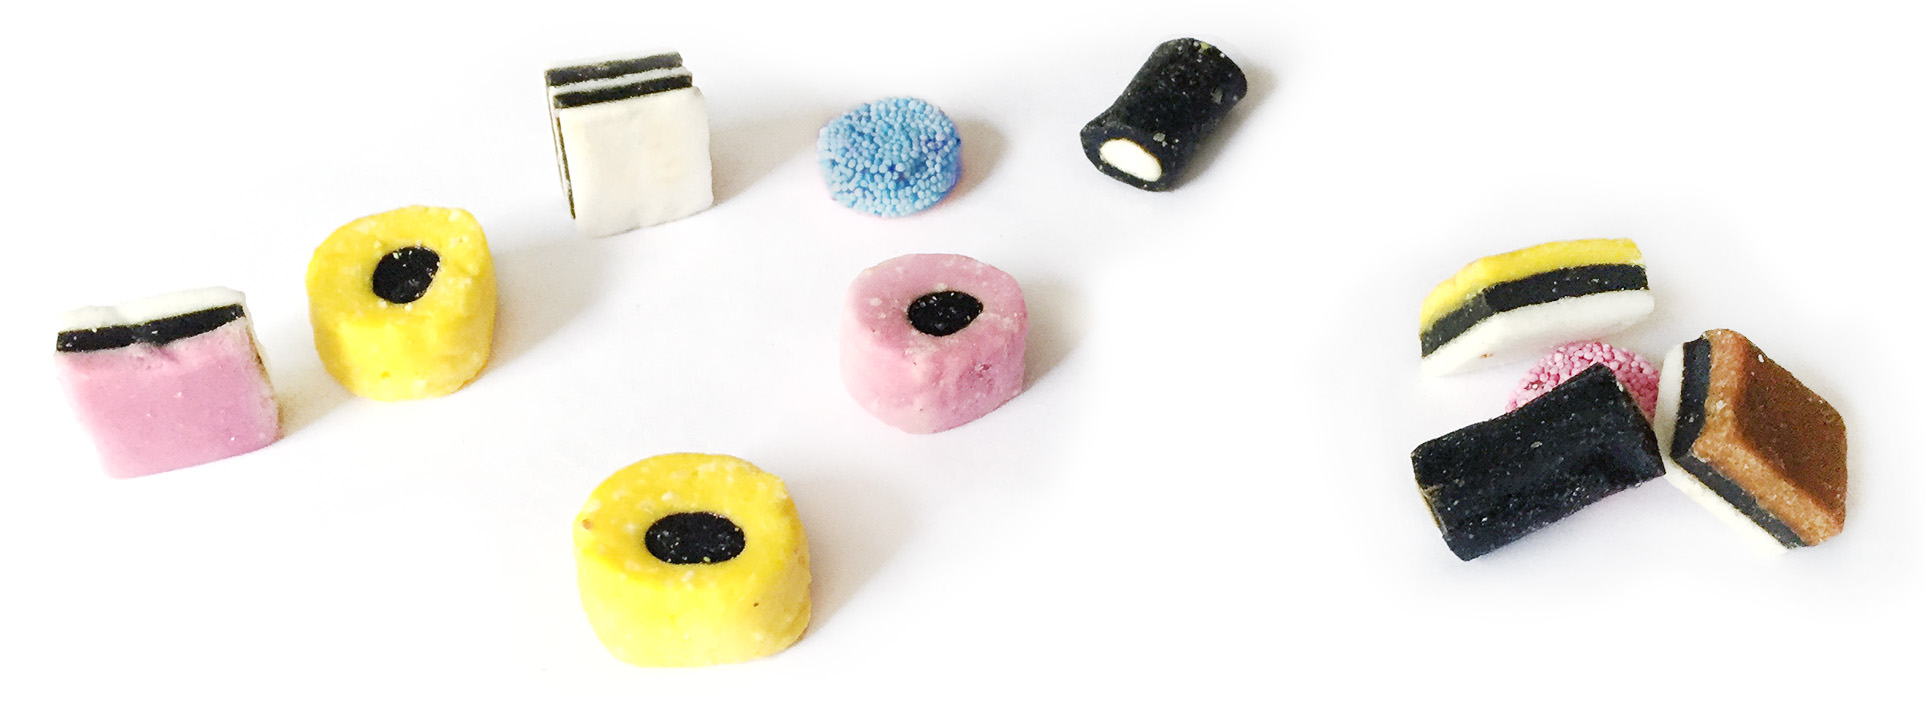
Big thank-you’s to two Instagram friends who helped me name this pattern after fun and colorful licorice allsorts candies!
What I Used:
 I used Caron Simply Soft yarn in: Black, White, Lemonade, Mango (Brites series), Chartreuse, and Robin’s Egg. I ordered mine from Joann’s during a sale for under $3 each. I used 2 each of white and black, one each of the colors. I did buy an extra skein of each, and have been doing small projects with those. I used this exact 4mm hook, ordered from Amazon. Very comfy! I also used metal yarn needles to weave in the 10 bazillion ends.
Stitches I Used:
sc, hdc, dc and bobble
Starting:
I started with a chain of 102 in black. (I actually did my blanket with a chain of 100 and the dot pattern divided awkwardly, so in the second blanket, I used 102. These instructions assume a starting width of 102 chains.)
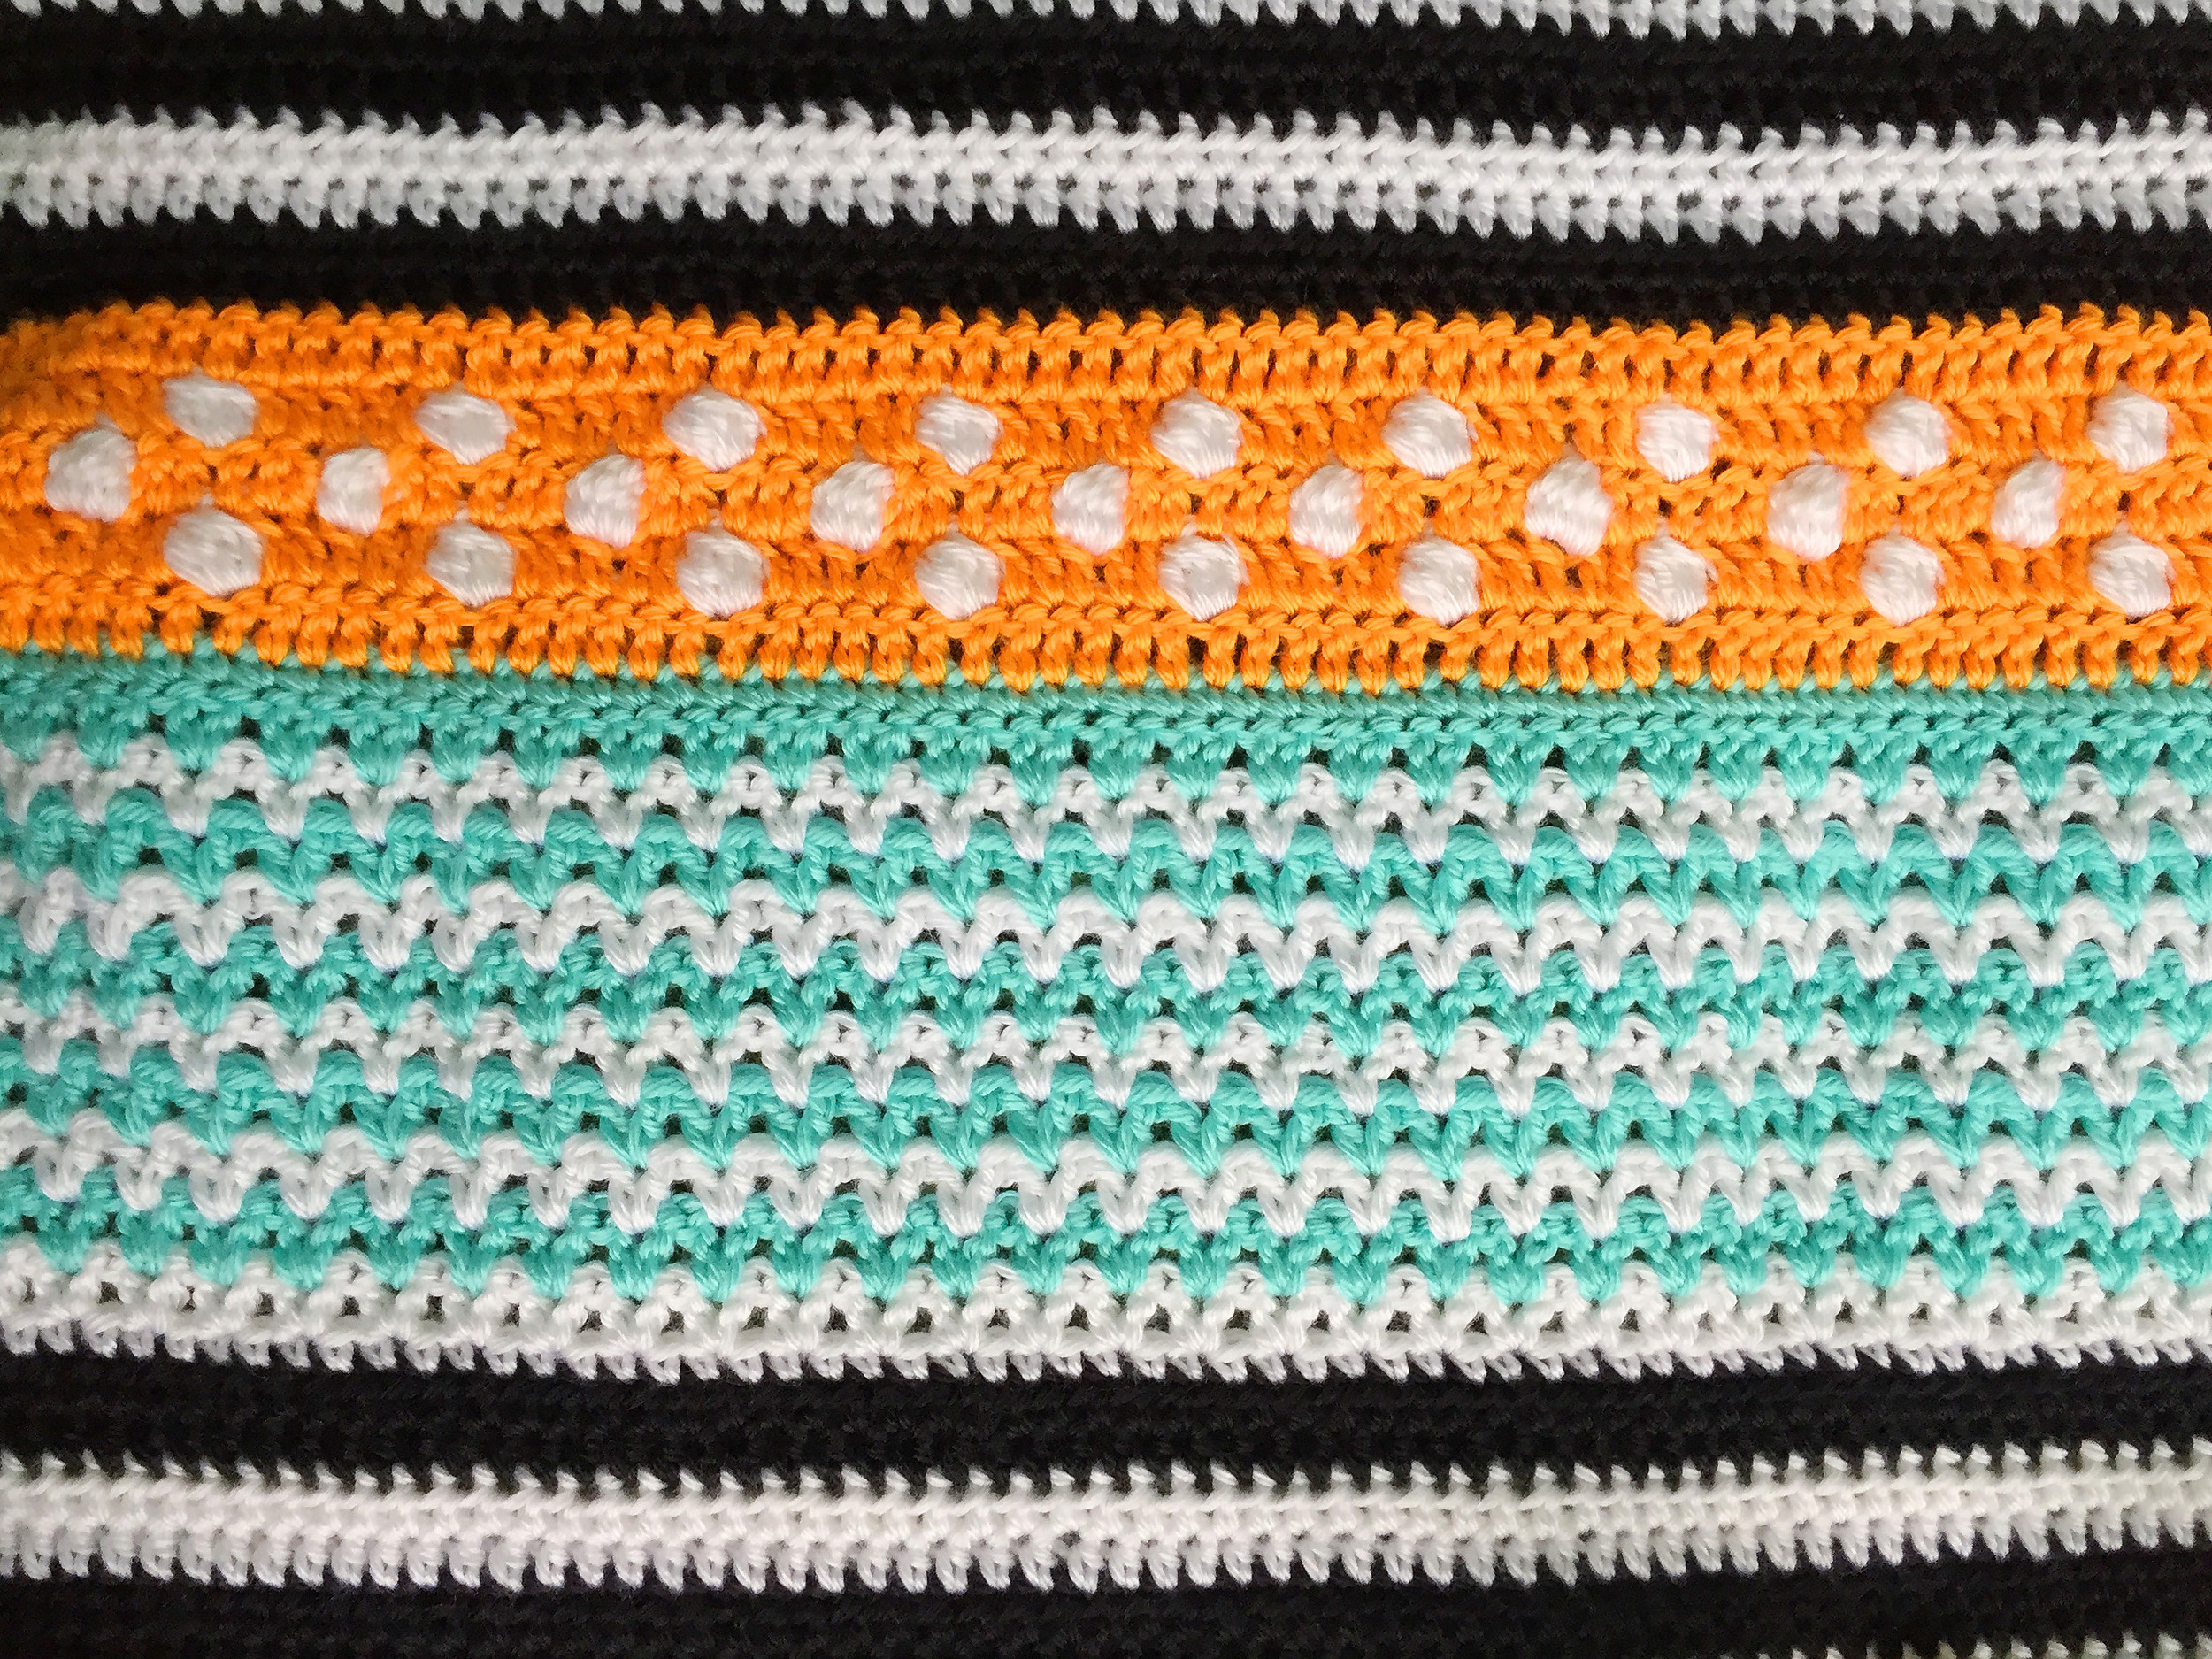
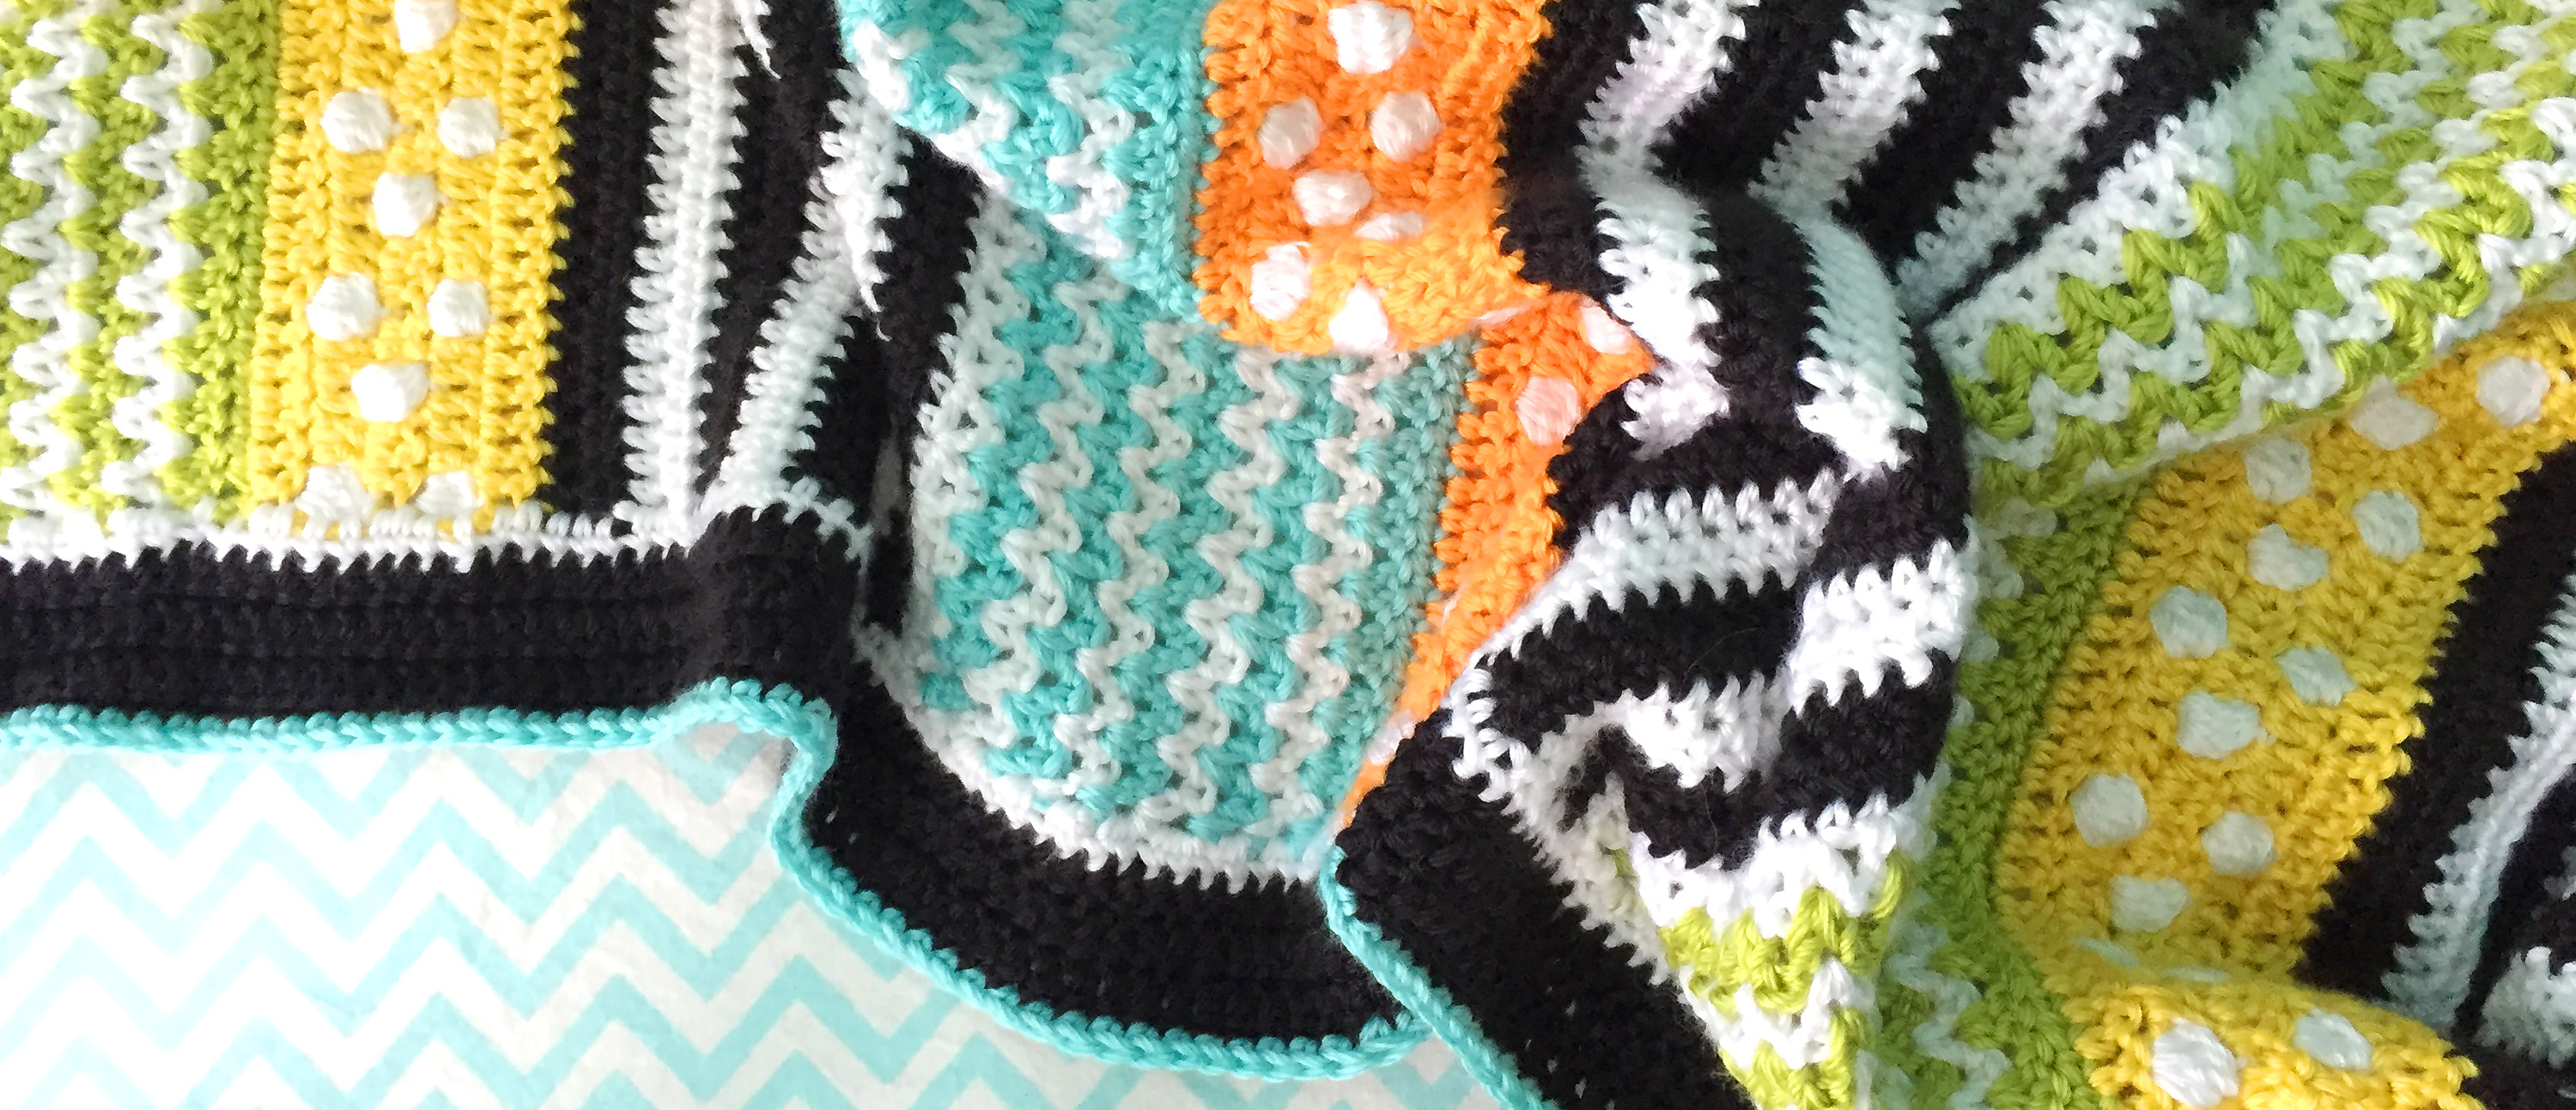
Stripes:
The stripes are made with two rows of hdc, alternating black and white. I did 4 black and 3 white. To transition to the zigzags, I did one row of white sc under the final black stripe.
Zigzags:
The zigzags are V-stitch. I already had a row of white sc. V-stitch is made by doing 2 dc in one stitch, skipping a stitch, and repeating. In the following rows, make your 2 dc in the space between the 2 dcs below. (I like to start my dc rows with a chainless dc.) I did 5 rows of white and 5 rows of aqua/lime. After the last row (aqua or lime), I did a row of sc in that color.
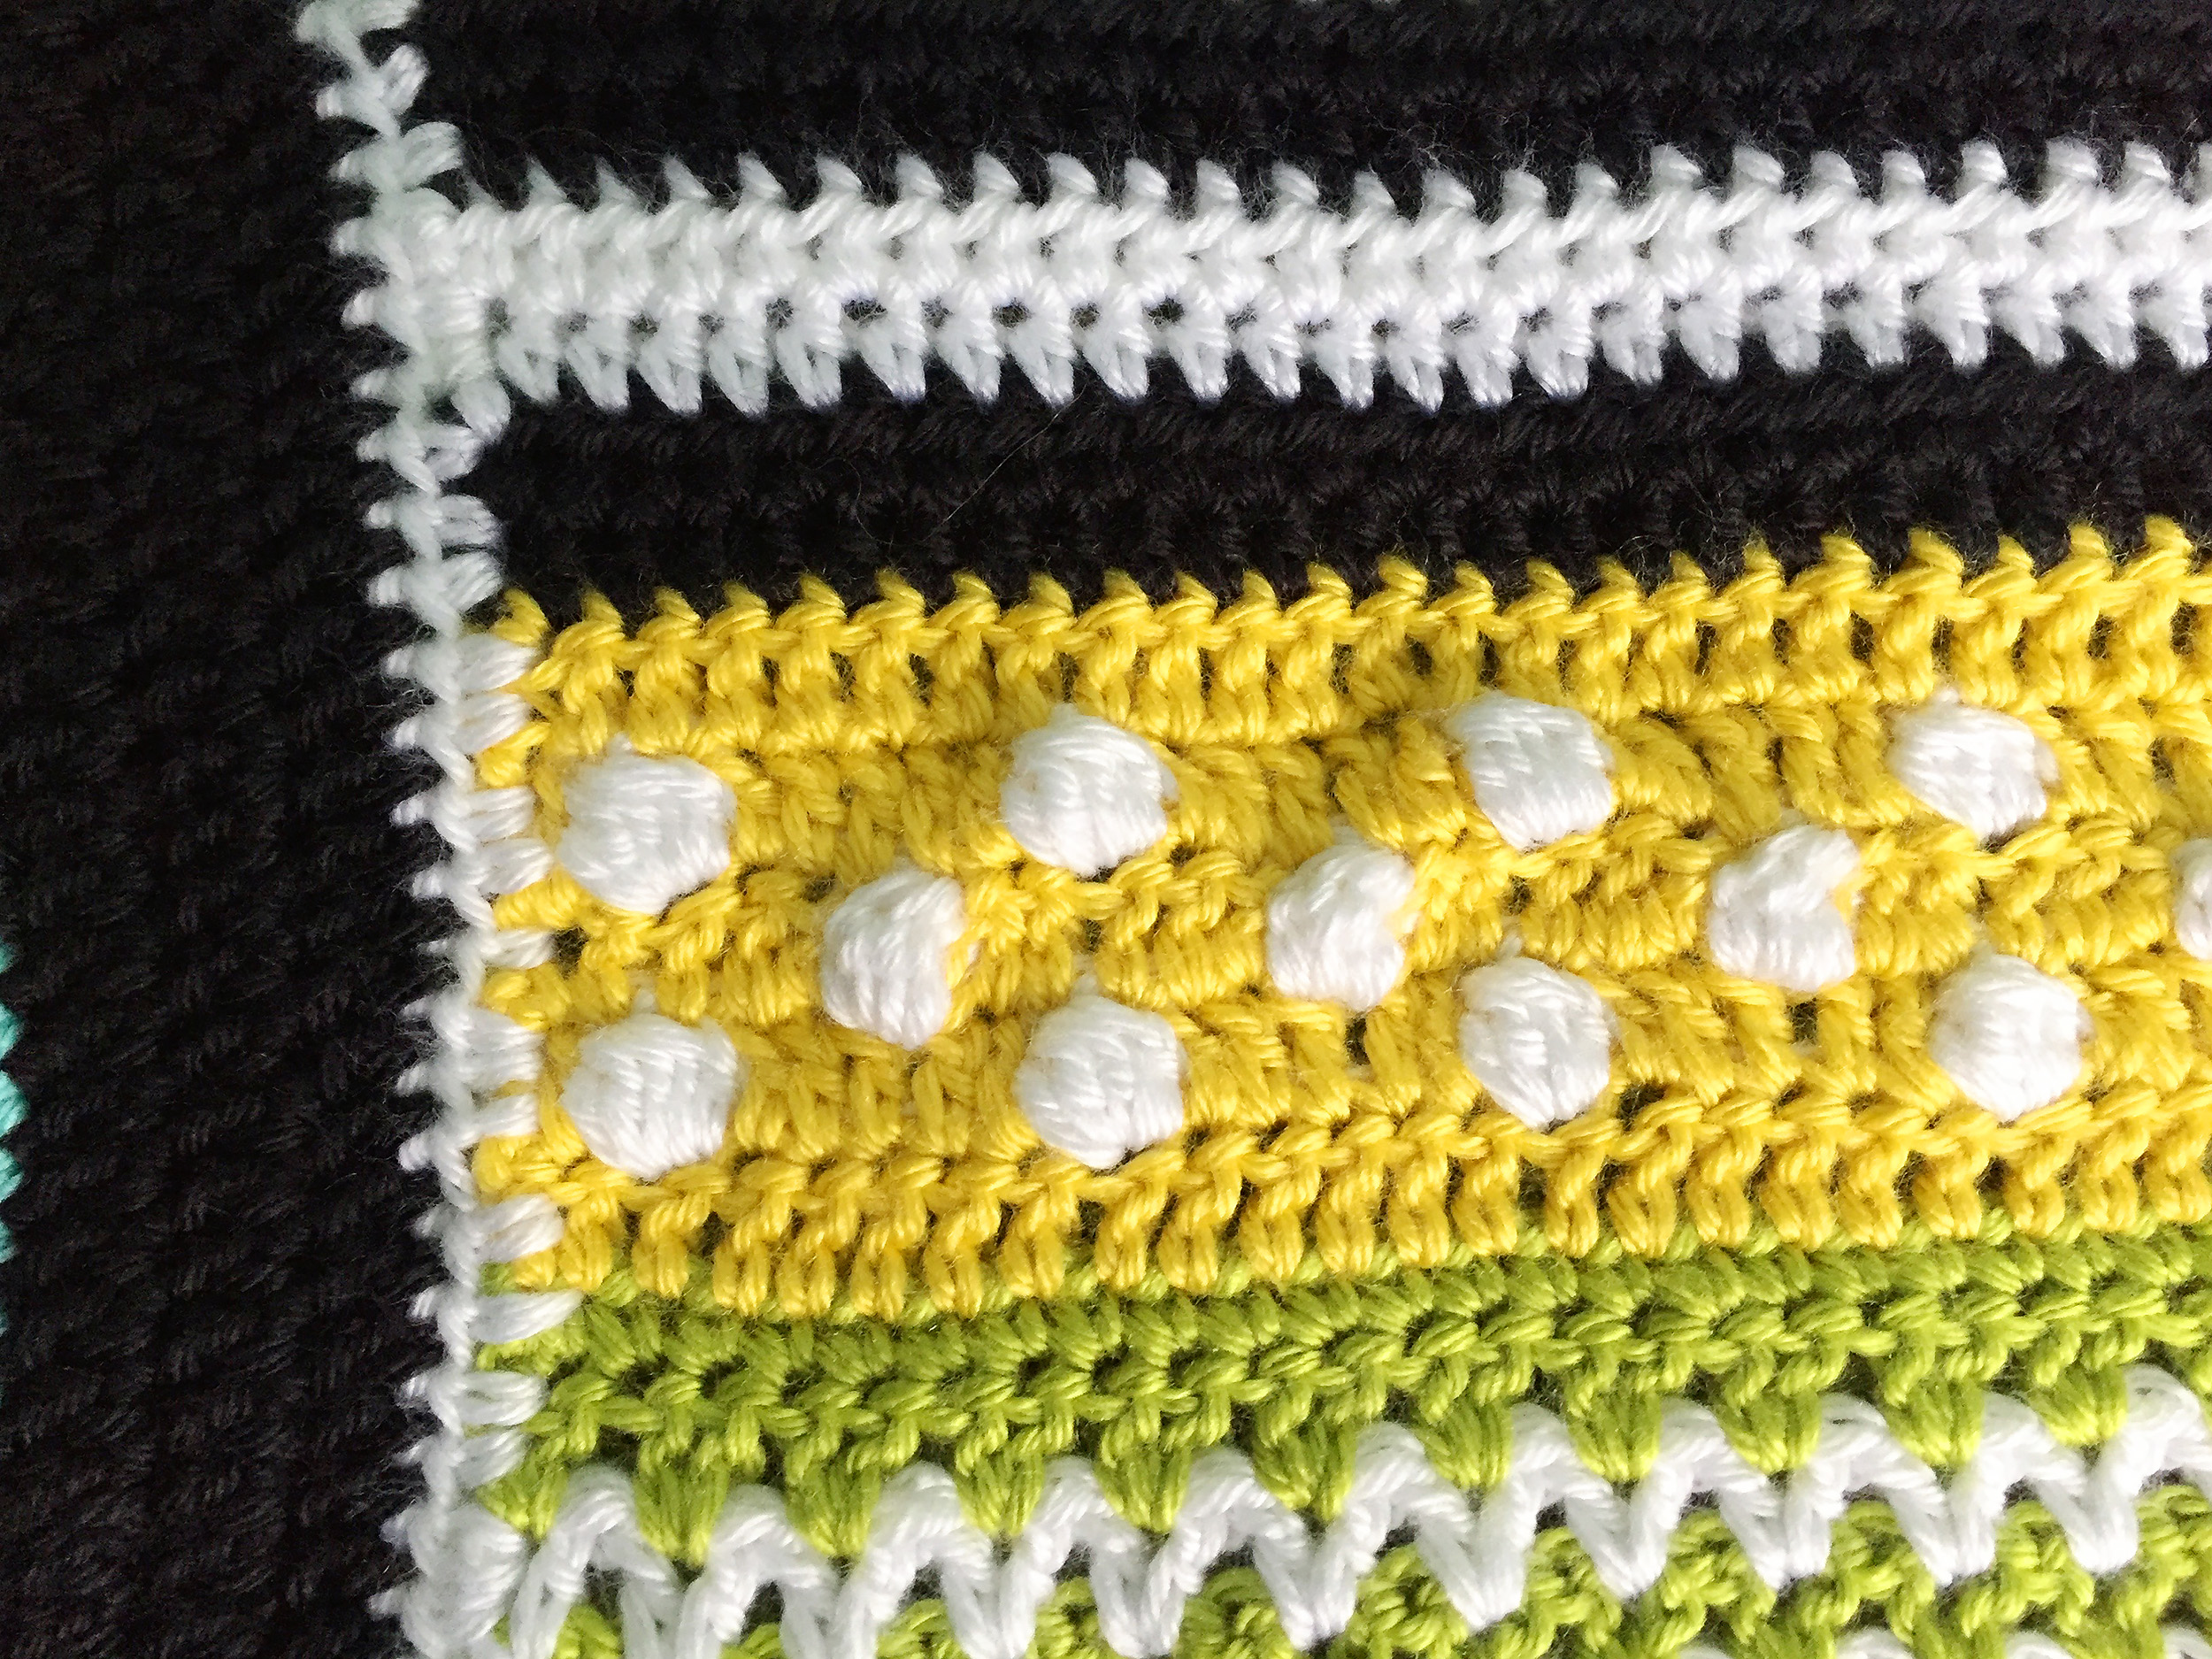
Dots:
A note about the three dot rows: I carried the white yarn along as I went so I could switch colors, stitching overtop of it with the yellow/orange until I needed it. To switch colors, I’d do all but the last yarn-over of the stitch before the color change, then switch threads to the next stitch’s color and do the final yarn-over. (In the linked video, she doesn’t enclose the carried thread in her stitches as I did.)
I started this section with a full row of dc. Row one of the dots was 2 dc in the color, followed by a white bobble stitch and 5 colored dc, repeated across. I ended with 2 colored dc. The middle dot row was 5 colored dc and a white bobble repeated across, ending on 5 colored dc. The final dot row is the same as the first. I ended the section with a full row of dc.
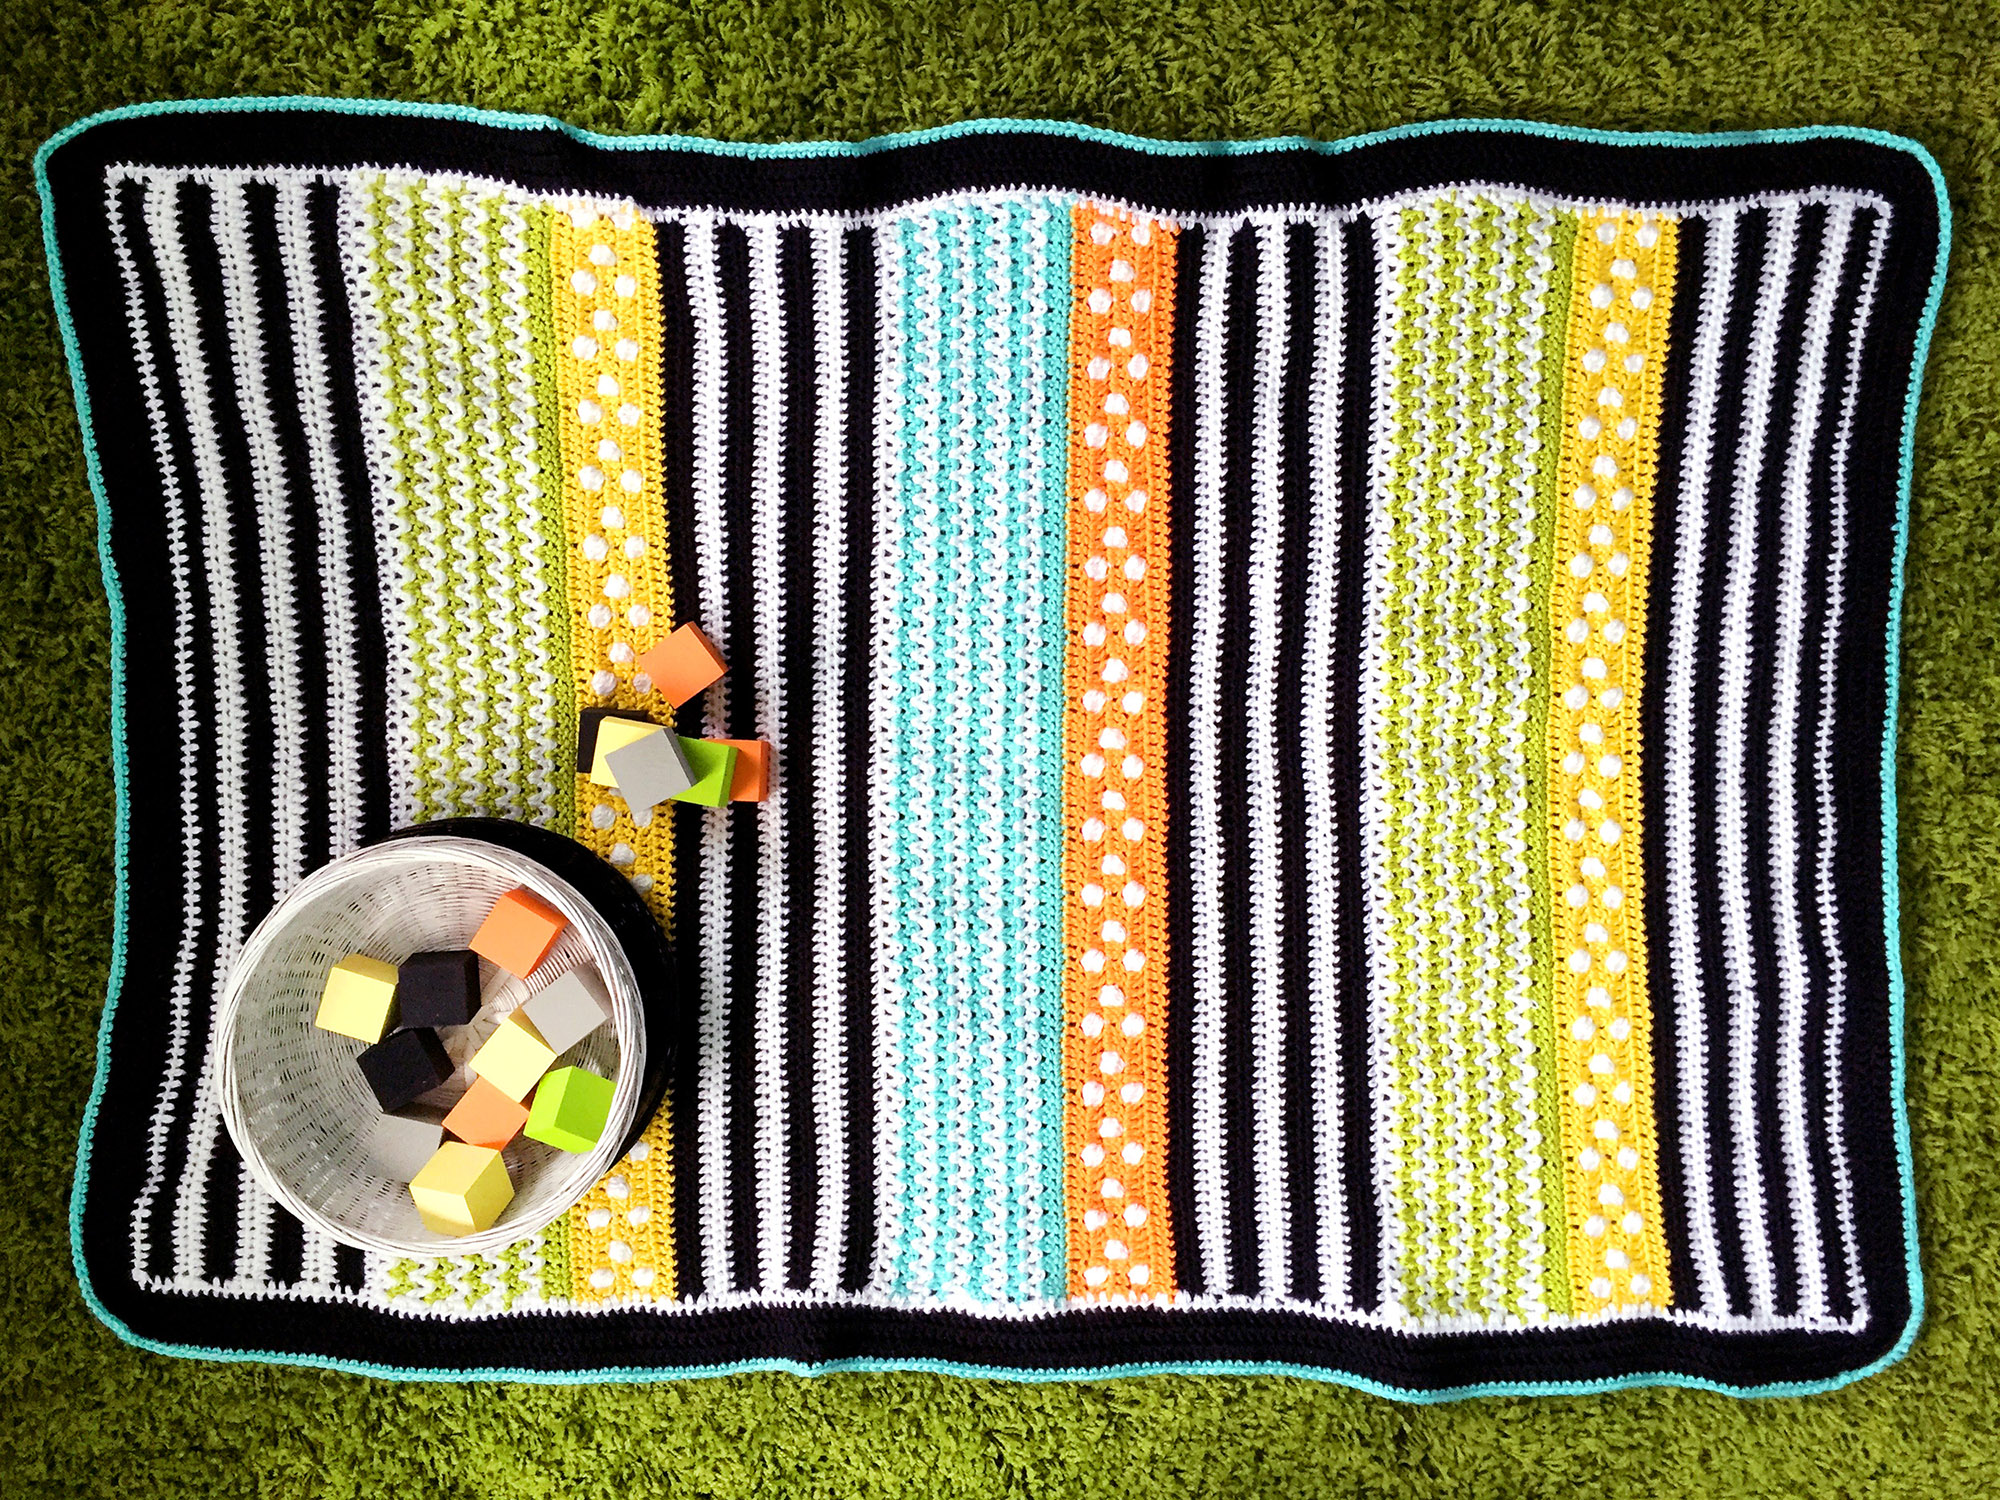
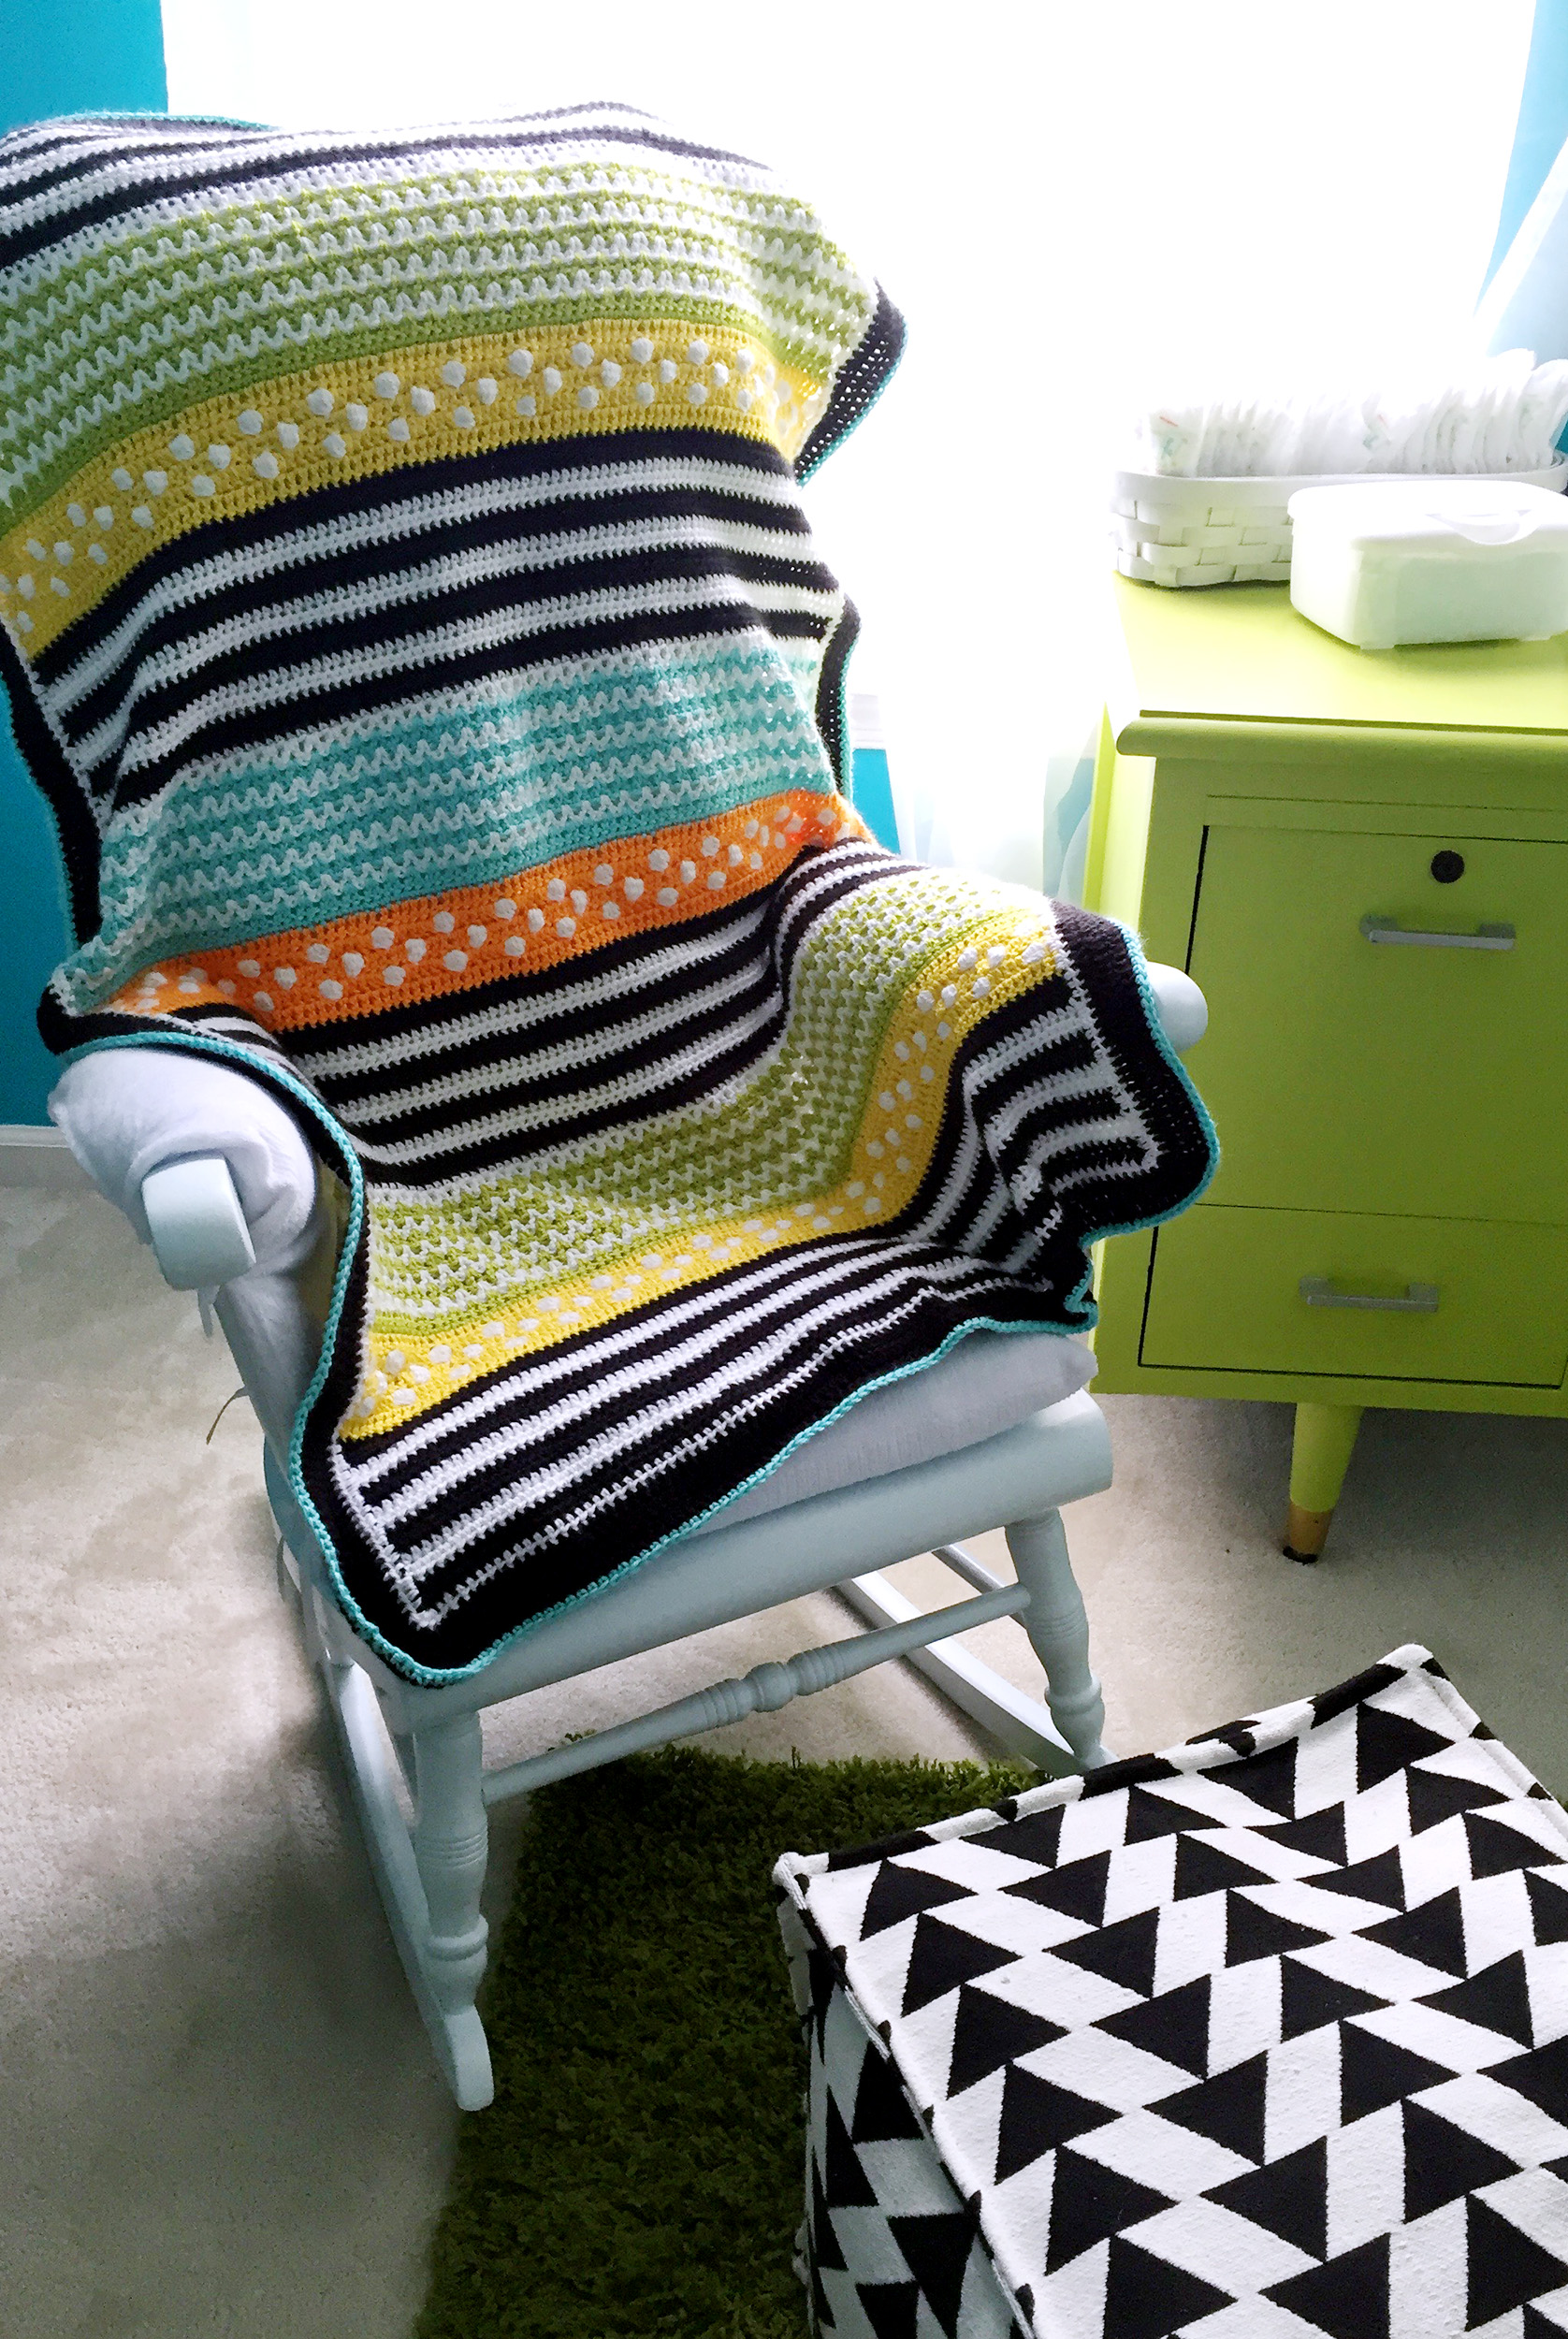 My Layout:
Here is what I ended up doing (from the bottom up).
- Black and white stripes
- White and lime zigzags
- Yellow and white dots
- Black and white stripes
- White and aqua zigzags
- Orange and white dots
- Black and white stripes
- White and lime zigzags
- Yellow and white dots
- Black and white stripes
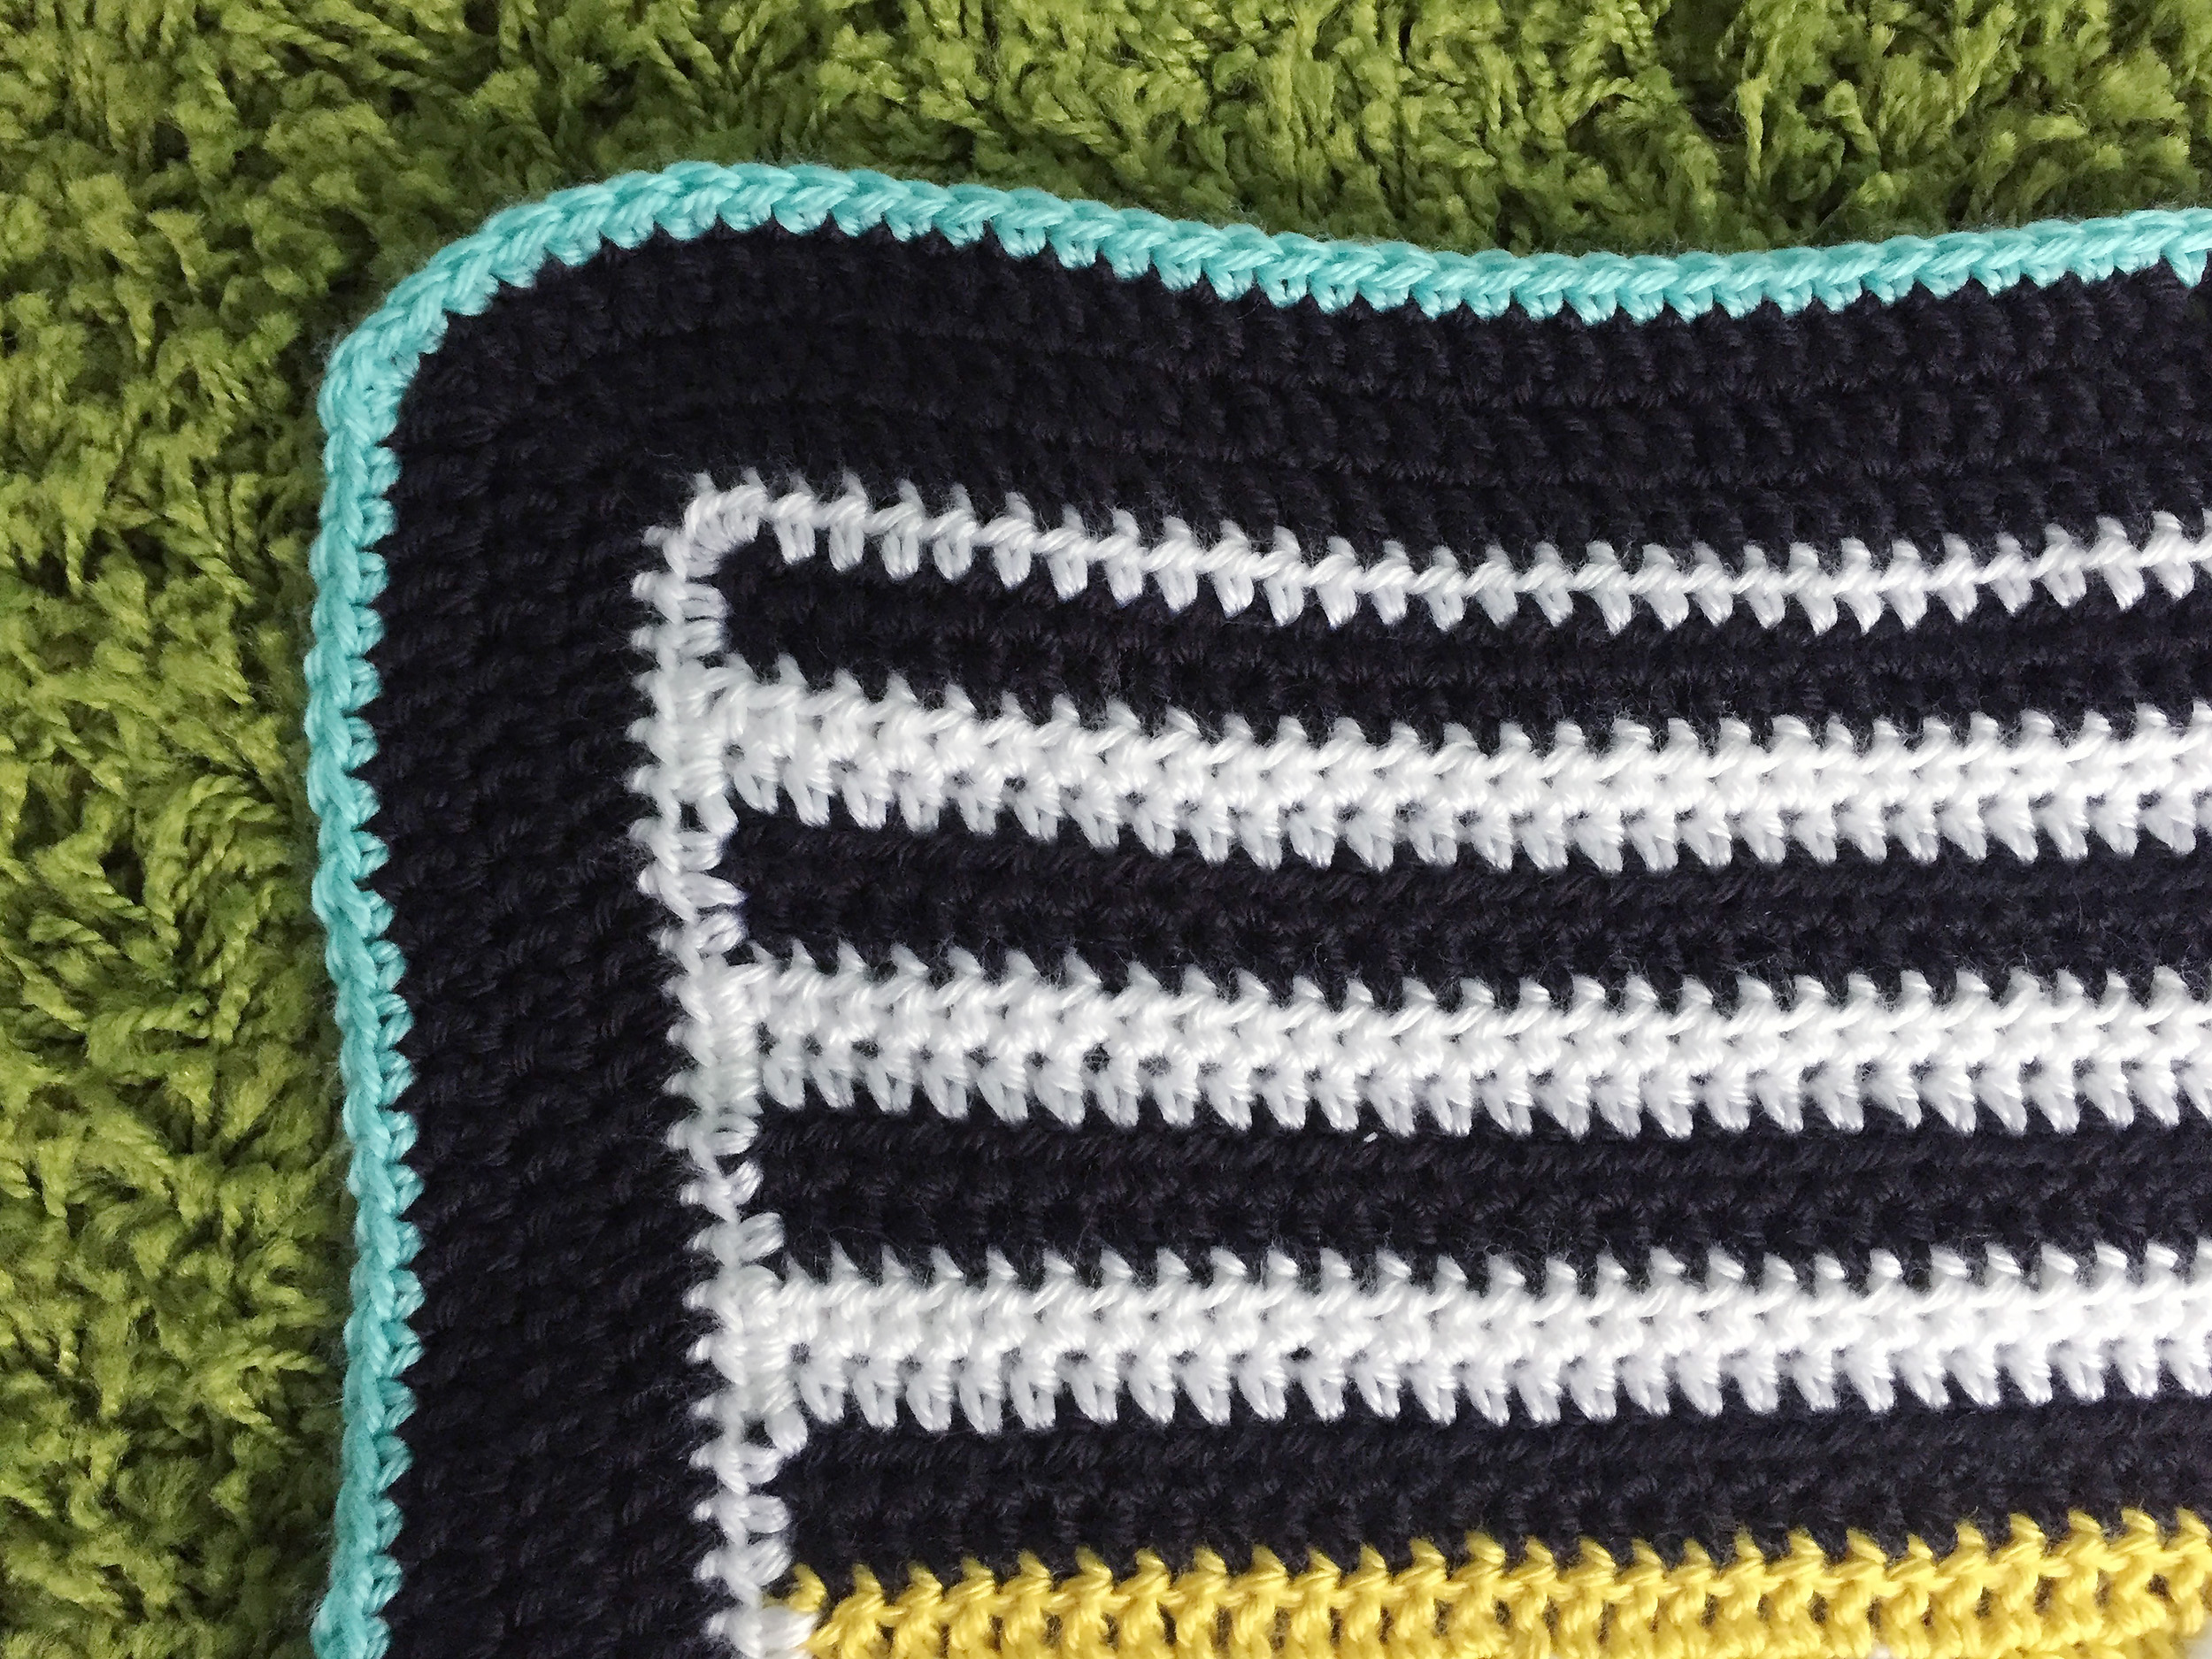
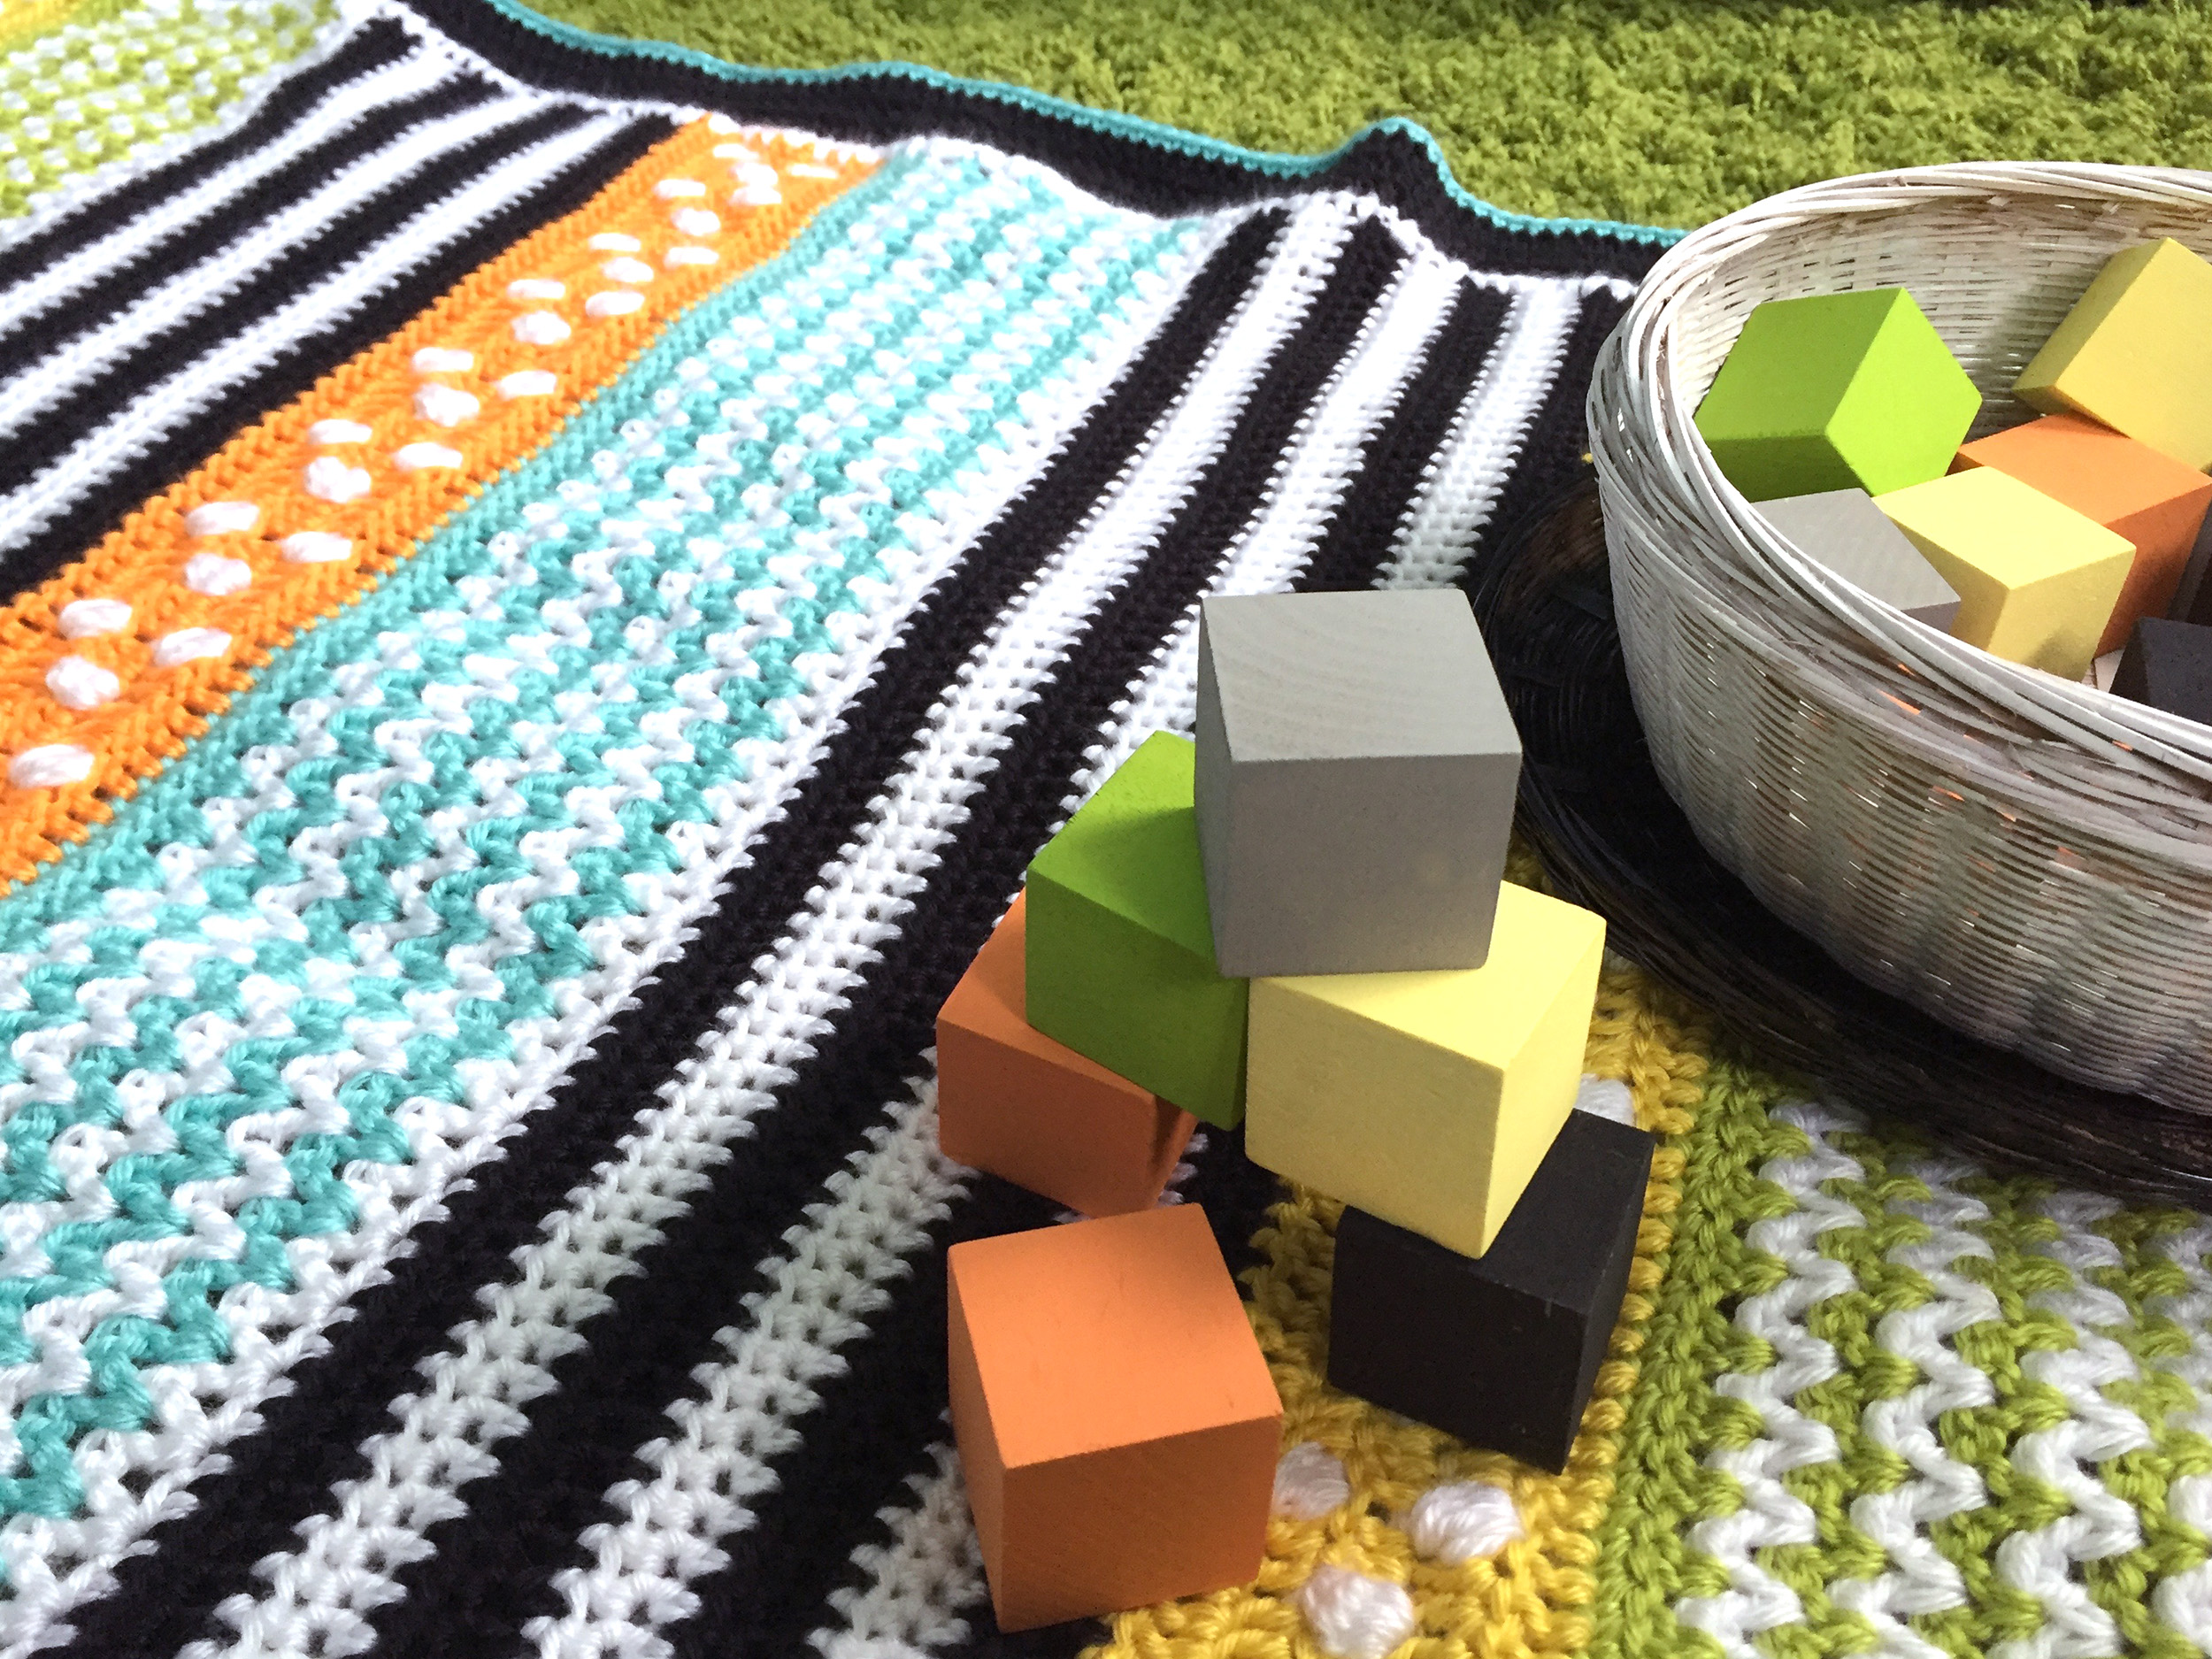
Border:
For my border, I worked white sc all the way around. How many you do isn’t a big deal. You just want good coverage and to be consistent. I then did three black rows of dc. I ended with a row of aqua sc. (In all the rows, I did 3 stitches in each corner. In the next row, the corner stitch will be the middle of those three.)
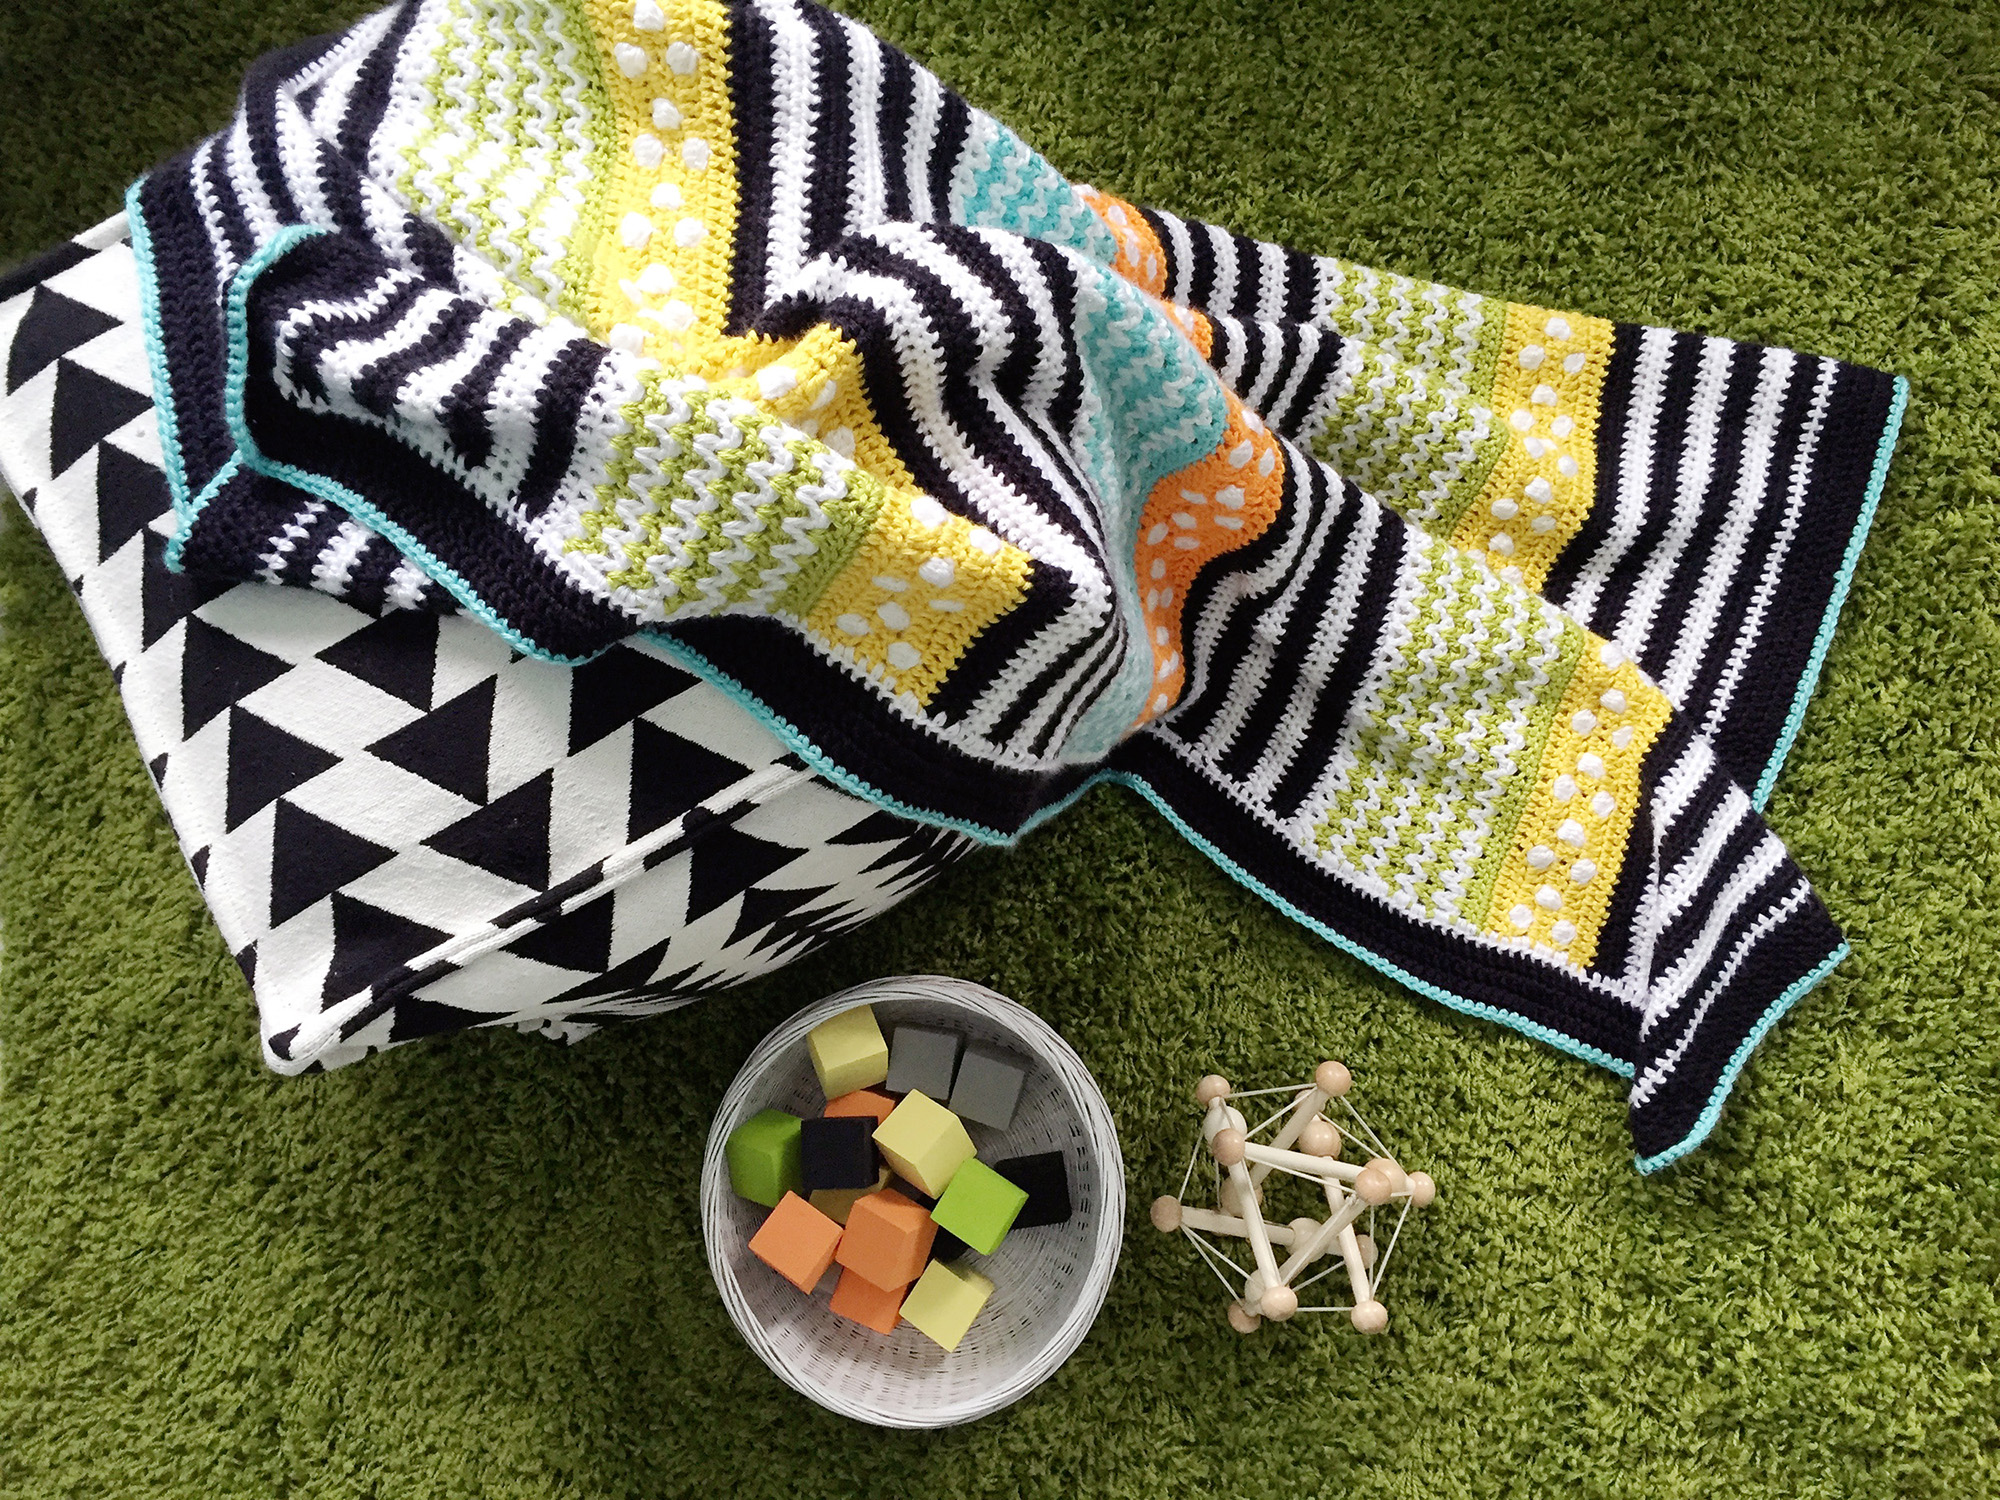
This blanket came out so colorful and fun! And it is a very versatile pattern in terms of colors and the order of the sections.
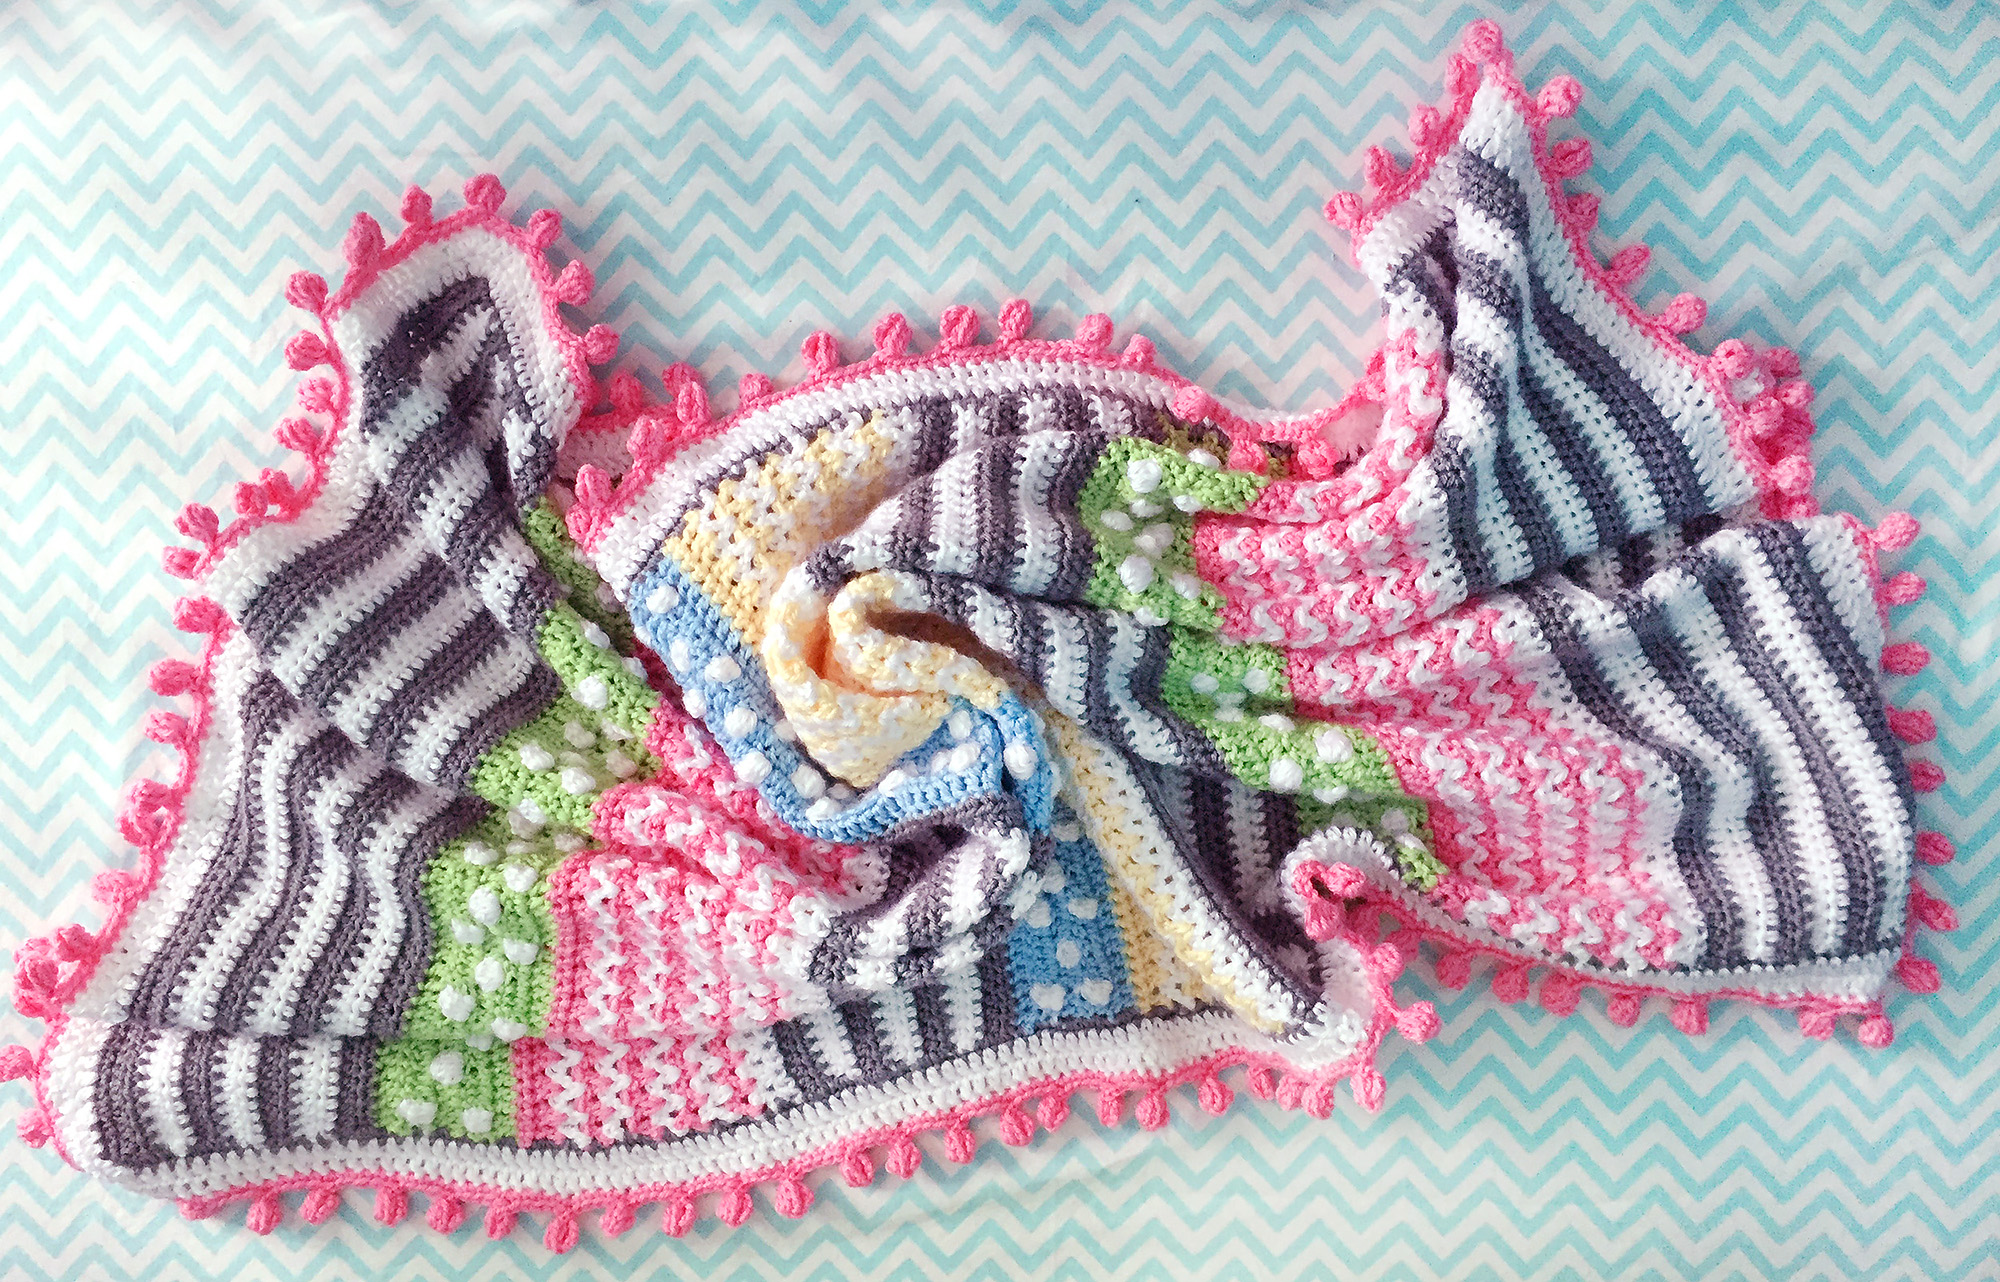
I was so excited to have the opportunity to also make a girlie version of this blanket as a gift. Being on my second boy, there isn’t a lot of pink in my life, so this one was a lot of fun!
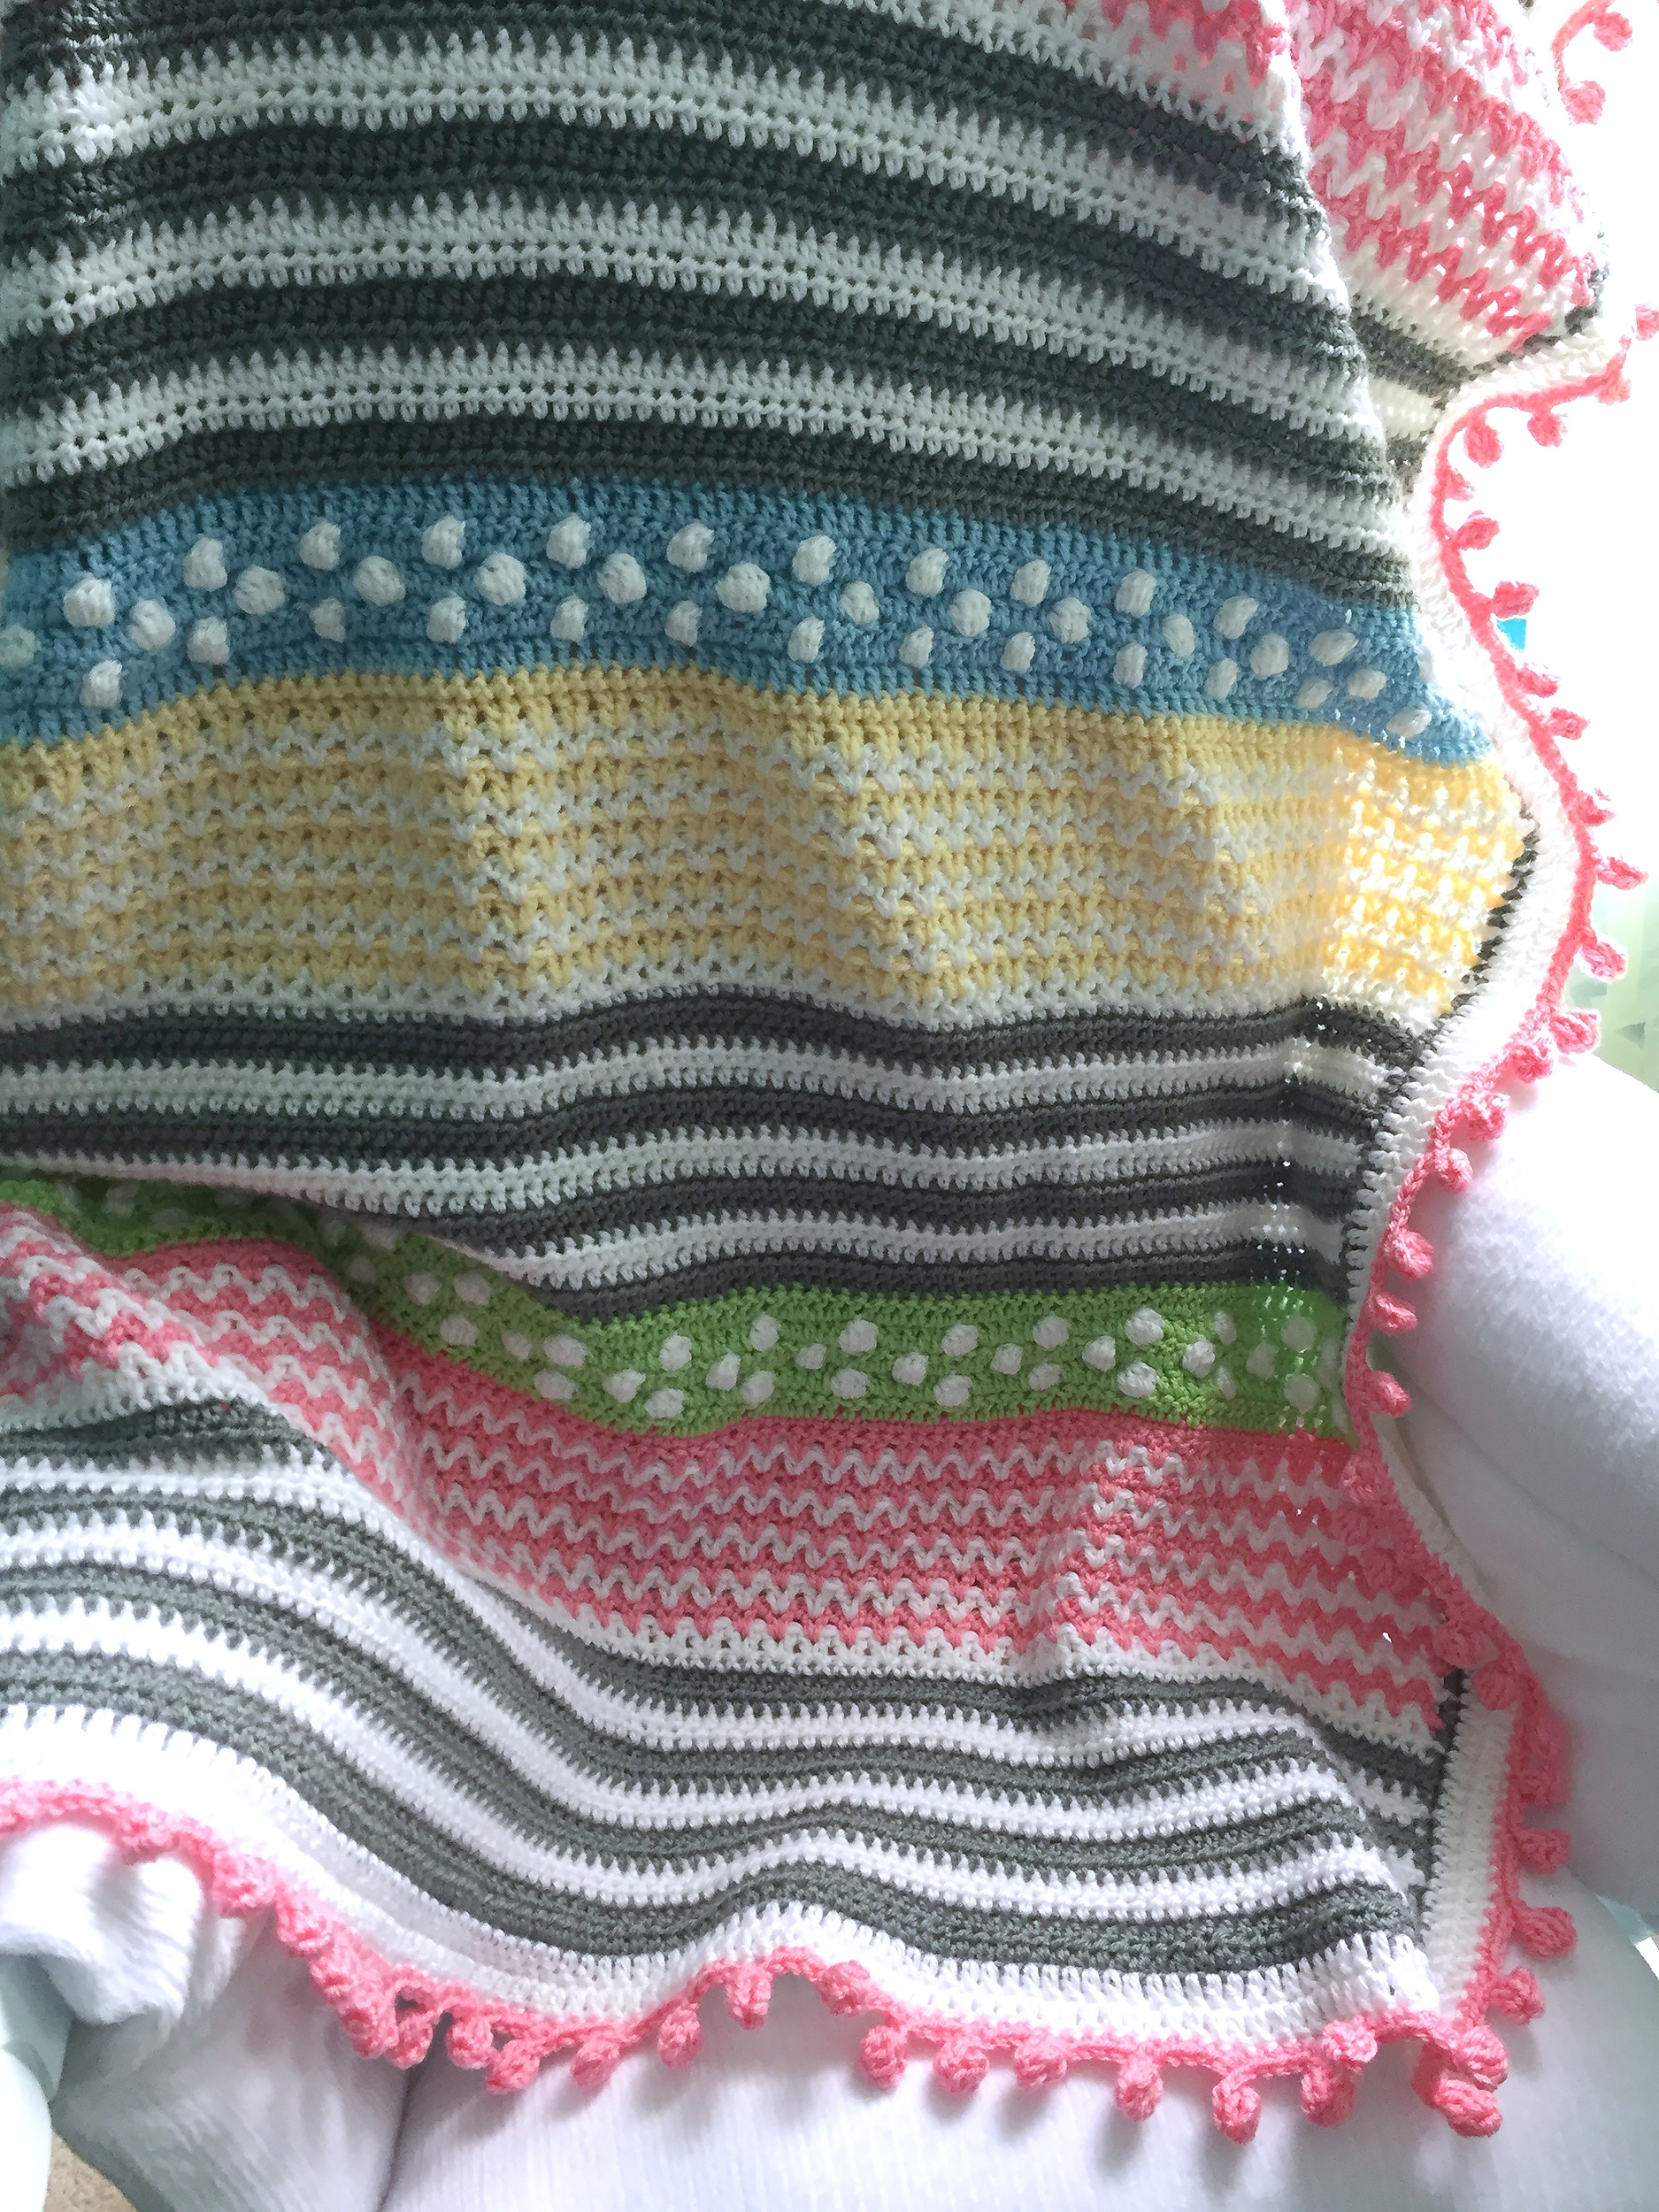
I made the body of this blanket the same way as the original, but changed the colors around. Black was swapped for grey and pink for the orange. I rearranged the colors so pink and yellow were featured. The yarn for this one is Knit Picks Brava Worsted.

The biggest change was the border. I started with a row of grey sc, followed by two white rows of dc. I made 3 stitches in each corner, as with the original. My final row was time consuming, but super sweet! I did a pompom border, modified from this tutorial. For mine, I did 4 sc in between each pom. I started the pom with 4 chains, then did the step for 3 dc in the 3rd chain from the hook. I made the second cluster as instructed and after I slst’d it to the bottom of the pom, I chained 1 and then made one sc in the same stitch that the whole pom started in. (I hope that makes sense!)
You really could do anything on the border to change the whole feel of the blanket!
I hope you enjoy this crochet blanket pattern. Please share with me here, or Facebook or on Instagram if you make your own!
Want to share the love? Here’s an image ready to pin!


 The first game he fell in love with was