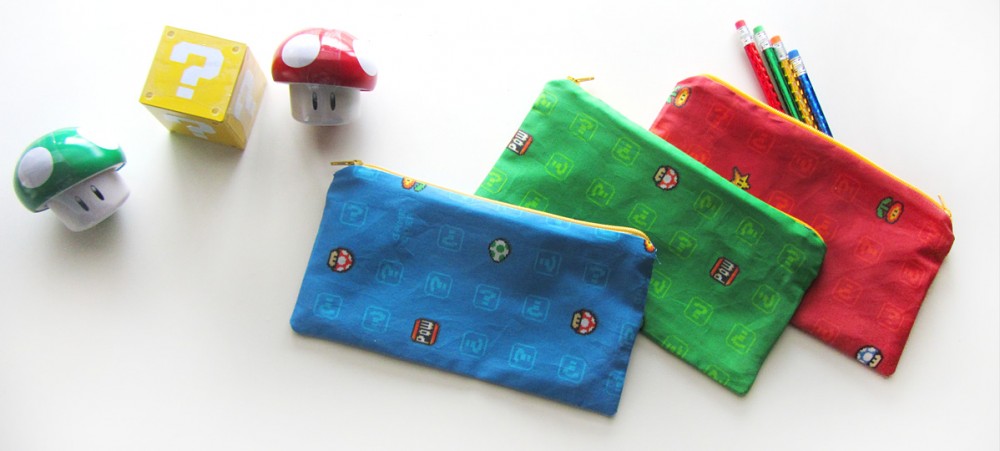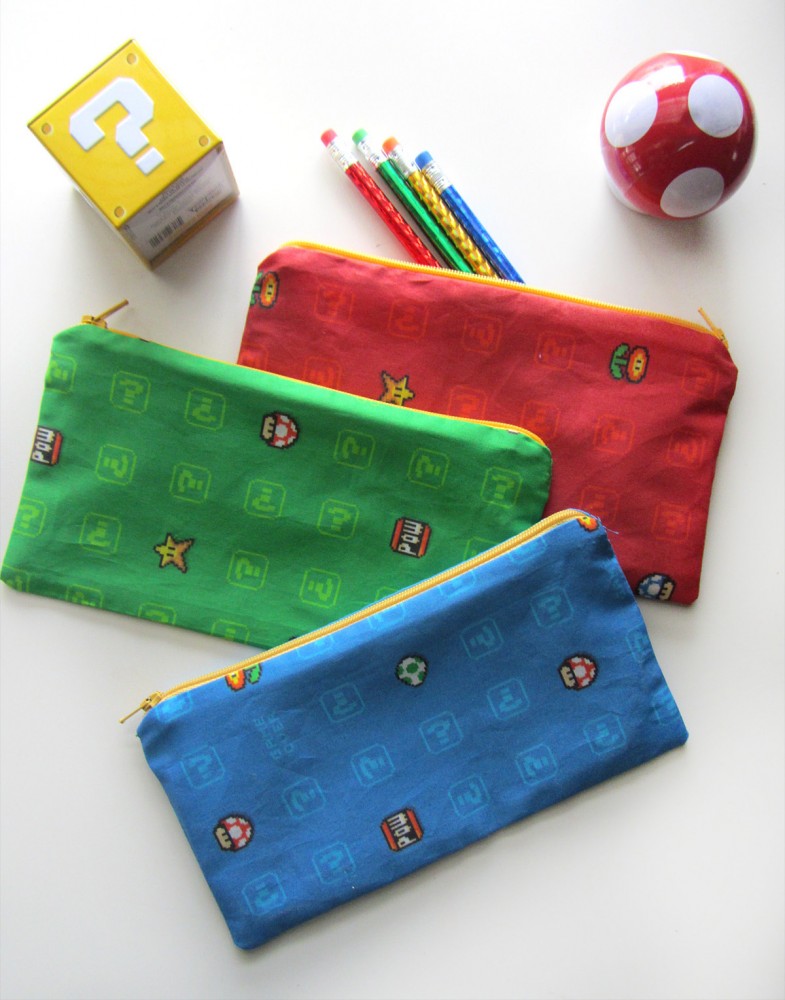
My little man is turning 5! He’s very into his Wii and anything Super Mario, so it was easy to pick his party theme. I always like to include a handmade party favor for our guests. This year, I’m making pencil bags! Since I am making 12 of them and my free time has been so limited lately, I had to make them quickly. And so, the Nine Minute Pencil Bag was born!
I used fabric that I custom designed and ordered through Spoonflower. I made a question box tumble in three colorways: red, green and blue. I ordered one fat quarter of each. I needed a dozen 9″ zippers, so I ended up buying this zipper assortment. It came with a good assortment and only one of them was the wrong size out of 54. I also bought three additional fat quarters in coordinating colors. With 6 fat quarters (3 outer fabric and 3 lining) you can make 12 bags.
What I Used:
- Two 9″ x 5″ rectangles in my outer fabric
- Two 9″ x 5″ rectangles in my lining fabric
- One 9″ zipper
- Matching thread
- Iron, sewing machine (with zipper foot) and scissors
The Video:
I don’t talk in this video – turn on CC if you’d like written instructions. And enjoy one of my favorite classical pieces – The Blue Danube!
The Basic Overview:
You start with a “zipper sandwich” – take one rectangle of each of the fabrics and lay then stacked, right sides facing. Place the zipper inside the sandwich facing the outer fabric. Line its edge up with the long side of the fabric on the inside of the sandwich. Sew along the zipper with a zipper foot (moving the zipper pull partway). Flip the two rectangle so their wrong sides are facing and the zipper is sticking out of the sandwich. Make a new sandwich around it, right sides facing in, putting the lining on the lining side and outer fabric on the outer fabric side. Sew the edge with a zipper foot (moving the zipper pull partway).
Open up the rectangles so right sides are out and the zipper is in the center. Iron it smooth, then flip the sides so the linings are together (right sides facing) and the outer fabric pieces are together (right sides facing). Press the zipper/seam towards the lining. Open the zip halfway. Starting on the short side of the lining near the bottom of the zip, carefully sew across the zipper. (Make sure you do not sew over the metal crimp at the base of the zipper. It will break your needle!) Sew all the way around until you get back to your starting side, then stop when you have 3″ left to go. Leave that open for turning.
Clip the tails at both ends of your zipper, then clip all four corners. Flip the bag right side out through the hole, unzipping the zipper the rest of the way when you are able. Make sure you poke all the corners out. With the outer fabric and lining on each side, iron it smooth. Fold in the hems of the lining opening and iron it to crease it. Stitch it closed close to the edge. Push the lining into the bag and iron it inside and out, making sure to iron the fabric away from the zipper.
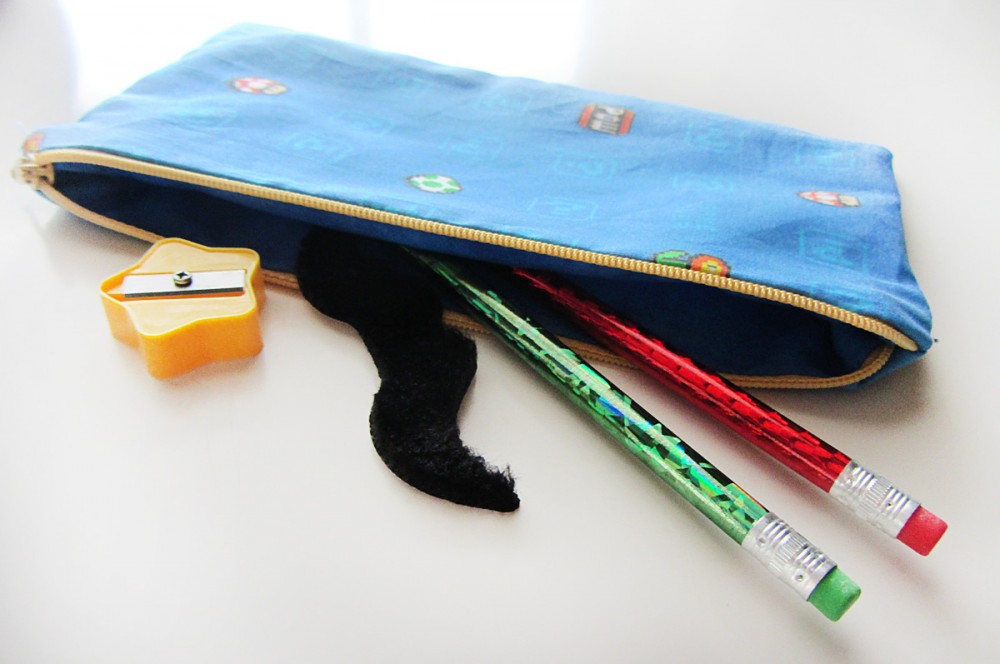
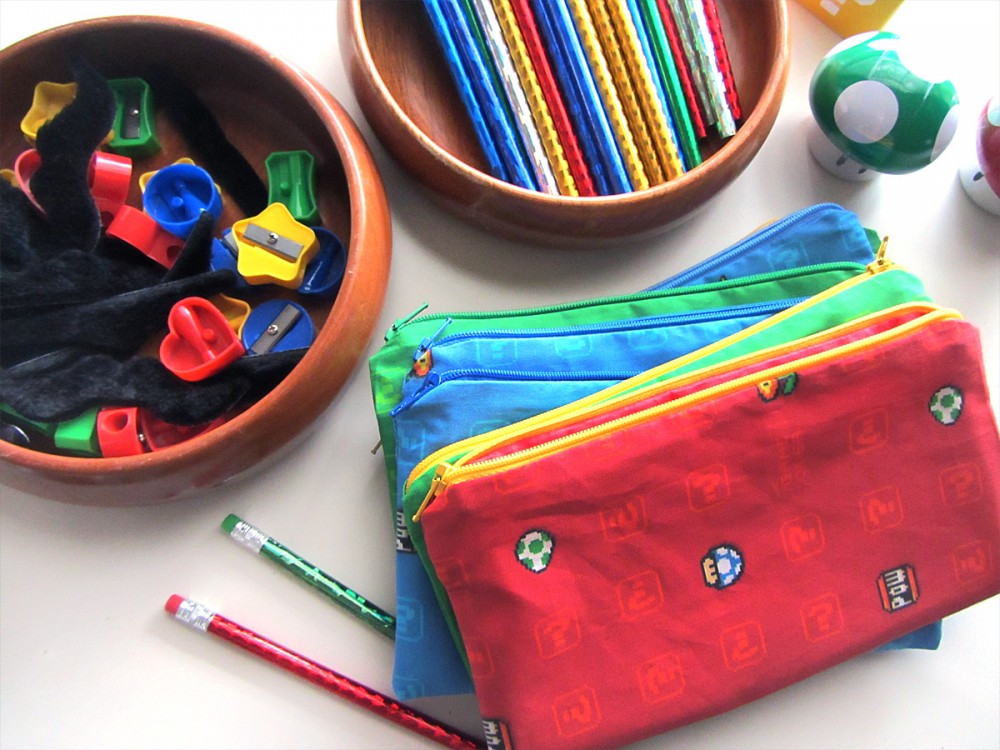
All done! I’ll be filling ours with Dollar Tree pencils, sharpeners and faux mustaches.

If you make some Nine Minute Pencil Bags, I’d love to see them! Share them on my Facebook page or mention me on Twitter or Instagram ( @iolstephanie ). Enjoy!


Very clever–I have one question– What was the seam width? It appears to be 1/2 inch? I love your work with the quiet books. Thank you so very much for sharing.
Yes, about 4/8… I wasn’t really looking – just trying to be consistant.
I got them at Dollar Tree!
This is such a cute and unique idea! I love the detail of handmade gifts and nothing is cooler than your very own Mario themed pencil cases!
I re-read your materials list and saw 2- 9X5 rectangles. That makes more sense with your finished product. I was just folding fabric up and skipping the bottom seam. I will cut 9X10 rectangles next time if I want to fold the bottom seam again. You can delete my comments!