Tag Archives: Video

The Nine Minute Pencil Bag

The Nine Minute Pencil Bag
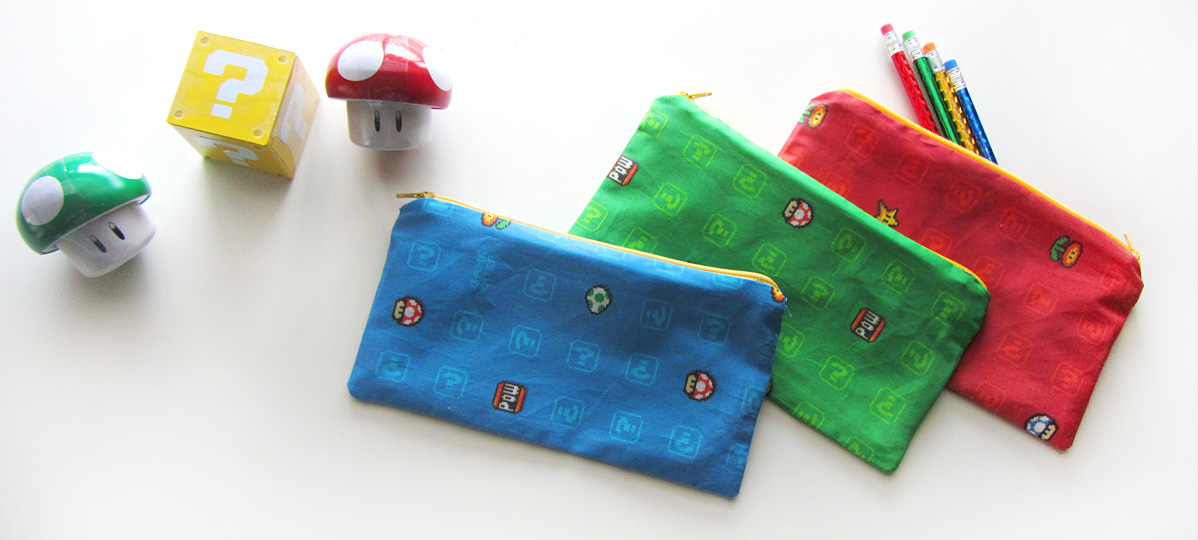
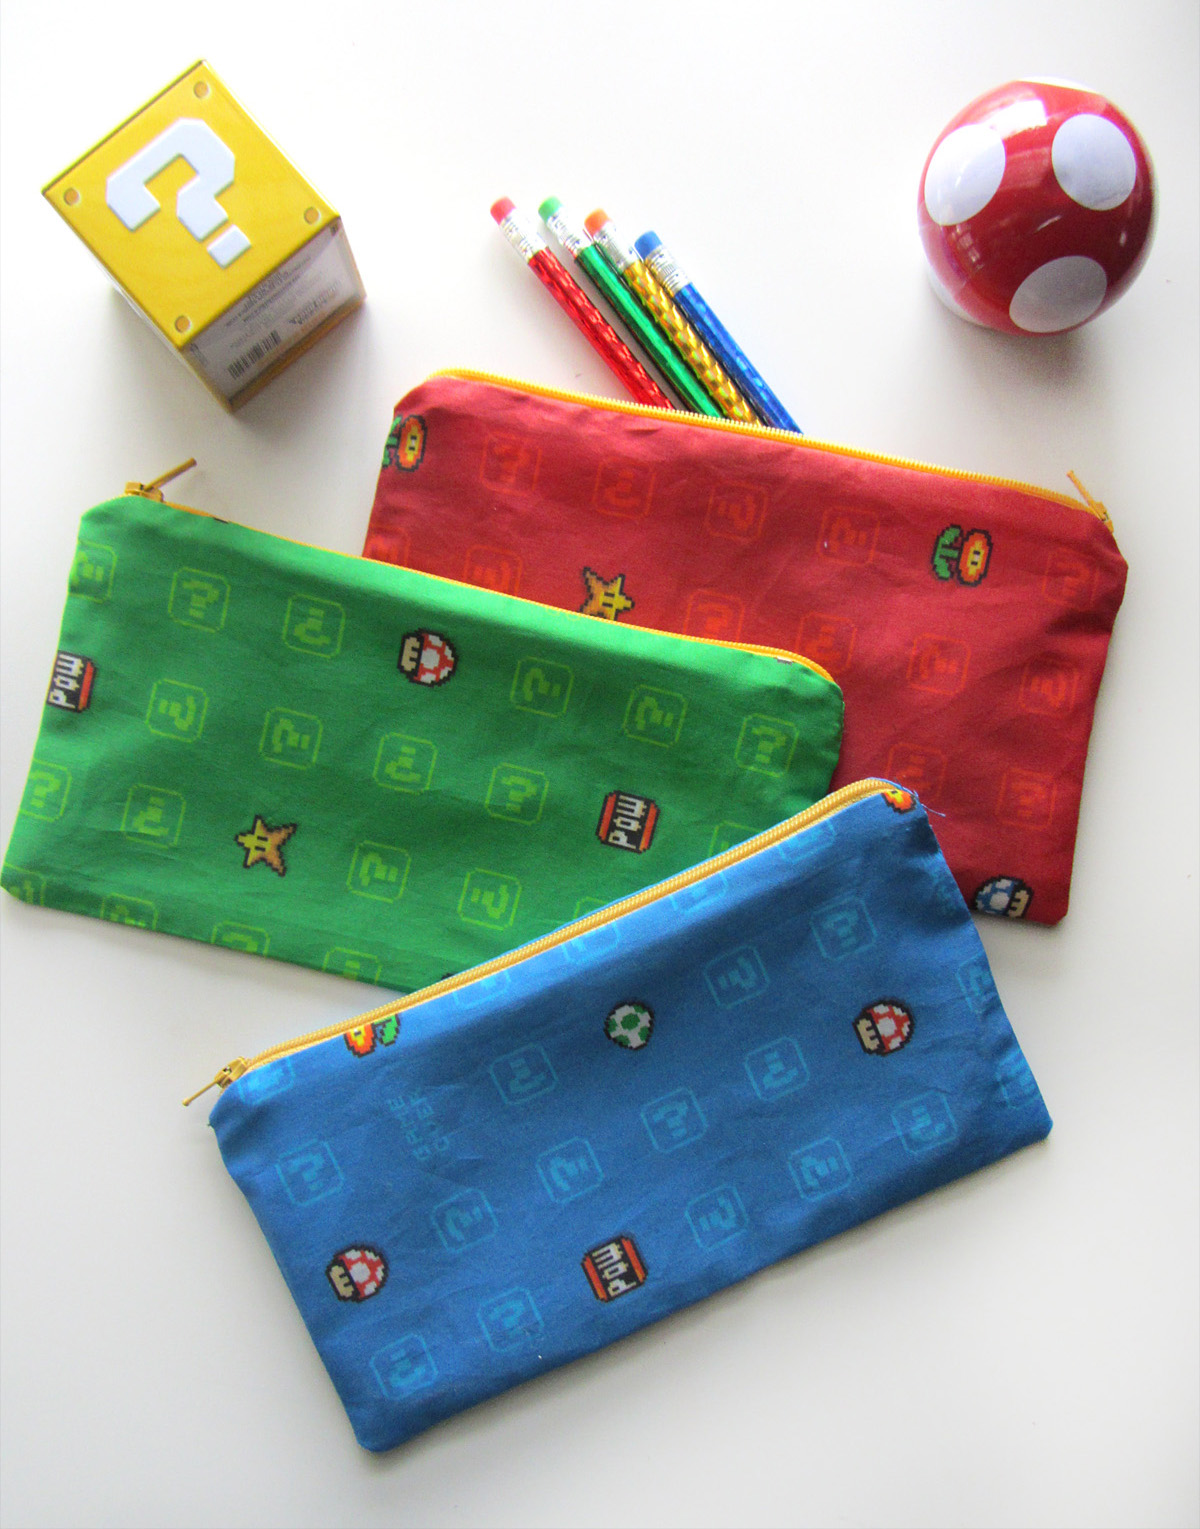
My little man is turning 5! He’s very into his Wii and anything Super Mario, so it was easy to pick his party theme. I always like to include a handmade party favor for our guests. This year, I’m making pencil bags! Since I am making 12 of them and my free time has been so limited lately, I had to make them quickly. And so, the Nine Minute Pencil Bag was born!

I used fabric that I custom designed and ordered through Spoonflower.  I made a question box tumble in three colorways: red, green and blue. I ordered one fat quarter of each. I needed a dozen 9″ zippers, so I ended up buying this zipper assortment. It came with a good assortment and only one of them was the wrong size out of 54. I also bought three additional fat quarters in coordinating colors. With 6 fat quarters (3 outer fabric and 3 lining) you can make 12 bags.

The Nine Minute Pencil Bag

What I Used:

  • Two 9″ x  5″ rectangles in my outer fabric
  • Two 9″ x 5″ rectangles in my lining fabric
  • One 9″ zipper
  • Matching thread
  • Iron, sewing machine (with zipper foot) and scissors

The Video:

I don’t talk in this video – turn on CC if you’d like written instructions. And enjoy one of my favorite classical pieces – The Blue Danube!

The Basic Overview:

You start with a “zipper sandwich” – take one rectangle of each of the fabrics and lay then stacked, right sides facing. Place the zipper inside the sandwich facing the outer fabric. Line its edge up with the long side of the fabric on the inside of the sandwich. Sew along the zipper with a zipper foot (moving the zipper pull partway). Flip the two rectangle so their wrong sides are facing and the zipper is sticking out of the sandwich. Make a new sandwich around it, right sides facing in, putting the lining on the lining side and outer fabric on the outer fabric side. Sew the edge with a zipper foot (moving the zipper pull partway).

Open up the rectangles so right sides are out and the zipper is in the center. Iron it smooth, then flip the sides so the linings are together (right sides facing) and the outer fabric pieces are together (right sides facing). Press the zipper/seam towards the lining. Open the zip halfway. Starting on the short side of the lining near the bottom of the zip, carefully sew across the zipper. (Make sure you do not sew over the metal crimp at the base of the zipper. It will break your needle!) Sew all the way around until you get back to your starting side, then stop when you have 3″ left to go. Leave that open for turning.

Clip the tails at both ends of your zipper, then clip all four corners. Flip the bag right side out through the hole, unzipping the zipper the rest of the way when you are able. Make sure you poke all the corners out. With the outer fabric and lining on each side, iron it smooth. Fold in the hems of the lining opening and iron it to crease it. Stitch it closed close to the edge. Push the lining into the bag and iron it inside and out, making sure to iron the fabric away from the zipper.

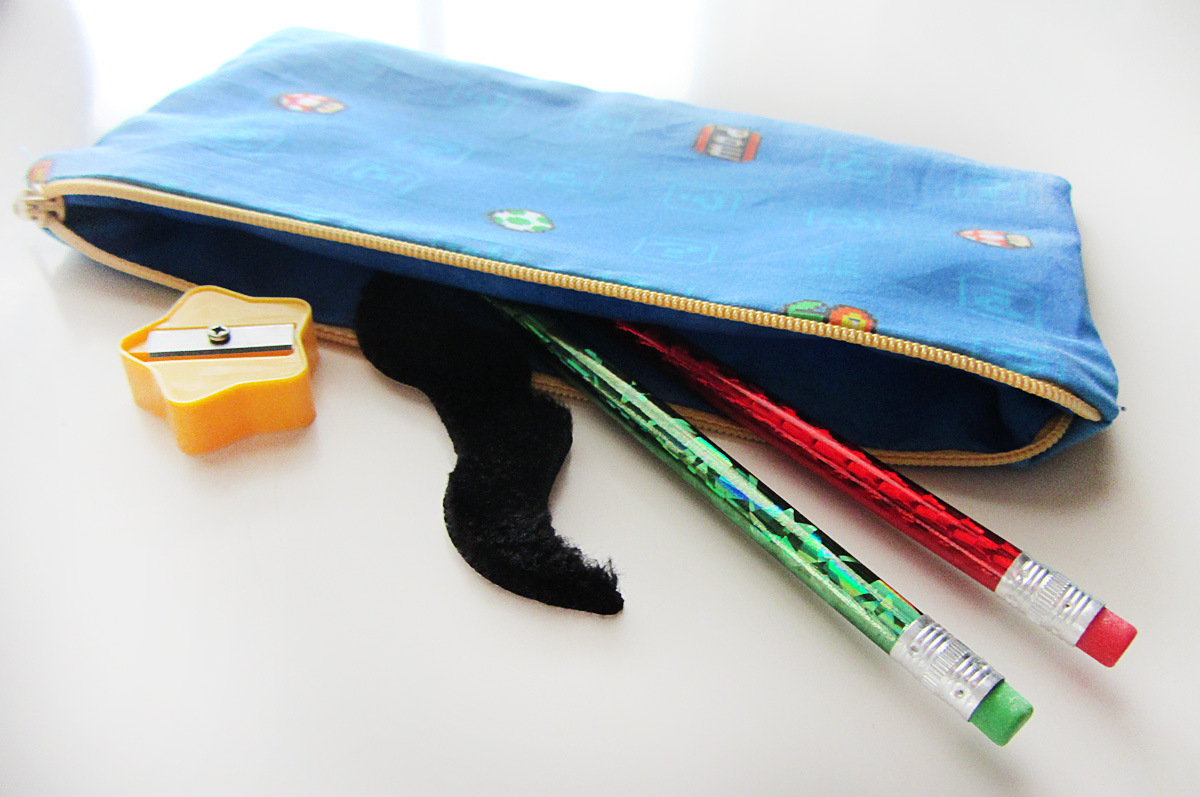
All done! I’ll be filling ours with Dollar Tree pencils, sharpeners and faux mustaches.

The Nine Minute Pencil Bag
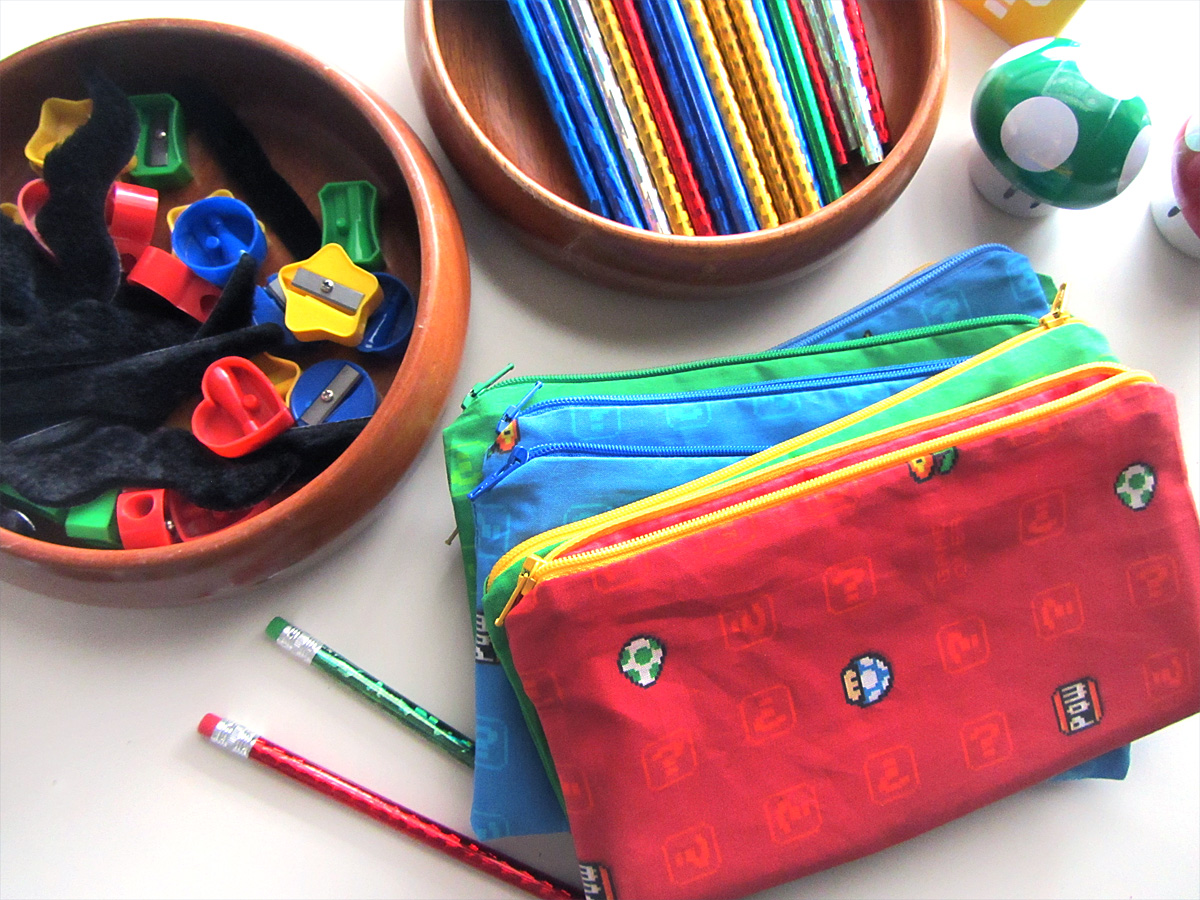
They turned out super fun!

The Nine Minute Pencil Bag
If you make some Nine Minute Pencil Bags, I’d love to see them! Share them on my Facebook page or mention me on Twitter or Instagram ( @iolstephanie ). Enjoy!

Sandcastle Quiet Book Page

Do you want to make and sell items from this pattern? Commercial licenses are available!

Sandcastle Quiet Book Page

Our latest quiet book page is another beach themed one for our upcoming vacation. Jax is thrilled with it and couldn’t wait to try it out. It is a very simple page featuring sandcastle parts you can build into any structure you’d like, then store away in the bucket.

Here is what I used for this page: the pattern, natural-colored background felt, felt (in natural, tan, brown, medium green, lime green, white, aqua, pink, hot pink, violet, orange and yellow), a scrap of white tulle, white mini ric-rac and seaside buttons (from the craft store – left over from my iSpy page.)

Bucket: Sew the two layers of your handle together. Lay the bucket pieces onto the background and decide how you’d like it to be. I wanted mine to be buried in the sand at an angle. Pin the bottom layer of the bucket to the page, and sew it down across the top. Cut out a scrap of natural felt to be the sand the bucket is buried in and pin it to the top layer of the bucket. Sew across the top of the sand piece to attach it to the bucket front. Pin the bucket front and handle to the page, layering the right side of the handle under all bucket layers. Sew the left side of the handle to the bucket front layer. Sew through both bucket layers down the sides, then sew around the sand on the bottom, making a large pocket that goes from the top of the bucket to the bottom of the sand.

Ocean: Cut a wavy aqua piece of felt to fit in the upper left corner of the left page. Sew it down. Cut a strip of white tulle and a length of white mini ric-rac long enough to follow the ocean’s edge. Pin it down to the edge, twisting it randomly along the way. Sew small stitches through both the tulle and the ric-rac – just enough to hold it down but not totally smush it. Add shell and starfish buttons if you’d like.

Sandcastle: Cut small brown rectangle to use as windows, and sew them to the fronts of the castle segments. Decorate all the fronts. For the starfish, I sewed it down then added a star burst of straight stitches in the center. For the shell, I stitched a spiral. For the door, I only sewed it down across the bottom, and I added a little crab button underneath. I added some leftover shell buttons to some pieces. Sew all your flags together. Layer them between the roof pieces when you sew the two sides together. Sew all fronts to backs, then you are done!

Jax wouldn’t let me put this page away after I showed it to him. He wanted to keep playing with it, and started making castles for his little wooden farm animals. I’d say this page was a success!

Link-o-rama!

We have a cross-country trip coming up and I am starting to get into planning mode.

What are your thoughts on leashes/safety tethers for toddlers? While I’ll be using a baby carrier in the airport, Jax will be in his car seat for nearly 6 hours on the plane and I doubt he’ll want to be held while we are getting our luggage and waiting for our ride. How do I safely let him stretch his legs in LAX while still watching our bags, etc? I hope you’ll share your experiences with me!

Some links for you…

  • I may have to make Jax the food from The Very Hungry Caterpillar. He loves that book and that is his favorite page.
  • Here’s another mom’s take on extended nursing (with a photo by me).
  • Making a rug like this is on my to-do list this winter!
  • There aren’t many cute sewing projects for boys’ clothes out here, but here’s a great one for simple boy pants.
  • Need some new jewelry? Raid your tool box!
  • Got an iPhone or iPad and a toddler? Hurry out to Starbucks this week for their free app card. It’s this great Sesame Street ebook! Jax loves it!
  • His other favorite app right now is Zoo Train. I was pretty shocked at how good he is at it! Check out the video below and another one here (this one is noisy, sorry! We were waiting for diner at a sports restaurant.)

Learning to Drink From a Cup

We’ve been practicing drinking from open-top cups in the bathtub where he can spill all he wants. But, silly baby decided it’s easier to drink straight from the tap!

Jax currently uses straw sippy cups. He’s still fond of dumping liquids at the first chance he gets. How did you transition your toddler to regular cups?