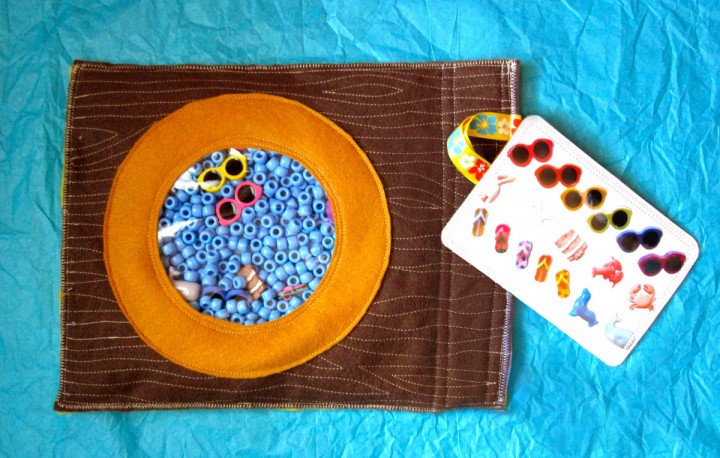
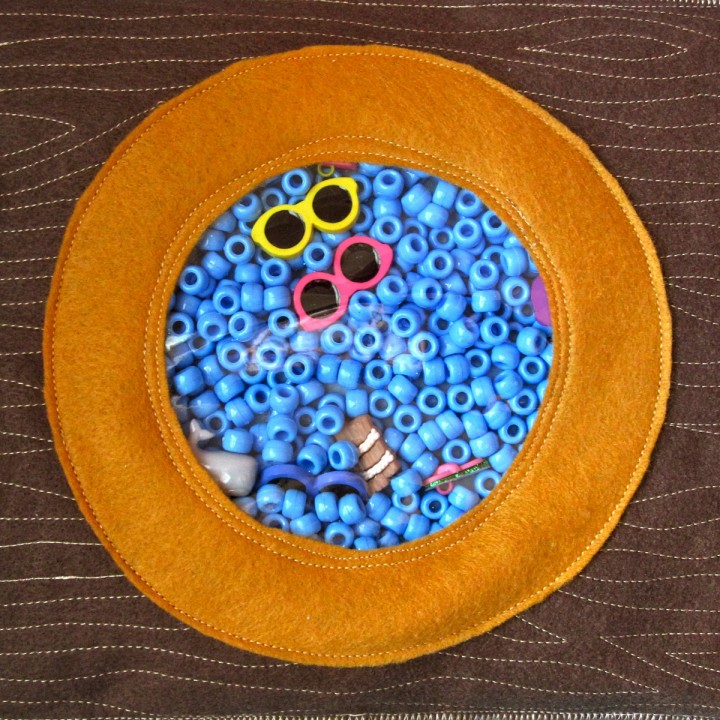
I’ll be doing a lot of beach and vacation themed pages over the next two months leading up to our trip to the Outer Banks. There will be other pages as well, including an Itsy Bitsy Spider page coming up soon. Here is the first beachy page I’ve completed – an ocean-themed iSpy page!
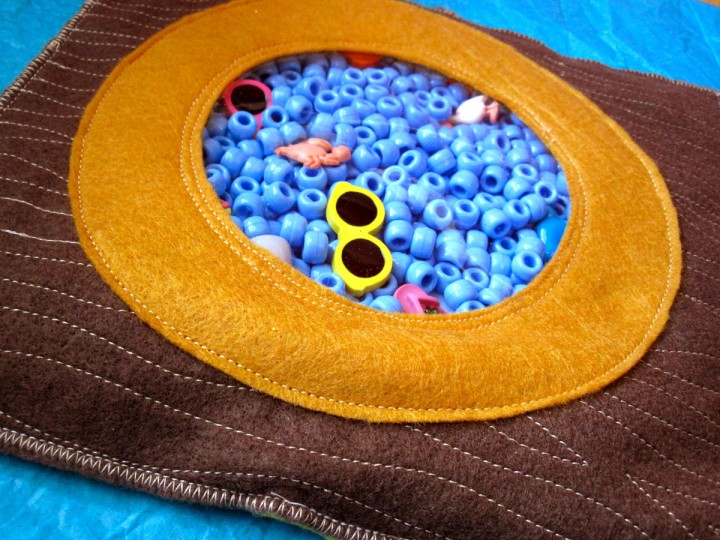
This page is made to look like you are inside a ship looking out into the ocean. I didn’t want to get too fussy with the details, since the point it to hunt for the iSpy goodies. I couldn’t resist doing at least *something* to make it special, so I added faux wood grain. This page was done entirely on a sewing machine. It’s Saturday, so I was about to get two hours away from Jax to whip this page out.
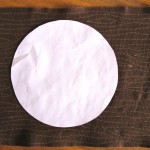
For this page I used: the circle template, full sheets of felt in brown, light blue and yellow (the back of my completed page – yours could be different), gold felt for the window, orange scrap felt for the back of my photo key, clear vinyl, a scrap of ribbon, a 4″x6″ print of my iSpy trinkets, light blue pony beads and iSpy trinkets.
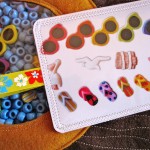
First thing you need to do is gather all the trinkets that are going into your iSpy game. I used ocean and beach themed buttons. Lay them all out on a sheet of white paper and take a picture. Print it out on photo paper or cardstock to use in your photo key.
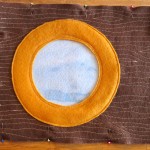
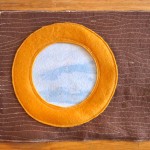
I started the sewing by making the faux wood grain on the brown felt with tan thread. I made wavy lines, occasionally leaving an oval-shaped spot to add a “knot”. I didn’t bother to sew the wood grain behind where the window would be, since that would be cut away. I decided to do the whole page in brown instead of my usual 9″x9″ square sewn down to a white page. I aligned my page to be to the left hand page in my book as I plan to do a coordinating page for the right.
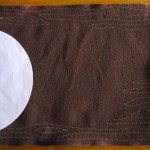
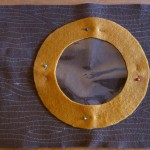
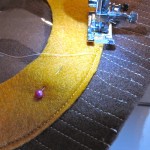
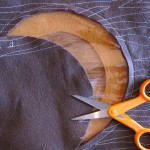
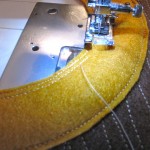
Lay your vinyl and window ring onto the page and pin it in place. Only pin vinyl where you know it won’t be seen – pin holes don’t go away! Sew around the outer edge of the gold ring. Flip the page over and carefully cut away the brown felt inside the circle so you can see through the window. Sew the inner edge of the window down. I went around twice.
Place your light blue felt behind the page and pin it on three sides. Leave the side that will be in the fold of your quiet book open. Sew around the three sides with a zigzag stitch. Pour your beads and trinkets into the page and pin the fouth side closed. Set the page aside to make your photo key.
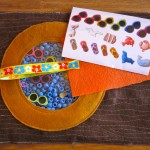
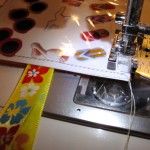
 Take your photo print out and layer it between clear vinyl and a scrap of felt Insert a scrap of ribbon so you can attach it to the page. I folded my ribbon because it was only printing on one side. Sew all the way around with a straight stitch, trim it and round the corners and go around again with a zigzag stitch.
To close the page, pin the ribbon of your tag into the open seam then sew it shut with a zigzag stitch. Finish the page by sewing a piece of felt to the back and sew your grommet channels. I haven’t added my grommets yet. I tend to do a bunch of pages at once because I’m not a big fan of doing grommets!
I think it came out really cute! Now I need to think of a coordinating page for the right hand side…

Aaaahhhhhhh! I LOVE your blog! It’s disgusting how awesome all of these quiet pages are. I am starting my very first one and I am so afraid that it won’t get done until they are 18. Oh well, it’ll be for the grandkids then. Thank you so much for sharing all of these ideas!
Where do you get the clear vinyl from? I’m so excited to make this page. I’m almost finished with my very first page, a color match turtle, and this is definitely going on the list!
I get my clear vinyl from the home decor fabric section of Joann Fabrics. I love turtles – how fun!
Pingback: Youpi mercredi #24 : Spy game! 1/2 « Blisscocotte
Are these machine embroidery designs? thanks- Janet
http://www.imagineourlife.com/2012/02/25/ocean-ispy-quiet-book-page/
No, I don’t have an embroidery machine.
Stephanie, May I ask, do you photograph each item separately and then photoshop them onto your final sheet? I’ve done an I Spy with about 50 items in it. I’ve laid all the items on a white piece of paper to photograph them but some of them haven’t come out clearly. Would love some guidance if possible. I really have enjoyed looking at all your pages for your quiet books. Fantastic!
I did photograph them all at once. I used natural light and made sure not to wash anything out, as it’s easier to lighten the photo then darken it.