I’m working on a bright and fun “big boy room” for little Jax, who currently room shares with us. When I originally started planning it, he asked for a red “choo choo”, the color blue and “a rainbow”. Yes, my son loves rainbows, and that’s okay.
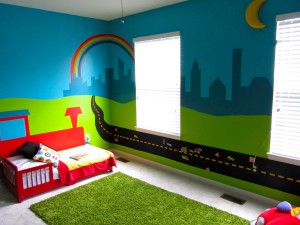
I expanded his request to an overall transportation theme. I’ve been working on a huge, two-wall mural for him with a city silhouette, rainbow, and green hills. There is a train engine behind his new red bed (purchased by trading in our coin jar contents) that is pulling a chalkboard paint train car. There is a Velcro road running along one wall with little wooden vehicles and signs. I did the other two walls in the great teal color of the city. It makes the red in the room pop! I’ll post more about the mural and the road project when they are complete.
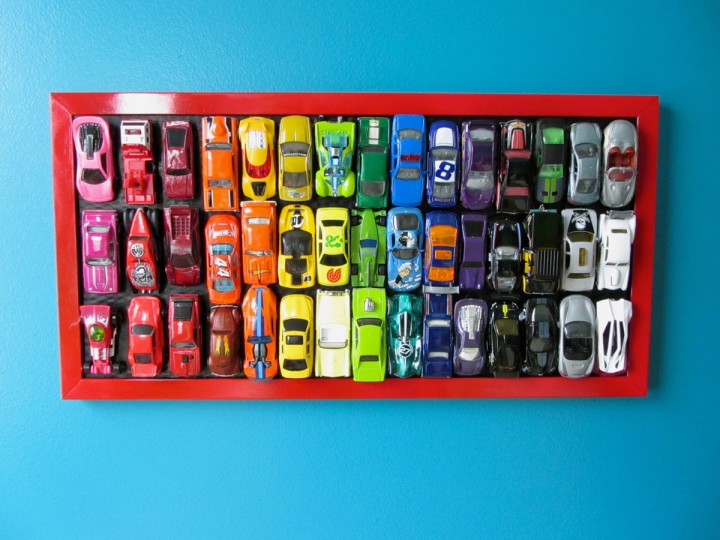
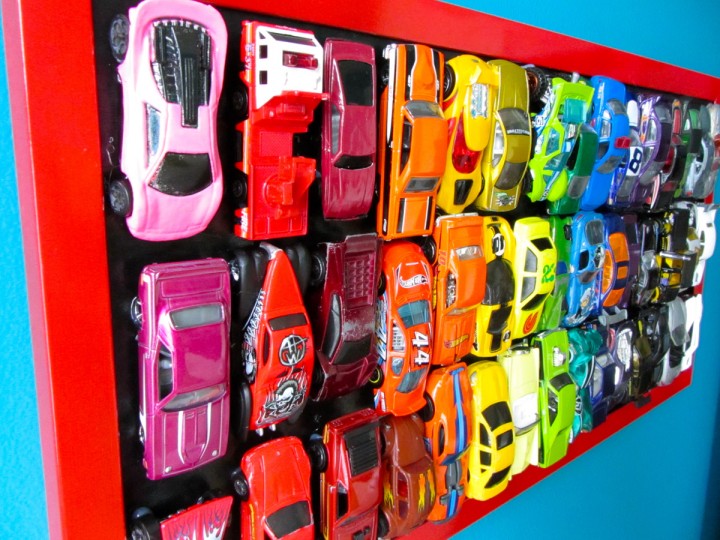
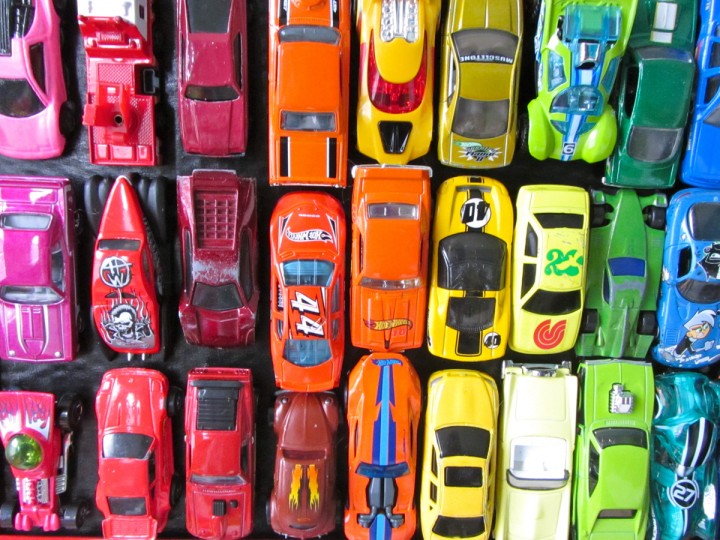
I have a lot of DIY art projects in the work for his room, as my budget is tight. I started collecting Matchbox-type cars a couple months ago with the idea of gluing them to a canvas. The idea evolved into a rainbow mosaic of cars in an old frame I’d spray painted red for Jax’s room. I bought all but one of my cars from thrift stores. One pink one was from the grocery store, since pink is so hard to find. Probably about half of the cars were a gift from my aunt, who hunted down the colors we needed from her grocery stores in NM. Thank you Aunt Pat!!
I LOVE how this turned out, and it couldn’t have been easier.
What I used:
- Lots of Matchbox and Hot Wheel type toy cars in rainbow colors
- An inexpensive frame (I used red spray paint on an old black frame missing the glass)
- Cardboard or foam board (I used the corrugated cardboard that came with the frame)
- Black paint
- Hot glue and hot glue gun
- Optional: nail polish in the colors you need more of (pinks and purples for me!)
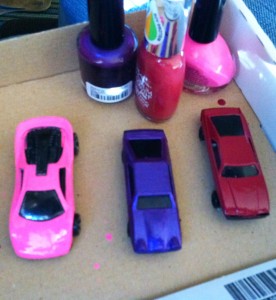
Collect your cars and lay them out as you get them so you know how many you’ll need of each color. I had trouble finding pink and purple cars, so I’ll let you in on my secret… Nail polish! Two or three coats of nail polish on some extra cars gave me florescent pink, berry pink and purple cars.
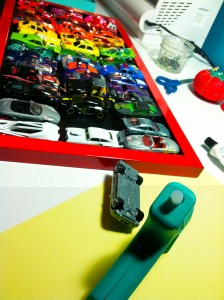
Paint the cardboard you are mounting the cars to black (or another solid color.) I used cardboard to keep the project lighter. The cars are already so heavy when combined. My frame is strong, but light metal. Once your board is dry, you can go ahead and hot glue them in place. I used a lot of glue on the bottom of each, focusing on the wheels. The glue starts out rolling into the wheel wells, but then it locks the wheels so you can get a good coating. As a bonus, I was able to pull one of and pop the dried glue right off the car. So if you are using cars you don’t necessarily want to damage, you should be okay (test it out yourself, just in case!) As I was gluing, I had the frame sitting over the backing board, so I was sure the cars fit just right.
I gave my mosaic a night to fully dry before hanging it. It looks so colorful and happy against the teal walls. It is the first item in his future wall gallery.
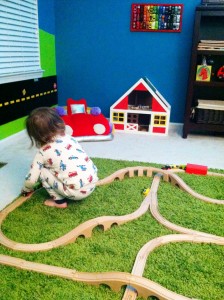
Here are some bonus photos of the room in progress. Jax loves it, and even slept there part of one night! Go Jax!
Vrooooom!

I love this! Really can’t wait to see how the rest of the room turns out, v intrigued by the Velcro wall!
Pingback: DIY Ideas for Your Wall Decoration! | Imagine Your Homes - Part 1
This is so cool! What a great idea!
Pingback: DIY Wall Art Ideas For Kids | My Little Lovebird
I need help my grand son move in and I have a small home and the room that is his now was my dressing room so I need help in making it more for a four year old you have any suggestion .
Thanks jacki Stevens
Ikea!
I love this!! I have mine all layed out and ready to glue but am having a hard time finding the right size frame. What size frame did you use, and have you had any problems with it being too heavy?
Hm, I’ll have to measure the frame. I buy them at the thrift store. It is quite heavy. I’ve hung it with two anchors, but at the moment I have it leaning against the wall on a dresser.
What a fun way to store cars as well as display them. I am sharing this on Pinterest.
Think I’ve asked before, but what are the paint colours you used for Jax’s room?
Another way to attach cars: magnets!
Pingback: 15 Nursery Wall Art Ideas - Crafty Cleverness