Holiday crafting goes into full swing for me in November. I definitely have more ideas than time. I decided a good way to choose my large holiday project for to let YOU decide! Thanks to all of you wonderful Facebook fans, I hosted a vote.

The winning project? A felt Christmas tree play set that is toddler safe. Kids love Christmas trees – who doesn’t? This project will give your little one their very own tree that they can’t break.

This is a 20″ high stuffed felt tree with sweet little “lights” that are really felted wool balls from my stash. The balls will do double-duty later: they will create places to hang mini ornaments! I will be posting a series of 24 mini ornaments that you can either give to your child all at once, or use in an advent calendar.
To see all the posts in this series, click here.

What I used:
- The Pattern
- 36″ x 36″ square of dark green craft felt for the sides (from the craft store for $4)
- 20″ x 20″ square of green felt for the base
- Yellow felt for the star
(I recommend the same green or a red. I used what I already had!) - Polyfil stuffing. Lots! I used a 32 oz. of this
.)
- 20mm felted balls (an assortment of 12)
- 10mm felted balls (an assortment of 24)
- 1″ of green hook & loop
(Mine is from the fabric store. There is a lighter green here.) - Yellow sequins
Sewing the Tree

I started by cutting out the pattern and taping it together. Using my layout guide, I cut out 8 of the side pieces. I didn’t worry about cutting on the “right” side of the felt (felt is sometimes scratchier on one side.) Luckily this felt felt pretty similar on both sides. If you want to cut yours out all on one side, note that my layout has one flipped.
I hand stitched the tree using a blanket stitch. You could definitely save time and sew the straight edged on a machine with a zigzag stitch. You could possibly machine stitch all the sides, but you’d need to add seam allowance.

I made 4 pairs of tree sides, each with two pieces laid on top of each other, then stitched each pair together along the straight edges. I then started sewing the pairs together into an accordion shaped along the wavy edges. I then sewed the two end pieces together so the tree became tree-shaped with an open bottom. I stuffed as I sewed, just because it made handling it easier. I adjusted the stuffing later.

I laid out a 20″ square of felt for the base. I didn’t have any more dark green, so I used lighter green. I think it would look lovely with either more dark green, or a pretty holiday red. Using the corner template (taped together), I cut out the base shape.

 Using a blanket stitch, I sewed on the base, leaving half of one point open to allow me to finish stuffing it. In my photo, the lighter green helps to show how the base is attached. When the tree is finished, the base does curve down and is visible. I don’t mind the look of the two greens (and that felt was free from a friend!) but you might prefer something else.
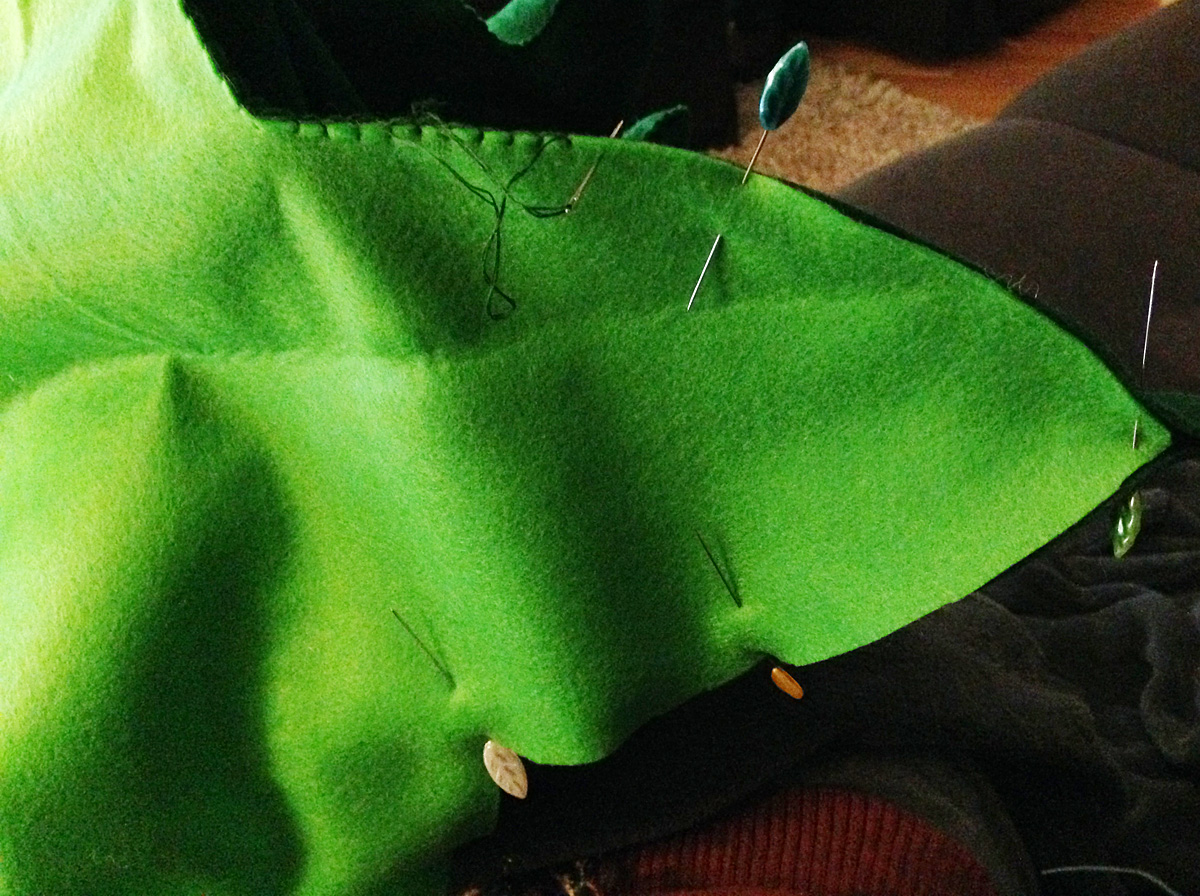
The next part is the hardest to explain, and gives you a bit of a workout. With the base sewn on (but leave that hole still!) and the tree lightly stuffed, you can see that it doesn’t have that finished tree shape. To make that, I made stitches along the straight seams that went through the center of the tree, pulling those seams in.

Think of the way you sew a button onto a cushion so that both sides sink in. I did that along both axis of the tree (it looks like a + from above), making stitches all the way through every 1.5″ until I was about 2/3 down from the top. You might have an easier time with a long needle and stronger thread, like in that cushion tutorial. I just used my arm strength to squish the tree as skinny as possible then pushed my longest needle through.
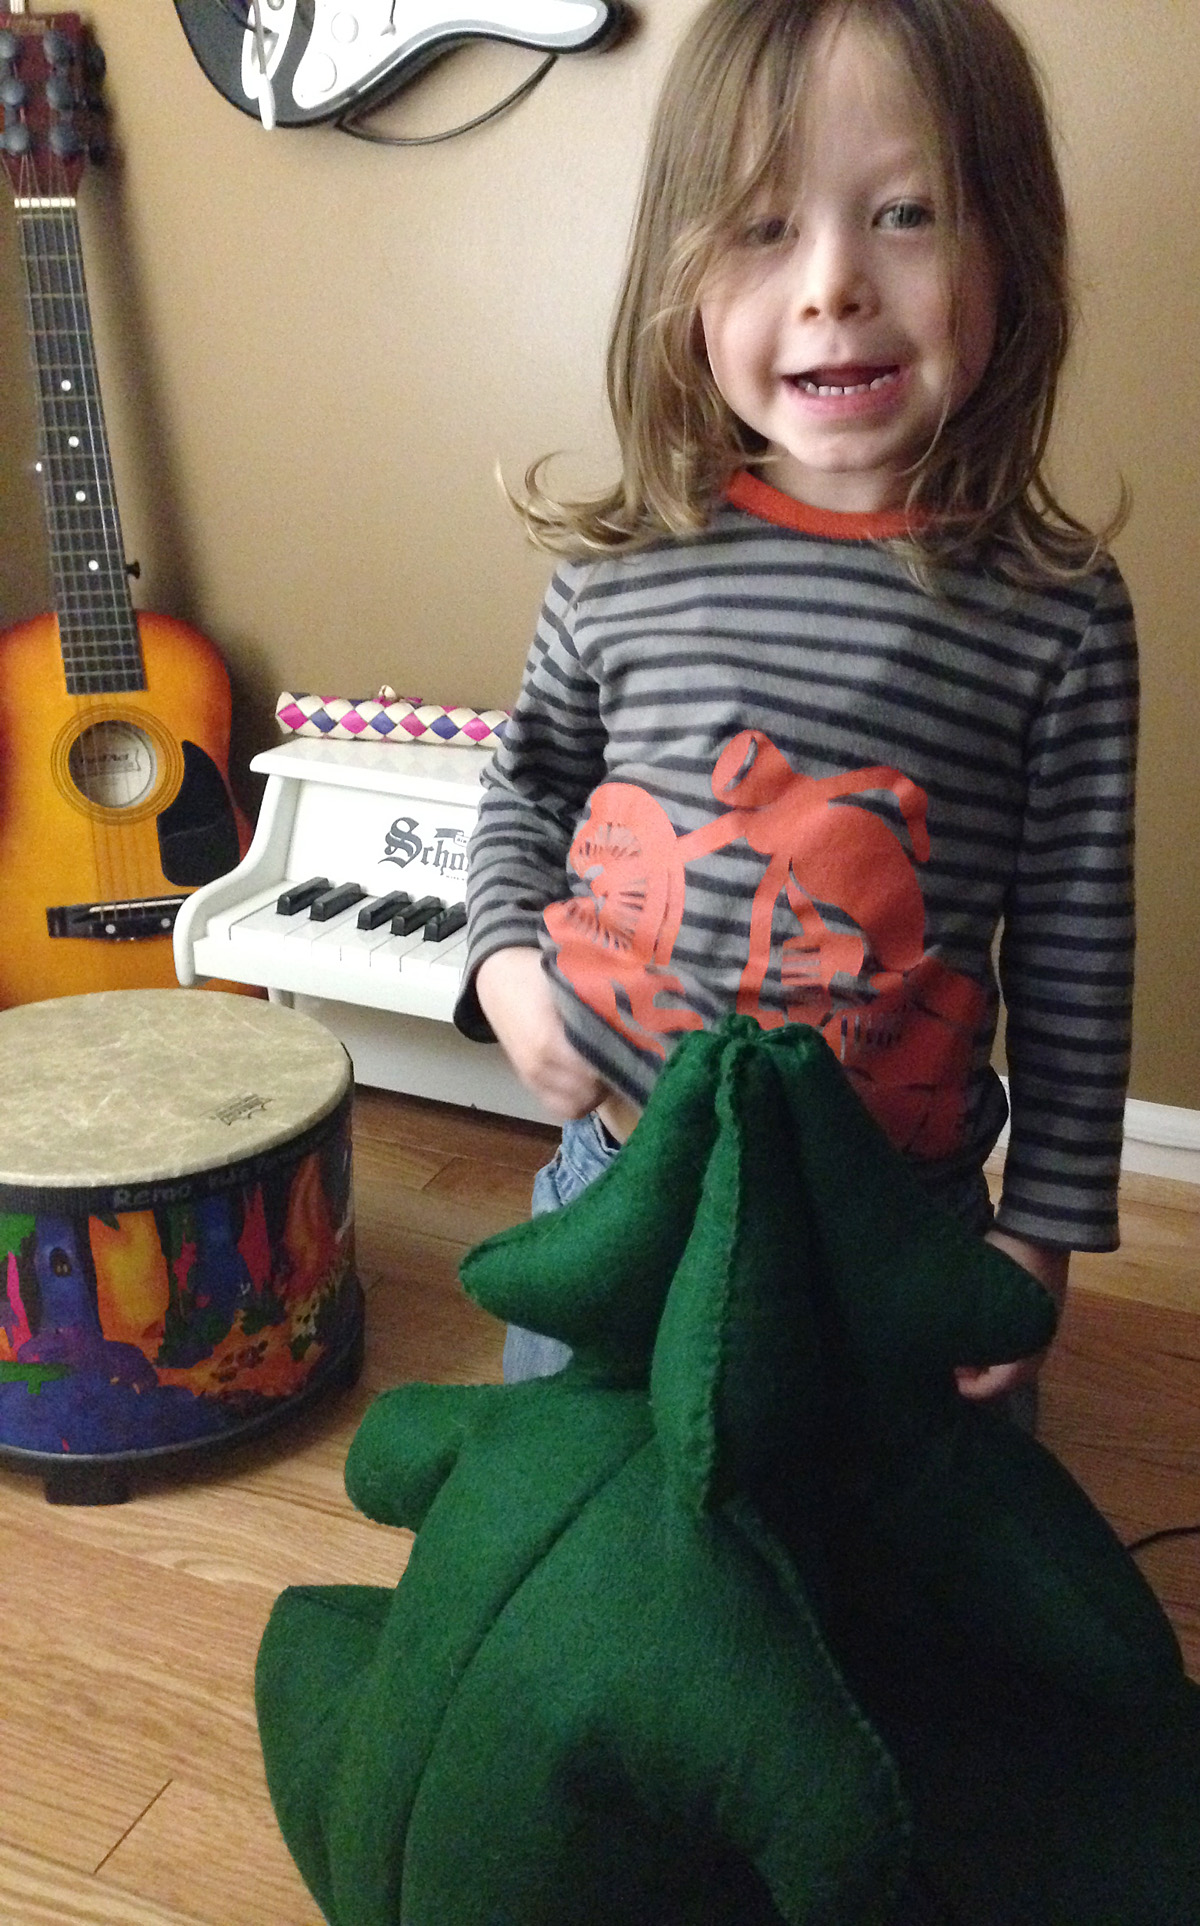
See the photo of Jax above. In it, I’d started stitching the center in, and had finished the topmost third. I did several inches at a time, pausing to perfect the stuffing. I had the stuffing the firmest at the top, softer towards the bottom. Play with it until you are happy.

Once I’d finished shaping and stuffing the tree, I sewed the base opening closed. Then I took a small piece of green hook & loop tape and sewed it to the top of the tree. There was a tiny hole at the top that I stitched closed first. The hook & loop tape will hold the star on the tree.

The next step was to sew on the felt balls. I sewed one large ball onto the tip of each tree tier (12 total). I sewed 3 small balls onto each of the 8 side panels (24 total). You can do as many or as few as you’d like. Keep in mind that if you make mini ornaments, they will be hanging from these balls. I plan to do 24 mini ornaments (and will be sharing the patterns with you!)
Sewing the Star
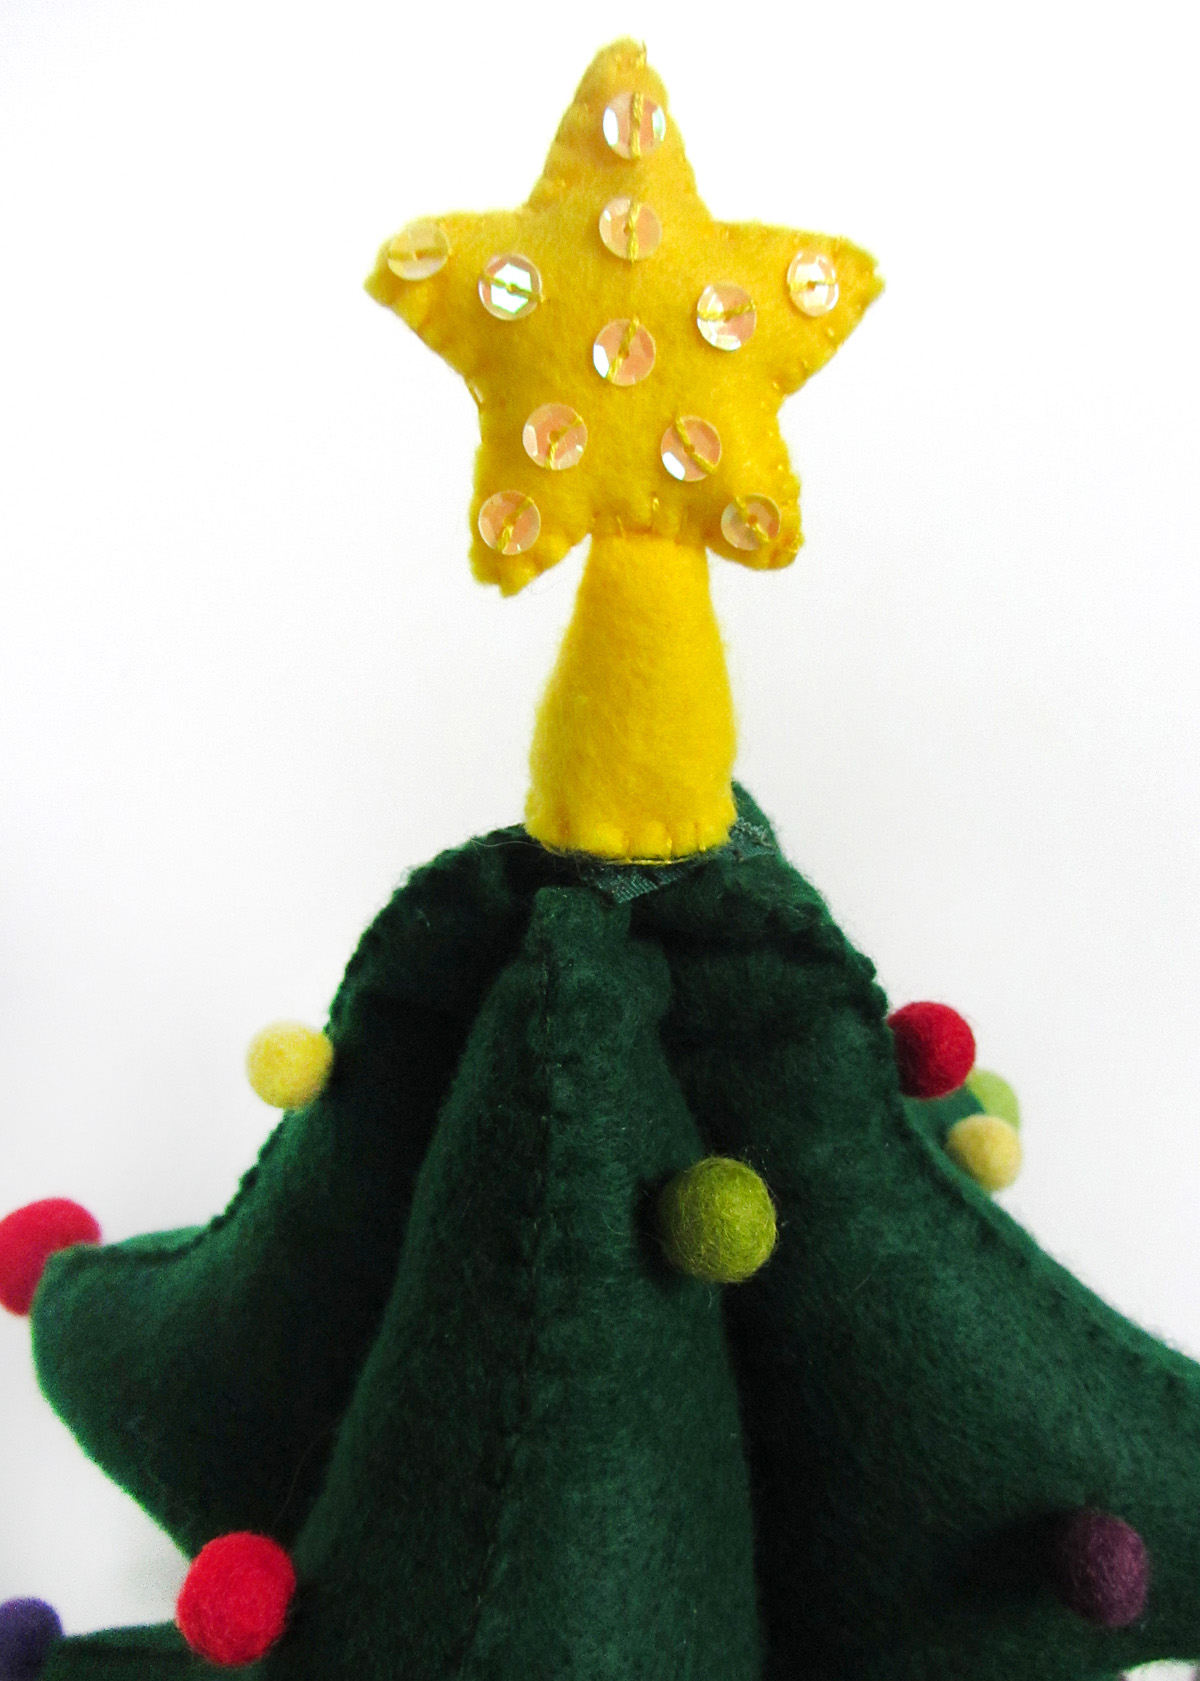
I started by taking the pie wedge piece and rolling it into a cone that would fit my circle base. I stitched down the length of the cone to hold it closed, stuffed it with polyfill, and stitched the base on, added the other half of the hook and loop tape as I went around.

I took the two sides of the star itself and decorated them with sequins: one in the center and 2 in each point. I then sewed them together around the edge, pausing halfway to stuff it and insert the base cone in the bottom.

Your little tree should be complete! Jax told me he loved it, which is the best complement ever! I know he will be very excited to unwrap a new ornament each night to hang on his own little tree. I hope you’ll sew along with me as I complete all 24 mini ornaments. I have the first 6 underway. For sneak peeks, join my Facebook page or follow me on Instagram @iolstephanie.
LOVE it. Can’t wait to get started! You are so talented! Thanks for sharing!
I absolutely love this! I have all my tree pieces cut out, I will be machine sewing the inside connecting piece however hand sewing the outer limbs and the star is already completed. Question, and more so for the fact of not needing to go to the store, do you think those little craft pom poms would work just as well I have more than enough in my stash, however if you think they won’t hold up the ornaments sufficiently I will grab some felt balls!!
Pompoms would certainly look cute! I think the question would be if they are firm enough to hang a little ornament on without the string sliding off. You might have to test one.
Thanks so much for taking the time to post the free patterns. I just found your page a few days and now am such a fan of the projects that you put together!!
Pingback: DIY Kids Felt Advent Christmas Tree | American Felt and Craft- The Blog
Pingback: 11 tips for toddler-proof Christmas trees | Mum's Grapevine
Pingback: DIY 18 Alternative Christmas Trees Safe For Toddlers
Hm… It is hard to describe. It is called “tufting” when you do it to pillows. Maybe looking that up would help? You make a stitch on the seam that yyou want dented in, then pass the needle and thread through the whole thing to the opposite seam that you want dented in. Make a stitch there while pulling firmly to have the thread squeeze it all in.
I fell in love with your designs one year ago. Thanks for everything. You are very talented indeed. One question to this tree, my first project. Why do you cut your tree in half and have the straight seem aswell? Would it also work with four cut out trees sawn togheter?
I was looking to purchase one like this, but I could not find one. Thank you very much. This is lovely. I will try to make it for my granddaughter this season or next summer.
I am making this toddler tree but when I cut out the bottom, it didn’t look like yours. I used a 20″ square but the pattern is just 8″ on each side so that would be a 16″ square. Did I get the wrong size when I copied the pattern? Can you help me work this out?