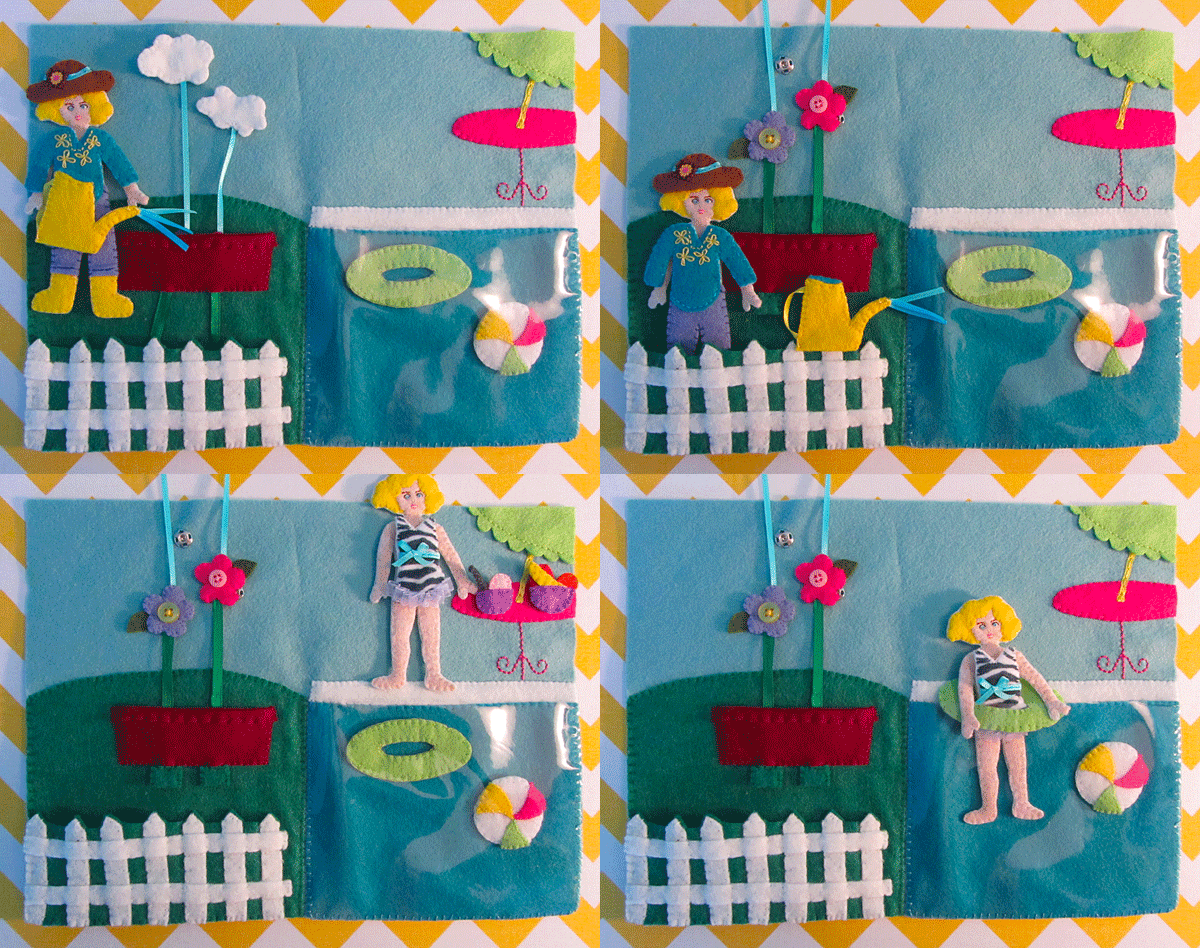
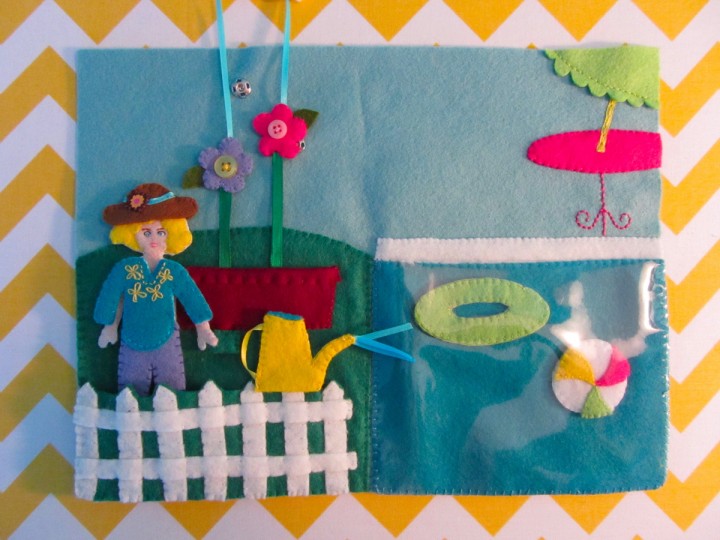
This page is a part of my Dollhouse mini quiet book. You can find the instructions for the doll and the kitchen page here. Still to come are the bedroom, bathroom and the cover/construction. The book is designed on 12″ w x 9″ h felt sheets that will fold in half to 6″ w x 9″ h when closed.
All the felt for this mini book has been provided by American Felt and Craft. I am using their wool blend felt, which cuts like butter and has been holding up so much better than the craft store recycled felt I’d been using. If it is in your budget, it is absolutely worth upgrading for a long-lasting handmade item such as a quiet book.
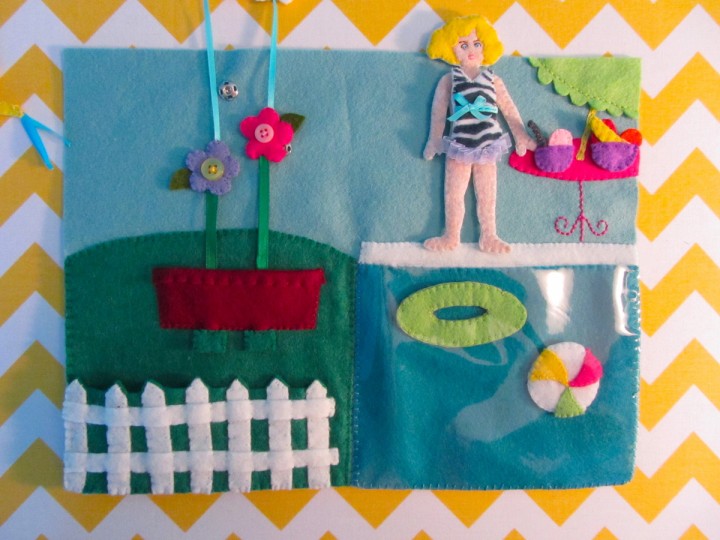
Shown with food from the kitchen page.
What I Used: The pattern, felt (in ice/light blue, soap sud/pale gray, jade/green, peacock/aqua, hot pink, white, rubber ducky/yellow, limeade/lime green, doe/brown, forget me not/periwinkle, beet/dark red and bisque/flesh), felt scraps (I used a zebra print craft felt for the swimsuit and cilantro/olive for the leaves), clear vinyl, white snag-free Velcro, size 1 sew-on snaps, 2 small buttons, thin blue and green ribbon, white snag-free Velcro and ribbon scraps.
Pool Background: I started by cutting a strip of white and sewing it down along the top to make the edge of the pool. I took a large rectangle of peacock blue and sewed it down along its top edge, overlapping the white. I cut a piece of clear vinyl the same size as the blue pool water and sewed it down along the sides and bottom, going through all three layers (vinyl, blue felt and background felt), making a clear pocket.
Patio Table: I sewed the hot pink table top down, then used a back stitch to sew the legs. I took a scrap of thin, yellow ribbon and sewed it down to make a pole for the umbrella. The umbrella was sewn down along the bottom curve, letting the scallops hang free.
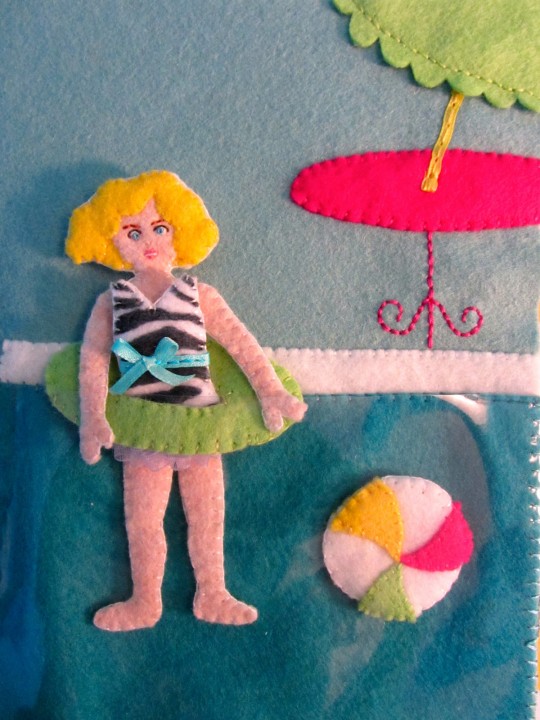
Pool Toys: The inner tube is just sewn back to front. For the beach ball, I sewed the colored segments to each side, then sewed the two sides together.
Garden Background: I cut some jade green felt into a hill and sewed it down to the left side of the page to make the ground. I sewed the fence pieces down to a rectangle of green felt, then trimmed the green from between the pointed tops of the fence posts, as shown above. I sewed the fence into a pocket on the bottom of the page. The doll can stand behind the fence, or you can store the page pieces there.
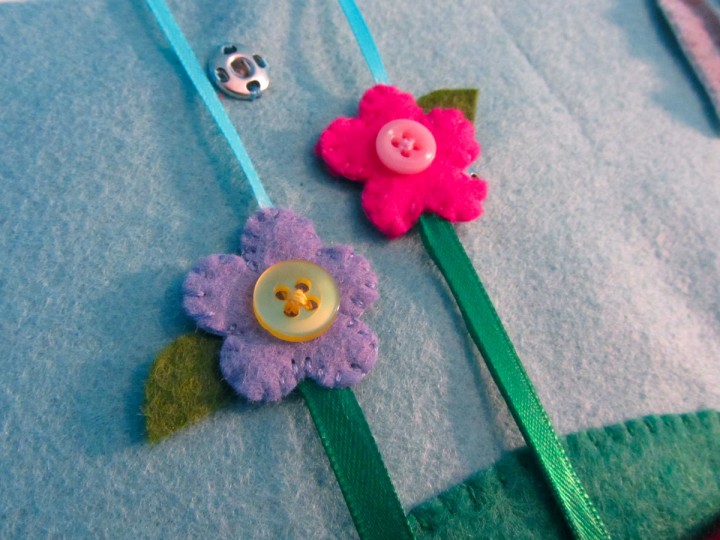
Flowers: For each flower, I started by sewing a button to the front piece and a leaf to the back piece. I cut two lengths of ribbon – one blue and one green – and had them sticking out of the flower (as shown above) when I sewed the fronts to the backs. At the end of the green ribbons, I sewed on folded rectangles of jade green felt.
Planter: I folded the top of the planter down (towards the front) and sewed it down to make a lip. I positioned the flowers and their green ribbons where they needed to be on the page, and pinned down the planet over top. I sewed along the sides and bottom of the planter, but made sure to leave holes where the ribbons stuck through the bottom. This is so you can pull the green felt tabs to pull the flowers back into the planter.
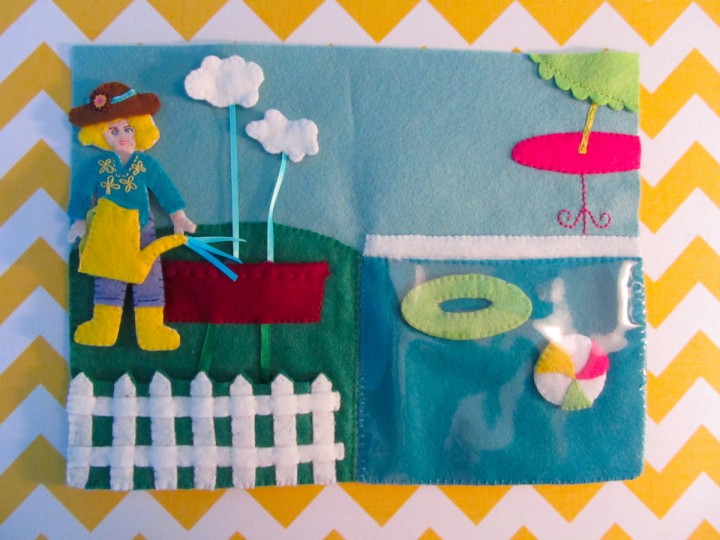
Clouds: The clouds have snaps sewn to the back pieces. I pinned the tops of the blue ribbons in between the cloud pieces before sewing fronts to backs. I pulled the flowers all the way into the planter then marked where the other halves of the snaps needed to be to hold the clouds in place. I sewed them down to finish the clouds.
Watering Can: The watering can is made by sewing the fronts and backs together with the following things sticking out: A bit of yellow ribbon to make a handle, three bits of blue ribbon coming out of the spout and a scrap of blue felt in the top to make the water.
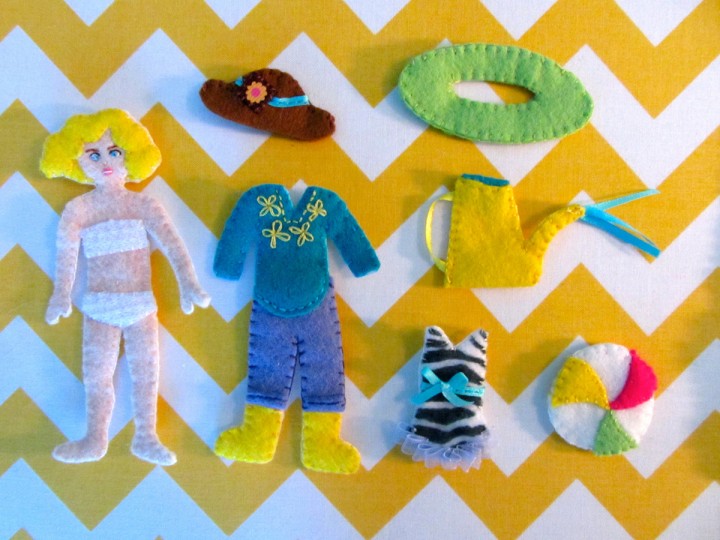
Find directions for the doll on the kitchen page
Swimsuit: The swimsuit has a ribbon and bow sewn to the waist of the front piece to make a belt. At the bottom, I took a length of ribbon and sewed it down in loops to make a ruffle. I switched the direction of the the loops halfway through. I sewed bits of snag-free Velcro to the white back piece then sewed the front and back together.
Garden Outfit: I started by sewing bits of Velcro to the back of the white back piece. I then sewed the yellow boots to front of it. I sewed down the pants, folding up the cuffs and sewing them in place. I decorated the shirt with some back stitch and daisy stitches before sewing it down.
Garden Hat: I sewed thin blue ribbon across the brim of each side of the hat. I took a scrap of flower ribbon and folded the ends under to make a little square with one flower motif on it. I sewed one of those down on to each side. I sewed the hat together, leave the bottom open so you can slide it on the doll’s head.
Hope you’ve been enjoying my free quiet book patterns! I love seeing what you’ve done with them. Email me your photos, or leave them on our Facebook page. Stop by tomorrow for a toddler iPad app review and a giveaway of two free app codes!

This is a really great page!! I can’t wait to see the rest of them!
Brilliant! I cannot wait to have a tutorial from you on my blog. Your work is just lovely.
Stephanie these are wonderful! I made a fairy tale book for my first grand daughter 14 years ago! Now I have another g.d. aged 2 and I went looking to see what ideas were around and found you! I can’t wait to try out some of your pages, I’m sure she will love it – and so will her mother if the quiet part really works 🙂