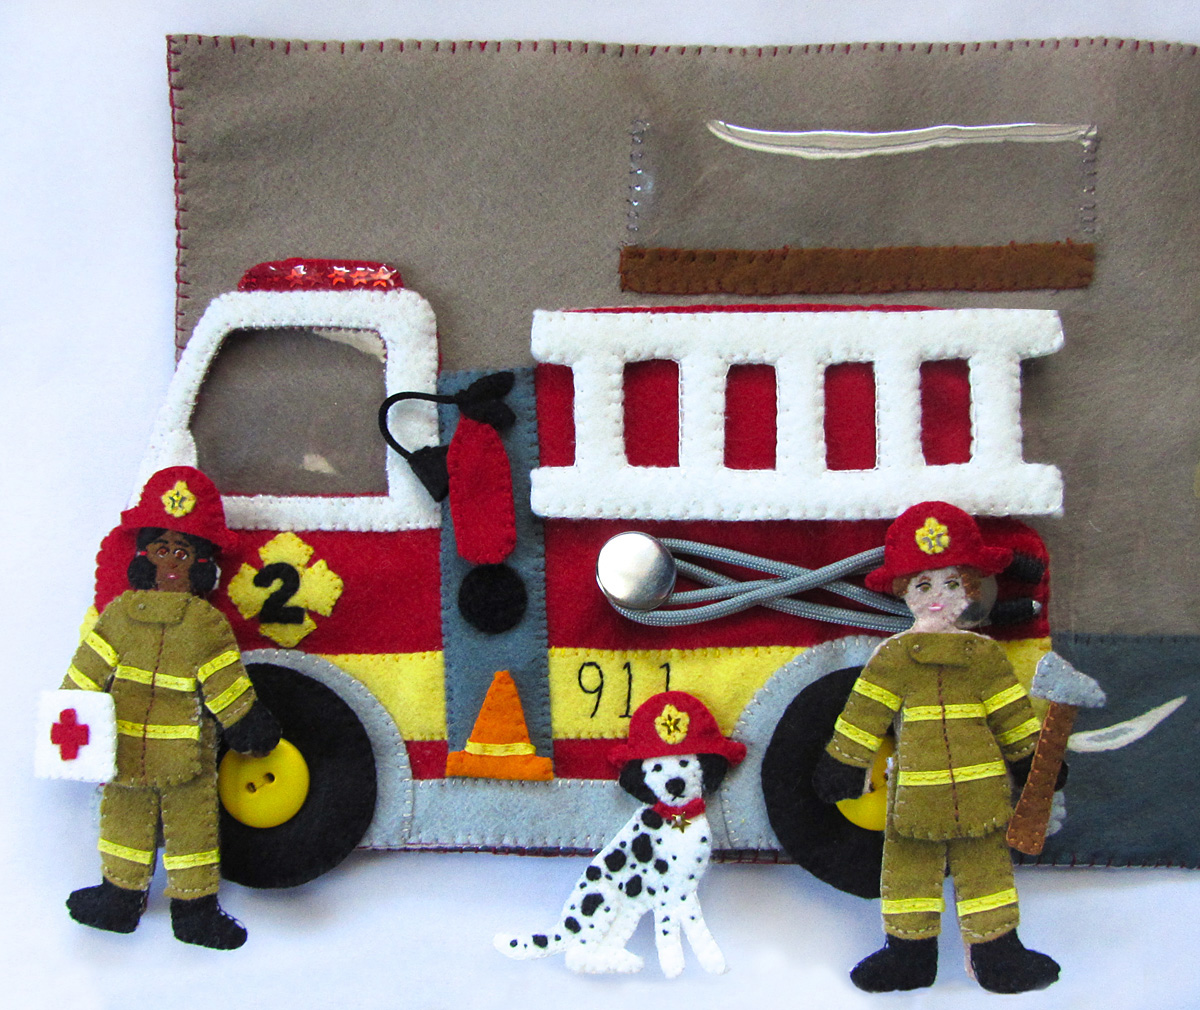
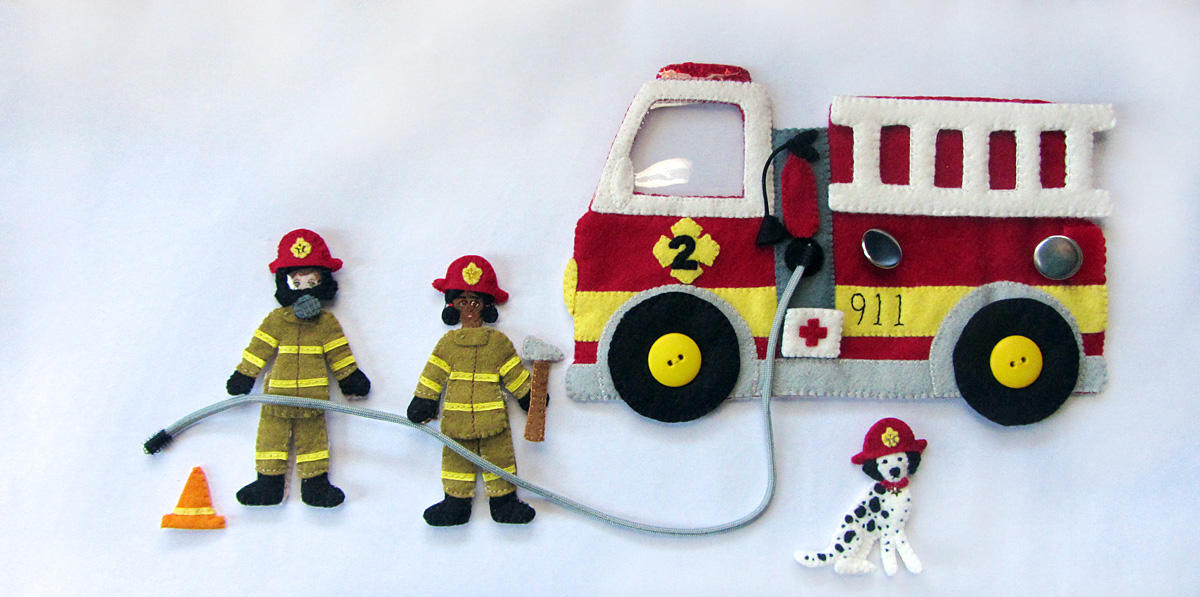
This fire station project will be a full stand-alone quiet book, just like the dollhouse book, but using full size 9″ x 12″ sheets of felt for each page. The fire fighters are made from the same pattern as the dollhouse dolls, so they will be interchangeable. To see the first section of the project, go here: Felt Fire Station – Fire Truck & Dalmatian.
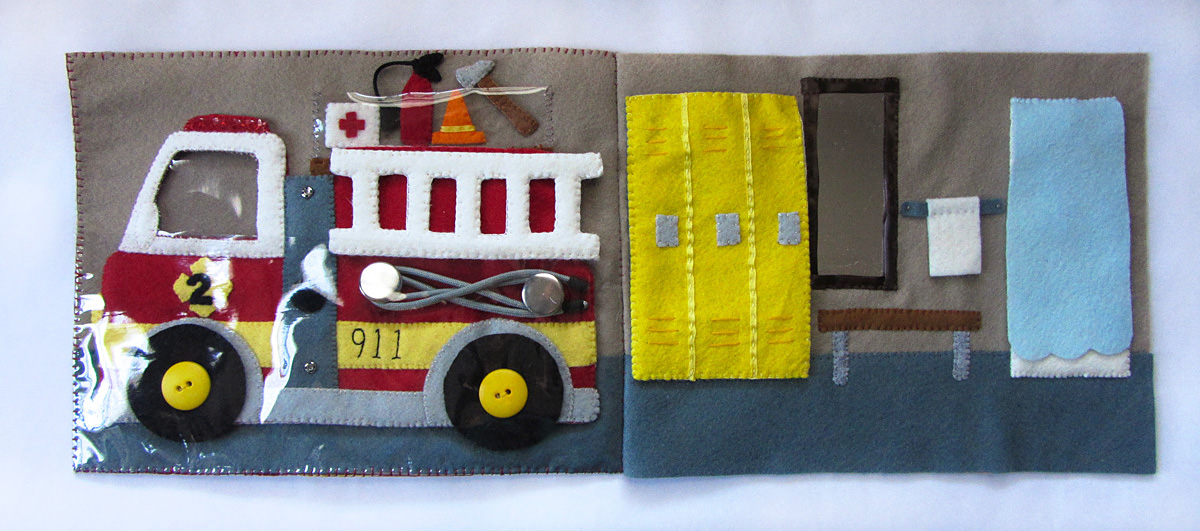
This tutorial is for the first two interior pages of the fire station: the garage for the fire truck and the locker room.
What I Used:
- The Pattern
- Felt from American Felt & Craft (in chai (x2), white, black, gray, elephant, banana cream pie, orange juice, big apple, bisque, sparrow, spanish olive & doe.)
- Clear Vinyl (12″ x 5″ for pocket, plus what is on the pattern)
- Small Star Sequins
(3 gold)
- Craft Mirror Sheet (cut to 2″ x 4.5″)
- Thin Yellow Ribbon, 1/8-Inch Wide
- Brown Ribbon
- Sew-On Snaps
(I used the small ones for the equipment, larger ones for the lockers.)
- Black Satin Rattail Cord
(just a scrap)
- Ribbon/ Ric Rac Scraps (in aquas)
- White Snag-Free Velcro
Background: I started with two background sheets of chai felt. I sewed down 12″ x 2.5″ strips of elephant gray for the ground.Don’t sew anything important about 1/4″ – 1/2″ from the center edges of the two-page spread to allow for sewing the binding. But having the floor go to the edge is fine!
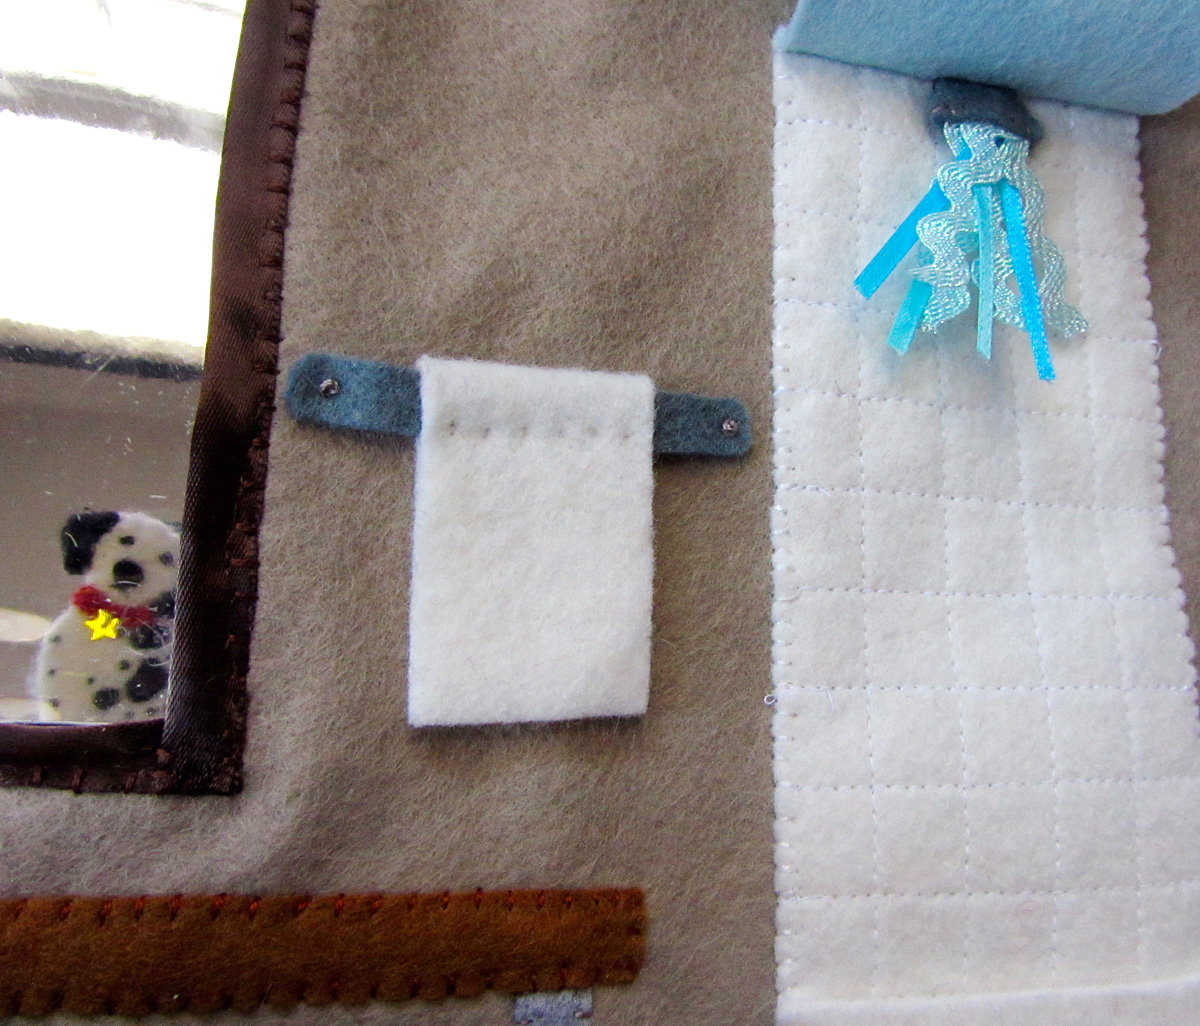
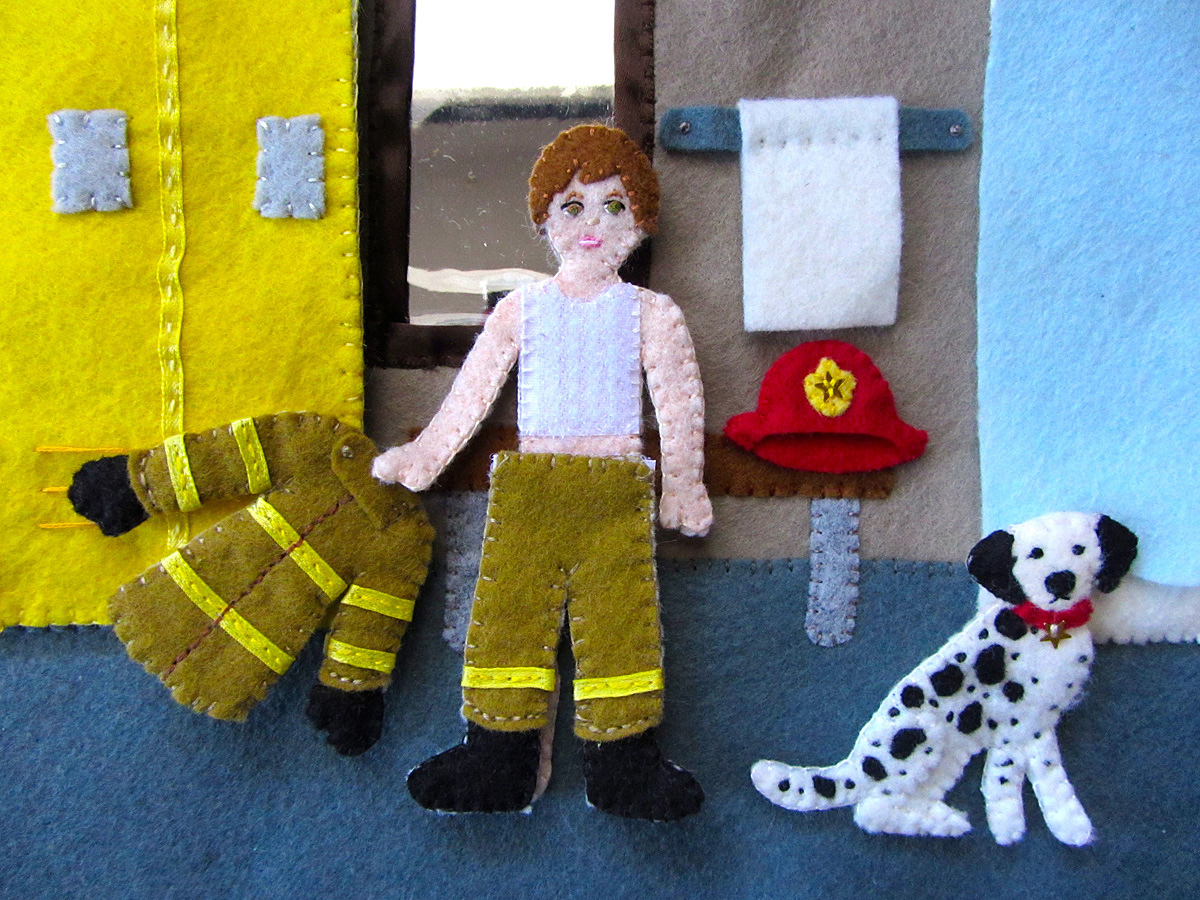
Bench & Towel: The bench is simple sewn down to the page with the seat overlapping the legs. To make the towel bar, I folded the towel felt around the strip of gray towel bar felt. I sewed a line of stitching through just the towel, making a channel that holds it on the “bar”. I attached the bar to the page with a small criss-cross of stitches on each side, topped with French knots.
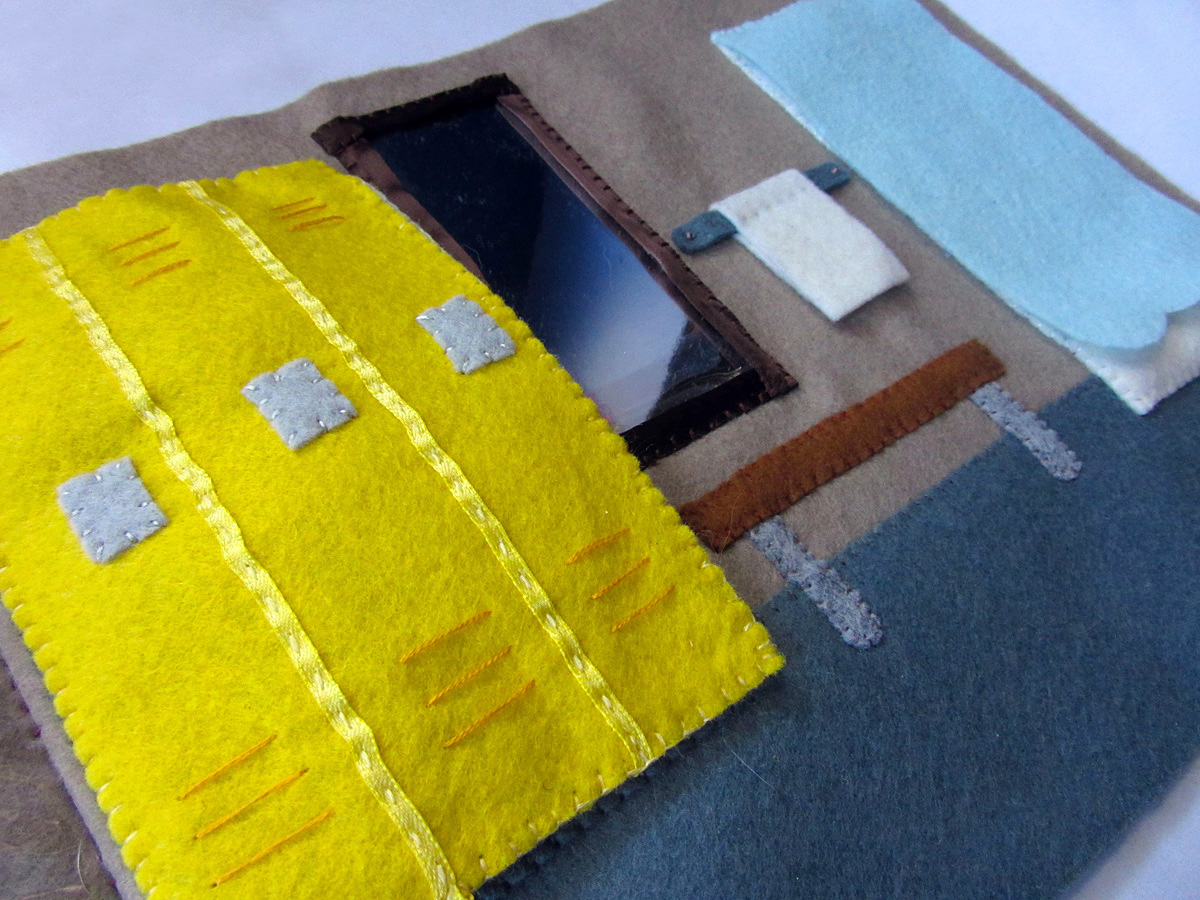
Lockers: To sew the lockers, I started by embellishing the yellow door piece. I sewed down two strips of yellow ribbon to make it look like three lockers. Long stitches made the vents, and the gray panels made the handle/lock area. On the light gray felt that backs the door, I sewed down the bottoms of the clear vinyl pockets. I then pinned the door front and back together and sewed around the edges, being sure to catch the sides of the vinyl pockets as I went.
I sewed down the interior felt to the page, catching the sides of the two curved pockets in the edges. I sewed the bottoms of the pockets closed, then sewed the left side of the door down to the page. To finish, I added sew-on snaps to the open corners of the locker to hold it closed.
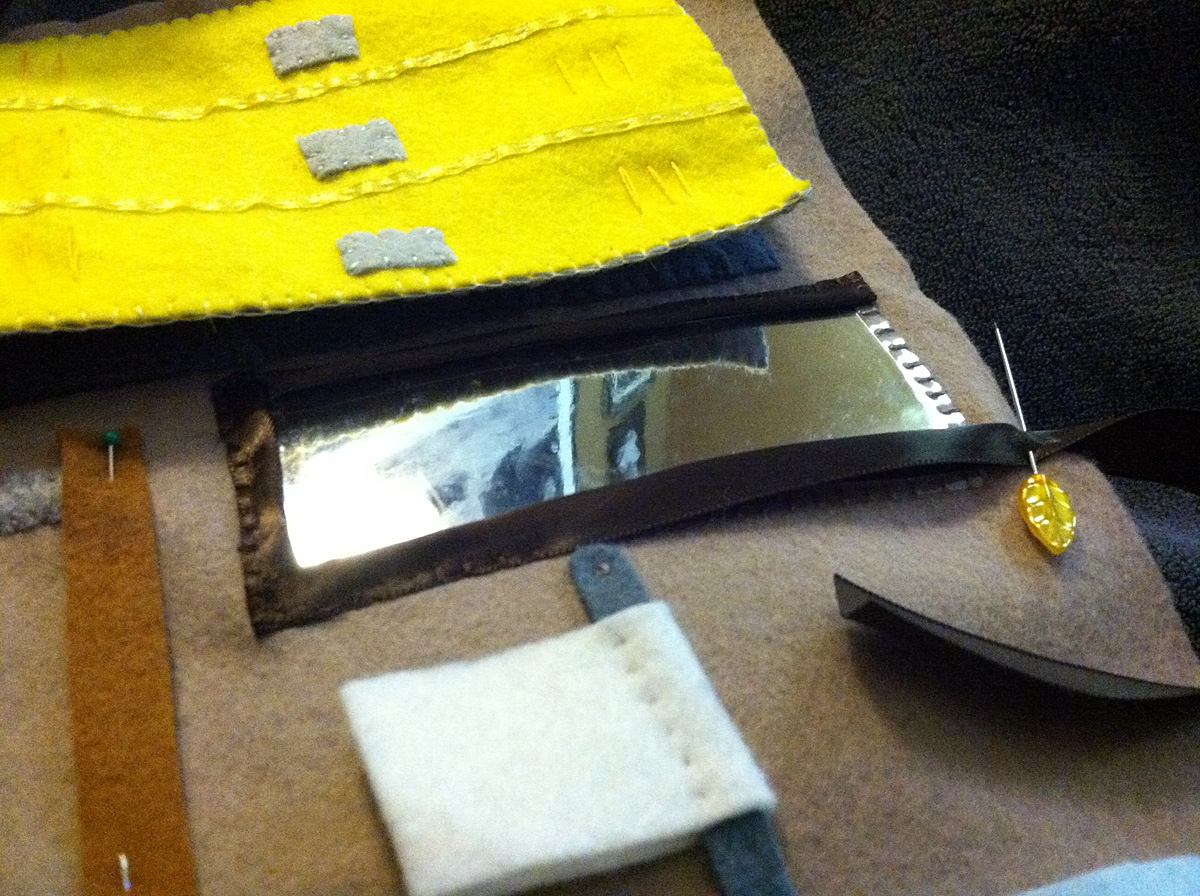
Mirror: I cut the 2″ x 4.5″ mirror out of a sheet of craft mirror. I also cut some clear vinyl slightly larger. I layered the mirror under the vinyl, and sewed the vinyl down to the page so that it held the mirror in place. I then covered the edges with folded brown ribbon. You could use strips of felt or even some bias tape.
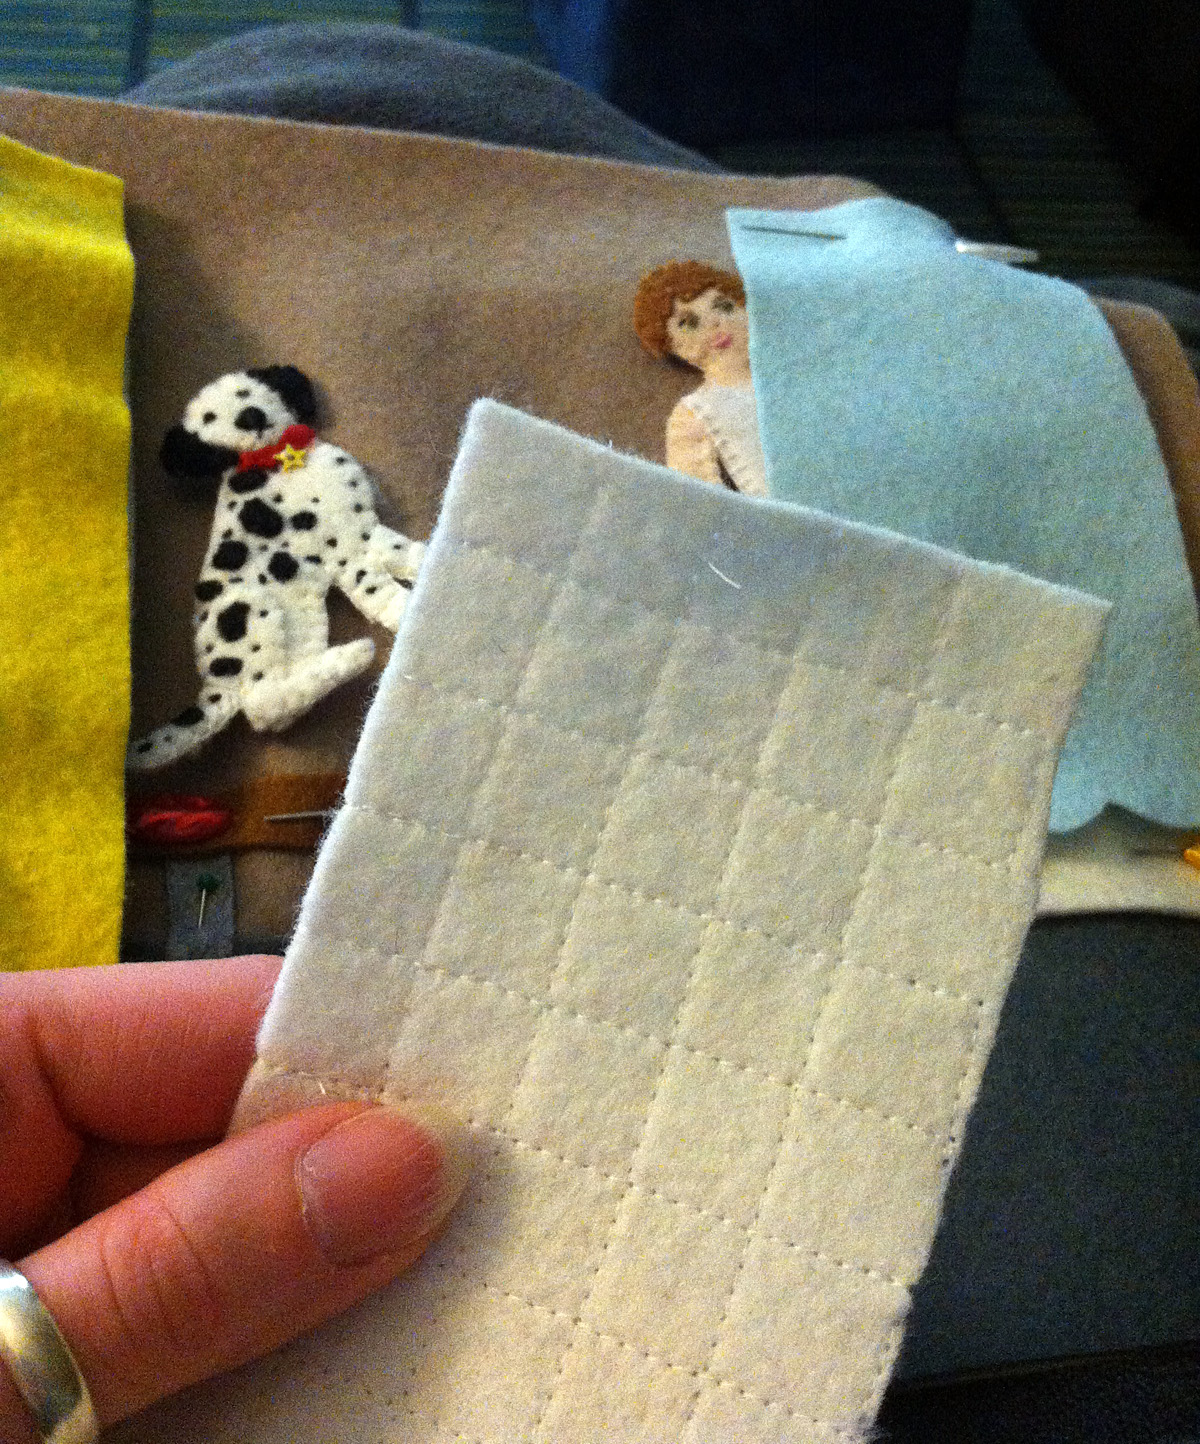
Shower: The shower was one of the rare times I went up to my sewing machine. In 5 minutes, I was able to sew a grid of squares of the shower background that look just like little tiles. Love! I sewed it down to the page, adding the bottom pocket as I went around that edge.
Hi, puppy.
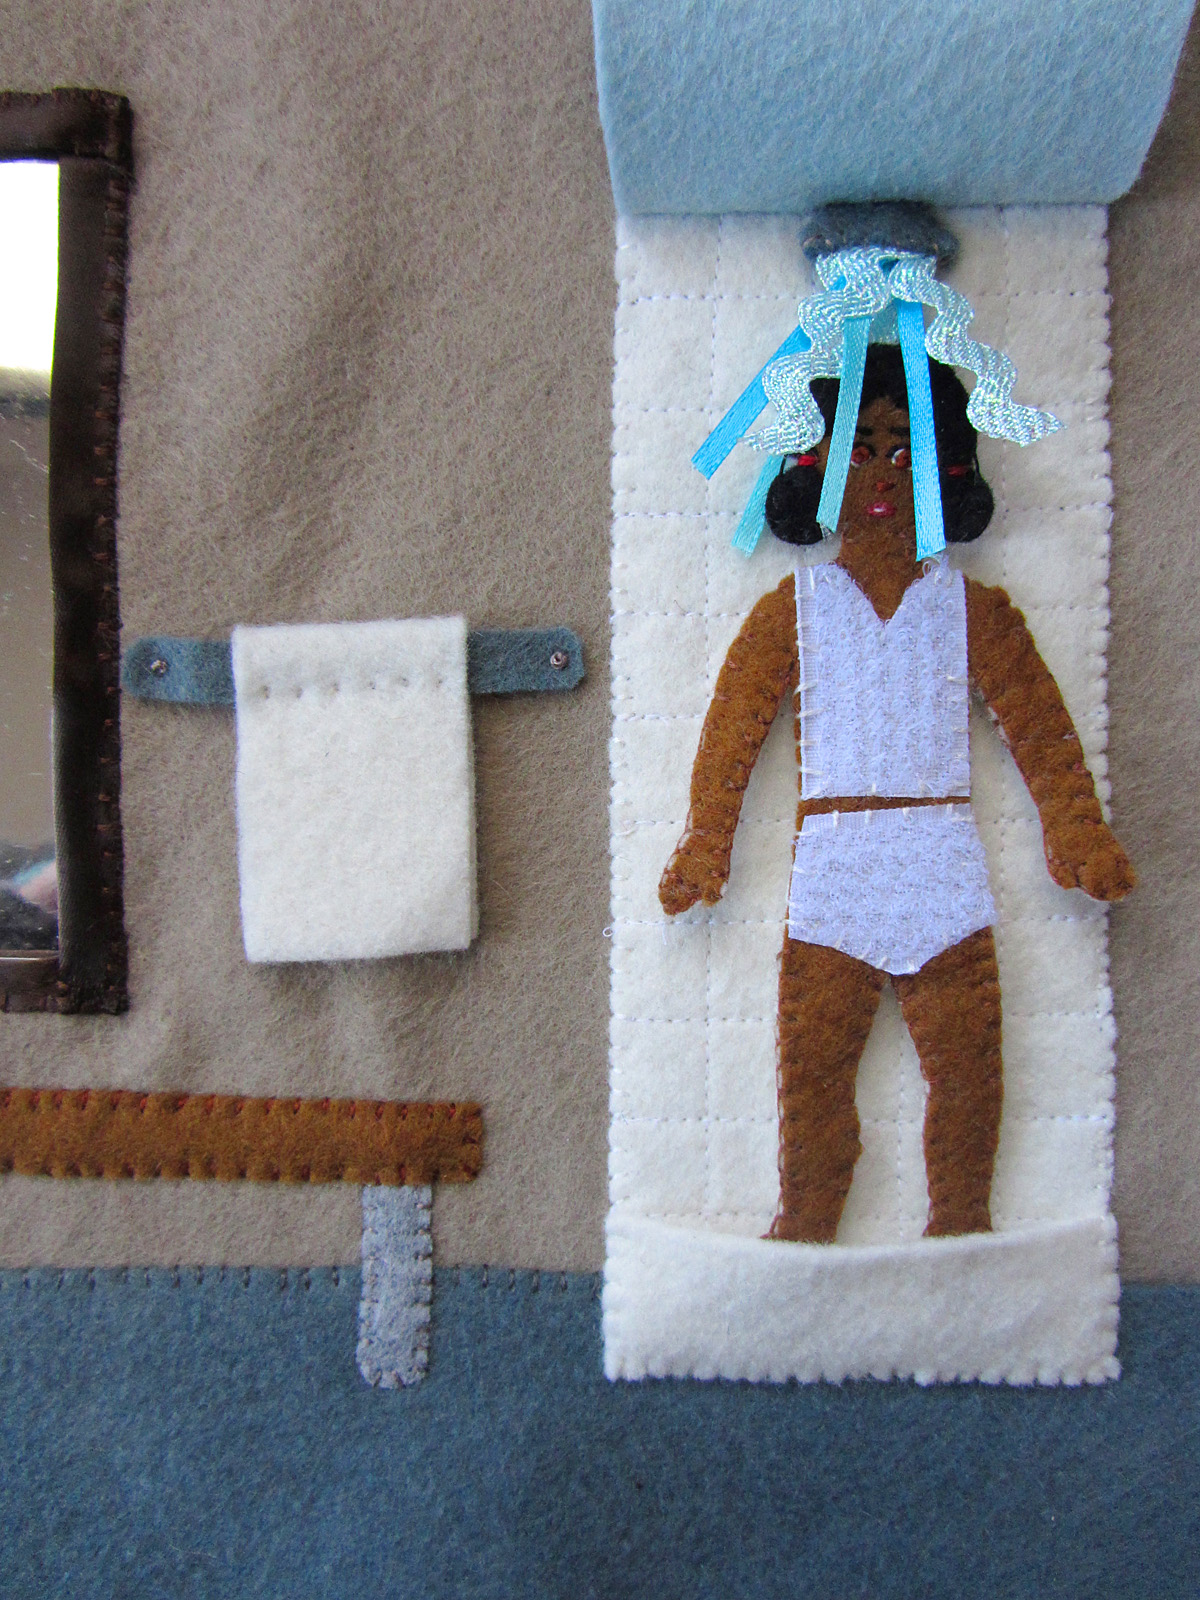
I made the shower head by folding some scraps of aqua blue ric-rac and ribbon and stitching them together at the fold. Then I layered the fold between the two shower head felt pieces and sewed around the edges. I sewed it to the center top of the shower and sewed the shower curtain on along the top.
 Garage: The garage side of the spread is very simple. I sewed the sides of the clear vinyl pocket onto the wall, then sewed the shelf down along the bottom. The shelf holds any equipment that isn’t being used. Each piece of equipment has a snap on the back so you can mix and match what is on the fire engine.
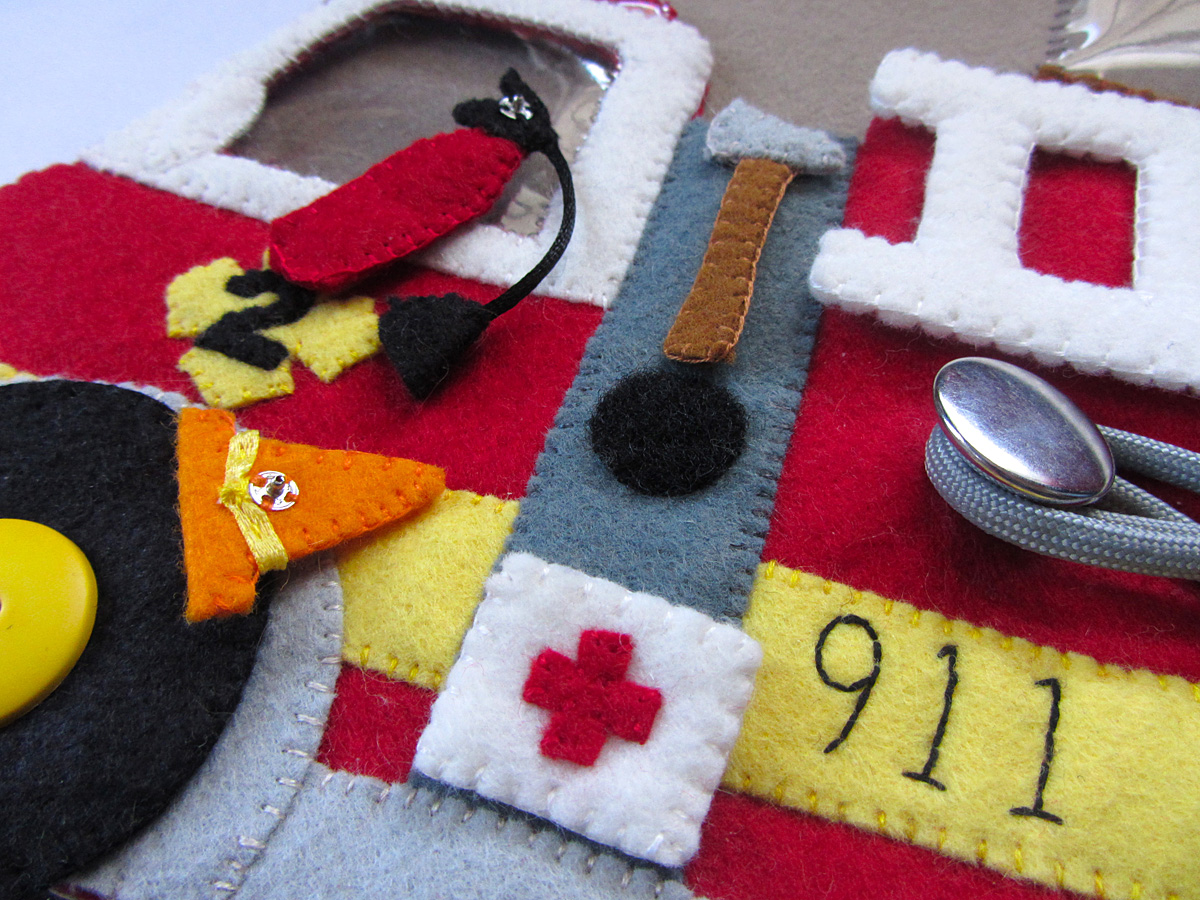
Equipment: For the instructions on how to sew the safety cone and the axe, see the Fire Engine tutorial.
Fire Extinguisher: I started by sewing a snap to the back of the extinguisher body (making sure I used the side that would fit into the fire truck.) I sewed the front and back together. I took a scrap of black satin cord and sewed through one end of it to attach my thread. I layered the funnel piece over the end and sewed it securely to the cord before sewed the sides closed. I left the mouth of the funnel open. I repeated that with the other side of the cord and the handle of the extiguisher, attaching it to the top of the body.
First Aid Kit: I sewed a snap to the back and the cross to the front, then sewed both sides together.
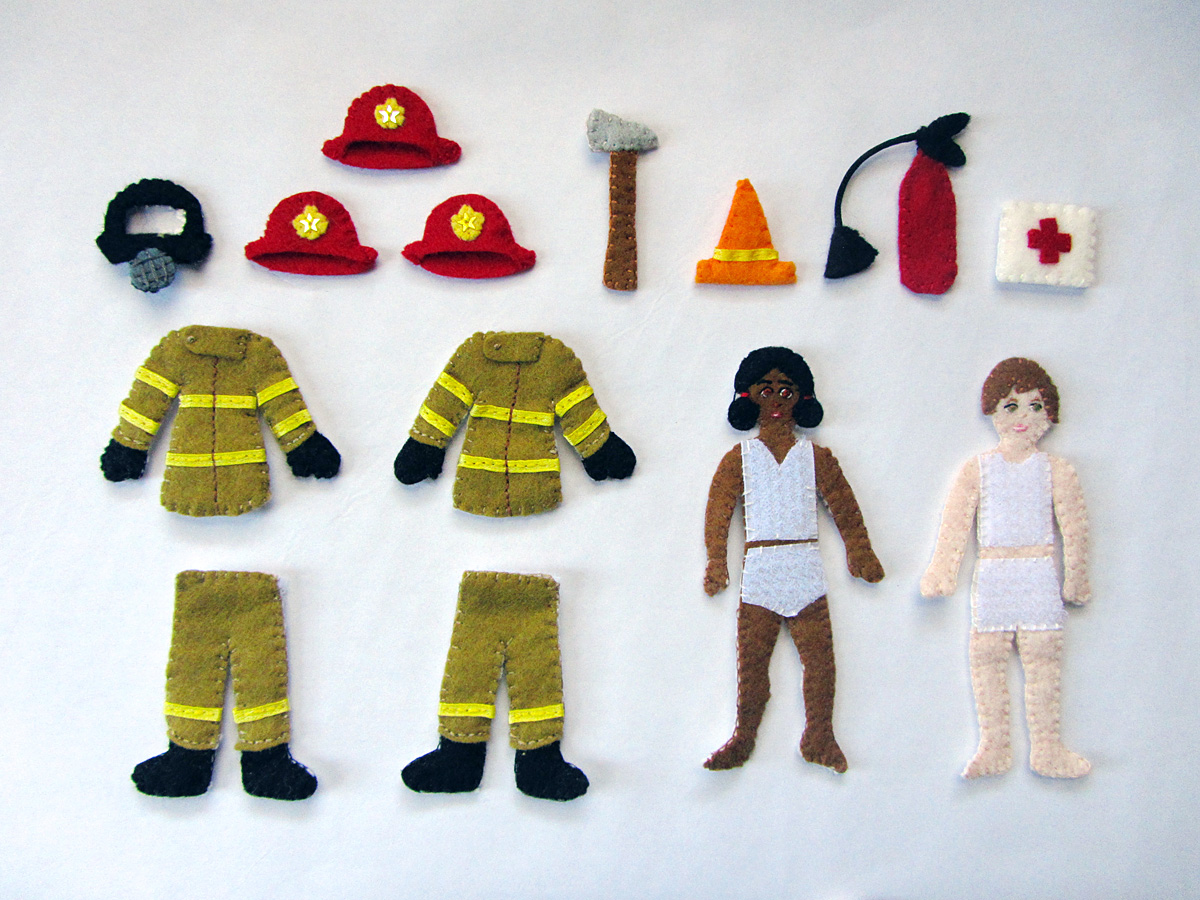
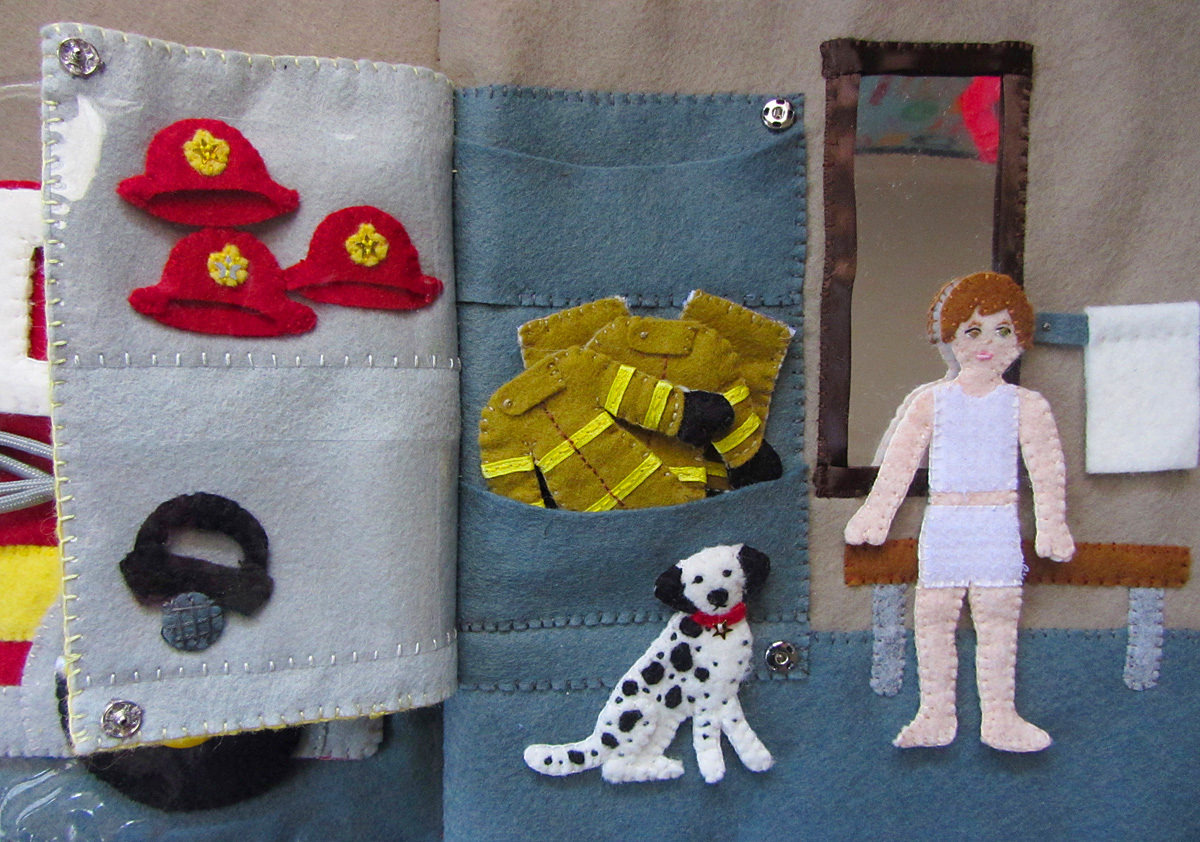
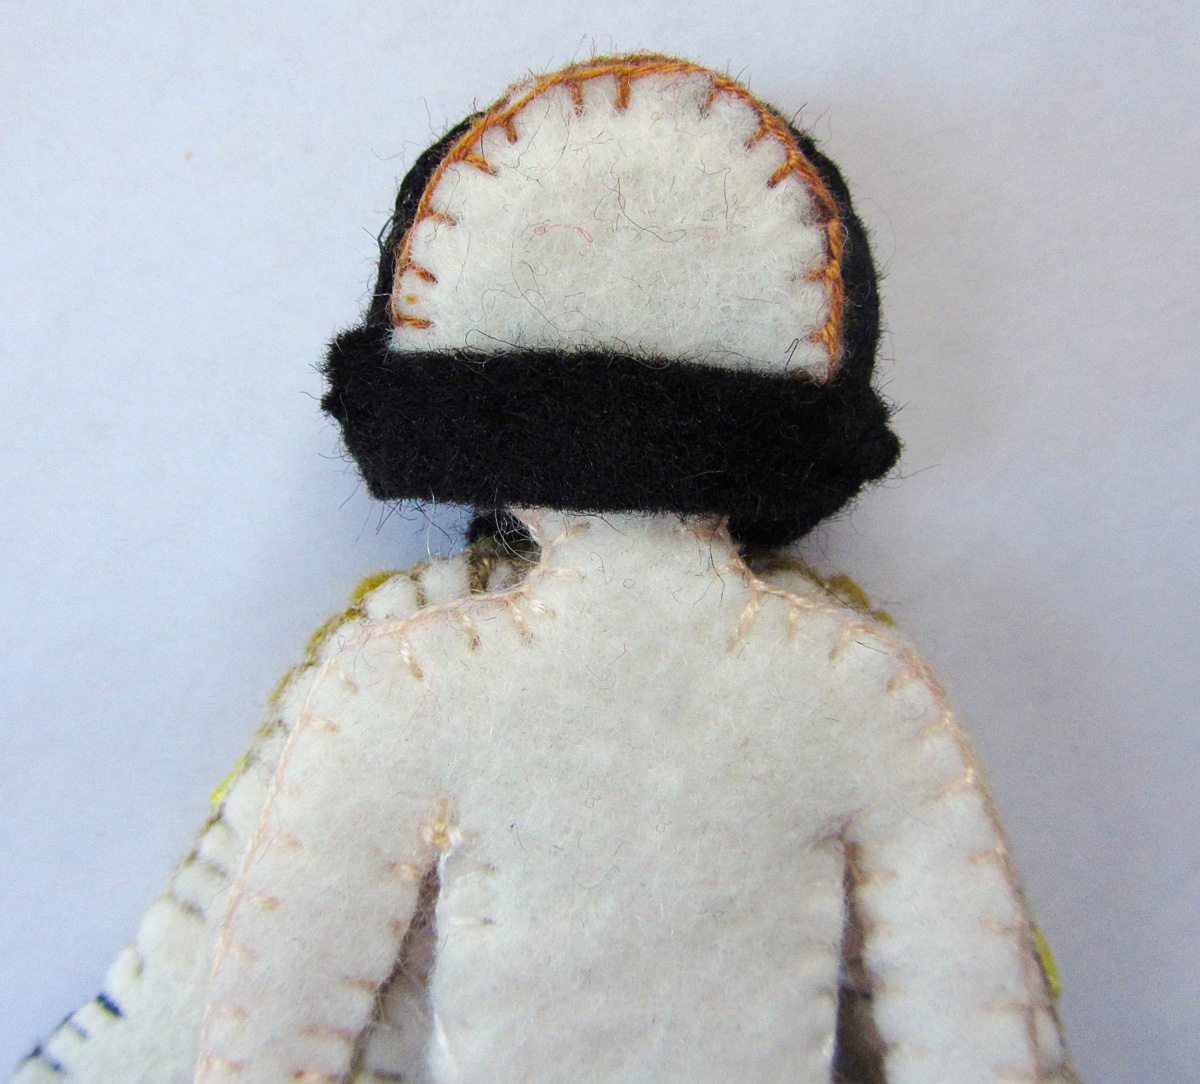
Dolls: For the instructions on how to sew the dolls, see the Dollhouse tutorial. I didn’t include a pattern for the undies. For those, I just cut little V’s or U’s out of a piece of Velcro to make the necks of their shirts, then cut the sides of the shorts to fit their hips.
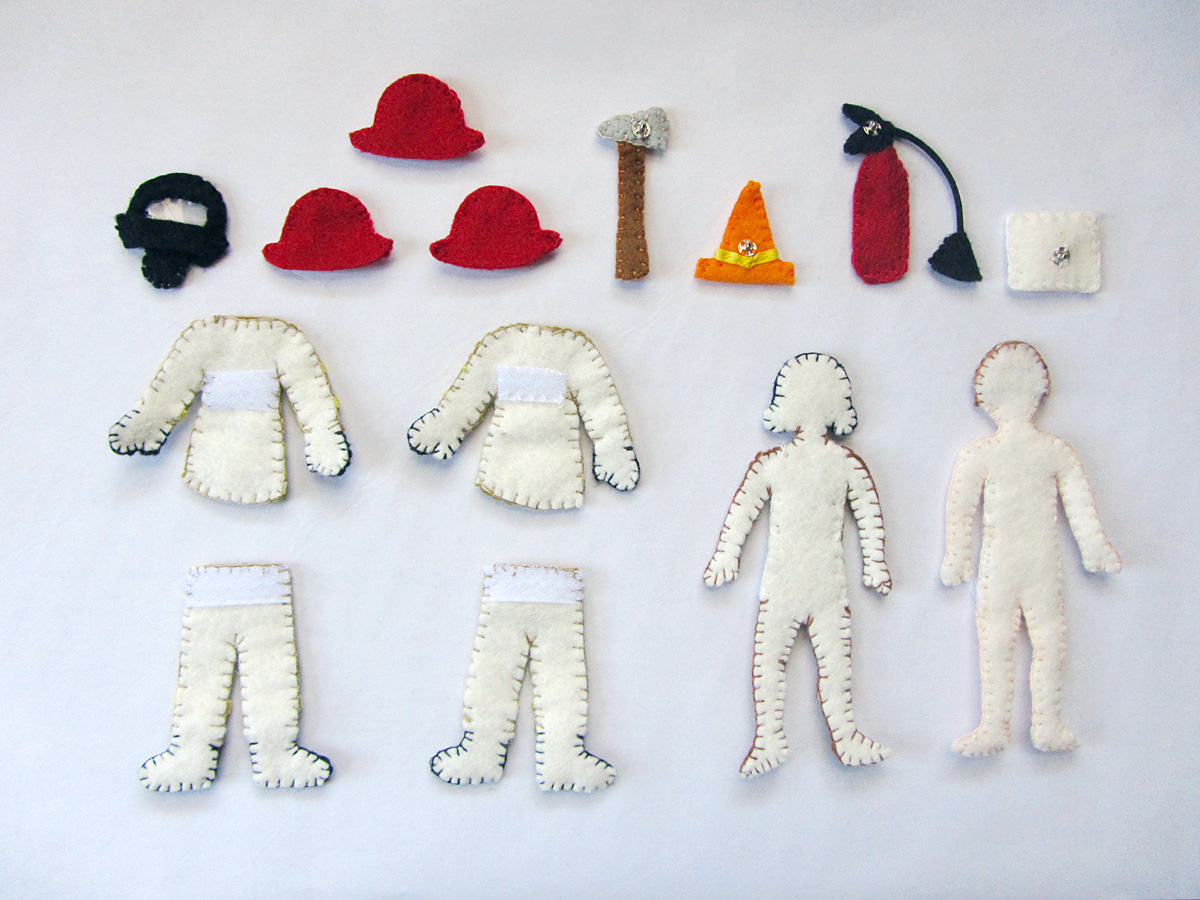
Protective Uniform: I started the uniform pieces by stitching the yellow ribbon on as the safety stripes (see above photo for placement.) I sewed a line of brown back stitch to make the front opening, then sewed the collar on with a few stitches on the right and a French knot on the left. I stitched the gloves and boots in place with more back stitch, then laid the tops and bottoms down on white felt and cut out backing pieces. Before I sewed the backings on, I added some of the snag-free Velcro to hold them onto the dolls.
Fire Helmets: I started by sewed the yellow felt emblem onto the front of the hat with a gold sequin star on top. I then sewed the back on along the top edge of the hat.
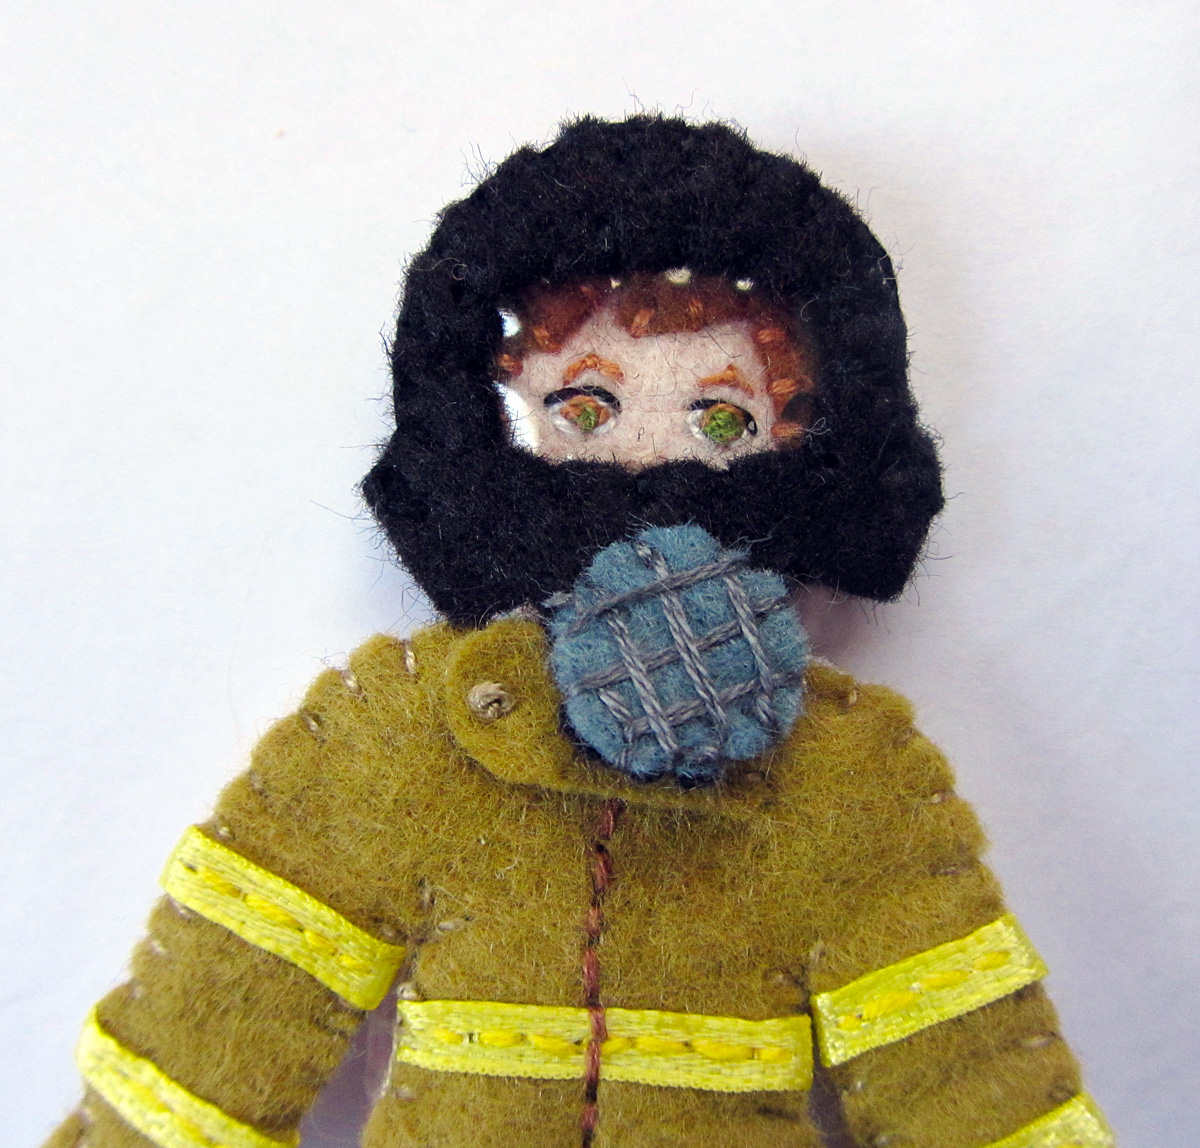
Ventilation Mask/Breathing Apparatus: I started by sewing a scrap of clear vinyl to the back of the face mask opening. I then sewed the gray circle onto the bottom of the front and added crisscrossed stitches to make it look like mesh. I sewed the back on along the outer/top curve of the mask so the dolls’ head can slip through the strap in the back.
That’s it! Now your little fire fighters are ready to go fight some fires!
Stay tuned for to upcoming parts of this series: the kitchen, the office, the bunk room, the building exterior/cover and a bonus building on fire!
Stop by the Facebook page to say hi and follow along as I post my progress pictures! I’ll be working on another MLP plush for my niece, then finishing up the kitchen and office pages.
THANKS! You are so clever and awesome to share these with us
Love it! So much detail in all your tutorials. i can’t wait to see the rest of this series, I will definitely be trying to replicate this one! (trying – I am no where near as skilled as you are)
Oh my gosh I love this so much!! I love the detail in your work. So great!
Awesome! I love the closet idea. I’m totally stealing it for the dress up doll page for my girls. Thanks. You never cease to amaze me.
Amazing! The attention to detail is just awesome.
I just finished my fire truck and was going to attach it to the background but I noticed a couple of things I wasn’t sure of. I noticed there was plastic over the fire truck on the background page. Is that a pocket that the fire truck fits inside? As I typed this I had an ah-ha moment that it probably is a pocket so the fire truck can be taken out and played with but can you let me know if I am going the right direction?
Yes! Though I only made the fire engine one sided, it is free from the book with pockets for the dolls to ride in. The garage is a big vinyl pocket for it to park in. Also keeps the hose Velcro from snagging.
Absolutely amazing! I’m sure you’ve been asked this before, but do you sell these quiet books? I’m a preschool teacher and my kids would adore them!! I wish I could sew!
You are amazing! I am making a book for my grandson.( superheros) but your book will be next on my list(if I can find the time, hee , hee). Thank you for all the great ideas.
I just stumbled across your quiet books by chance on Pinterest and they are amazing! You’ve done an incredible job and thanks so much for sharing your crafts! 🙂
I love this! Going to try to make it for my grandson for Christmas. Did you make the firetruck smaller to fit in the garage? It looks like if I make it as printed, it will be too long to fit.