Back when I started homeschooling Jax, we chose a letter and number a week to focus on. He was super excited to learn, but every day turned into a struggle. He couldn’t focus, no matter how fun things seemed. He was dying to learn, but it almost seemed like he was just too young at just under 3yo.
I stepped back and switched to unschooling while I did a lot of reading and research. The unschooling was enlightening. I let his interests lead the way and turned them into teachable moments. He learned more than he did during our two months of traditional homeschooling! However, the things he was asking to learn – spelling, addition/subtraction – were tricky to teach a 3yo who wasn’t mentally ready for abstract concepts.
-
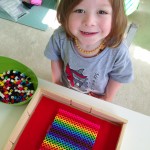
- Practical Life: pincher grip practice with perler beads
-

- Language: objects’ letter sounds
-
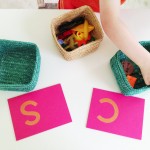
- Language: start sounds with letters
-
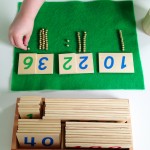
- Mathmatics: counting with golden beads
-
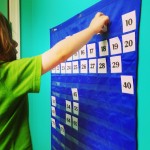
- Mathmatics: hundred chart
-
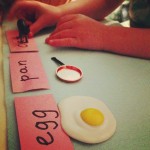
- Language: objects’ letter sounds
This lead me to Montessori. All I’d known about it was that Montessori schools let the children go at their own pace. What I discovered after researching, is that Montessori allows a young child (3-6yo is when academics really start) to start learning right away by using concrete materials, then gradually moving to the abstract. For example, using beads to introduce the concept of quantity, or having tactile “sandpaper letters” that a child can feel and experience when being introduced to letter forms and their sounds. They also focus a lot on practical life activities that set a child up to handle daily tasks and improve their manual dexterity – needed to move into the early stages of writing.
We’ve only been formally using Montessori for about a month, but I did switch my teaching methods to match up as soon as it looked like the right fit for Jax. Thanks to Jax’s generous aunt and uncle, he was gifted much of the language materials he’ll need over the next year or two. And, I’ve been hard at work doing DIY projects to get some of our other materials together.

 Sensorial
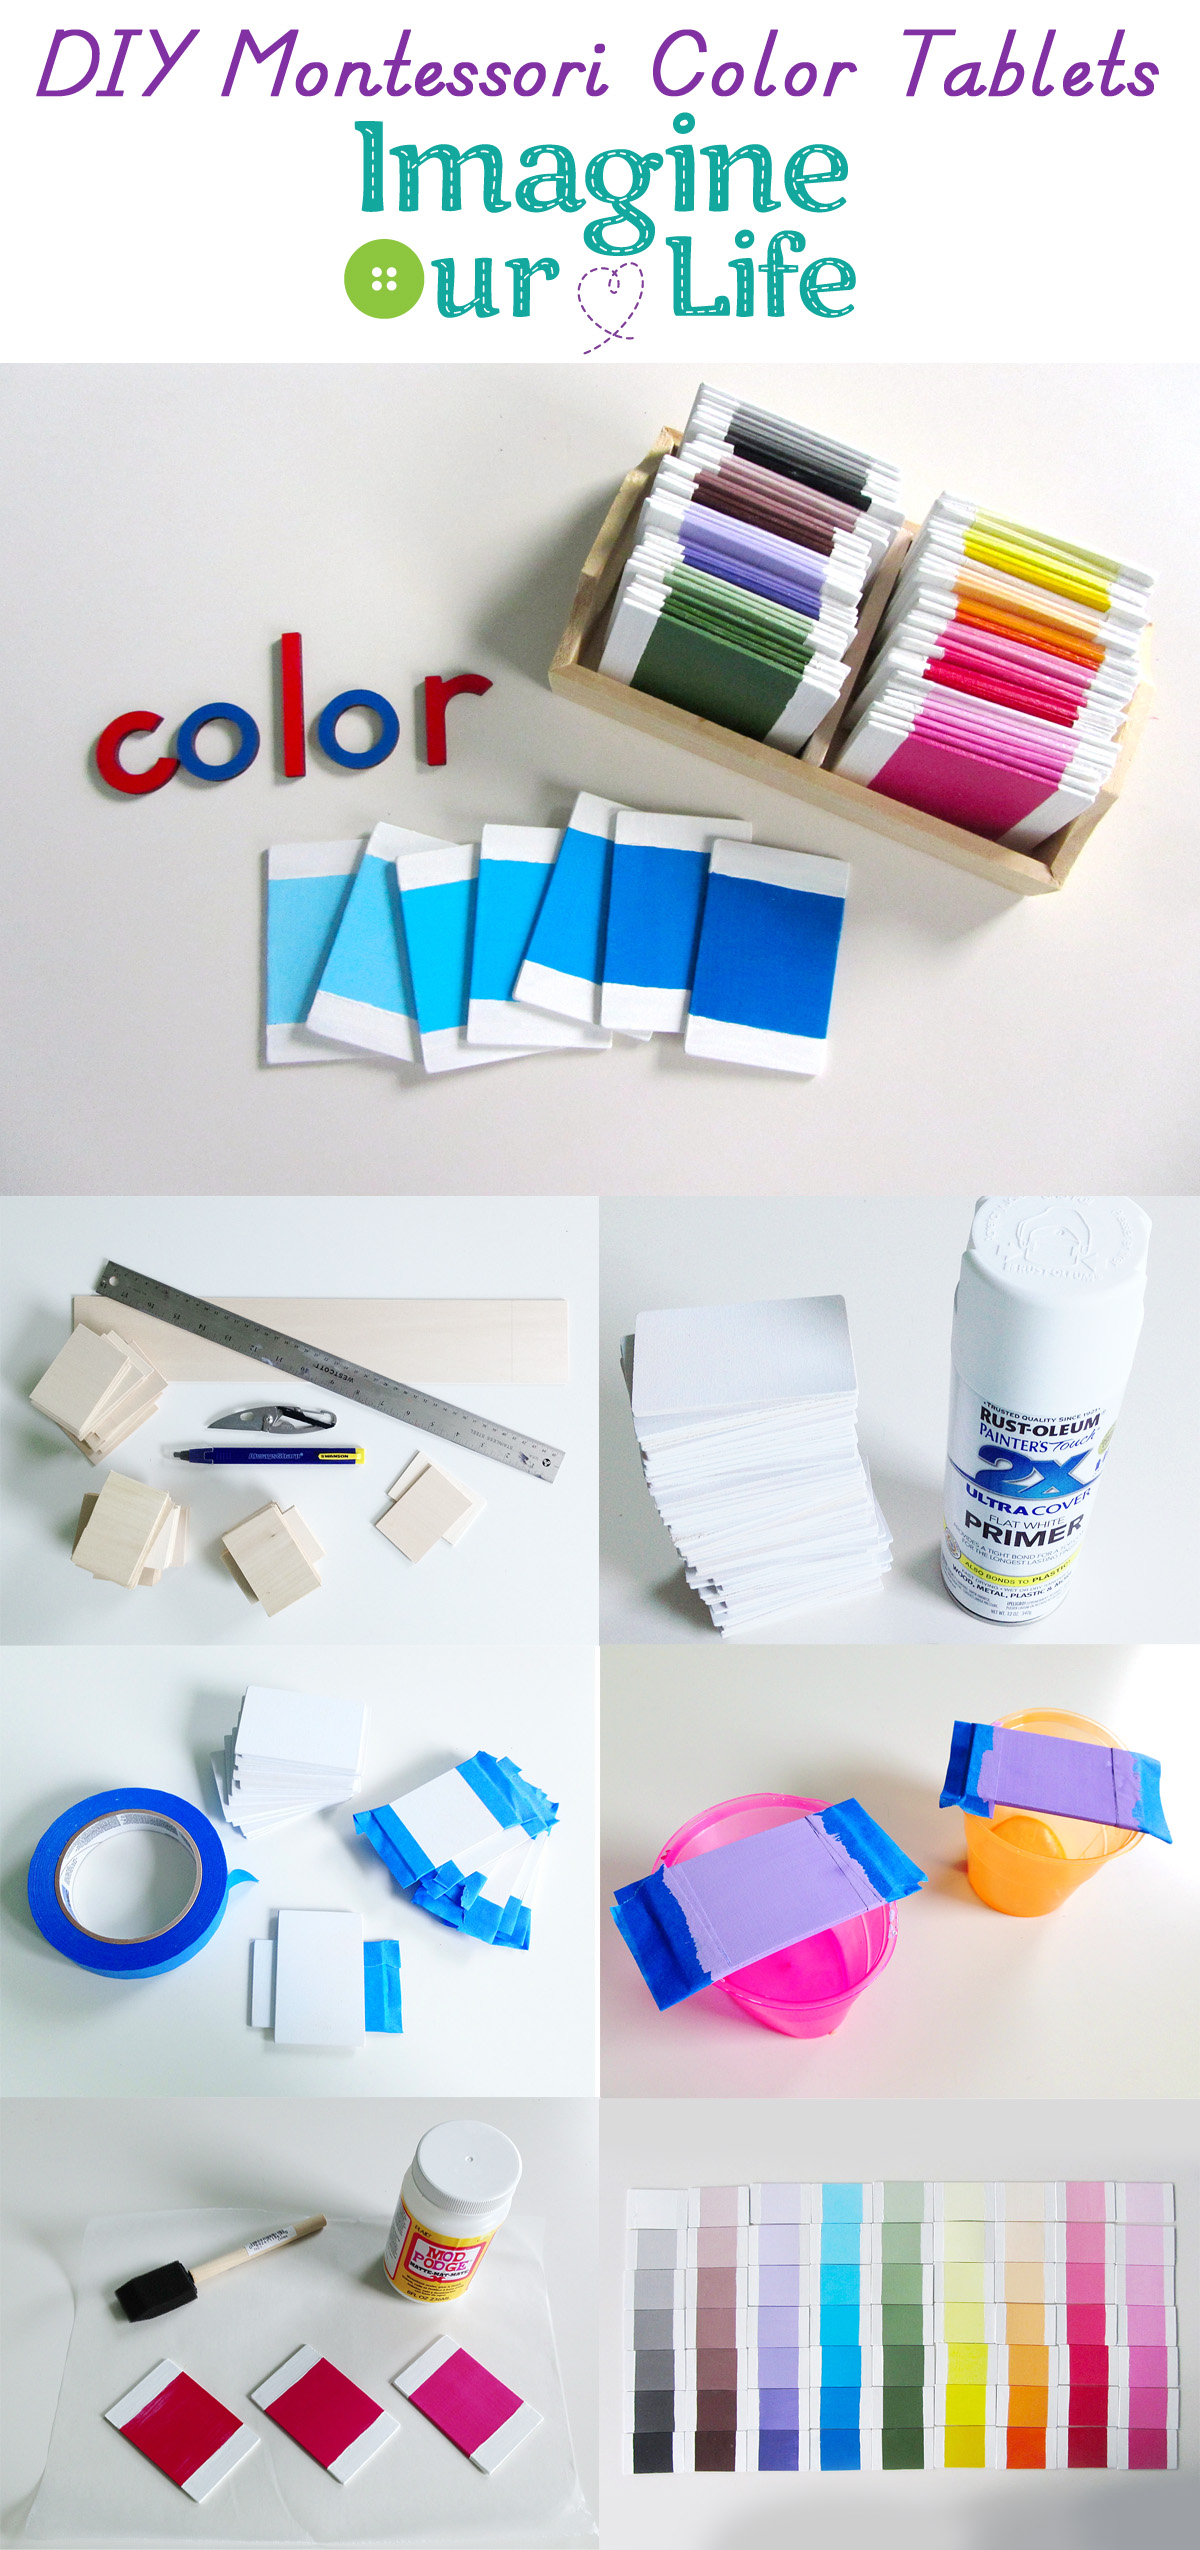
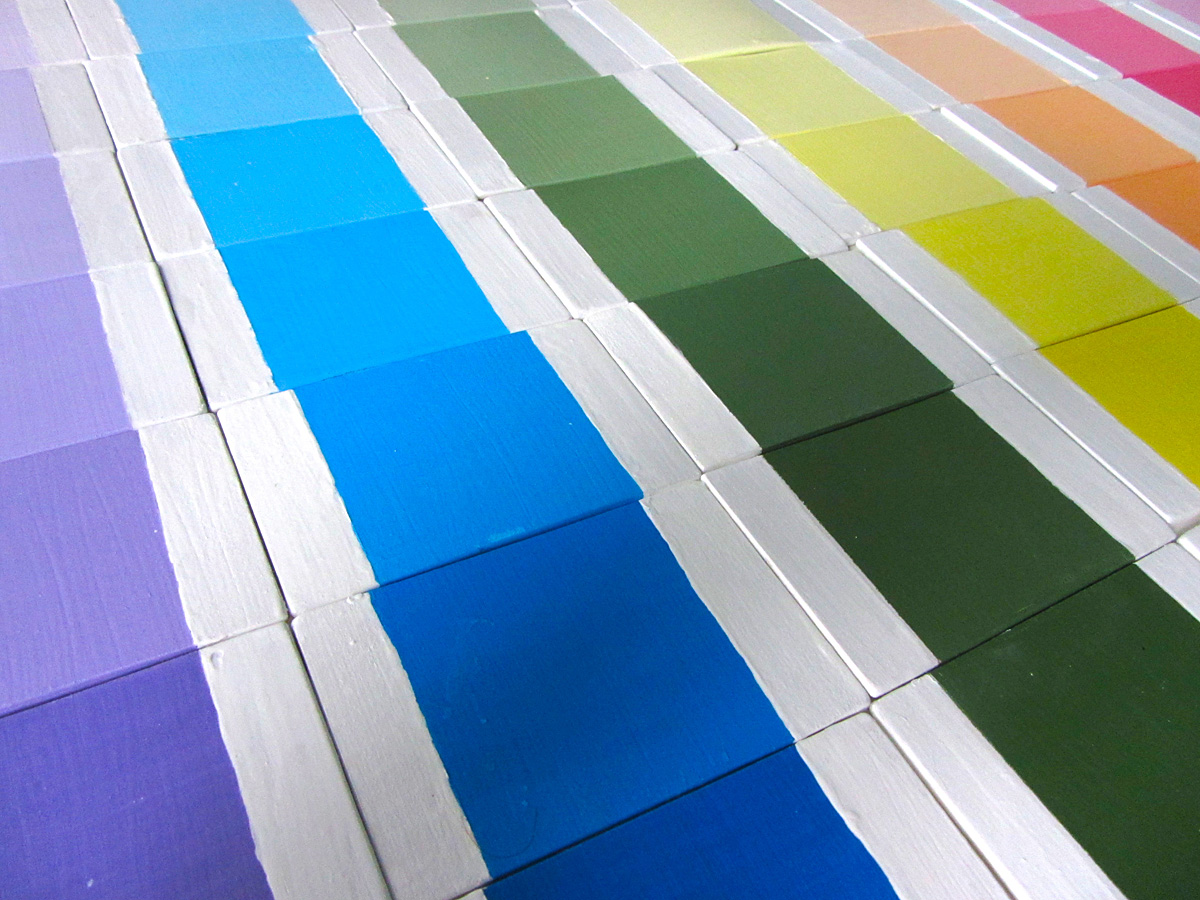
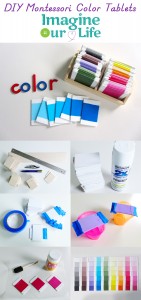
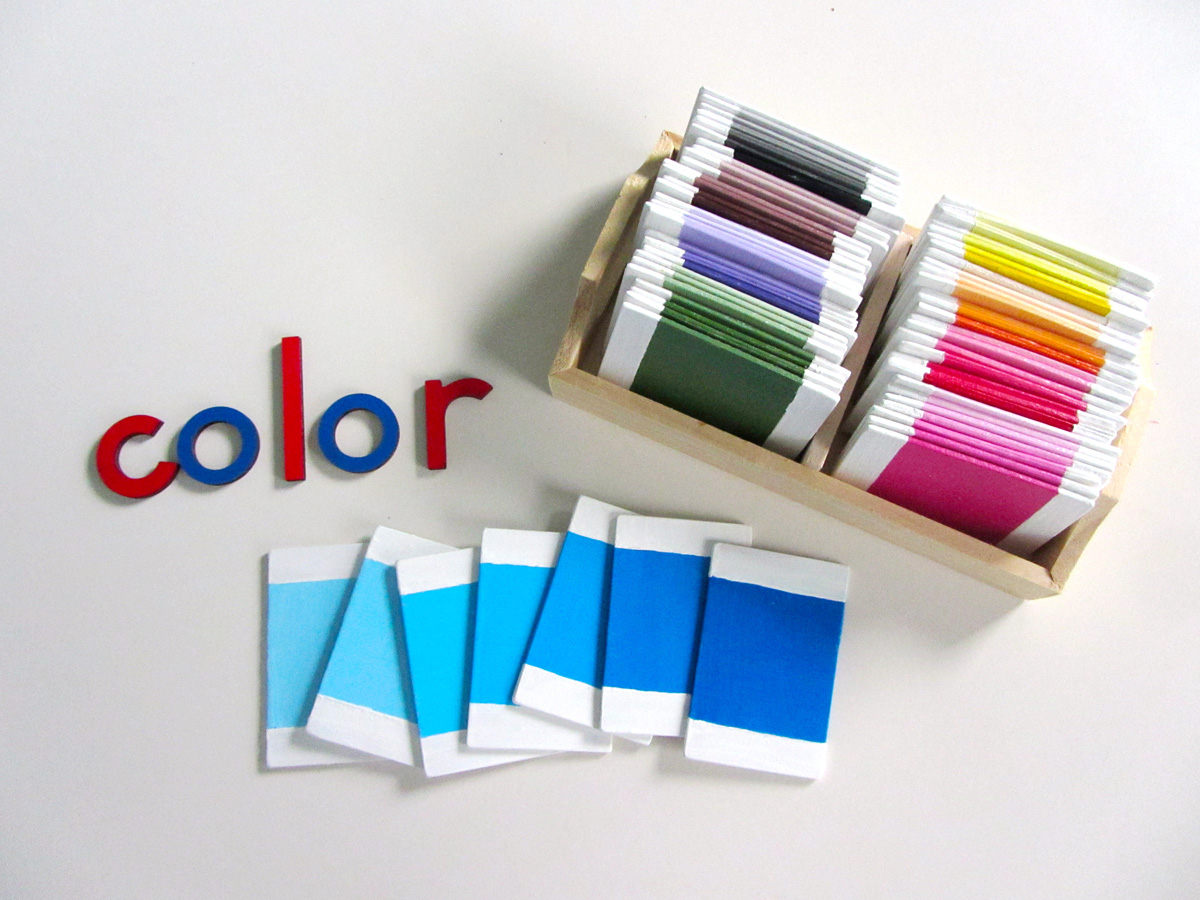
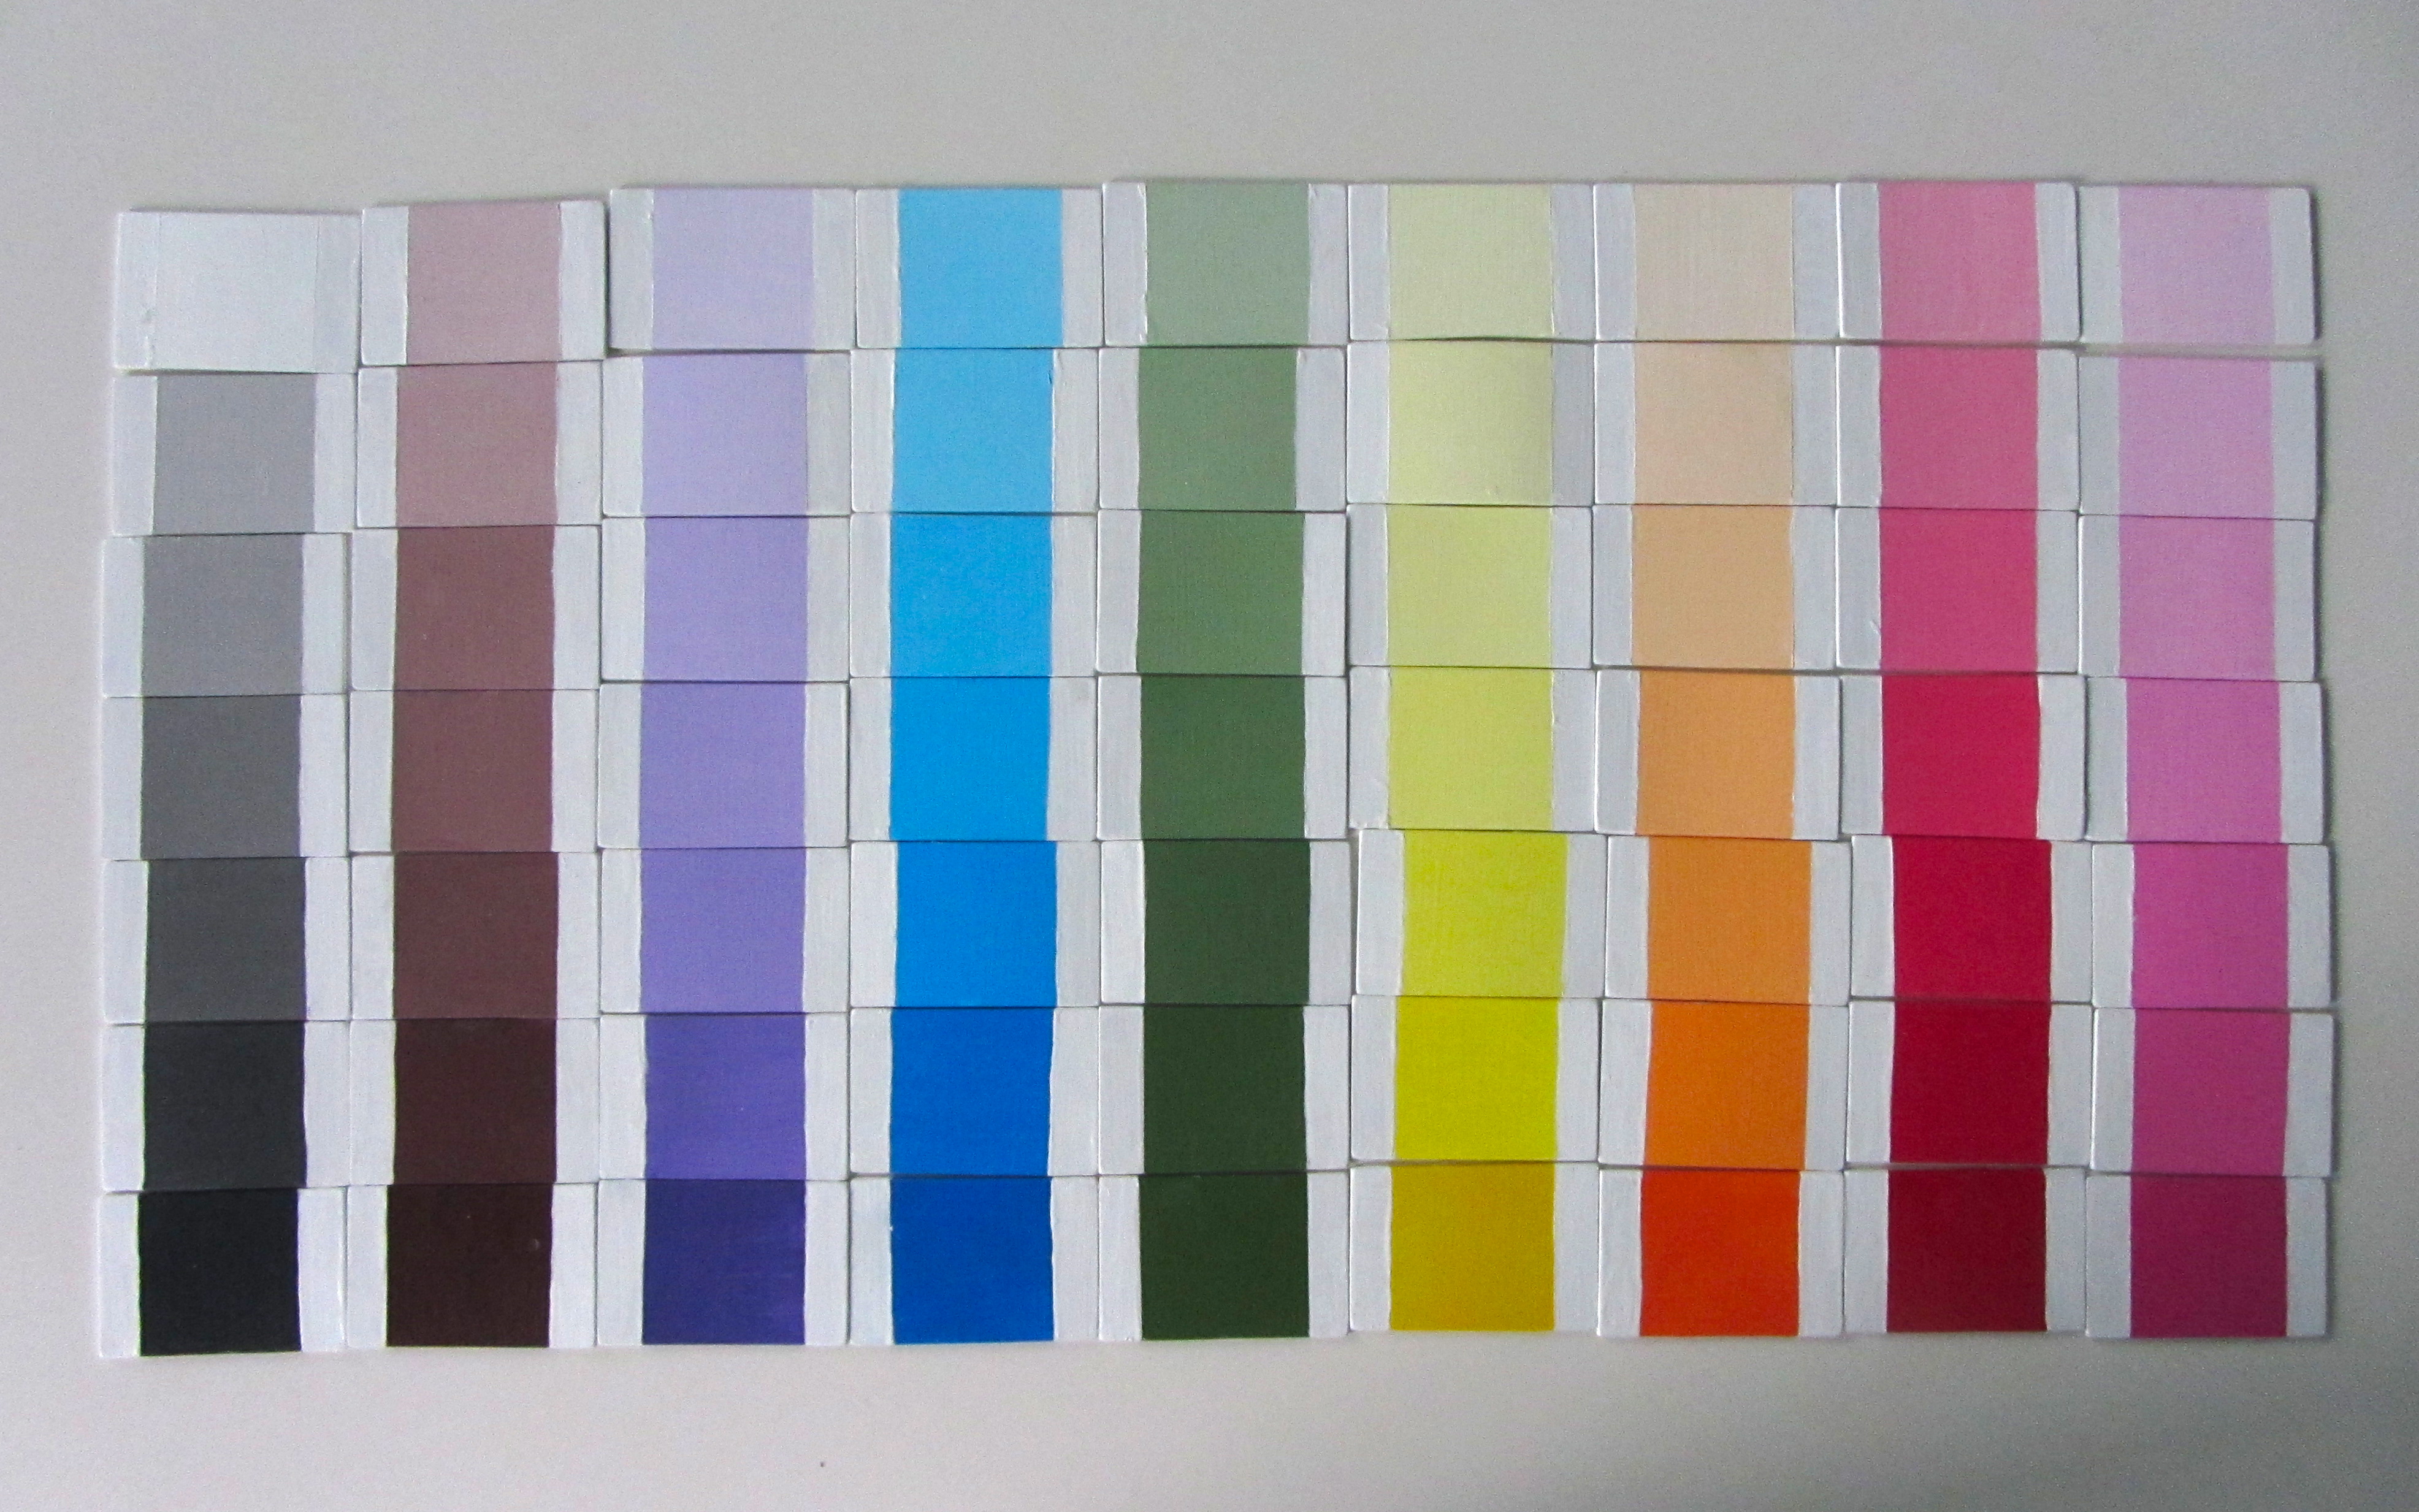
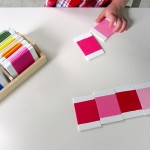
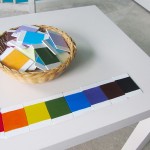
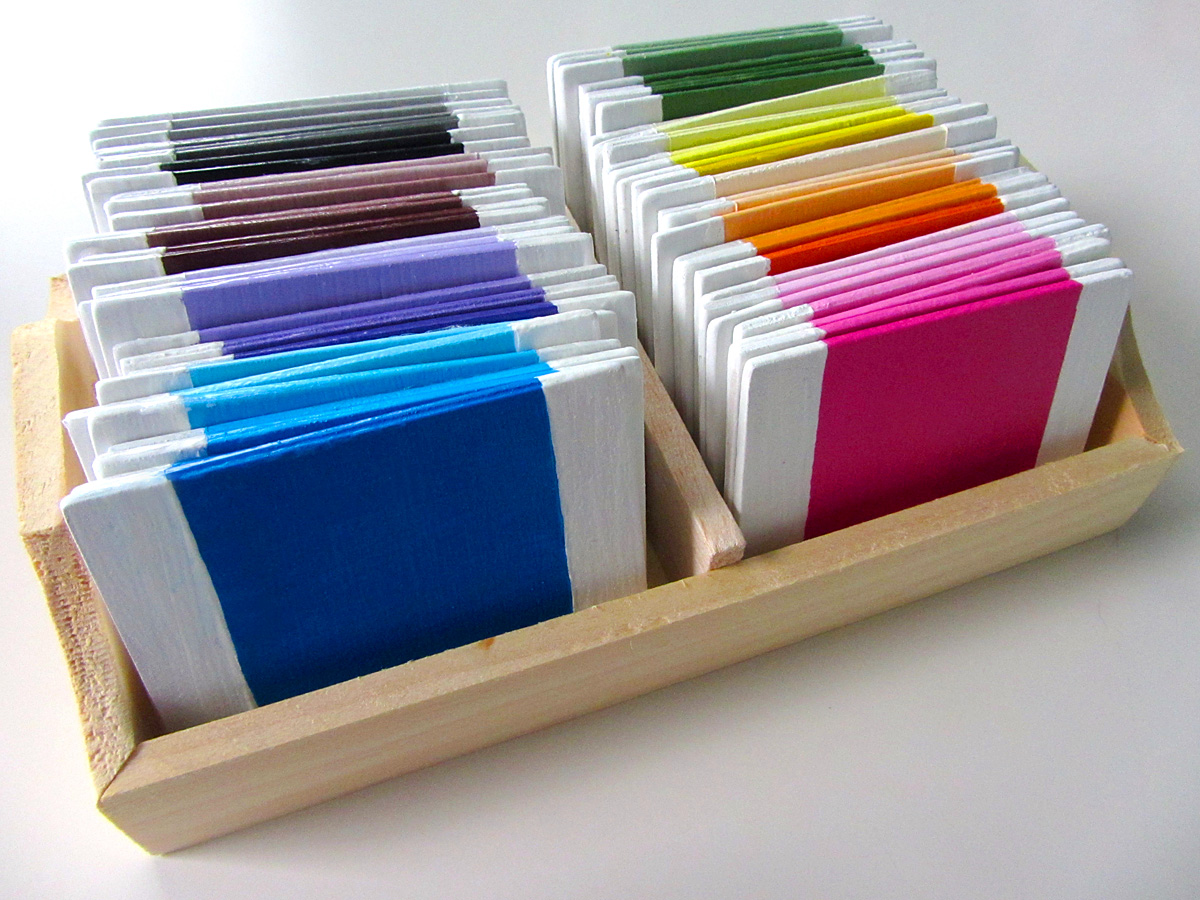
Montessori encourages children to work with their senses – activities called “Sensorial“. These might include sound boxes, activities involving tastes or smells, or this project: color tablets. There are three sets of Montessori color tablets. The first introduce the basic concept of colors, and the second works to teach colors and matching. Jax has aced these concepts through other activities, so we are coming in on the final box.
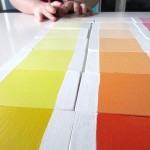
I am doing the traditional Montessori “color box 3” which is always 7 shades of 9 colors. It teaches the color spectrum, as well as dark/light and discerning subtle differences. This translates to a better grasp on comparisons/differences, patterns and visual acuity that helps with language and math later on.
There are many activities you can do with color tablets:
- Sort them from lightest to darkest
- Play ispy with objects around the room
- Sort buttons/objects to match the color tablets
- Compare them at a distance (a child has to fetch a lighter/darker tablet from across the room, without having the original with him to compare)
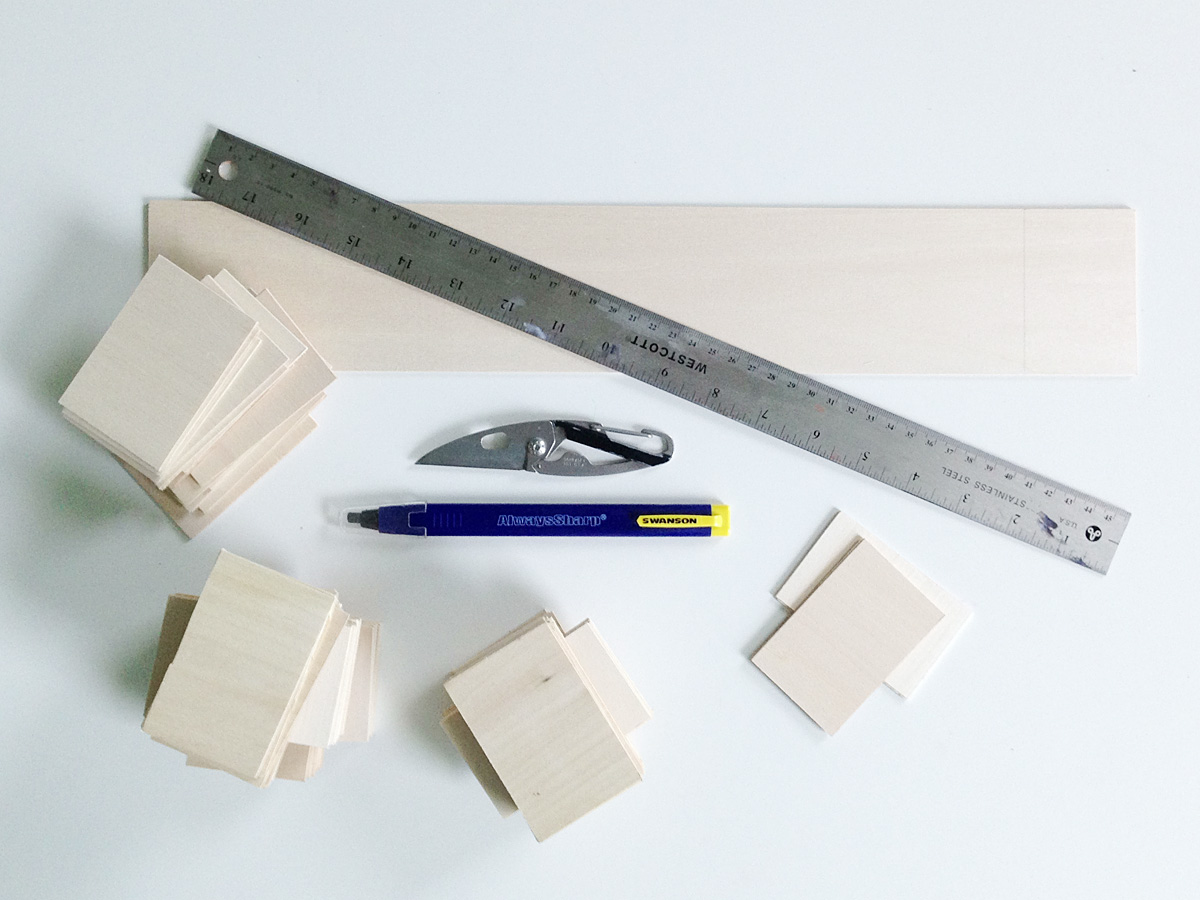
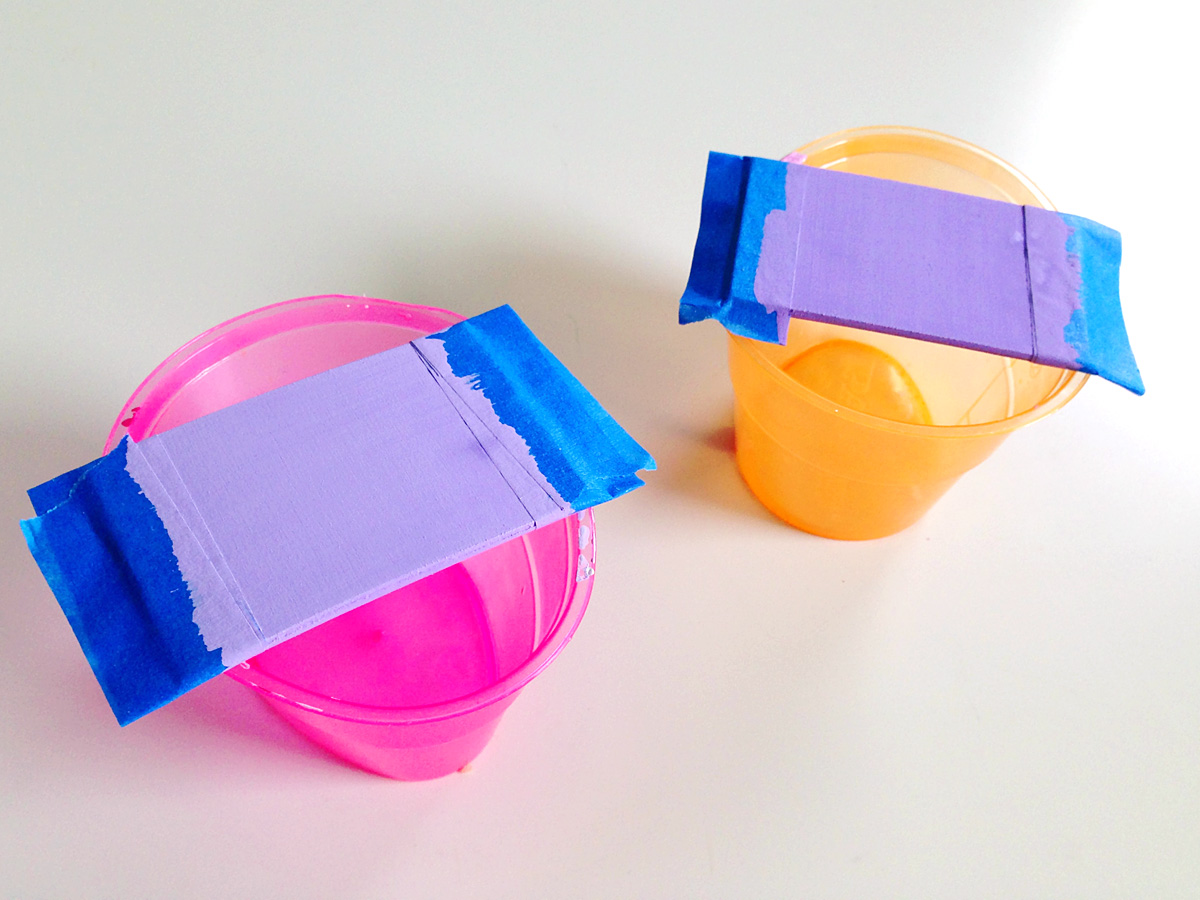
To make our DIY Montessori color tablets, I bought 6 pieces of balsa wood from the craft store, each were 3″ x 24″ x 3/32″. Using a ruler, pencil and a utility knife, I scored 2″ wide rectangles on both sides, then gently snapped them apart. I made 63 total.
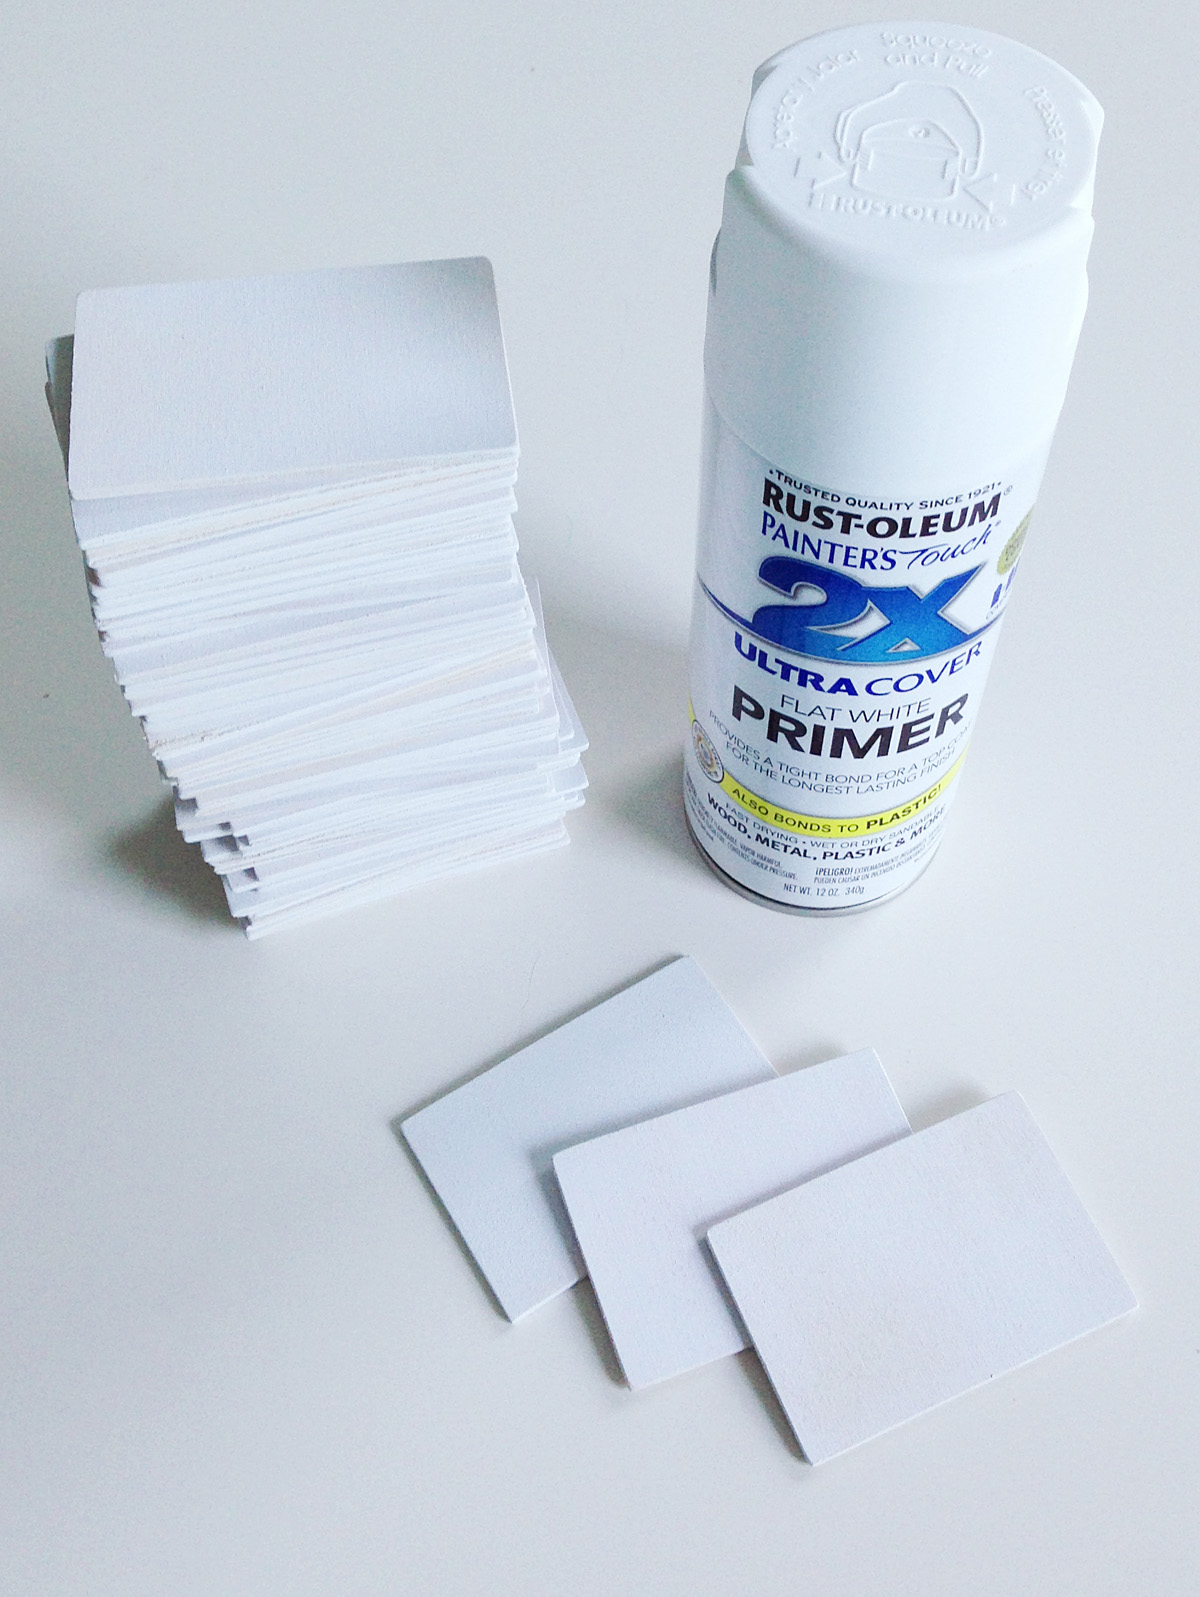
I sanded them down (tedious!) and sprayed them with primer.
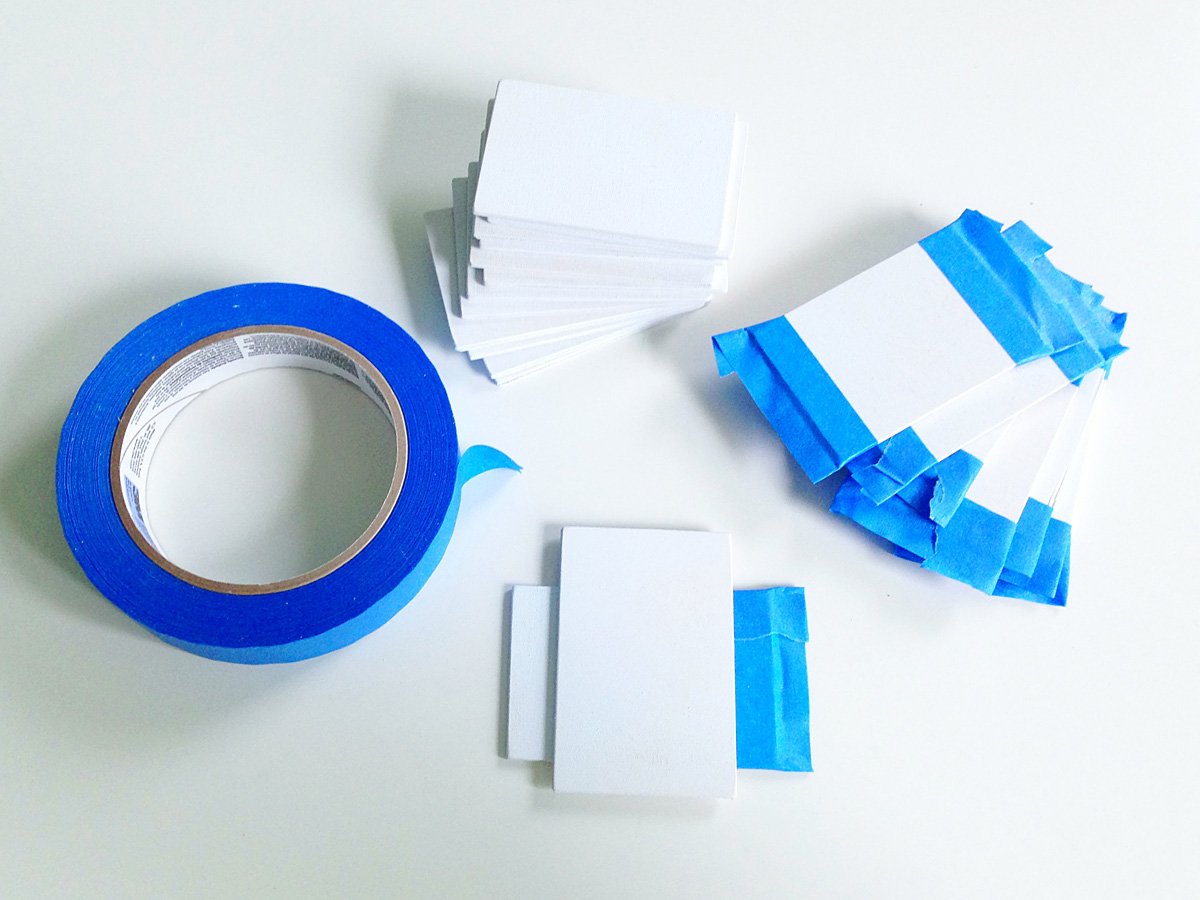
Using the 2″ wide tablets as a guide, I taped off the edges of each tablet. Traditionally early Montessori tablets were made of silk thread, so there were white edges to grasp so students didn’t stain the threads. The uniform look of the white edges help to isolate the quality (color) that the tablets are focusing on. Isolation of quality is big in Montessori materials.
I painted the tablets, doing one color at a time. I mostly started with the darkest color – straight from the bottle or tube, then added white in increasing levels. For some of the lighter shades I started with white and added drops of color. I mostly used craft paints to save money, but I did find that the color seeped under the tape. On the tablets I used my expensive artists’ acrylics I had no seepage. Since the next step was to remove the tape and paint the edges white, I wasn’t too concerned. I was happy to use the less expensive paint.
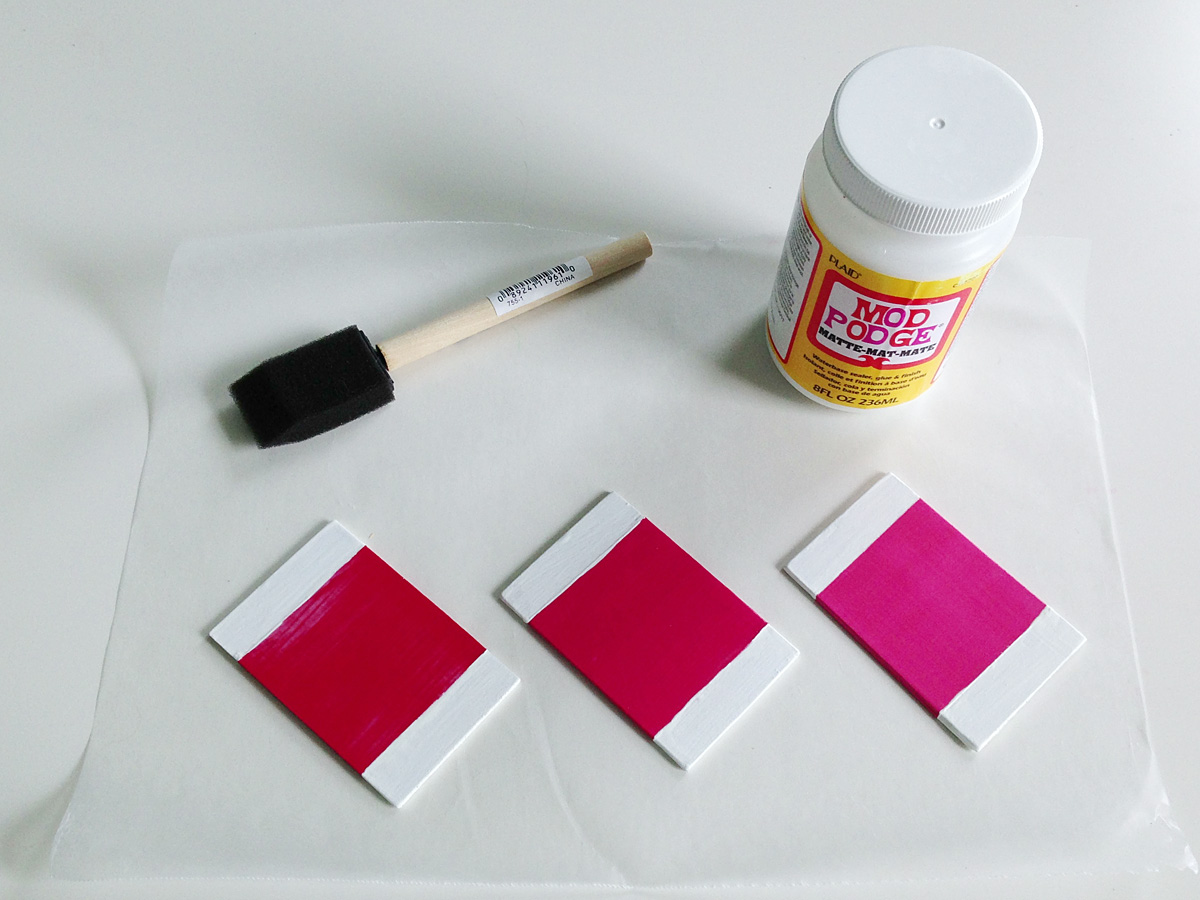
Once the colors and edges were painted and dry, I used matte Mod Podge to seal them. I chose matte because I didn’t want the shiny glare of gloss to make discerning the shades more difficult. I figured I could always add a second coat with gloss if I didn’t like the matte, but the matte is actually the perfect level of shine for me.
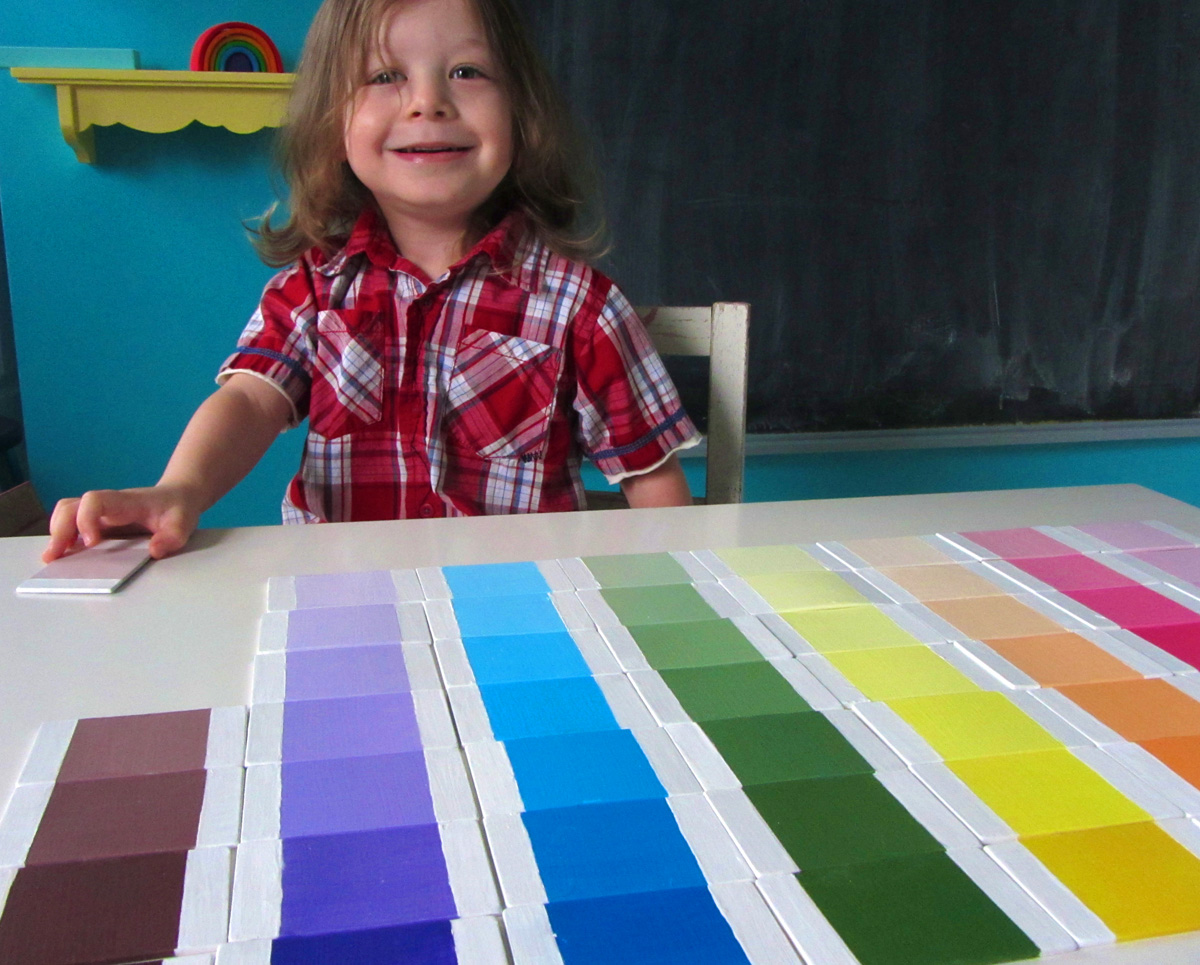
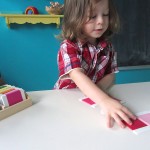
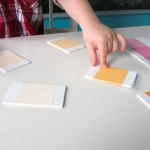
Jax’s first presentation of the color tablets went well! He knew instinctively which colors were lighter and darker. When he focused, he could correct his own errors. He also enjoyed making patterns of light/dark/light/dark. He is a rainbow lover, so anything with rainbow colors to order makes him happy.
While I only had him grade two colors mixed up so far, we did work together to lay them all out for a photo. He helped me correct any mistakes and was so proud of the finished work!
This project was simple to do, just tedious due to there being 63 tablets. I need to get a better box for them eventually, but we’ll just keep them mixed up in a basket for now.

Check out the Montessori Monday link up for more ideas!

These are fantastic! Thanks so much for sharing!
In addition to Monday Kid Corner Weekly Linky Party, this week’s theme is WATER. Brush off those archives and link them up at http://thejennyevolution.com/category/linky-parties/monday-kid-corner/ See you there! Jennifer
Hi Stephanie,
I just wanted to thank you for this post. I have recreated it for my little one (a much more simplified version – http://formylittlemonster.blogspot.com.au/2013/06/2-free-activities-you-can-create-for.html ) and have written a blog post about it – and credited you of course 🙂
thanks again!
These look just amazing!!!!
Thank you for sharing!!!
Pingback: Montessori Materials for 2-4 Years Old - Mama's Happy Hive
Pingback: List of Montessori Sensorial Materials for Ages 2.5 to 6.5 Years Old