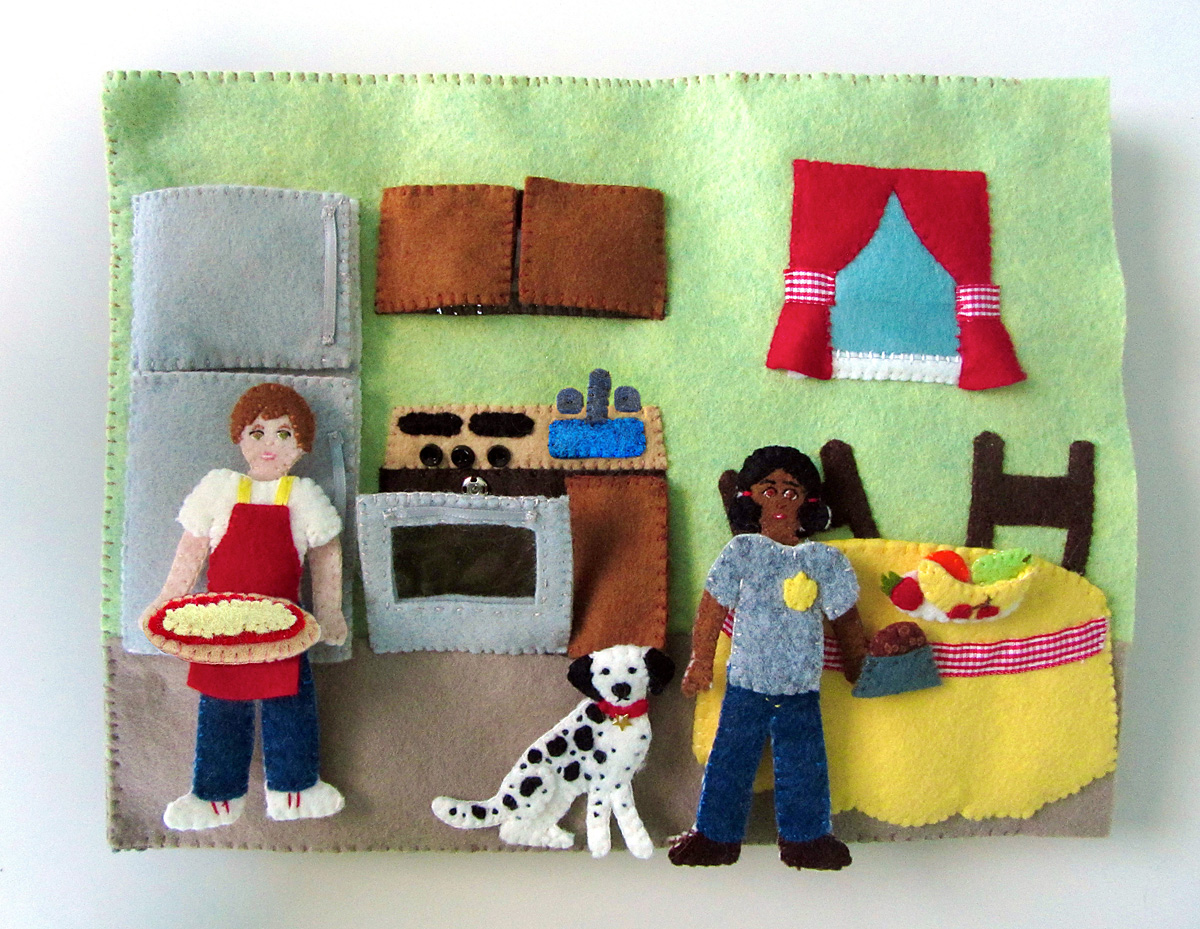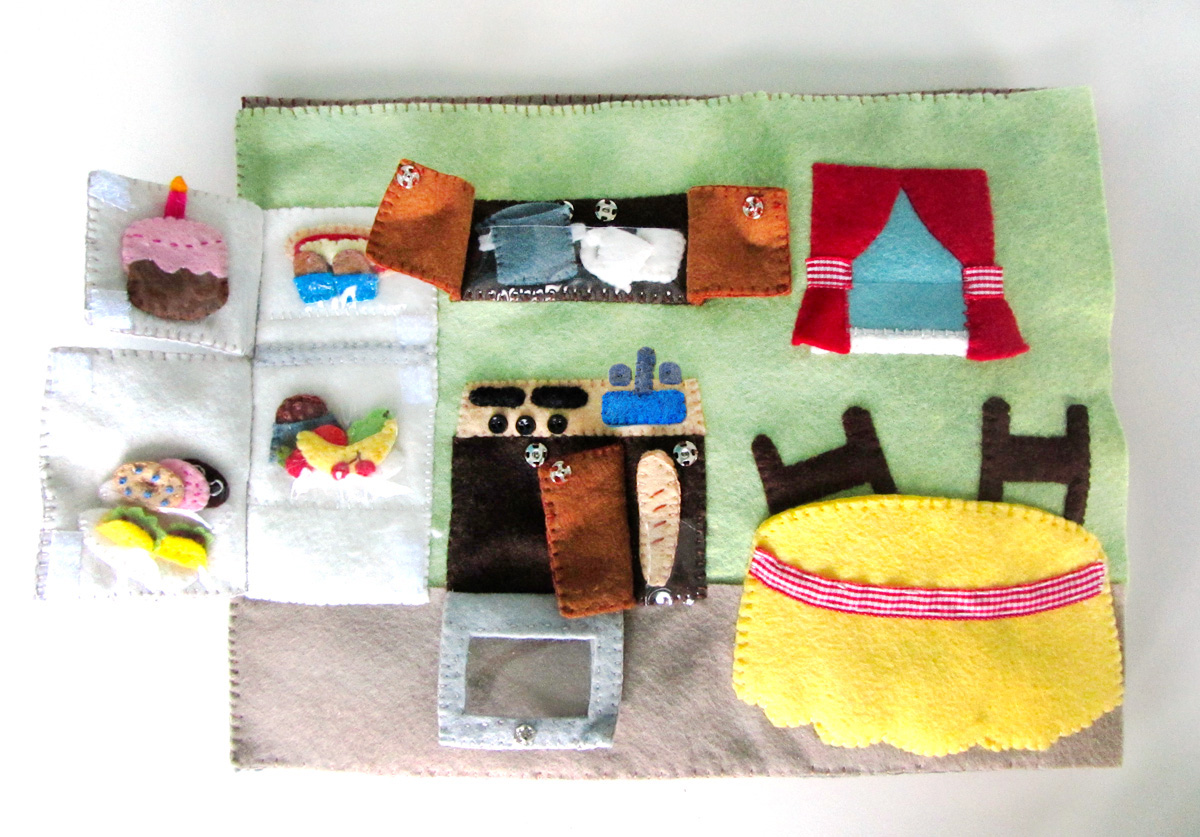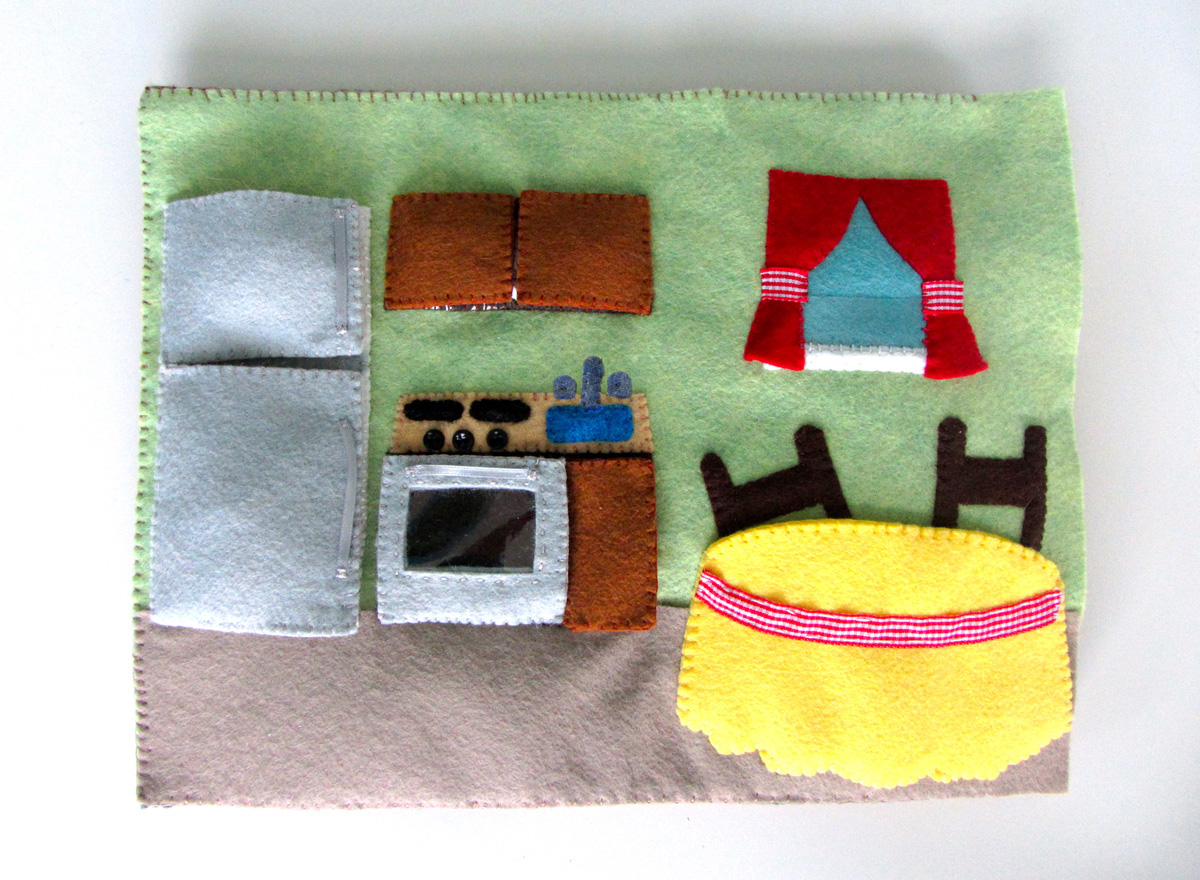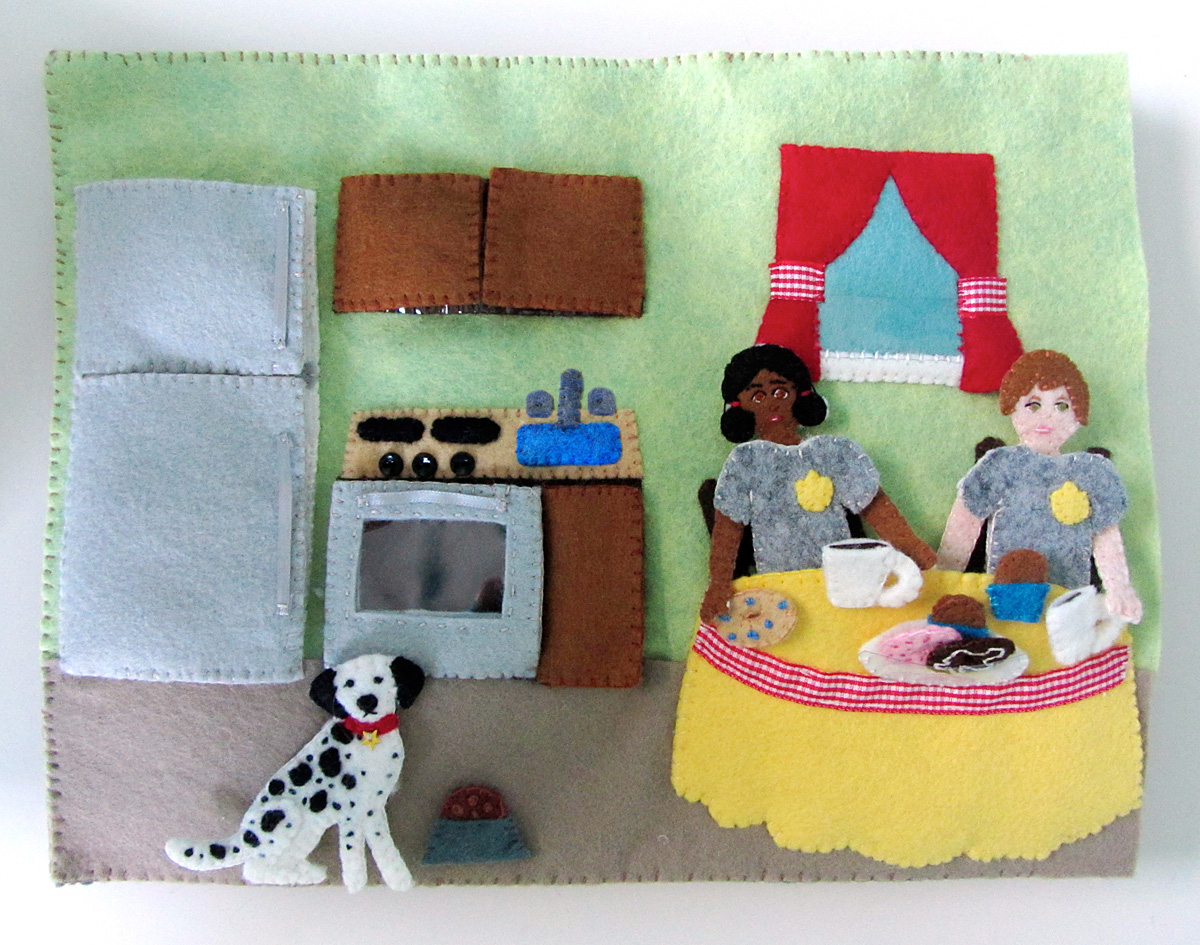
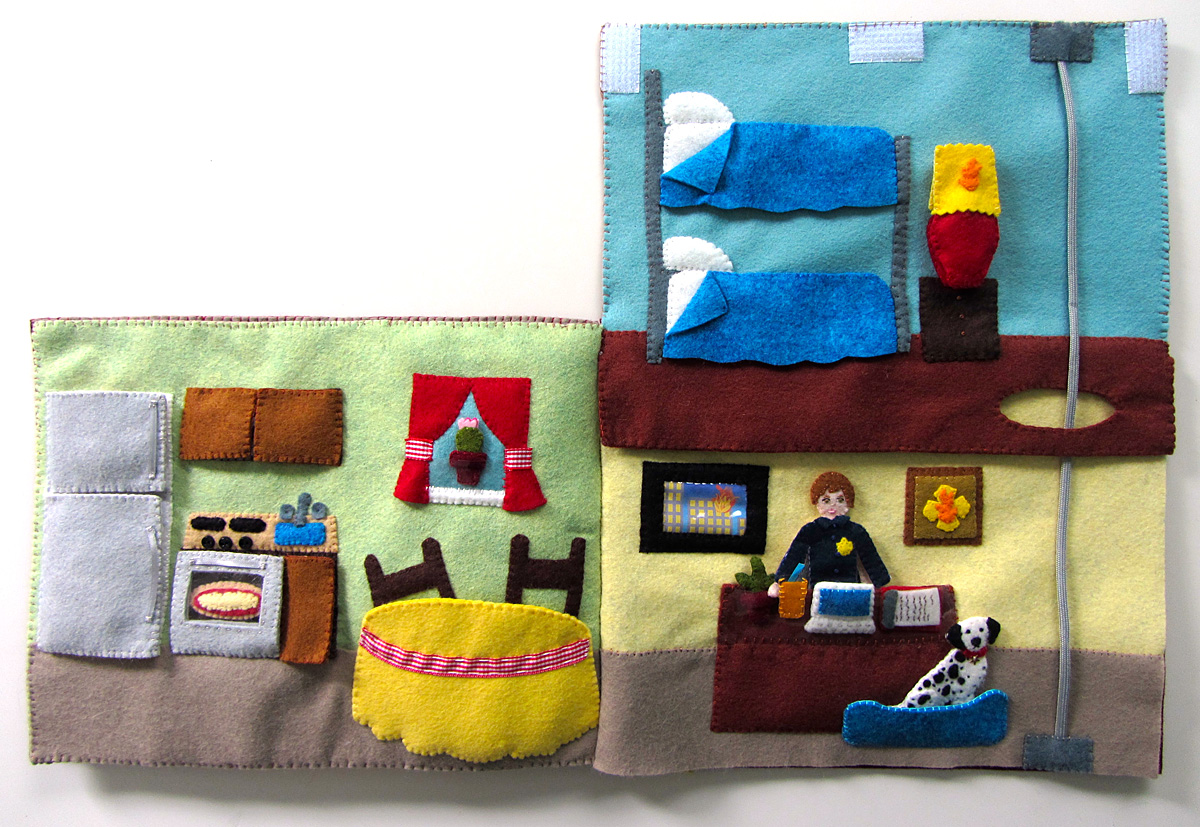
This fire station project will be a full stand-alone quiet book, just like the dollhouse book, but using full size 9″ x 12″ sheets of felt for each page. The fire fighters are made from the same pattern as the dollhouse dolls, so they will be interchangeable. To see the other sections of the project, go here: Felt Fire Station – Fire Truck & Dalmatian, Felt Fire Station – Garage & Locker Room and Felt Fire Station – Kitchen.
This tutorial is for the fourth interior page of the fire station – the office – plus the inside of the roof flap – the bedroom! Fire stations simply have to have a fire pole to slide down, so I knew I needed a second level. I realized the inside of the roof flap that closes the book would be perfect!
What I Used:
- The Pattern
- Felt from American Felt & Craft (in white, ice, sunshine, monkey, chai, pool party, elephant, wild blueberry, black, doe, chocolate, big apple, banana cream pie,)
- Additional Felt Scraps (in cilantro, pink tutu, orange juice, beet, spanish olive, and hot pink.)
- Gray Parachute Cord
- Clear Vinyl
- Snag-Free Velcro (in white)
- 1/8″ Wide Ribbon Scraps (in turquoise
)
- Photo fabric
- Mini LED Key Chain Light
(optional)
- Pinking Shears
- Velcro (in red) (optional)
- Fray Check
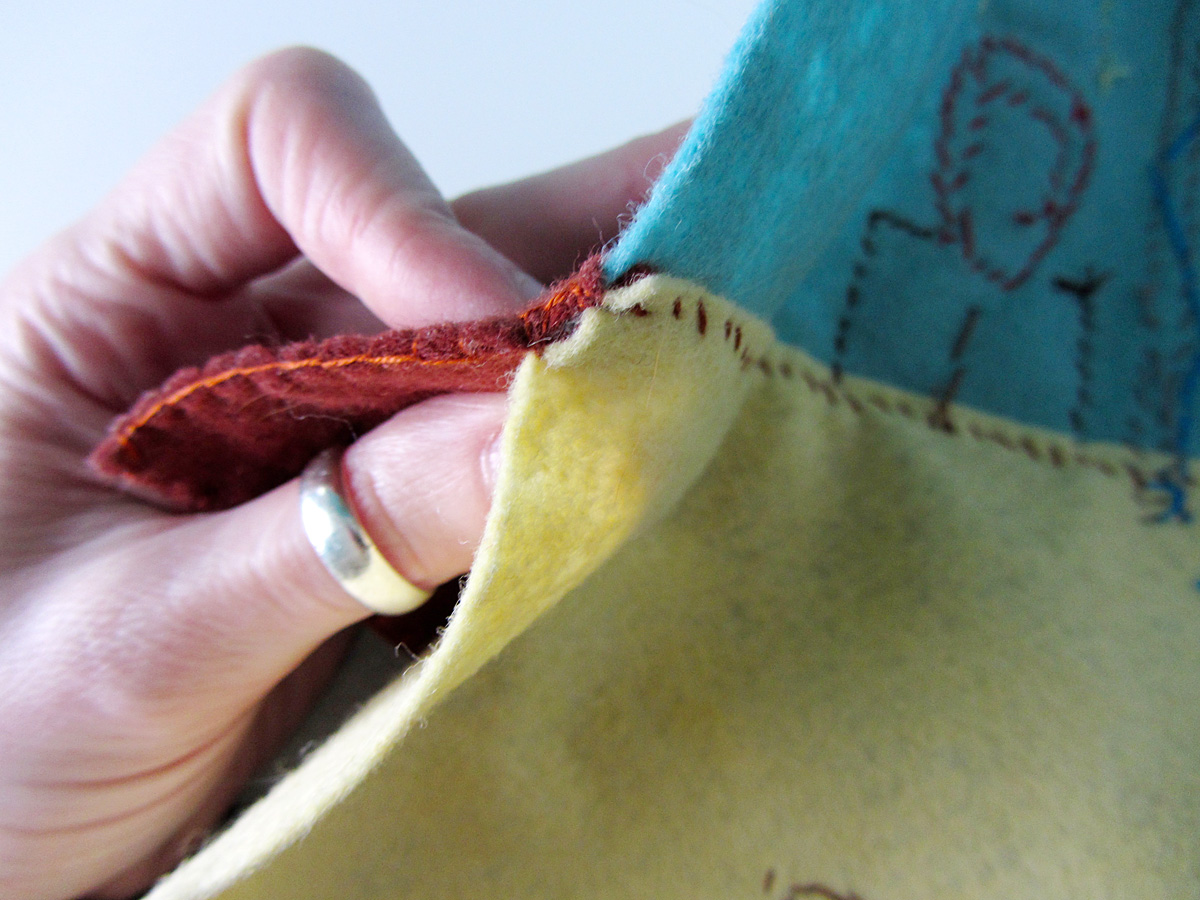
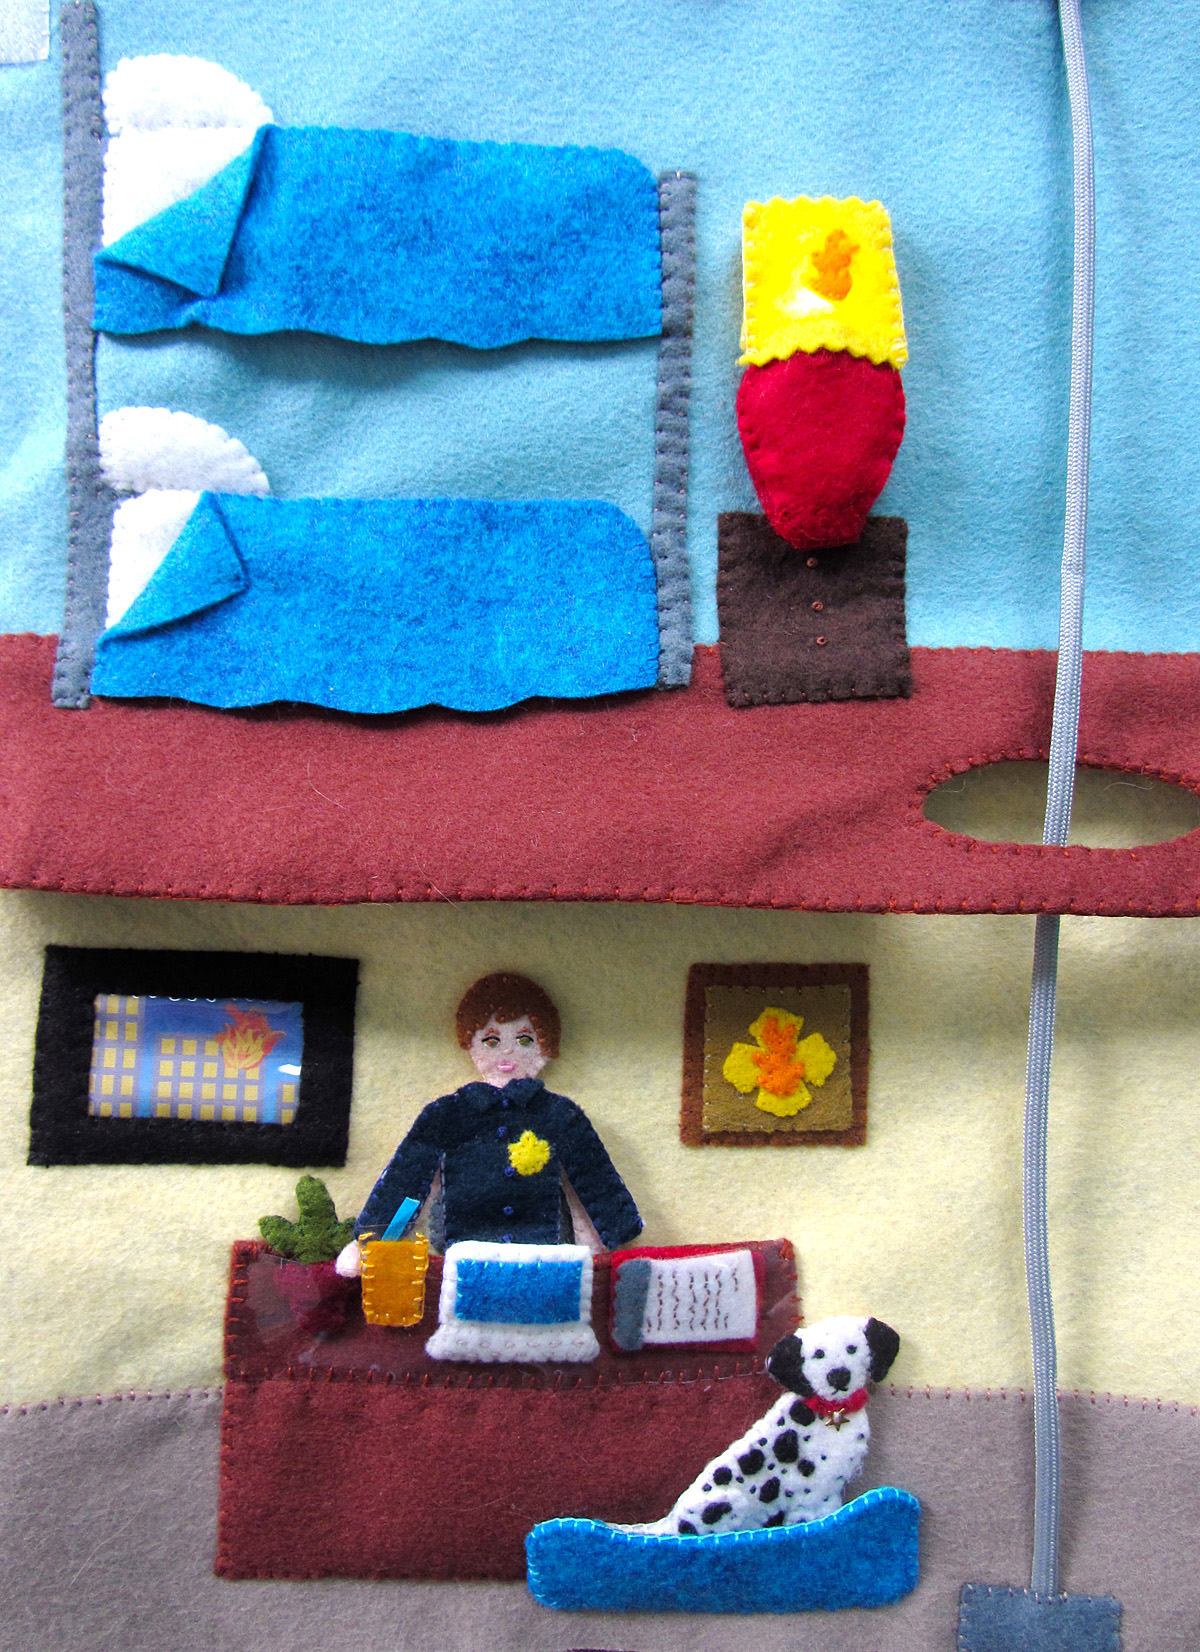
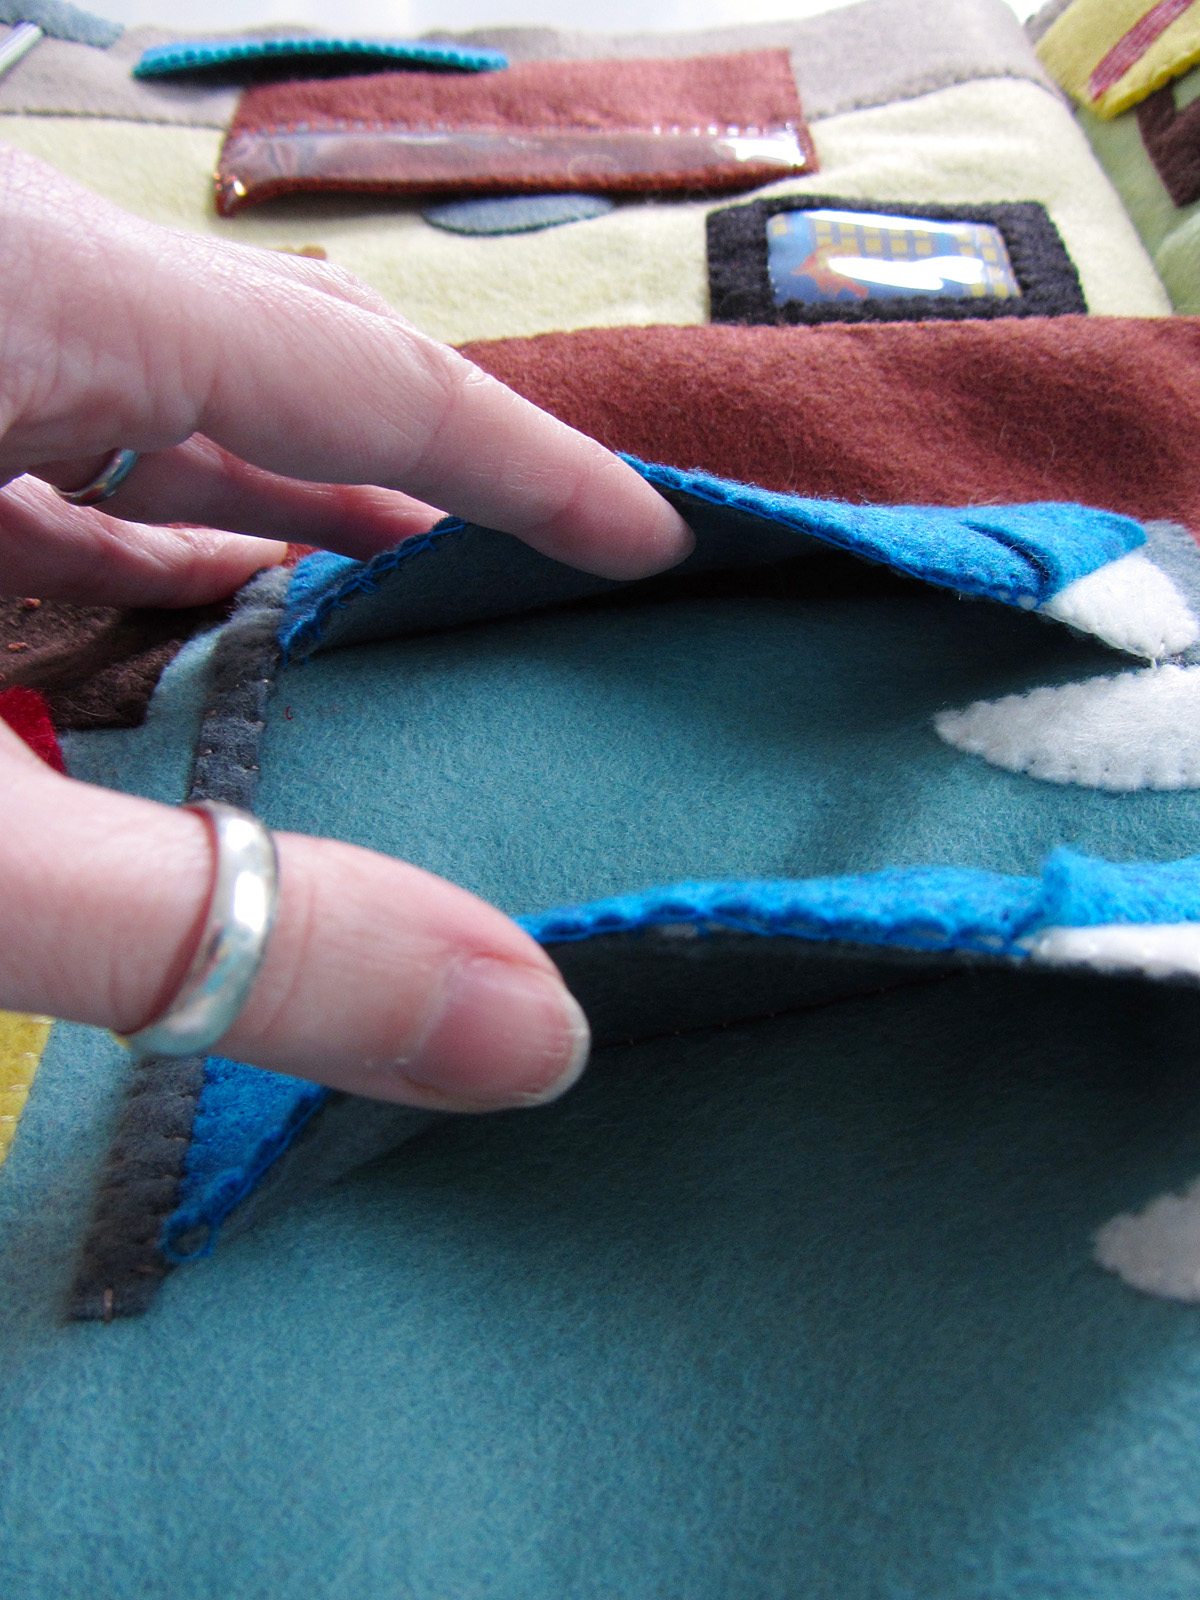
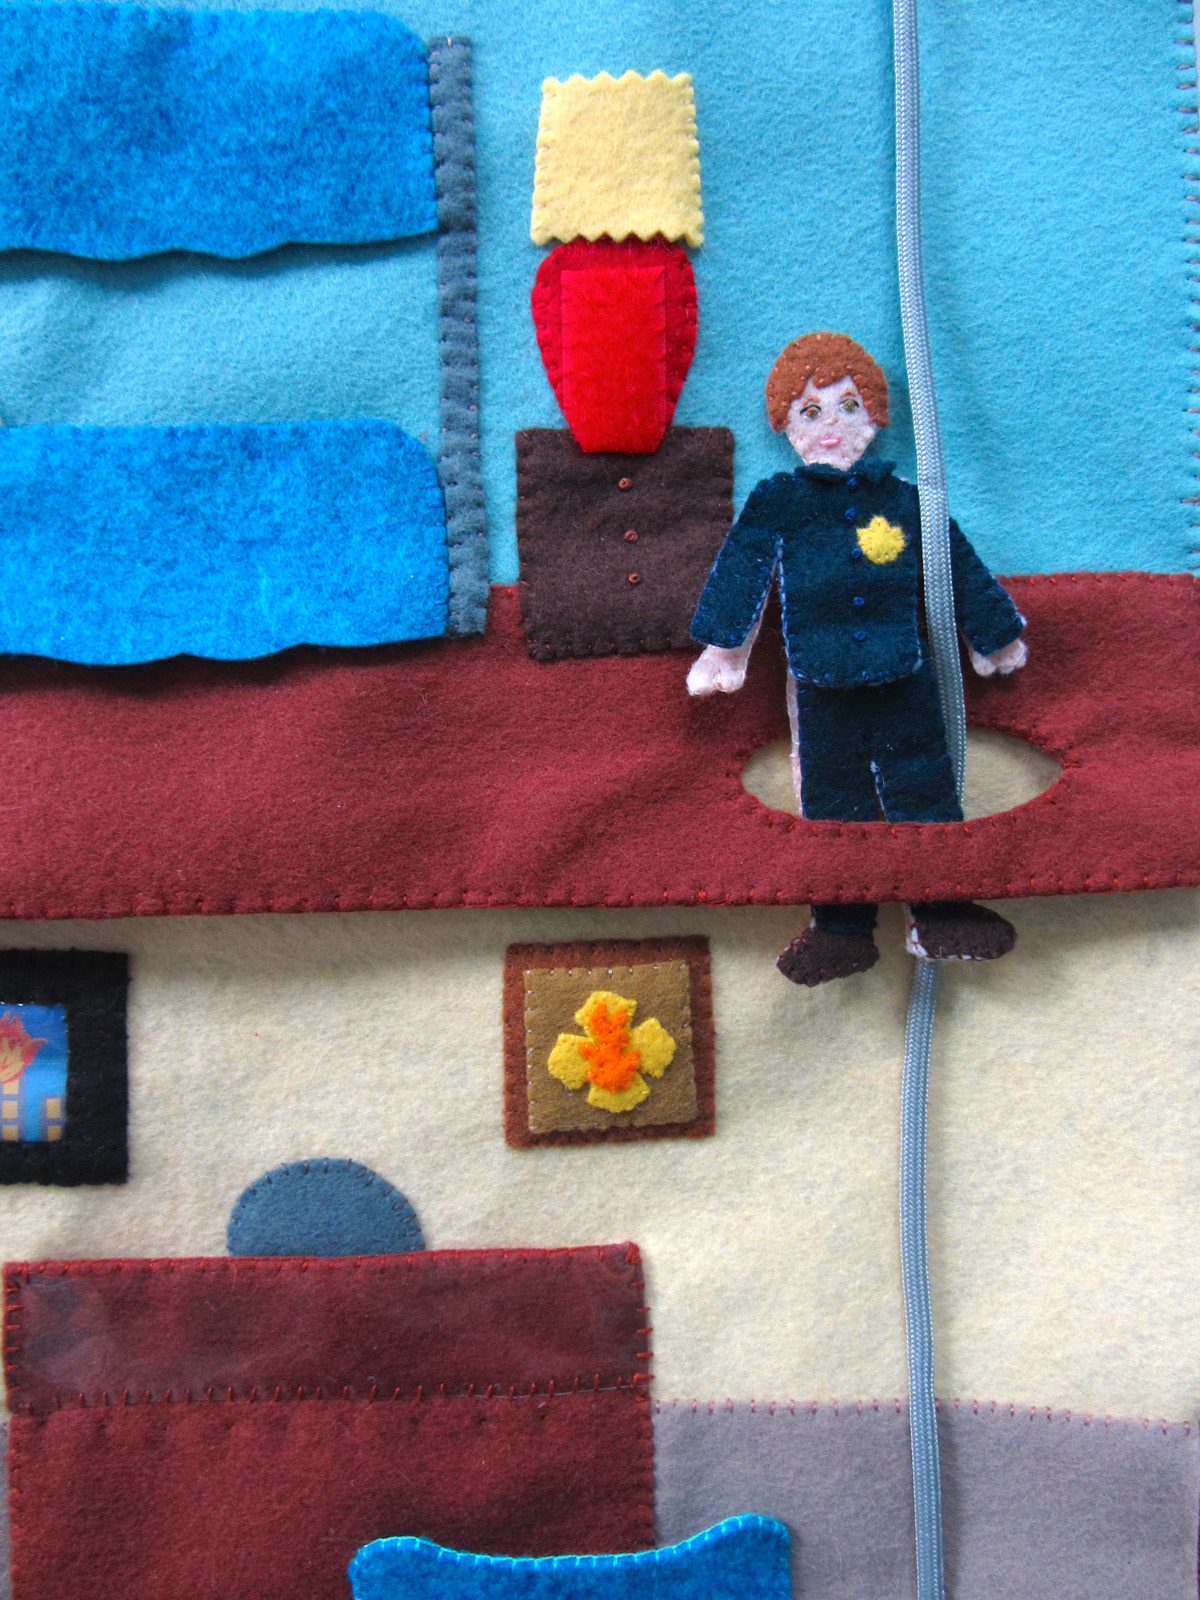
Upper Floor/Hole for Fire Pole: To make the floor of the bedroom, I sewed two 12″ x 2.25″ rectangles together along their sides and bottom. I cut out an oval hole through both layers and sewed around the hole edge. I took the wall felt for each room and placed the bedroom wall above the office wall (as it will be in the book) but overlapping them about .25″. I laid the floor on top of the overlap (so the top of the floor lines up with the top of the office wall) and sewed through all the layers along the top of the floor. I also sewed the top .25″ of the sides of the floor down for strength.
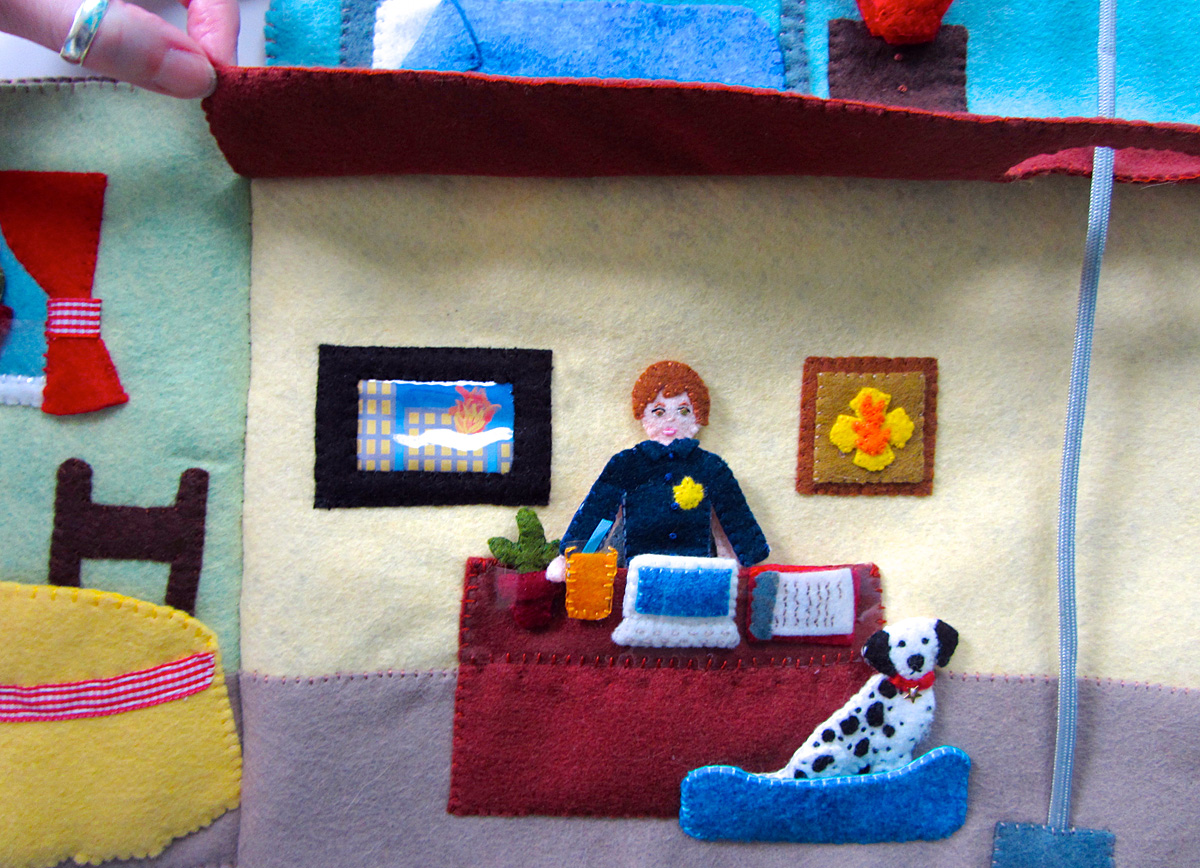
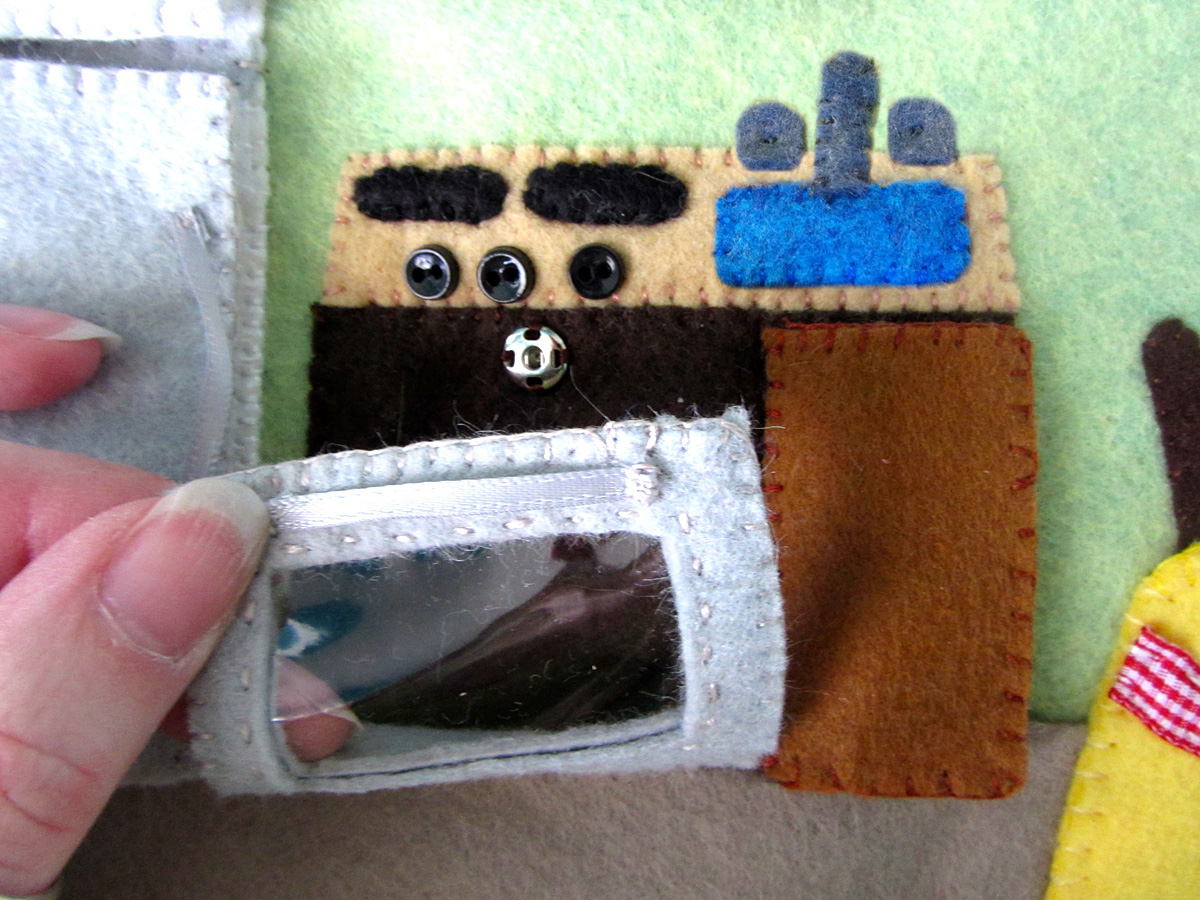
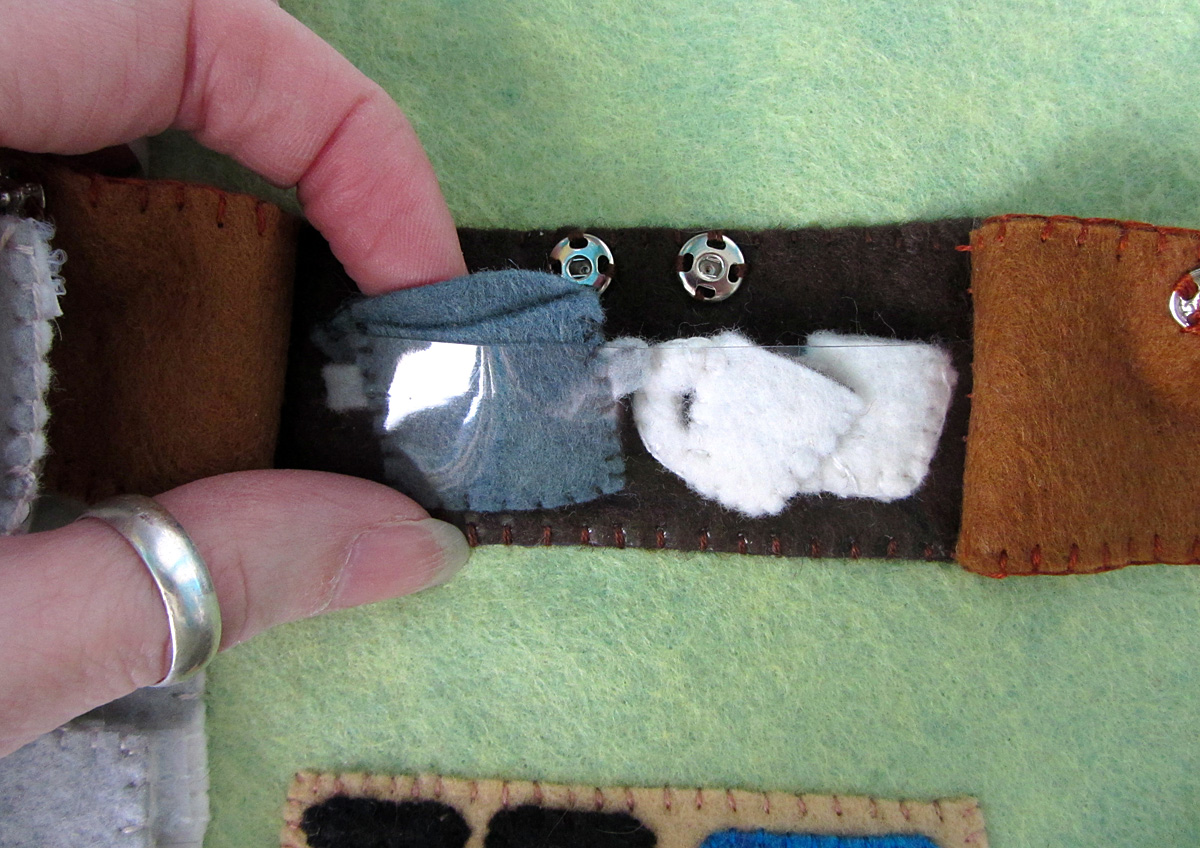
Desk: I pinned the floor of the office in place, then sewed the two desk pieces together along the top. I sewed the desk chair piece to the page so it would stick out from behind the desk. I pinned the desk to the page and placed the clear pocket piece at the top. (Don’t pin vinyl! It leaves holes!) I sewed the sides and bottom of the desk to the page, making a pocket for the dolls to sit in.
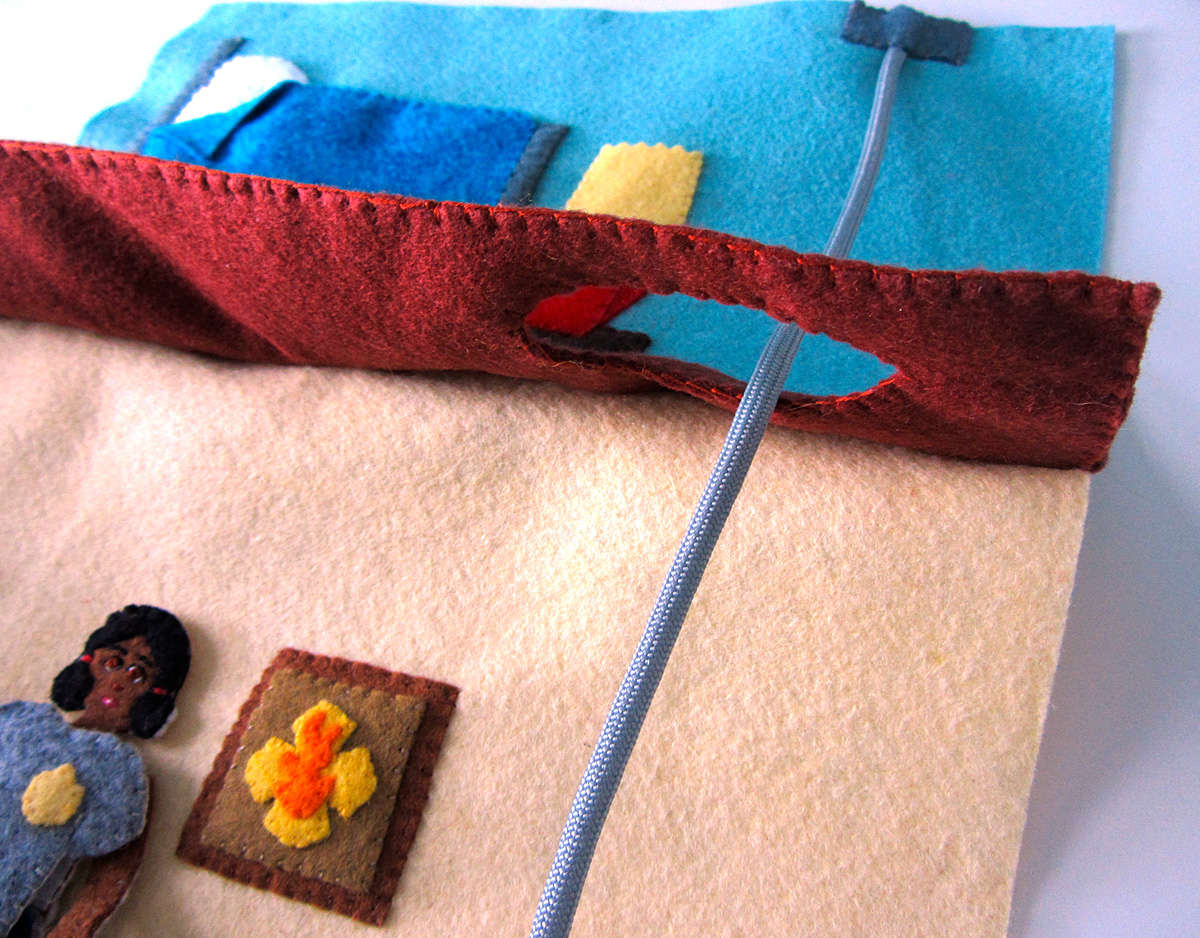 Fire Pole: I cut some paracord, left over from the fire truck, long enough to stretch the height of both pages. I ran it through the hole in the bedroom floor, then sewed it to the page with the pole bases over top of each end.
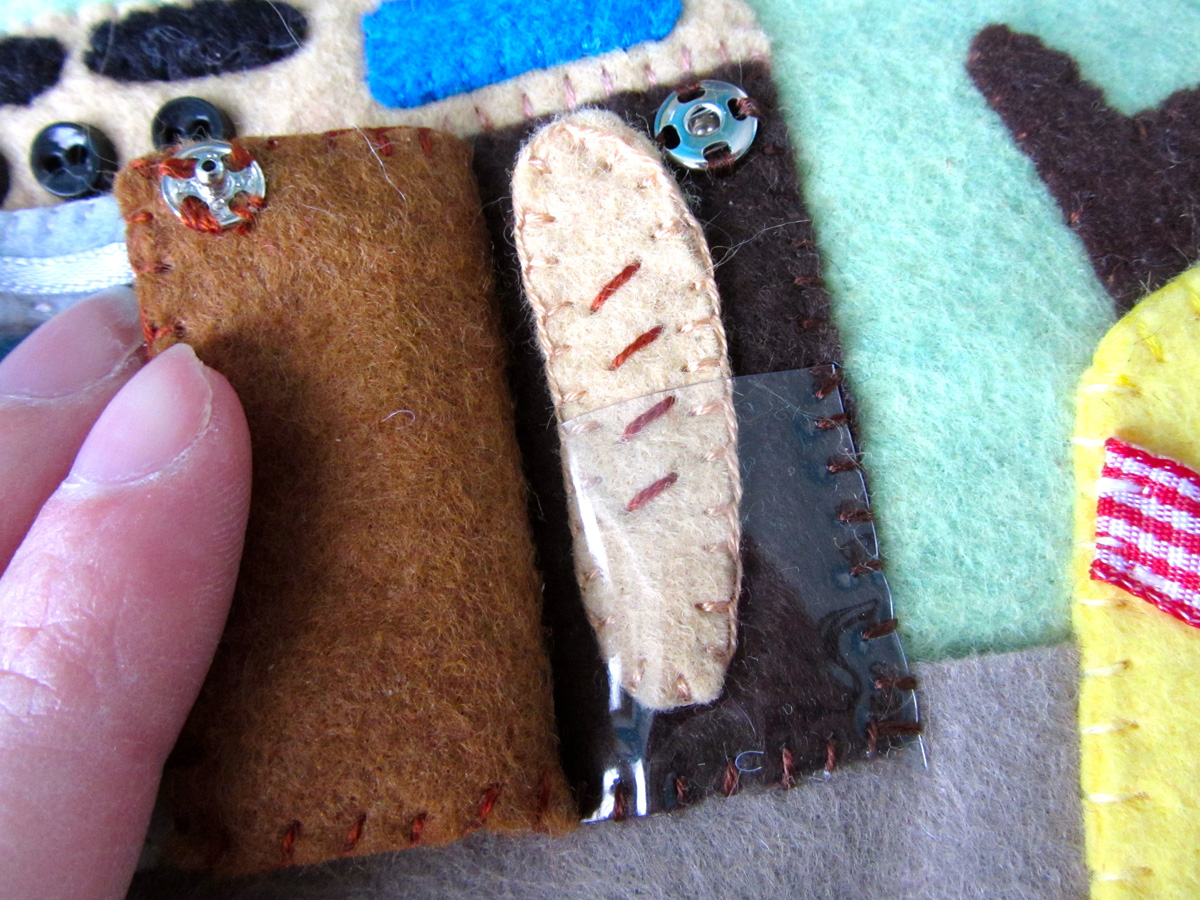
 Dog Bed: I sewed the two sides together along the top, then pinned it to the page and sewed around the remaining edges. Where it overlaps the desk, I made sure to only go through the top layer of the desk so I didn’t sew through the pocket.
TV & Plaque: My tv screen is printed on photo fabric, as I had some extra space when I was printing out my Valentines. Because it is fabric instead of paper, I can easily spot-wash the quiet book without worrying about wet paper. If you print yours on paper, You will need to make the tv into a pocket like the picture from in the dollhouse kitchen. To sew mine, I basted the screen image to the page, laid the clear vinyl over it, then sewed the black felt frame on the top. The place was sewn together off of the page, then I sewed it down to the wall.
Beds: I started by sewing the sheets to the gray bunk bed piece. I only sewed the top and left sides of the sheets. I pinned the blankets in place and sewed a diagonal line where I wanted the top corner of each blanket to fold over. This also keeps you from seeing that the sheets don’t go all the way down. I made a stitch in the corner of each blanket to hold the folds down, then I sewed the blankets to the bed along their tops. I sewed the pillows to the page. I pinned the bunks to the page then sewed the bottom of each “mattress” to the page. This makes the bottoms of the two bed pockets. I sewed the two vertical bed posts to the page, then sewed the sides of the blankets down. I left the bottoms of the blankets loose.
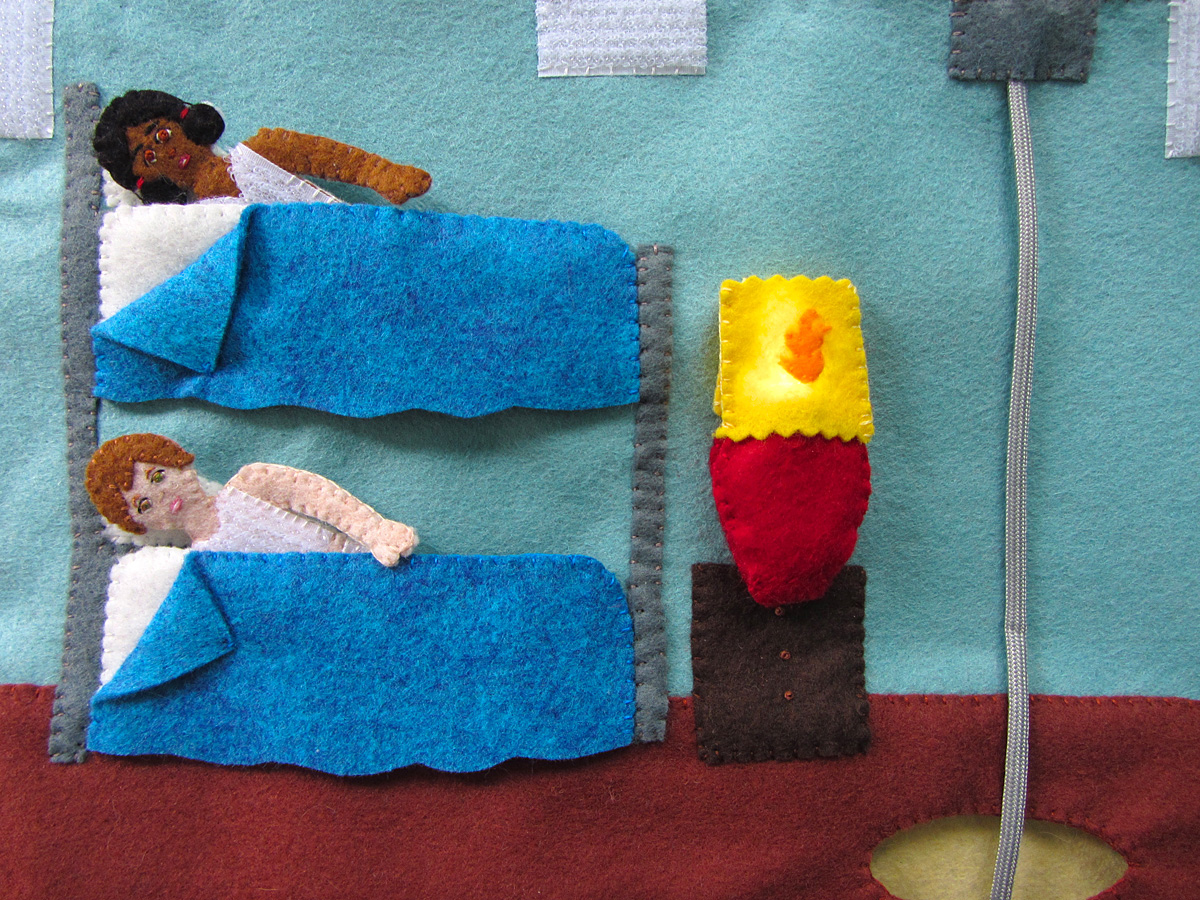
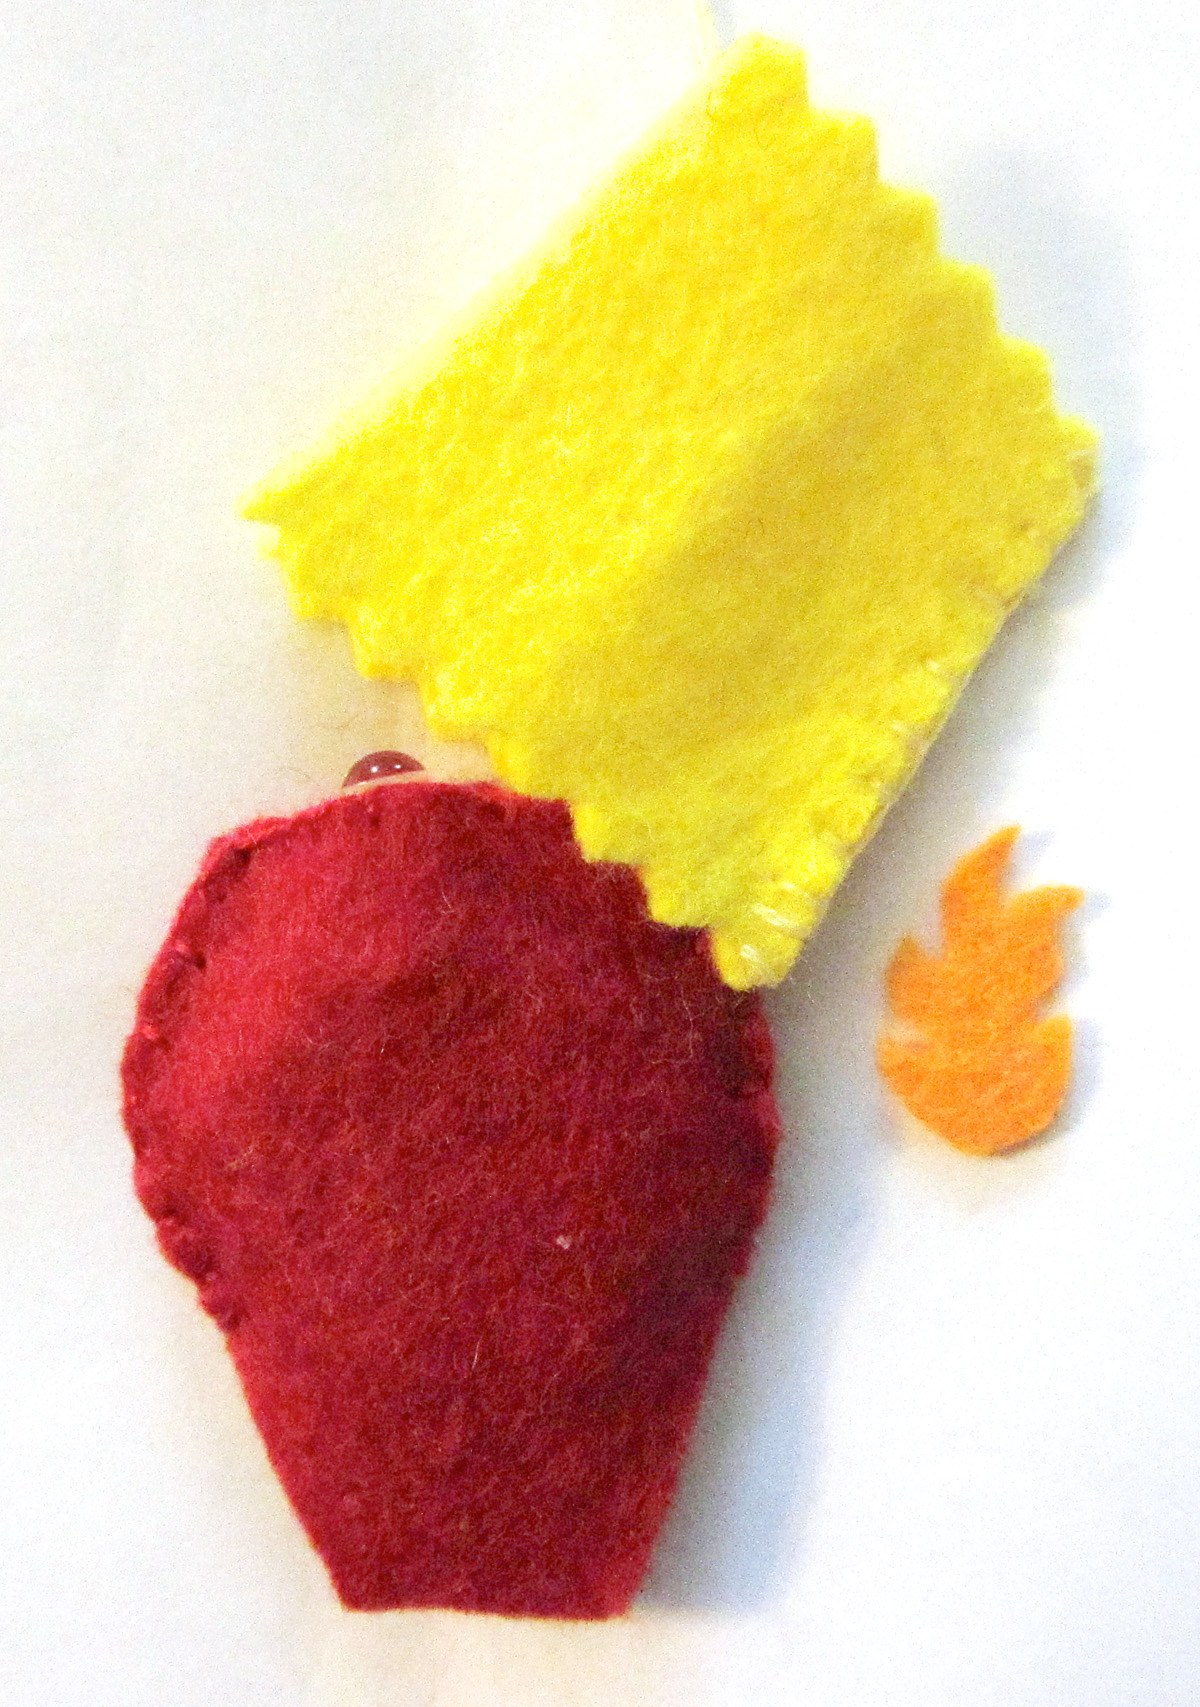
 Nightstand & Lamp: The nightstand is sewn to the page. (I sewed through the floor flap a bit with both the nightstand and the bed legs, as I sewed the sides of the flap down a bit anyway. You could sew carefully and only sew them to the top layer of the floor.) I added French knots for drawer pulls. I sewed the red lamp base to the page, and added some red hook (soft side) Velcro. The Velcro is optional – I added it so I could have the optional working LED light that detaches from the page. I cut the top and bottom of the lampshade with my pinking shears, and sewed just the sides to the page. If you are not doing the optional LED lamp, you can sew the little flame emblem to the shade before attaching it.
LED Lamp: I sewed a little strip of red Velcro to the bottom insides of the two red felt pieces that make the LED case, and a large piece of hook (hard) Velcro to the outside of one piece. I sewed the sides together, then sewed around the opening at the top – just for added strength.
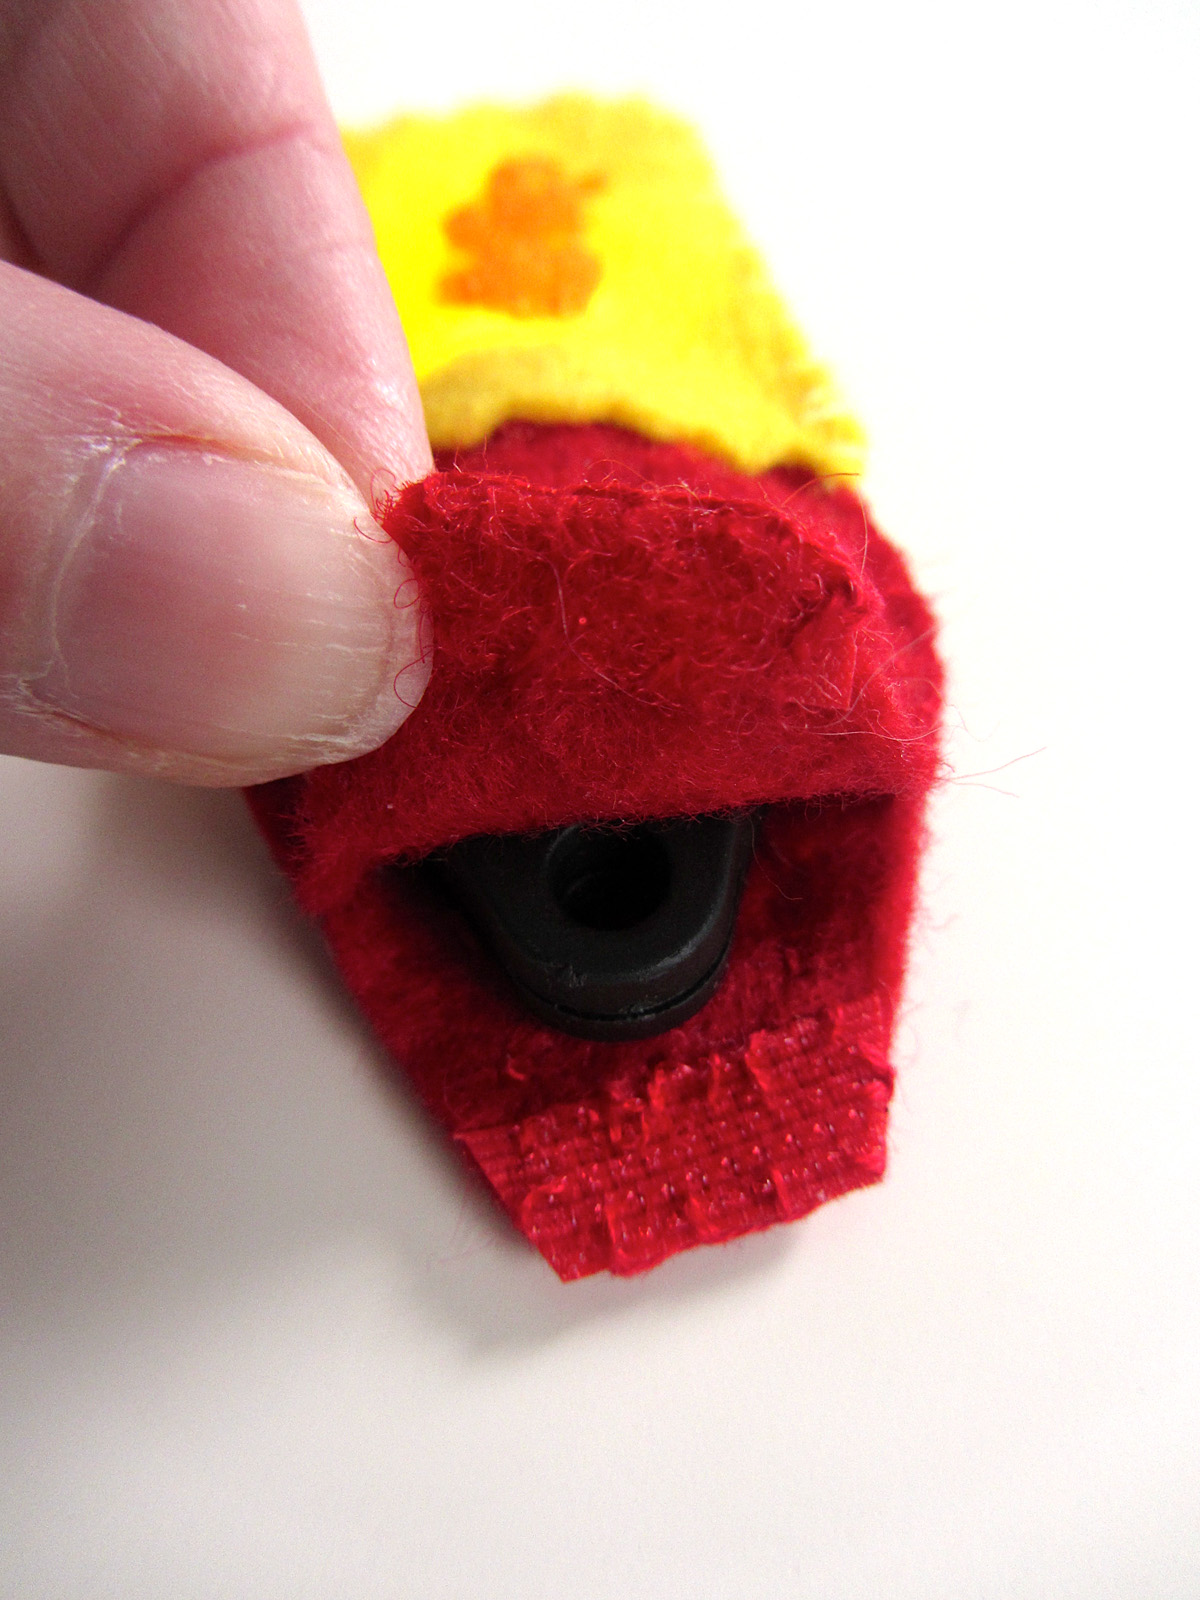
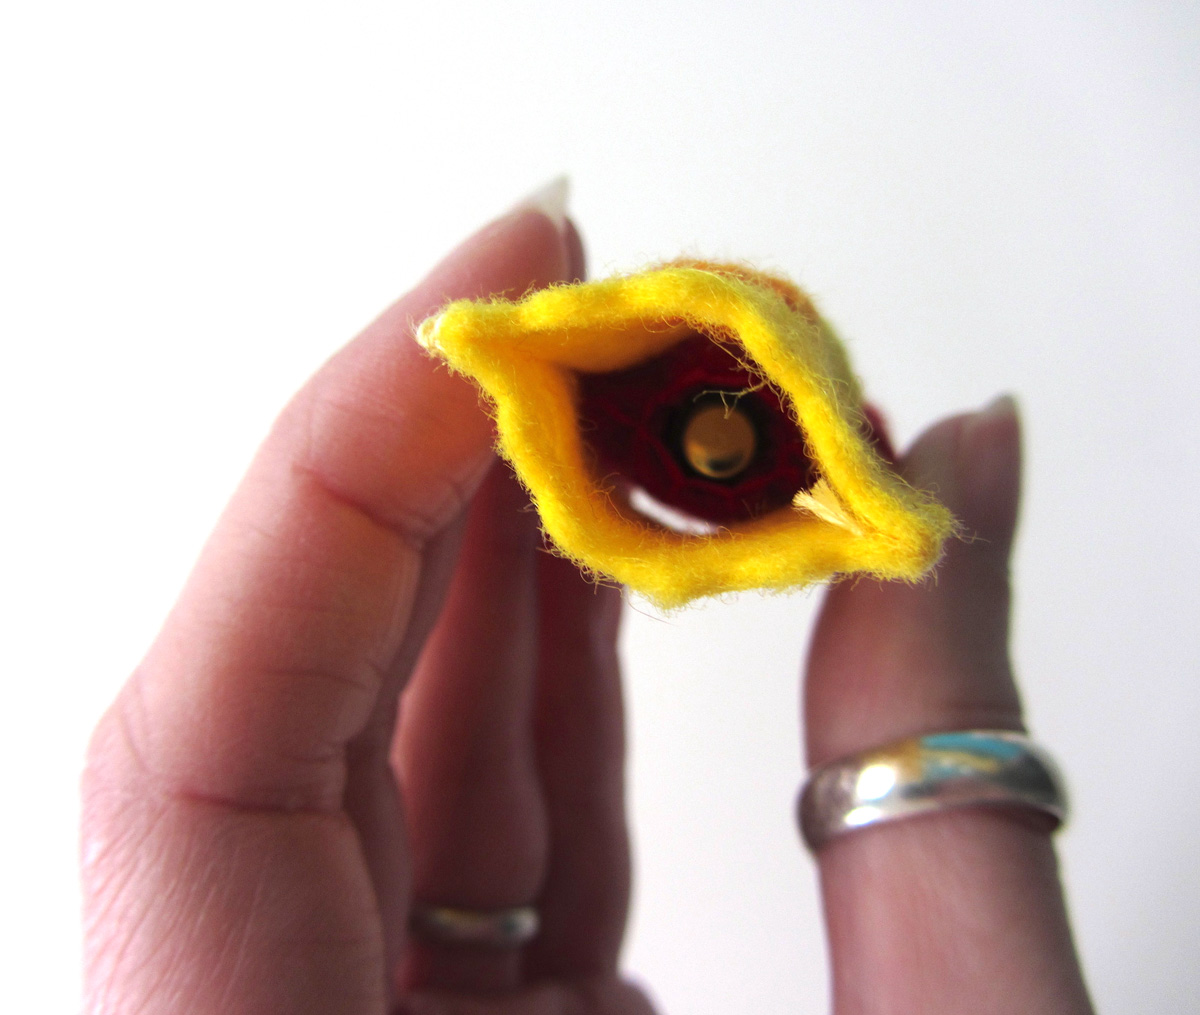
I sewed the flame emblem to one of the lampshade pieces, then sewed them together along the sides, catching the top-sides of the red LED case in the bottom stitches to attach it. I put my LED keychain light in without the jump ring, making sure the side with the button was on top. My LEDs have a tiny switch you can slide to have the light always on. It is hard to slide through the felt, but gives you another option for having it on when playing with your little one. I don’t plan to keep the LED light in the book when Jax has solo access to it. It is something I will bring out when we play together.
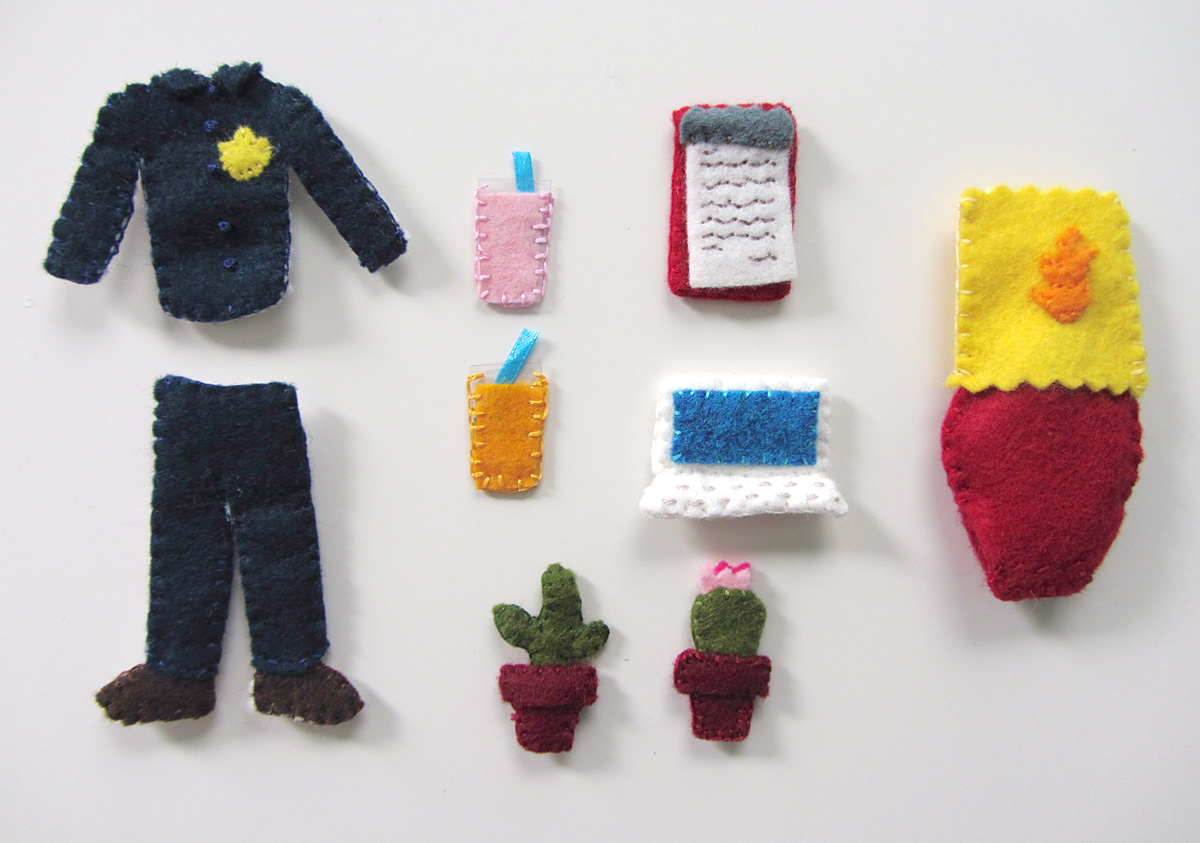
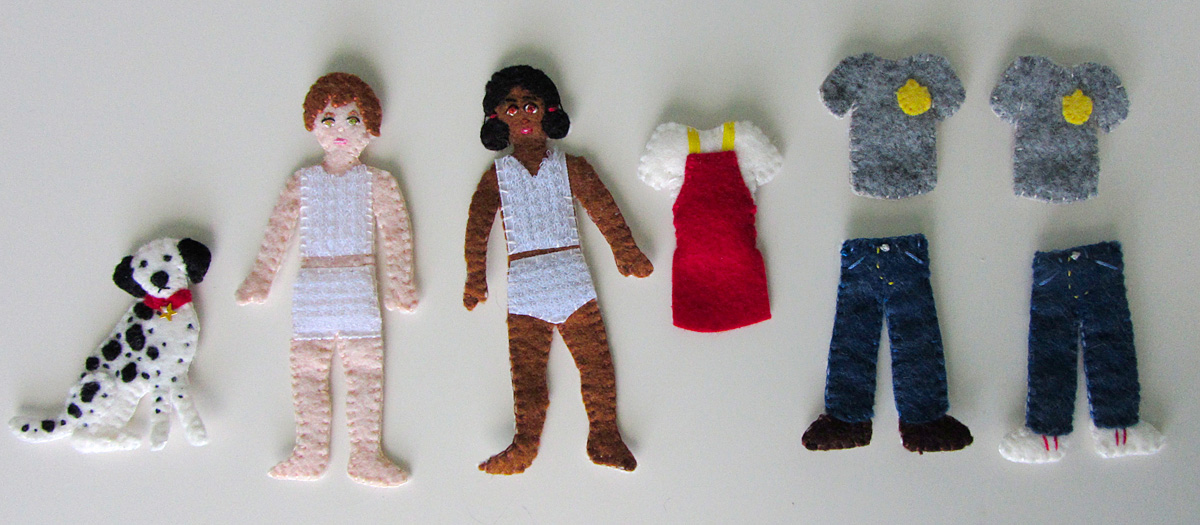
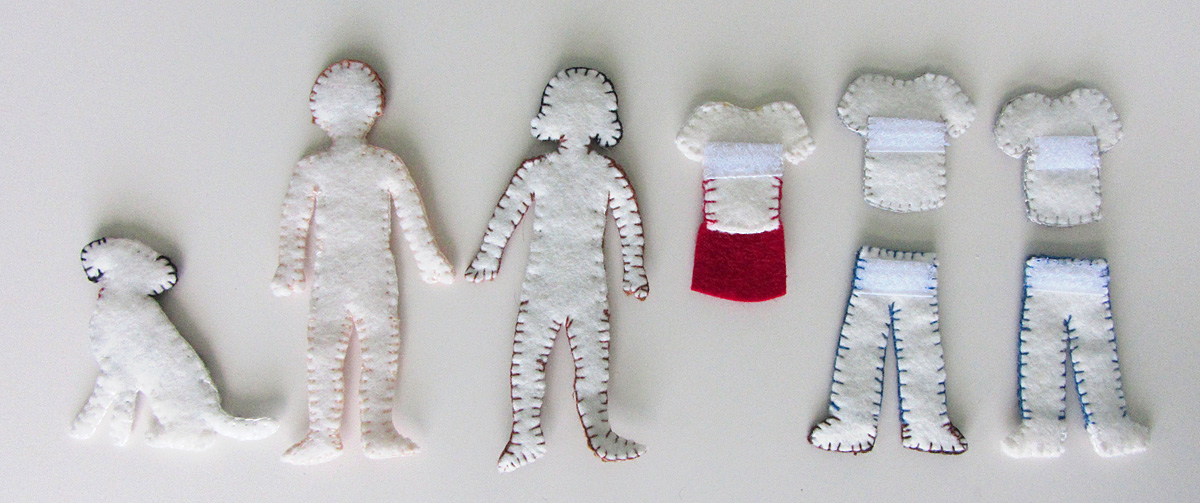
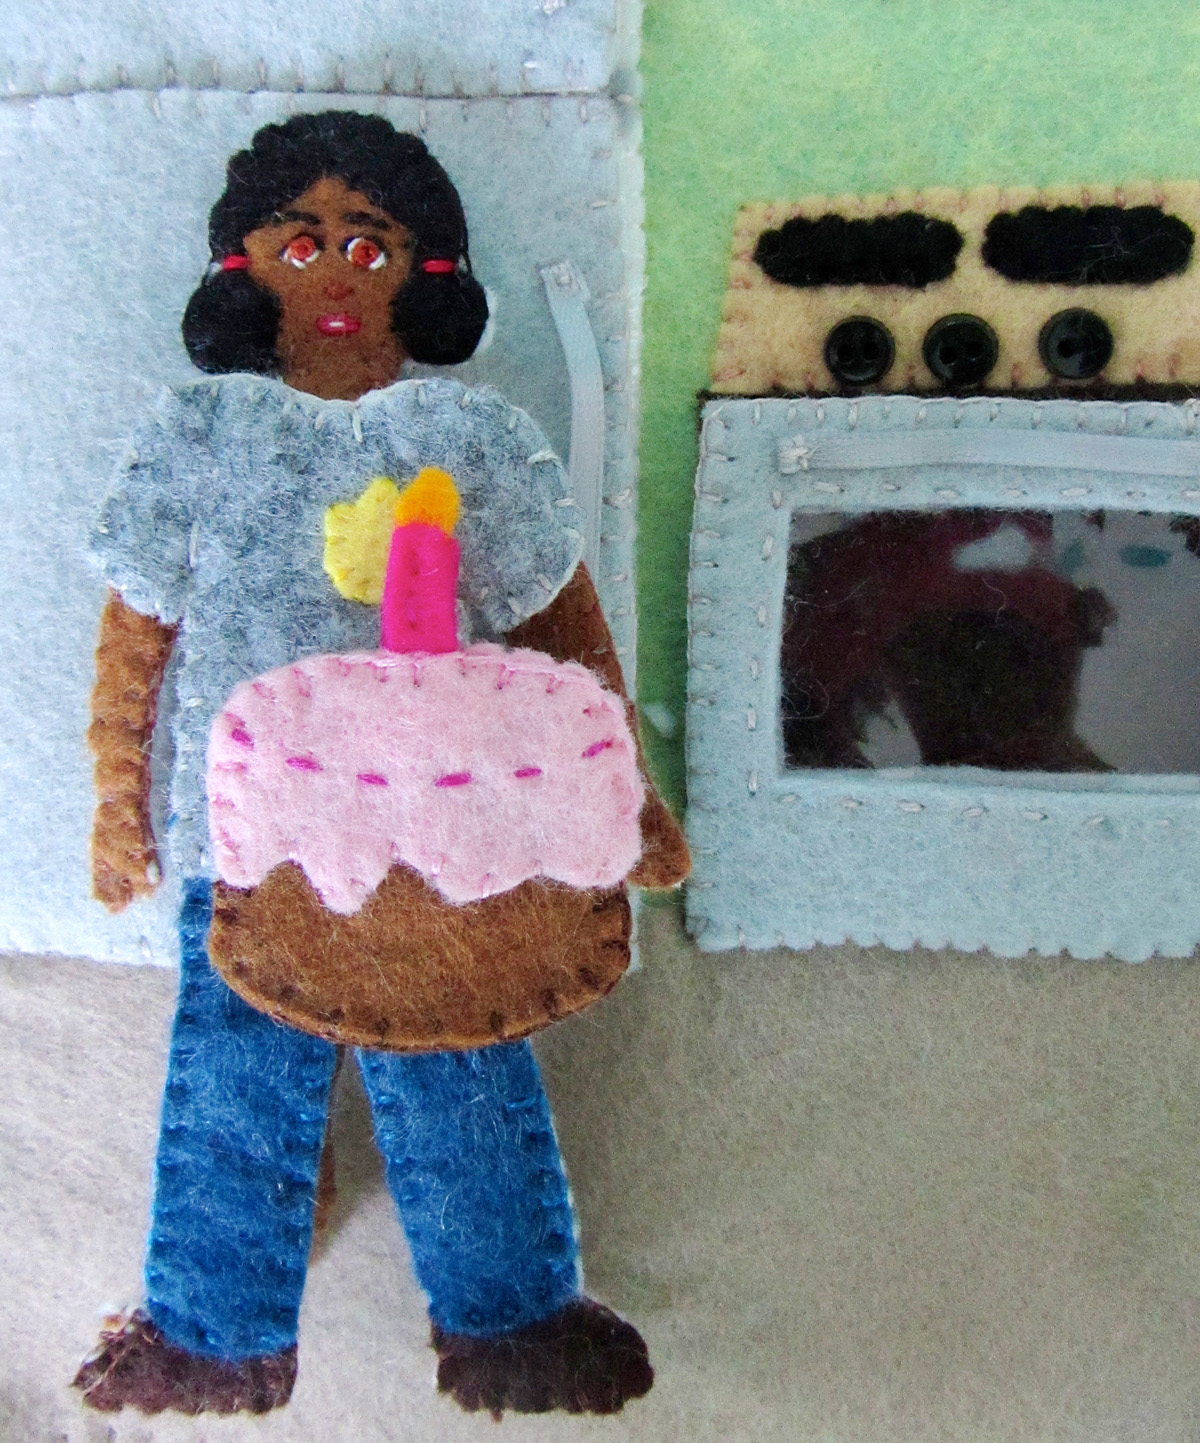
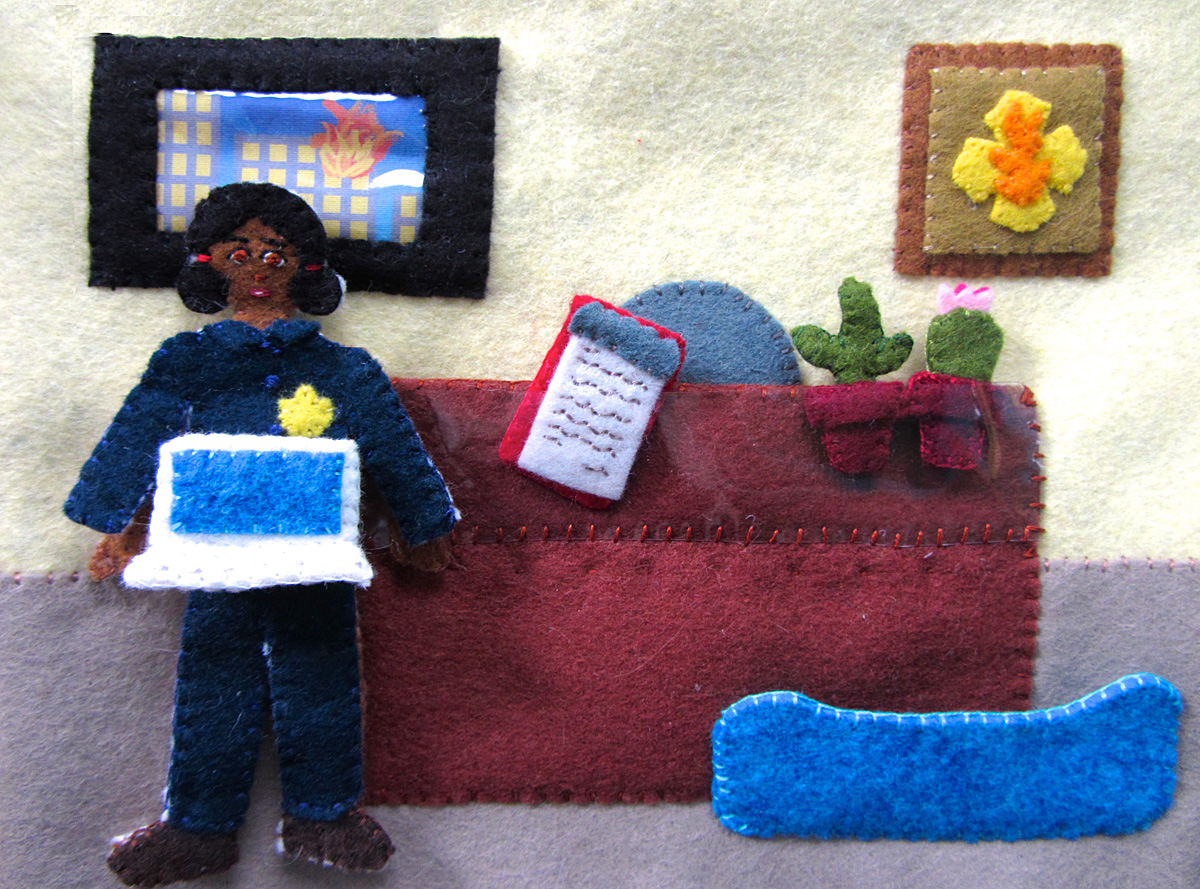
Uniform: I sewed the little shields to the front chest area, then placed the collar on the shirt. I made a stitch across the center of the collar to attach it, then sewn a line of French knot buttons down the front. I sewed a strip of white snag-free Velcro to a matching white backing, the sewed the two sides together. I sewed each pant cuff to a shoe, then cut out a matching white felt backing, added some white snag-free Velcro to to the top of it, then sewed both sides together around the edges.
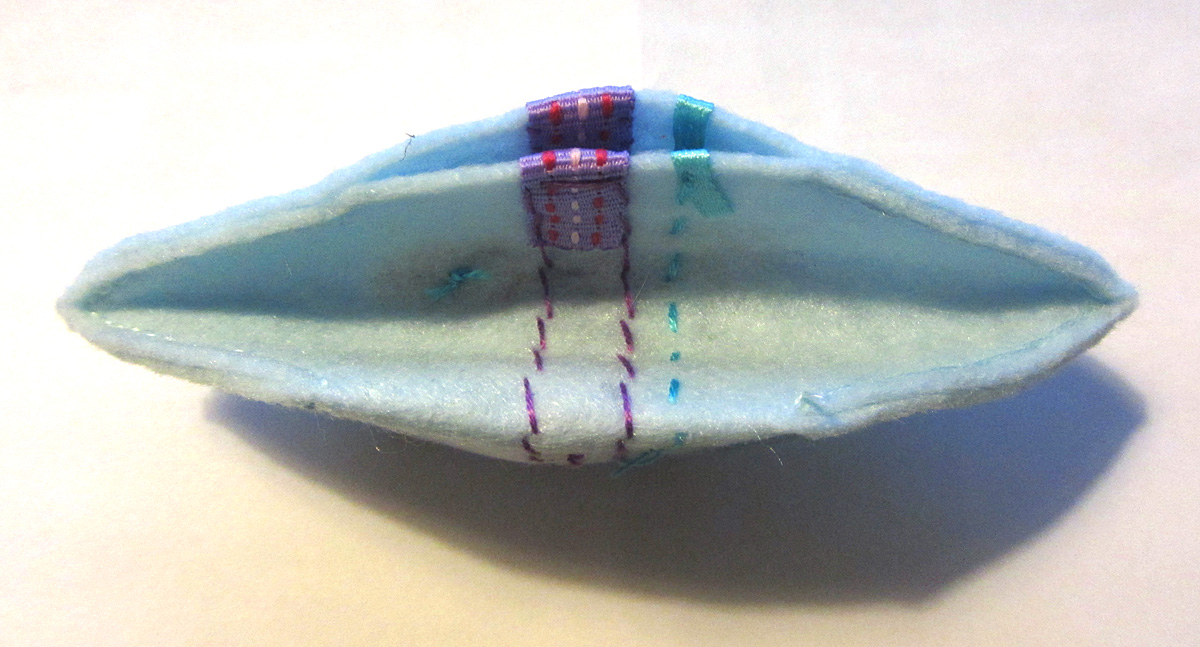
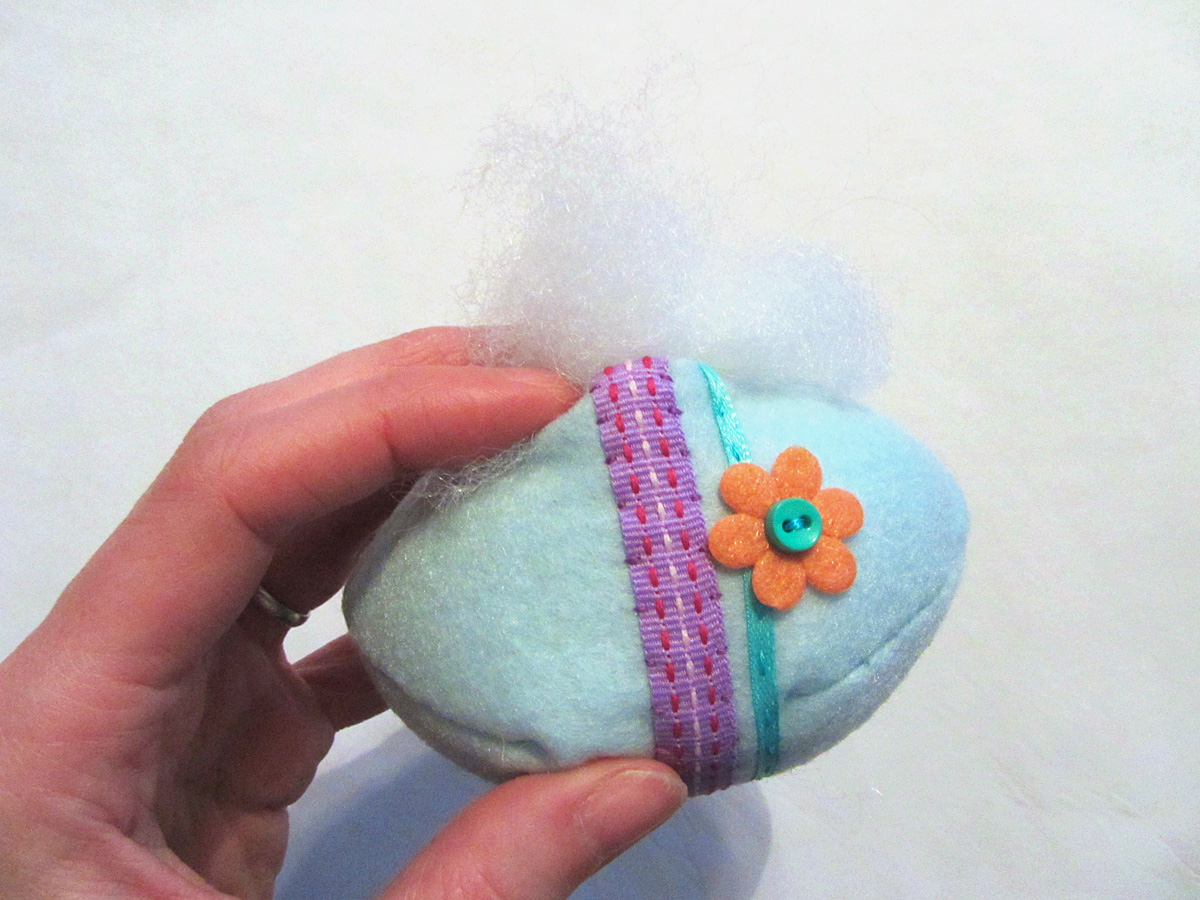
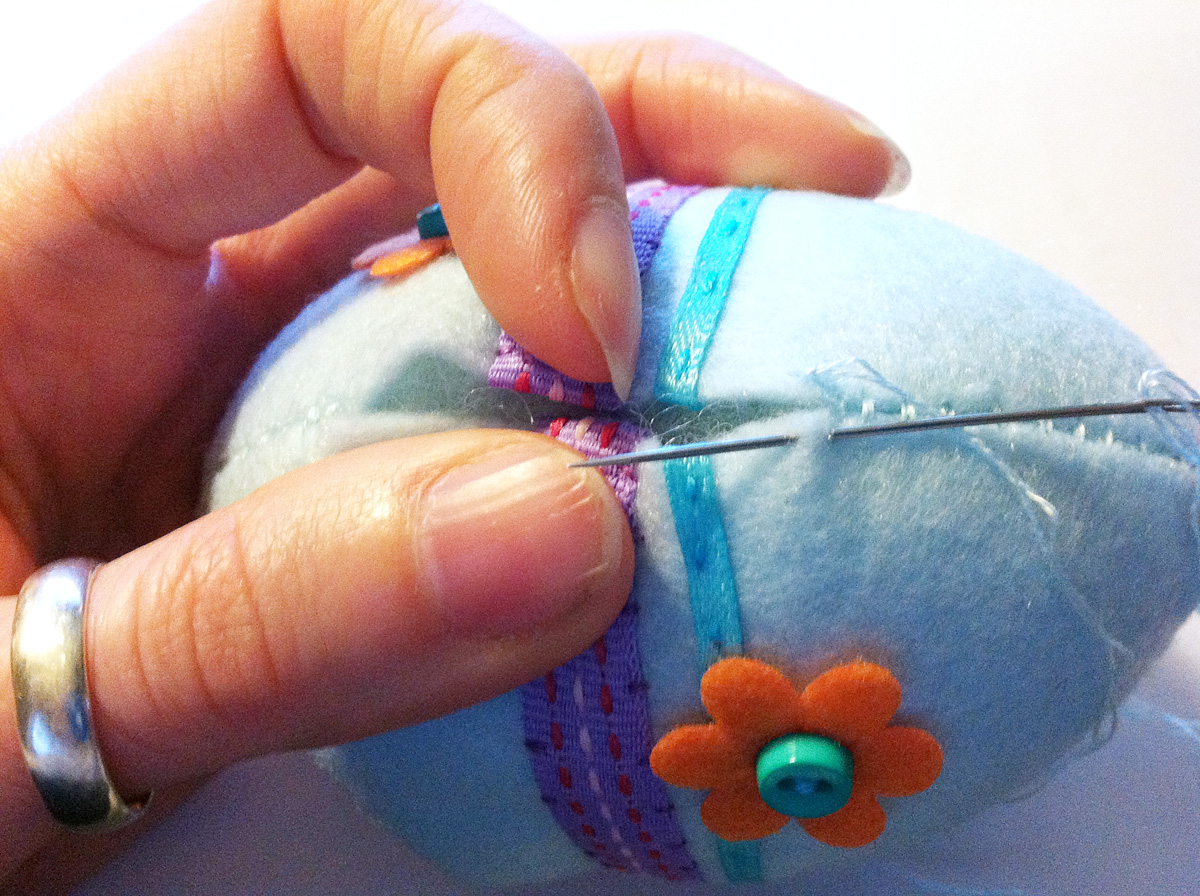
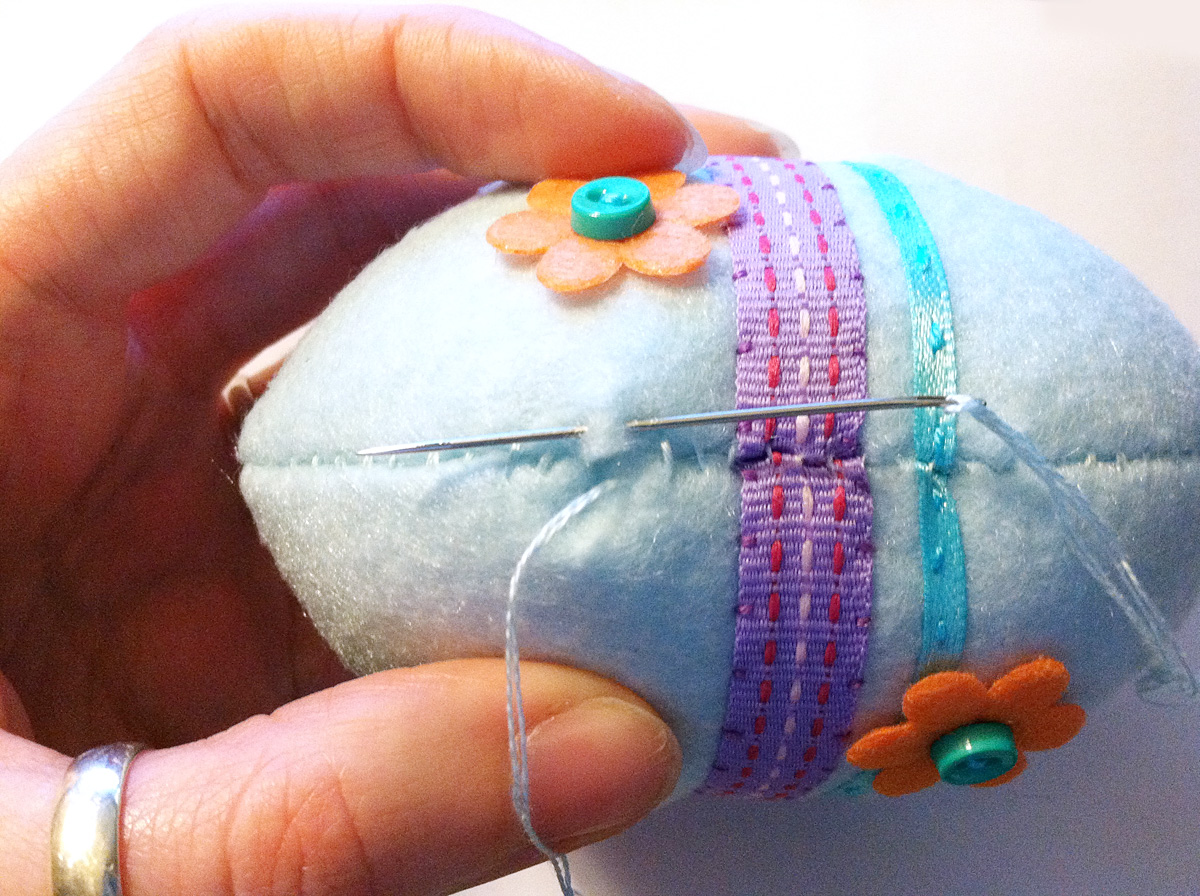
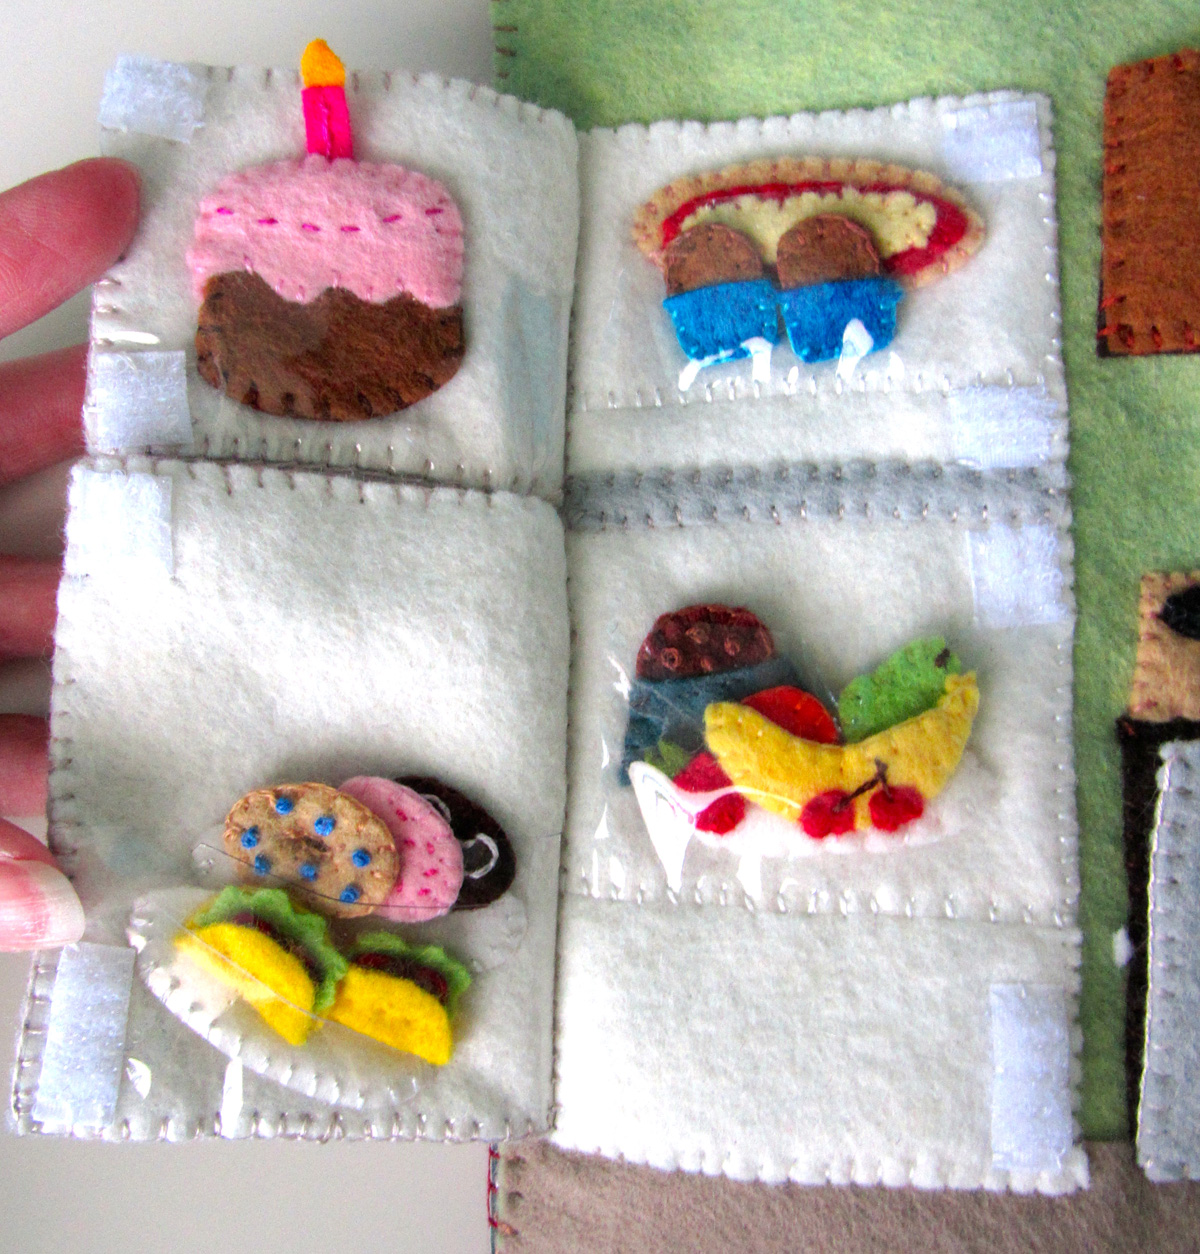
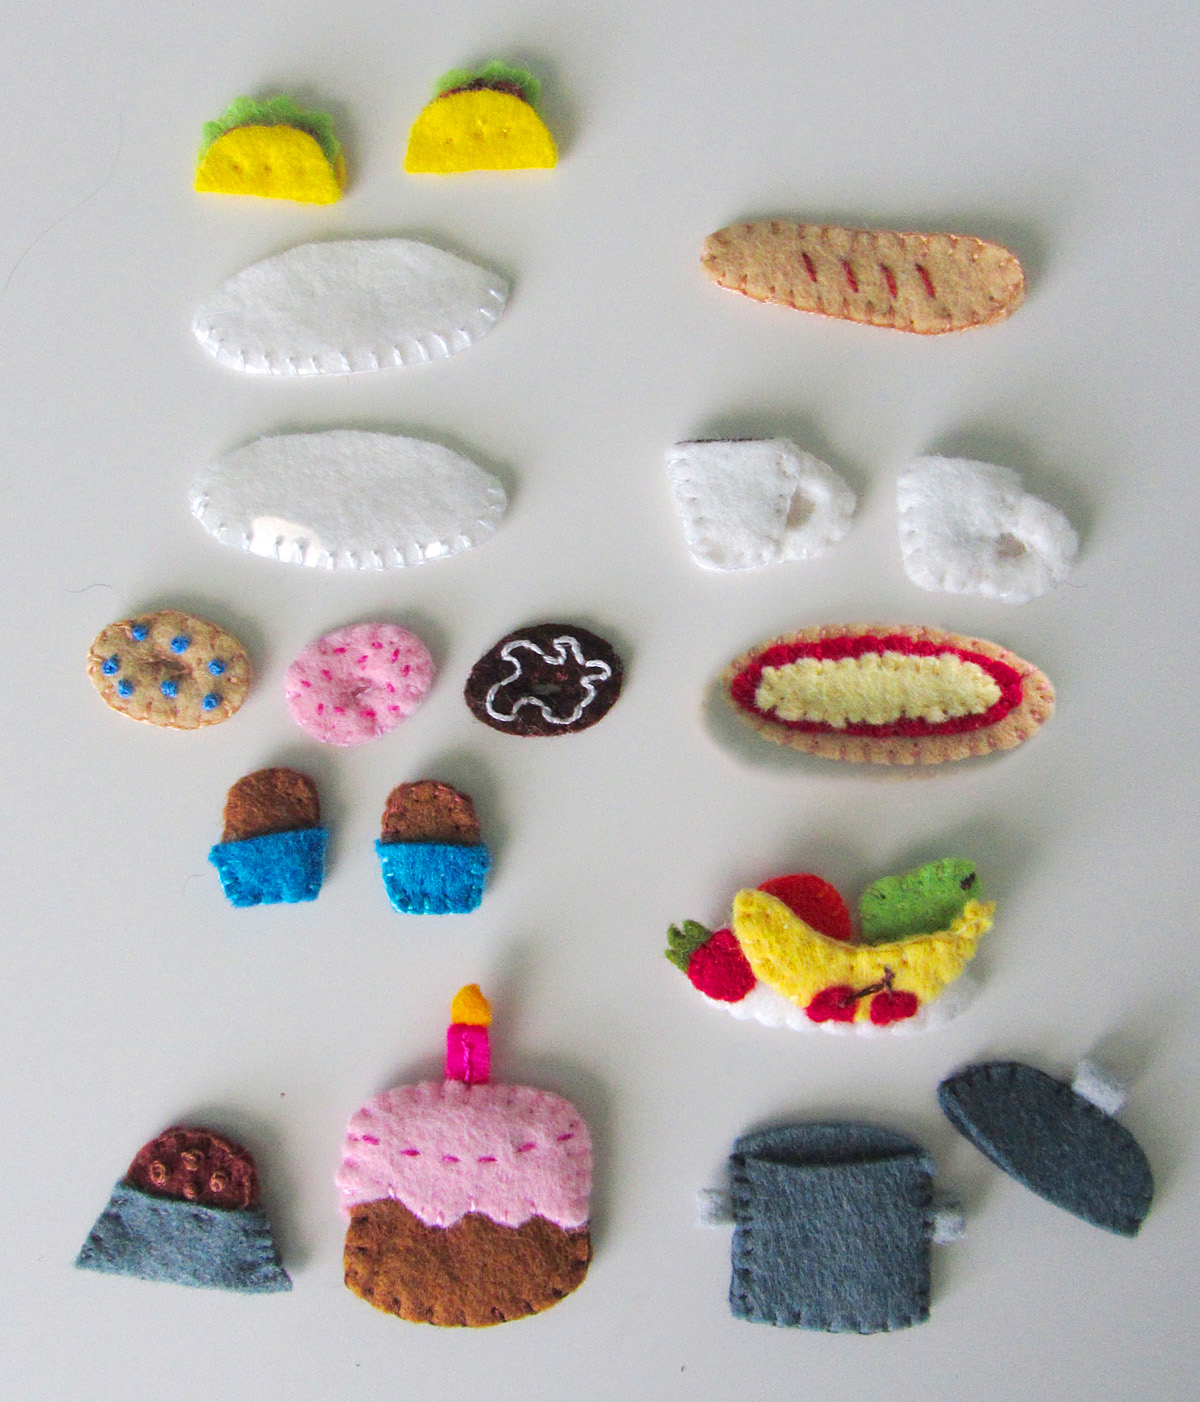
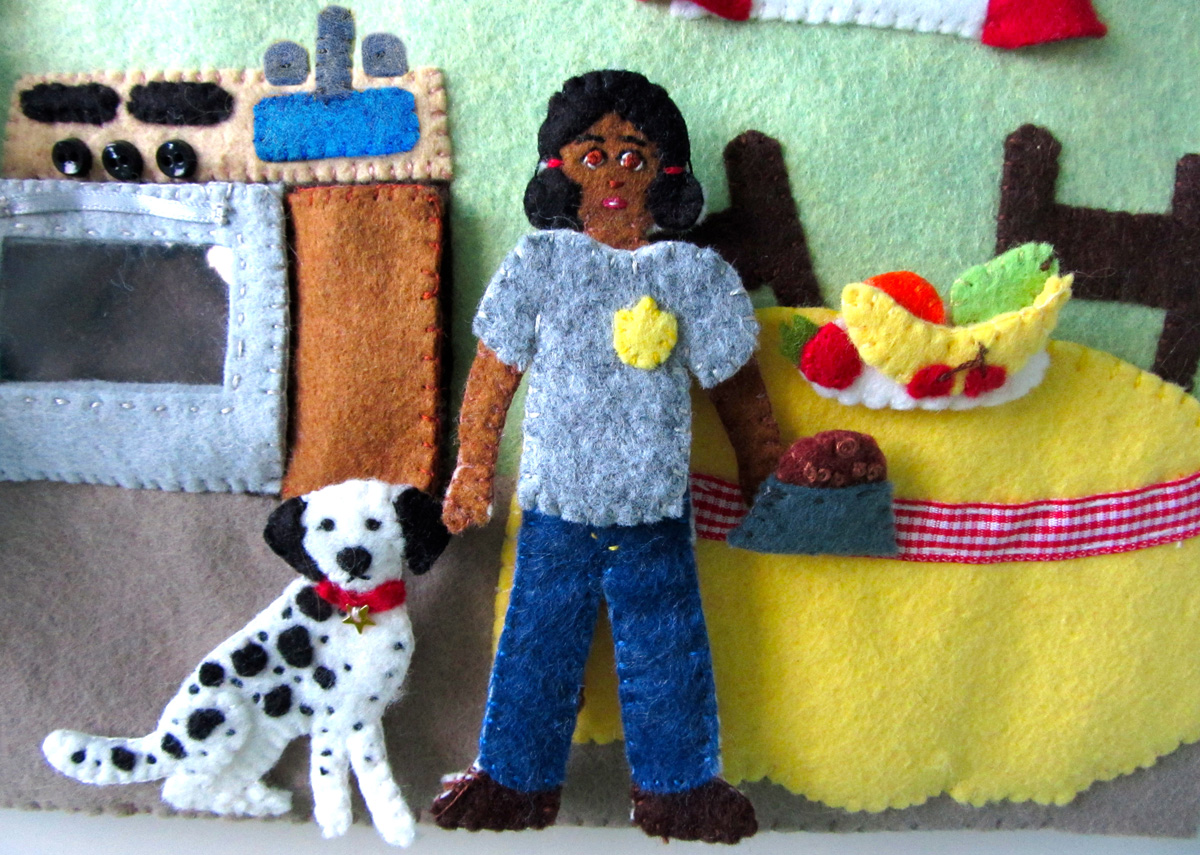
Smoothies: Jax requested smoothies while I was working on these pages, so I whipped some up. I cut a little bit of blue ribbon and coated the ends with Fray Check to keep it from unraveling. I layered colored felt and the ribbon (on an angle so one end gets caught in the edge seam) between two pieces of clear vinyl and sewed around the sides and bottom. Jax asked for strawberry and mango, in case you’re curious!
Cacti: I sewed the cactus with arms by sewed all around the edges. For the flowering cactus, I layered the hot pink petal between the two link pink ones and placed that between the tops of the green felt before sewing around the edges. For both pots, I layered the pots and pot edges on either side of each cactus, then sewed around the edges, going through the cacti at the tops.
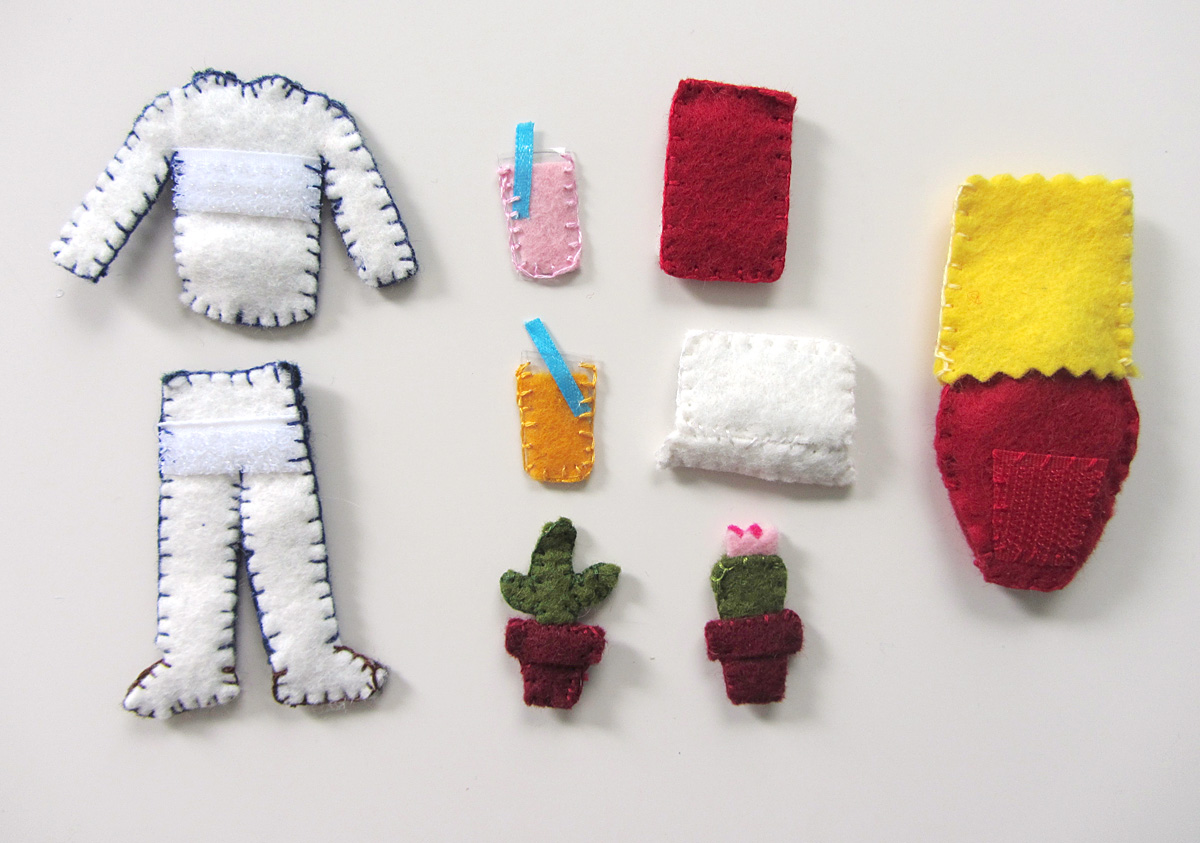
Laptop: I sewed the screen to the front felt piece, then sewed the two sides together along the sides and top. I made a couple rows of dashed stitches on the front keyboard piece, then sewed the two sides together along the sides and bottom. I laid the screen and keyboard together, and sewed the edges together. This lets the laptop fold open.
Clipboard: I sewed zigzag lines of gray stitching on the white paper piece, then placed it on the top red clipboard piece. I didn’t worry about it laying totally straight. I sewed the gray clip to the top then sewed the red back on all around the edges.
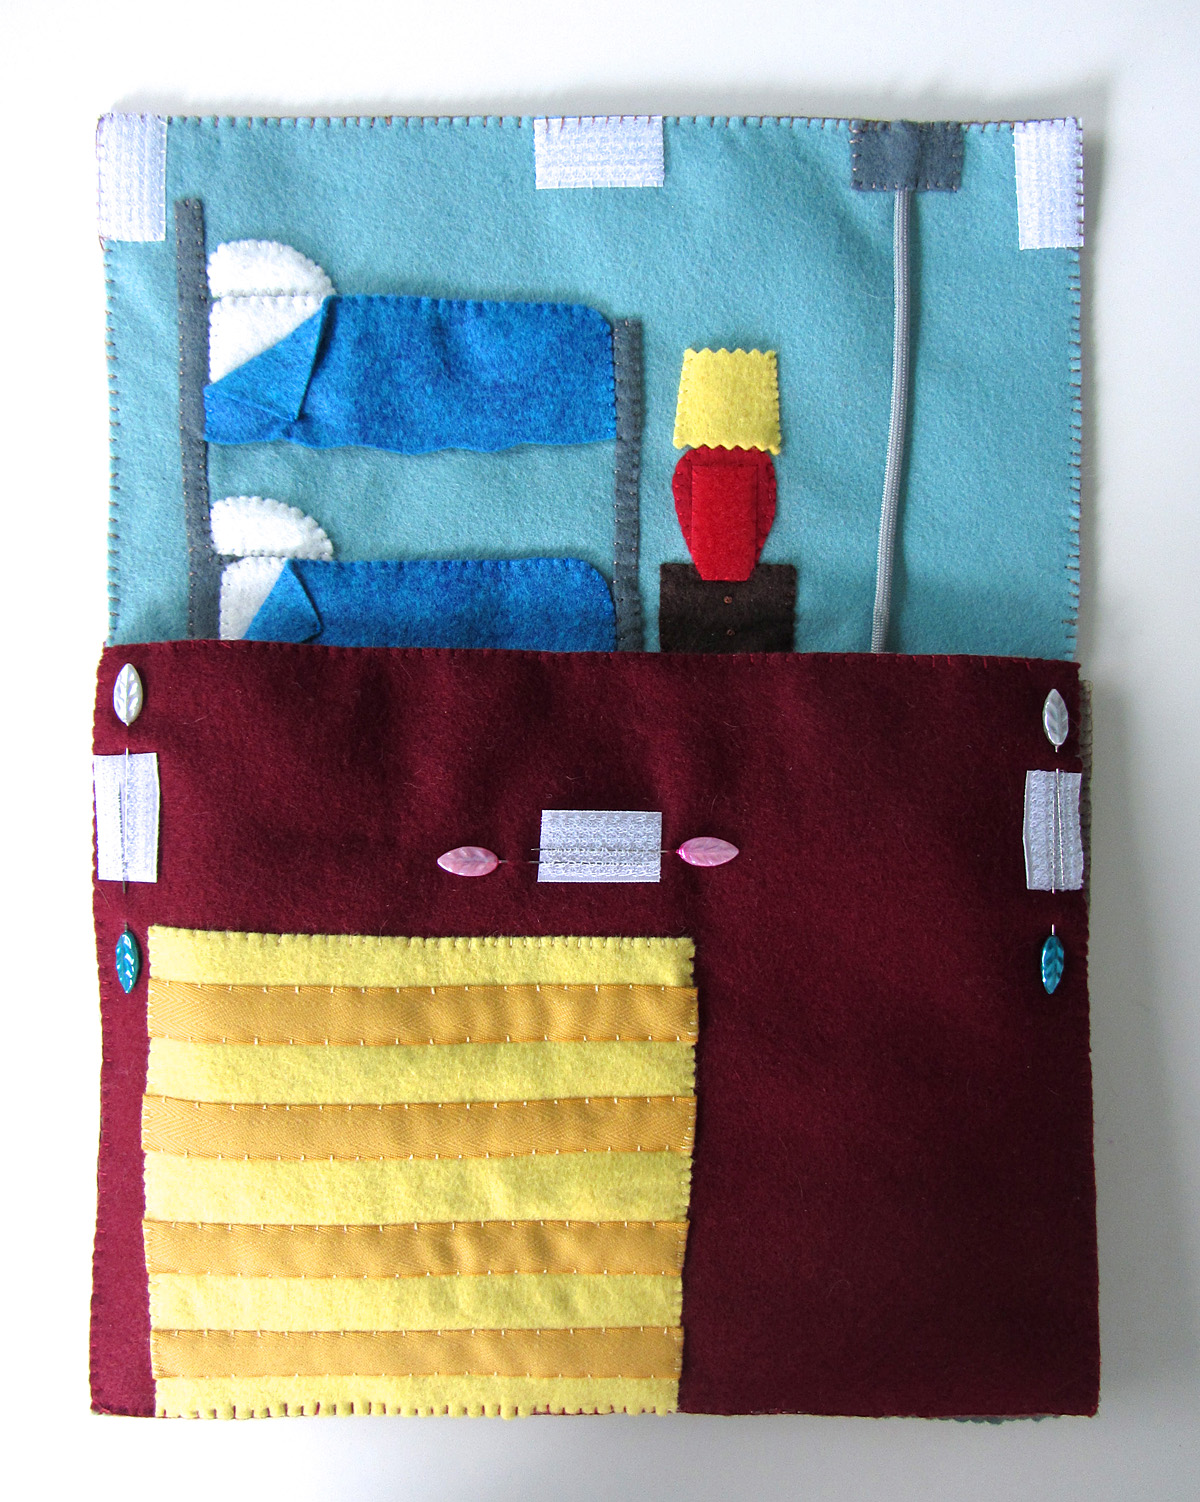
All done! Jax is dying to place with this book, so I’ve let him have a few sessions with it already. He loves helping the fire fighters down the pole and cooking feasts.
My pages are partially sewed together into book form, simply so I have better photos in between. I’ll go over constructing the book in the next post. The next post will also cover everything sewn to the cover. As you can see in these photos, snag-free Velcro will be sewn to the top of the bedroom, as it is the inside of the cover flap.
Stop by the Facebook page if you are sewing along with this project. I’d love to see photos of your progress!