I’m so excited to be working with e-textiles again! (The robot page was my first effort.) Quiet books and LEDs can really be a perfect pairing. I really like to include a lot of interaction into my page designs, and what better to add than working lights?
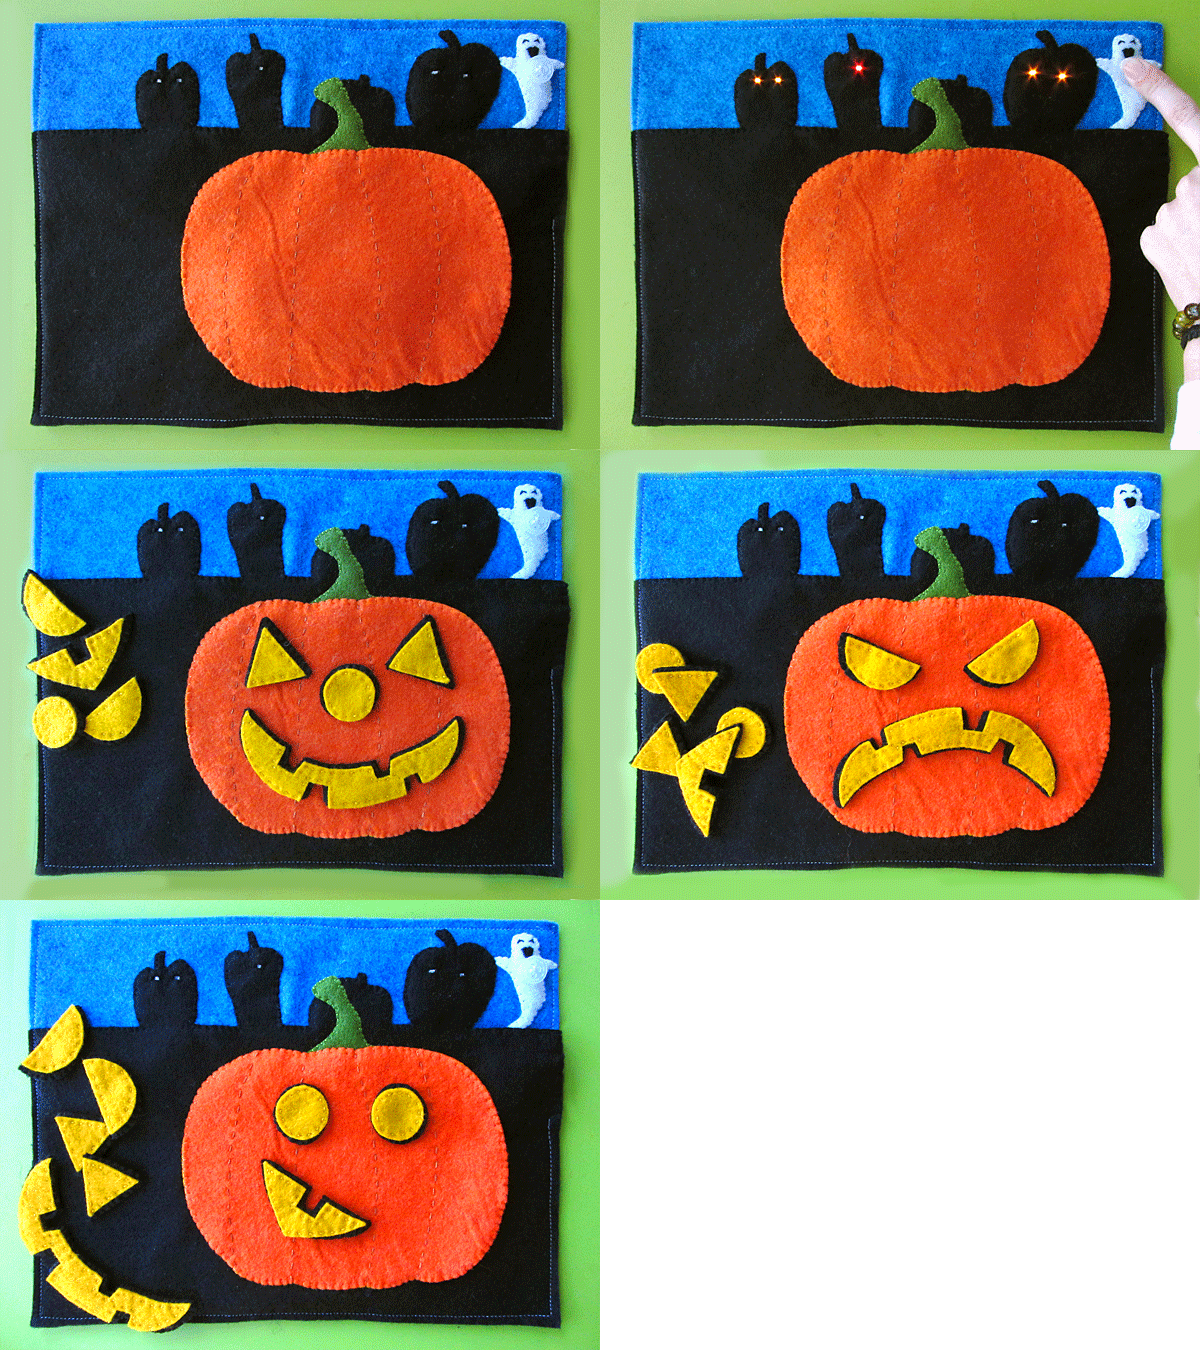
This is a very simple e-sewing project – a perfect one to start with if you want to get the hang of it. And better yet? SparkFun has provided me with 3 $50 gift certificates so you can load up on supplies and create some LED projects of your own! Head to the bottom of the post to enter.
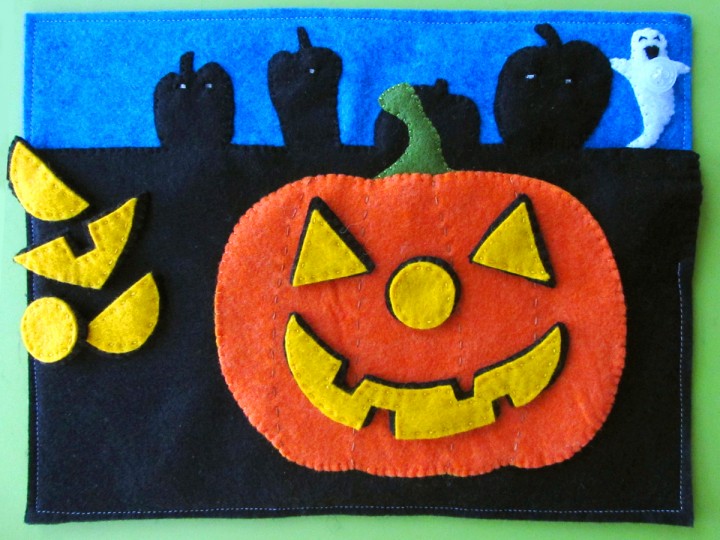
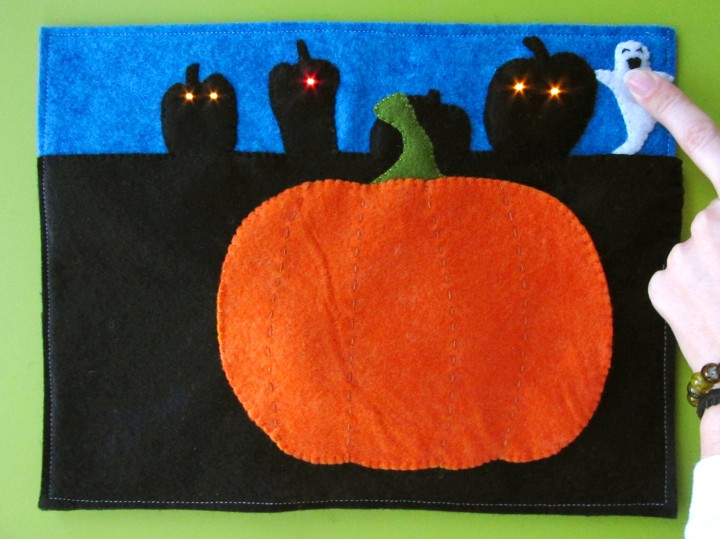
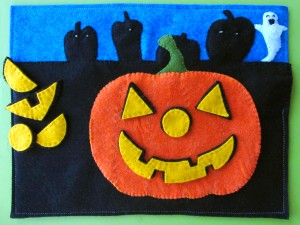
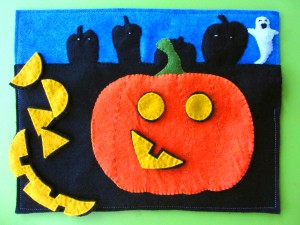
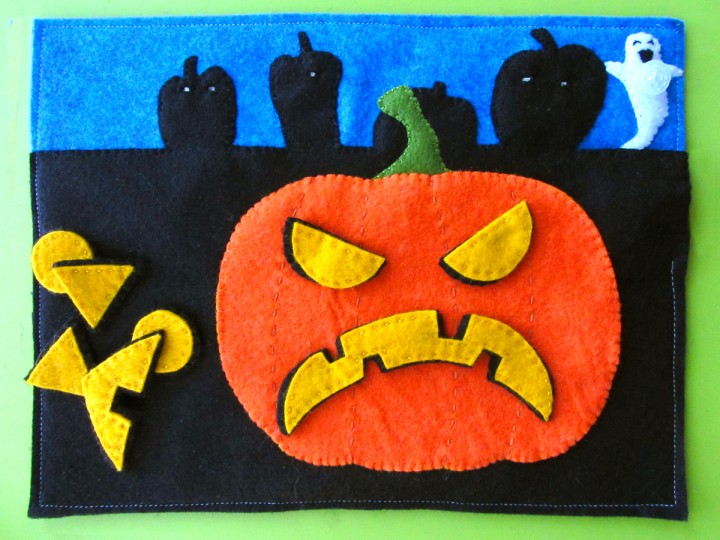
If you aren’t feeling up to the LEDs. this page works great without them. The main activity is a create-your-own jack-o-lantern face with pieces that hide inside the pumpkin.
This is the first in a series of pages I am doing for all 4 seasons. I’ll be doing one regular page and one holiday page for each season.
The beautiful felt for this page is provided by American Felt and Craft. See that beautiful aqua blue with swirls of cobalt it it? When I received samples of their newest colors, I HAD to change my background for this page to Pool Party. It is the perfect twilight sky color. It reminds me of when the sun has just barely set on Halloween night and you go out on the porch to light the candles in your jack-o-lanterns. Perfect. AF&C is having a giveaway on their Facebook page. Hurry and check it out!
What I used:
- The Pattern
- Felt (in pool party, black (2), monarch butterfly, egg yolk, cilantro and white)
- Velcro scraps in black and daffodil
- LilyPad Battery Holder
- LilyPad Button Board
- Coin Cell Battery
- 1 Red LED (leftover from my next page)
- 4 Yellow LEDs (leftover from my next page)
- Conductive Thread
- One sew-on snap
- One white button
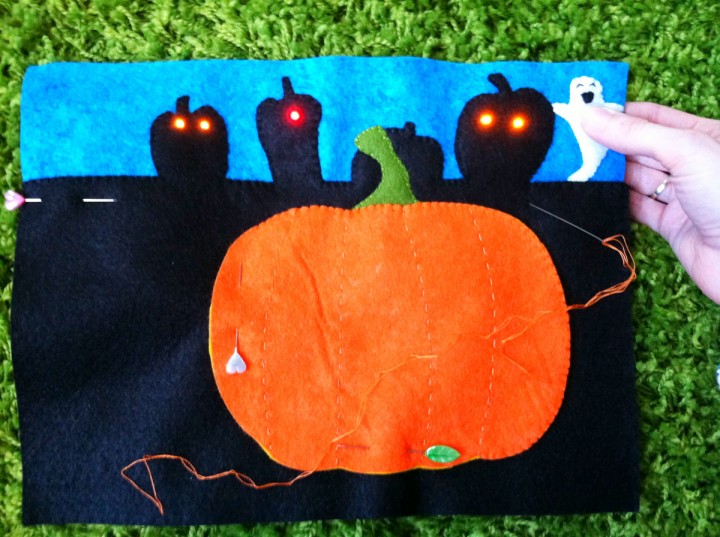
Start by cutting everything out. Lay the pumpkin silhouettes at the top of a full black sheet of felt and cut away the negative space above them. (See photos.) Pin it on to the blue background, leaving the top loose so you can flip it down if you are adding the wiring and LEDs.
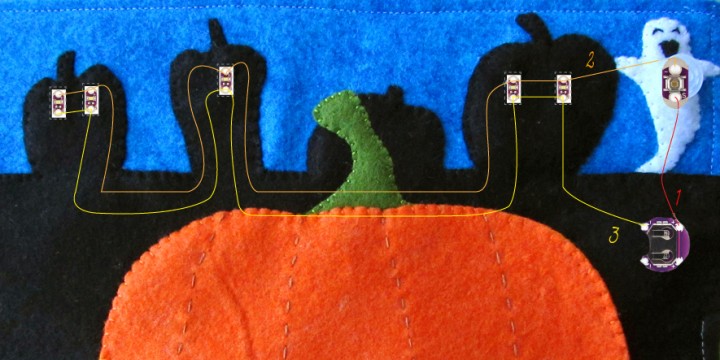
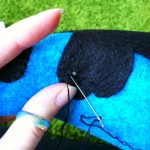
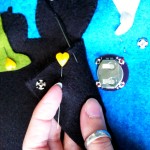
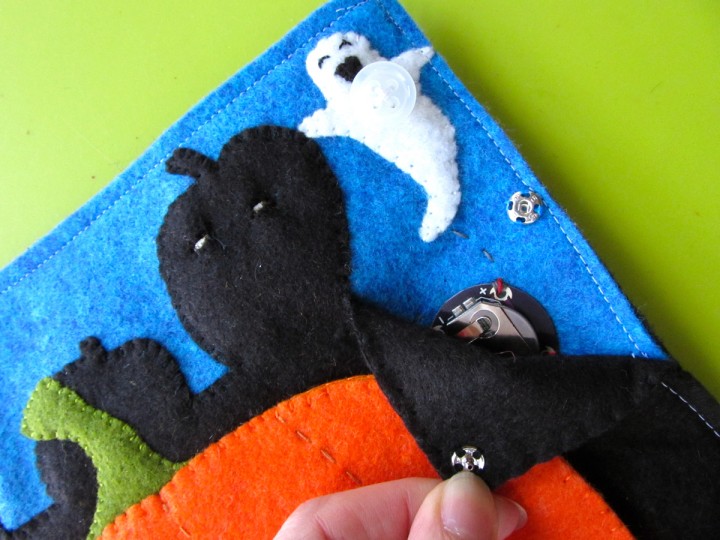
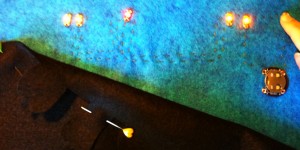 E-Sewing: Start by basting your battery holder in place as shown under the black felt near the edge of your page. Thread your needle with conductive thread and tie a knot in the end. 1. Come up through the top + (positive) hole and make several strong stitches through it. Using the white ghost shape as a guide, do a running stitch up to where the button will be (so that the stitches will hide under the ghost.) Stitch several times through the button board as shown. Tie off your thread with a knot, making sure the tail is short and can’t touch other threads. 2. Start a new conductive thread and make several stitches through the other hole of the button board. Stitch a running stitch over to the + hole of the first LED and make several stitches in the hole. Continue the + (positive) thread as shown until you’ve gone through all the + holes in a chain. Tie off with a knot and trim the tail. 3. Start a new conductive thread and make several stitch in the top – (negative) hole of the battery holder. Running stitch over to the negative hole of the first LED and make several stitches. Continue the – (negative) thread as shown until you’ve gone through all the + holes in a chain. Tie off with a knot and trim the tail. 4. Insert a battery into the holder and test the button.
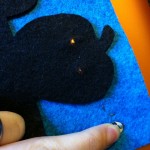
Pumpkin Silhouettes: Lay the black pumpkin shapes down over the LEDs and press the button to see where they are. Cut tiny rectangles for the LEDs to shine through. Stitch around the holes to fortify them, and stitch the short sides of the hole down to the page so the holes don’t move out of place. Stitch around all the pumpkins, but leave the straight section between the far right pumpkin and the edge of the page unstitched.
Cut a square of felt to be the lining of the little flap you left unstitched over the battery holder. Add half of snap to the edge of the page (leave room for the edge seam) and add the other half to the lining. Sew the lining in using a blanket stitch on the two exposed edges and baste along the other two. (I basted by making long stitches on the inside of the flap and tiny stitches on the visible side.)
Ghost Button: Sew a scrap of black felt on to be your ghost’s mouth. I made mine a happy ghost. For his eyes, I made curved stitches. Find a white button with a convex back (so that the back curves out like the bottom of a bowl.) Test placing the button on top of the LilyPad button board and pressing lightly. If it turns on the lights, you have a winner. Sew the button in place on the ghost so it lines up with the button board, then sew around the ghost to secure him the the page.
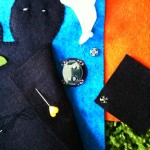
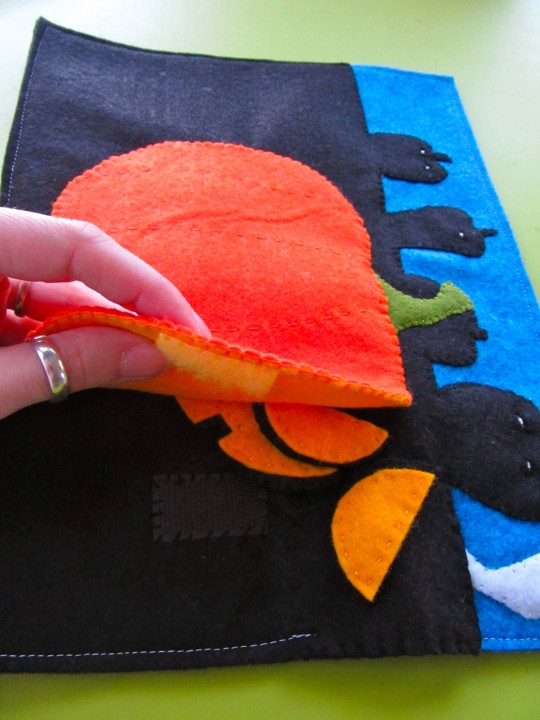
Pumpkin: Sew the stem down to the page. I didn’t bother sewing the base of the stem, as it gets hidden under the pumpkin. Take your orange pumpkin piece and sew a running stitch to indicate all the folds in its shape. I used an orange-brown thread. Sew some yellow hook & loop tape to the inner yellow pumpkin piece (see the pocket photo below.) Pin the two layers together and sew a blanket stitch along the outside of the far right segment of pumpkin. (You’ll be sewing the opening of the pocket. Mine went from the bottom of the far-right fold line to the top of it. Pin the pieces to the page and sew around the rest attaching it to the page as a pocket. Sew some black hook & loop tape down to the page so it lines up with the yellow.
Jack-O-Lantern Pieces: For each jack-o-lantern piece, I sewed the yellow shape down to some black felt using a running stitch. Cut out around the shape so that the black is a bit wider than the yellow. Cut another piece of black felt to match and sew it on as a backing.
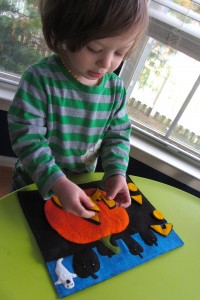
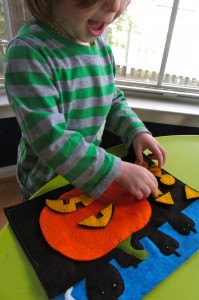
Jax adores this page and really loves making different emotions with the face shapes. He spent a whole bedtime routine the first night saying “He’s mad!!” and laughing hysterically over his memory of the smile turned upside down. You could add shapes of your own. There is plenty of room in the pocket!
The Good Stuff
I’m excited to announce a really great giveaway! I reached out to SparkFun recently because I think e-textiles are a really great match for quiet books. My next page will be very interactive and provide feedback to the child while they play. SparkFun has generously offered up three $50 gift certificates to their online store. (You will need to have at least $50 pre-tax and pre-shipping in your cart for the code to work.)
To enter, leave a comment on the blog post below. Make sure you include your email address in the right field so I can contact you if you win.
The Boring Stuff: NO PURCHASE NECESSARY. Sweepstake is open to those age 18 and older. Entries must be received between 12:01am 10/24/2012 and 12:01 10/31/2012. Three (3) winners will be chosen on 10/31/2012 and will each win one (1) $50 code for sparkfun.com. The codes require that you have at least $50 pre-tax and pre-shipping in your cart to work. International shipping charges and fees may apply. See the SparkFun website for details. The number of eligible entries received determines the odds of winning. If a potential winner forfeits or does not claim the prize, the prize will be re-awarded, at the sweepstake host’s sole discretion. All prizes will be awarded. Neither Imagine Our Life, prize sponsor SparkFun nor their affiliates will have any liability whatsoever for any injuries, losses or damages of any kind caused by any prize or resulting from acceptance, possession, use and/or misuse of any prize or participation in this promotion. Acceptance of a prize shall be construed as the winners’ consent to having their first name and last initial posted on the sponsor’s site following the contest duration. VOID WHERE PROHIBITED BY LAW.
Good luck! If you sew this page, with or without the LEDs, please send a photo or post it on the Facebook page. I’d love to see it!

Love it!! Have saved to my to do list once I get the chance to start on my first quiet book 🙂
This page is so cute…and cool!! I love the idea of adding LEDs to the page. Very high tech 🙂 Can’t wait to see the rest of the seasons!
I love these books perfect for the little ones, I love working with felt as a medium, thanks for the opportunity for a chance to win
I have to admit I just stumbled upon your blog while searching for quiet book page ideas and I am so impressed! I find myself excited to get up in the morning and play with my kids and these fun books, instead of staying in bed and just letting them watch T.V. 🙂 I have a great network of crafty moms who will be so excited about this too! I can’t wait to show them how fun and easy it is. The gift certificate is such a great idea! Thank you for all the inspiration.
This is just awesome! No other way to describe it!!
LOVE LOVE LOVE the page!
I love these! I’ve been looking for small led lights for some of my pages, and this would be great!!!
Looks Will try LED’s in my pages!
I have started working on my quiet book again and I always come to your pages. I have already done about 15 pages like yours and love all of them. A friend and I get together once a week and work on pages and I have never seen anything like this cute halloween page. I love the lights, and can’t wait to work on this page. Thanks for the chance at winning, keeping my fingers crossed 🙂 Thanks for all your hard work.
I look forward to using the LED components on my quiet book pages. What a way to watch my grandkids eyes light up when they press the button!
Another great LED quietbook page! I’ve been working on your robot one this past week and it is SO much fun to see it light up!! Would LOVE a chance to win the gift certificate! Keep up the AMAZING job you do!!
Thanks again!
I made the robot page with LED lights and totally love it! I would love to incorperate more e-sewing and lights into my pages. Thank you for helping me make an adorable quiet book for my son!
A great great idea! Definitely something to do ! *crossing fingers for the giveaway*
Your work is incredible! Can’t wait to see the finished Christmas page as well!
I love all of these pages!! thank you for sharing your talents!
Love this! What a fun page!
I have already made 6 of your pages and I love every one! I hope i’m super excited for this giveaway! thank you for all the inspiration you give!
So cool! Many thanks for sharing!
I have used several of your ideas in a quiet book for my granddaughter and will be making this page tomorrow!
I just want to say that I find your quiet book pages absolutely adorable and can’t wait to try to make some for my little one….you are very creative and have the best ideas.
Pingback: It’s a Homeschool Halloween! – Be Here Homeschool