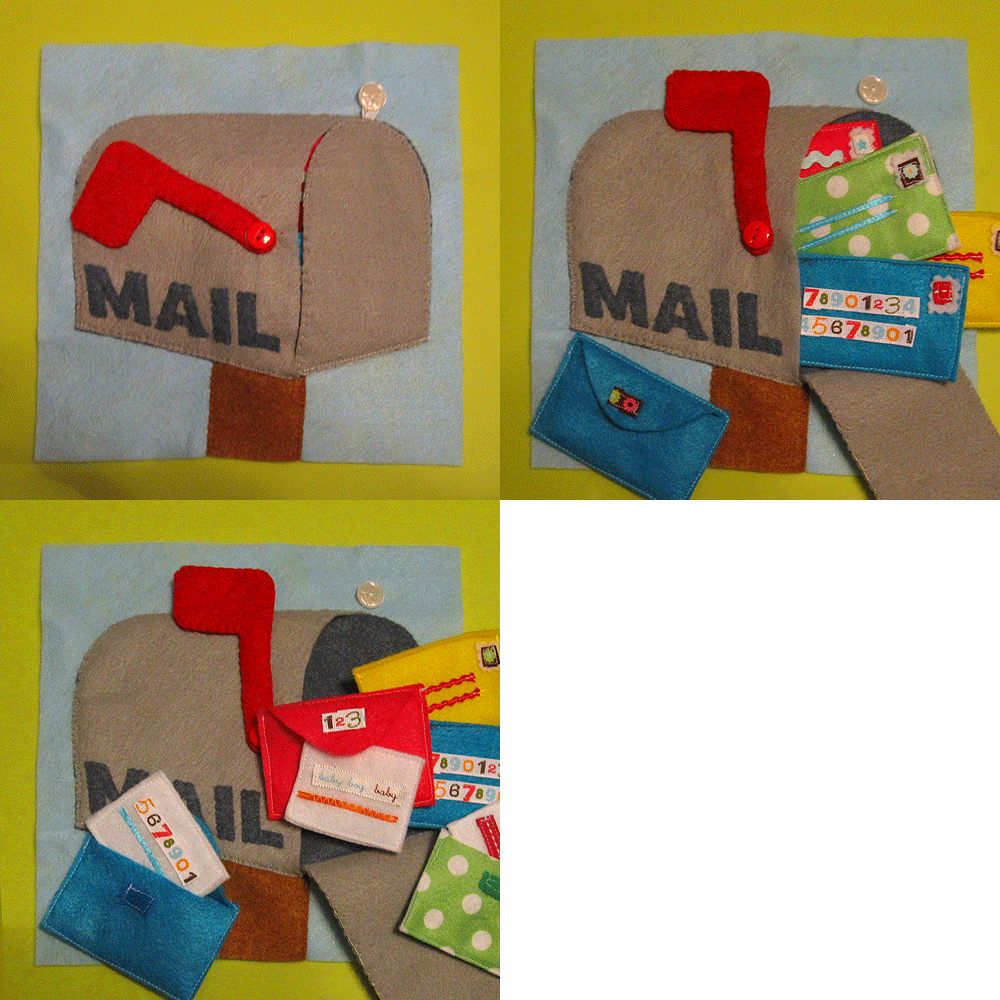
I finally have another quiet book page done! First there was vacation, then working to make up lost hours, Thanksgiving and a bad cold. And there went November!
There’s nothing super original or crazy about this page, but it was one I wanted to include. “Mail” was one of Jax’s first words thanks to the mail song on Blue’s Clues. I have to give a shout out to Handmade By Jill, as her mail page was the first I came across.
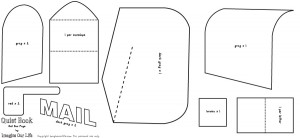 Here is what I used: a 9″ x 9″ sky blue felt background, felt (in light gray, dark gray, red, brown, white, and assorted colors for the envelopes), ribbons and ric-rac, buttons, 1 grommet, Velcro and thread to match.
To make the page: I stared by sewing the two sides of the red flag together. I installed a grommet at the end – the same kind I use on the finished pages. I then sewed the lettering down onto the side of the mailbox. Placing the flag where I wanted it, I sewed on a button through the grommet hole. This lets the flag move just like on a real mailbox. To make the mailbox door, I sewed the two sides together with a loop of ribbon at the top. You could use elastic as well. I sewed the brown stake to the page, followed by the dark gray mailbox interior (the dashed line on the pattern shows where I sewed a decorative line to add dimension to the inside). I sewed the top, back and bottom of the outside of the mailbox down leaving the front open to put the letters in. To finish the page, I sewed down the bottom of the mailbox door and attached a button above it.
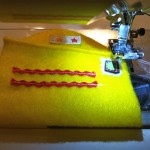
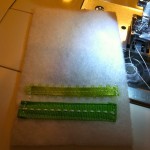
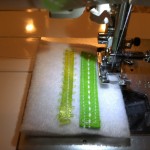
The mail is a blast to make! Get out your ribbon and ric-rac stash and have some fun! I used my sewing machine for them and had to rush. Please excuse the shoddy stitching in my example – I was actually nursing at the same time!
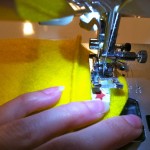
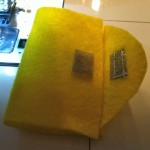
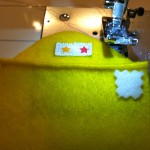
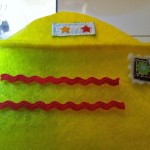
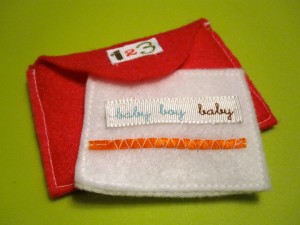
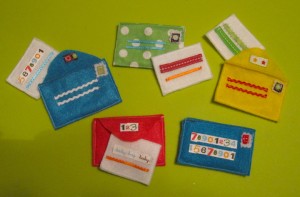 To make the envelope: Fold the envelop flap over and stitch beside the fold to set it in place (felt doesn’t fold well on its own.) Sew a piece of Velcro on the inside of the flap and decorate the outside with a scrap of ribbon or felt. Fold the envelope body up to find where the other half of the Velcro should be, the sew it on. Cut a little rectangle of white felt with your pinking shears. Sew it on as the stamp with a scrap of ribbon or felt. I used ribbon and folded under each end. Cut some ribbon or ric-rac and position it where the address would be. Sew it down. Fold the envelope back up and sew around the sides and bottom. All done!
To mail a letter: Sew ribbons or ric-rac down on the bottom half of the white felt rectangle. Fold the whole thing in half and sew along all four sides and trim it to neaten it up. I just did two ribbons on each, but you could go crazy!
I hope the pattern is helpful! This page came out very cute thanks to the mail. I had to stop myself after 5 letters because the mailbox was getting too full! If you use this pattern, I’d love to see your end result. I hope you’ll share it with me!


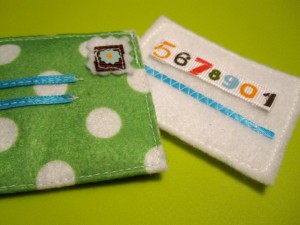
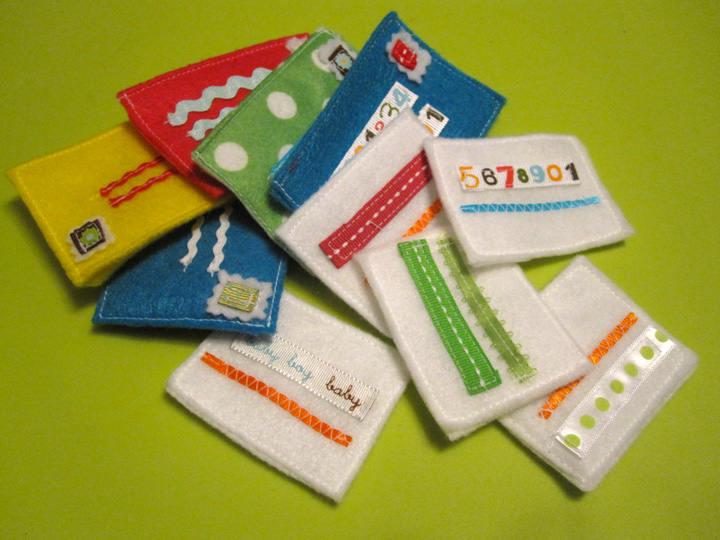
This page makes me wish we lived in America with those cute mailboxes with flags 🙂
You’re not planning a forklift page, are you?
Because Angelo LOVES forklifts but I am not creative enough to figure out how to make one – I am imagining a fork that lifts little wooden crates, but to draw it and figure out the mechanics is beyond me!
Hm… Good idea! Jax isn’t into vehicles yet (beyond the school bus that drives past our house) but that would be a fun page. I’ll try to figure something out.
I am absolutely in love with your quiet book ideas! Thank you for sharing all of your pages with patterns available. So far I have made the matching sock page, the cupcake page and I’m working on this mailbox one now. I’m new to sewing and working with felt so this may be a dumb question, but how do you make a grommet hole? And exactly what is it?
Thanks again for sharing your creative ideas!!
Thanks so much for this tutorial and pattern! My son is obsessed with Blues Clues and just loves that mail song! I’m making him a quiet book for our trip to Disney and this really helped me make the page faster not having to figure it all out on my own! I made my mailbox look like the mailbox from the show!
I’d love to see it! Jax loves Blue’s Clues too…
I used this template in my quiet book. Here’s my finished pages http://angjdriley.blogspot.com/2012/10/finally-finished.html
Hey Stephanie,
I made this page and made up a mail truck page to go with it! Pictures and pattern are on my blog: http://booksnboys.blogspot.com/2013/01/mail-truck-quiet-book-page.html
Hi Stephanie! I’m taking inspiration from your valentine play set and incorporating it into this mailbox qb page. Just curious why the the letters are cut 2x? Thickness?
I believe the letters on the mailbox page are two layers (one piece folded) so you can hide the back of the stitching you used to attach the ribbons. The Valentine letters have photo fabric, which is very thin, sewn to one layer of felt.
Do you hand sew everything on here except the envelopes?
Yes, everything else is hand-sewn, but you could machine stitch much of it.
Really quick question! With the grommet for the flag. Do you grommet through the front of the mailbox that you attach the flag to? Or does the button attach you to the mailbox and you only grommet through the flag?
Pingback: Felt Quiet Book #1 | Alana Jean's Creations
I tried out your mailbox page today. I forgot to sew on “MAIL” before attaching the front to the back, so I decided to use a marker for the letters. I’m pretty happy with how it turned out.
I took a picture, but I couldn’t figure out how to send it to you on your blog. A little help?
If you are on Facebook, you can post it on our wall. Otherwise, email works! stephanie @ imagineourlife . com (but no spaces)
I just started making quiet books for my 2 and 1 year old boys and my first page is this one. In not even done yet and they are already fighting over who gets to plays with it. Thabks for the amazing tutorials and patterns. I can’t wait to do them all!
Pingback: Gray’s Felt Book | Babes in Deutschland
I love your quiet book page! It’s so detailed and creative! I recently made quiet books for my kids and drew a bit of inspiration from yours and linked it on my blog, you can check it out here: http://babesindeutschland.com/2013/08/02/grays-felt-book/
Thanks for the inspiration!
Do you have a quiet book page for valentines day. My great grand baby is 1 yr old.
Hi! I have a Valentine mini book and a Valentine play set:
http://www.imagineourlife.com/2012/01/16/valentine-mini-quiet-book/
http://www.imagineourlife.com/2013/01/16/felt-valentine-play-set/
Hi Stephanie, love your website. I did a few of your quiet book pages and would love to share with you when I figure out how to post them. 90% finished with the mailbox
Thamnks for sharing
I’d love to see them!
Hi Stephanie
Thank you so much for being so generous with your ideas and tutorials.
Working on a Busy Book for my 2 year old granddaughter, using some of your ideas and it is coming together beautifully!
Awesome! My new grandchild will grow to enjoy! What a great idea! I just love it!