Monthly Archives: June 2013

Ocean in a Bottle & Sea Creature 3-Part Cards

A sewing note first… Exciting sewing projects in the works! You voted on Facebook that the next free quietbook pattern be a world map. Your choice was perfect, as I need to start geography and world studies with Jax in homeschool! I’m really excited, as this will be a quietbook with all the continents, plus removable landmarks, labels and animals. Not only that, but there will be a big wall map to learn where everything goes! Lots of updates will be posted and I’ll be blogging each continent separately so you can sew along. Here’s a little peek!

Due to an upcoming beach trip for my birthday, Jax and I are studying the ocean right now. Here are two more activities we’ve been doing on that theme.

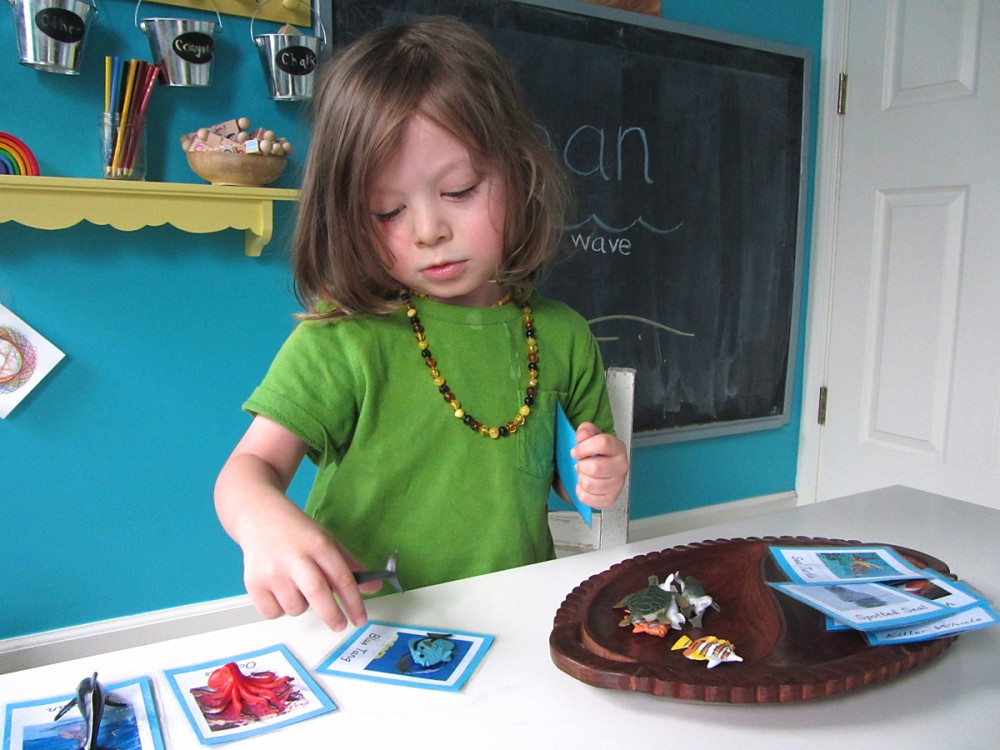
Sea Creature 3-Part Cards

Sea Creature 3-Part Cards

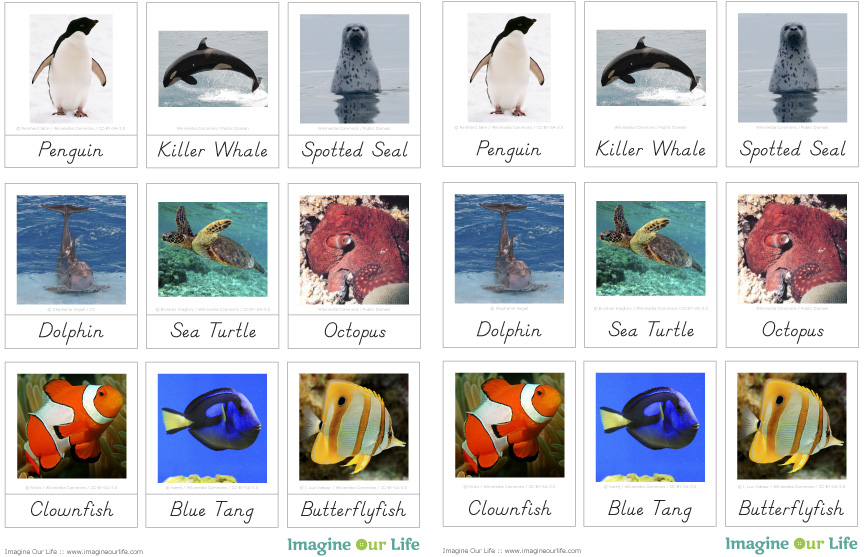
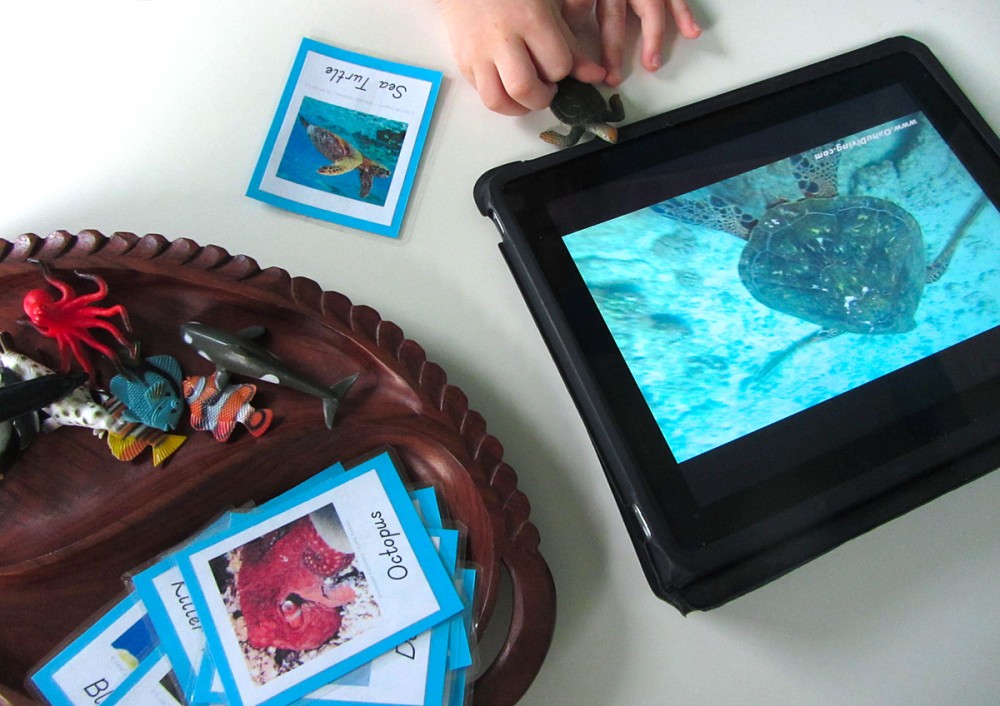
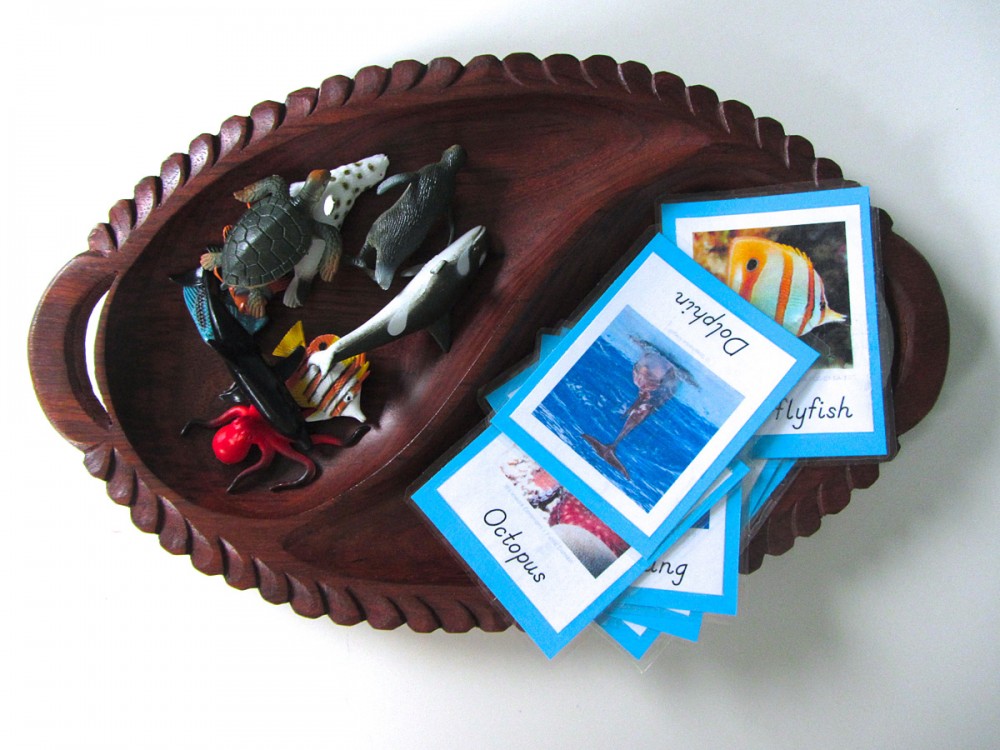
Montessori uses a lot of 3-part cards in the 3yo – 6yo age group. They can be used in any subject to aid in adding vocabulary, learning to sort/classify, reading practice and so much more. Three-part cards are made up of two photos – one with a label, one without – as well as a separate label. Younger children start with the labeled card to help them learn the vocabulary. One of the best ways to use them is with small objects that match the photos. Older kids can work with the unlabeled card, matching the correct words or writing their own.

Sea Creature 3-Part Cards

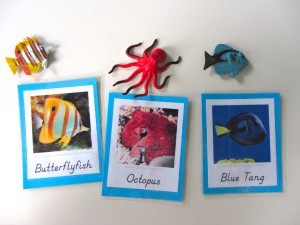
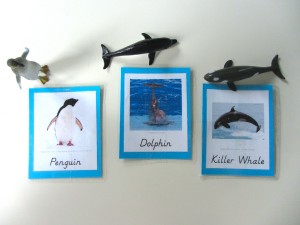
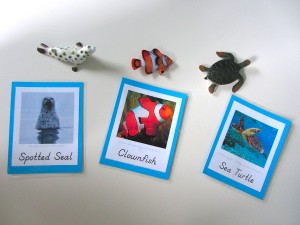
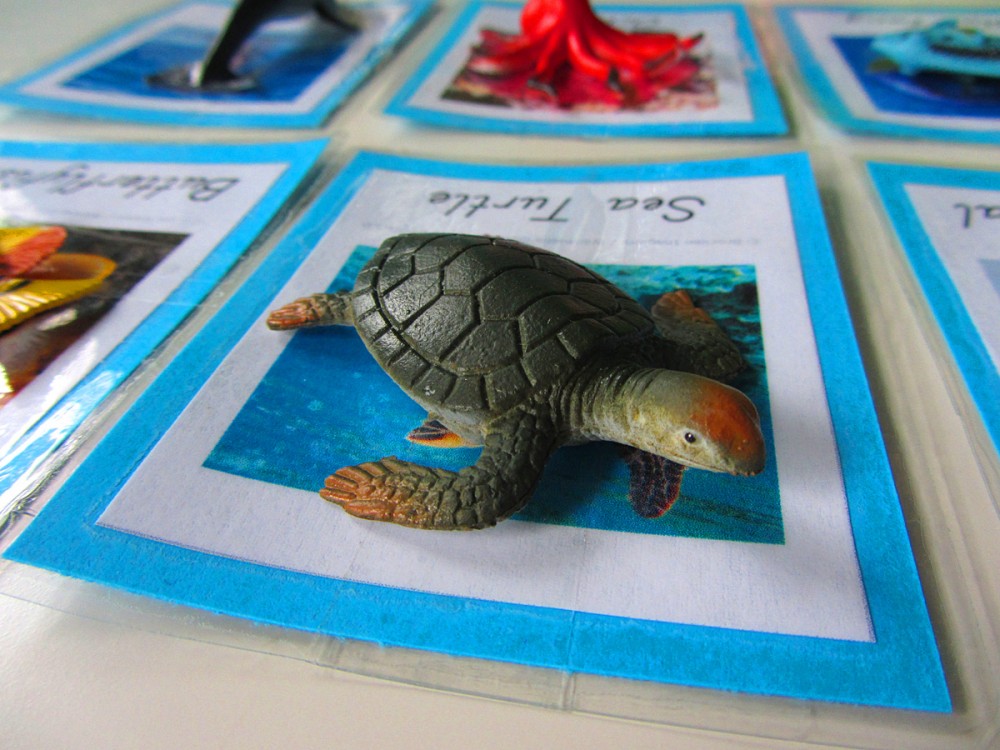
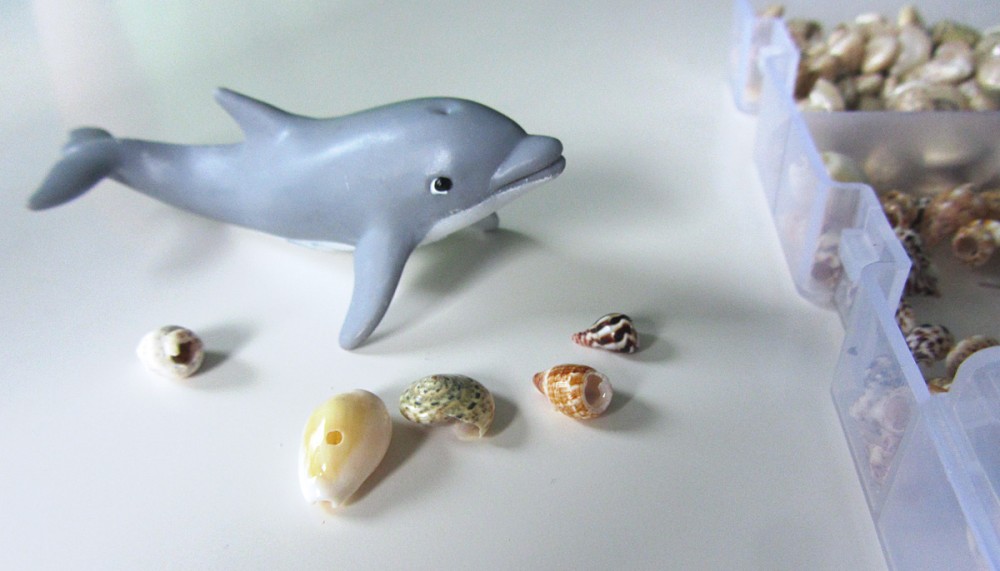
I knew I wanted to do sea life ocean matching after seeing this Pinterest pin. Armed with a 50% off coupon, I headed to the craft store for SafariLTD’s great Coral Reef TOOB (also here on Amazon). Alas, they didn’t have it! After some pouting, I used the coupon on their Wild TOOB for our world project and let Jax choose a small figure to put in our ocean-in-a-bottle (see below). He chose a dolphin calf (also here on Amazon, but cheaper in-store). I still really wanted to do some matching, so we checked the miniatures aisle. We had luck with this brand, which sells items for dioramas and school projects. I bought one sea life pack 7004 (all that was in stock) and two fish packs 7069. They do appear to have random assortments in each pack, so you might get something slightly different. My sea life pack had: sea turtle, octopus, penguin, dolphin, killer whale and seal. I got the two fish packs because I spotted three fish I recognized between the two: clownfish, blue tang and butterflyfish (I added the black dots with a Sharpie.)

Sea Creature 3-Part Cards IMG_2357 Sea Creature 3-Part Cards

I am a graphic designer by day, so laying out custom cards was a simple process, and I am happy to share my file with you! All of the photos are either public domain, creative commons or by me. All have been credited as required. Please use this file for educational use only. Click here to download the PDF file.

Sea Creature 3-Part Cards

To assemble, cut out the cards, mount them on card stock, them laminate. So far I’ve only constructed my labeled cards, as I ran out of the packing tape I was laminating them with (but a laminator is on its way to me!)

Sea-Creature-3-Part-Cards

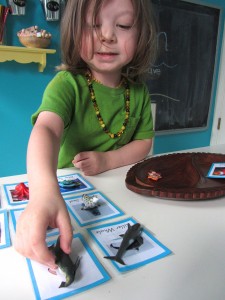
Jax has had a great time working with these cards so far. We’ve done simple matching games, as well as more in-depth lessons.

Sea Creature 3-Part Cards  Sea Creature 3-Part Cards

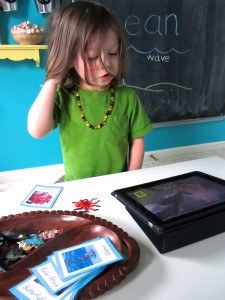
In one activity, he’d draw a card and we’d talk about the sea creature and watch videos.

Sea Creature 3-Part Cards

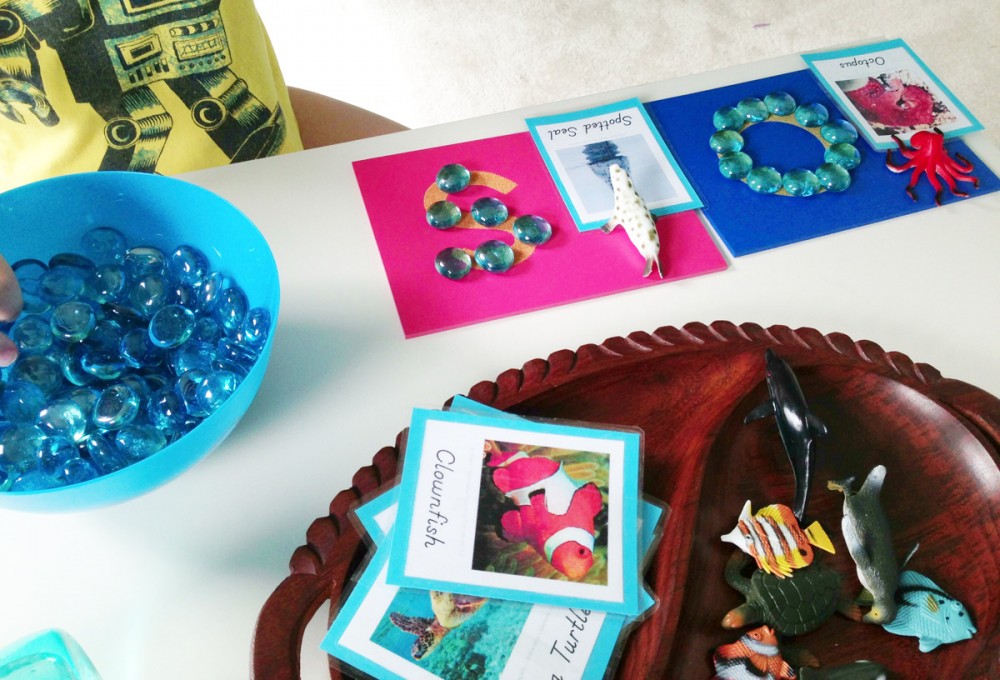
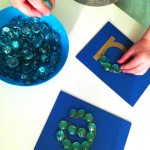
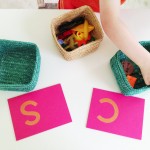
Jax invented a game in which he’d trace the first letter of the animal’s name with glass pebbles on his sandpaper letters.

Sea Creature 3-Part Cards

I’m sure we’ll come up with more fun ideas over the next couple of weeks!

Ocean in a Bottle

Ocean in a Bottle

There are so many posts out there on how to make an ocean in a bottle. Here is how it went for us!

We ditched the sand. Too hard to see in!

We ditched the sand. Too hard to see in!

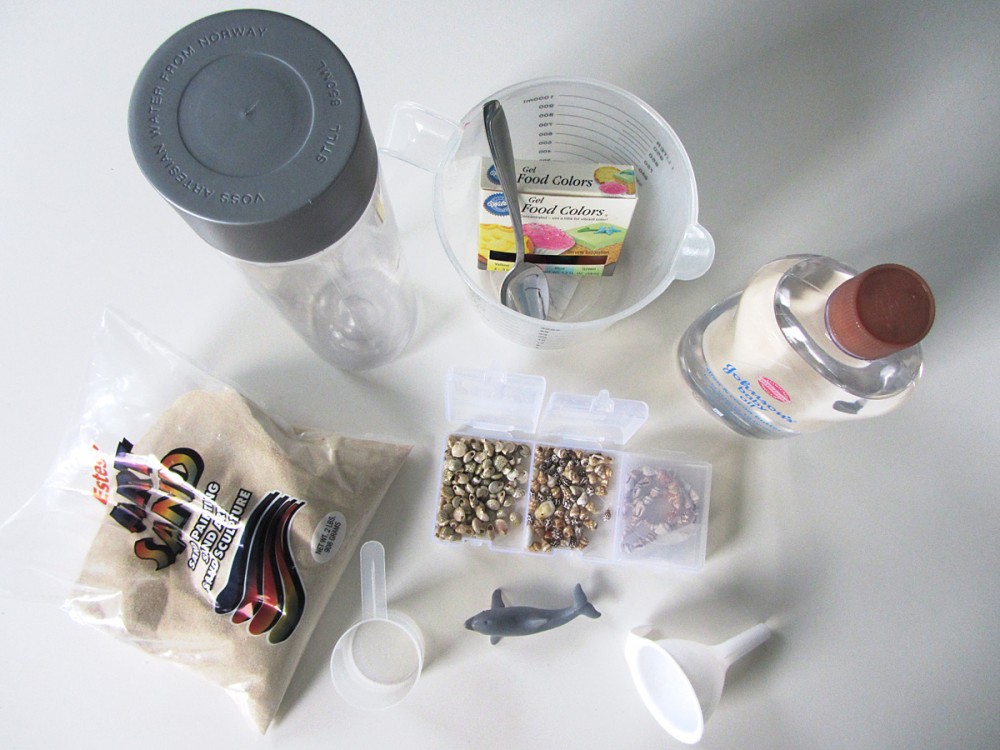
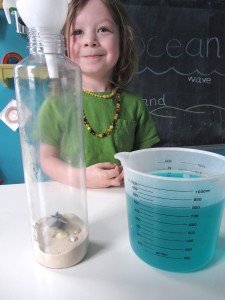
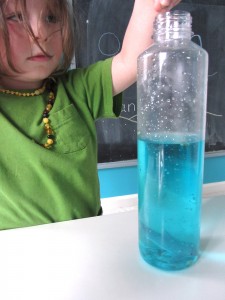
First, I needed the perfect bottle. I don’t drink soft drinks or anything, so I didn’t have much on hand. I had one water bottle in the fridge from a long walk we’d taken, but if you squeezed it, you could smash it in. I needed something with thick plastic, a smooth shape (for no distortions) and a wide mouth (to put the dolphin through.) I browsed the water aisle at the supermarket and found the perfect one – a $2 plastic bottle of VOSS water (which btw, tastes like… water!) These come in glass as well, but Jax definitely couldn’t manage a heavy water-filled glass bottle yet.

Ocean in a Bottle  Ocean in a Bottle  Ocean in a Bottle

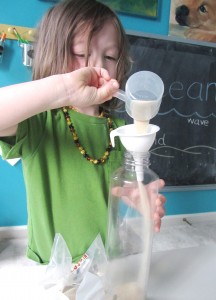
We started out using some craft sand in our bottle, but it didn’t work out. As soon as we added our colored water to the sand, it got super frothy and stuck to everything. We rinsed out the bottle and started over without the sand. Jax did enjoy pouring it in with a funnel, though.

Ocean in a Bottle  Ocean in a Bottle

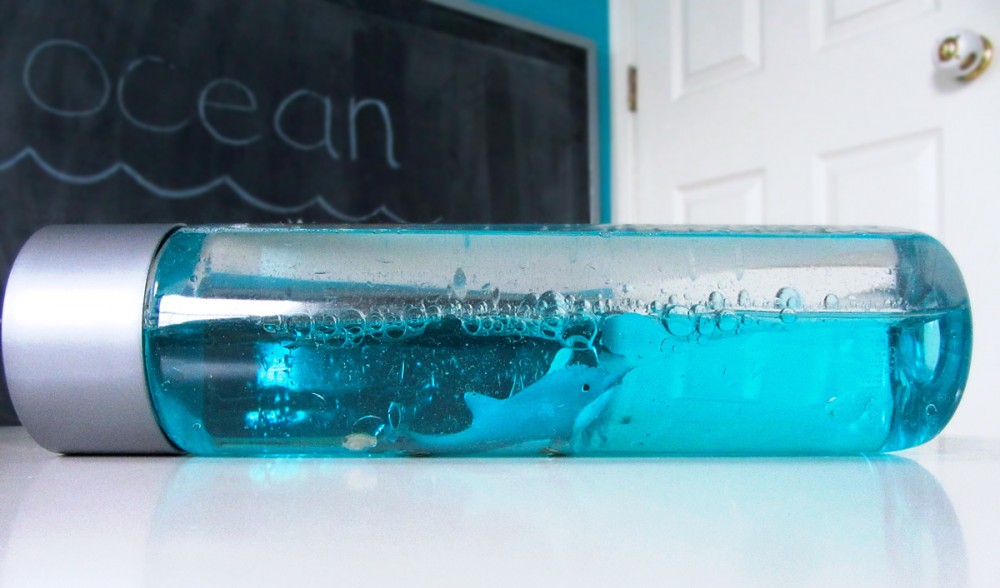
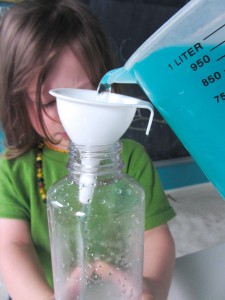
I dropped both blue and green food dye into our water and Jax stirred. We wanted a pretty turquoise ocean. Jax held the bottle while I poured, then he chose some tiny shells and added them in with the dolphin calf.

Ocean in a Bottle

Hi, I’m cute!

I put some paper down before pouring the oil in. I filled the bottle the rest of the way with the oil (but not where the cap covers.) Not pictured, I wiped the bottle down until it was clean and dry, then ran some hot glue around the top before screwing the cap on tightly.

Ocean in a Bottle

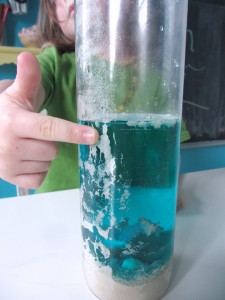
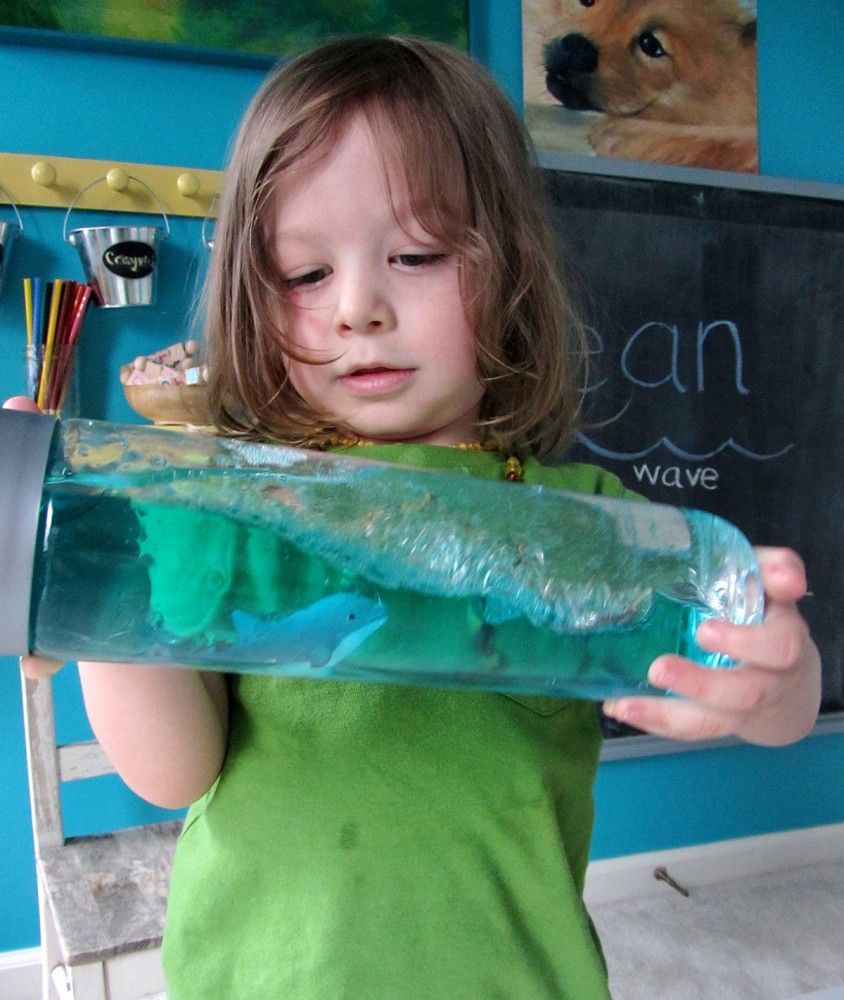
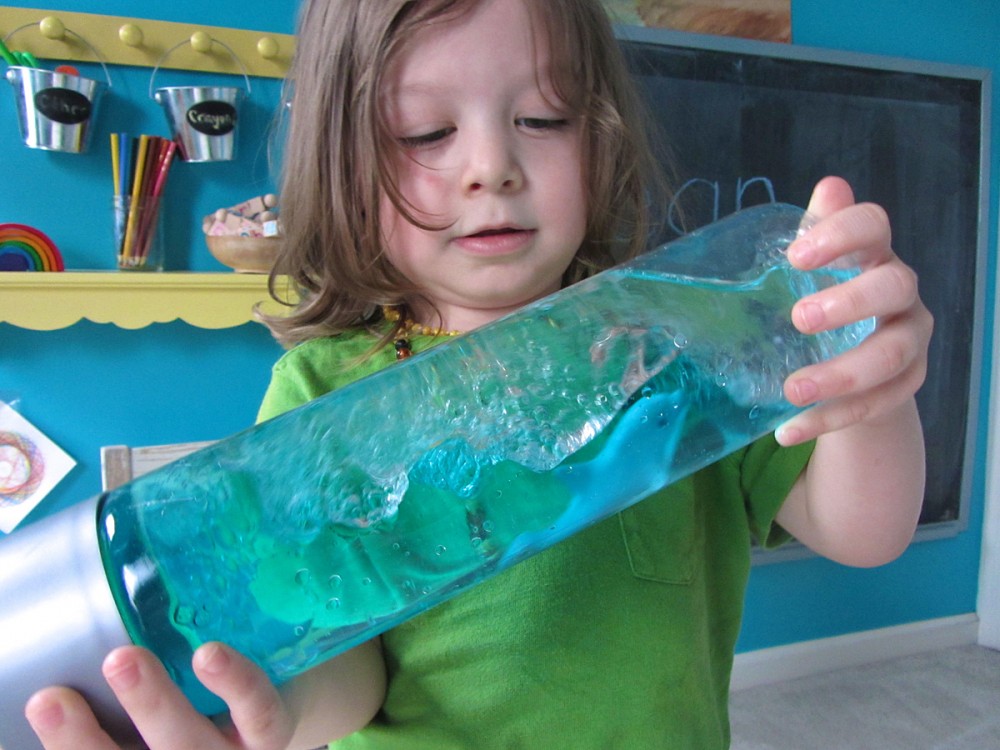
The oil and water separate to simulate the look of the air and ocean waves when you rock it back and forth. Just figuring out how to hold the heavy bottle and make the correct motion was a good activity for Jax!

Ocean in a Bottle

He really enjoyed watching the waves, and when he is a little older, we can discuss the science behind them.

Aquarium Scavenger Hunt & Coconut Sensory Sand

We’ve just begun our first themed homeschool unit: the ocean! We will be going to the beach for my birthday weekend in one month, so it is perfect timing to learn all about the beach, the ocean and sea life before we get there.

Aquarium Scavenger Hunt & Coconut Sensory Sand

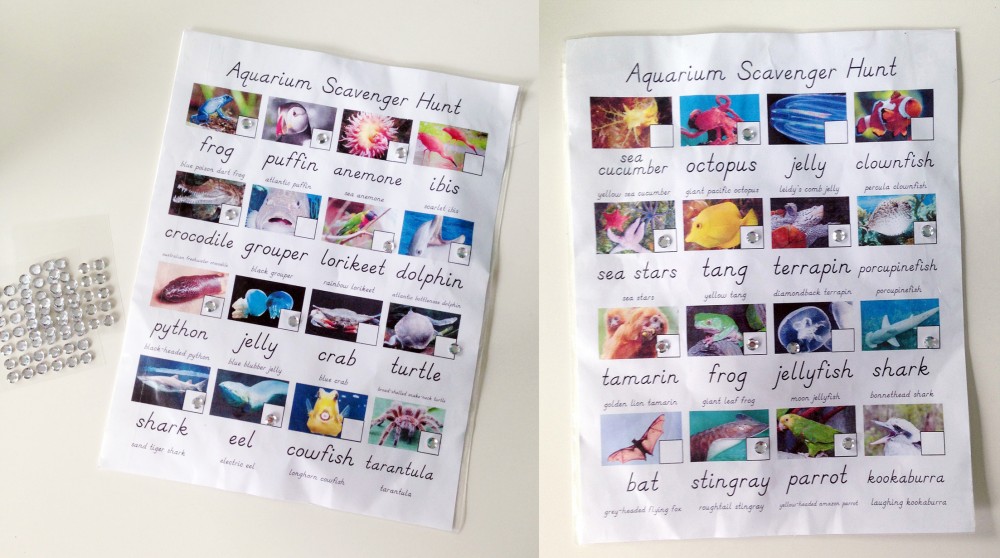
To kick off the unit, we took a visit to the National Aquarium in Baltimore, Maryland. I was pretty sure Jax was going to love it, but I wanted to make it extra fun and engaging. I created a colorful aquarium scavenger hunt!

Aquarium Scavenger Hunt & Coconut Sensory Sand

Our scavenger hunt held up well. I had the sheets back-to-back inside a freezer bag that I trimmed and taped closed.

To make an aquarium scavenger hunt:

Being a graphic designer by day, I used Adobe InDesign to make my scavenger hunt layout. You could easily make a table in Microsoft Word. The photos were copied from the aquarium’s exhibit list, and I made sure to check if the exhibits were closed. (My absolute favorite animal, the green sea turtle, was not on exhibit. Boo!)

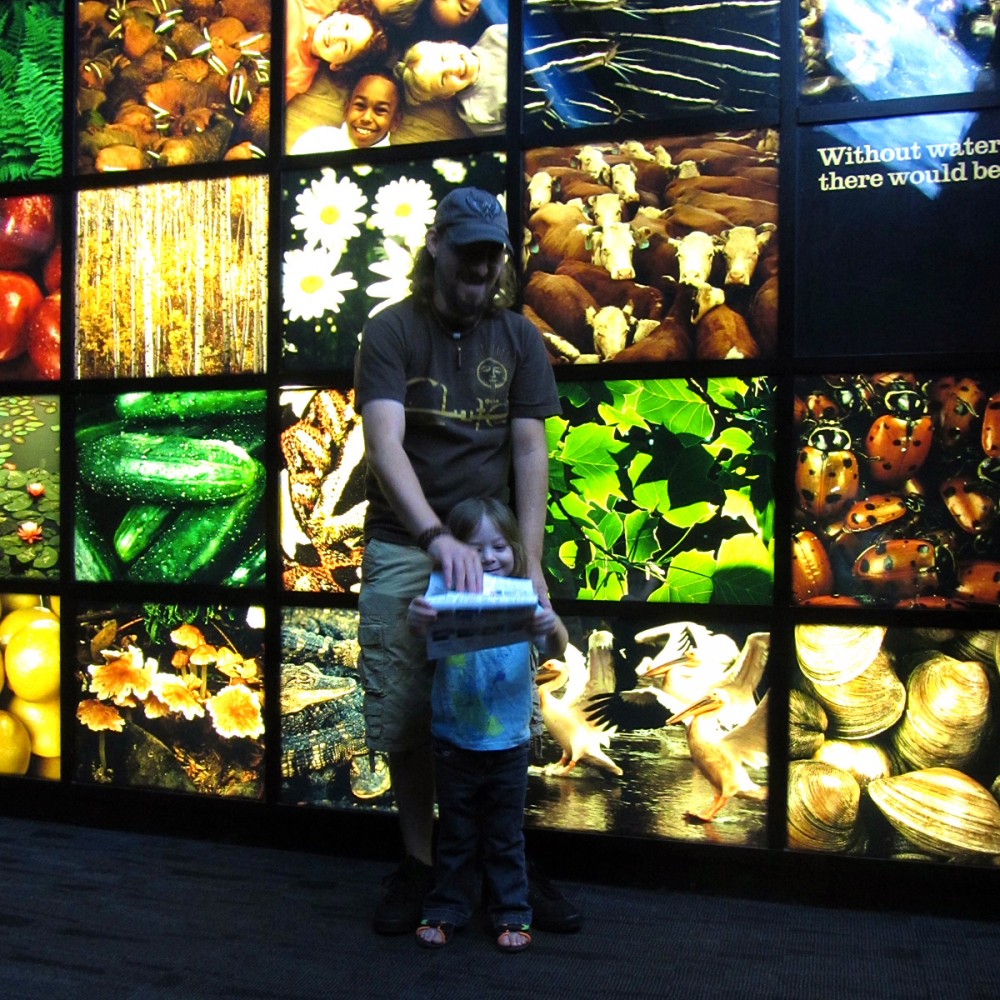
Ready to hunt for sea creatures with daddy! Happy Father's Day!

Ready to hunt for sea creatures with daddy! Happy Father’s Day!

I made sure to include boxes for marking off found animals, a large simple name for each one, then a smaller full name. Not shown, I typed up facts about each one as I added it to the hunt. Information like: region, fun fact and which exhibit it was in. I ended up remembering the facts and not needing to pull out my list. The font I used is a free Dnealian handwriting font, often used in Montessori.

Some animals we found from our list:

Poison Dart Frog

Poison Dart Frog

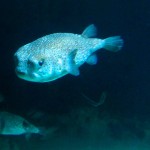
Porqupinefish

Porqupinefish

Dolphin

Dolphin

Aquarium Scavenger Hunt & Coconut Sensory Sand

Golden Lion Tamerin

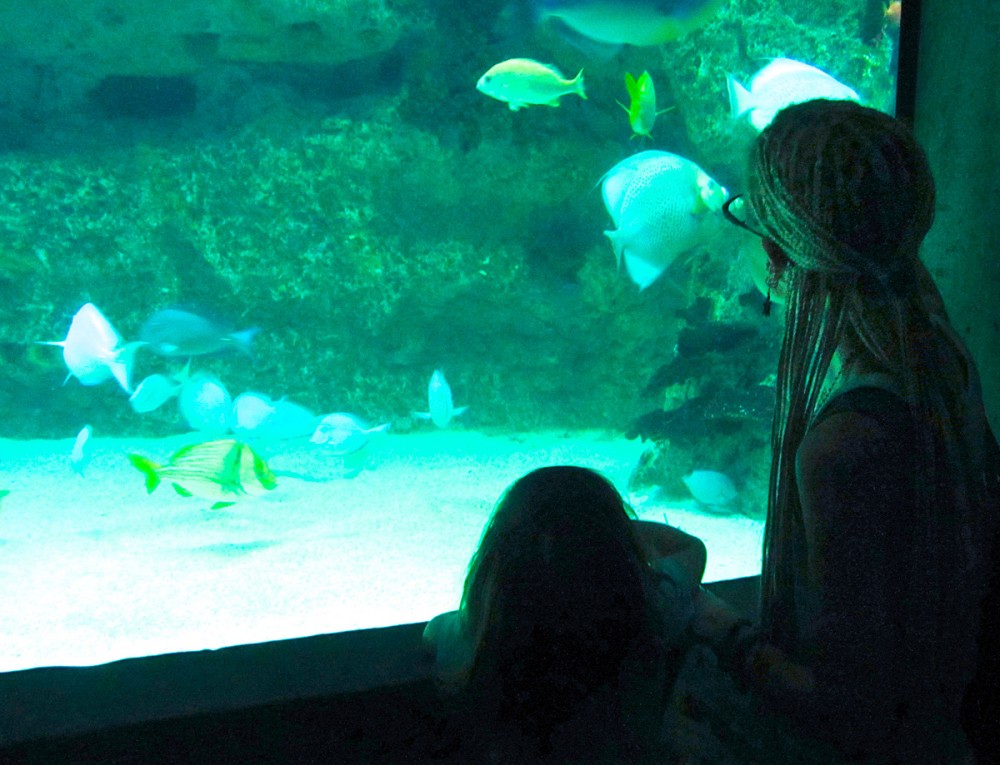
In order to make the scavenger hunt easier in a dark, crowded aquarium, we used stick-on jewels to mark off each animal. They we very easy to peel and stick quickly. They were repositionable as I had laminated the two sheets of the hunt together with a freezer bag.

Searching for sea animals!

Searching for sea animals!

The scavenger hunt was a big hit! I ended up carrying it most of the time so Jax’s hands were free to point and explore. I’d tell him what we needed to find in each tank, and we’d hunt together and mark each one off with a gem. We found a lot more than I’d thought we would! (The reason I made my hunt so large so so he’d have more opportunities to find the animals.) I made sure the point was to find as many as we could, not that we had to find all of them.

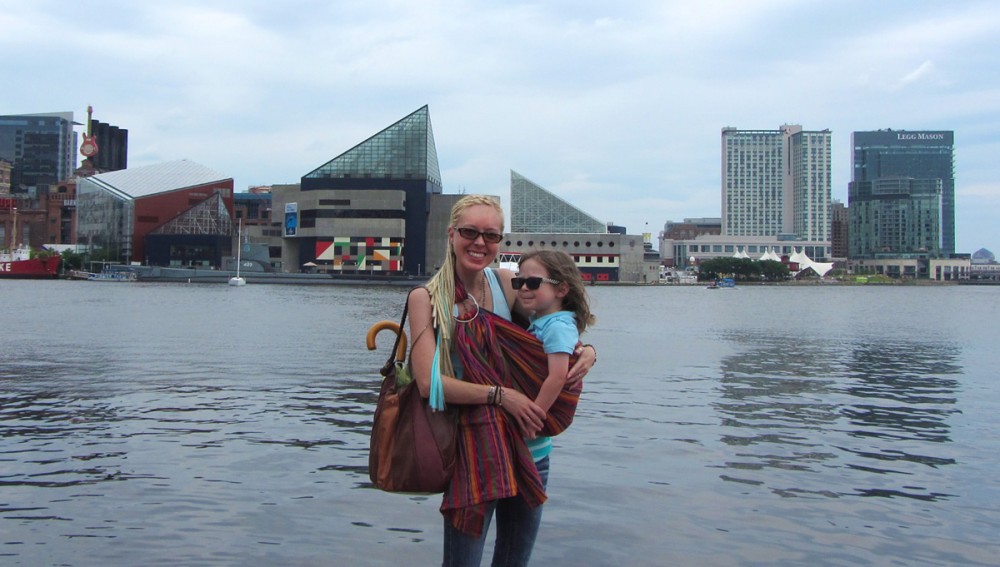
The Baltimore Aquarium is in those triangular buildings. We walked the Inner Harbor after lunch. Jax got a break with a hip carry in my ring sling.

The Baltimore Aquarium is in those triangular buildings. We walked the Inner Harbor after lunch. Jax got a break with a hip carry in my ring sling.

Aquarium Scavenger Hunt & Coconut Sensory Sand

Coconut Sensory Sand

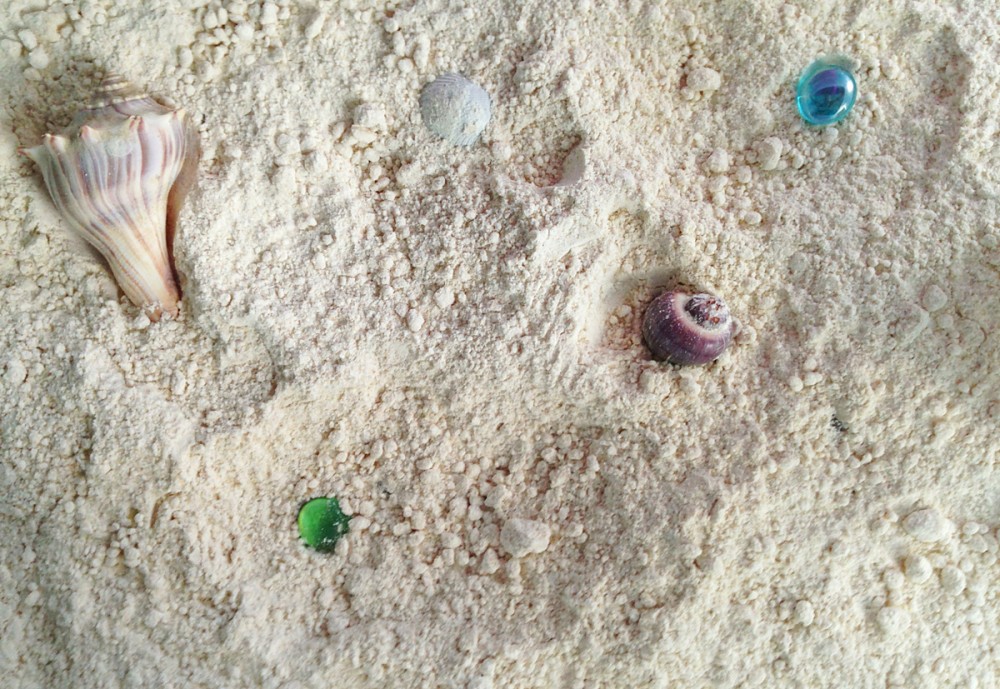
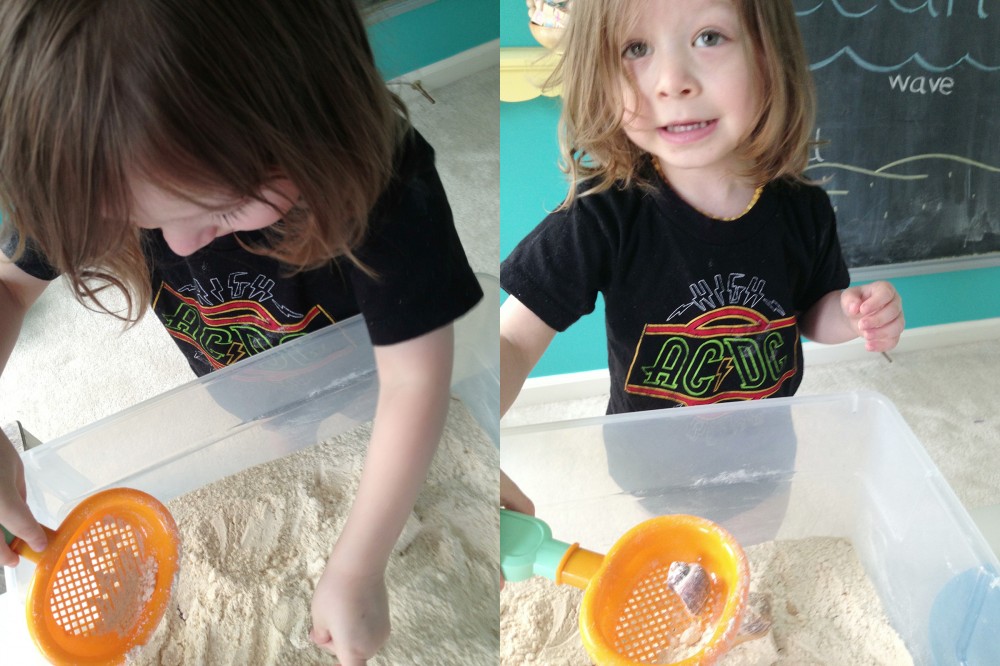
Today we did beach-themed sensory work. Using three ingredients (4 cups white flour, 4 cups wheat flour and 1 cup coconut oil), I mixed up some amazing smelling sensory “sand” for Jax. (Thank you And Next Comes L for the recipe!) I hid seashells from our collections as well as dollar store glass gems. I presented the bin to Jax with a small sifter shovel from Target and a bowl for collecting his beach treasures.

Aquarium Scavenger Hunt & Coconut Sensory Sand

He started out hesitant to get his hands dirty, but soon the excitement of finding treasure won over staying clean. He scooped, sifted and dug to find all the hidden objects. Then Jax suggested we write letters in the sand. He wanted to write the words “ocean” and “wave” that were up on his chalkboard. We also made impressions in the sand with the shells and our hands. Jax made “sand balls” by squeezing handfuls then laughed as he crumbled them.
Aquarium Scavenger Hunt & Coconut Sensory Sand  Aquarium Scavenger Hunt & Coconut Sensory Sand  Aquarium Scavenger Hunt & Coconut Sensory Sand

I’ve seen on many blogs that you can write letters on shells and hide them. I didn’t want to write on our vacation shells, so we didn’t do that yet. There are lots of fun things you could do with sensory sand!
More Montessori fun with glass pebbles

There are so many great Montessori-inspired activities to do with dollar store glass pebbles, from sensory bins to counting tools!

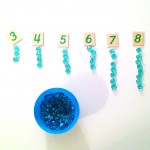
This past week, Jax and I have already used them for counting with our number cards and to trace our sandpaper letters. Some other ideas are:

Aquarium Scavenger Hunt & Coconut Sensory Sand  Aquarium Scavenger Hunt & Coconut Sensory Sand

Find more Montessori activities at the Montessori Monday link-up!
Montessori Monday

DIY Montessori Color Tablets

Back when I started homeschooling Jax, we chose a letter and number a week to focus on. He was super excited to learn, but every day turned into a struggle. He couldn’t focus, no matter how fun things seemed. He was dying to learn, but it almost seemed like he was just too young at just under 3yo.

I stepped back and switched to unschooling while I did a lot of reading and research. The unschooling was enlightening. I let his interests lead the way and turned them into teachable moments. He learned more than he did during our two months of traditional homeschooling! However, the things he was asking to learn – spelling, addition/subtraction – were tricky to teach a 3yo who wasn’t mentally ready for abstract concepts.

This lead me to Montessori. All I’d known about it was that Montessori schools let the children go at their own pace. What I discovered after researching, is that Montessori allows a young child (3-6yo is when academics really start) to start learning right away by using concrete materials, then gradually moving to the abstract. For example, using beads to introduce the concept of quantity, or having tactile “sandpaper letters” that a child can feel and experience when being introduced to letter forms and their sounds. They also focus a lot on practical life activities that set a child up to handle daily tasks and improve their manual dexterity – needed to move into the early stages of writing.

We’ve only been formally using Montessori for about a month, but I did switch my teaching methods to match up as soon as it looked like the right fit for Jax. Thanks to Jax’s generous aunt and uncle, he was gifted much of the language materials he’ll need over the next year or two. And, I’ve been hard at work doing DIY projects to get some of our other materials together.

DIY Montessori Color Tablets

DIY Montessori Color TabletsSensorial

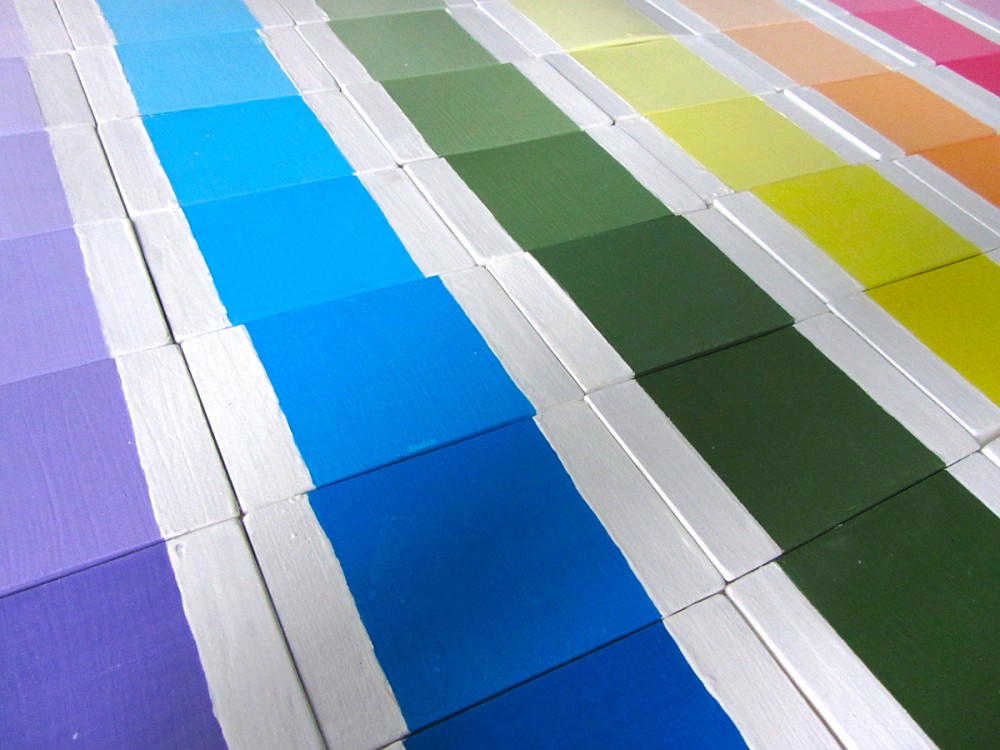
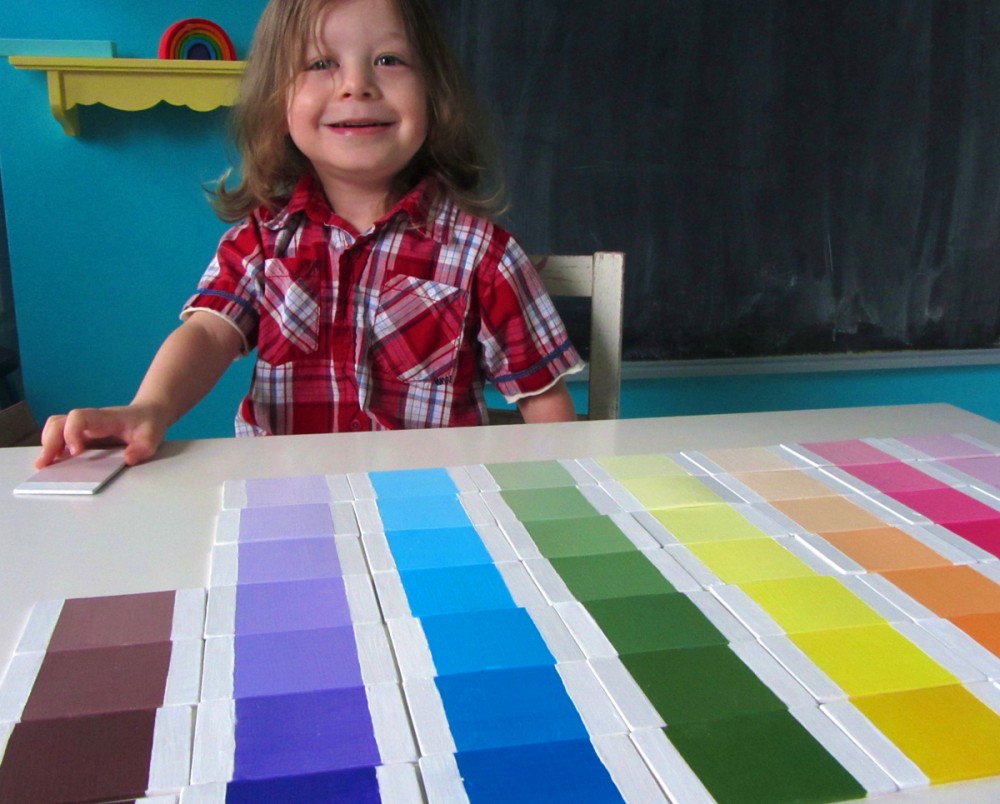
Montessori encourages children to work with their senses – activities called “Sensorial“. These might include sound boxes, activities involving tastes or smells, or this project: color tablets. There are three sets of Montessori color tablets. The first introduce the basic concept of colors, and the second works to teach colors and matching. Jax has aced these concepts through other activities, so we are coming in on the final box.

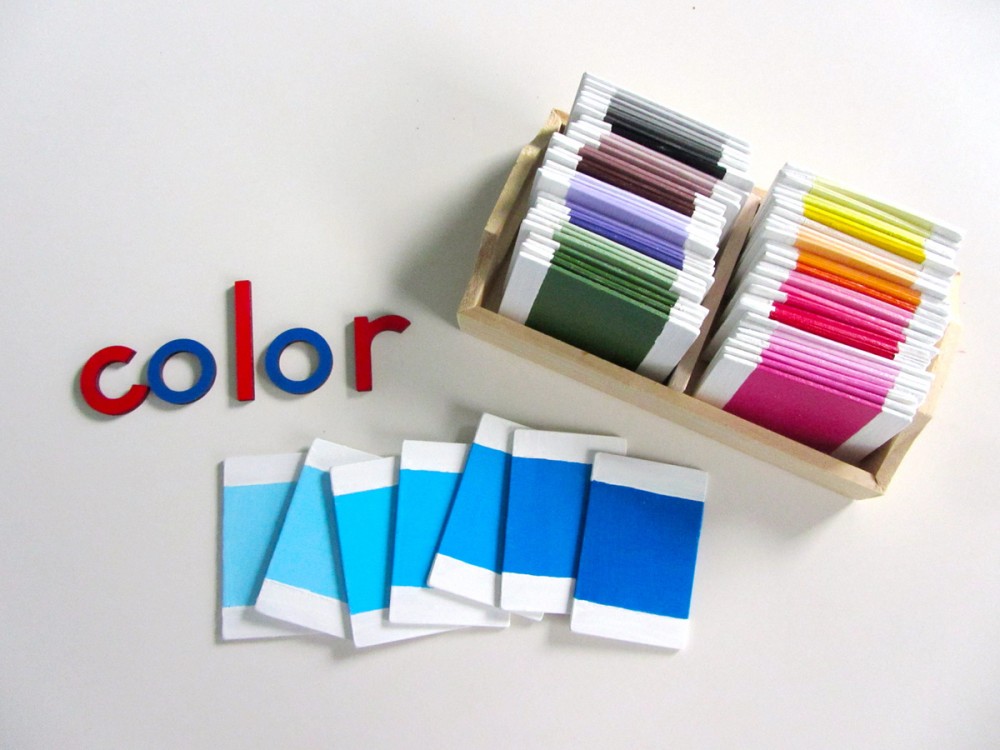
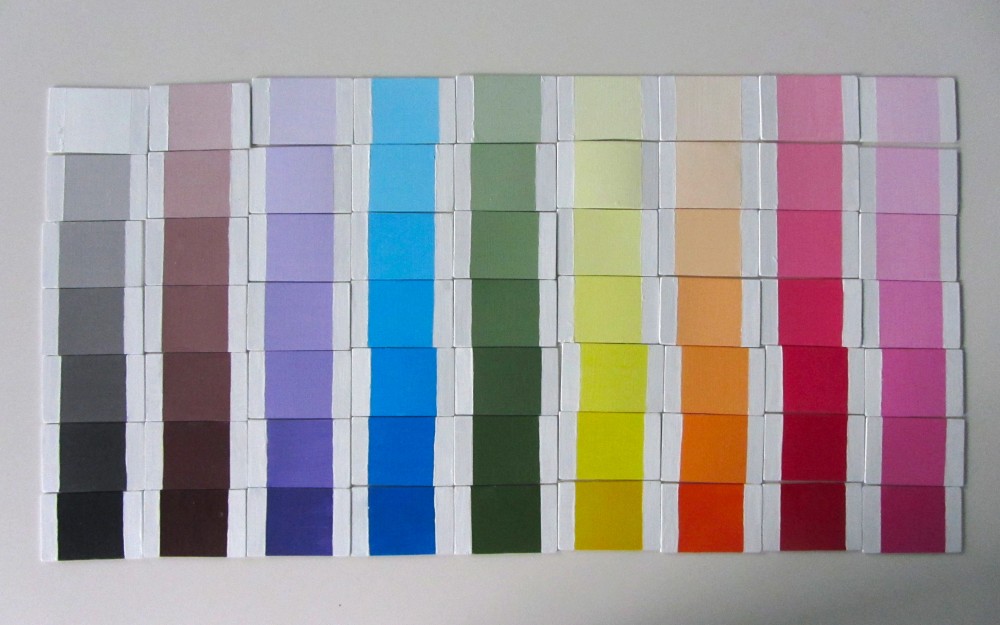
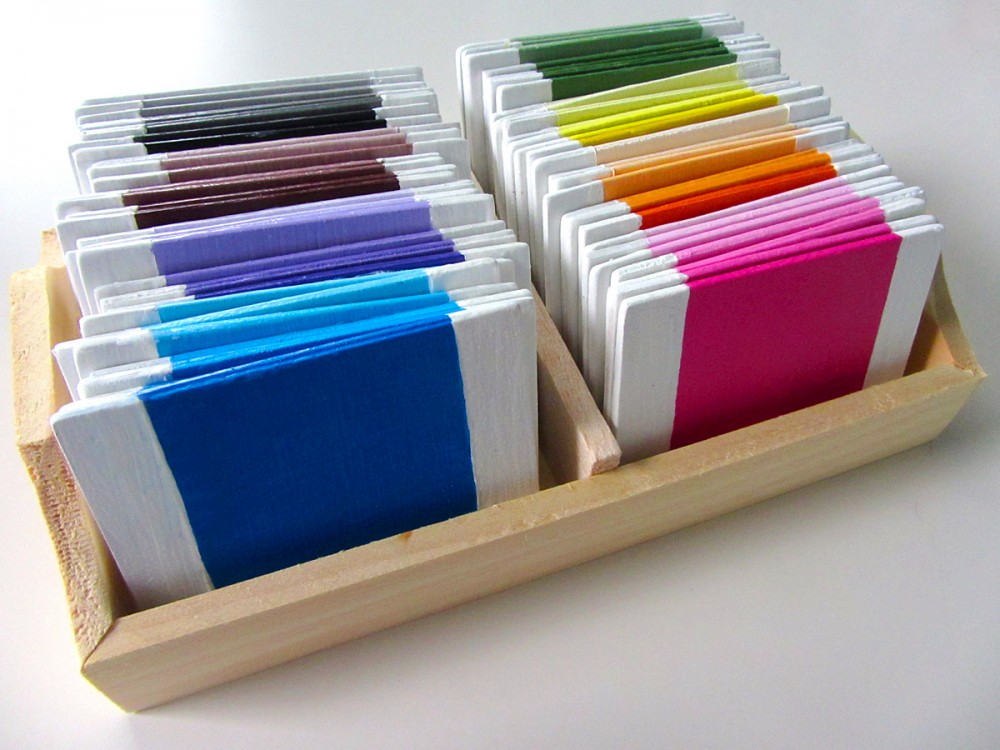
I am doing the traditional Montessori “color box 3” which is always 7 shades of 9 colors. It teaches the color spectrum, as well as dark/light and discerning subtle differences. This translates to a better grasp on comparisons/differences, patterns and visual acuity that helps with language and math later on.

There are many activities you can do with color tablets:

  • Sort them from lightest to darkest
  • Play ispy with objects around the room
  • Sort buttons/objects to match the color tablets
  • Compare them at a distance (a child has to fetch a lighter/darker tablet from across the room, without having the original with him to compare)

DIY Montessori Color Tablets

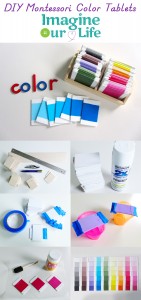
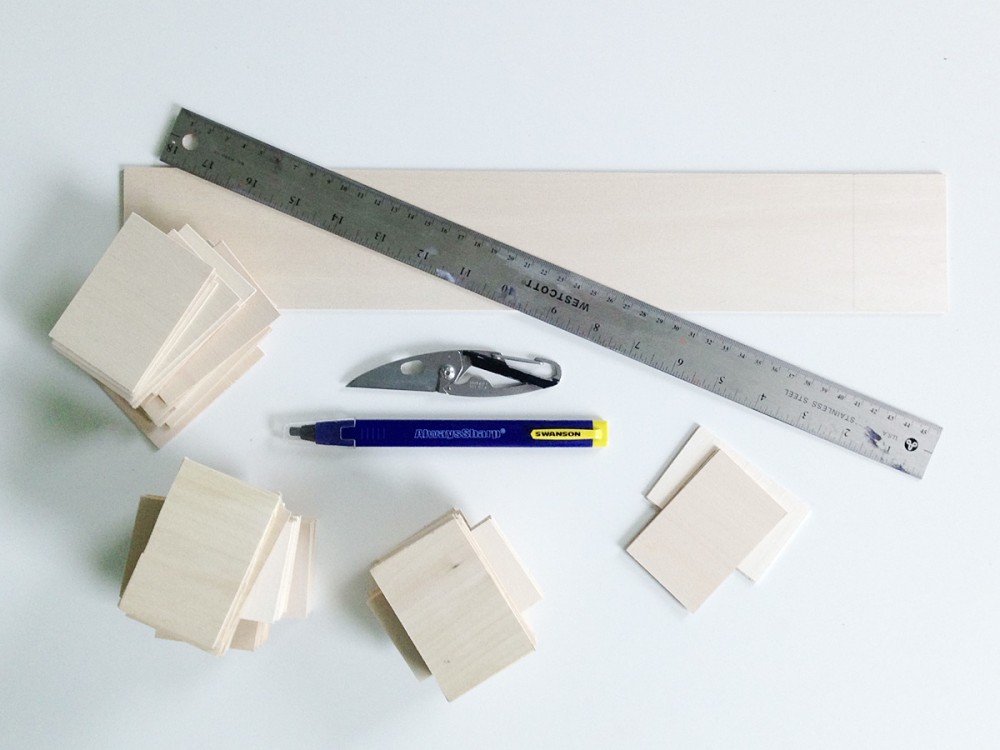
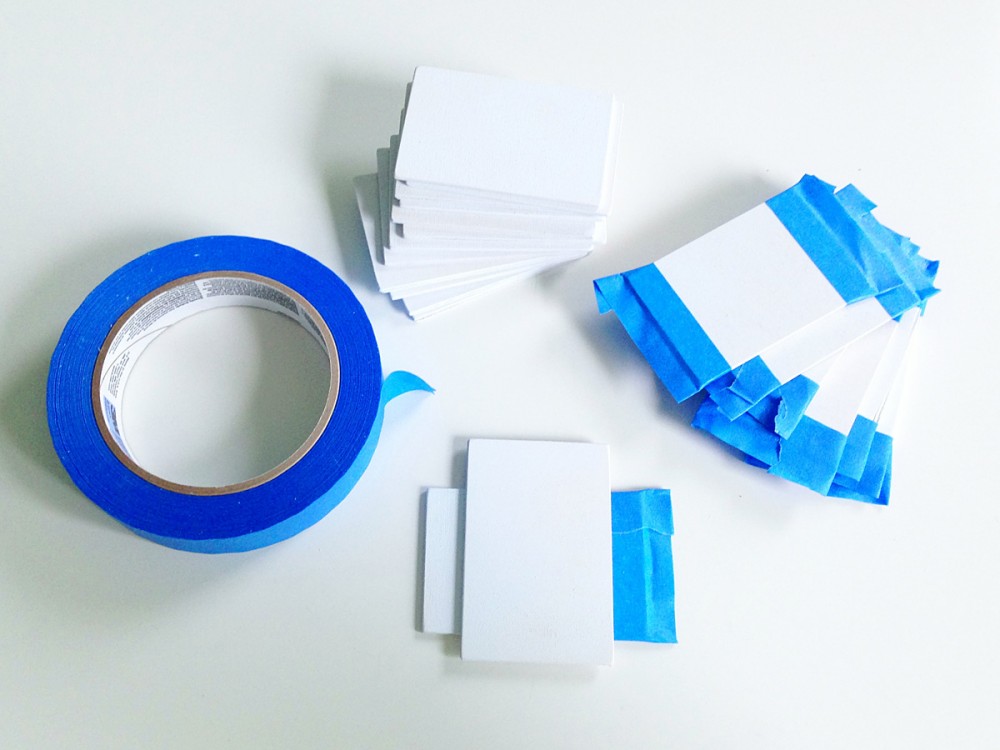
To make our DIY Montessori color tablets, I bought 6 pieces of balsa wood from the craft store, each were 3″ x 24″ x 3/32″. Using a ruler, pencil and a utility knife, I scored 2″ wide rectangles on both sides, then gently snapped them apart. I made 63 total.

DIY Montessori Color Tablets

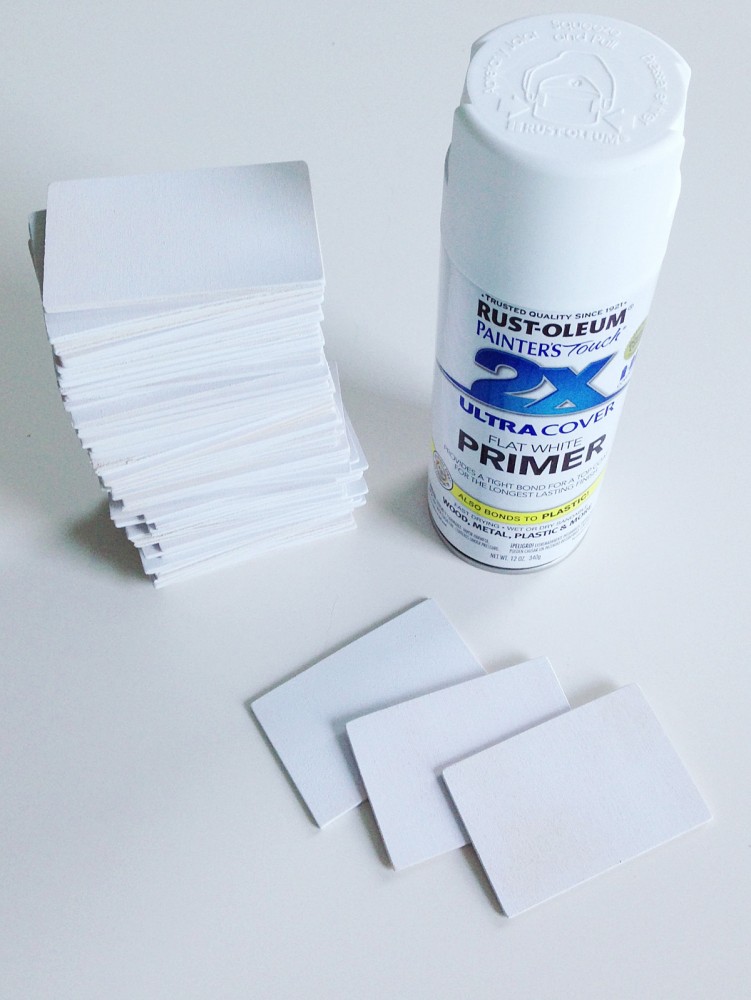
I sanded them down (tedious!) and sprayed them with primer.

DIY Montessori Color Tablets

Using the 2″ wide tablets as a guide, I taped off the edges of each tablet. Traditionally early Montessori tablets were made of silk thread, so there were white edges to grasp so students didn’t stain the threads. The uniform look of the white edges help to isolate the quality (color) that the tablets are focusing on. Isolation of quality is big in Montessori materials.

DIY Montessori Color Tablets

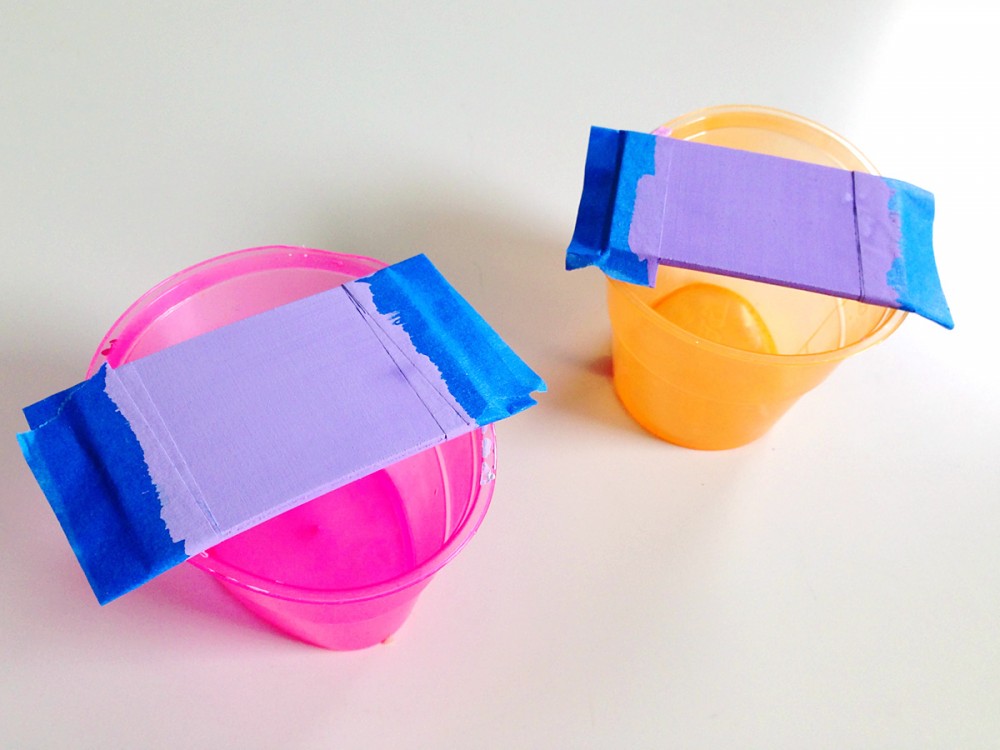
I painted the tablets, doing one color at a time. I mostly started with the darkest color – straight from the bottle or tube, then added white in increasing levels. For some of the lighter shades I started with white and added drops of color. I mostly used craft paints to save money, but I did find that the color seeped under the tape. On the tablets I used my expensive artists’ acrylics I had no seepage. Since the next step was to remove the tape and paint the edges white, I wasn’t too concerned. I was happy to use the less expensive paint.

DIY Montessori Color Tablets

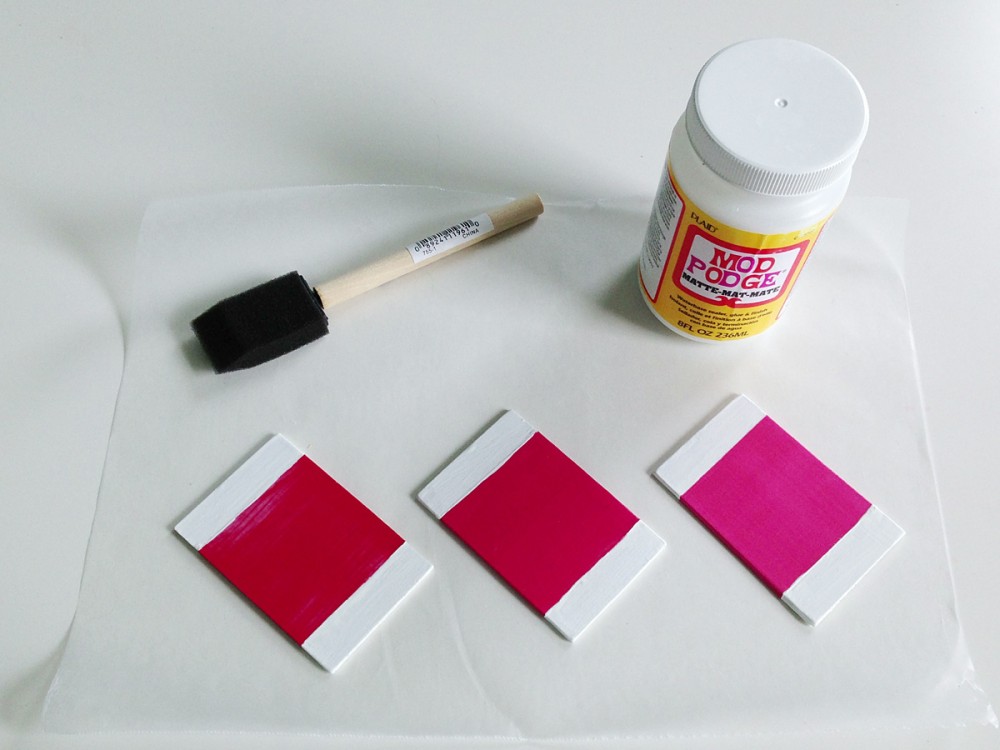
Once the colors and edges were painted and dry, I used matte Mod Podge to seal them. I chose matte because I didn’t want the shiny glare of gloss to make discerning the shades more difficult. I figured I could always add a second coat with gloss if I didn’t like the matte, but the matte is actually the perfect level of shine for me.
DIY Montessori Color Tablets

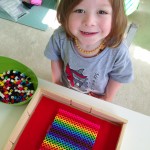
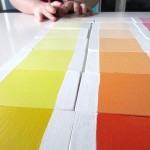
Jax’s first presentation of the color tablets went well! He knew instinctively which colors were lighter and darker. When he focused, he could correct his own errors. He also enjoyed making patterns of light/dark/light/dark. He is a rainbow lover, so anything with rainbow colors to order makes him happy.

IMG_2250

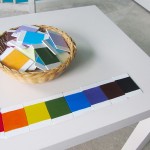
While I only had him grade two colors mixed up so far, we did work together to lay them all out for a photo. He helped me correct any mistakes and was so proud of the finished work!

DIY Montessori Color Tablets

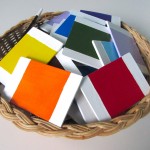
This project was simple to do, just tedious due to there being 63 tablets. I need to get a better box for them eventually, but we’ll just keep them mixed up in a basket for now.

Check out the Montessori Monday link up for more ideas!

Montessori Monday

DIY Montessori Color Tablets

DIY Rainbow Dash Plush with Goggles

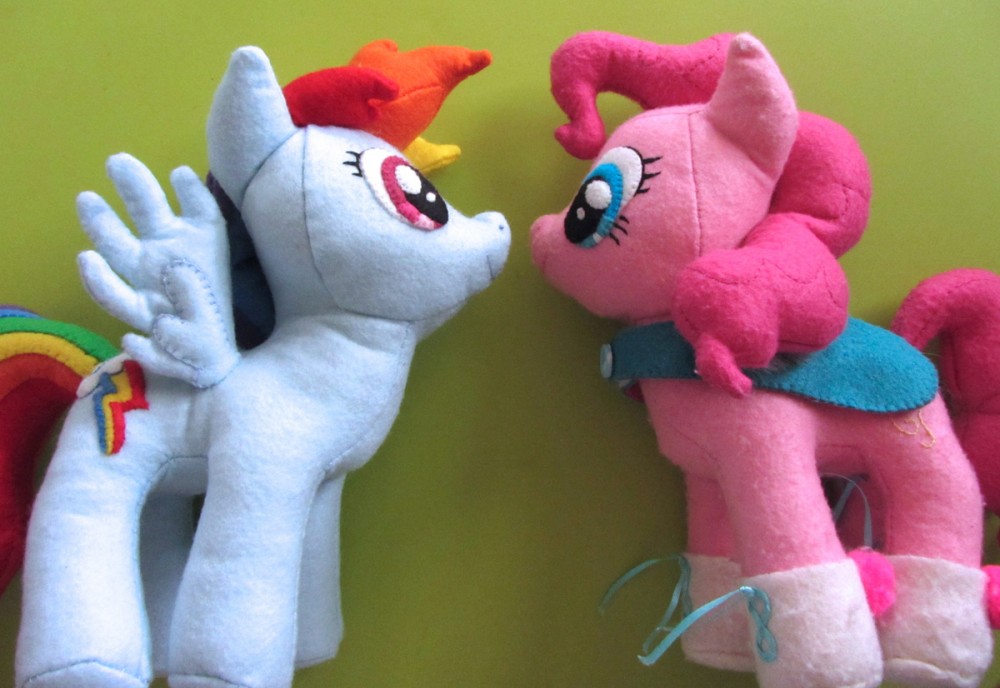
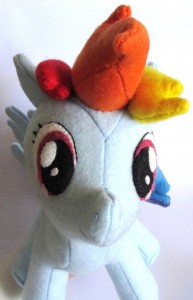
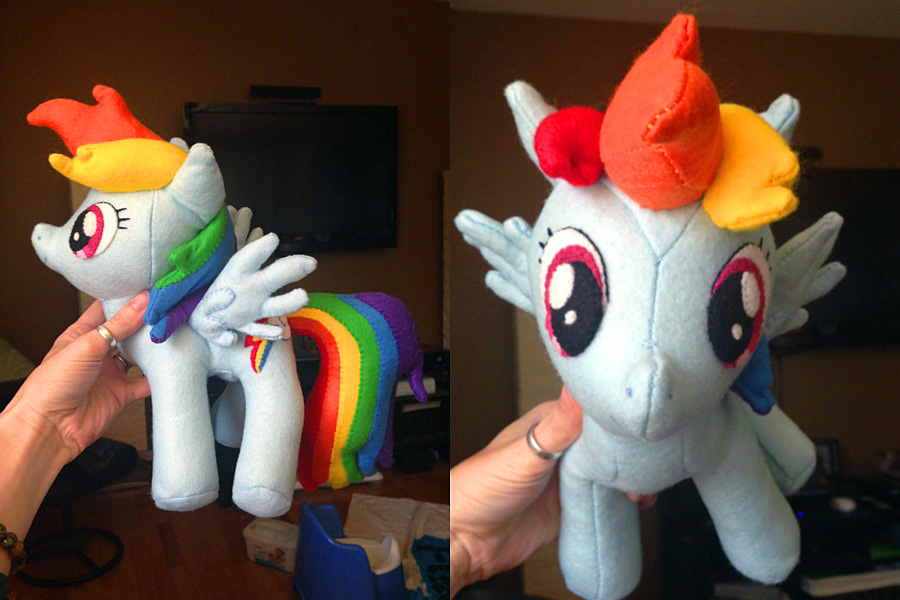
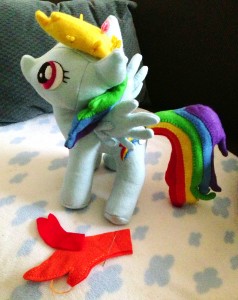
DIY Rainbow Dash Plush

For much of this project, I did things the same as with the Pinkie Pie I made my niece for Christmas. You can read that post for many details I will be leaving out here!

DIY Rainbow Dash Plush with Goggles

I scaled the pony body pattern up for a larger, huggable plush. This also made it easier to sew with felt. Felt is thick, and sewing inside out with seams can be tough. There were many places (wings, tips of hair) where it was really hard to flip the sewn felt right-side out, even at the larger size! My pattern ended up being 9.4″ wide from foot to foot (E2 to E2) on the “Underbody” piece. I had to break up the “Body Side” piece to print, then tape it together.

DIY Rainbow Dash Plush with Goggles

I did all of the details (everything but the body and eyes) freehand – cutting paper, then felt to whatever looked right. I did my best to photograph each piece to scale so I could draw it into a pattern for you later. Please keep that in mind when using the pattern! Things might be a little off since it was created after the fact and not tested. Grab my pattern here. (The pattern for the body is linked into the Pinkie Pie post.

IDIY Rainbow Dash Plush with Goggles  DIY Rainbow Dash Plush with Goggles

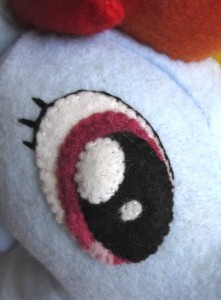
Body: Rainbow Dash’s body is sewn the same way as Pinkie Pie’s was. I also used the same kind of felt, so that the two ponies will age the same. It is from Felt for Less. I got a rainbow pack as well as some light blue. Her eyes, nostrils and mouth were sewed on the same as well. (Note that she has different eyelashes than Pinkie.)

DIY Rainbow Dash Plush with Goggles

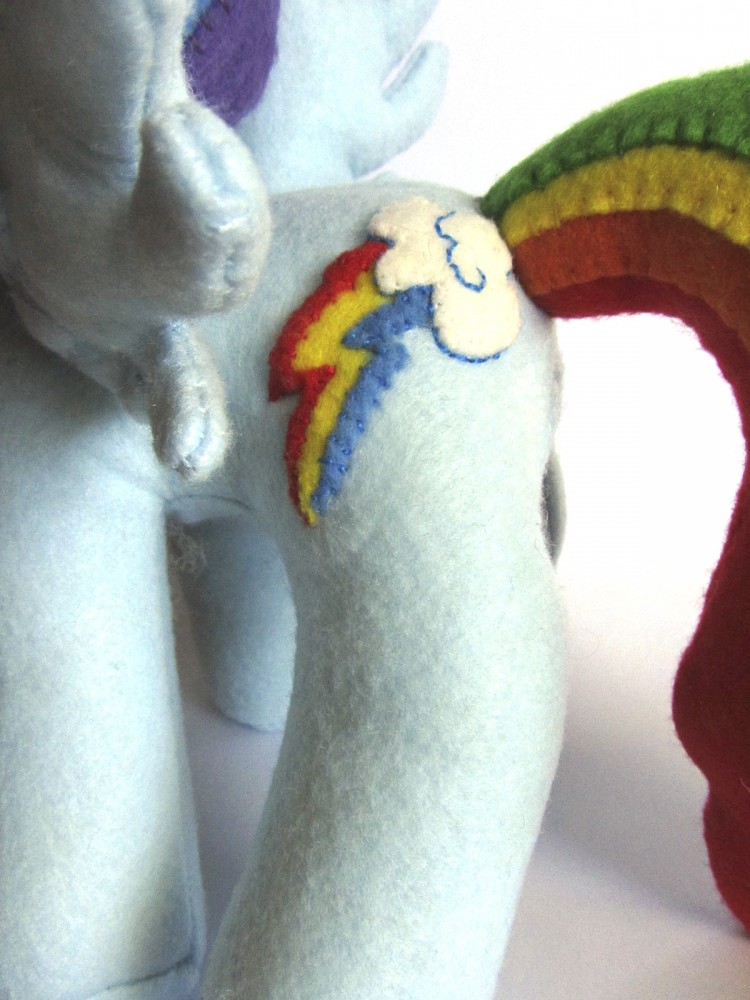
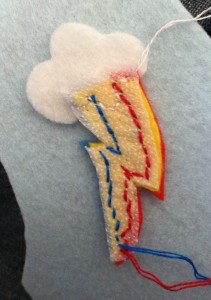
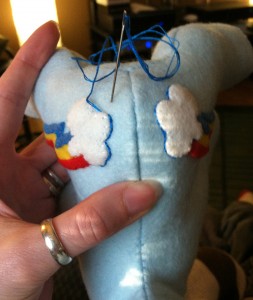
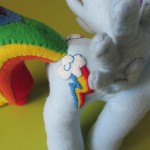
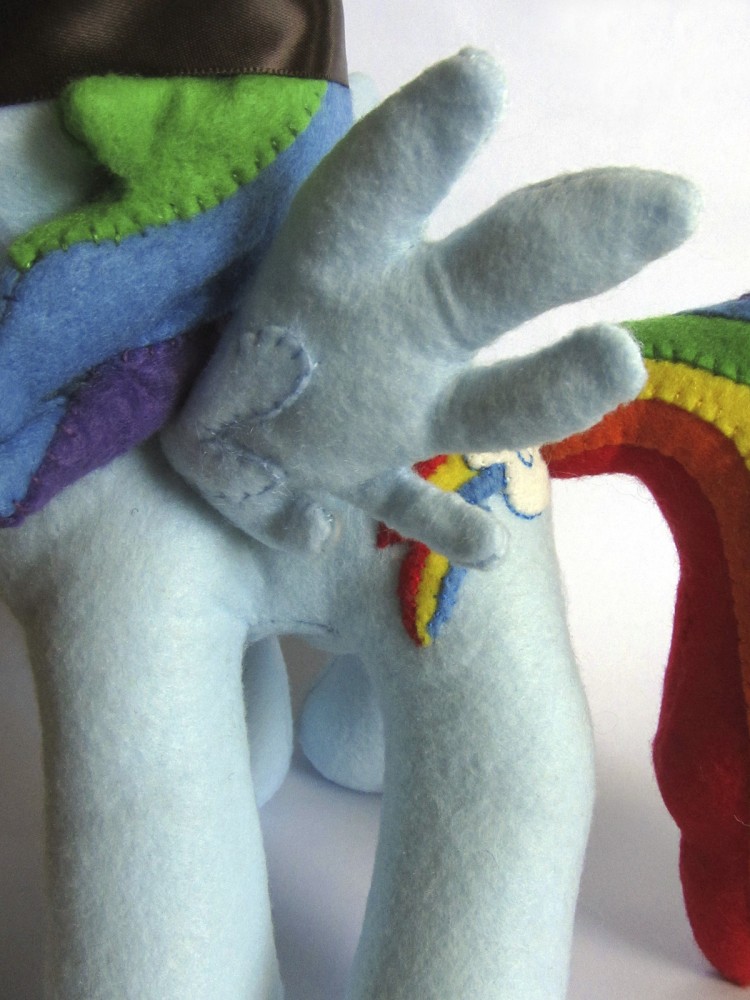
Cutie Marks: I cut the entire shape of the rainbow bolt out of yellow as my base ,extending it under the cloud a bit. I then cut the red and blue stripes to sew on top. They are tiny! Use sharp micro-tip scissors and be patient. I had to try twice on one of them. Sew the red and blue onto the yellow (my photo shows webbing, but I ended up not using it.) Overlap the white cloud, then sew it to the pony. A curved needle may help if you’ve already sewn and stuffed her. I used a plain one and jumped around a bit when stitches were too close to maneuver to. I added blue back stitched outlines to the cloud and to make the extra swirls.
DIY Rainbow Dash Plush with Goggles  DIY Rainbow Dash Plush with Goggles

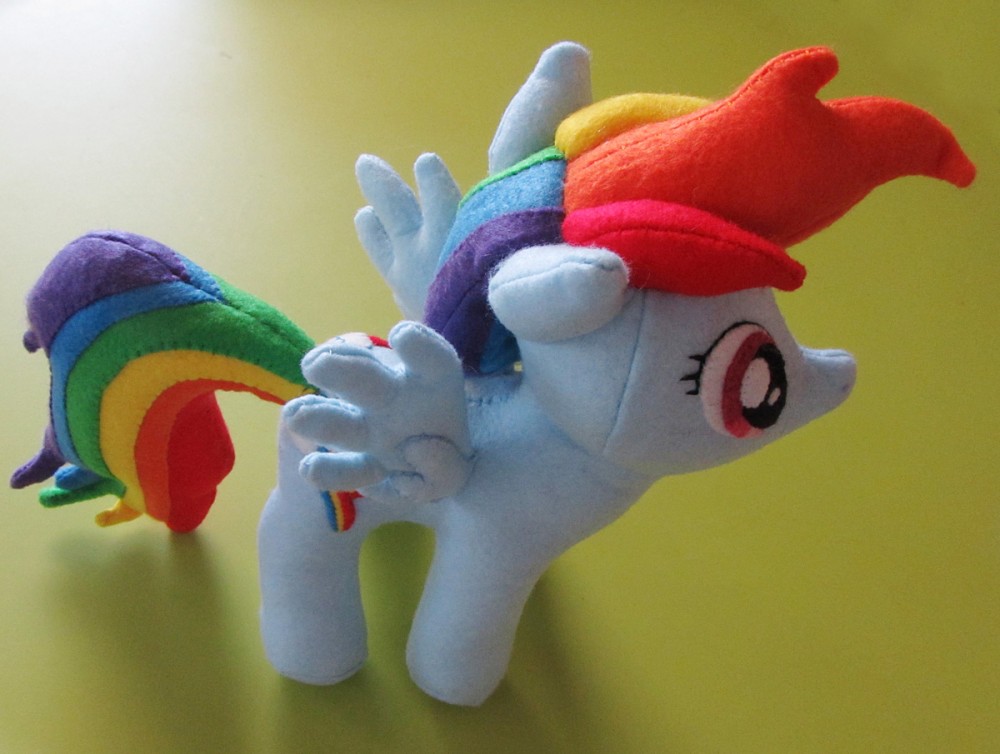
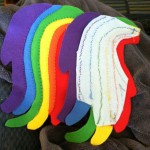
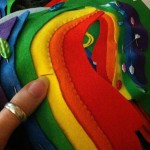
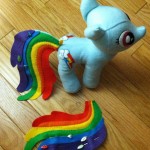
Tail: My pattern for the tail already has  1/4″ seam allowance added, because I photographed it at that stage. Cut the base out of scrap felt (I used extra body felt) then layer the stripes on top to match, starting from red and working out to purple. Sew down the overlaps with matching thread.

Put right sides facing and sew around the large, straight areas, leaving any small flippy hair ends open, as well as a couple inches at the base of the tail. urn it right side out and sew the little flippy end bit by hand with a ladder stitch. (I talk about this in the Pinkie Pie post – It was just too hard to turn the tiny hair ends right-side out using felt.) Stuff the tail through the base, then fold in the remaining seam allowance and ladder stitch it closed. Attach the tail the same way mentioned int he other post. I kept going back and reinforcing it. Her tail is heavy!

DIY Rainbow Dash Plush with Goggles

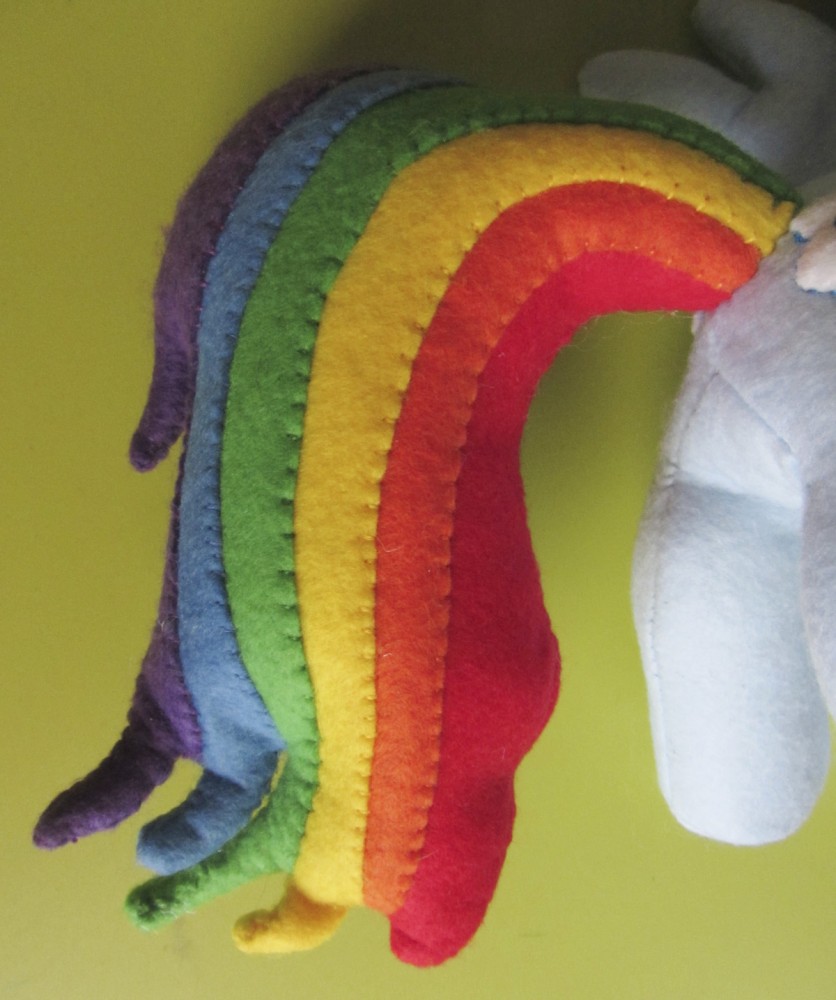
Mane: Used the same technique of overlapping the stripes to make the tail, but start with the blue stripe as the base and layer on the green and purple on the sides. Sew and lightly stuff. Sew closed and attach to her neck so it can curl around to her left side.

DIY Rainbow Dash Plush with Goggles

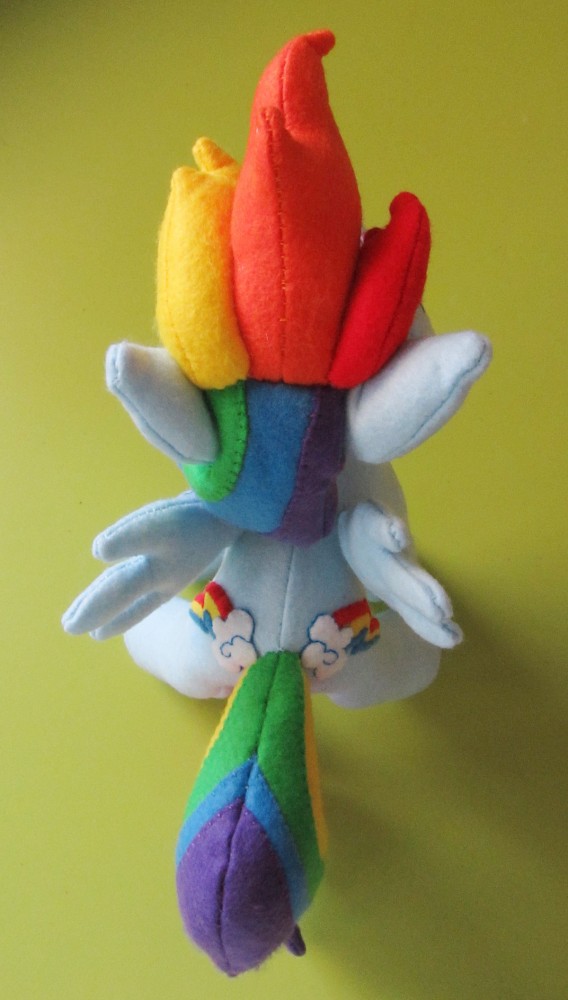
Bangs/Fringe: For each segment, sew the two main pieces together along the top and front, leaving the bottom and end open (see dots). Open like the triangular roof of a tent and sew the base to it, leaving the end open for stuffing. (See the letters on the pattern and the photos for help understanding where things go.)

DIY Rainbow Dash Plush with Goggles

Sew the end shut with a ladder stitch and attach them to her head between the ears. Make sure the are right up against the lower mane, and squish them in a bit to fit. I sewed them to each other and to her head near the base.

DIY Rainbow Dash Plush with Goggles  DIY Rainbow Dash Plush with Goggles

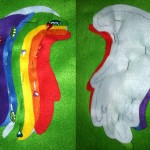
Wings: These are similar to the mane, in that they are lightly stuffed, with the feather detail appliqued on. I actually sewed all the way around each wing, minus a couple inches for an opening) and turned each feather right-side out in a very slow process involving pointy objects and long pins used to grab bits of felt and pull it up. It took longer to flip the right way out then it did to sew them, but they came out neat. Something to keep in mind if you want to sew all the way around the tail. I attached them to her body with ladder stitch.

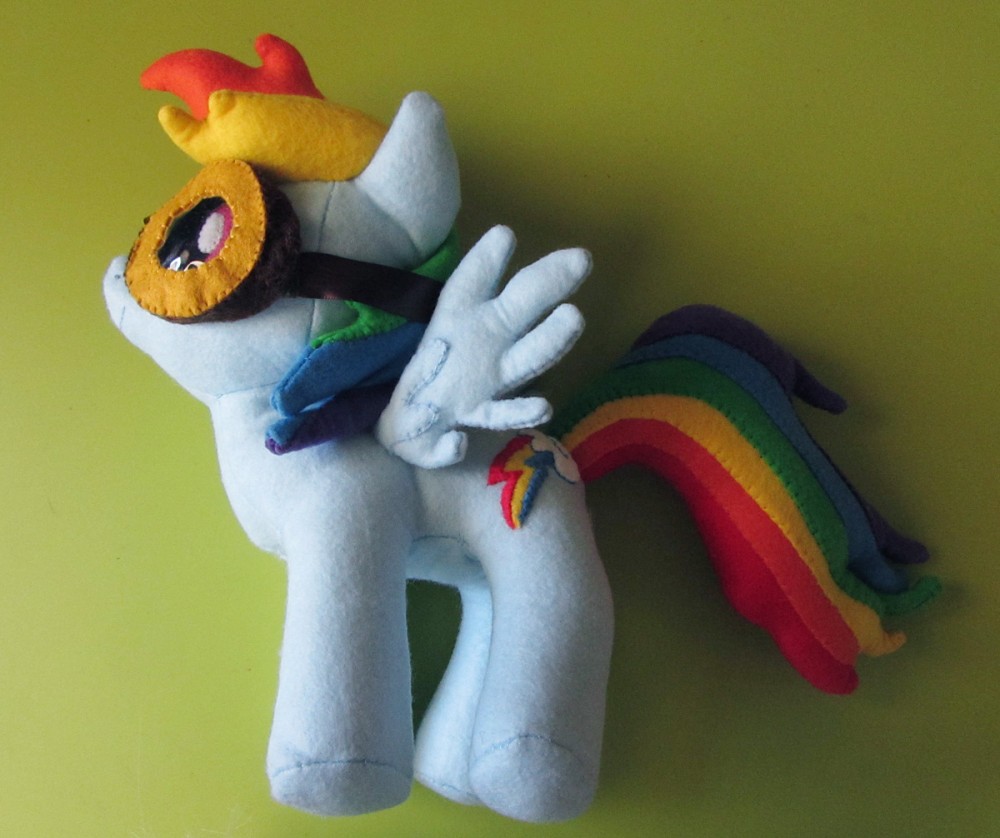
DIY Rainbow Dash Plush with Goggles

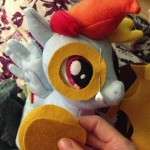
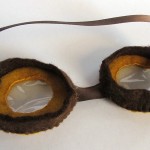
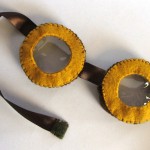
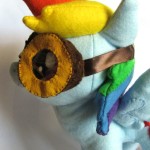
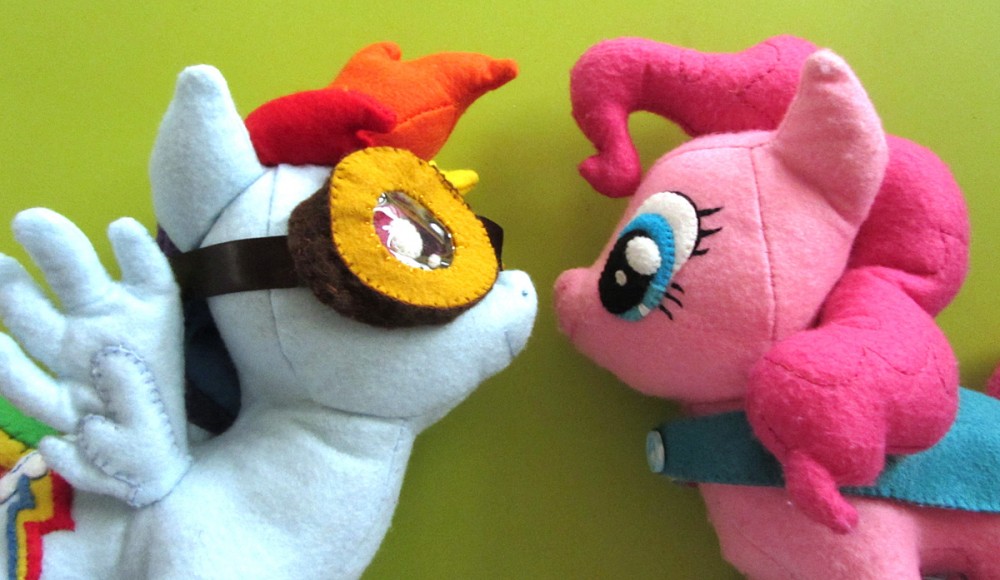
Goggles: I had very little time to make accessories, and apparently Rainbow Dash doesn’t wear a lot of easy to sew clothing. I saw an image of her in goggles, and knew I wanted to do those! I freehanded these as well – including the circles. I cut out two rings of gold felt (from American Felt & Craft) for each eyepiece and sewed them together with clear vinyl layered inside. I cut strips of thick 100% wool felt in brown and sewed it in a ring to each eyepiece, layering in a long ribbon on one outer edge and a short piece for the nose bridge between the two. I cut the long ribbon to fit around her head and added colored Velcro to the end (and the inside of one brown ring.

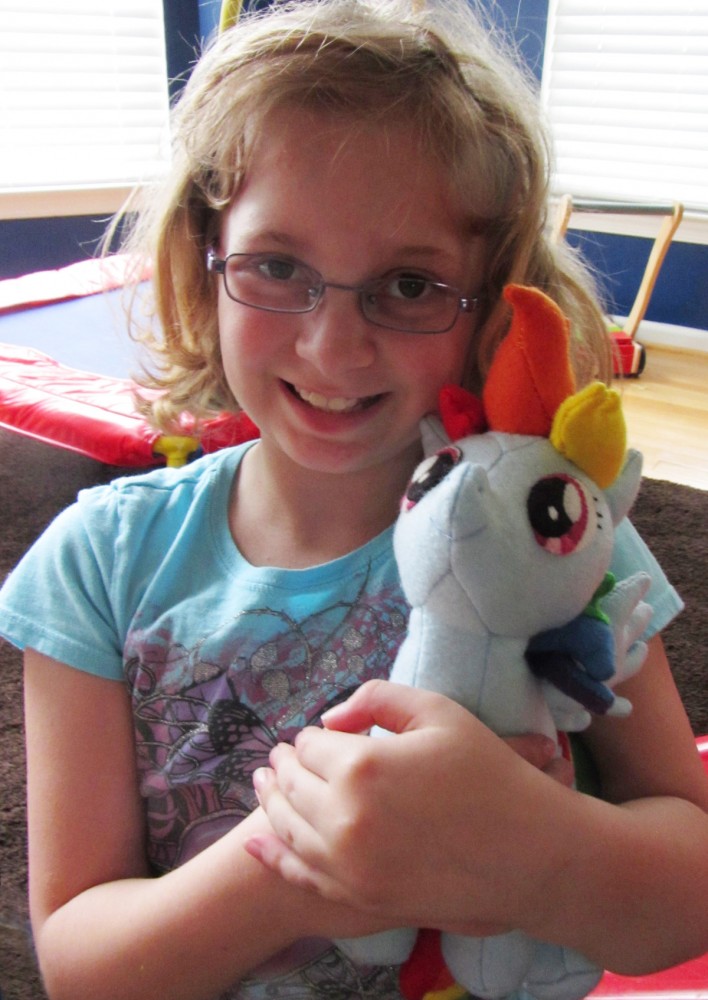
My niece received her new pony Memorial Day weekend when she came to stay with us. She loved her and carried her and Pinkie Pie around the house her whole stay! Next up will likely be Apple Jack for Christmas. Stay tuned!

DIY Rainbow Dash Plush with Goggles

Happy sewing! If you sew your own My Little Pony, I’d love to see it! Email me or stop by our Facebook page.

DIY Rainbow Dash Plush with Goggles

Toddler App Review – Gappy’s First Words

Toddler App Review - Gappy's First Words

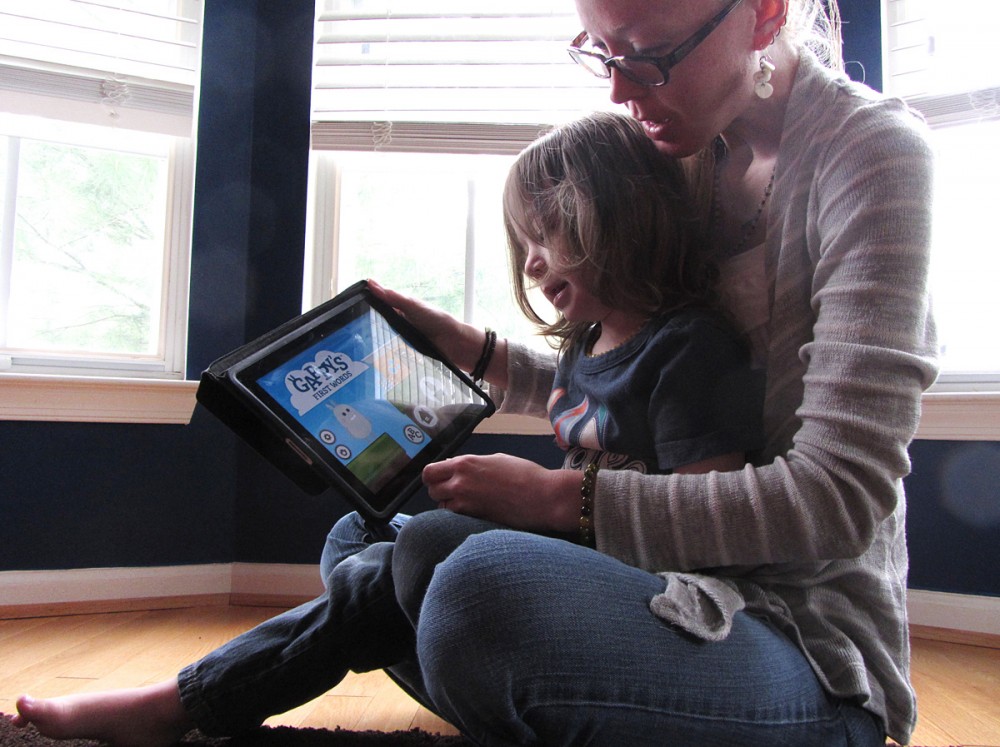
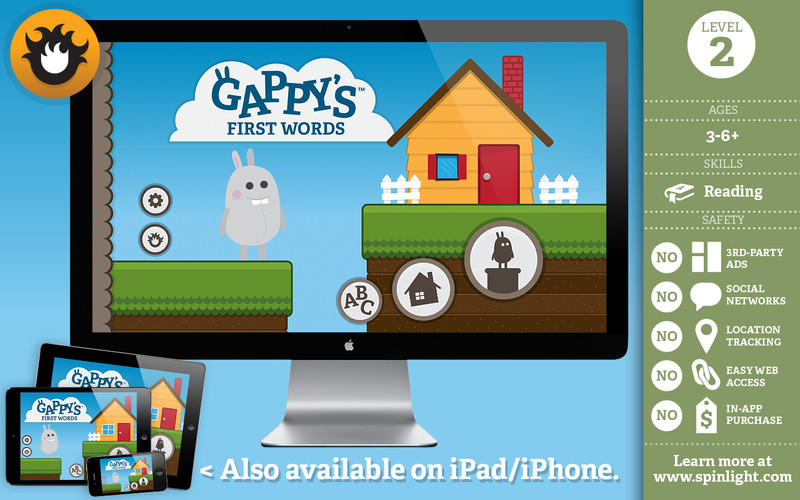
It was perfect timing when we received a copy of Spinlight’s new phonics app Gappy’s First Words. I had just decided to start using Montessori methods full time for Jax’s homeschooling, and was switching from memorizing the alphabet to teaching letter sounds and empowering him to read and spell on his own. (Should I start blogging about homeschooling again? Stop by our Facebook page and let me know!)

Toddler App Review - Gappy's First Words

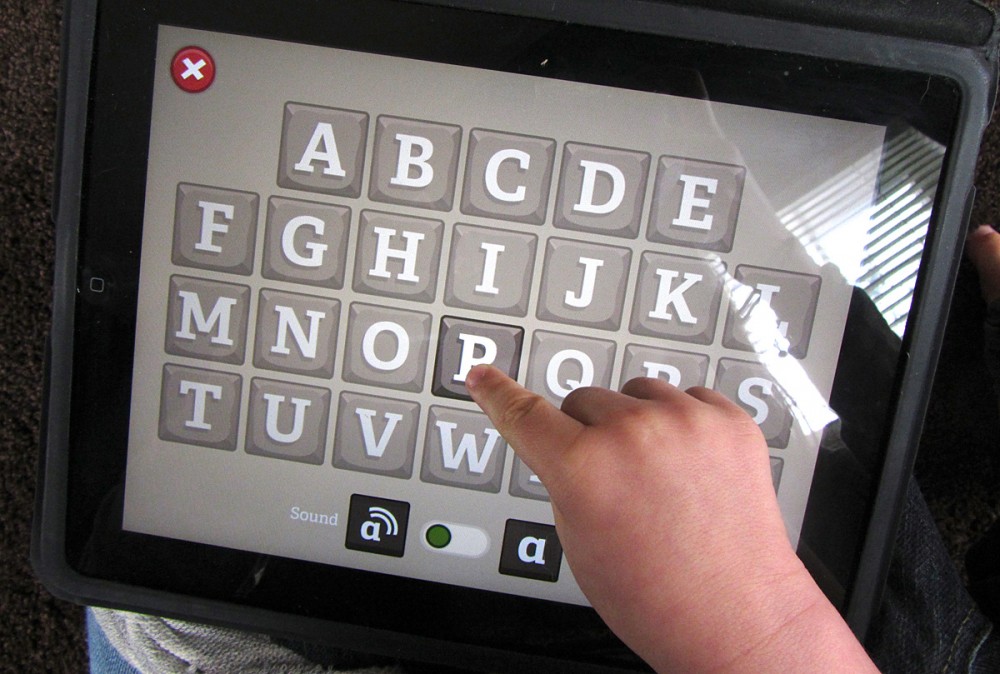
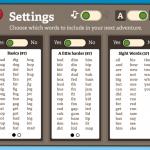
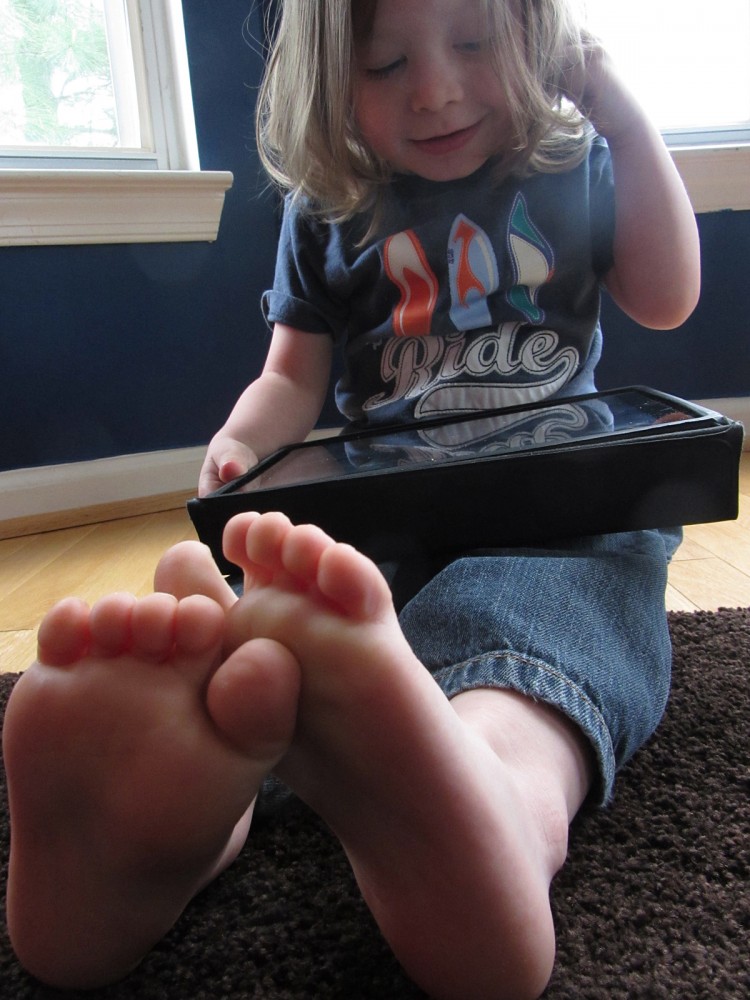
I handed this app over to Jax without any presentation to him, and he dove right in. He loves letters, so he first clicked on the “ABC” button. There you’ll find an alphabet page where you can listen to either the letter names or their sounds. Perfect, as I’m now using letter sounds. This is just a free play area of the app.

Toddler App Review - Gappy's First Words

Next, Jax clicked on Gappy’s silhouette and entered the game. I let him choose his level, and of course he wanted to do the highest level – 4. In level four, you aren’t given any letters in the three-letter CVC (consonant-vowel-consonant) words. We’ve actually been working on our Montessori pink level CVC words for the past two weeks, but hadn’t started when we first tried Gappy. It was a nice way for Jax to get a feel for sounding out a word and writing it based on each letter sound he hears. I played with him, and separated the sounds out for him.

Two weeks later, Jax can reliably get starting and ending sounds himself with our encouragement, but still needs us to slow down the words for that middle vowel. Gappy’s First Words ties in great with our Montessori language lessons,. I’m happy to let my son “play a game” that is actually helping him learn to read and write at age three!

Toddler App Review - Gappy's First Words

There is a reward system built into the game. You earn house parts so you can design Gappy’s house. Every 10 words you complete, you unlock another house item. This hasn’t been a huge motivator for Jax. But he loves letters and finds the spelling to be fun in itself.
We have an original iPad 1 and have had no technical problems with Gappy. A good thing, as our iPad isn’t always able to handle new apps. Thank you Spinlight for introducing us to Gappy’s First Words!