My large sewing project this holiday season was one that was chosen by my readers in our Facebook page: a felt Christmas tree play set! I’ve already share the toddler-friendly tree pattern and tutorial and the first set of ornaments with you, but now it’s time to decorate even more!

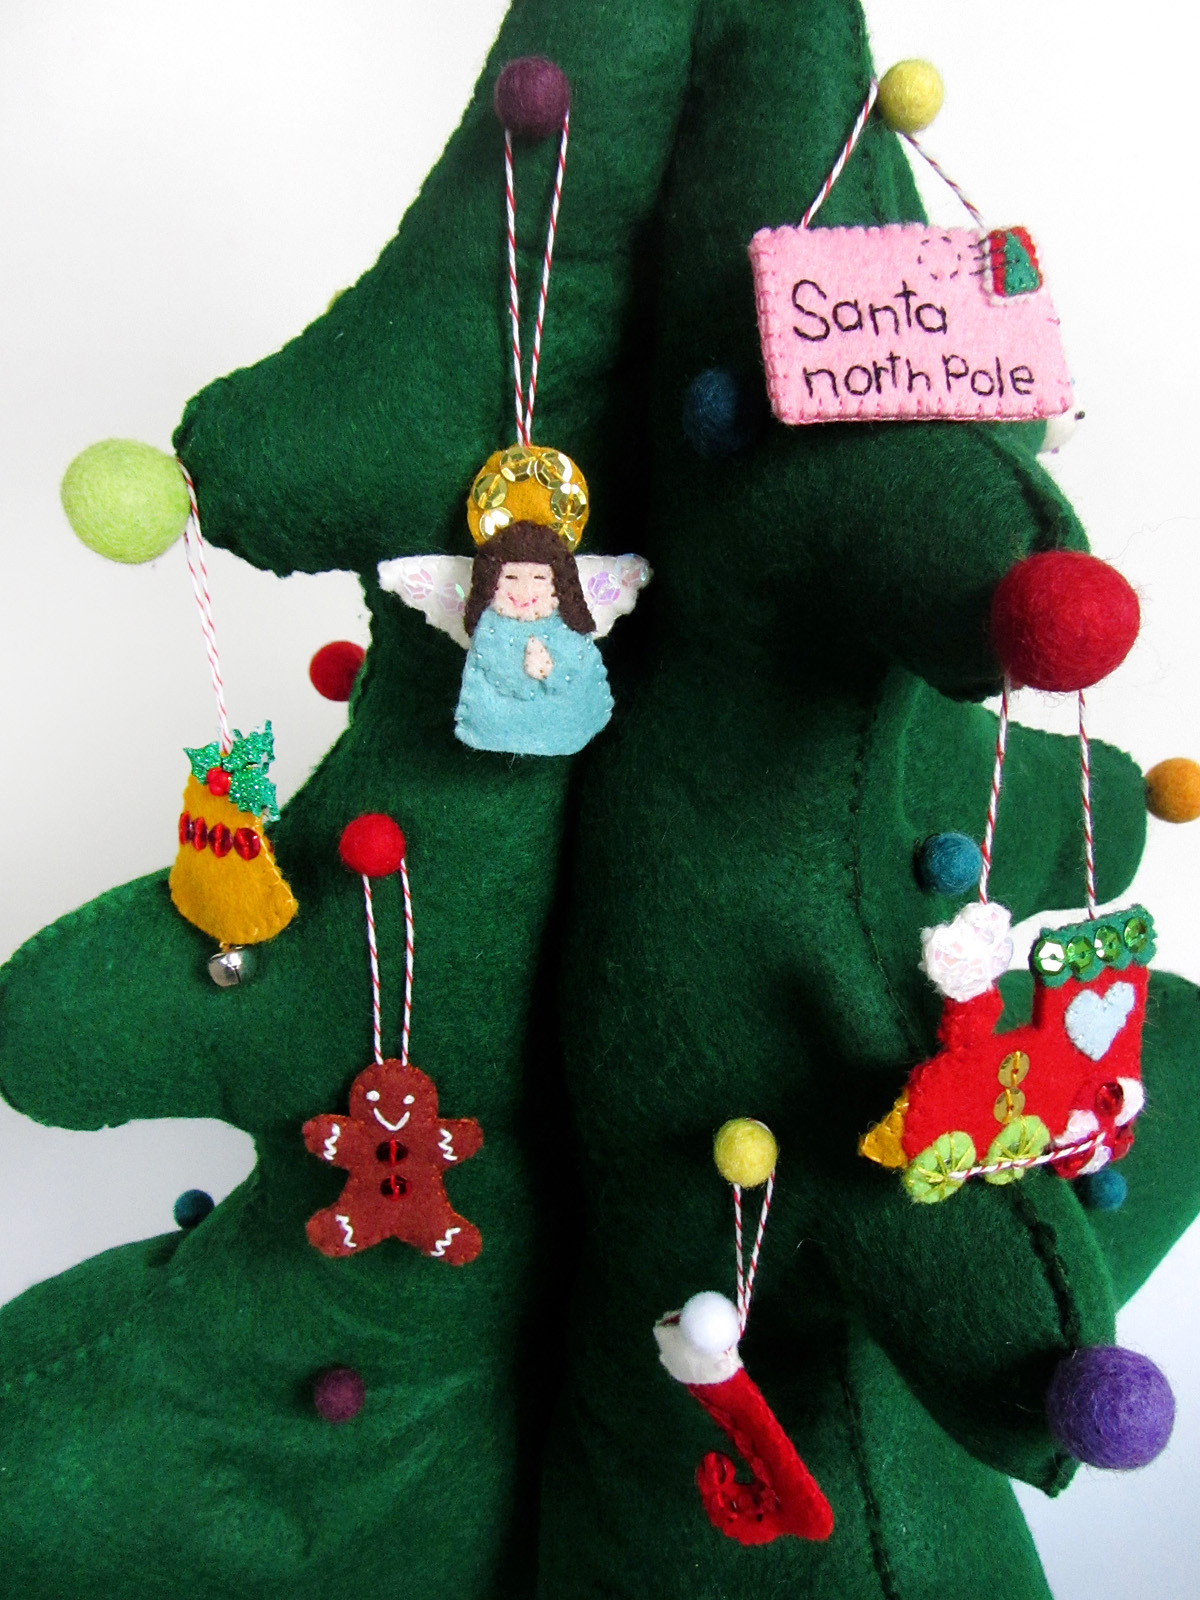
I will be designing 24 ornaments, and giving Jax one to unwrap every day leading up to Christmas. I’ll be sharing the ornaments in batches of 6. I am planning two more sets next week to finish the project. Numbers 7-12 are: an angel, a gingerbread man, a train, a letter to Santa, a bell and a stocking.
To see all the posts in this series, click here.

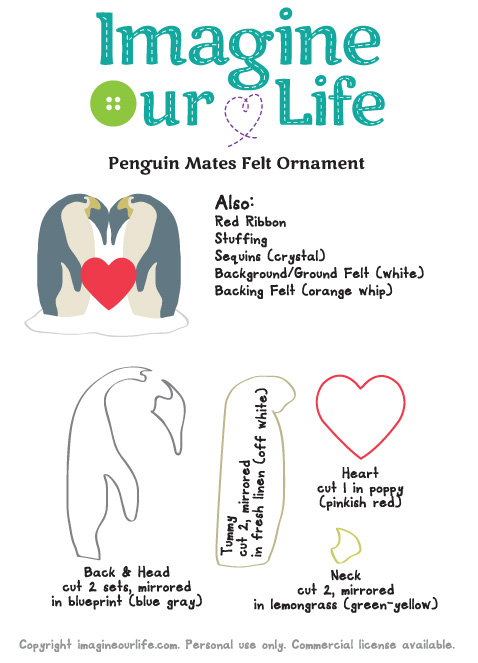
What I Used:
- The Pattern
- Felt scraps from American Felt and Craft (from my scrap bag – choose any colors you like)
- Sequins (I used Classic Red, Moss, Gold and Crystal)
- Felt Glue
(great for holding tiny bits in place when pins are too big!)
- Mini Pompom (I used white)
- Baker’s Twine (I’m on year two using this cone
)
- Jingle Bell
- Holly Embellishments (These
, but try to get them at the craft store cheaper)

For all of the ornaments: I cut pieces of baker’s twine, doubled it over and tied a knot in the ends. When stitching the tops of the ornaments together, I made sure the knot of the twine loop was inside. I also made sure to stitch through the knot to secure the loop.

7. Angel
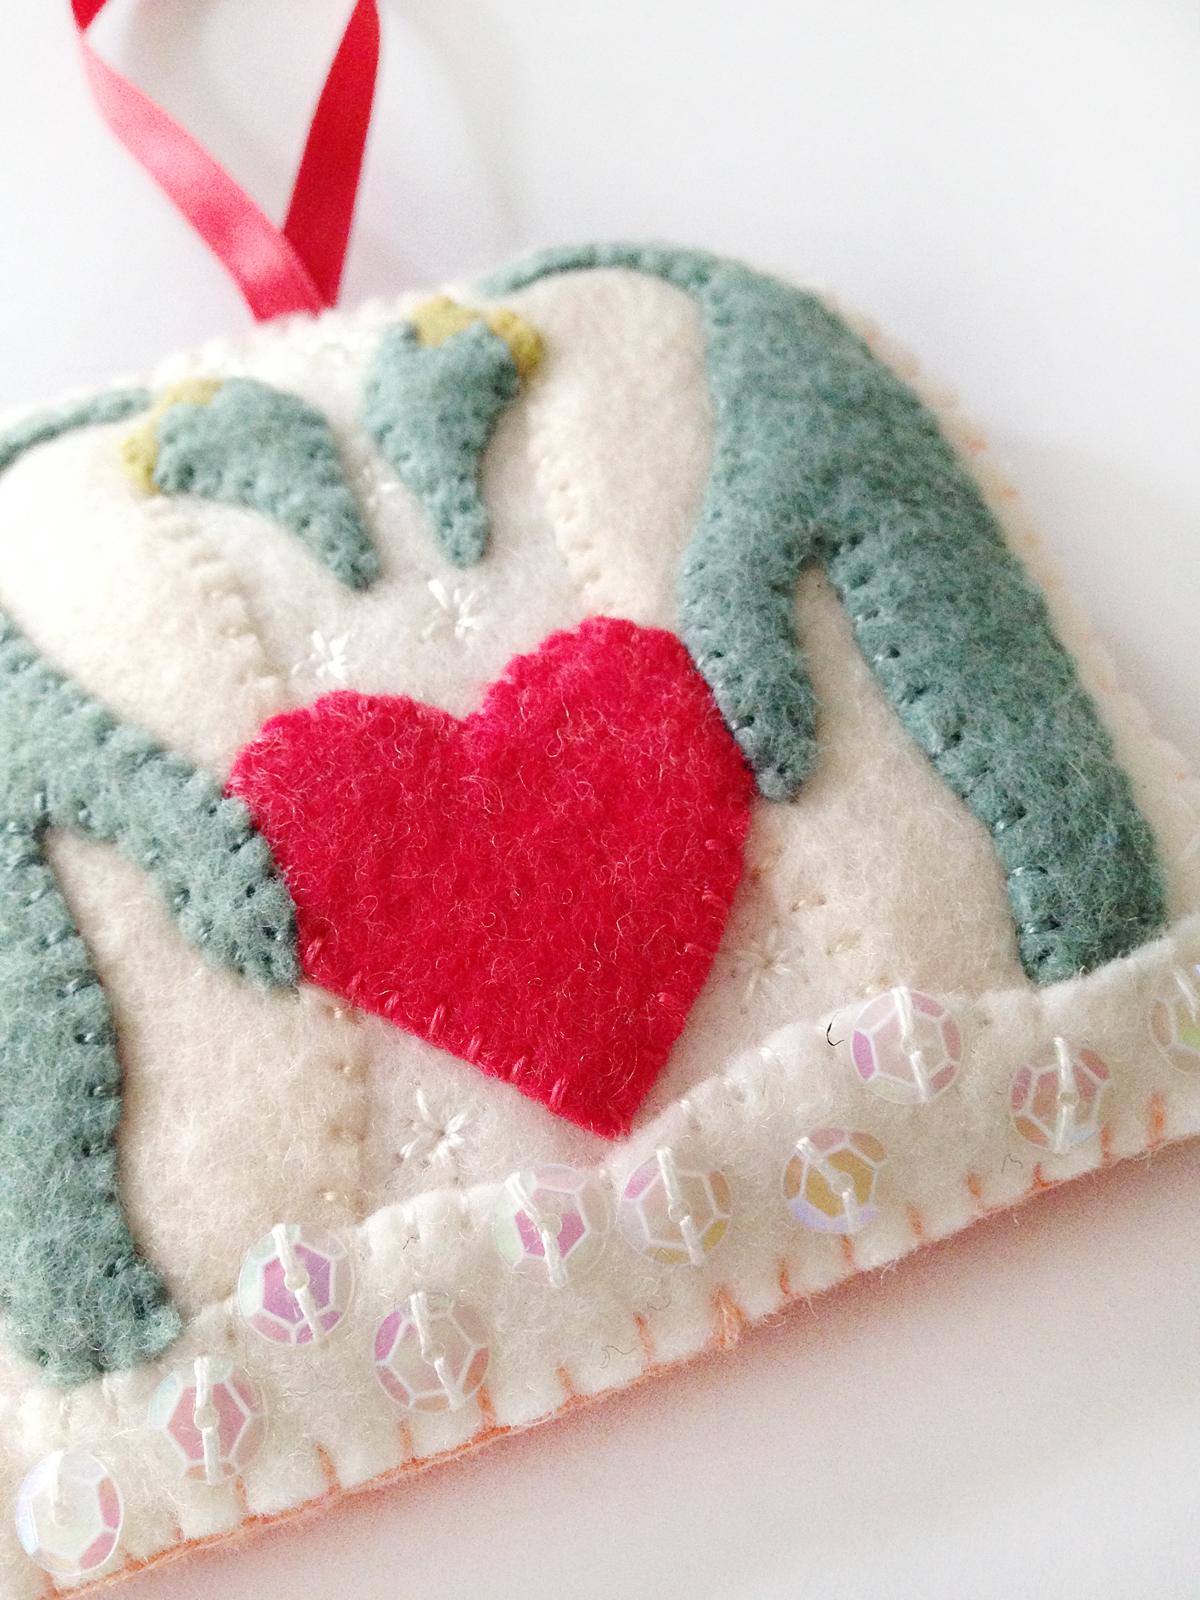
This little angel is so very special to me. I recently lost a loved one very suddenly. She adored angels. This one is for her.
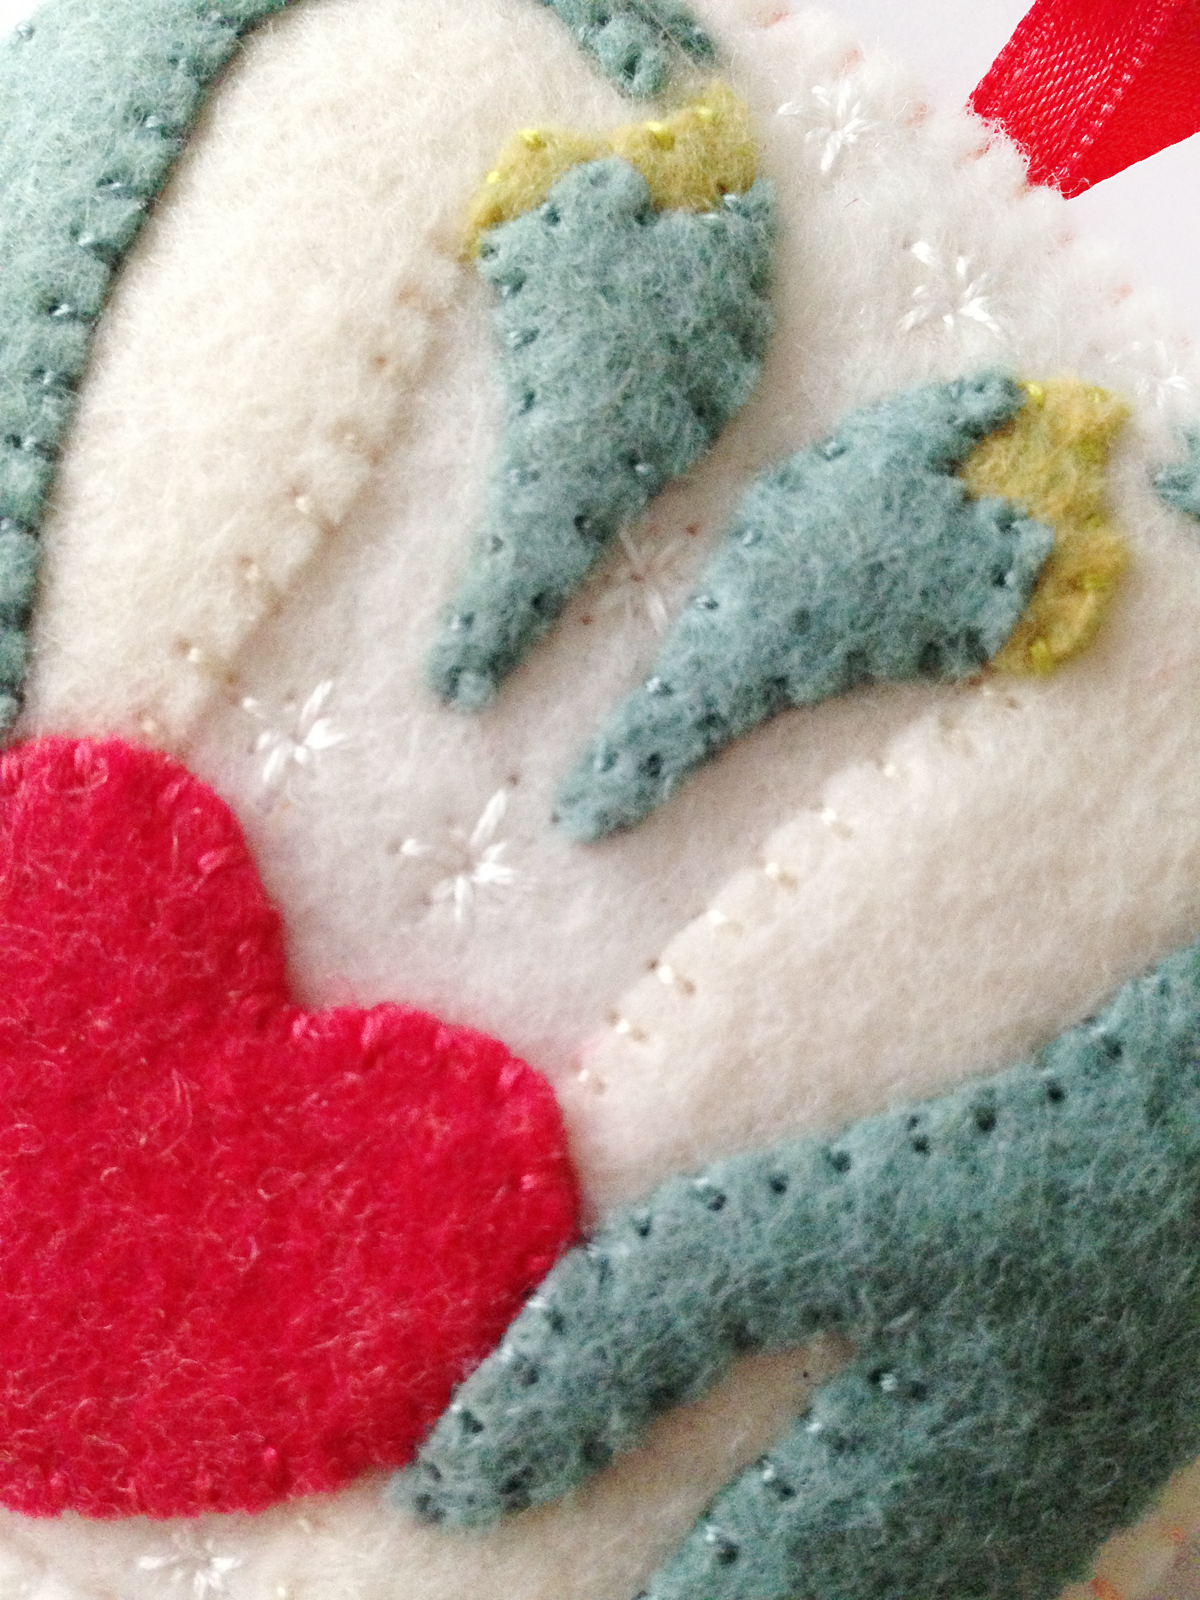
I started by adding the sequins. On the back of the wings, I sewed a line of crystal sequins all the way across. On the front of the wings, I stitched 3 on each end. I stitched the two sides together around the outside. For the back of the halo, I stitched on a ring of 6 gold sequins. On the front of the halo, I stitched a ring of 5 (none where the head overlaps.) I put the two sides together with the back hair piece layered in place between, added a loop of twine and sewed the halo around the outside.
I then tacked down the face, arms, hands and front hair to the front gown piece. I stitched down the arms, hands and chin, then made a back stitch mouth and eyes. I tacked the halo/back hair piece to the back of the gown, then laid the wings in place. I back stitched a vertical line down the center of the wings to attach them. I stitched up the sides of the gown, and stitched the hair on, sewed the front and back together at the sides.

8. Gingerbread Man
The gingerbread man works up quickly! Using 4 strands of white floss (instead of my normal 2) I back stitched in a zig zag at his ankles and wrists on both sides. On the front, I gave him two red sequin buttons, a smile (made like a lazy daisy stitch) and two French knot eyes. I stitched the two sides together with a loop of twine at the top.

9. Train
The little red train is the same on both sides. I started by stitching crystal sequins to both sides of the steam, then sewing both sides together. I stitched the two bumper sides together. I glued the red swirls to the big white wheels then stitched them down and added red and crystal sequins. I stitched the wheels in place on the train bodies at their tops.
I used felt glue to tack down the roof pieces, windows and green wheels. I stitched the windows down and added rows of green sequins along the roof pieces. on the green wheels, I stitched a green sequin to the center of each using a starburst of long stitched to look like spokes. I decorated each train body with two gold sequins. I laid the two train sides together with the bumper and steam in place, as well as a piece of twine at the top (knotted at each end) then sewed them together around the outside.
Using a large-eyed needle, I threaded a piece of baker’s twine and knotted the end. I stuck the needle between a gap in the two sides of one of the candy wheels and came up through the center. I made a loop in the center of the middle green wheel, then went down through the center of the front green wheel. My needle came out of the center of the front green wheel on the other side, and I repeated everything in reverse. I ended it by bringing the needle out of one of the gaps in the last candy wheel, tying a knot as close as I could, cutting the twine and tucking the knot into the wheel.

10. Bell
The little gold bell is a fun addition to the tree play set, as it really jingles! On each side, I sewed a row of red sequins. I stitched each side together with a loop of twine at the top, pausing at the bottom to sew a jingle bell in place. I stitched holly embellishments on each side using red thread around the berries.
 11. Letter to Santa

This little letter has a long way to go! I started by freehand stitching the words “Santa north pole” using back stitch. I tried to make it look like little kid handwriting. I cut a piece of white felt a little larger than the red stamp and used my micro-tip scissors to pink the edges. (You could use pinking shears, but I thought mine were too larger for the scale of the stamp.) I glued the three pieces of the stamp together, then sewed them to the letter front all around the red rectangle. I also sewed the green tree down, but left the white pinked edge loose. Using gray floss, I stitched a dashed circle and three back stitched lines to make the postmark.
For the back of the envelope, I tacked the tip of the fold down with glue, then stitched the red heart on top. I added three red sequins. I stitched the front and back of the envelope together with a length of twine (with knots at each end) in the top.

12. Stocking
The little elf stocking actually opens! I started by stitching a line of red sequins on each of the stocking sides. I then sewed the two sides together, leaving the top open. I tacked the white cuffs in place with glue, catching a loop of twine in one side, then sewed up the sides and around the top. I added a tiny white pompom to the side with the twine loop.
Which one is your favorite of this set? What would you like to see next? I have to design 24, and your idea may be one! Stop by Facebook or Twitter, or comment here with your ideas.
If you are making a set, I’d love to see your finished ornaments! Tag me on Instagram @iolstephanie (if you are private, I’ll have to request to follow you), mention me on Twitter @iolstephanie or post a picture on our Facebook wall.