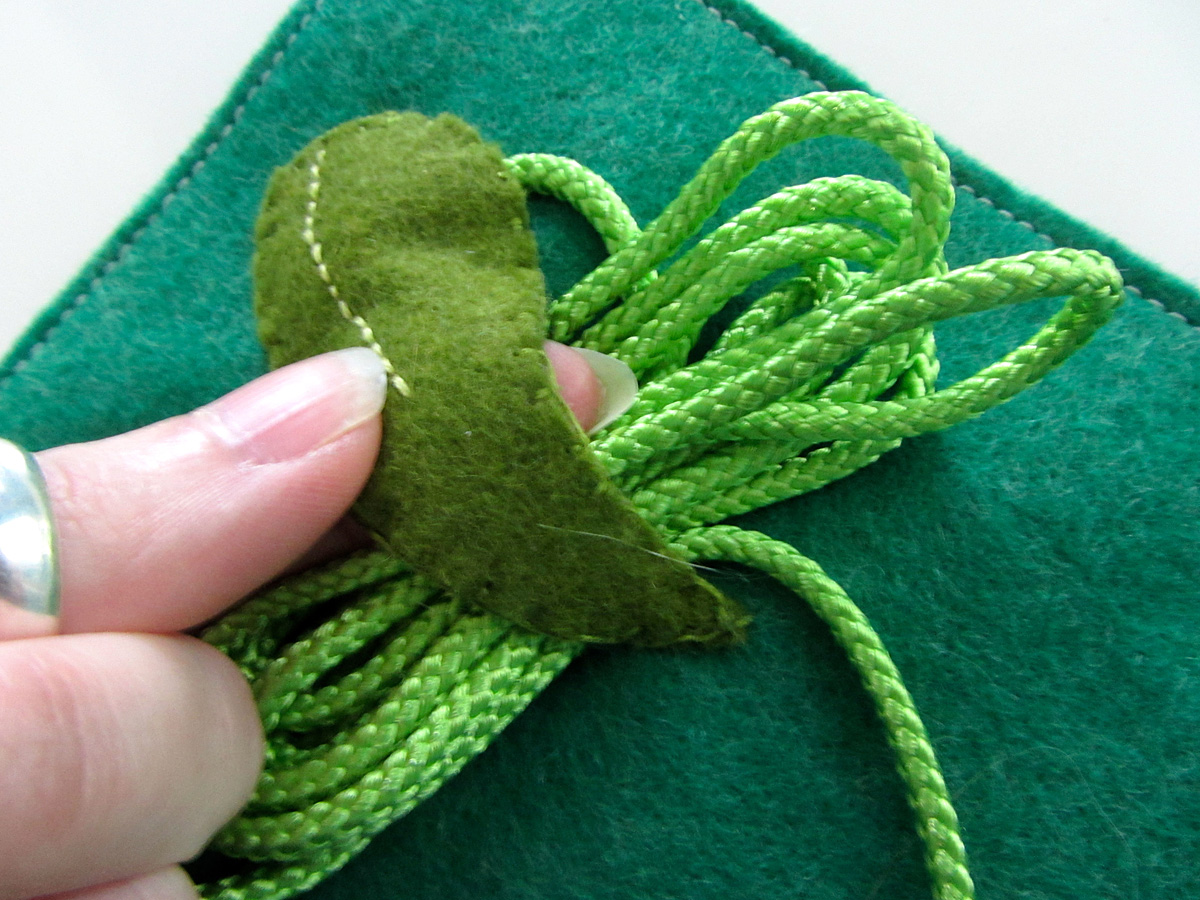
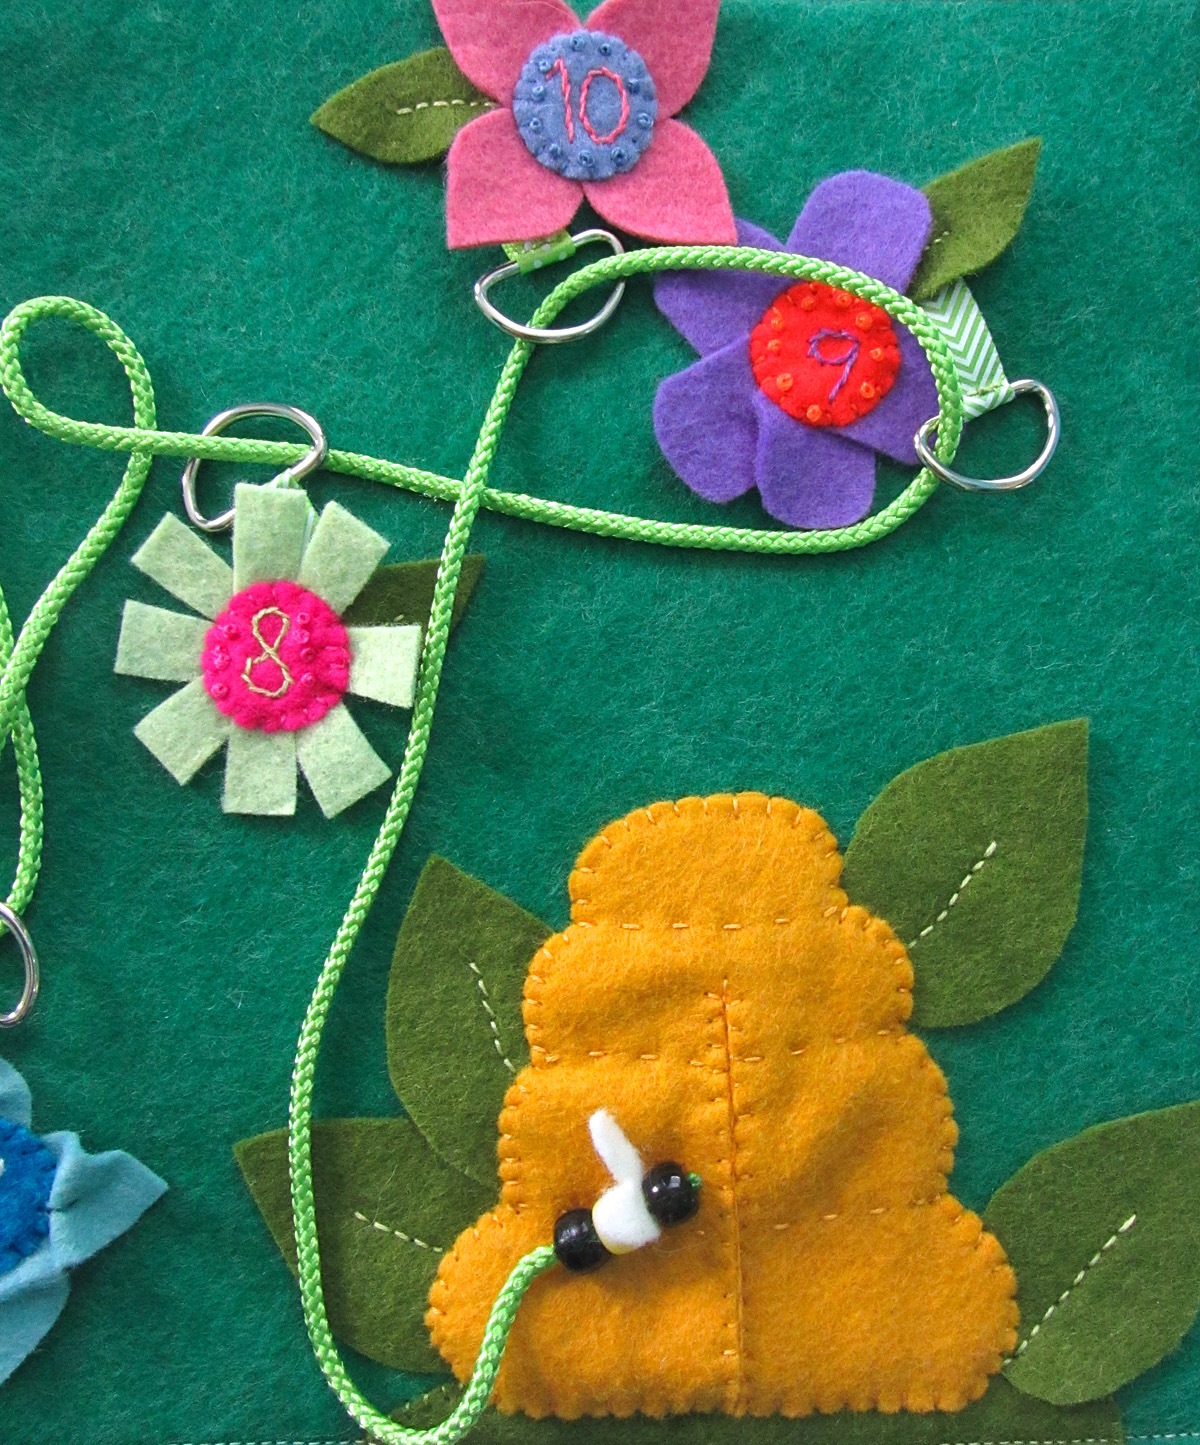
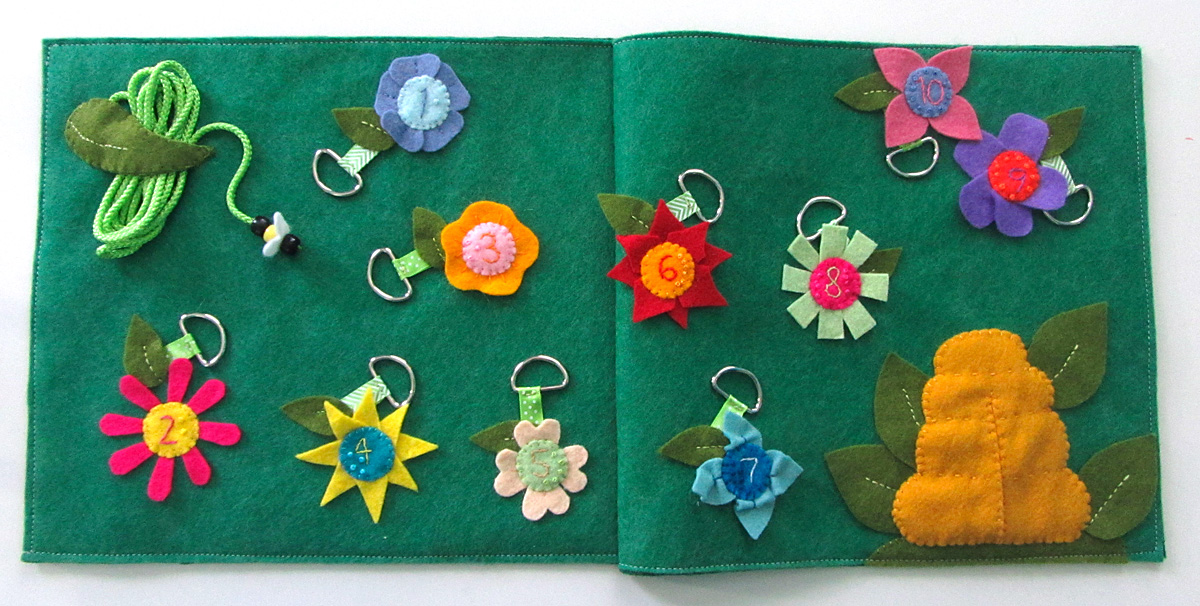
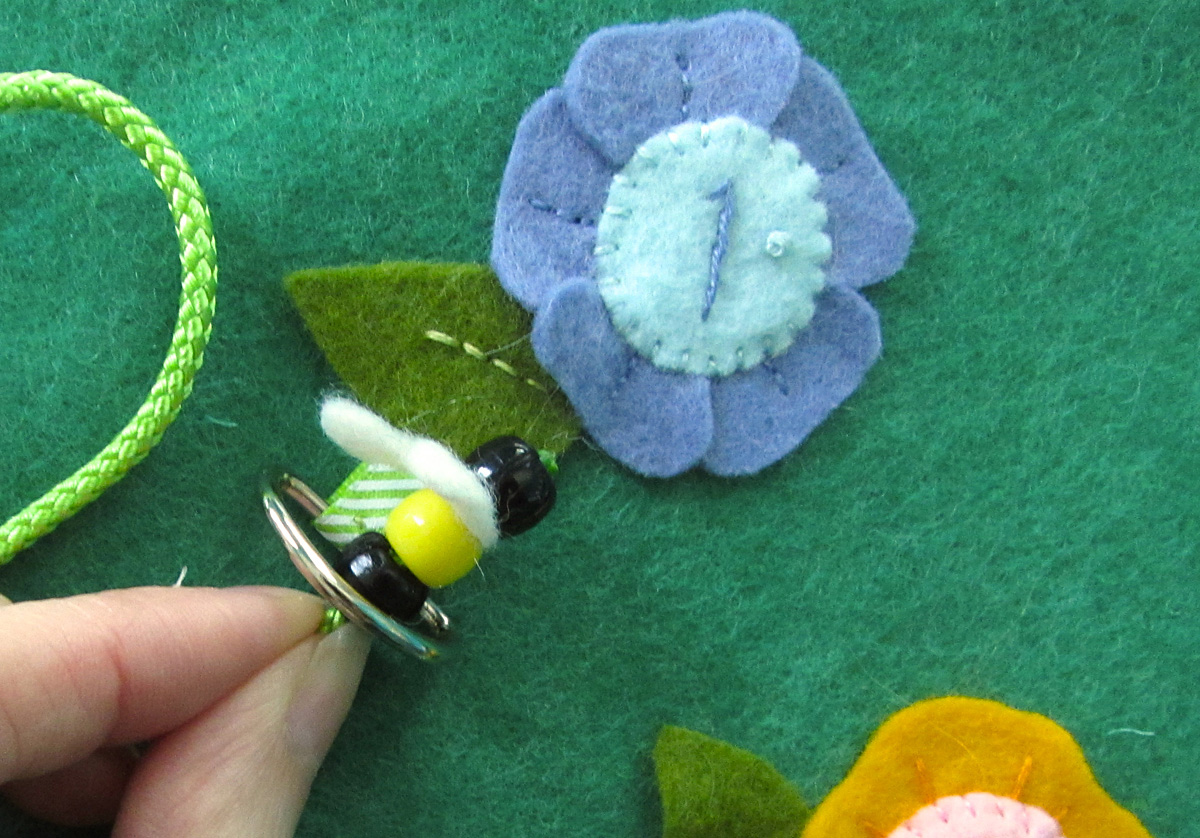
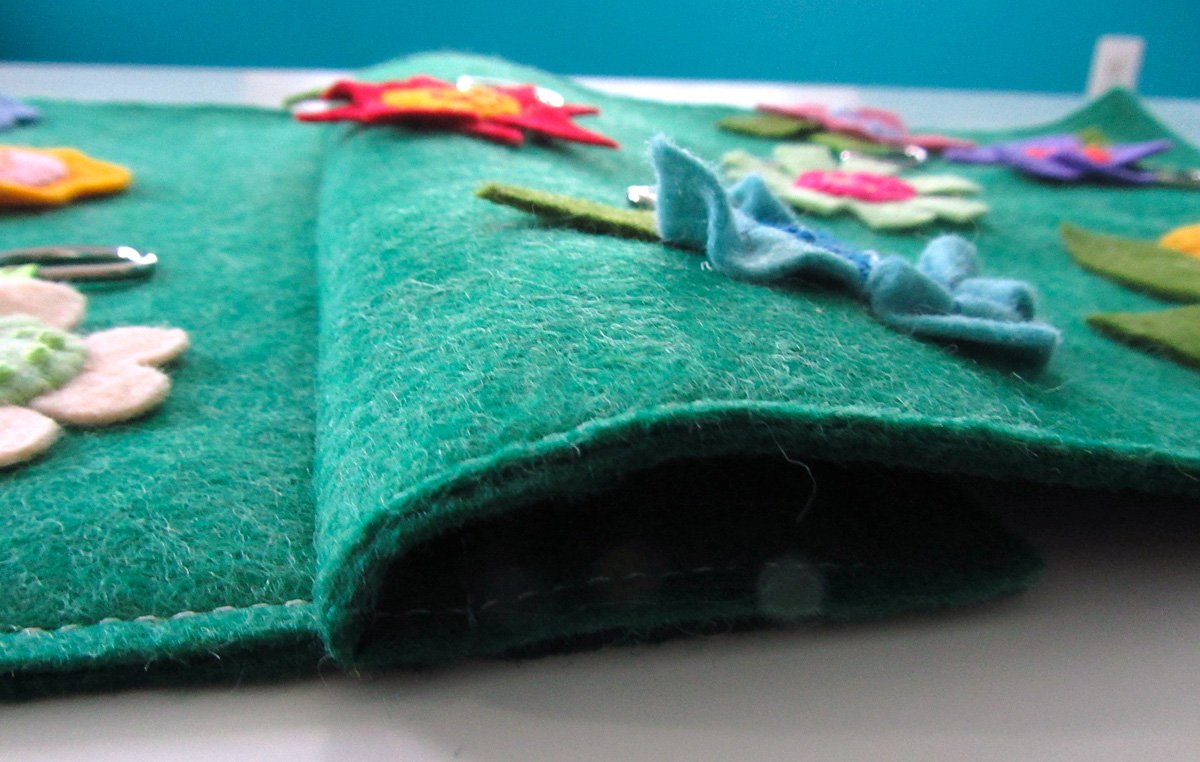
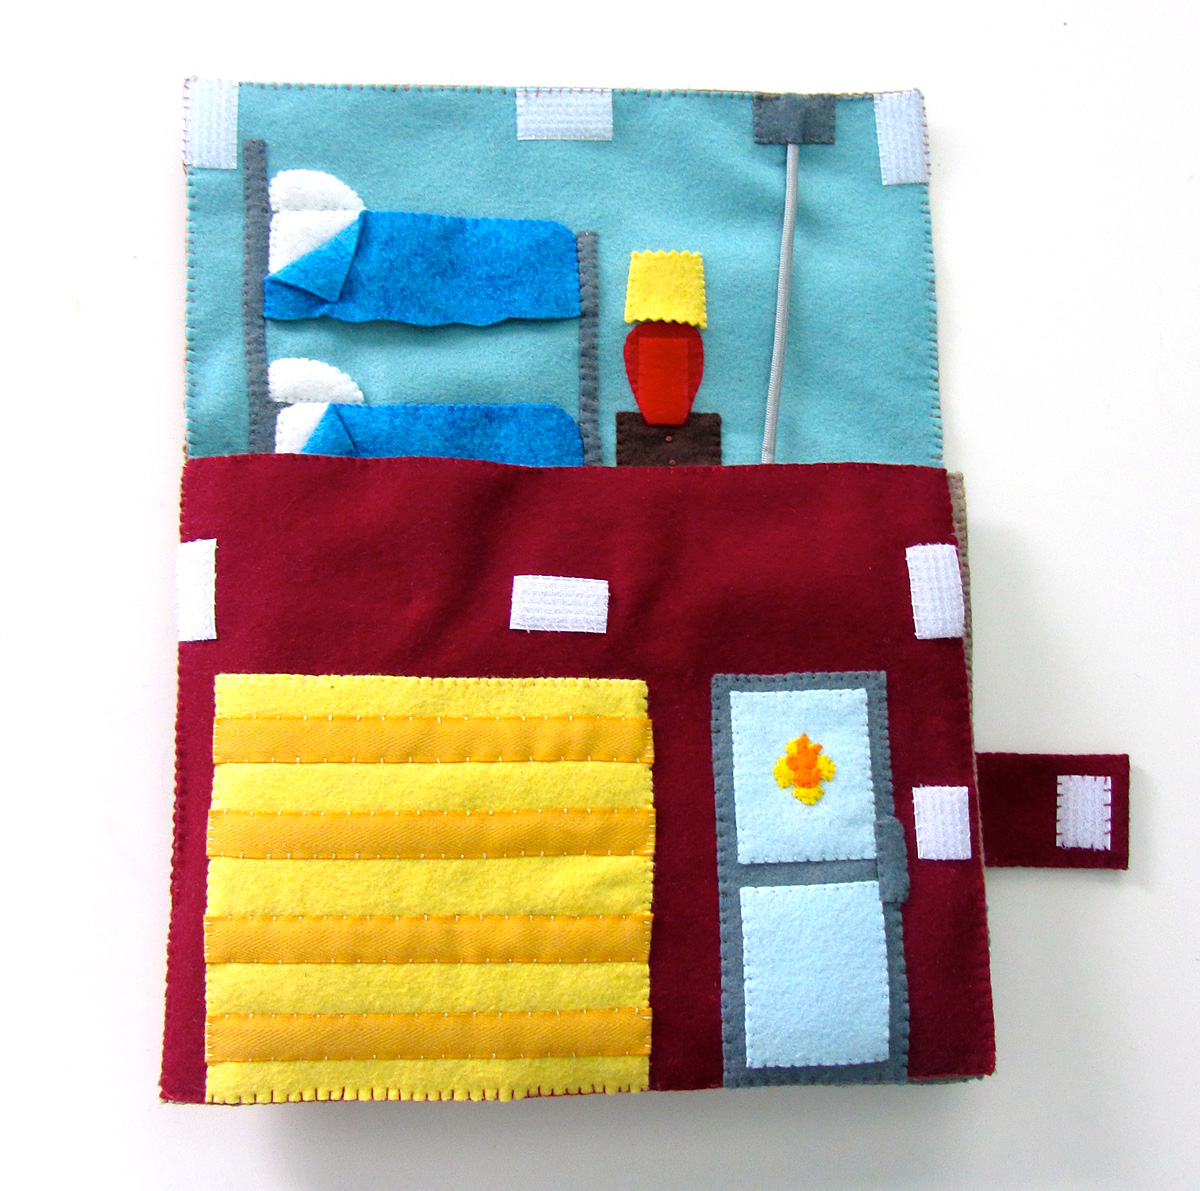
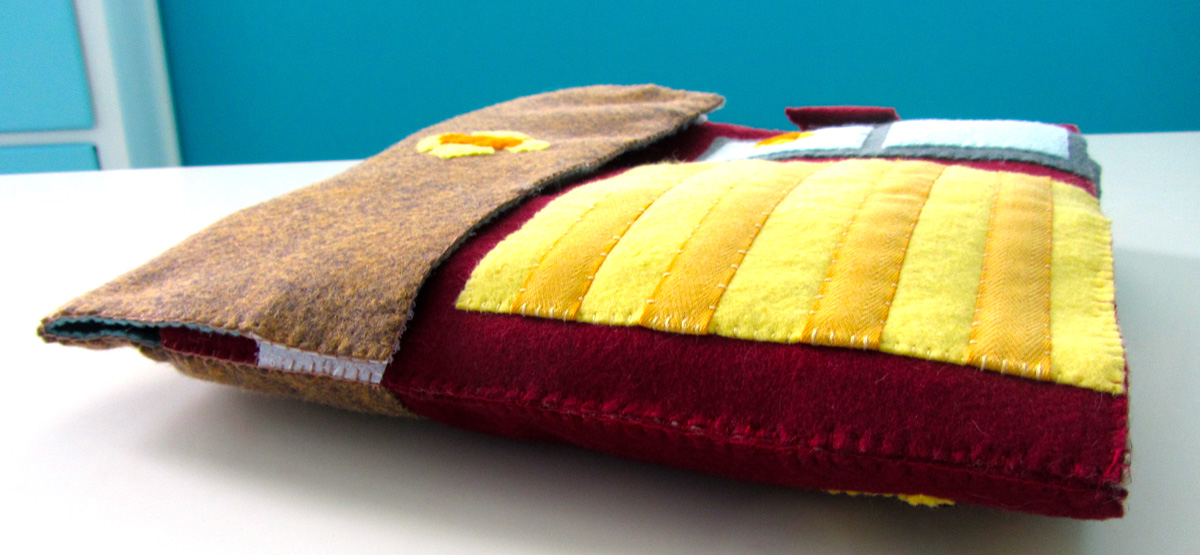
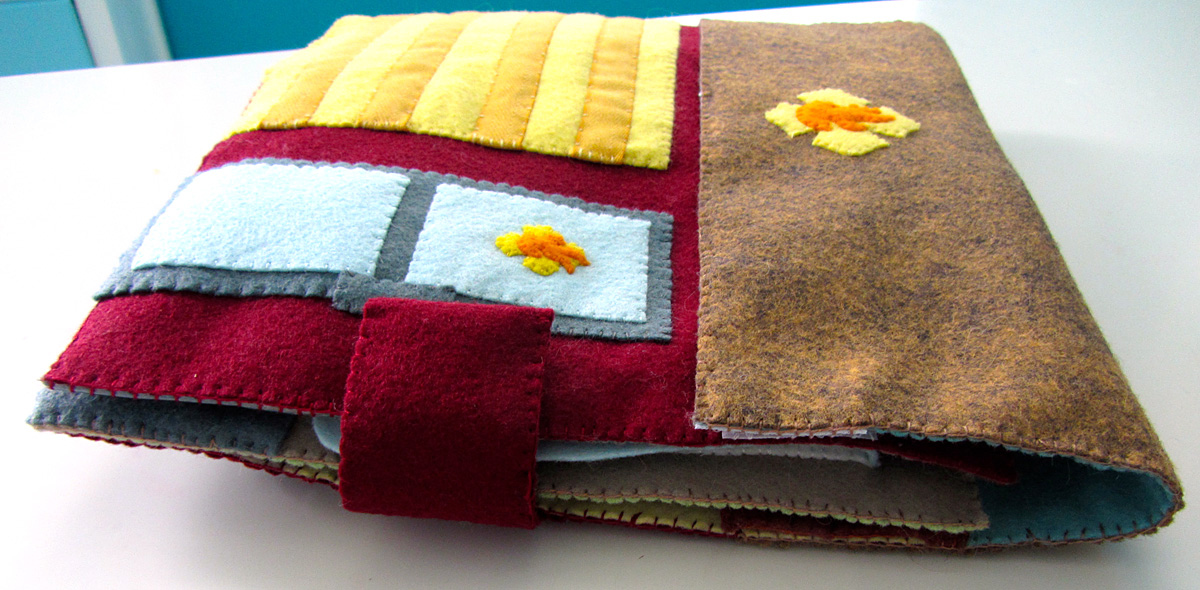
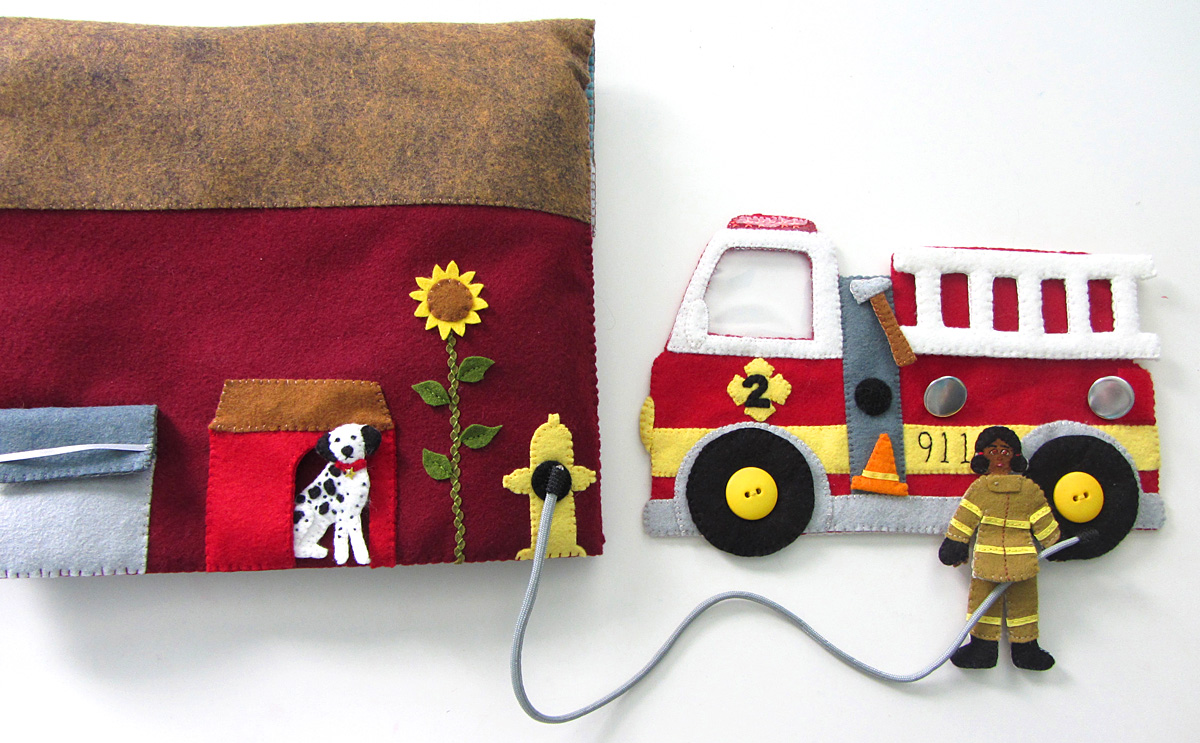
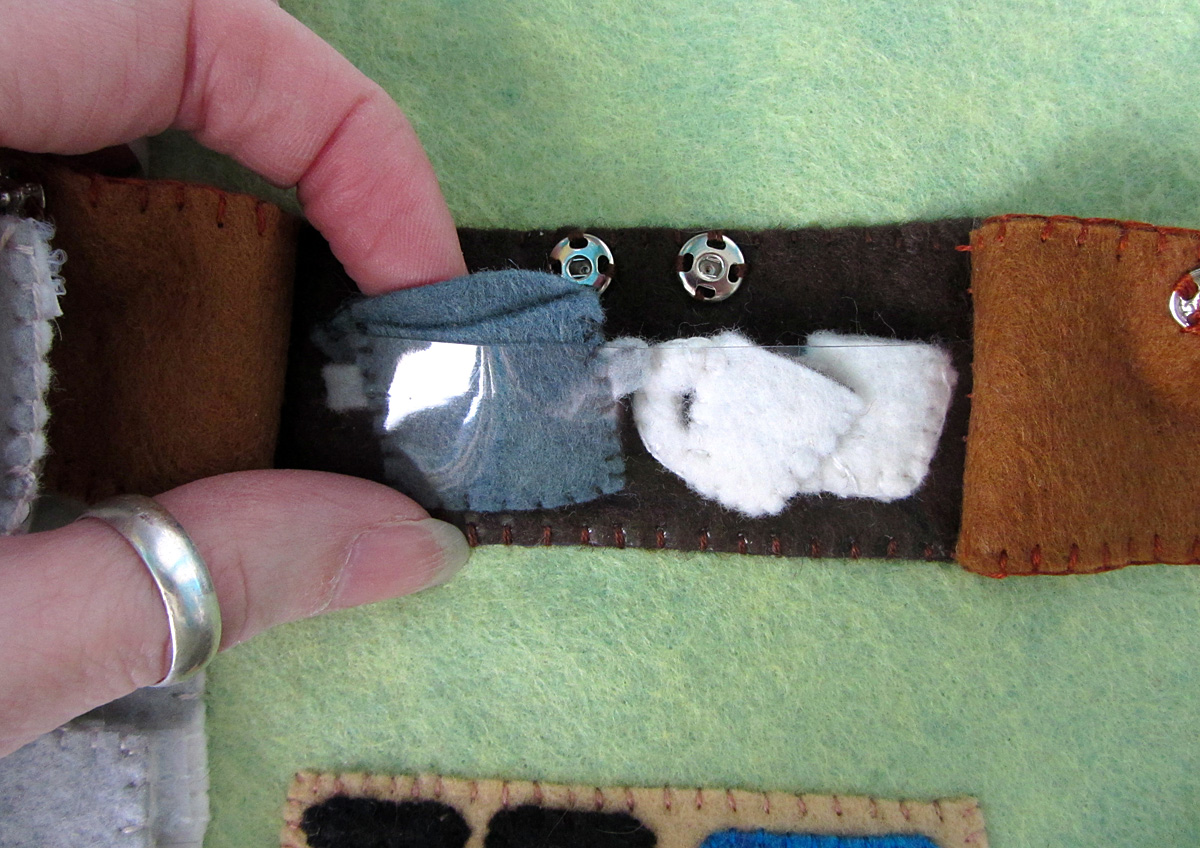
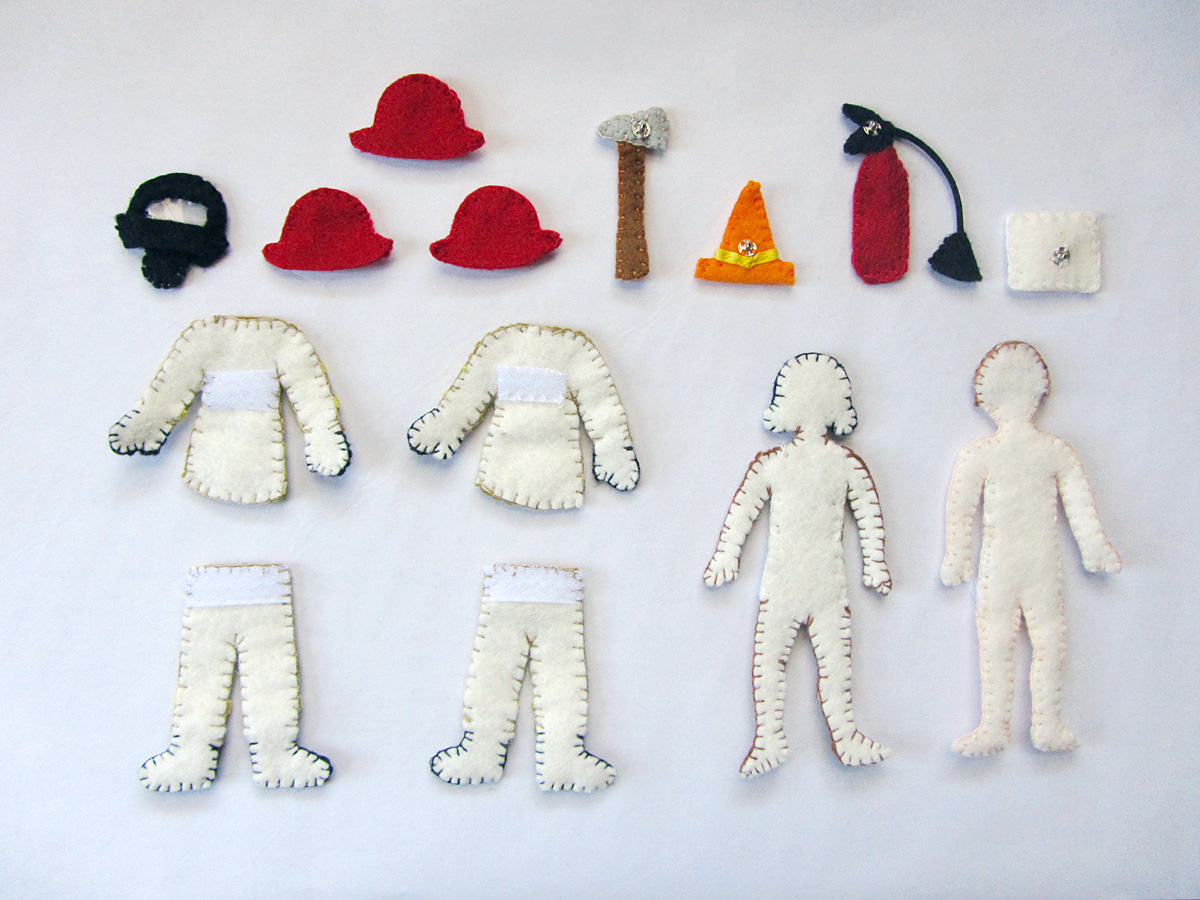
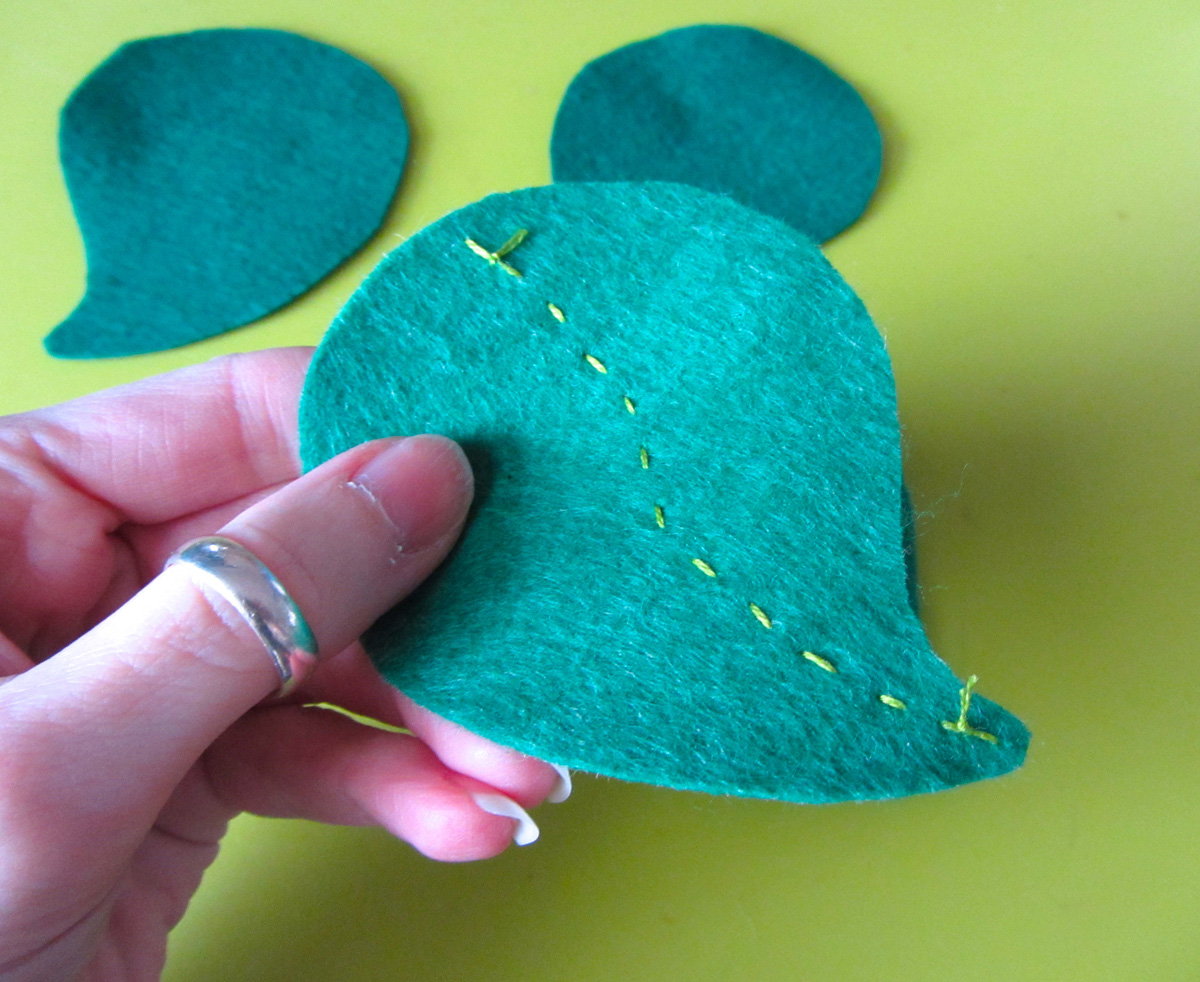
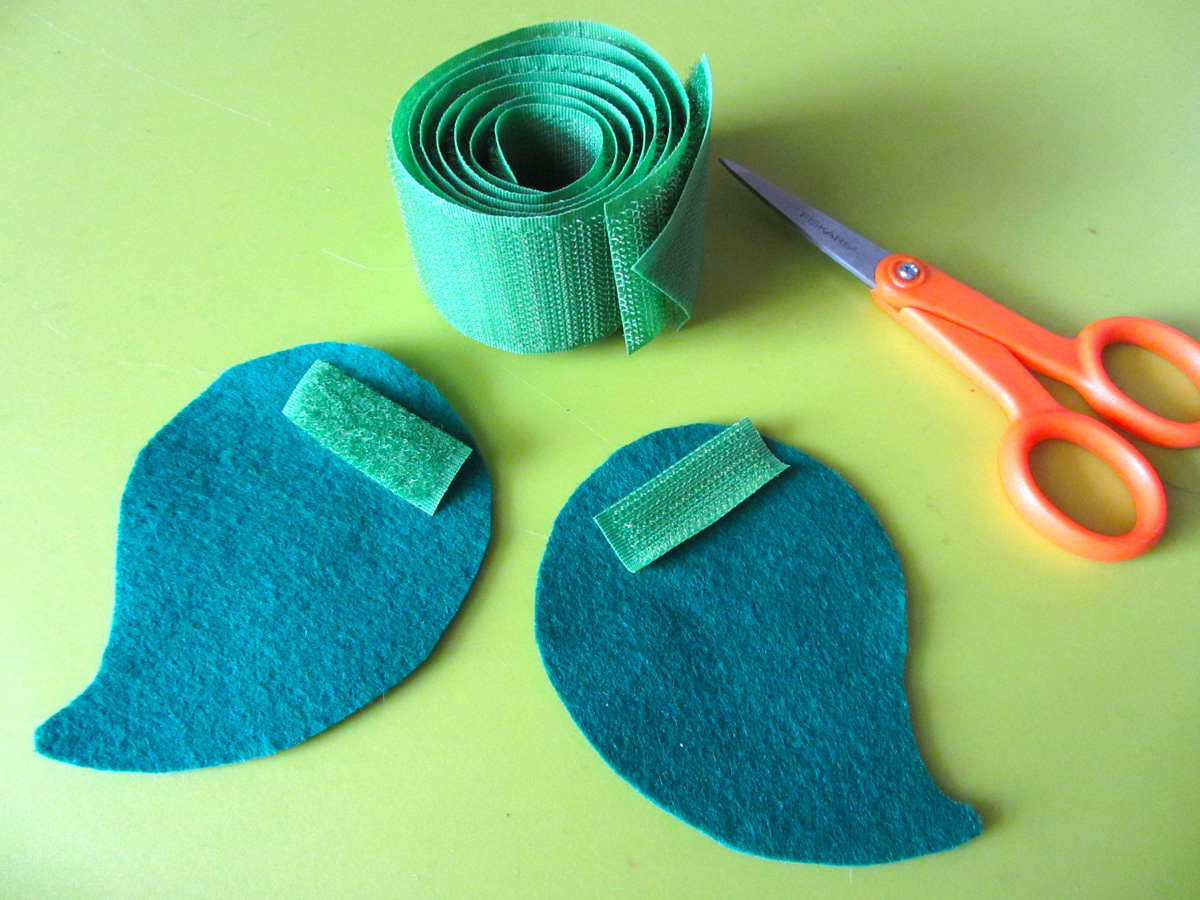
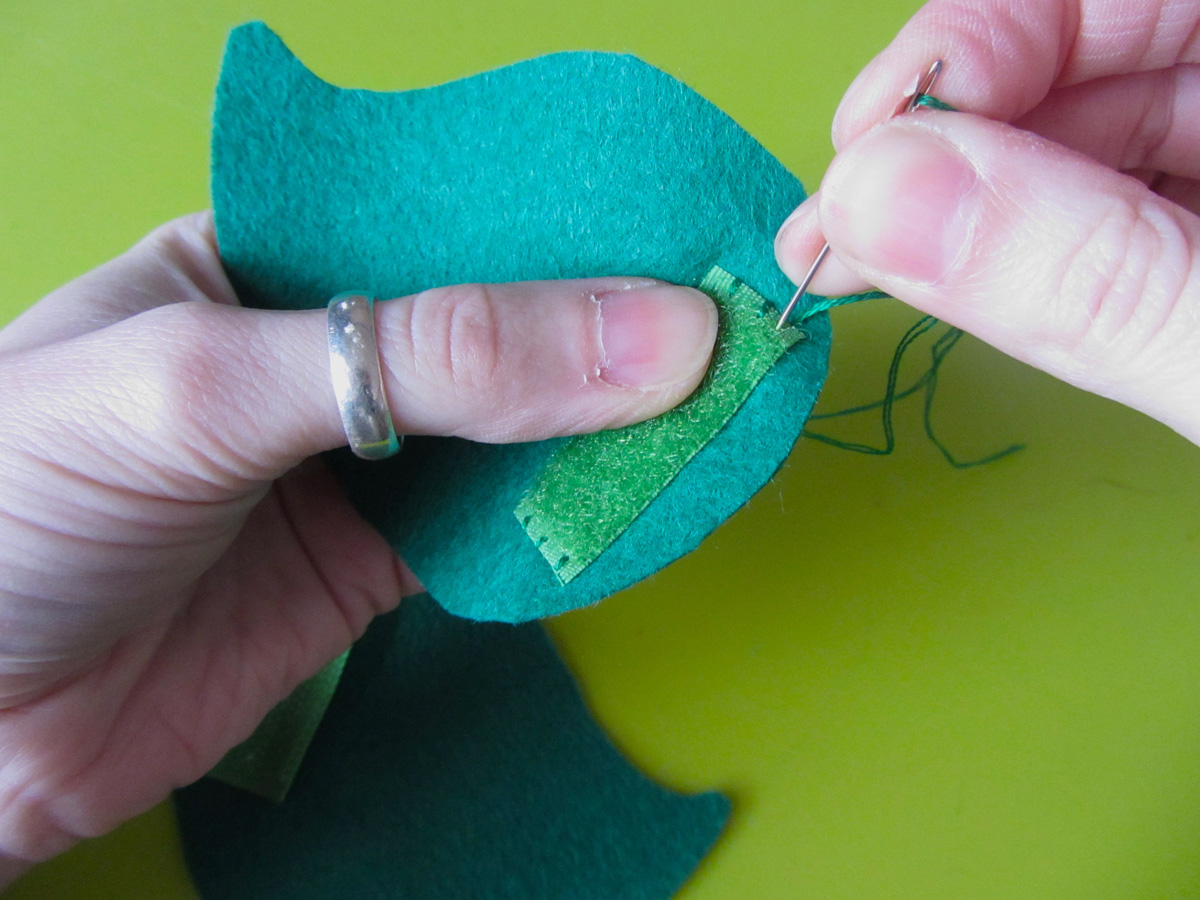
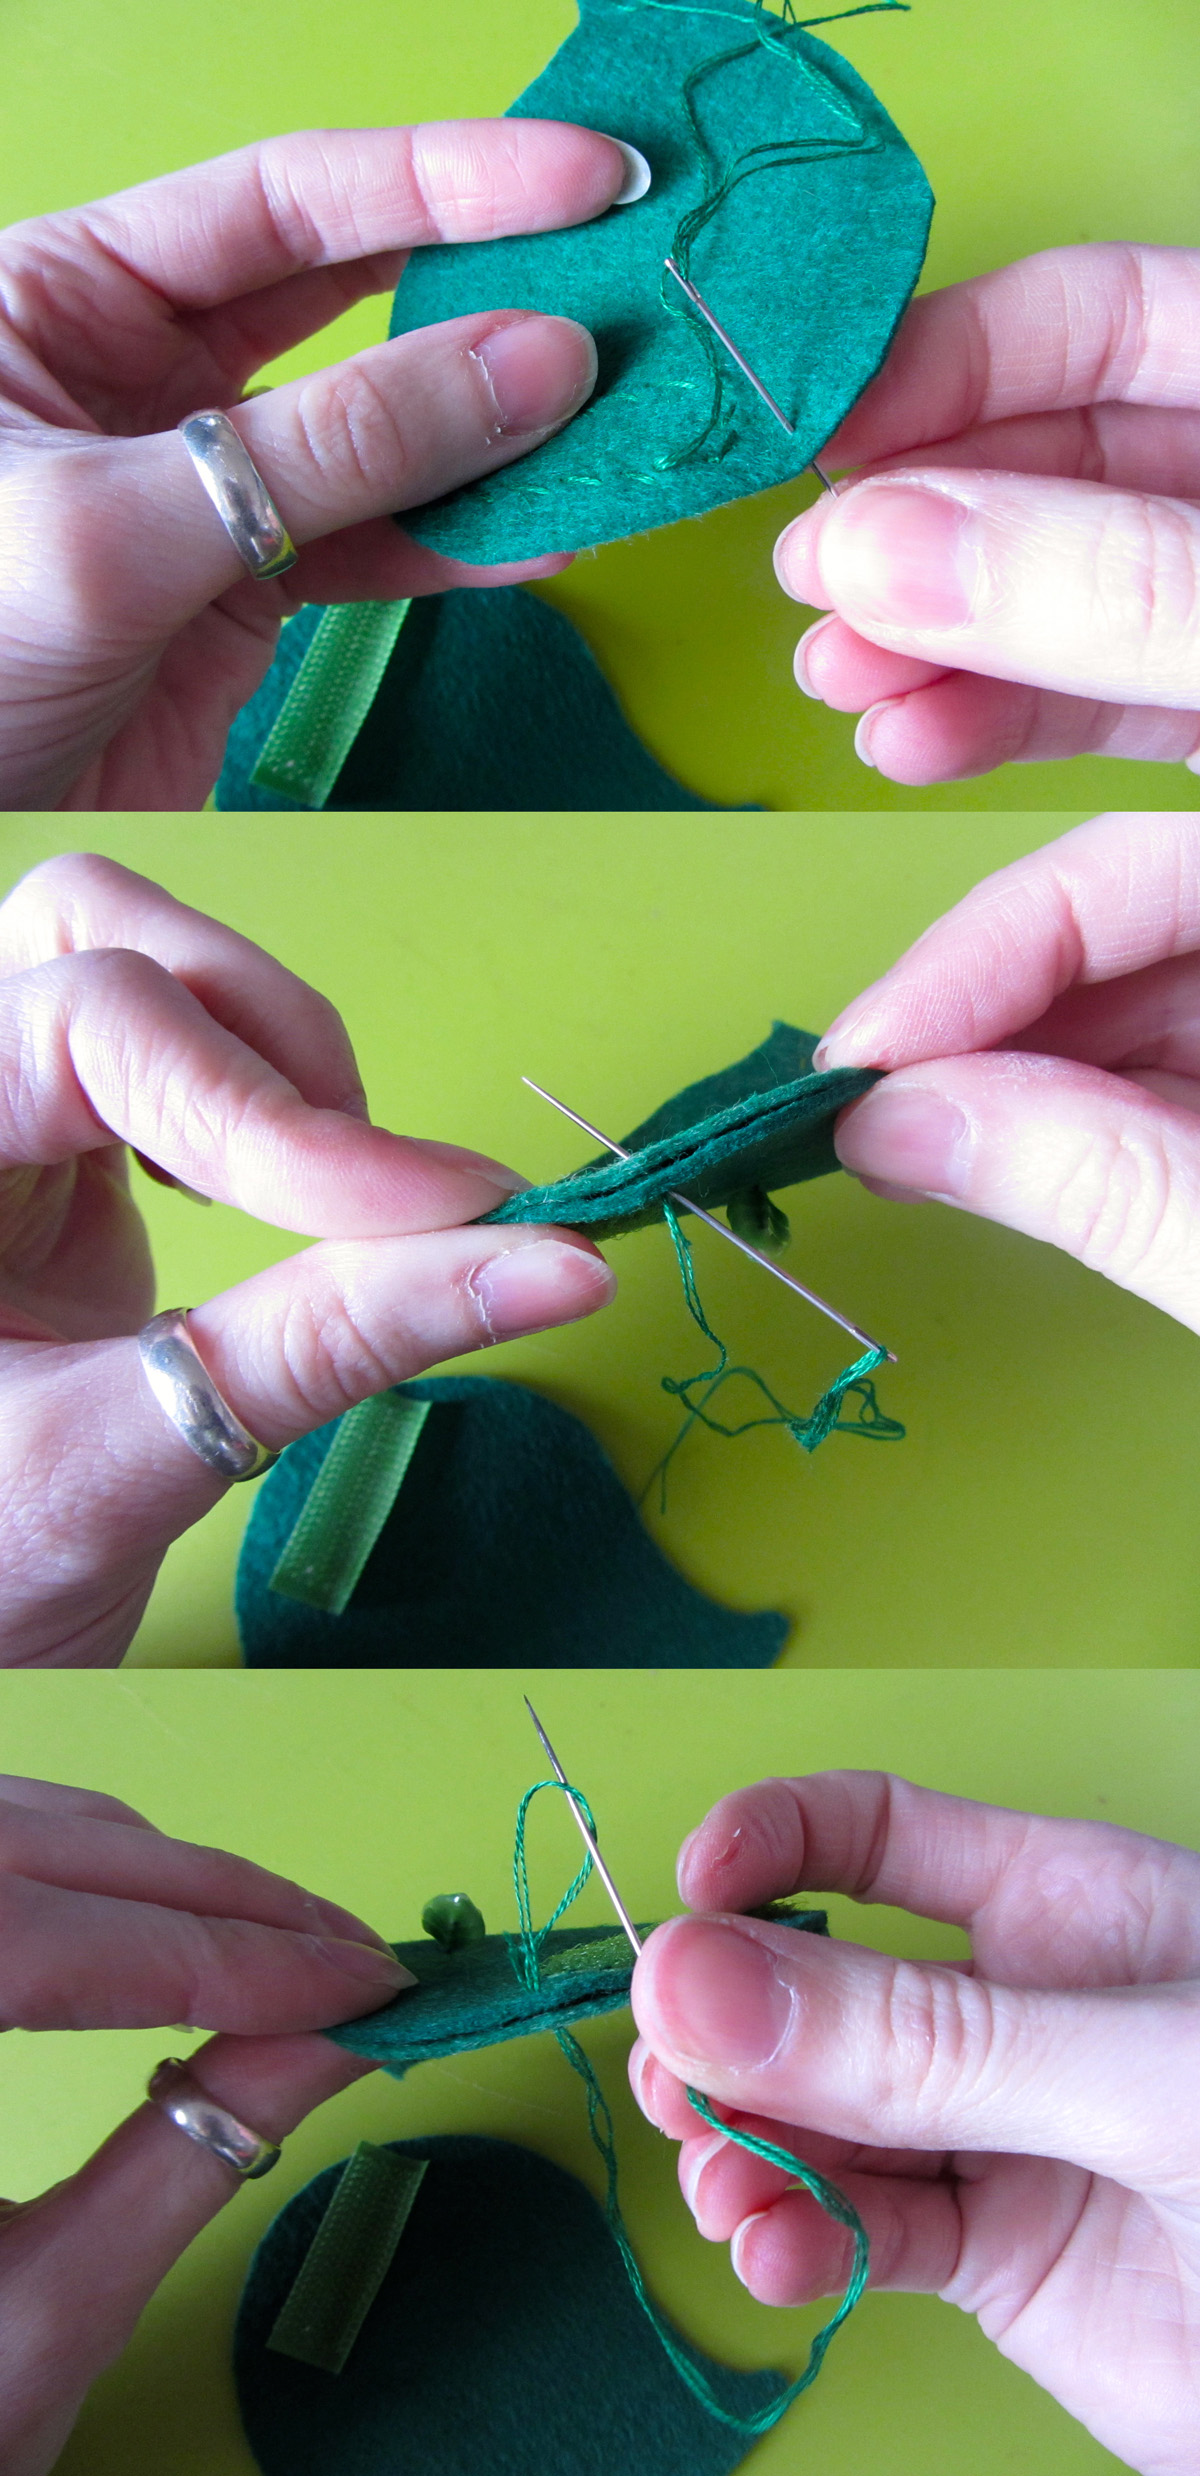
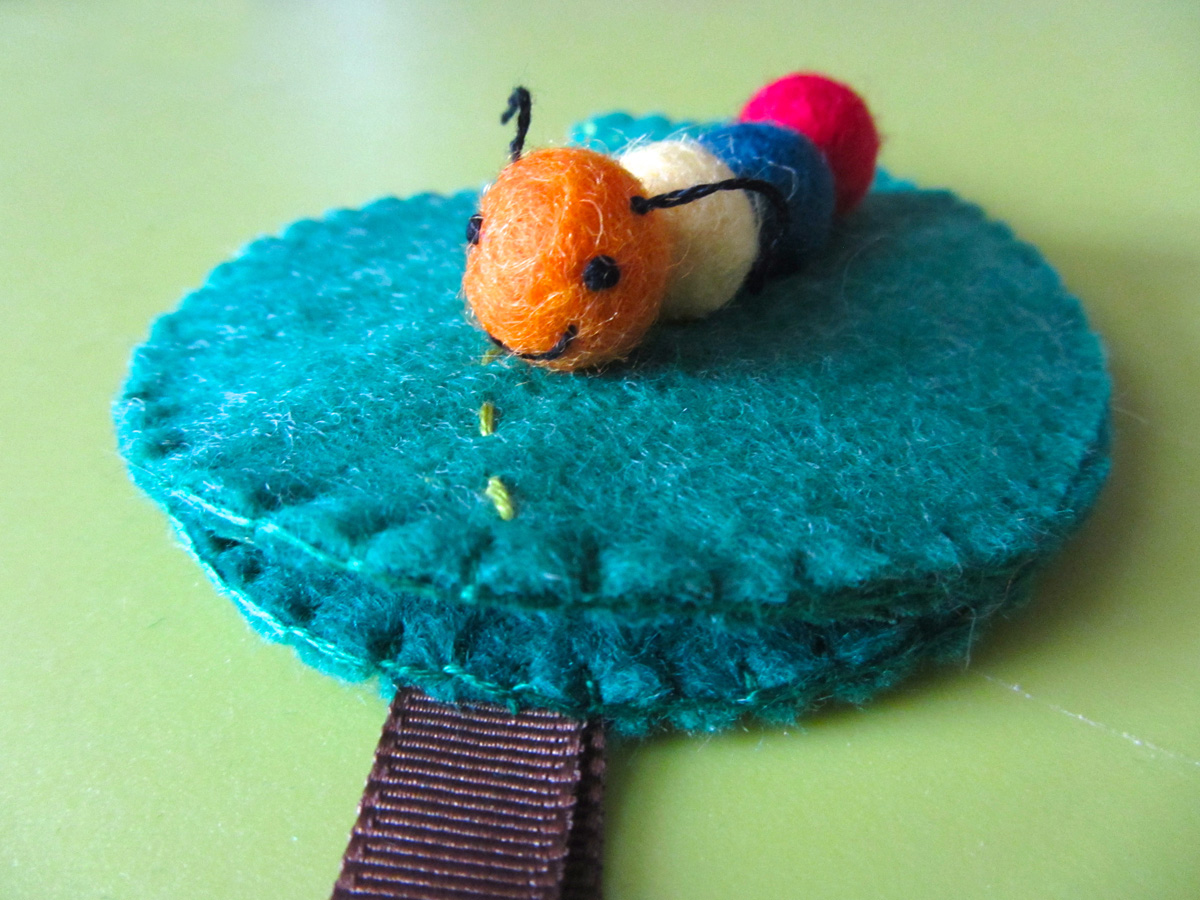
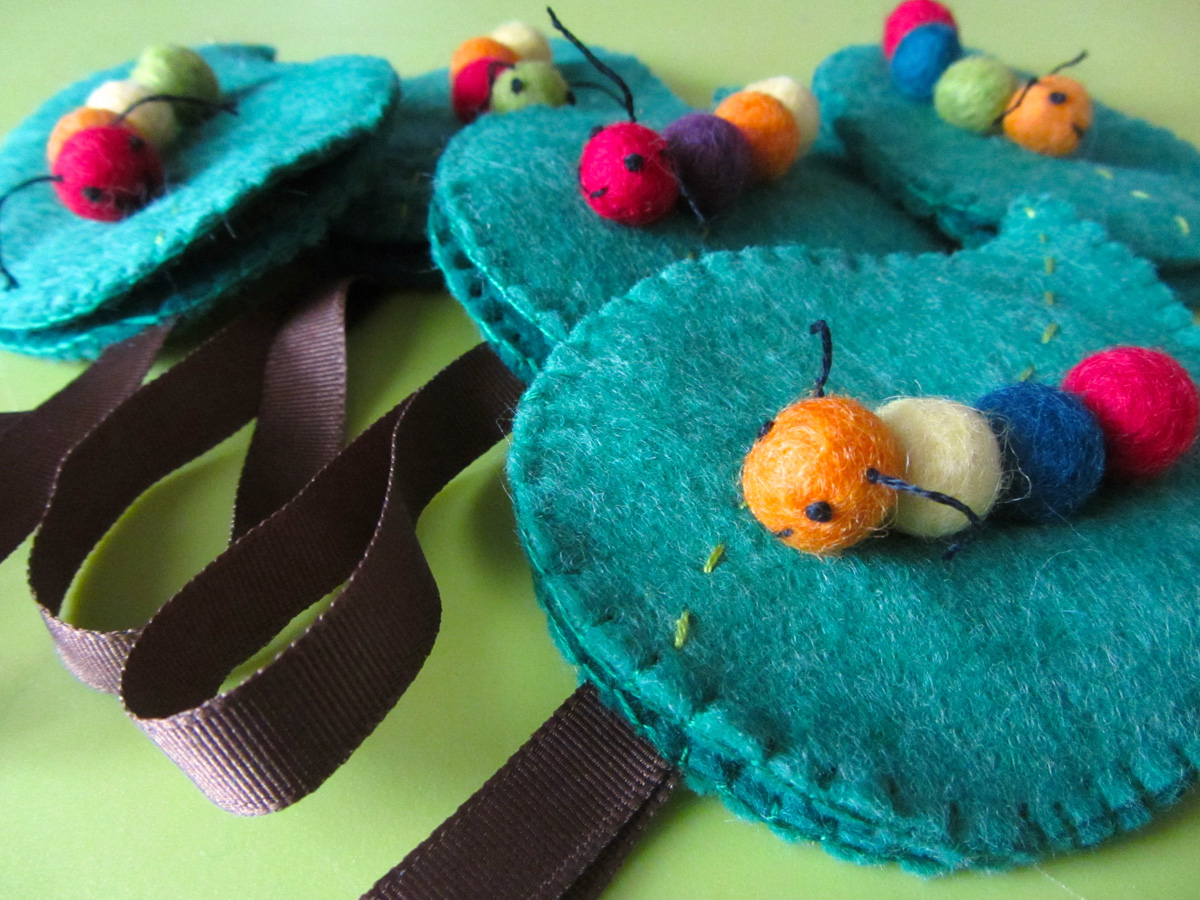
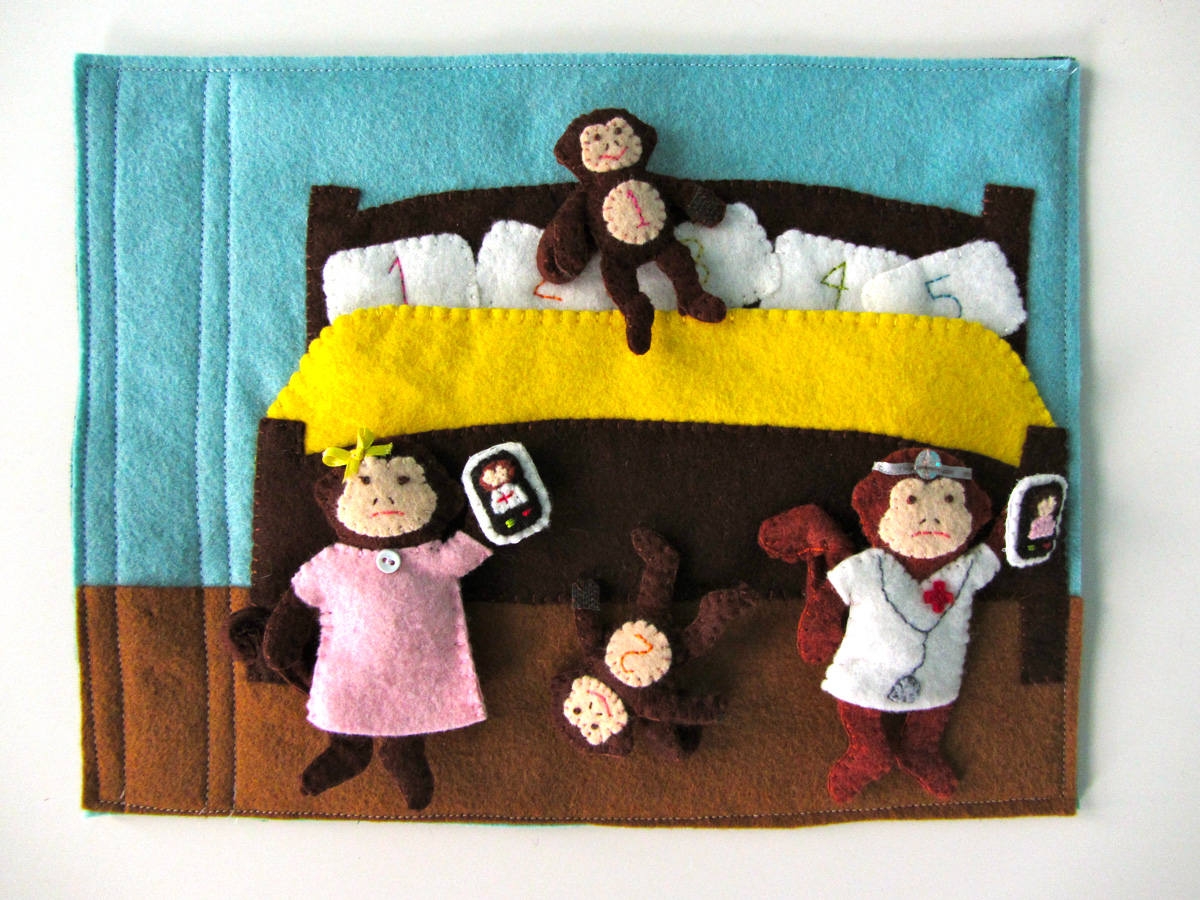
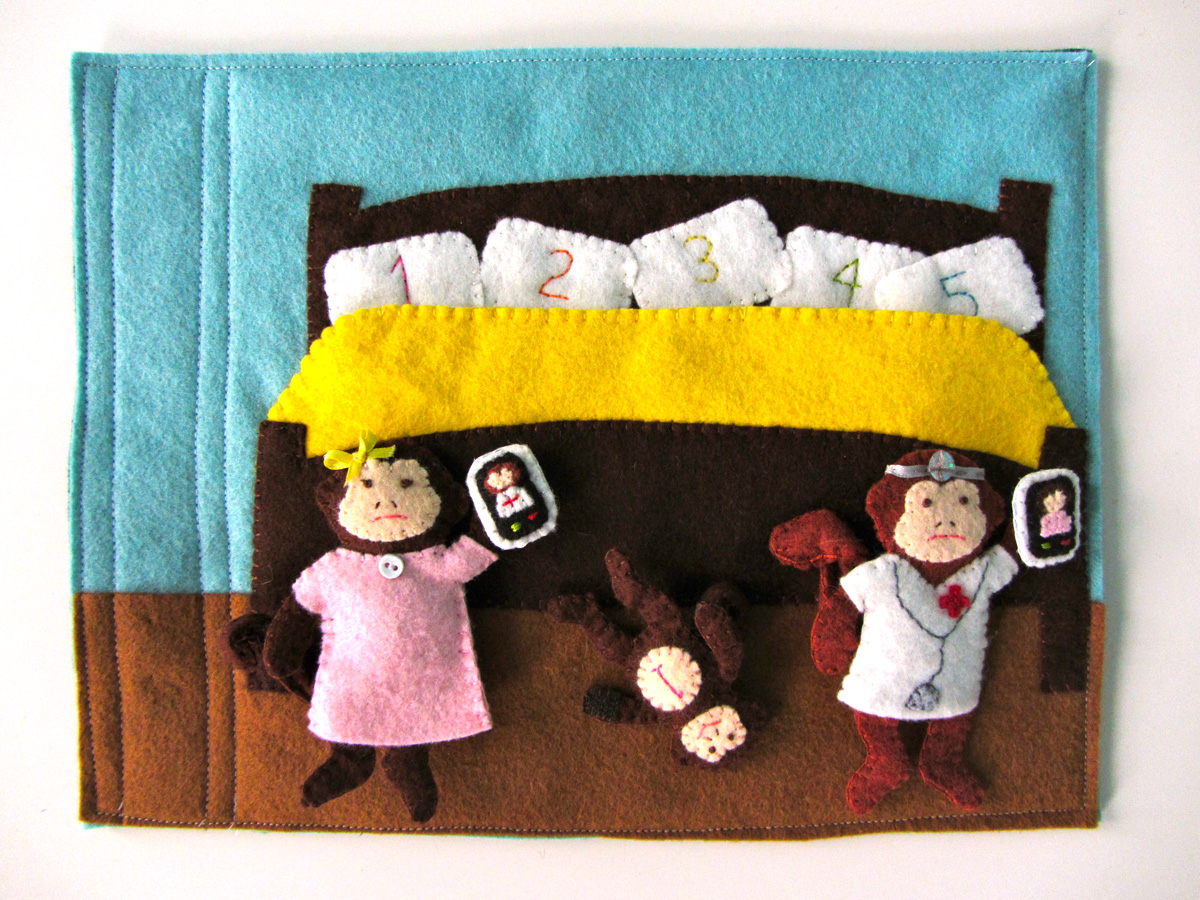
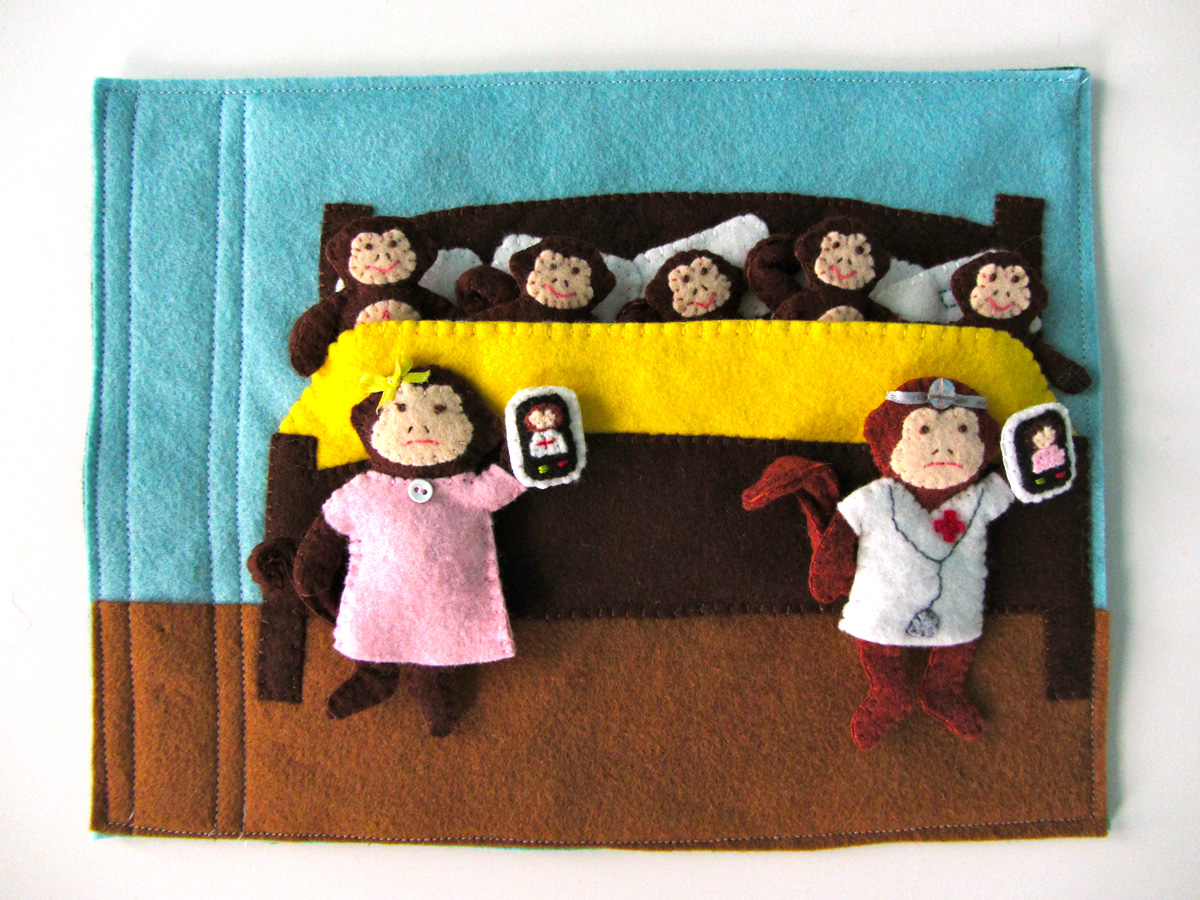
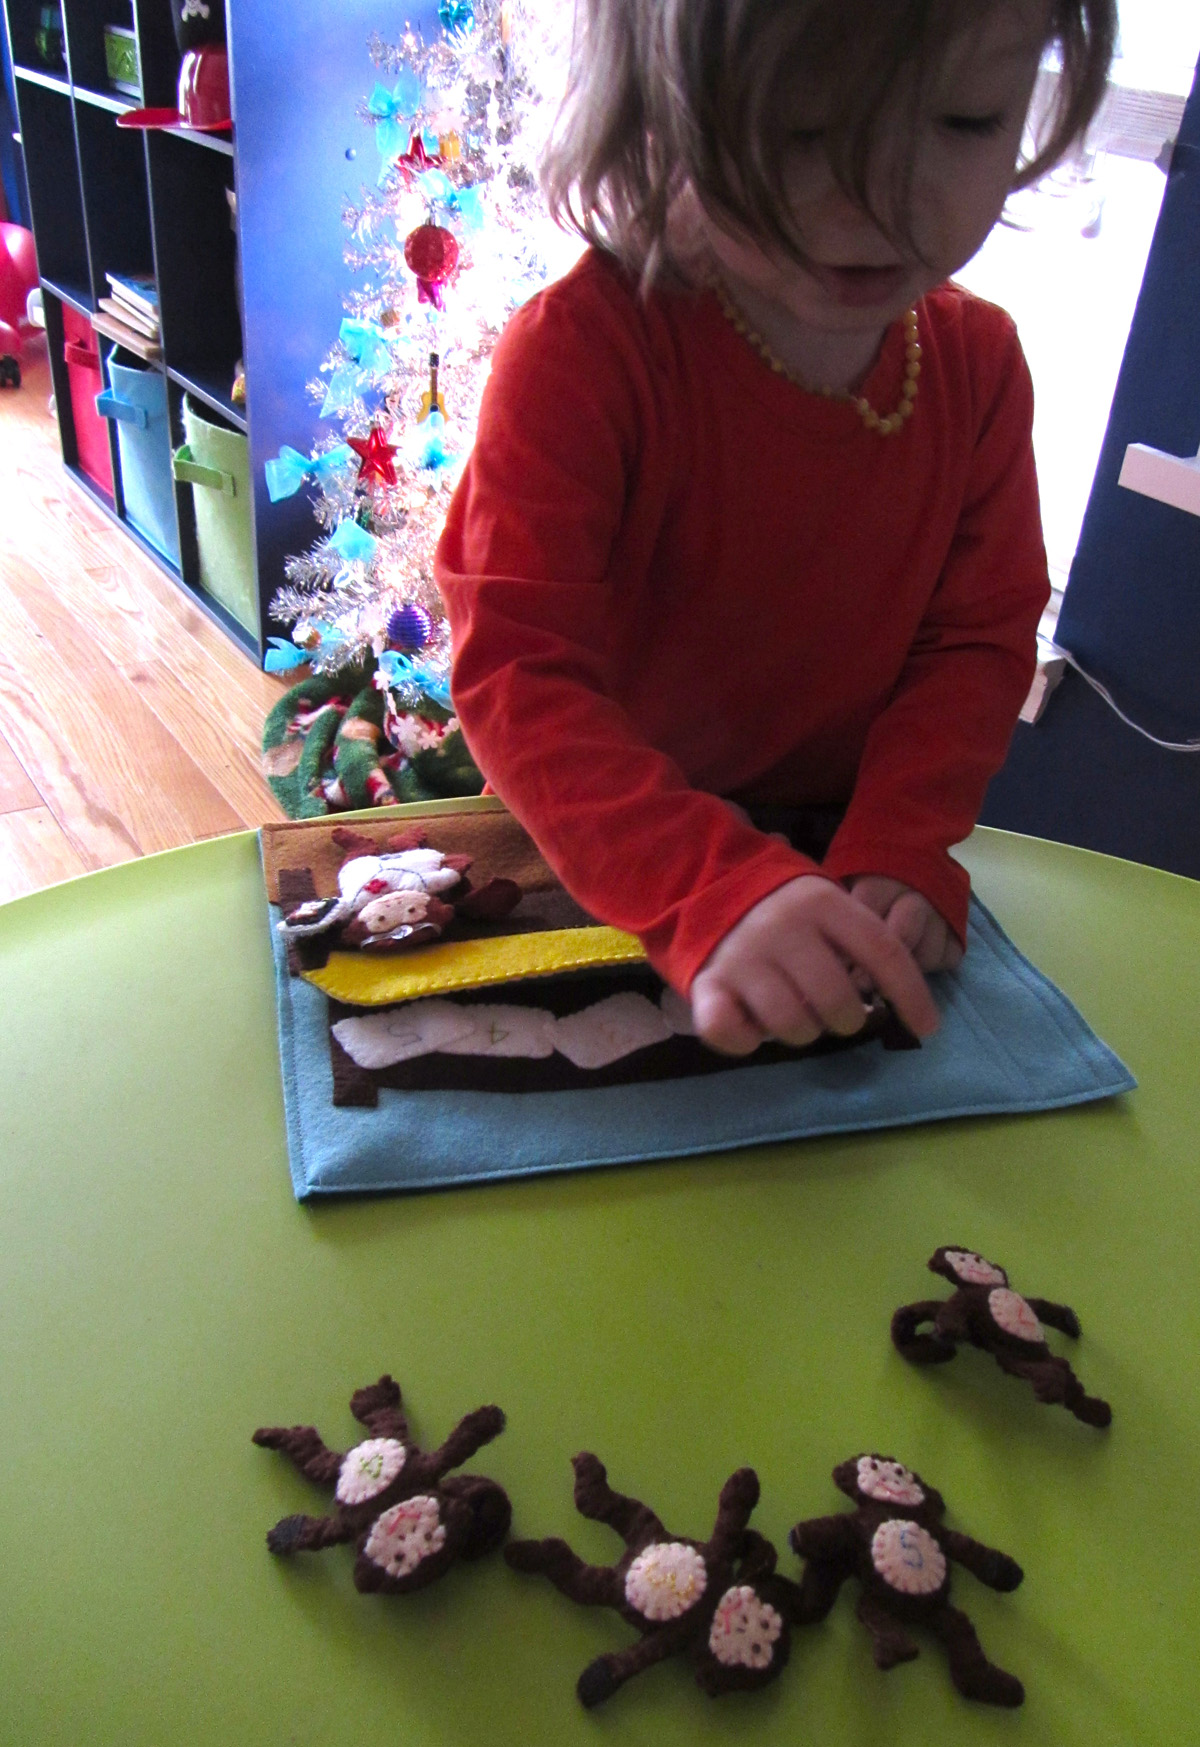
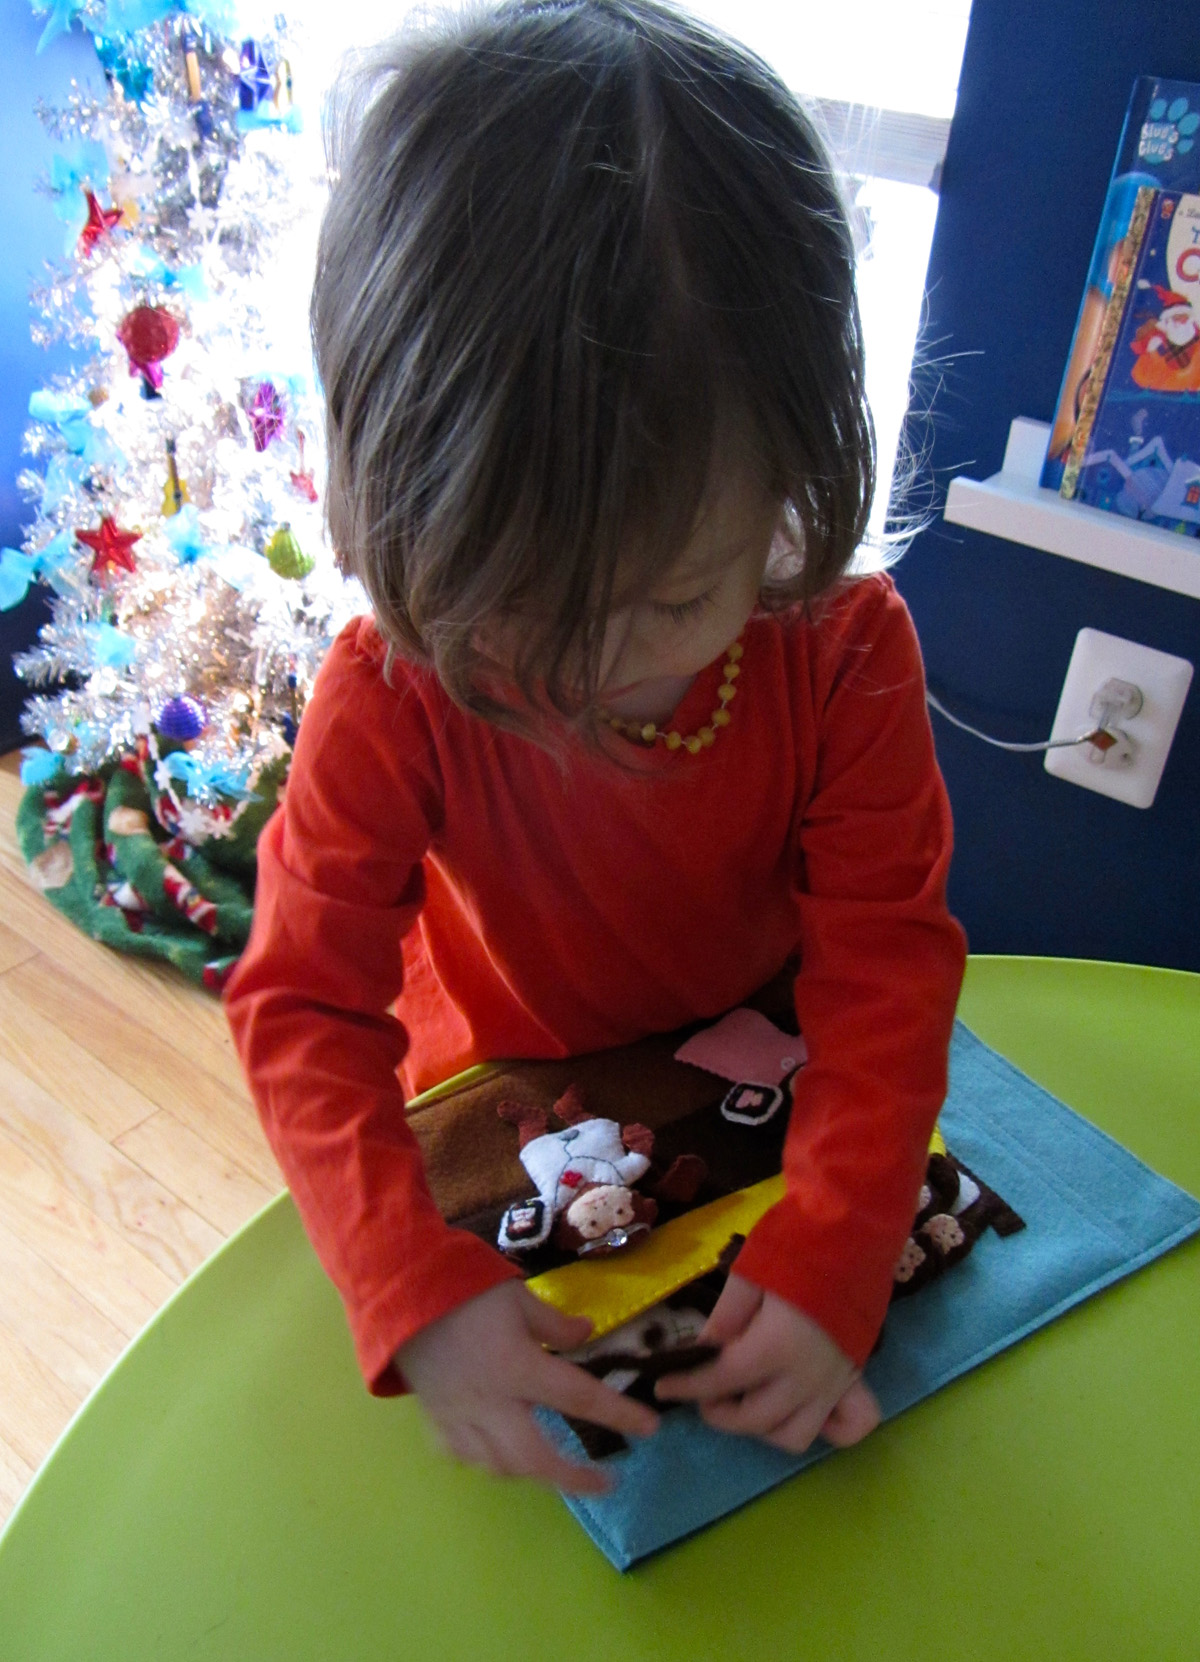
A sewing note first… Exciting sewing projects in the works! You voted on Facebook that the next free quietbook pattern be a world map. Your choice was perfect, as I need to start geography and world studies with Jax in homeschool! I’m really excited, as this will be a quietbook with all the continents, plus removable landmarks, labels and animals. Not only that, but there will be a big wall map to learn where everything goes! Lots of updates will be posted and I’ll be blogging each continent separately so you can sew along. Here’s a little peek!
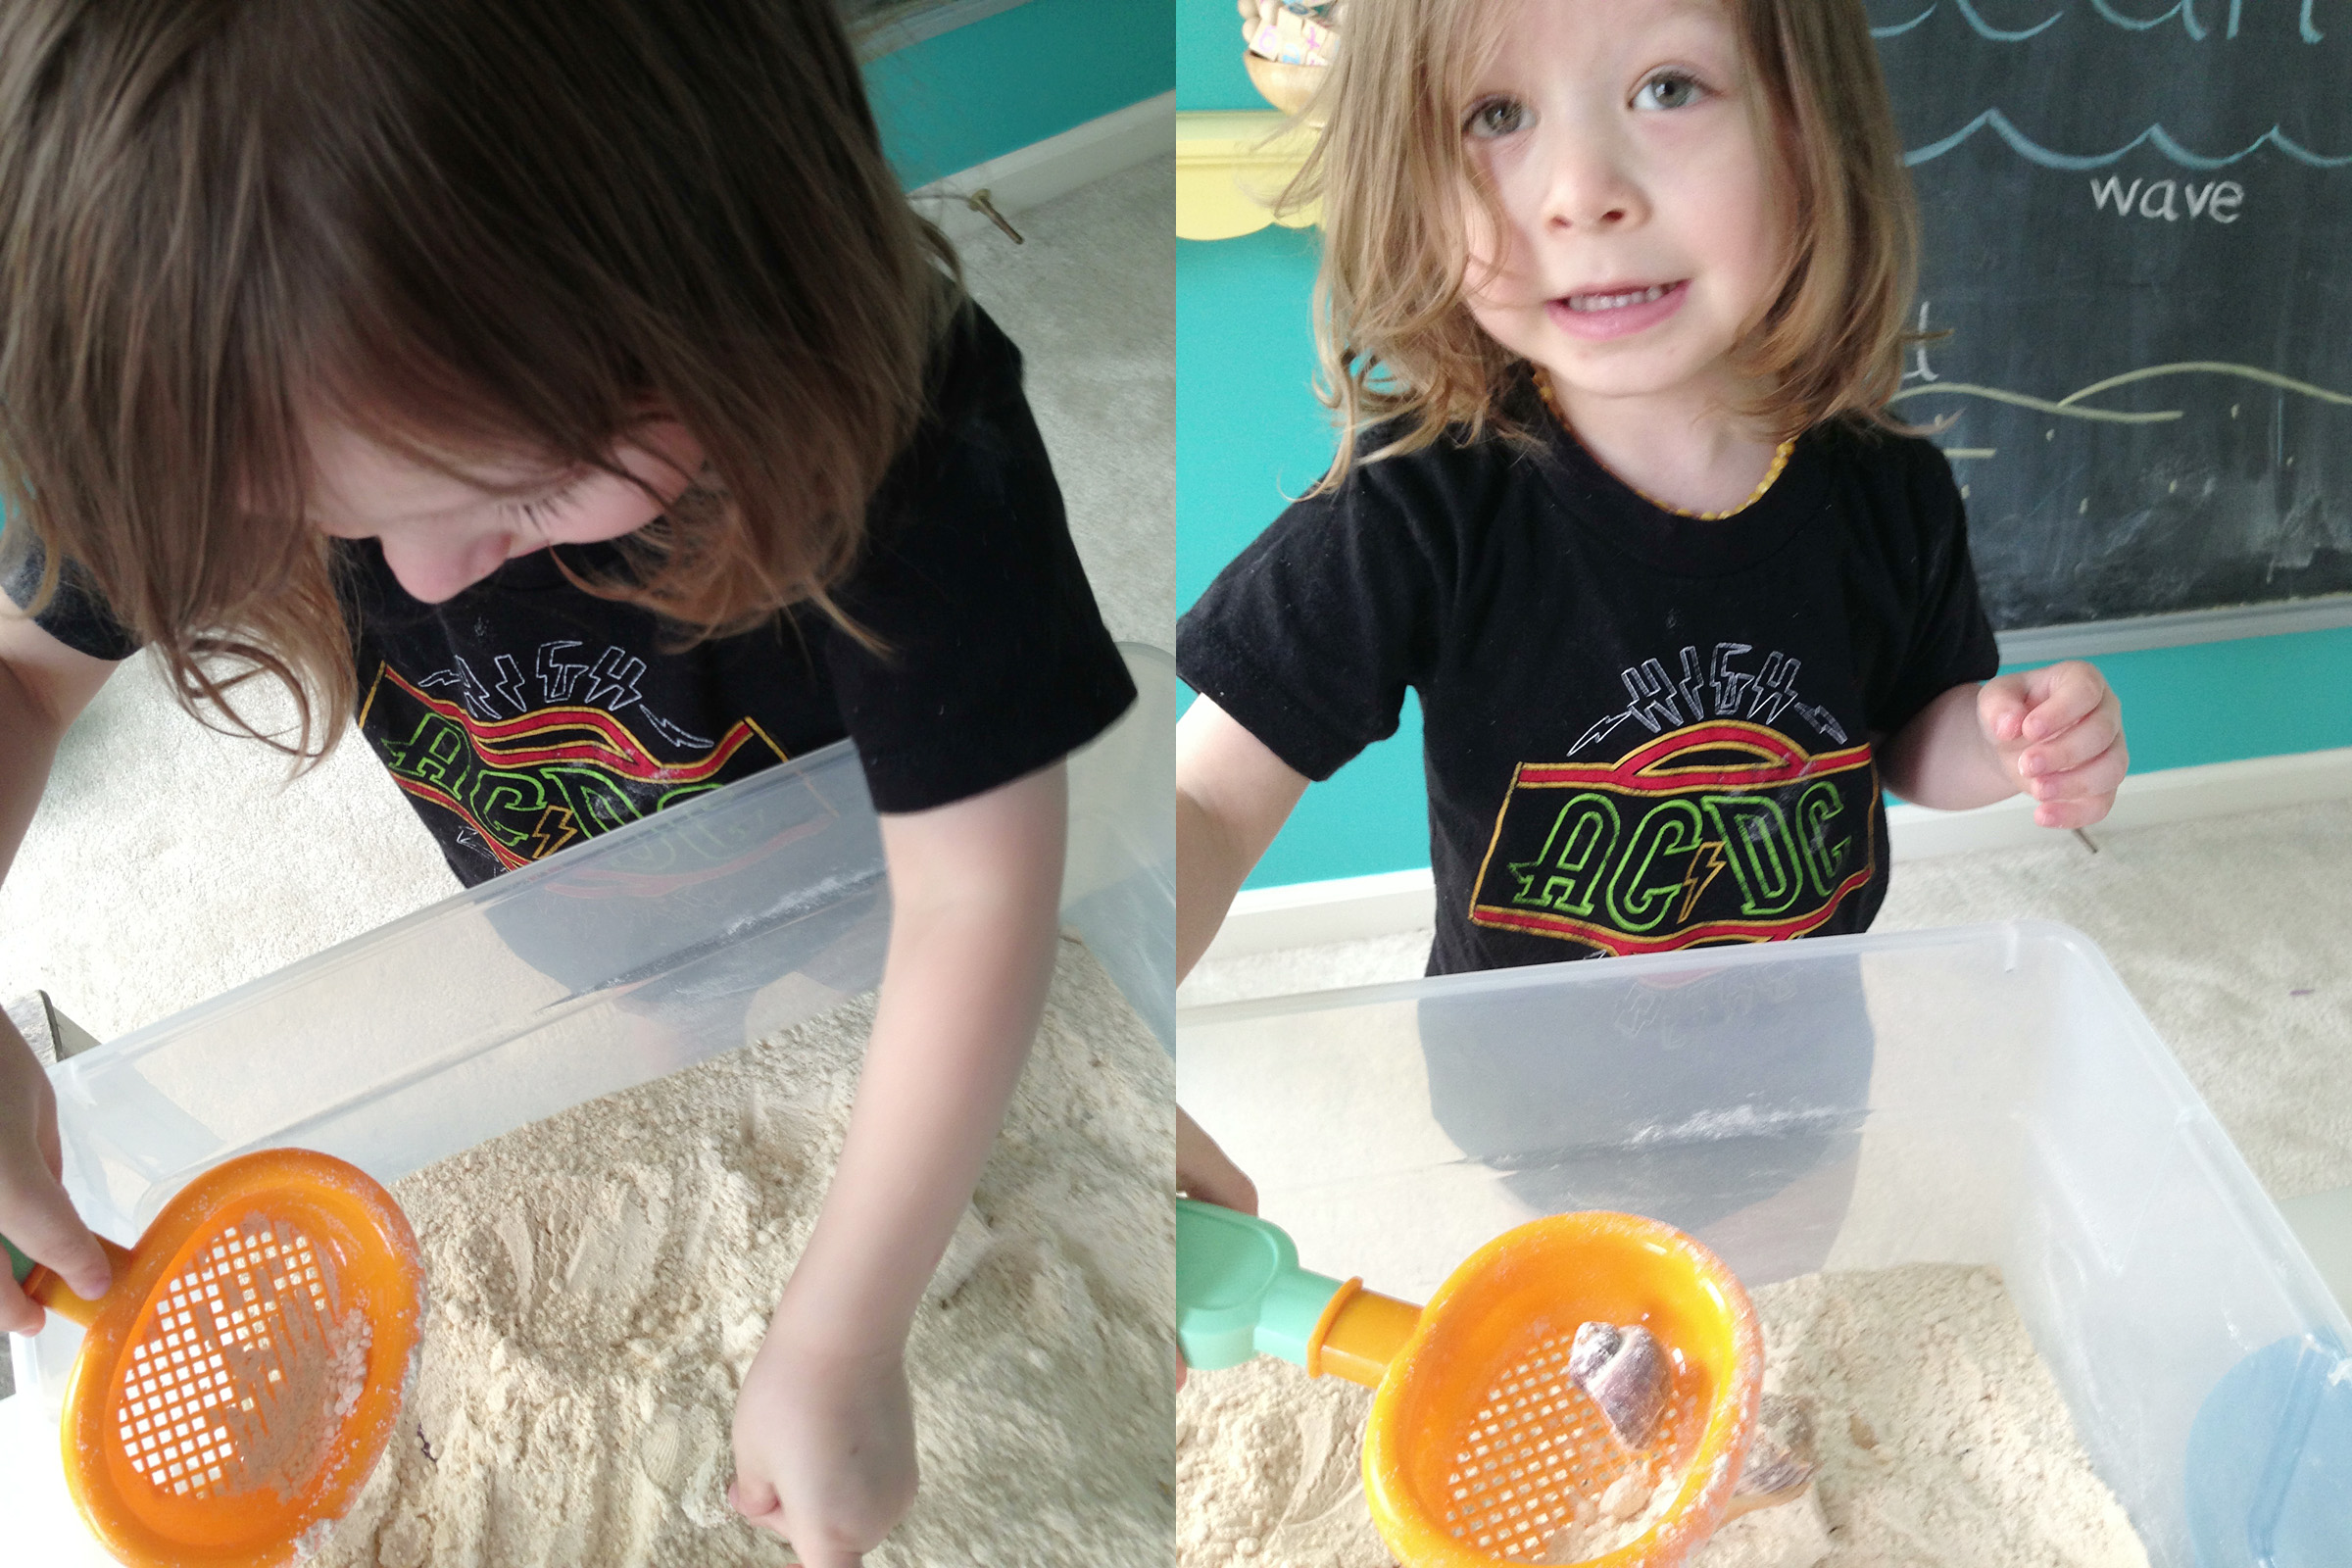
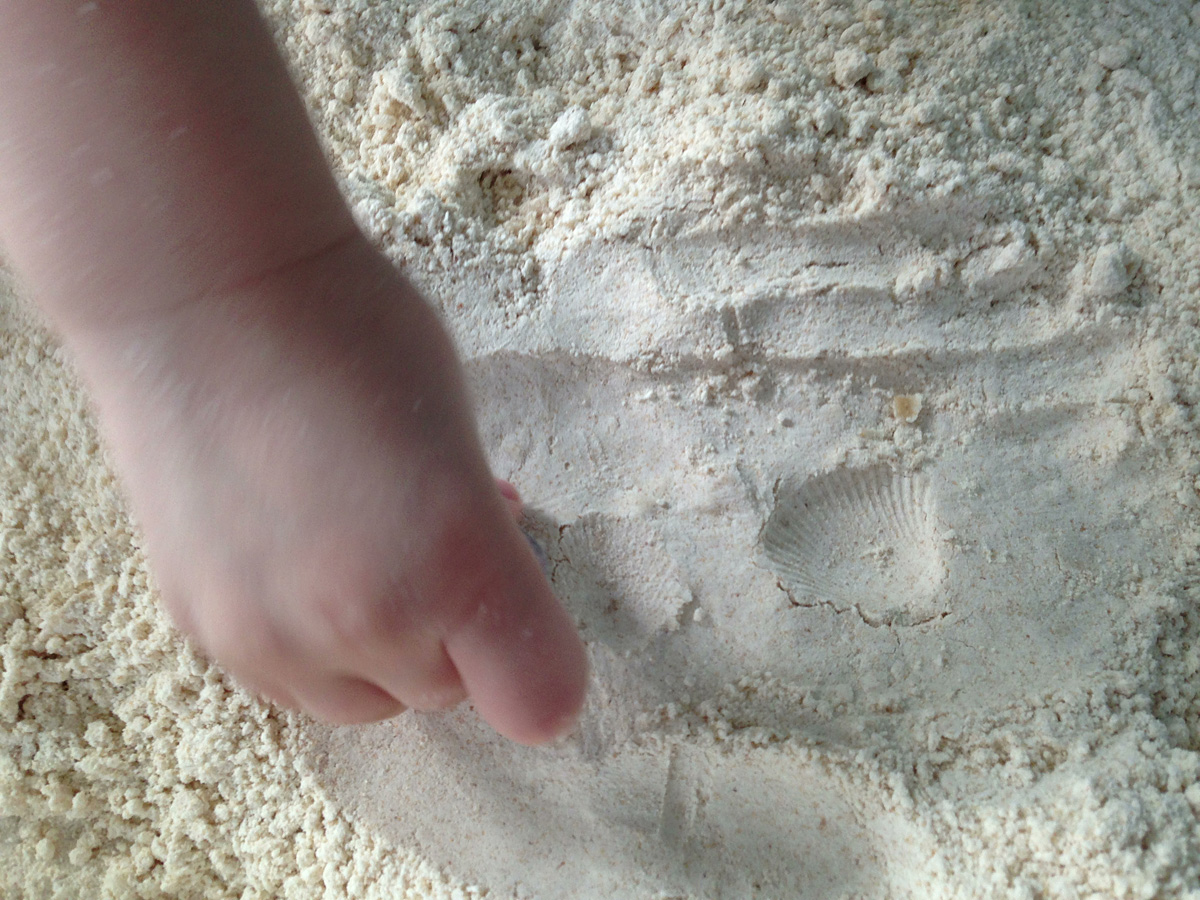
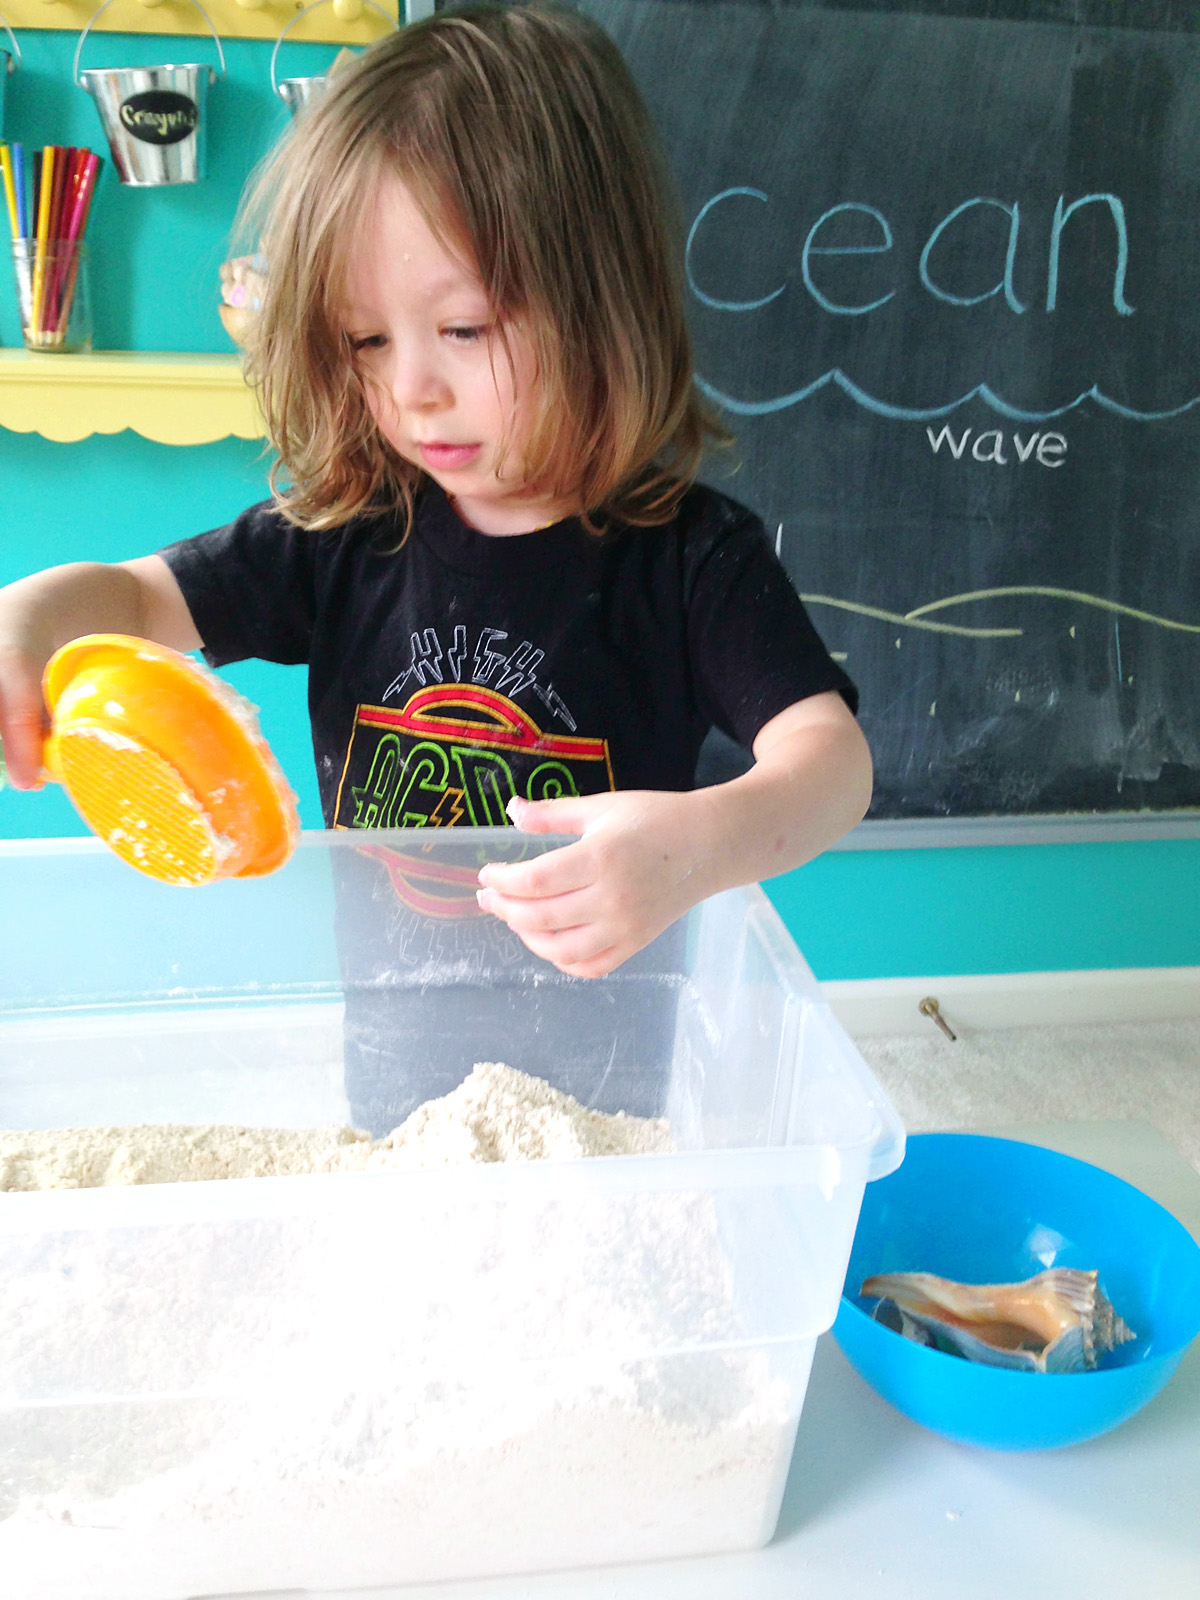
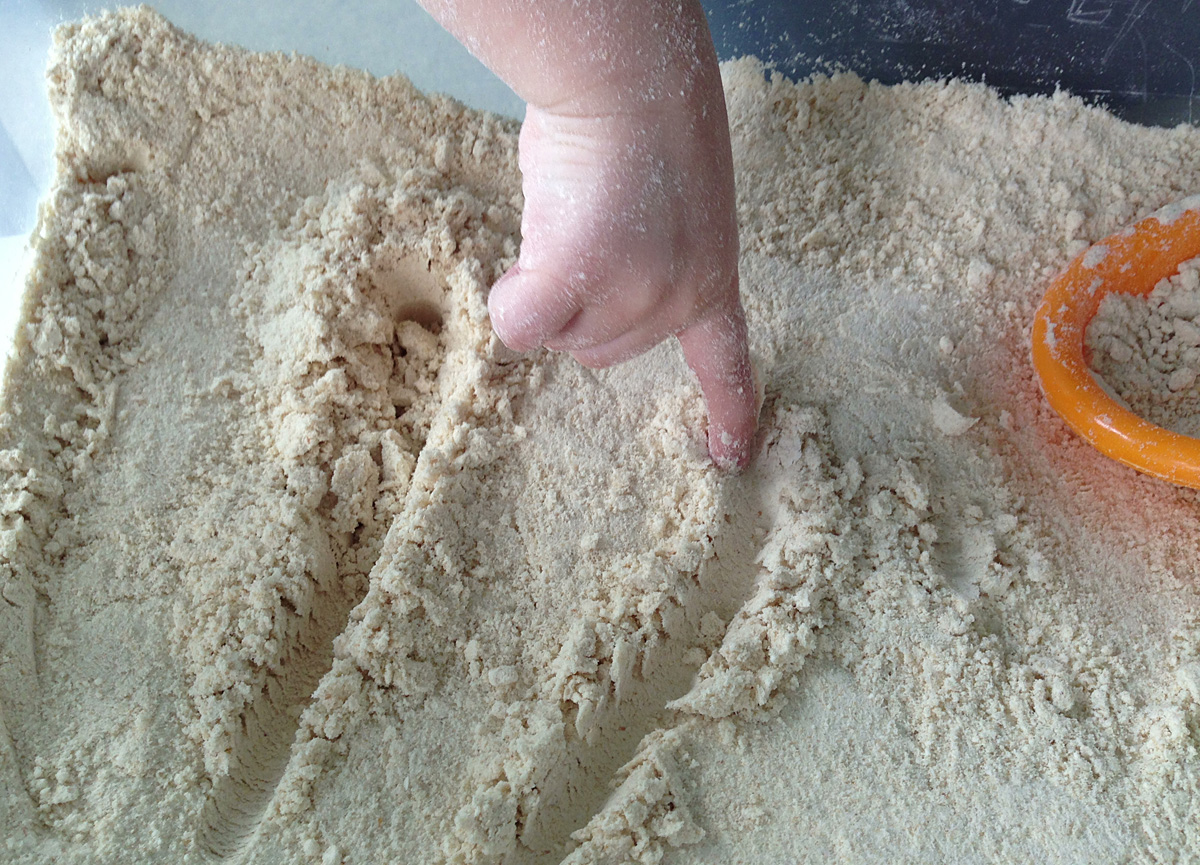
Due to an upcoming beach trip for my birthday, Jax and I are studying the ocean right now. Here are two more activities we’ve been doing on that theme.
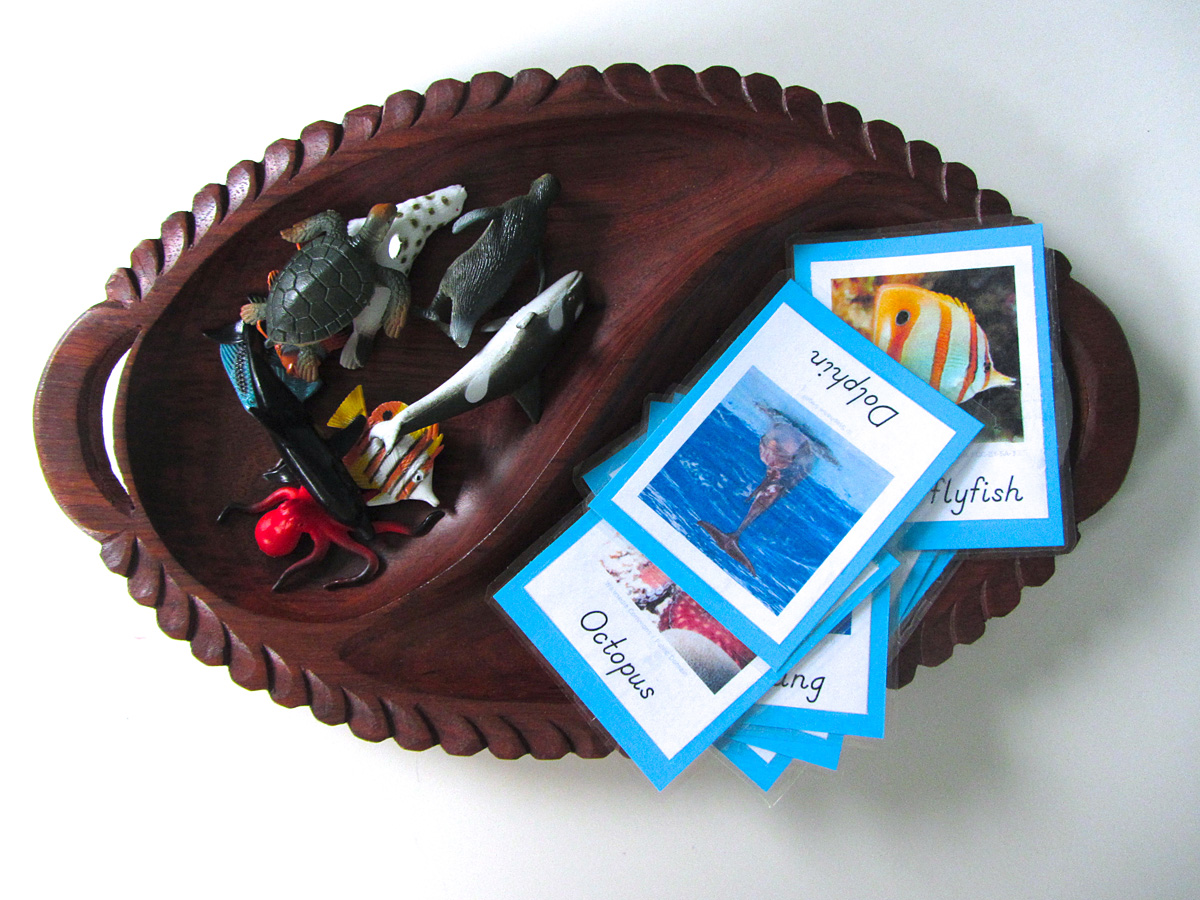
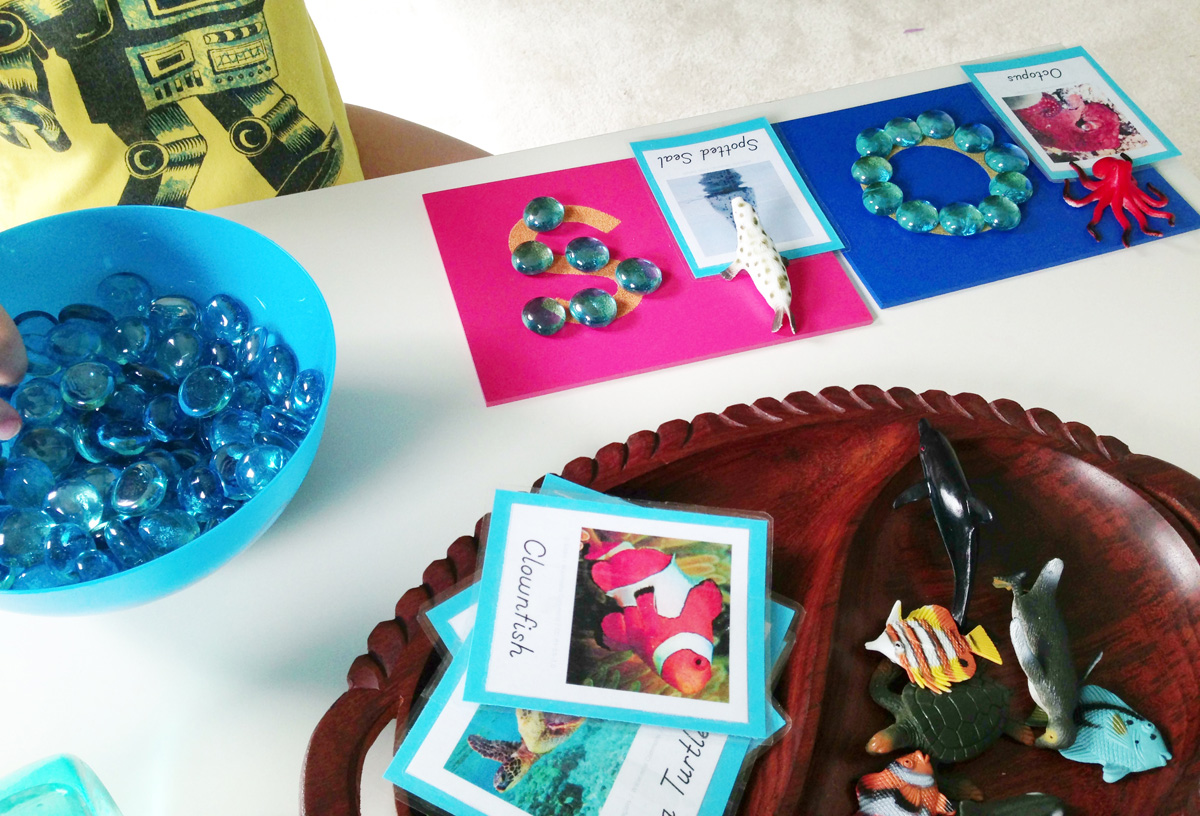
Sea Creature 3-Part Cards
Montessori uses a lot of 3-part cards in the 3yo – 6yo age group. They can be used in any subject to aid in adding vocabulary, learning to sort/classify, reading practice and so much more. Three-part cards are made up of two photos – one with a label, one without – as well as a separate label. Younger children start with the labeled card to help them learn the vocabulary. One of the best ways to use them is with small objects that match the photos. Older kids can work with the unlabeled card, matching the correct words or writing their own.
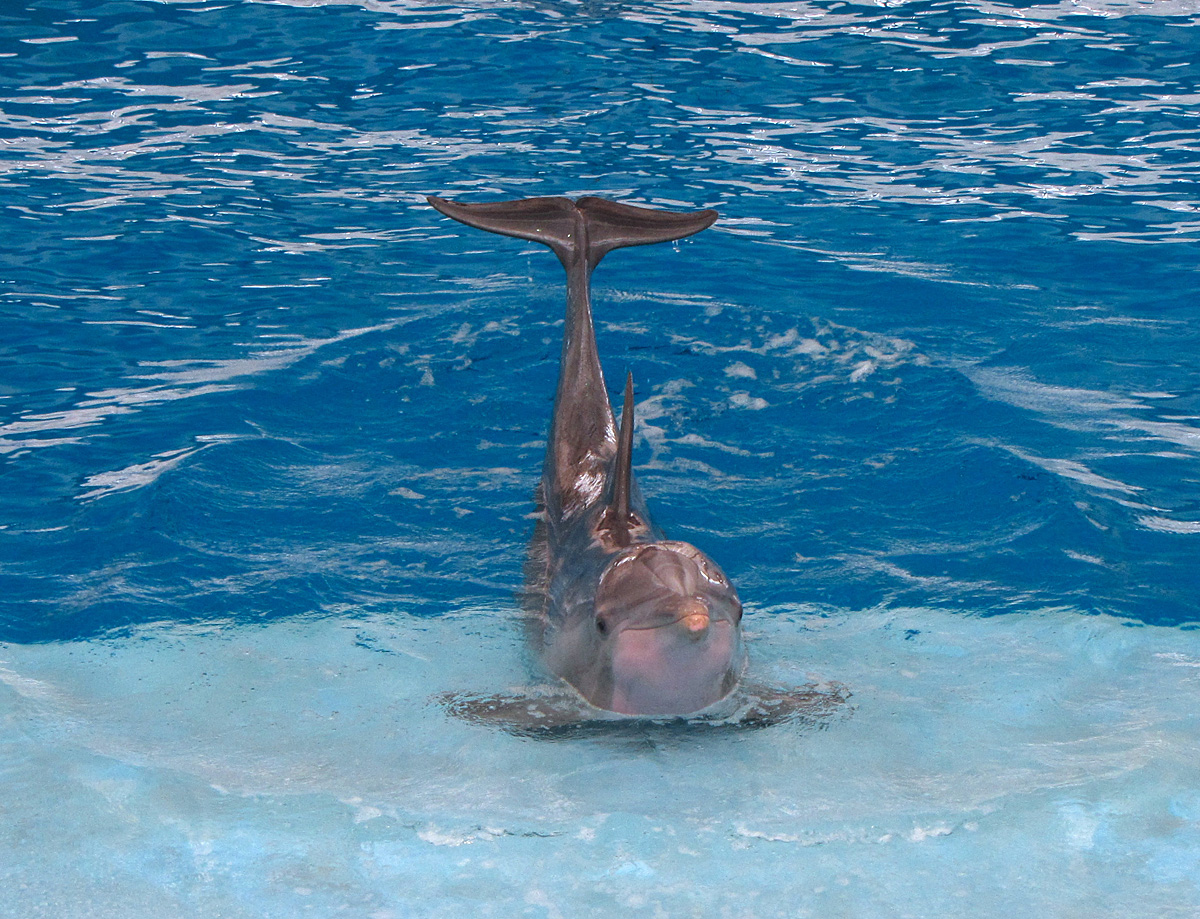
I knew I wanted to do sea life ocean matching after seeing this Pinterest pin. Armed with a 50% off coupon, I headed to the craft store for SafariLTD’s great Coral Reef TOOB (also here on Amazon). Alas, they didn’t have it! After some pouting, I used the coupon on their Wild TOOB for our world project and let Jax choose a small figure to put in our ocean-in-a-bottle (see below). He chose a dolphin calf (also here on Amazon
, but cheaper in-store). I still really wanted to do some matching, so we checked the miniatures aisle. We had luck with this brand, which sells items for dioramas and school projects. I bought one sea life pack 7004 (all that was in stock) and two fish packs 7069. They do appear to have random assortments in each pack, so you might get something slightly different. My sea life pack had: sea turtle, octopus, penguin, dolphin, killer whale and seal. I got the two fish packs because I spotted three fish I recognized between the two: clownfish, blue tang and butterflyfish (I added the black dots with a Sharpie.)
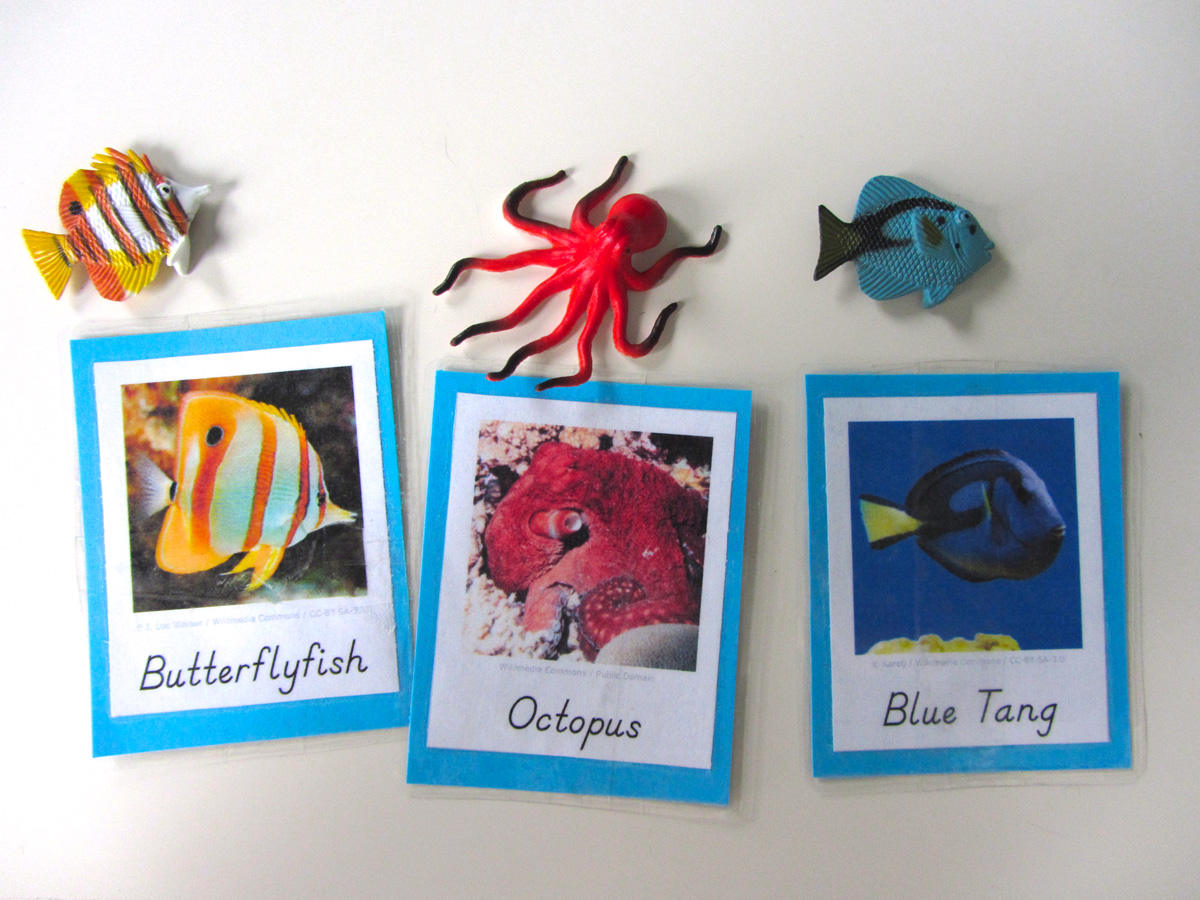
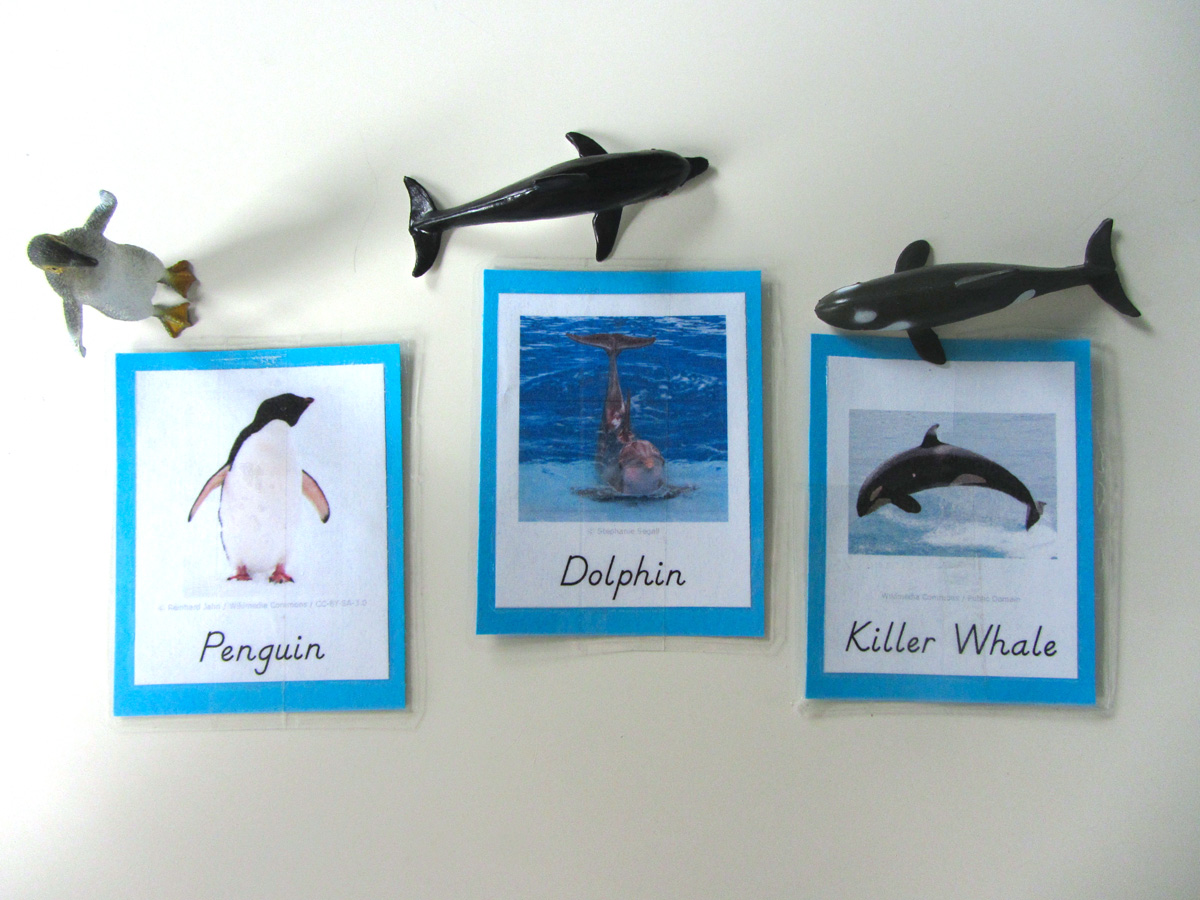

I am a graphic designer by day, so laying out custom cards was a simple process, and I am happy to share my file with you! All of the photos are either public domain, creative commons or by me. All have been credited as required. Please use this file for educational use only. Click here to download the PDF file.
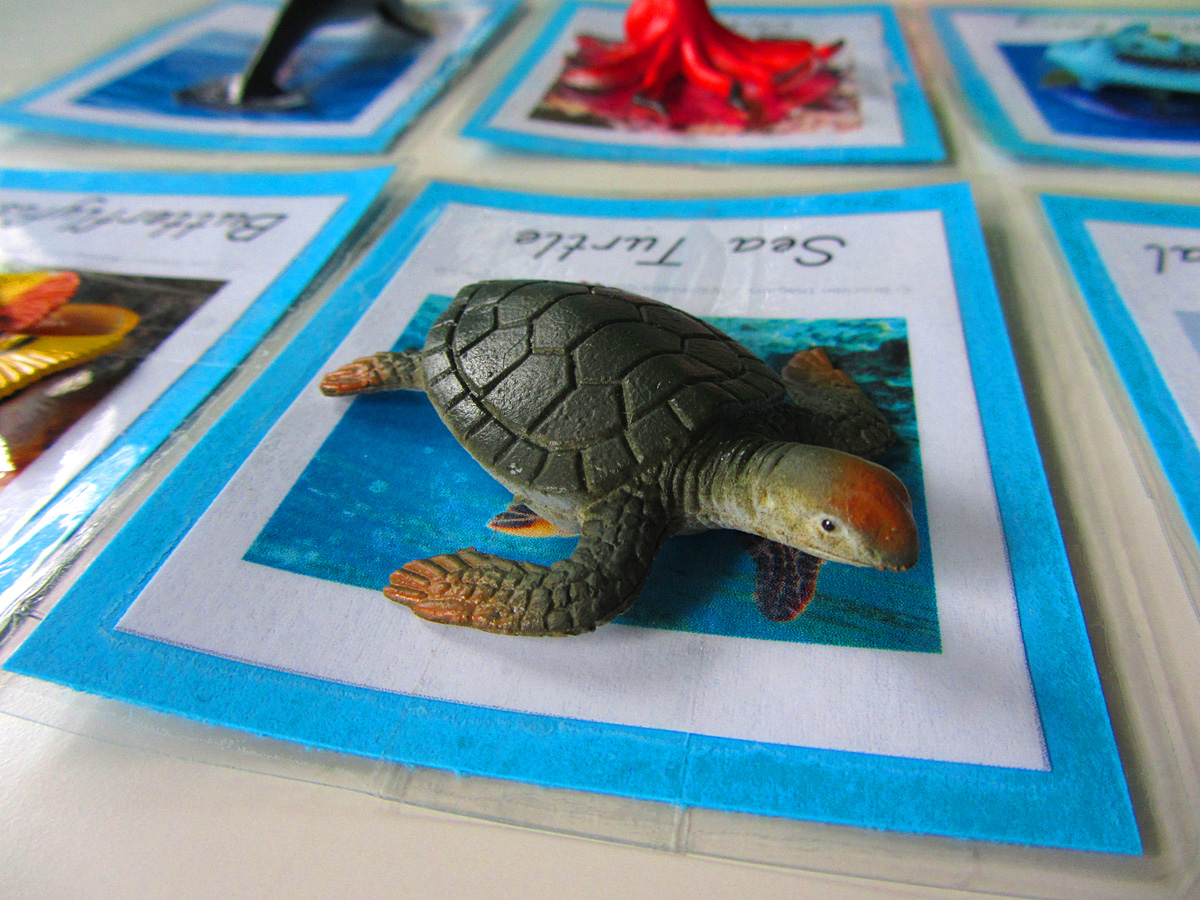
To assemble, cut out the cards, mount them on card stock, them laminate. So far I’ve only constructed my labeled cards, as I ran out of the packing tape I was laminating them with (but a laminator is on its way to me!)

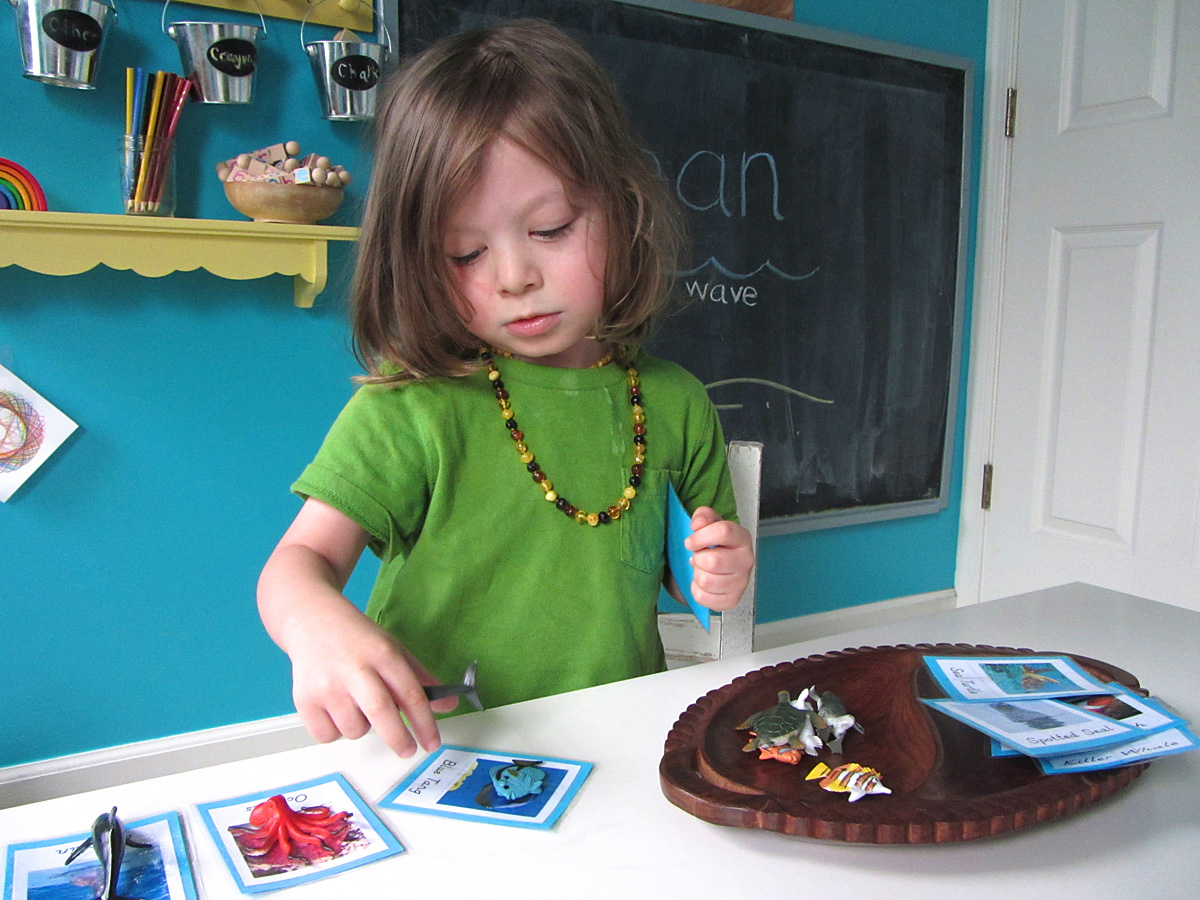
Jax has had a great time working with these cards so far. We’ve done simple matching games, as well as more in-depth lessons.
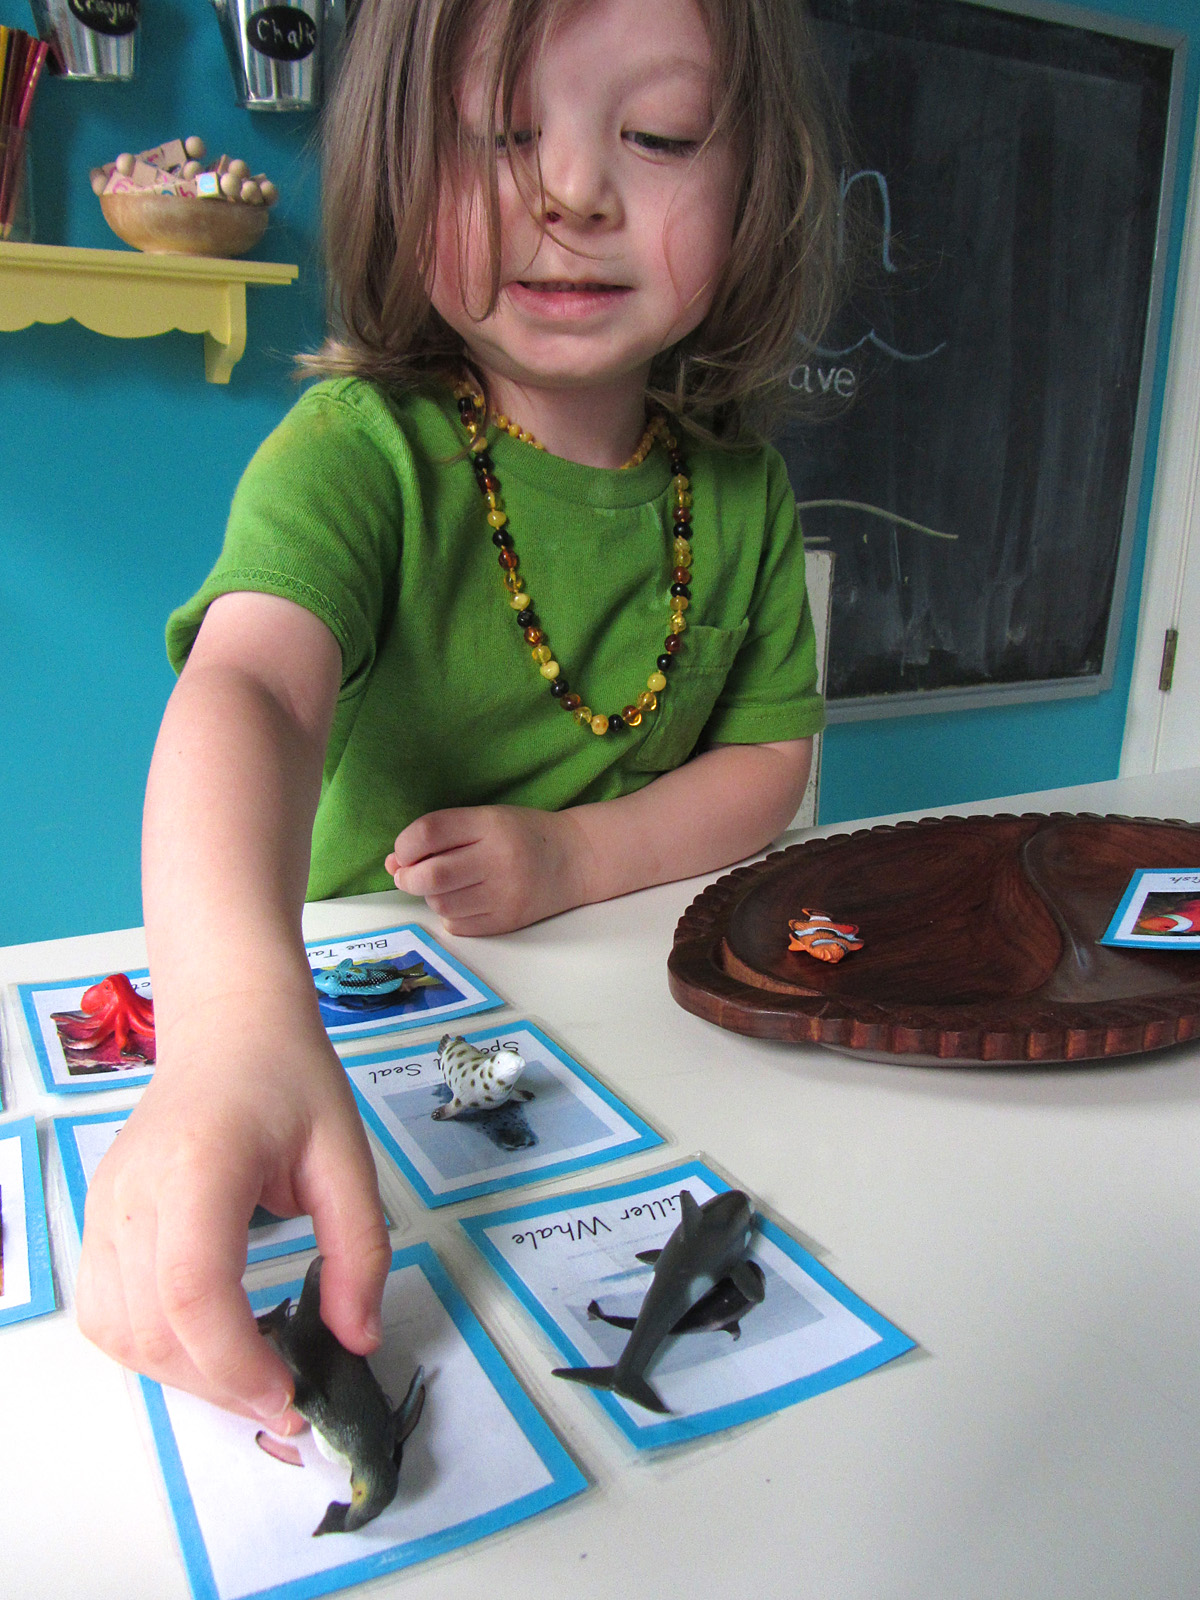
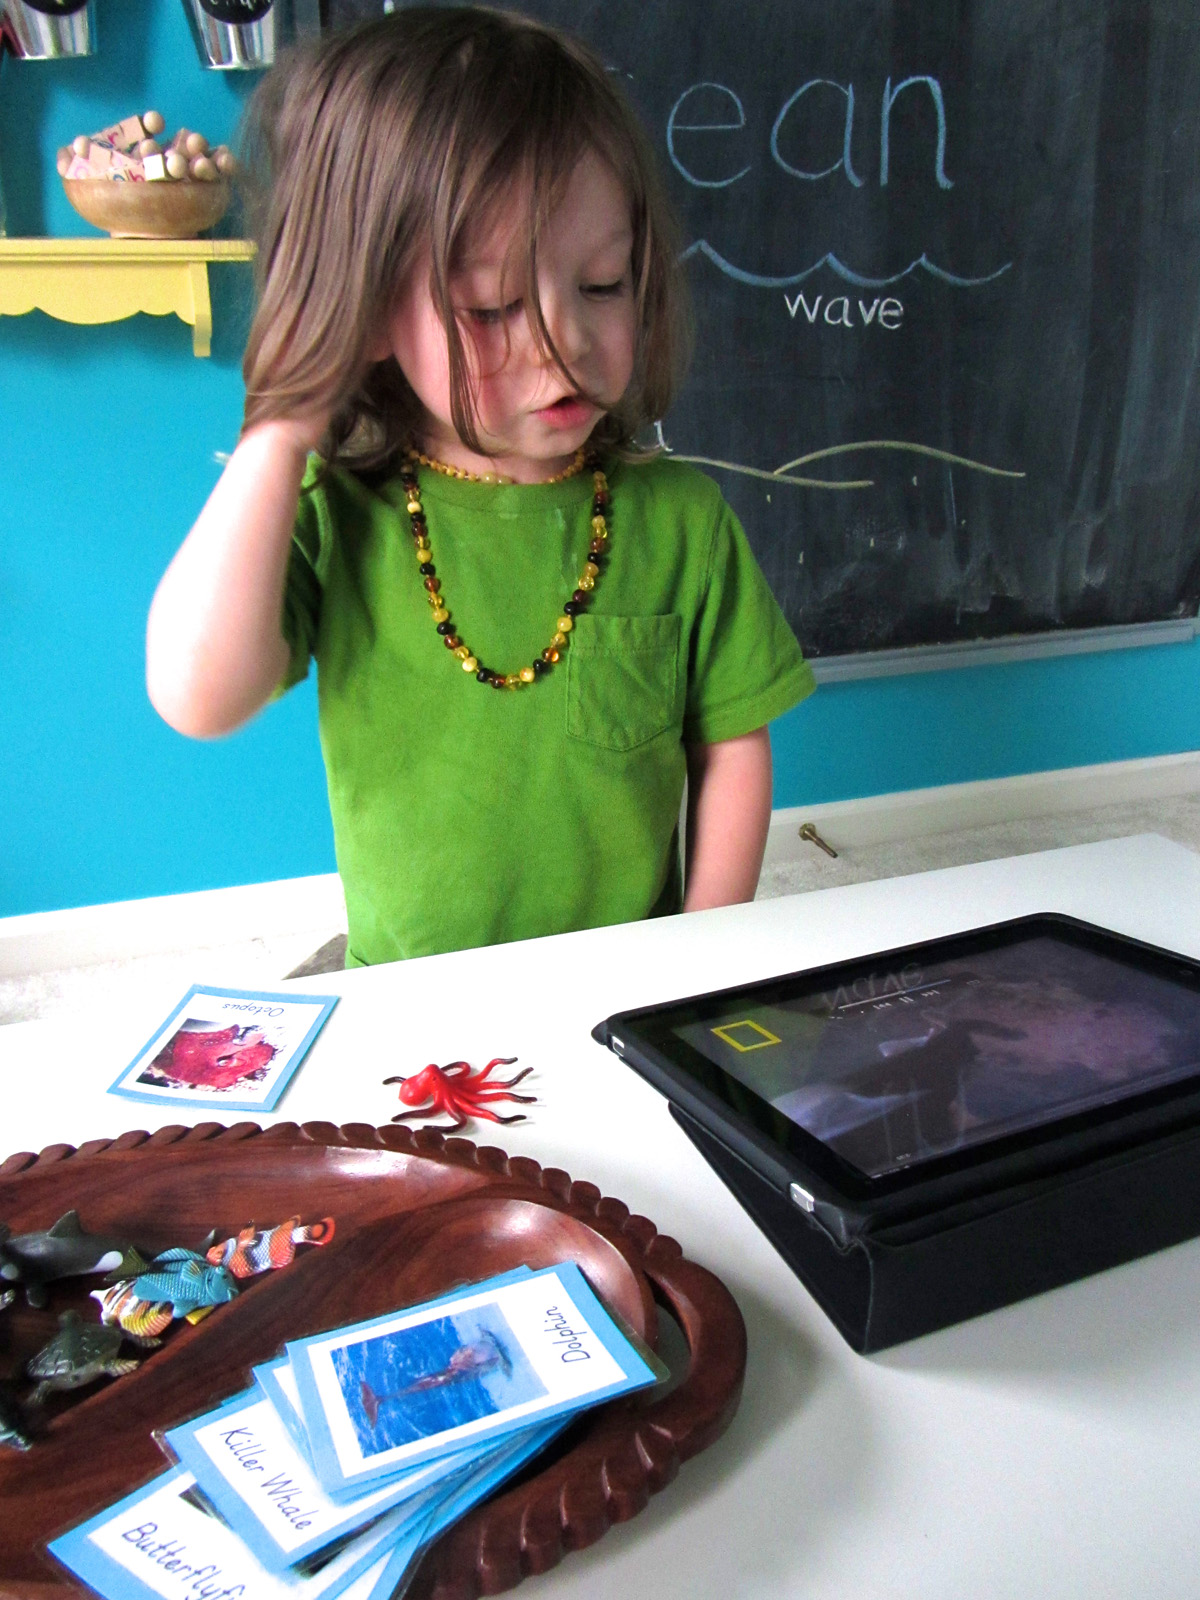
In one activity, he’d draw a card and we’d talk about the sea creature and watch videos.

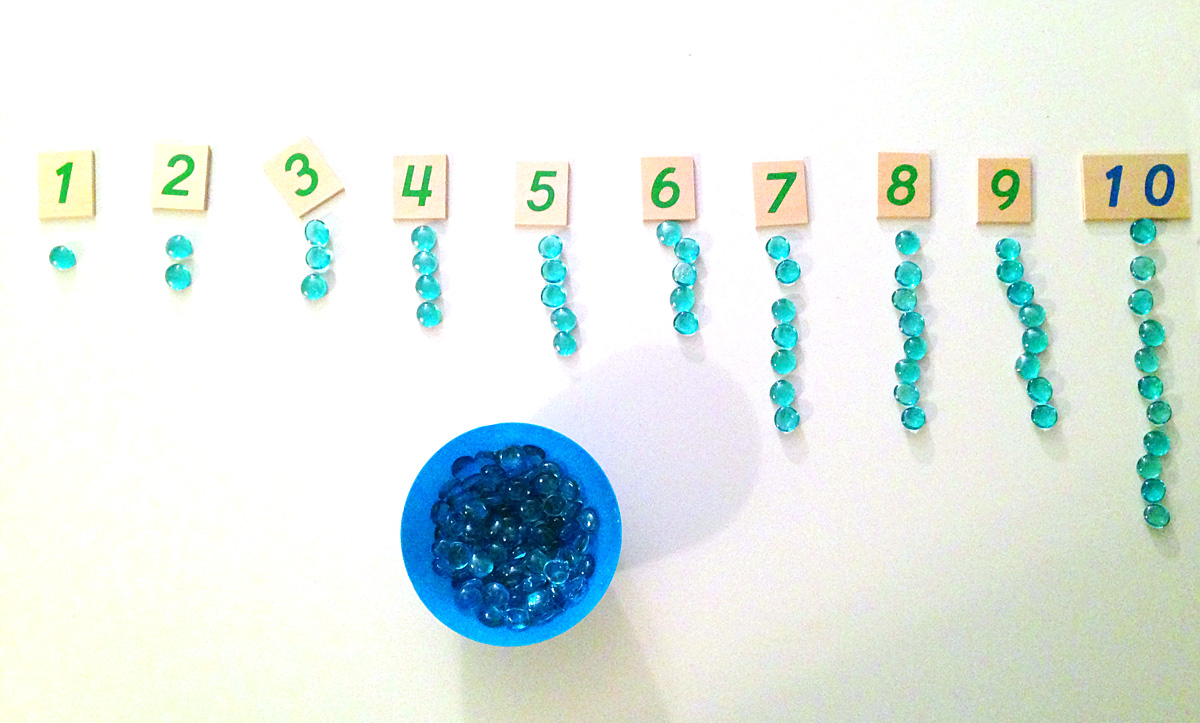
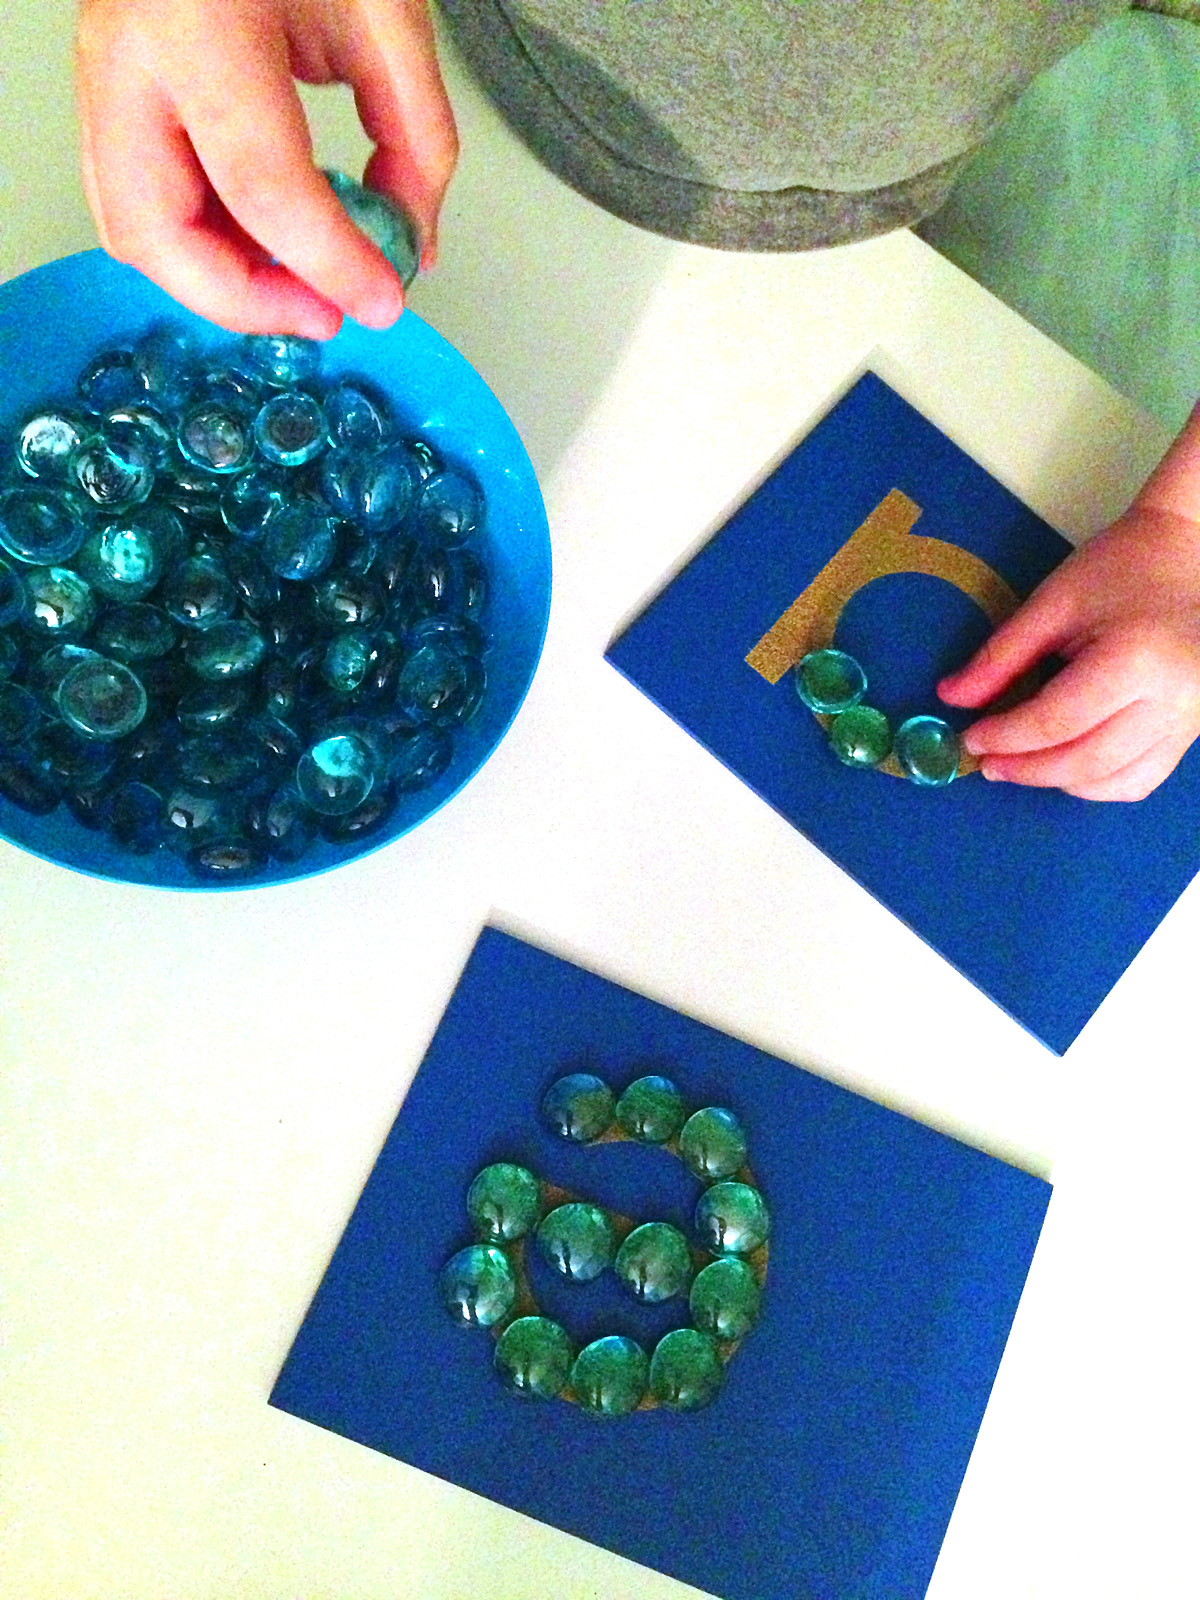
Jax invented a game in which he’d trace the first letter of the animal’s name with glass pebbles on his sandpaper letters.
I’m sure we’ll come up with more fun ideas over the next couple of weeks!
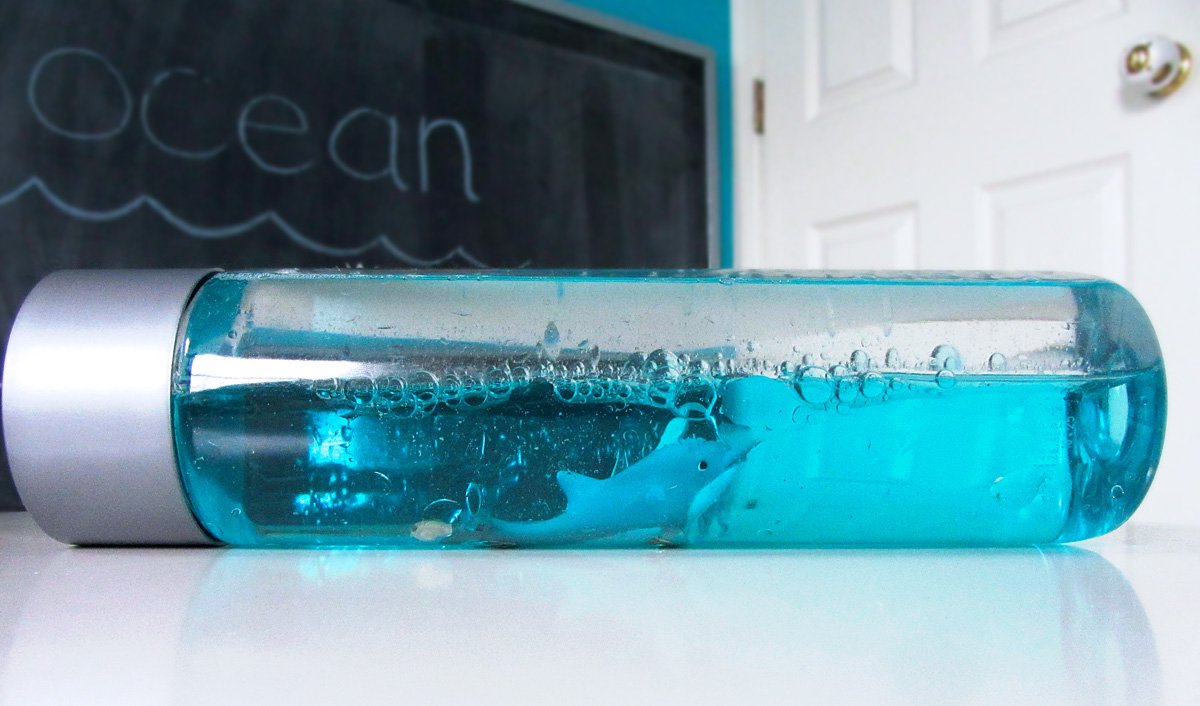
Ocean in a Bottle
There are so many posts out there on how to make an ocean in a bottle. Here is how it went for us!
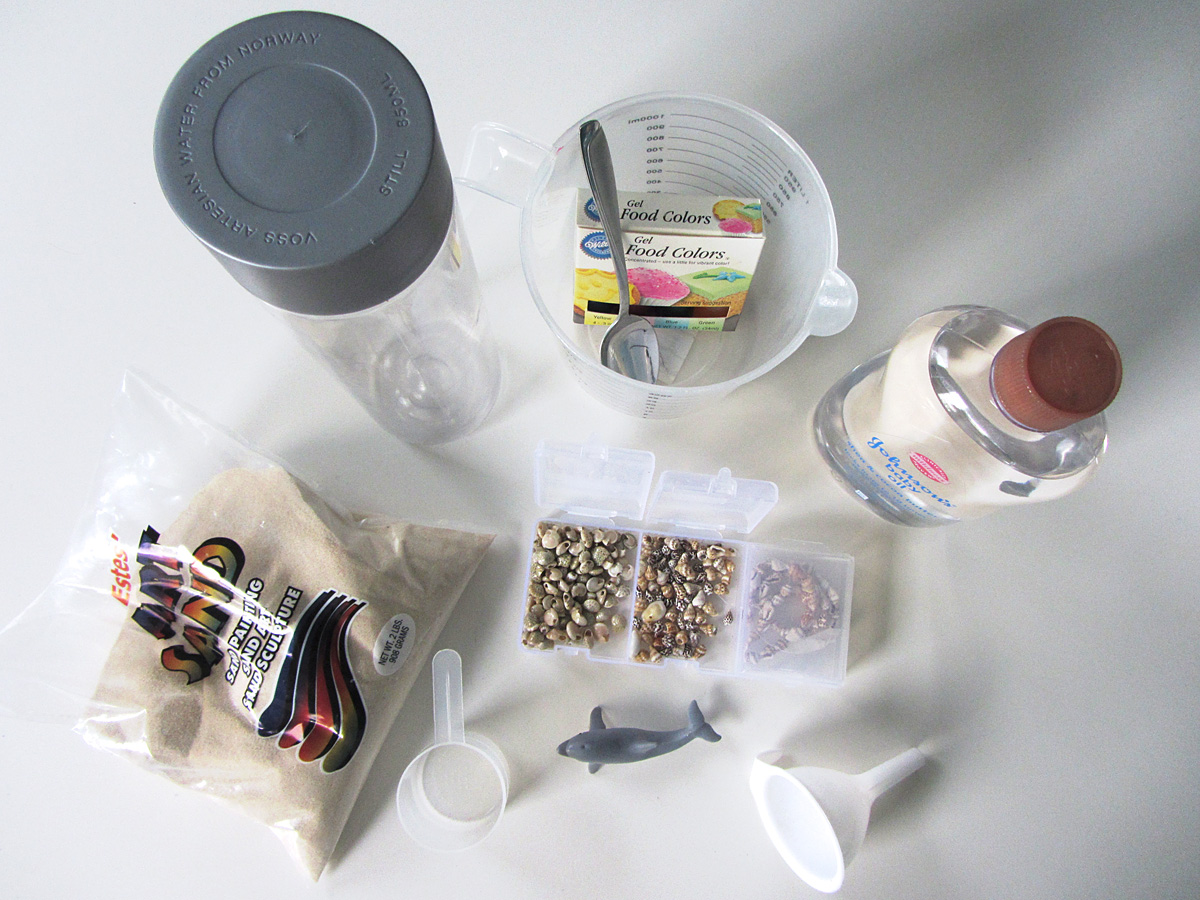
We ditched the sand. Too hard to see in!
First, I needed the perfect bottle. I don’t drink soft drinks or anything, so I didn’t have much on hand. I had one water bottle in the fridge from a long walk we’d taken, but if you squeezed it, you could smash it in. I needed something with thick plastic, a smooth shape (for no distortions) and a wide mouth (to put the dolphin through.) I browsed the water aisle at the supermarket and found the perfect one – a $2 plastic bottle of VOSS water (which btw, tastes like… water!) These come in glass as well, but Jax definitely couldn’t manage a heavy water-filled glass bottle yet.
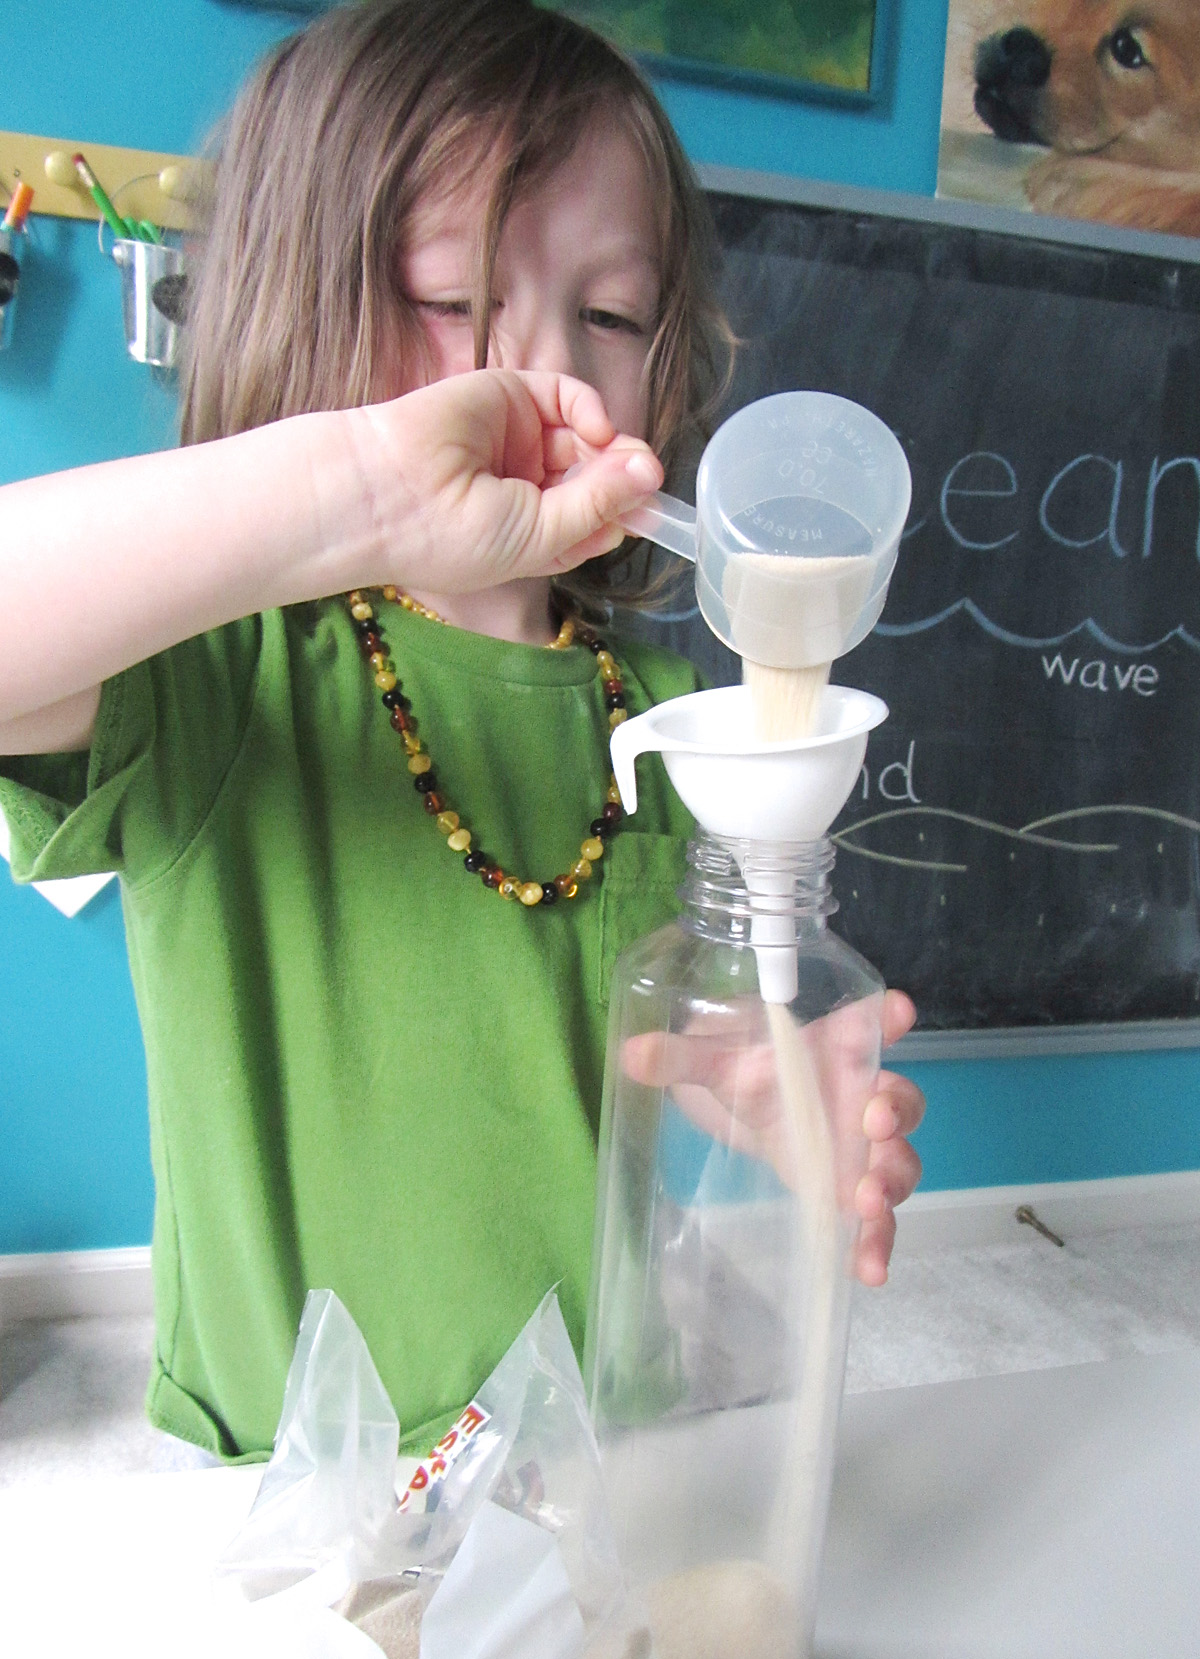
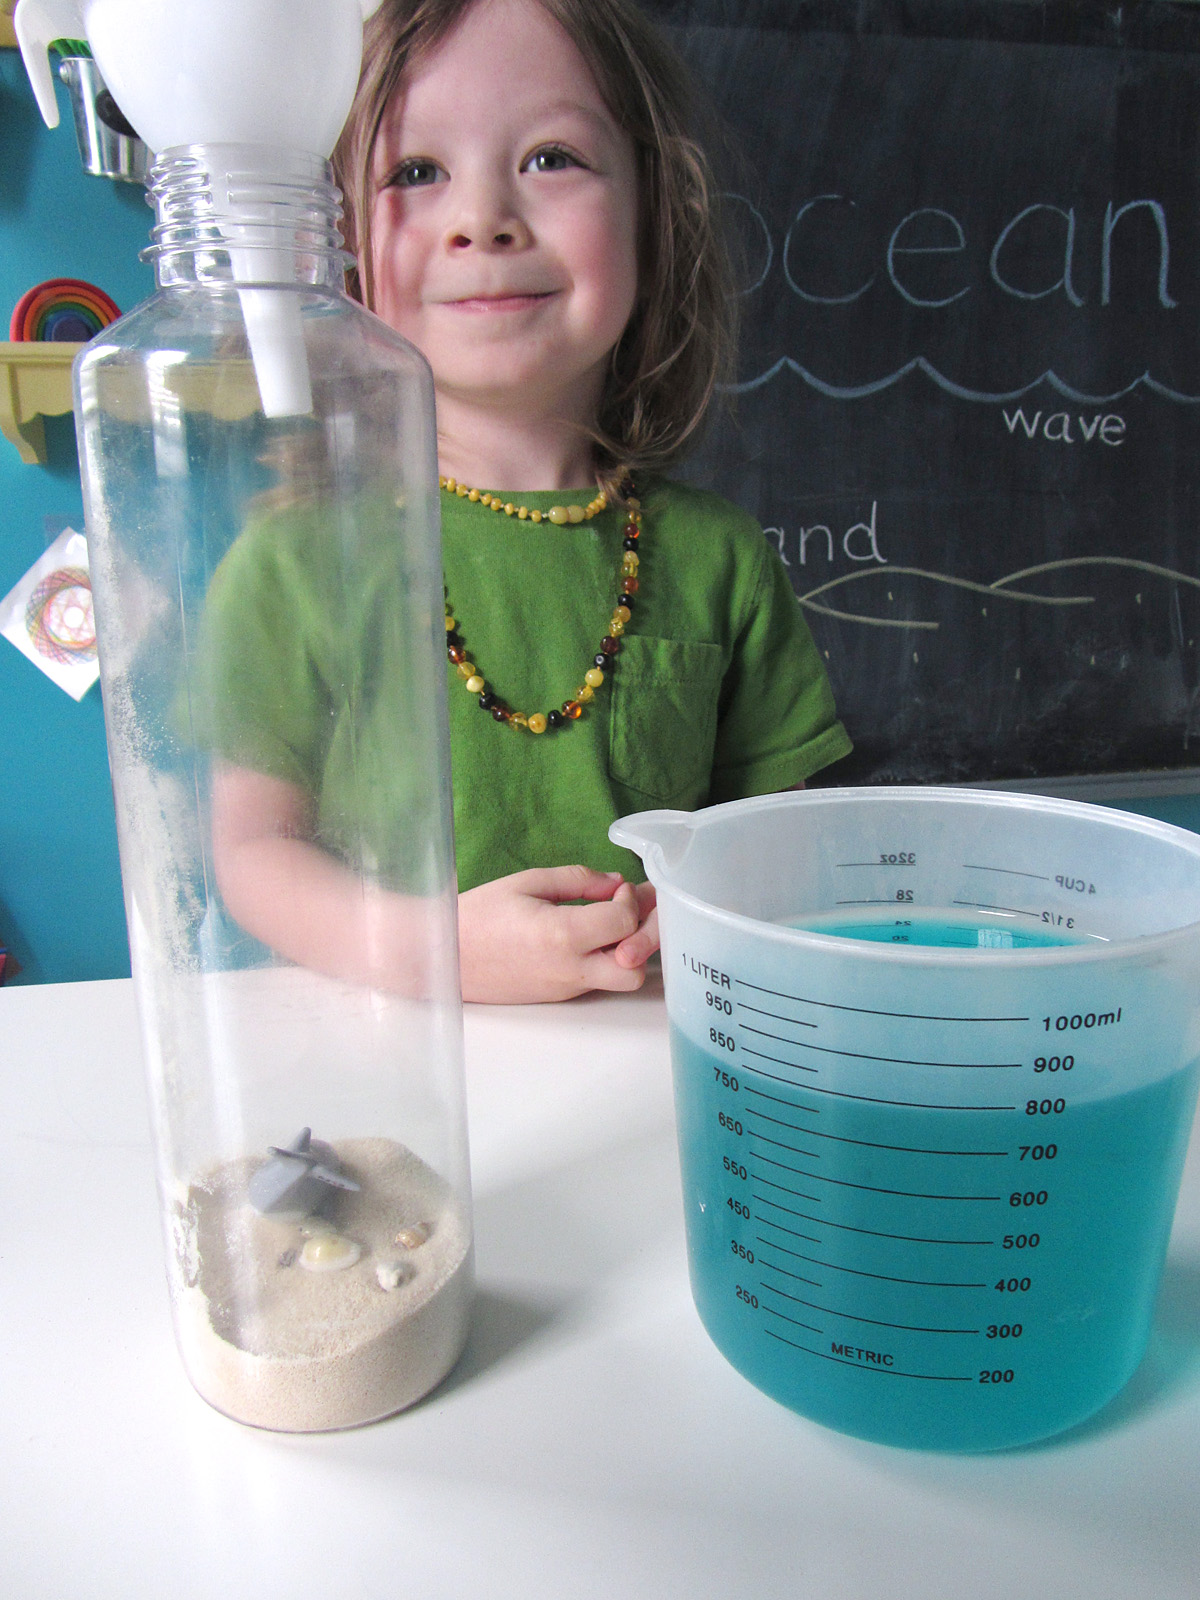
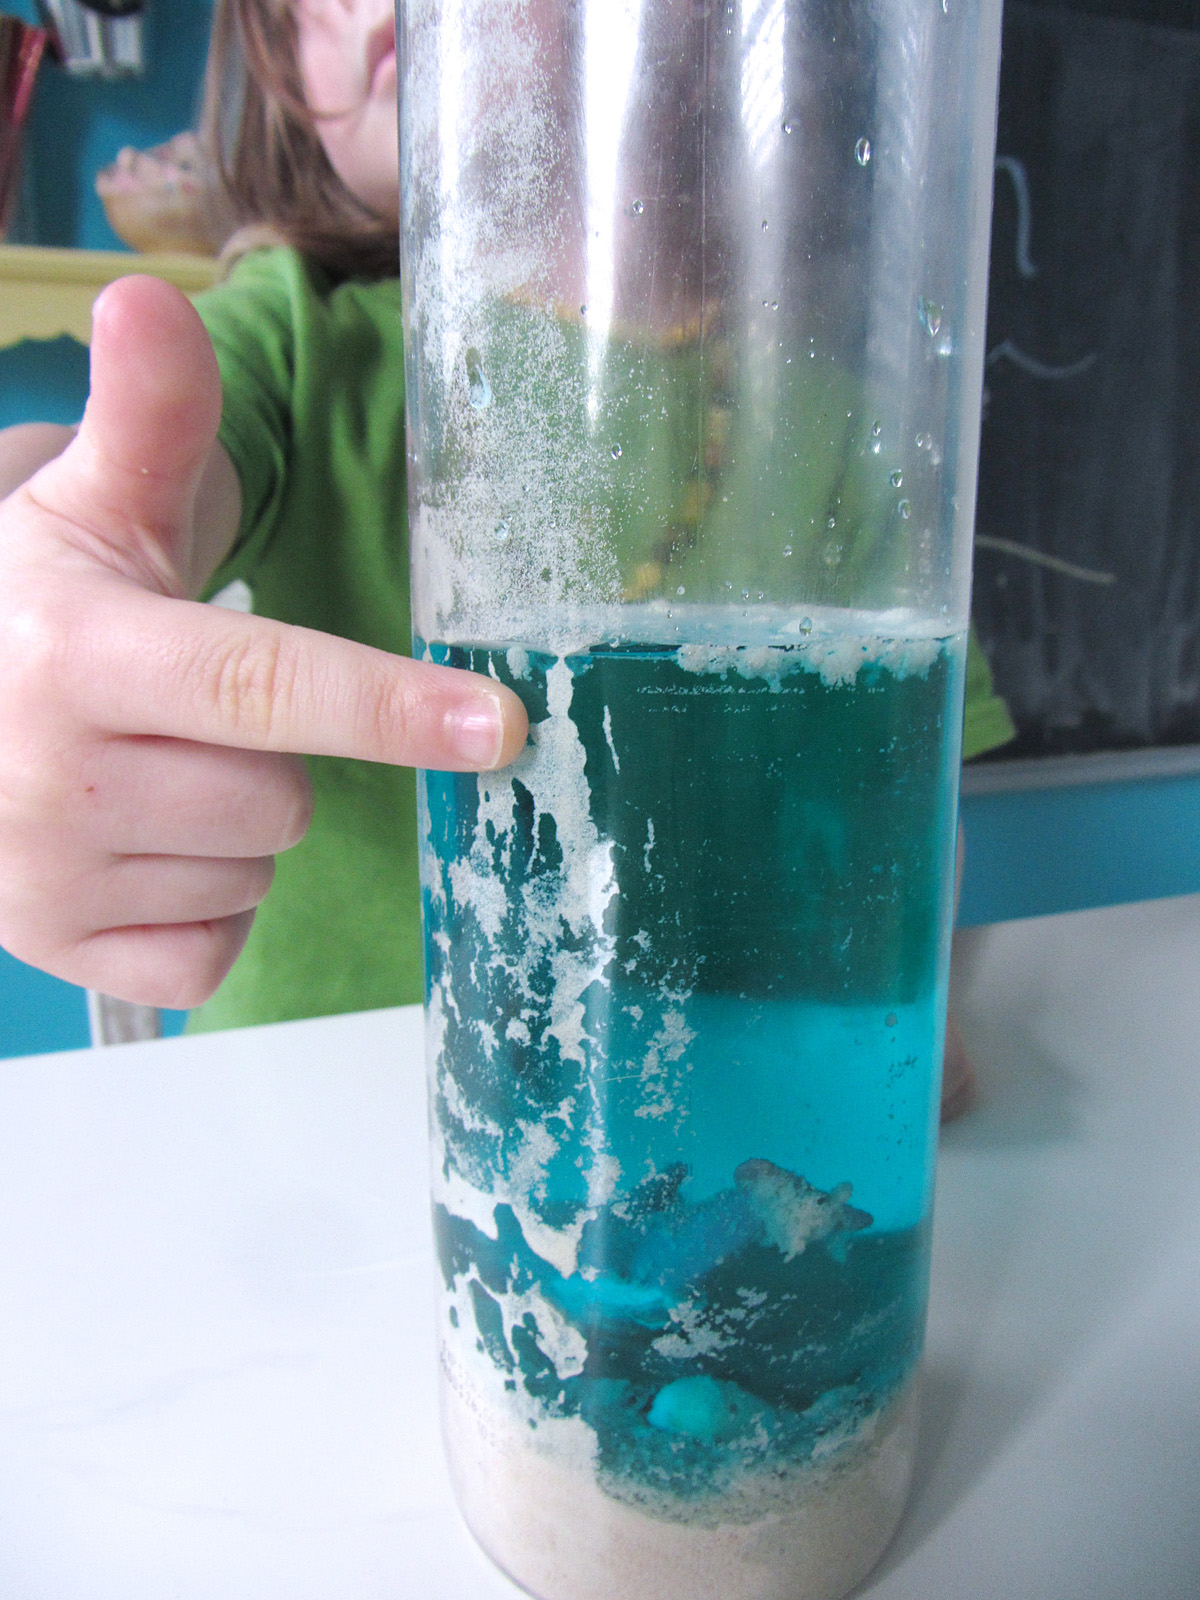
We started out using some craft sand in our bottle, but it didn’t work out. As soon as we added our colored water to the sand, it got super frothy and stuck to everything. We rinsed out the bottle and started over without the sand. Jax did enjoy pouring it in with a funnel, though.
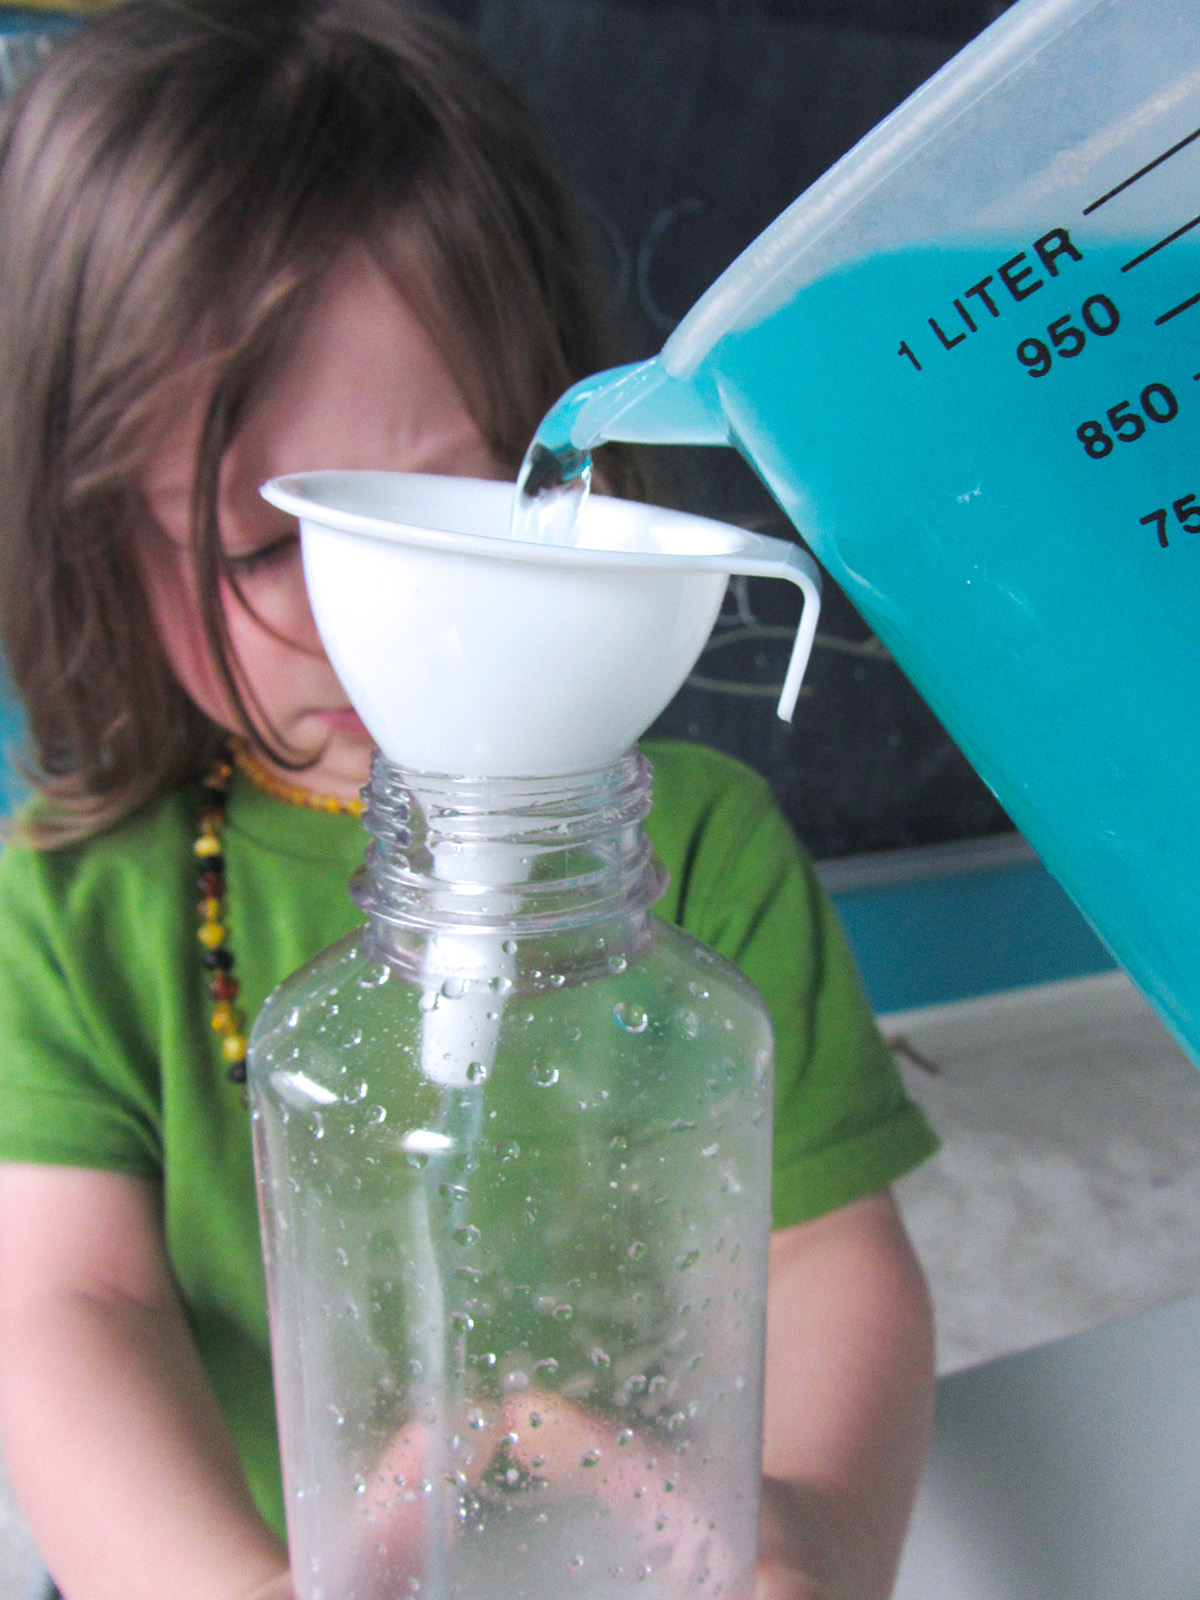

I dropped both blue and green food dye into our water and Jax stirred. We wanted a pretty turquoise ocean. Jax held the bottle while I poured, then he chose some tiny shells and added them in with the dolphin calf.

Hi, I’m cute!
I put some paper down before pouring the oil in. I filled the bottle the rest of the way with the oil (but not where the cap covers.) Not pictured, I wiped the bottle down until it was clean and dry, then ran some hot glue around the top before screwing the cap on tightly.
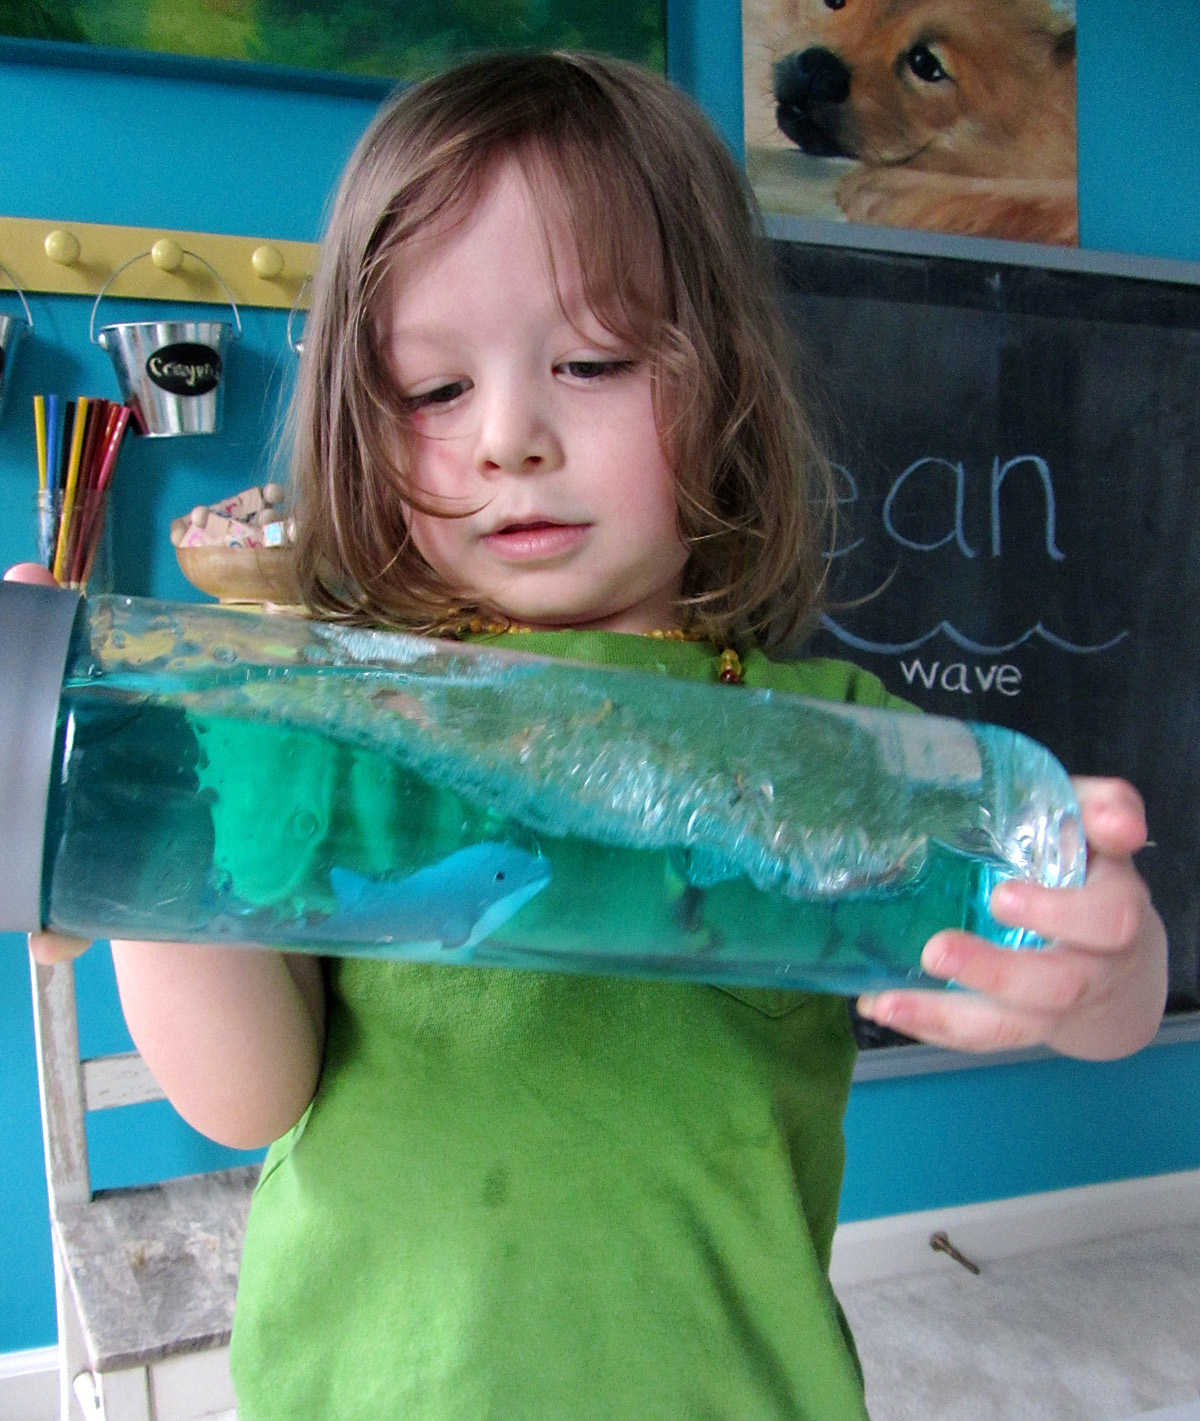
The oil and water separate to simulate the look of the air and ocean waves when you rock it back and forth. Just figuring out how to hold the heavy bottle and make the correct motion was a good activity for Jax!
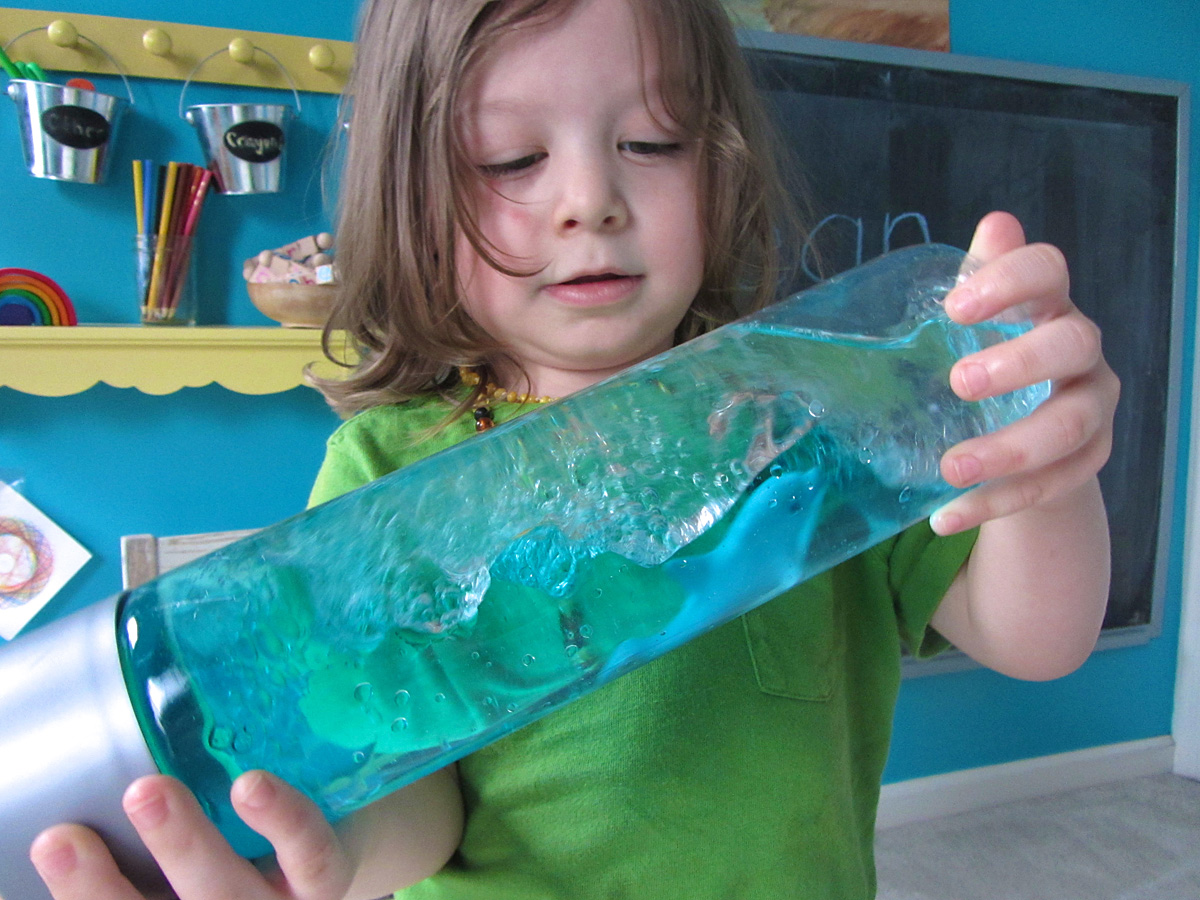
He really enjoyed watching the waves, and when he is a little older, we can discuss the science behind them.