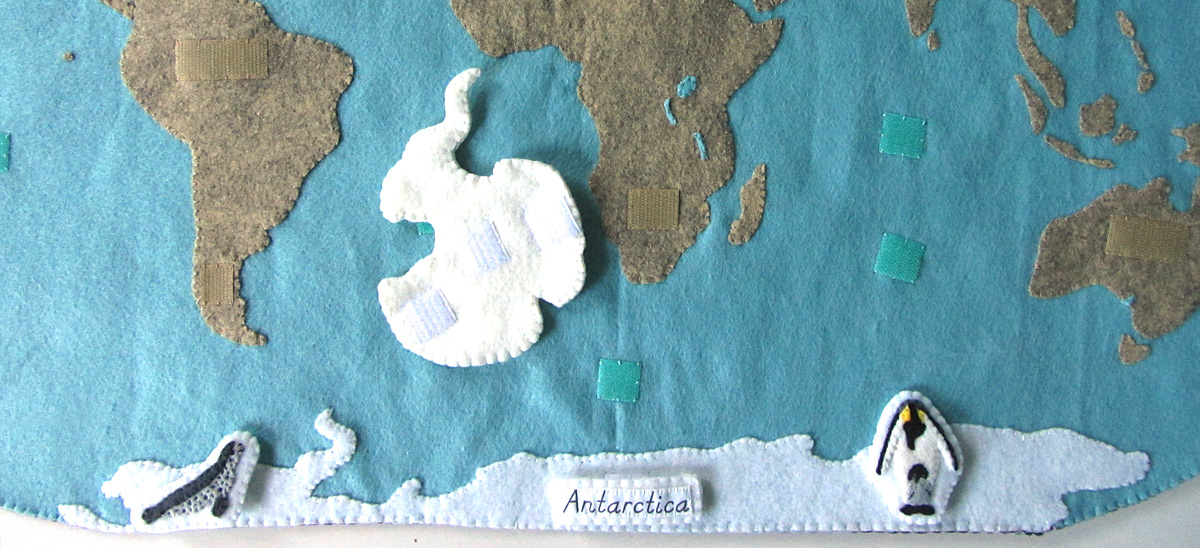
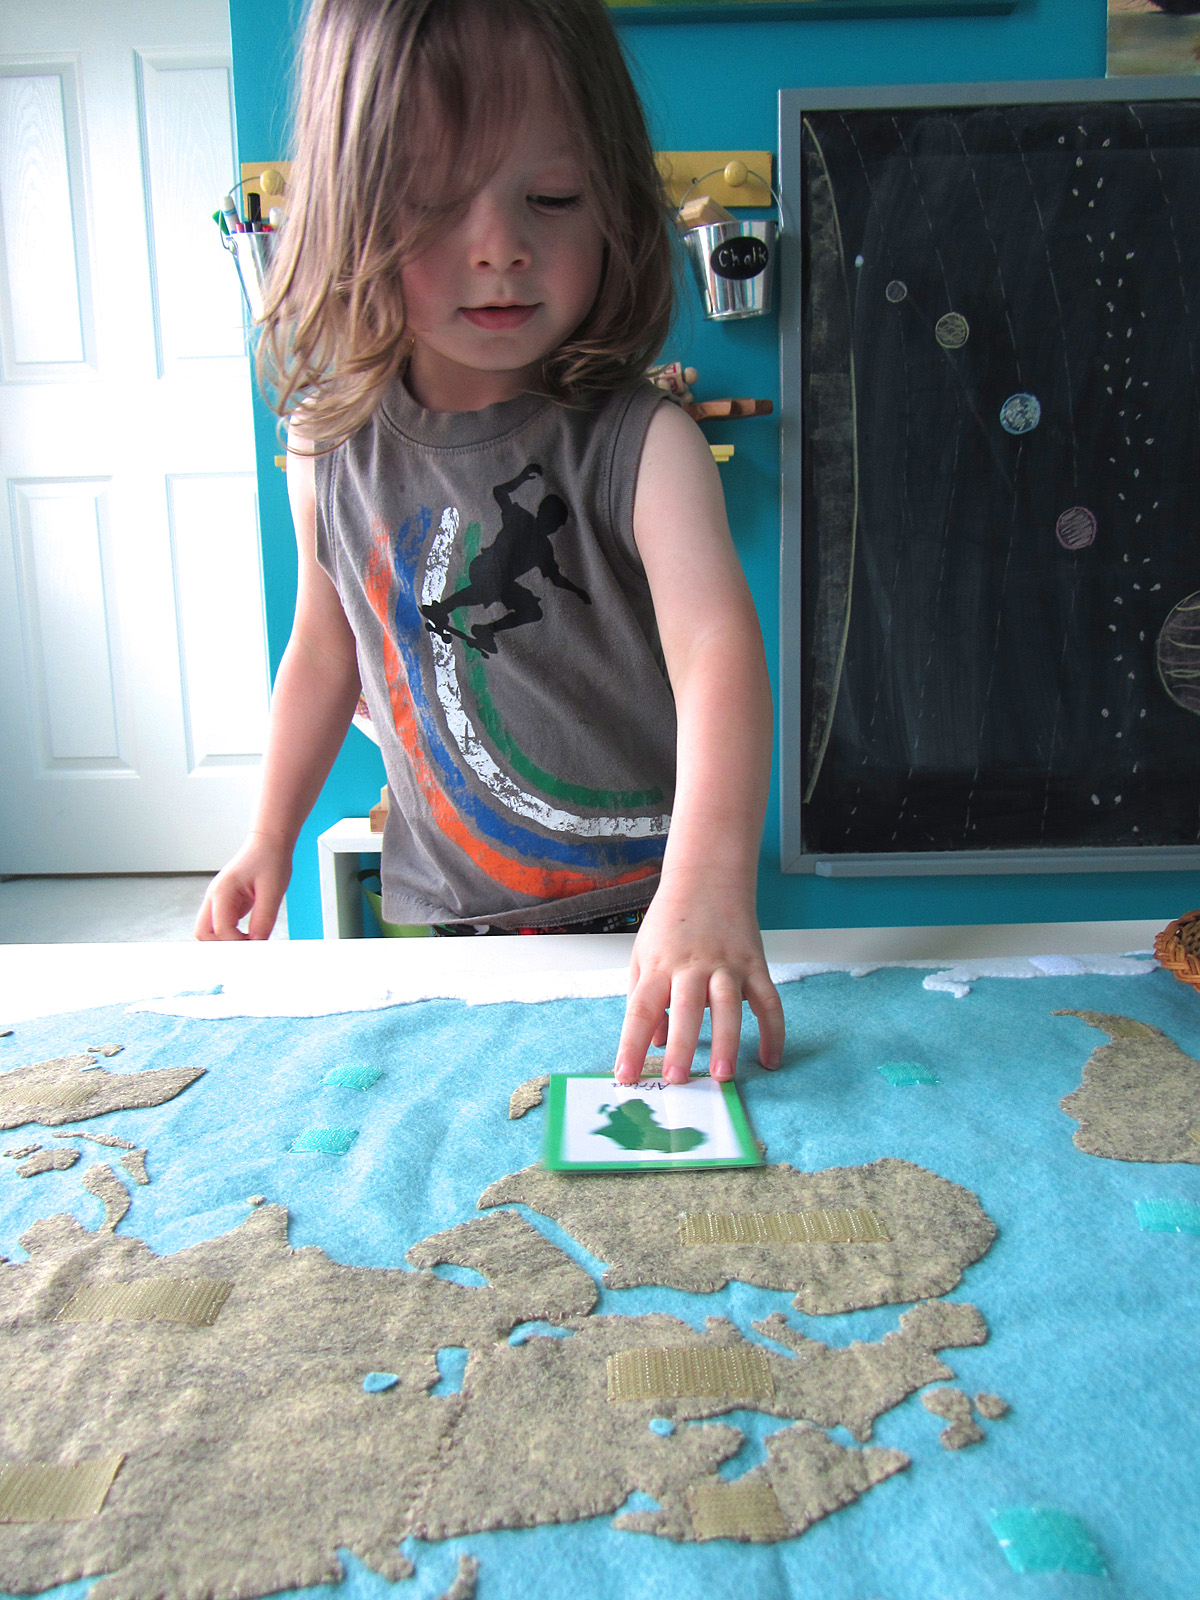
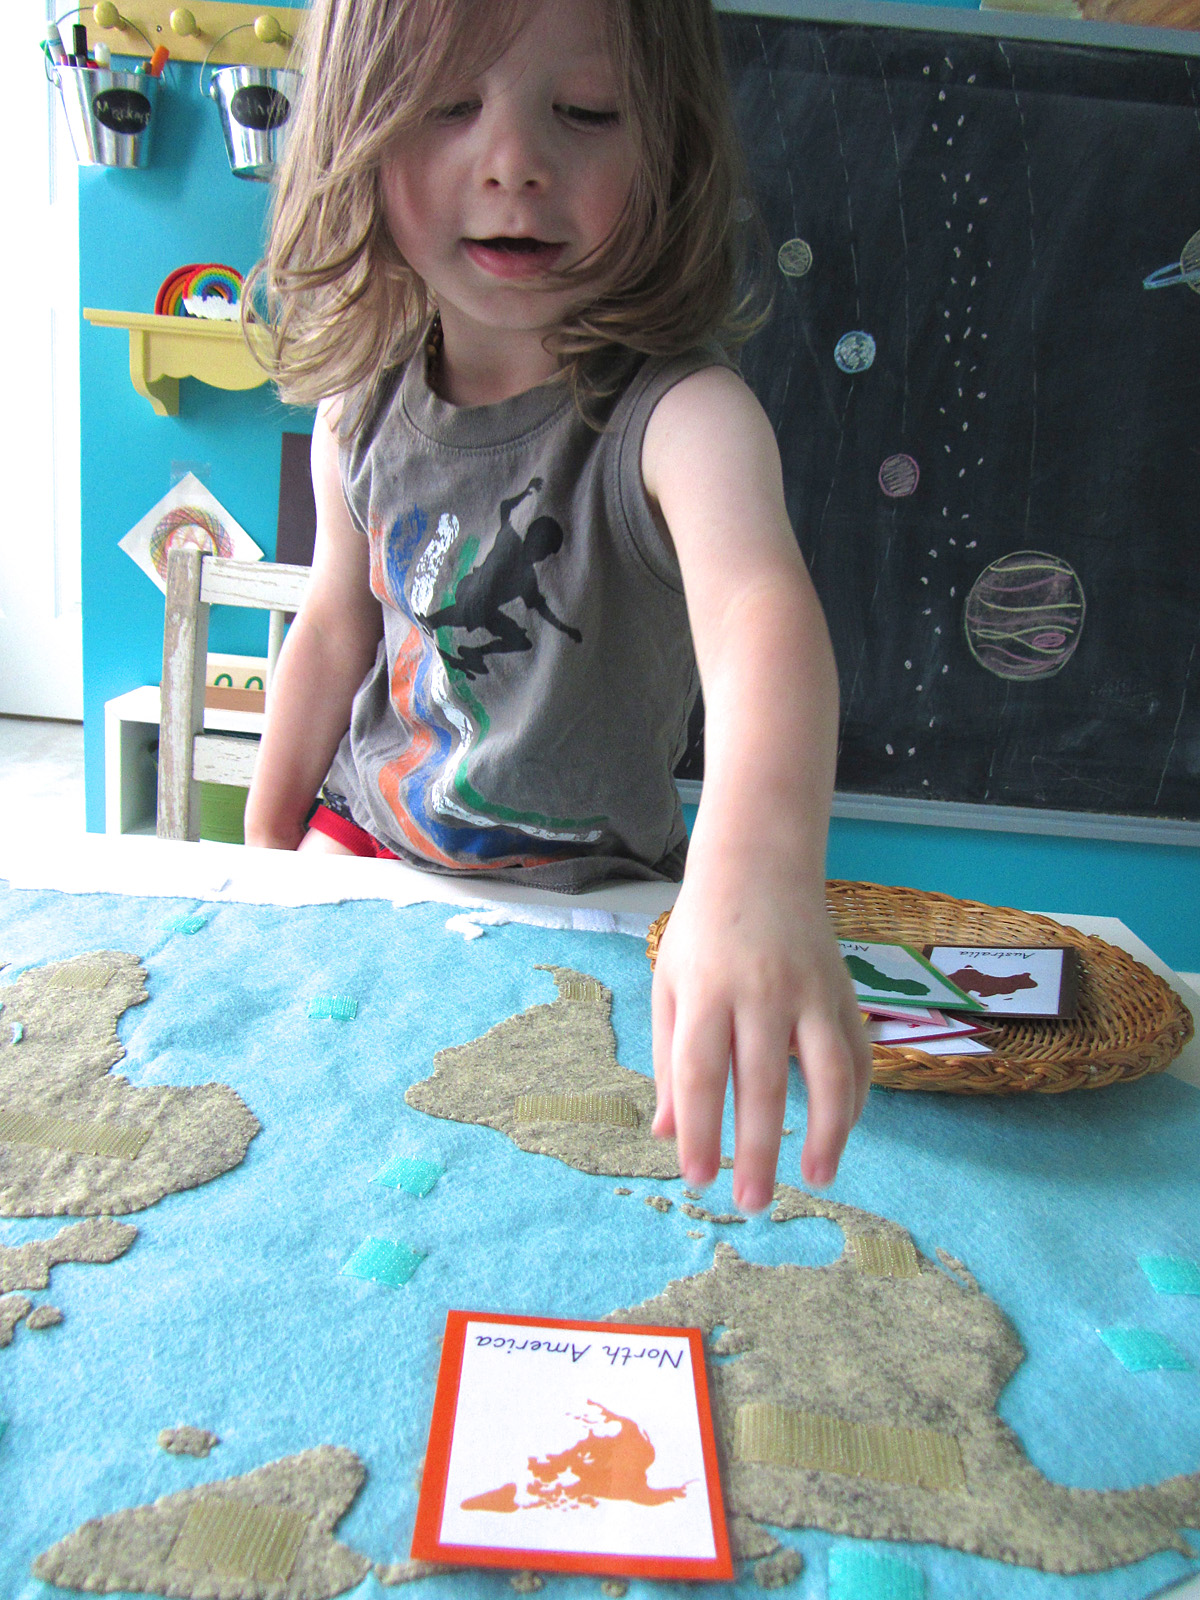
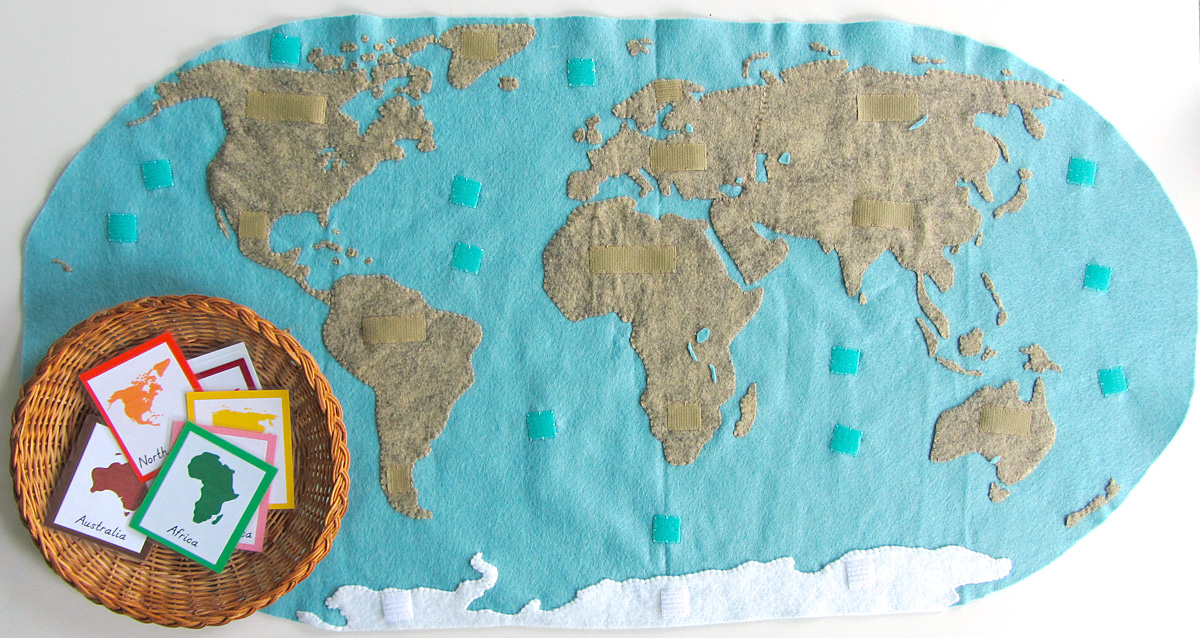
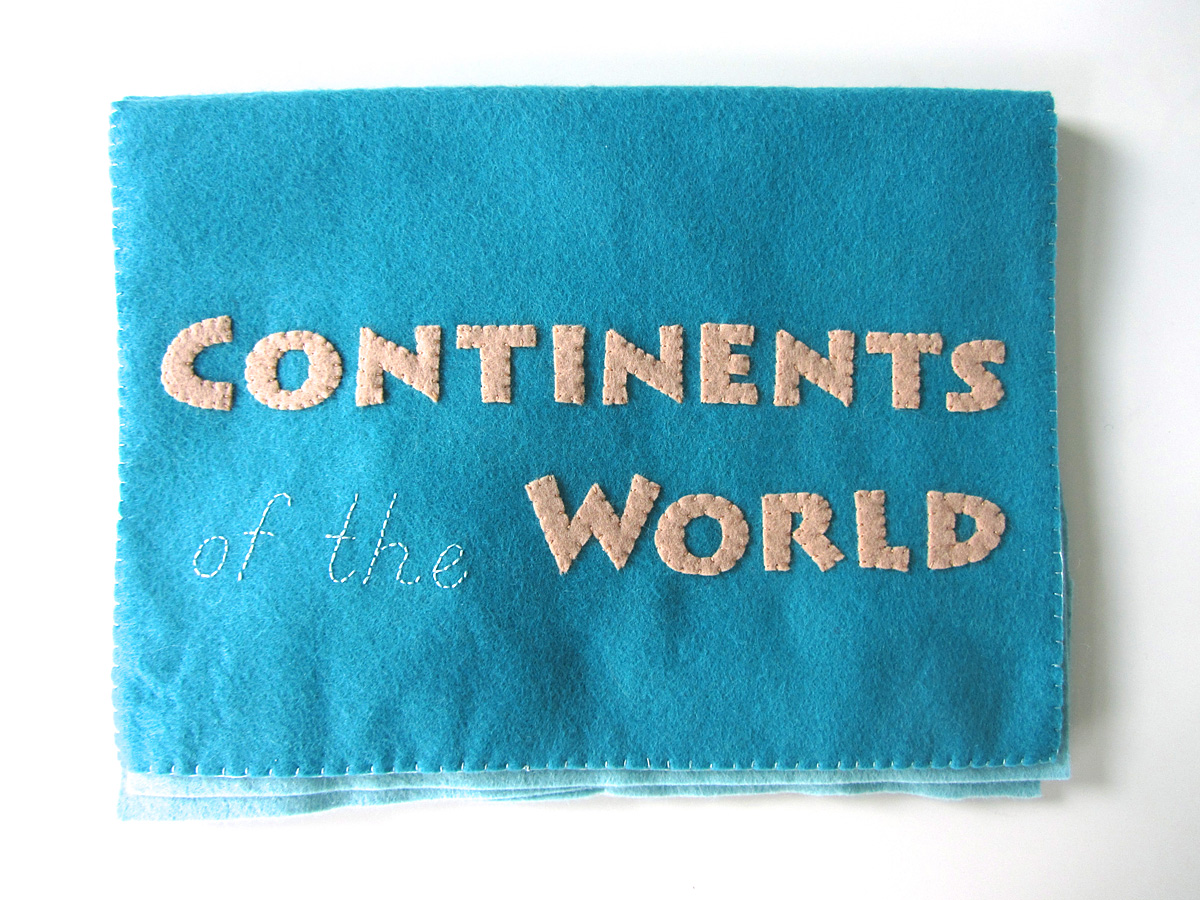
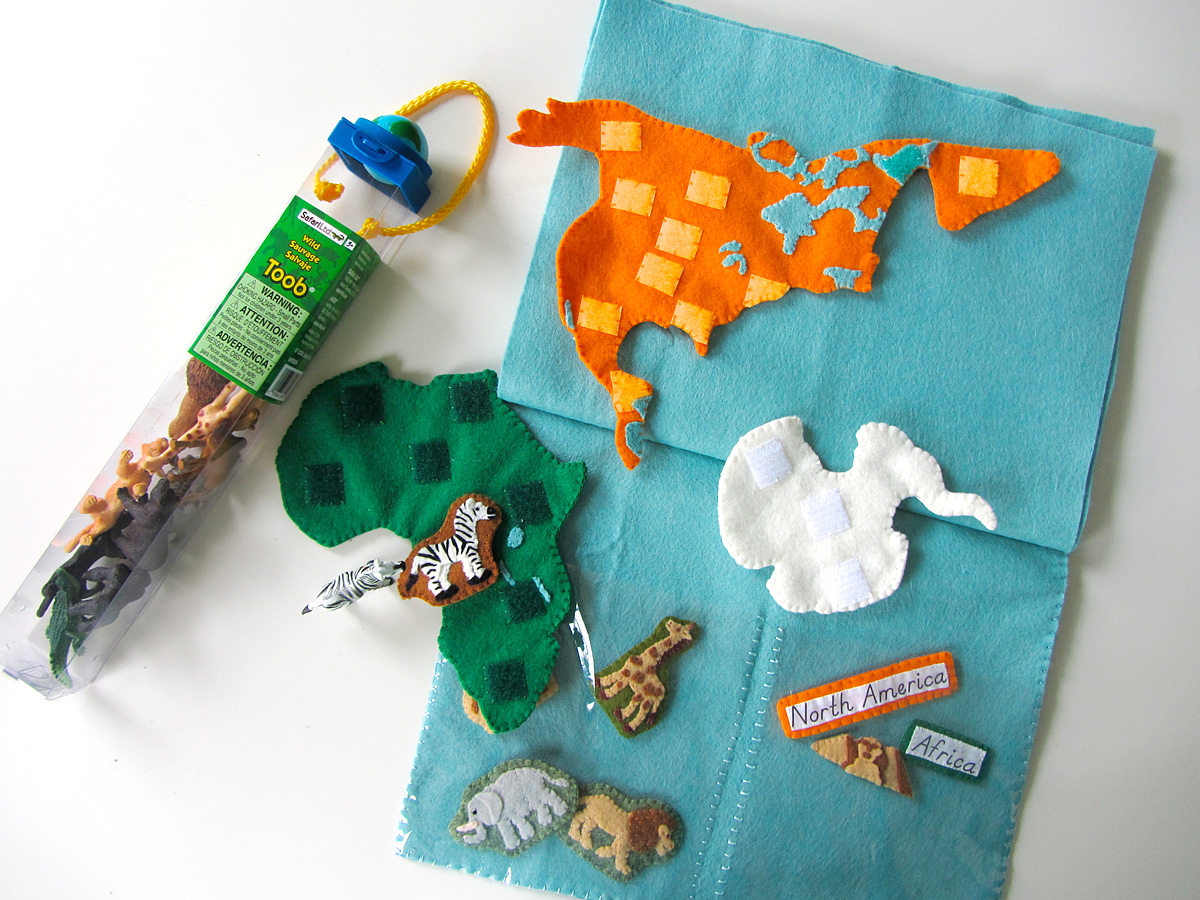
Are you ready for the next installment of the Montessori wall map? This has been the most epic sewing project ever… If you haven’t been introduced to our Montessori wall map and quiet book yet, you can read all about it here. This post is for the continent of Europe.

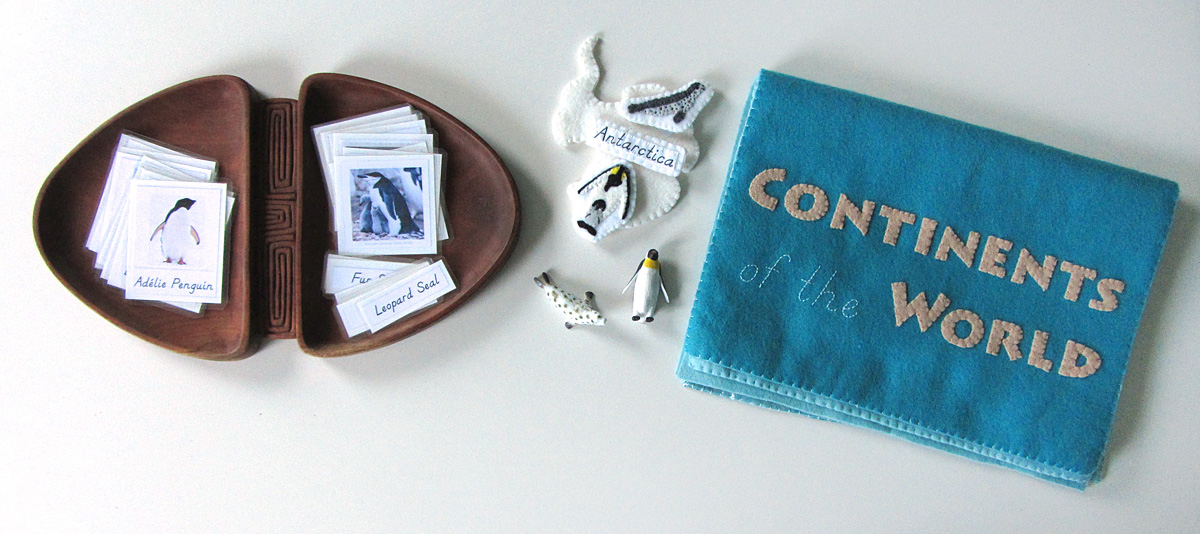
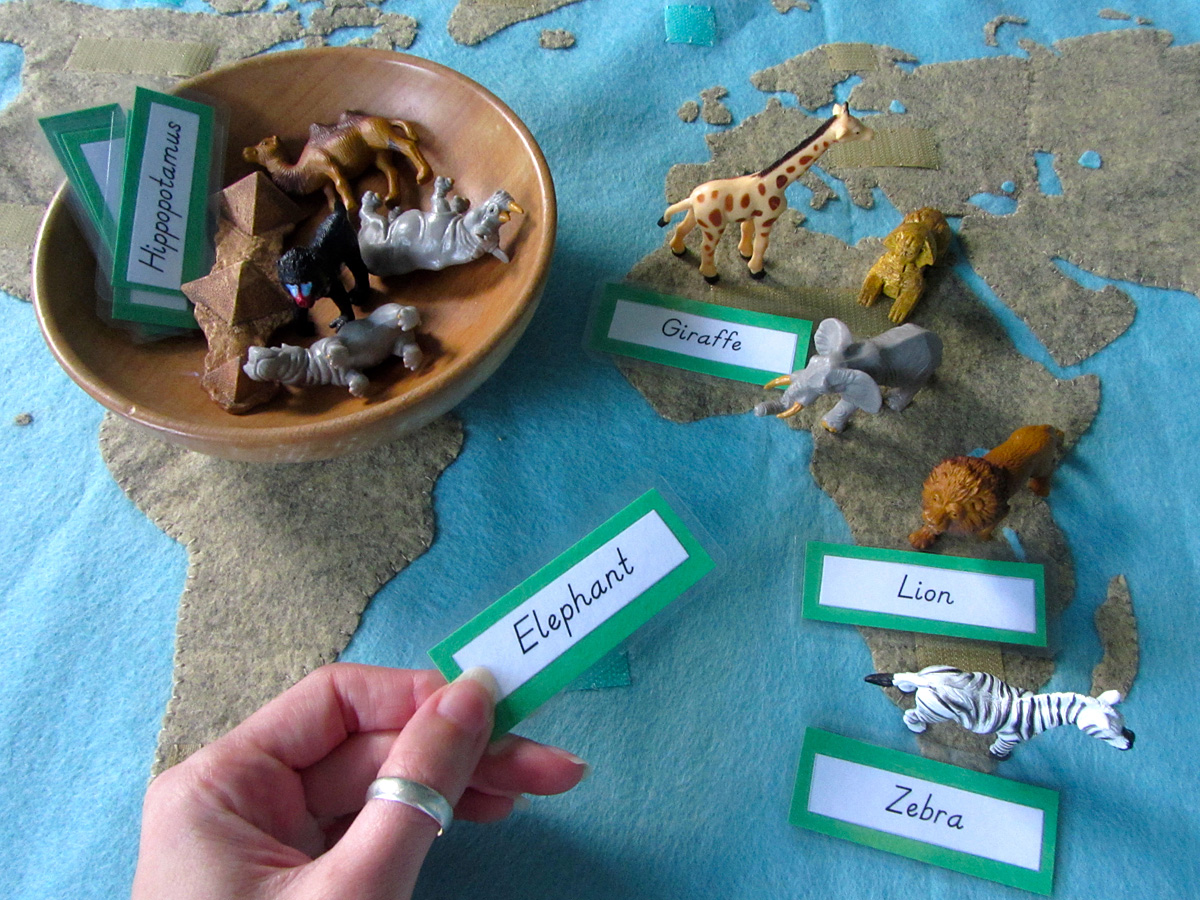
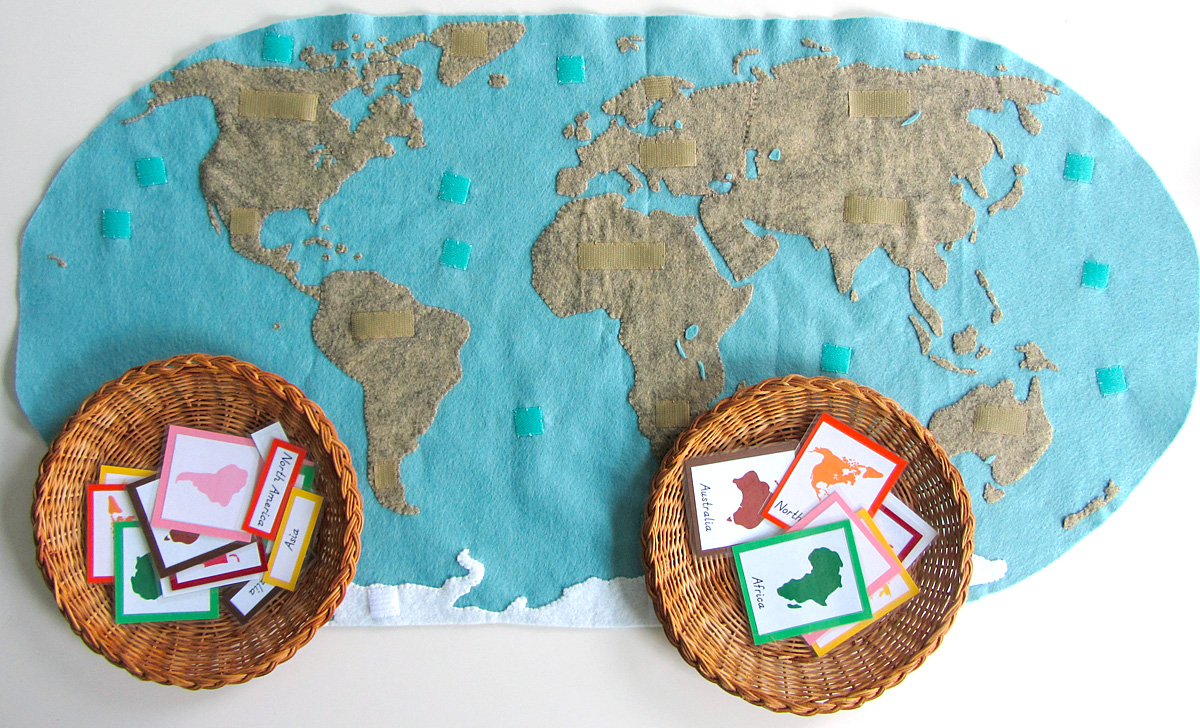
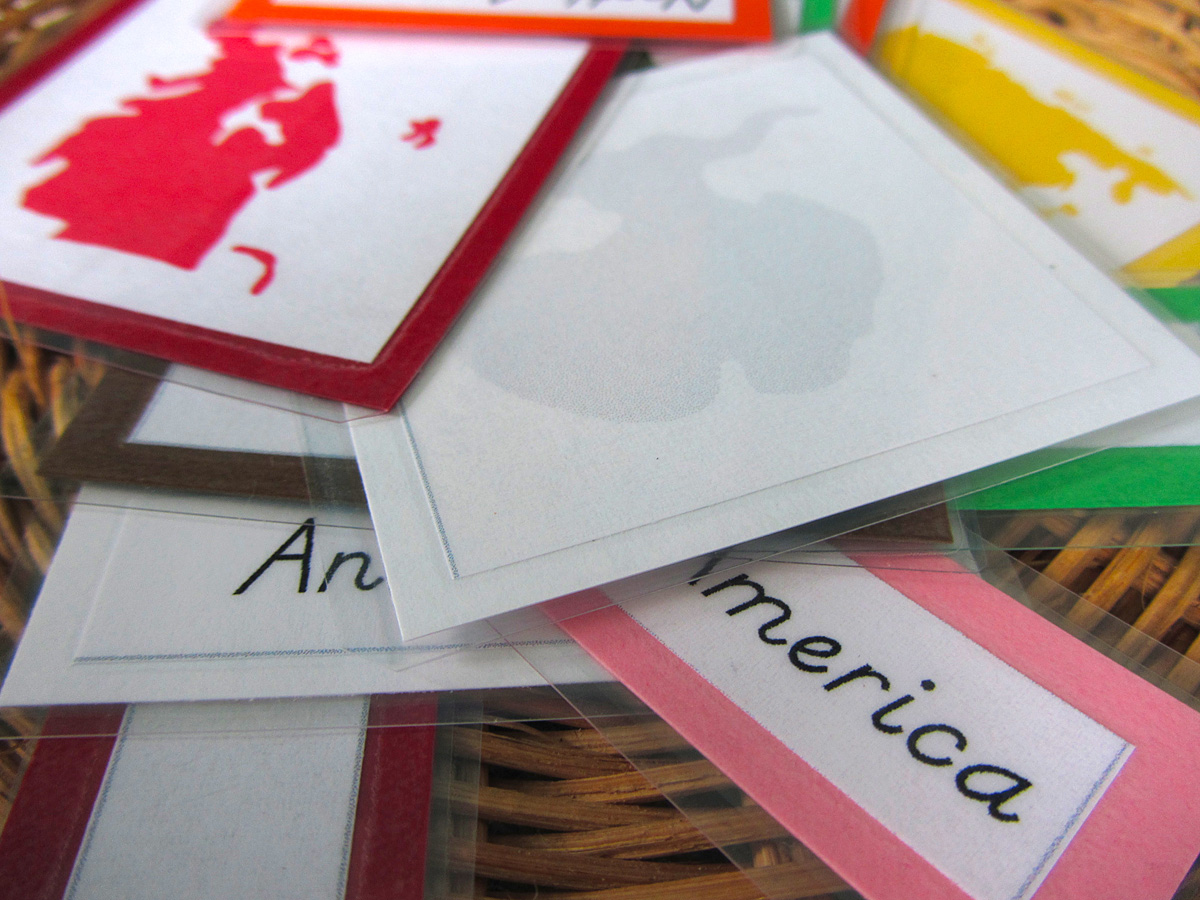
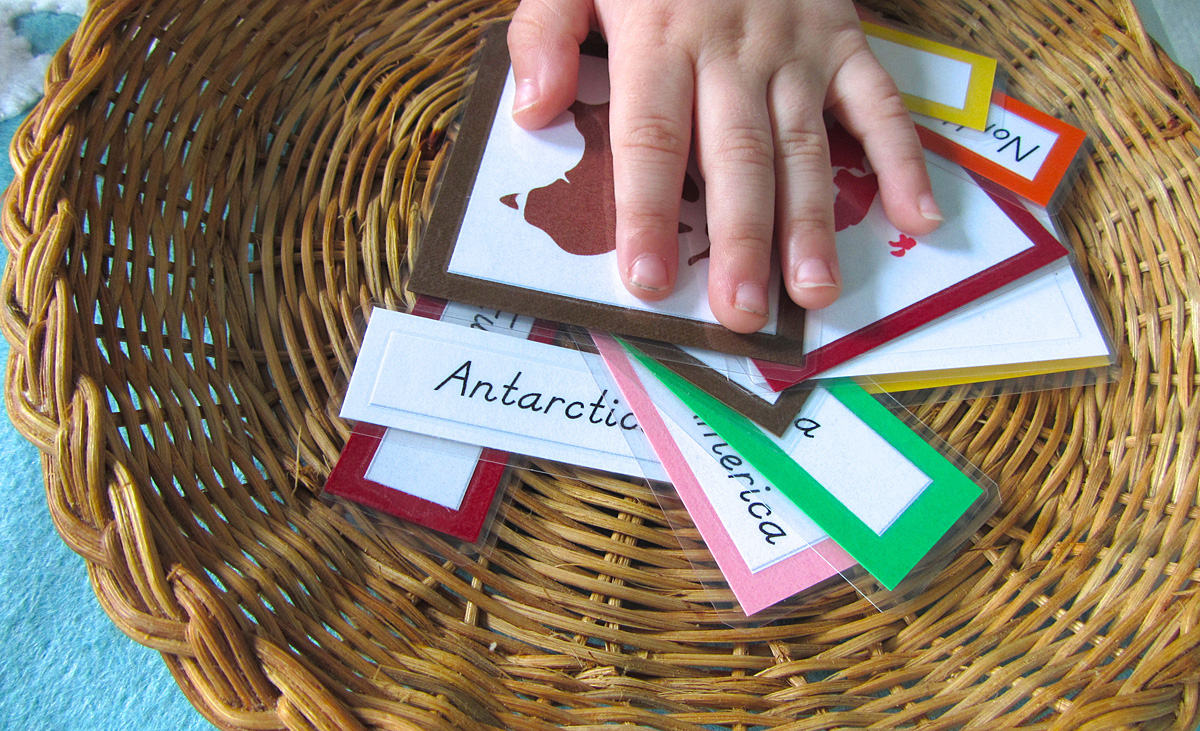
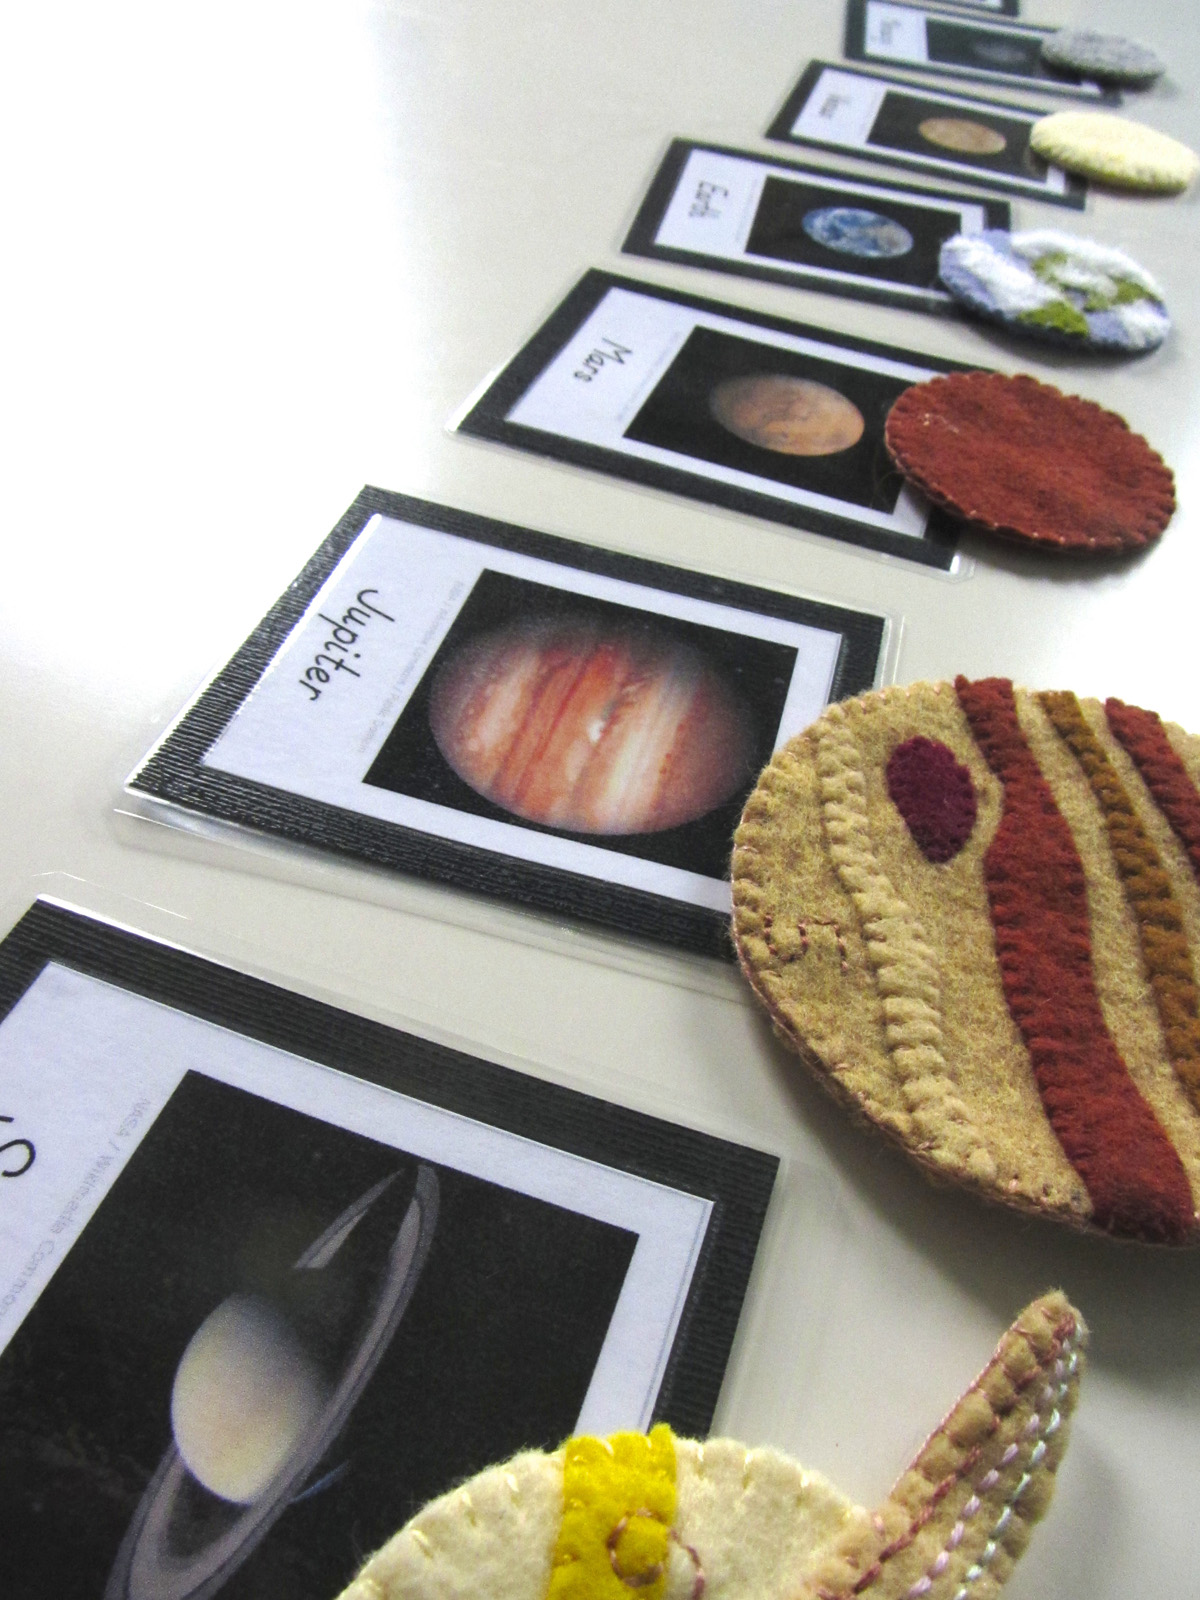
Our Europe 3-Part Card Tray
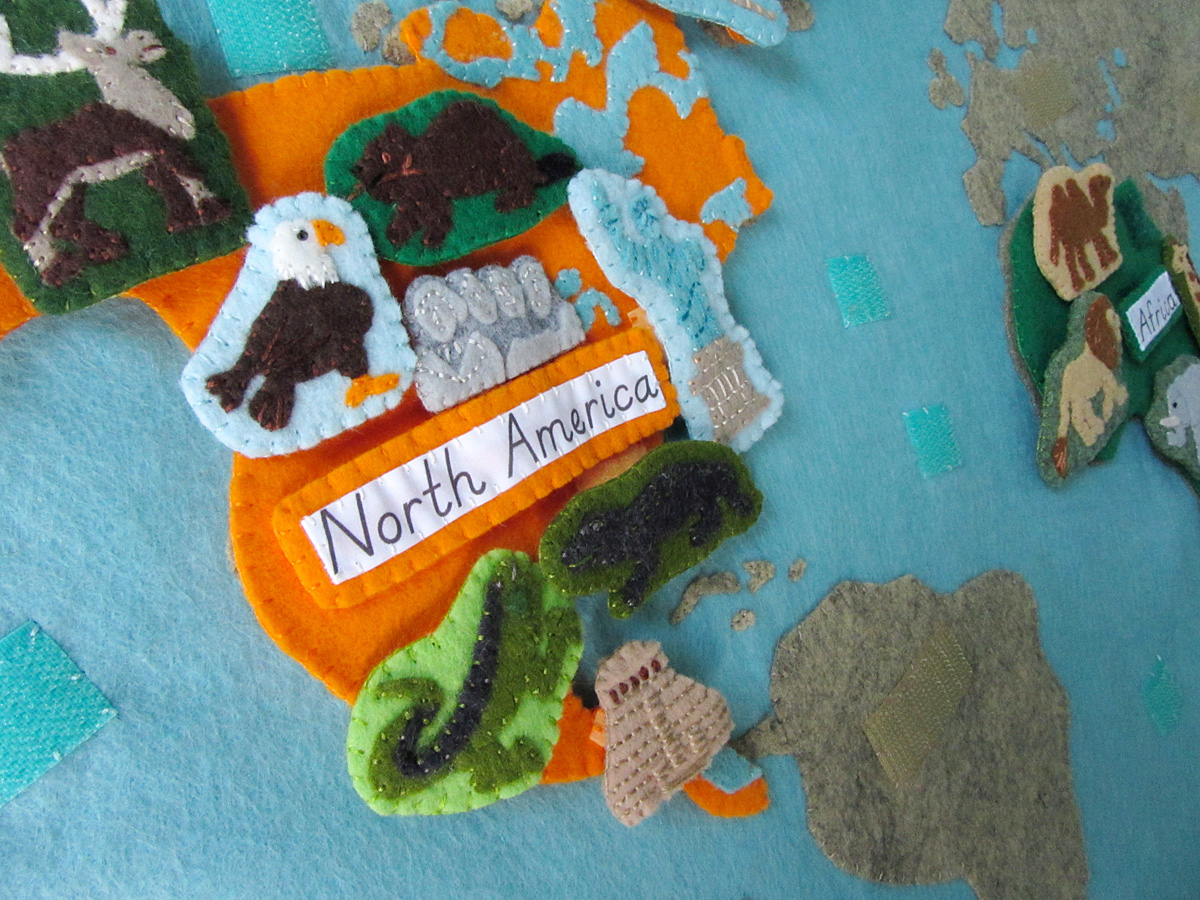
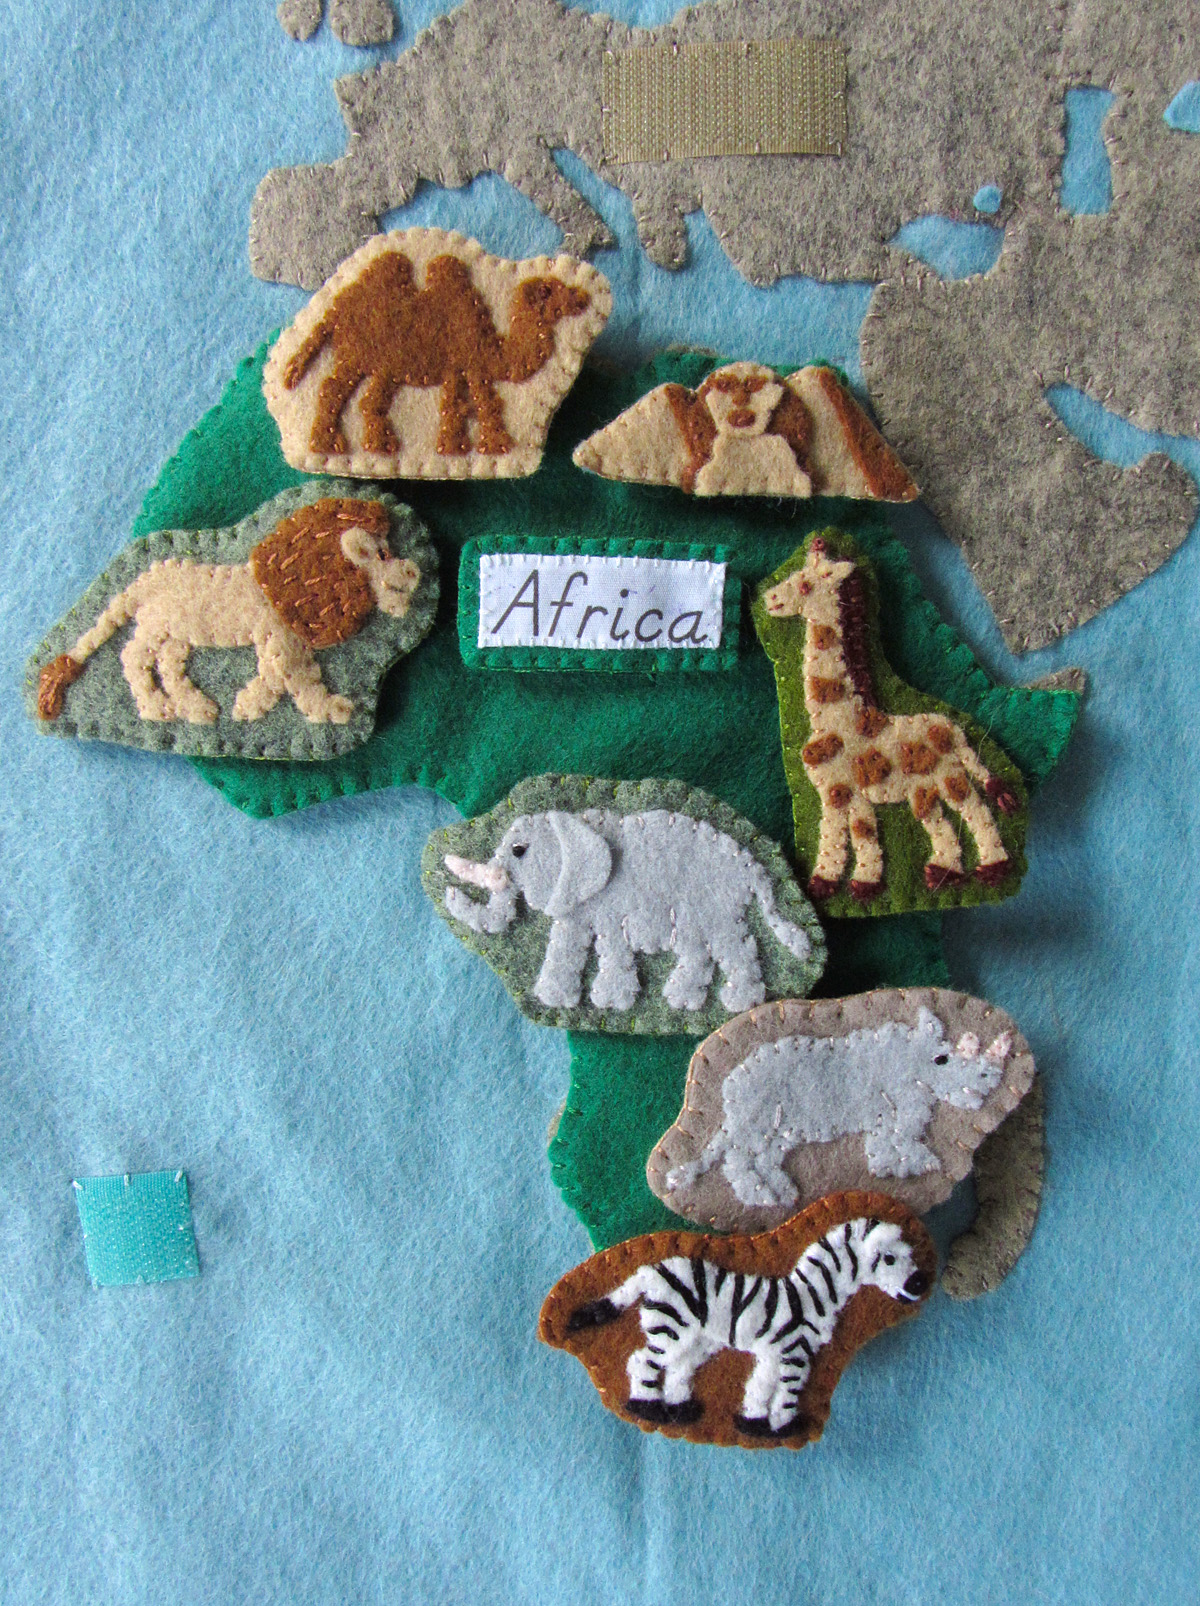
Every continent (and the oceans) will have landmarks and animals. Europe has so many amazing landmarks! I ended up choosing an even mix of animals and landmarks for this project.
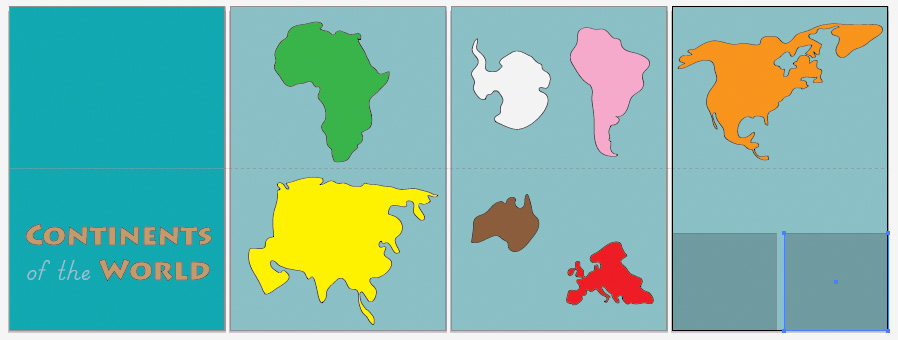
Overview and Map Patterns • Africa • Antarctica • Asia • Europe
North America • Oceans • South America

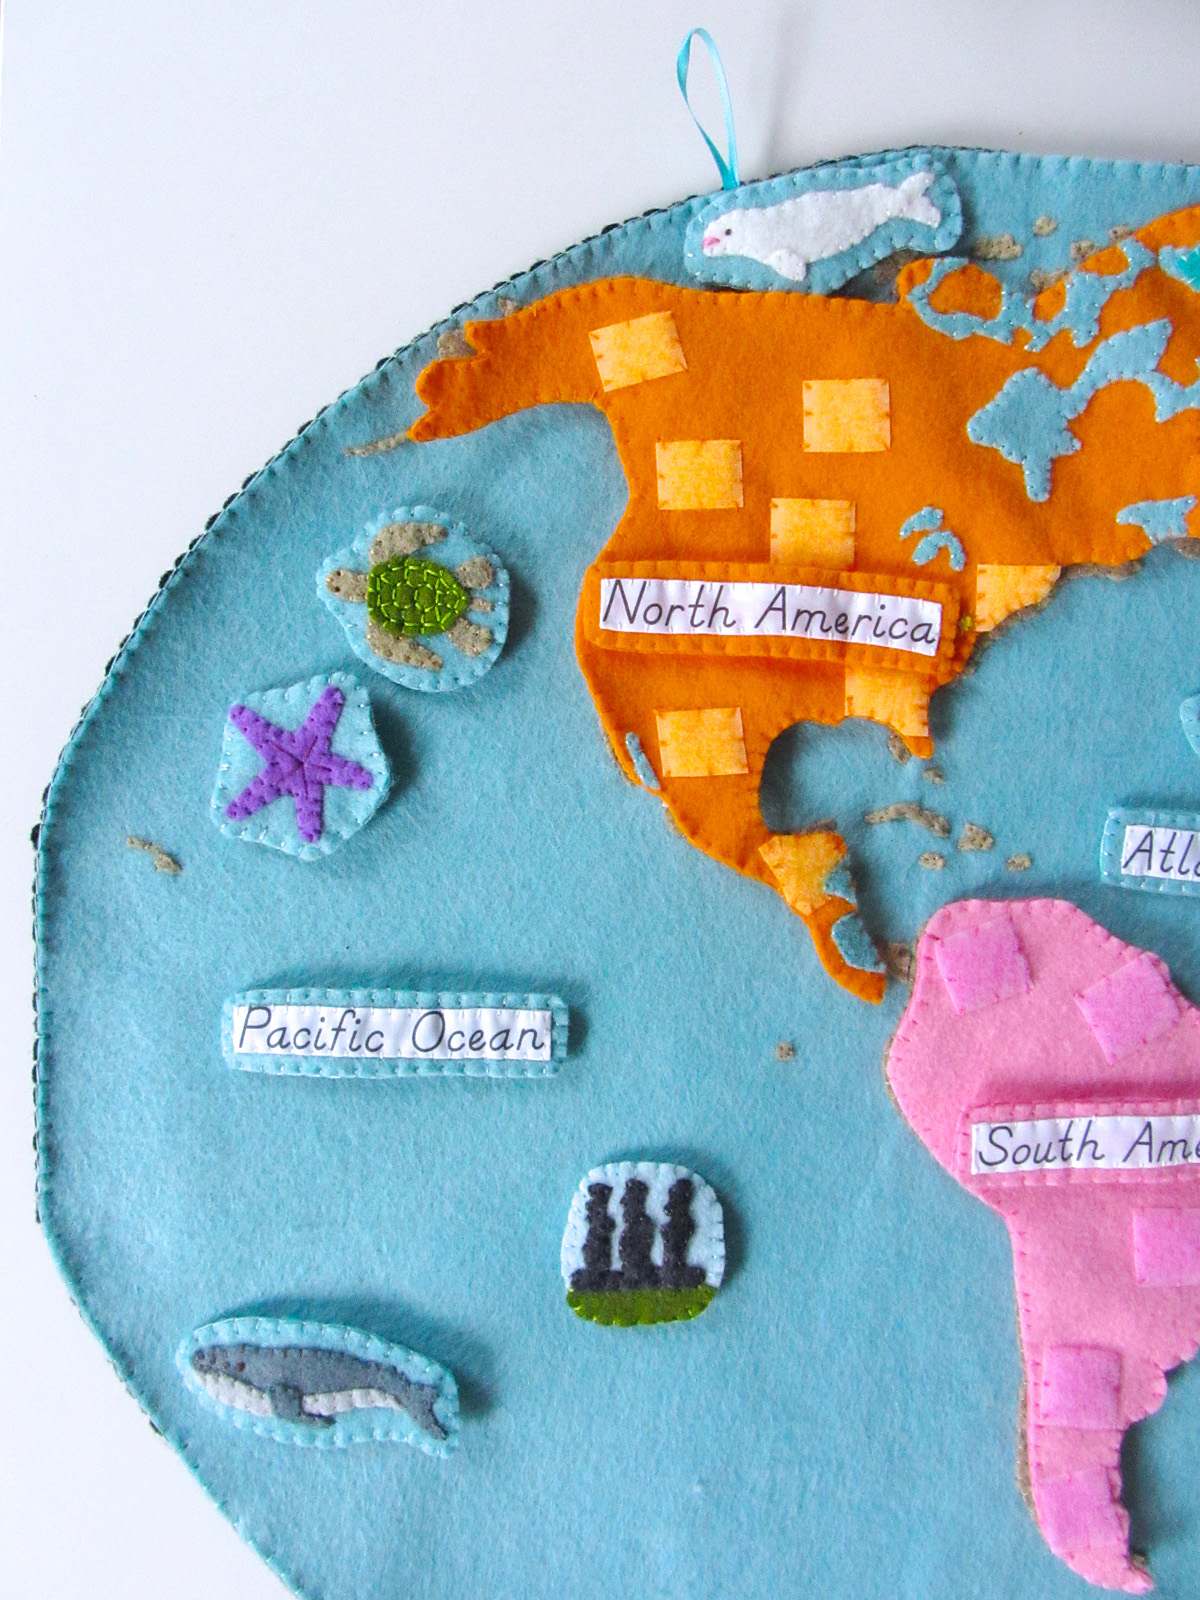
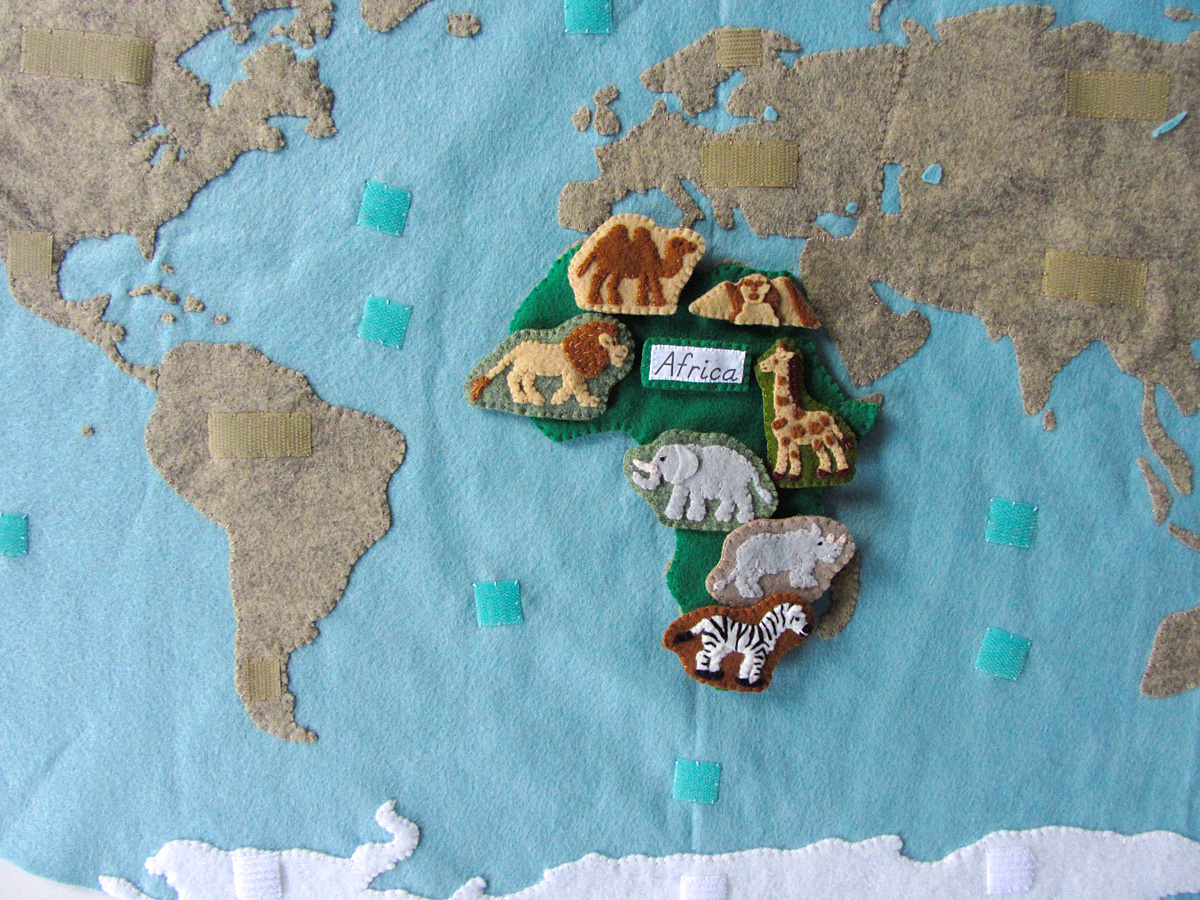
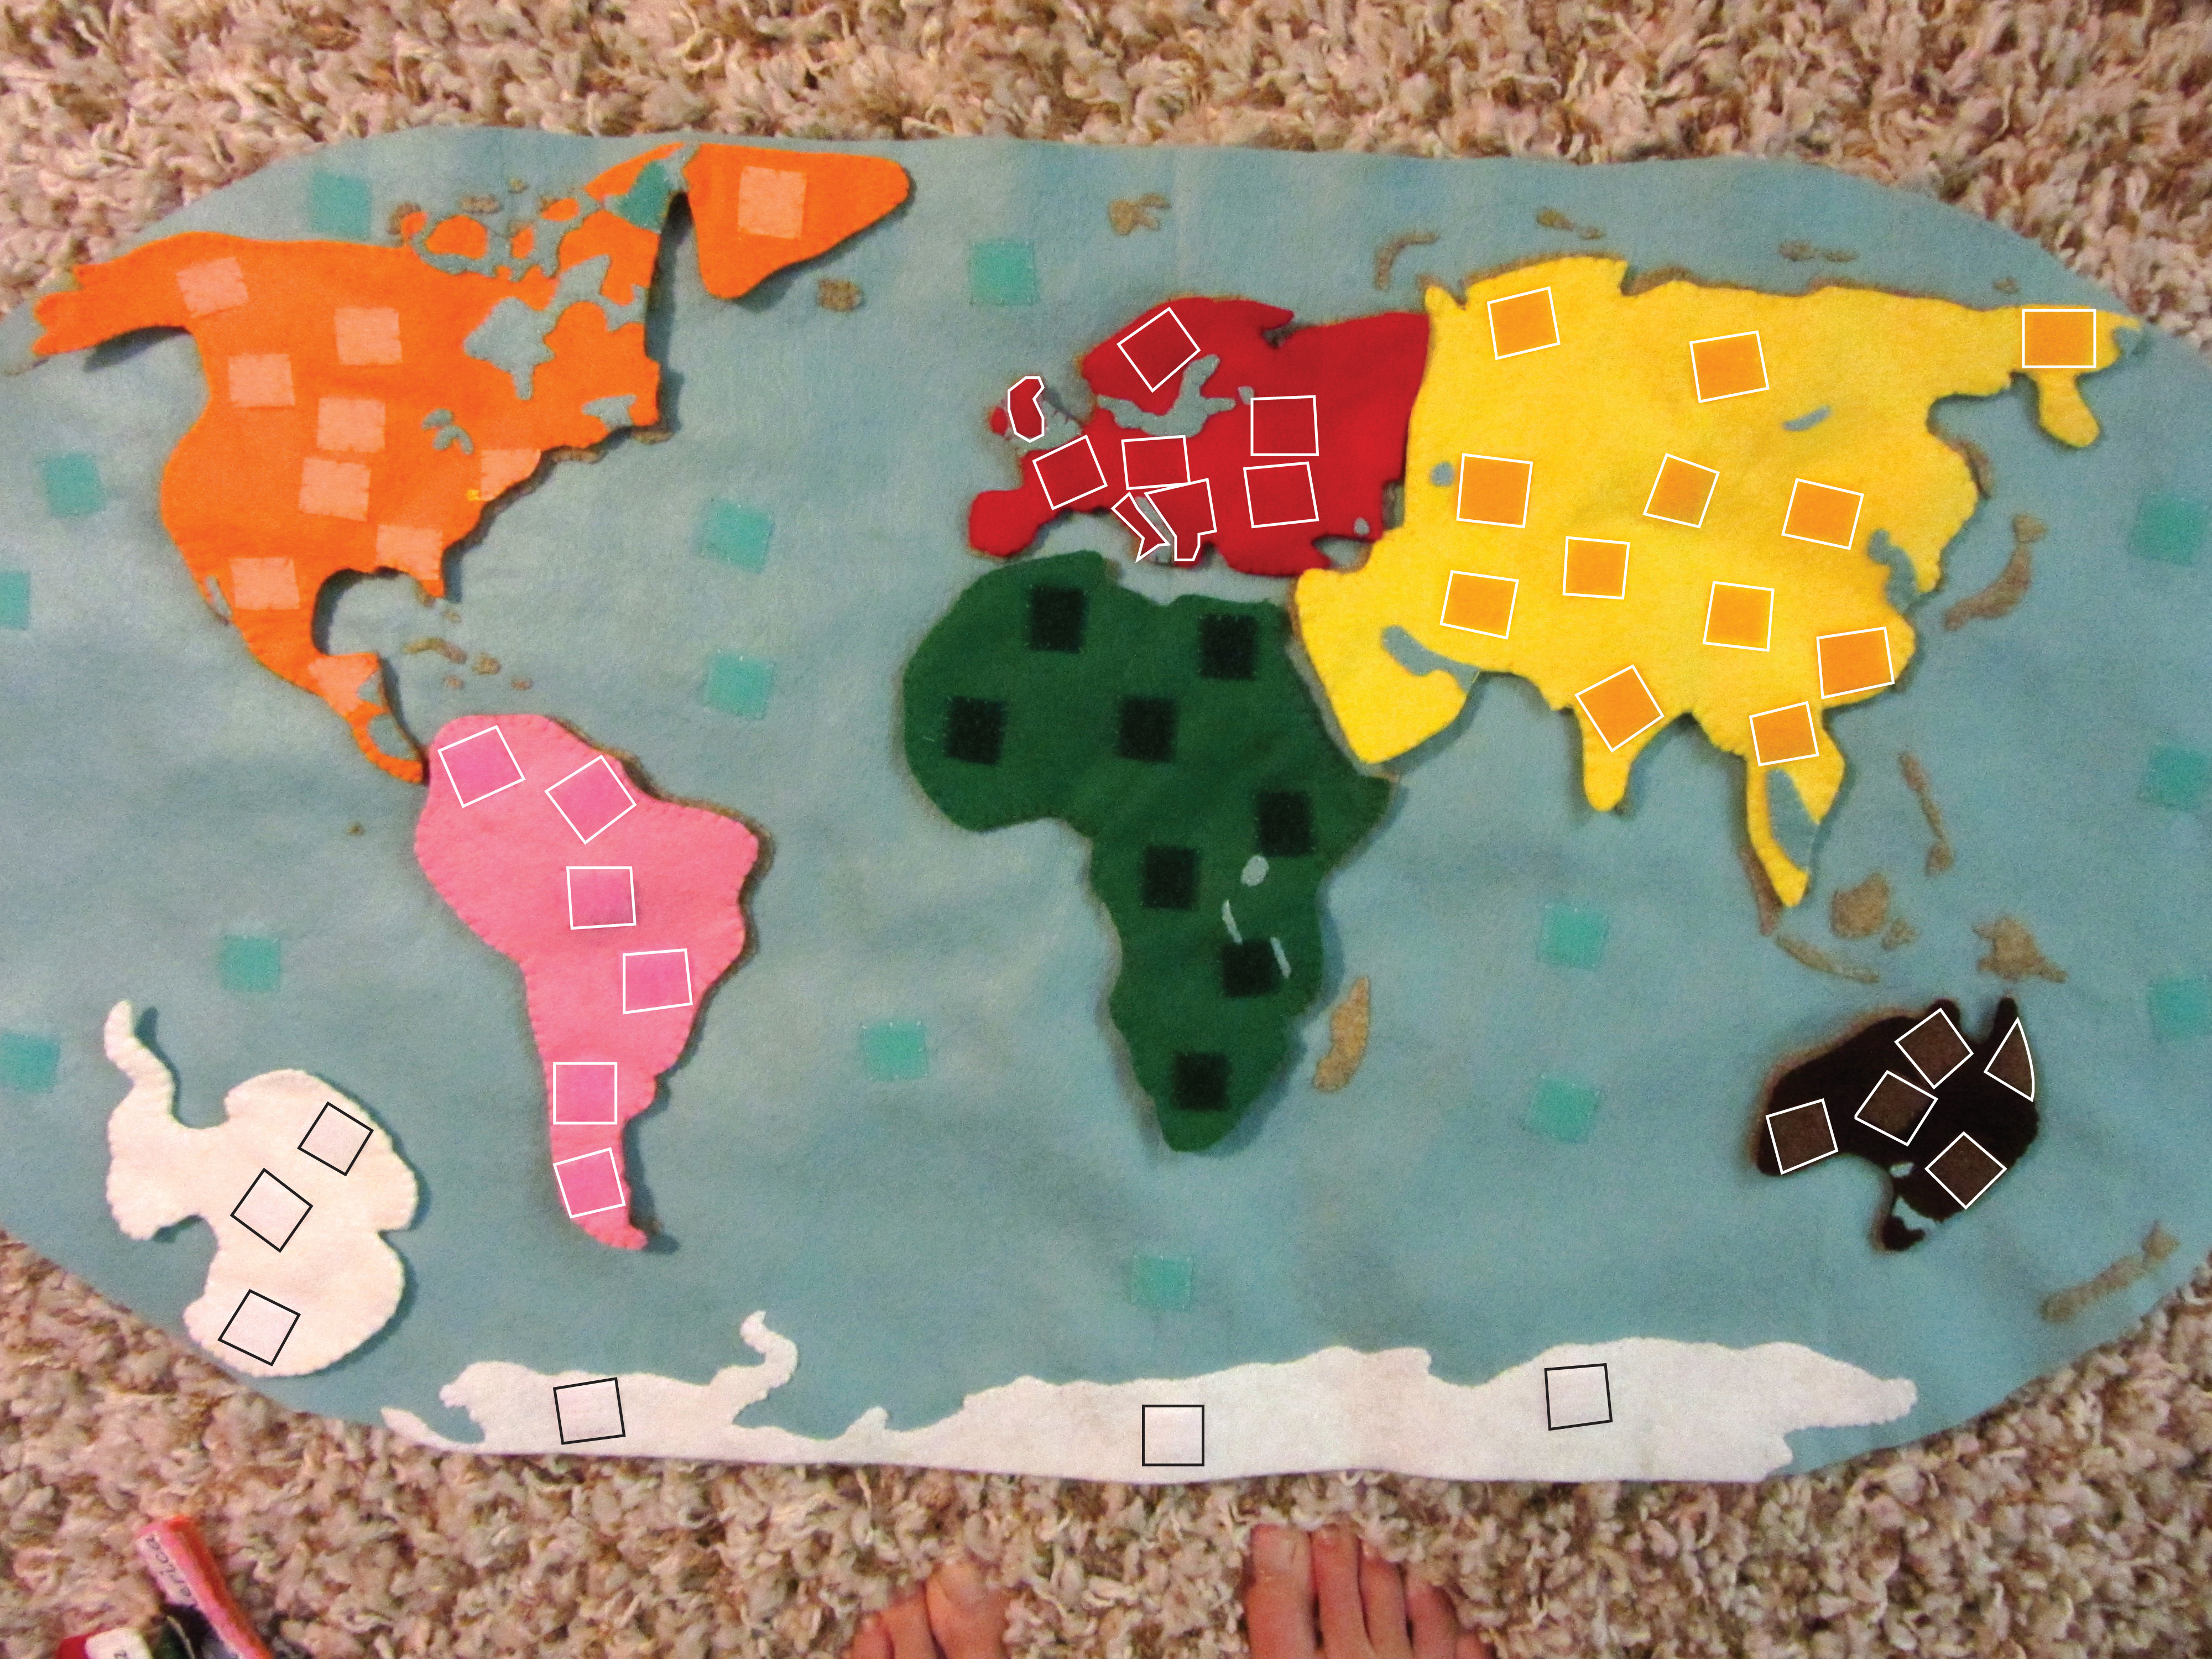
Those of you who follow along on Facebook or Instagram have been seeing what I’ve been creating for Europe. Things are definitely a tight squeeze when you put everything on the map at once. There is just so much awesome in a small area! I made: the Eiffel Tower, Big Ben, the Tower of Pisa, the Colosseum, a harp seal, a mallard, a hedgehog, and a grey wolf. My choices were influenced by which figurines were available from SafariLTD’s TOOBs.

This project is totally free for you to use (though commercial use requires a license.) If you’d like to support my designs, one way is to make a purchase off of Jax’s Amazon wishlist. I use his list to bookmark school and craft items until I am able to get them. For more ways to contribute to this site, visit my support page.
Materials I Used
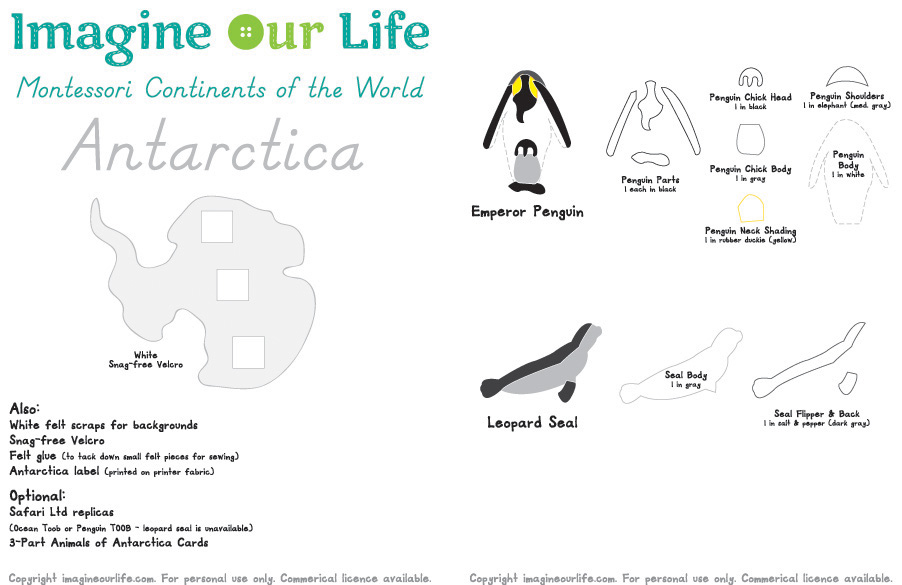
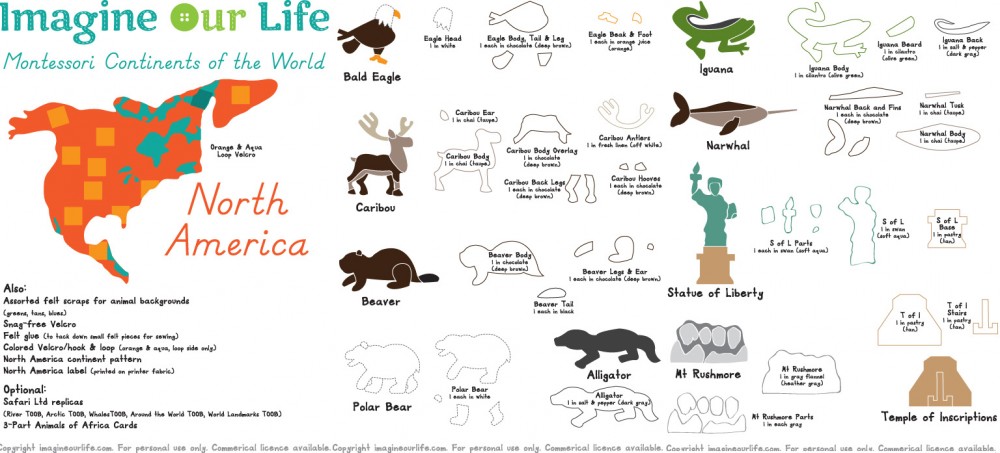
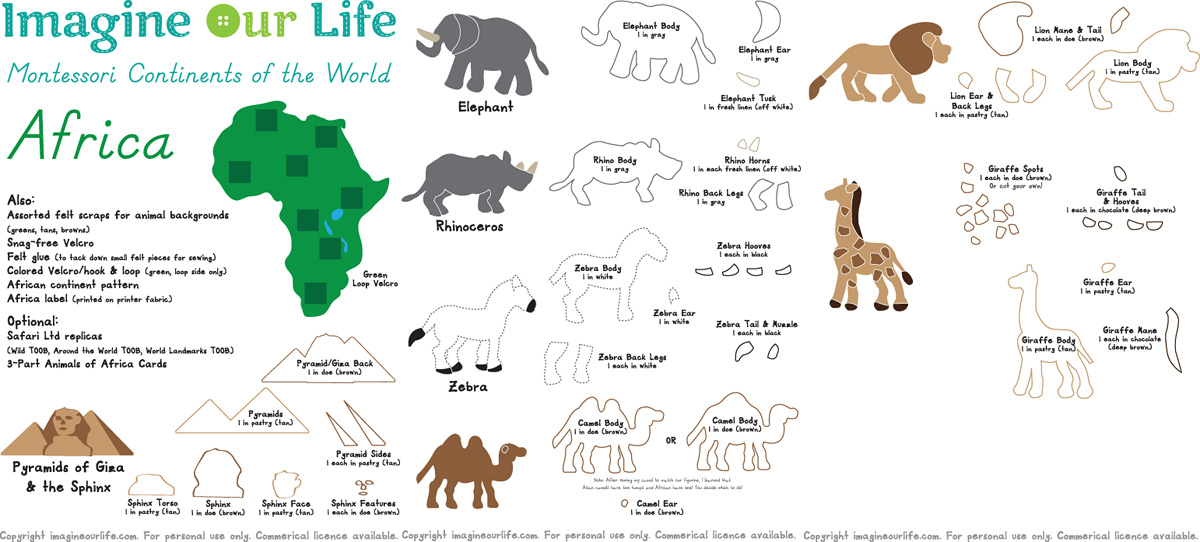
The Pattern (see the first post for the main patterns)
Felt from American Felt & Craft – big apple [red], cilantro [olive green], pastry [golden taupe], gold nugget [gold], chocolate [deep brown], fresh linen [off white], chai [taupe], doe [brown], jade [green], sparrow [light blue], ice [aqua blue], stone [heather taupe], elephant [charcoal], gray, white and black.
Hook & Loop – I used white snag-free Velcro on the backs of all these pieces and red hook & loop (loop only) on the front of the Europe puzzle piece. My red hook & loop was from here.
Felt glue to tack down the pieces before sewing, printer fabric
for the continent label, embroidery floss in colors to match the felt and micro tip scissors
.

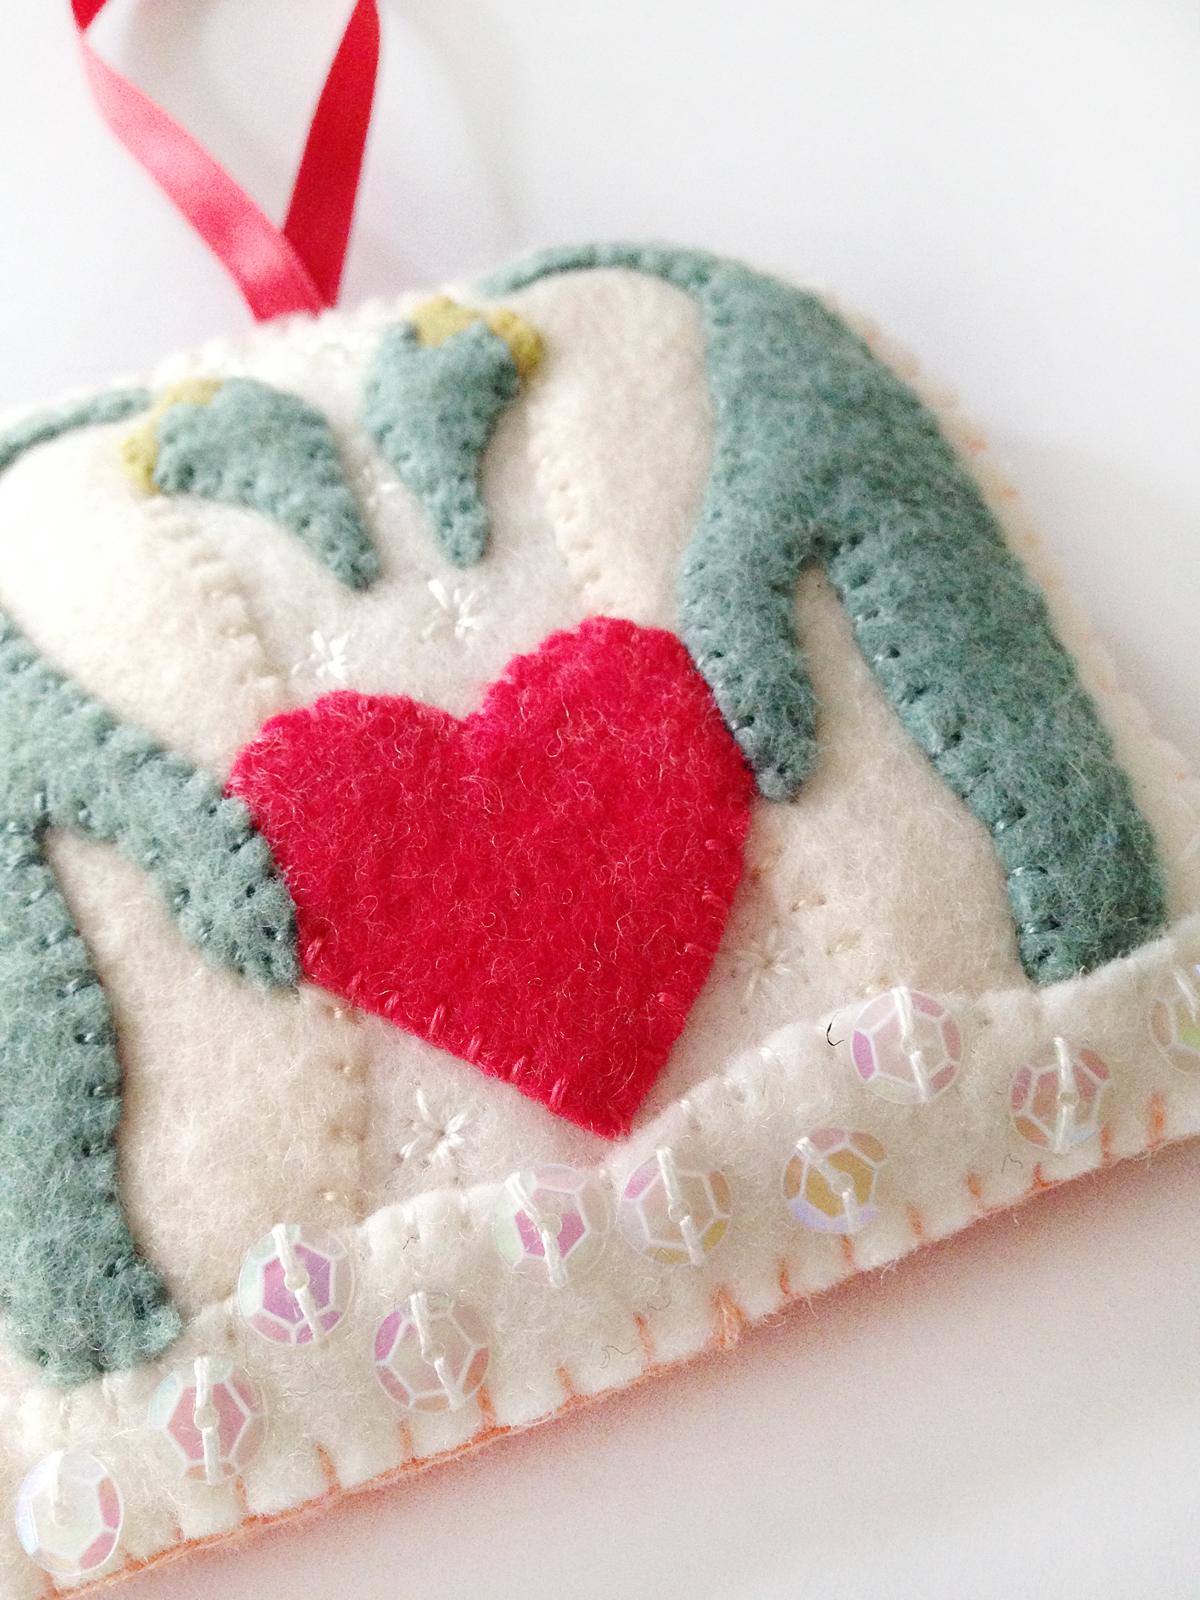
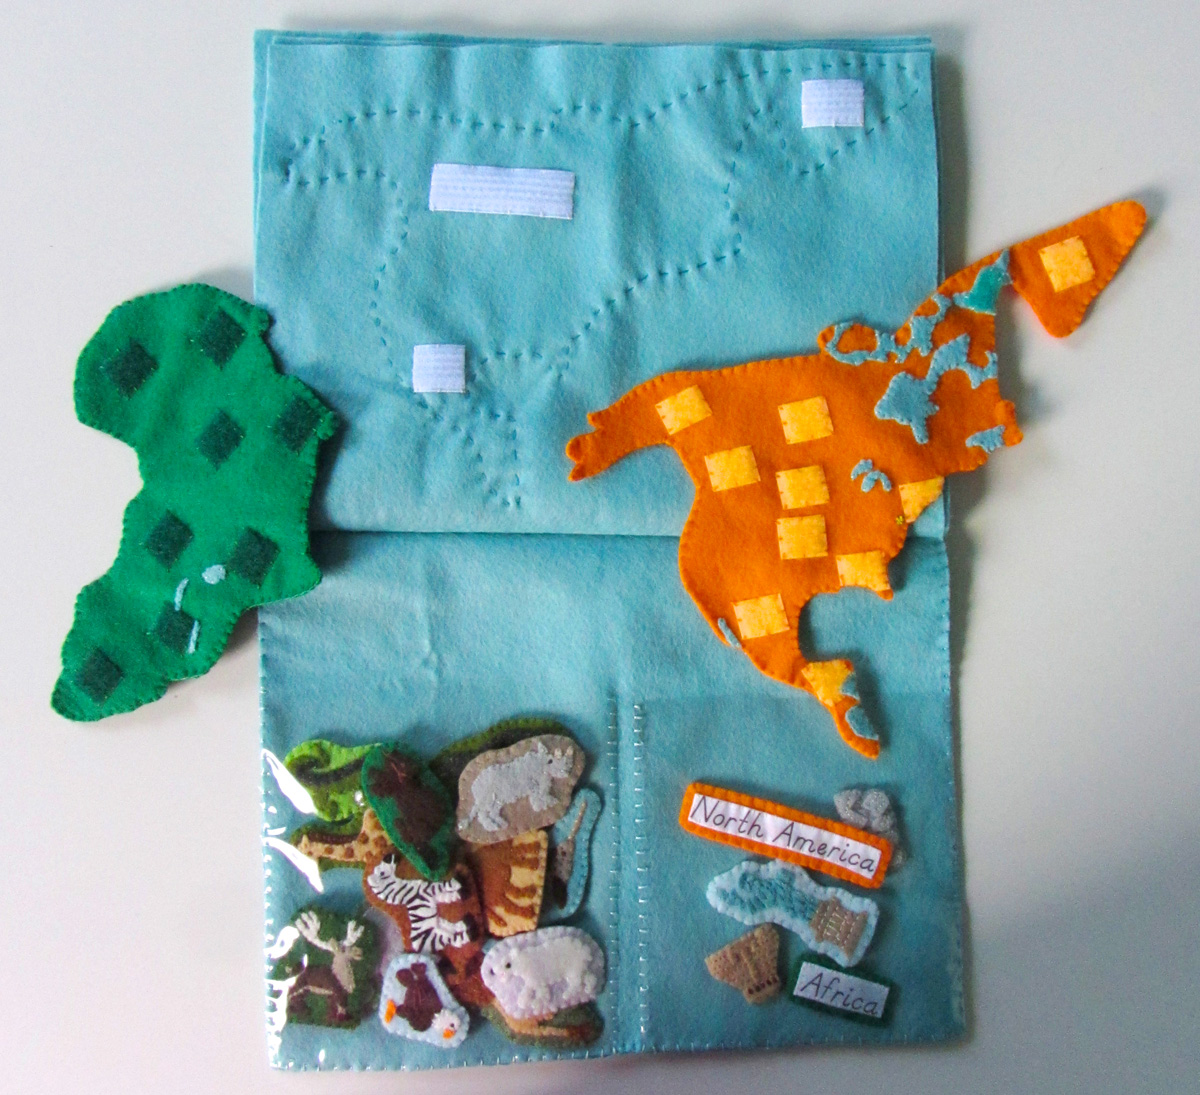
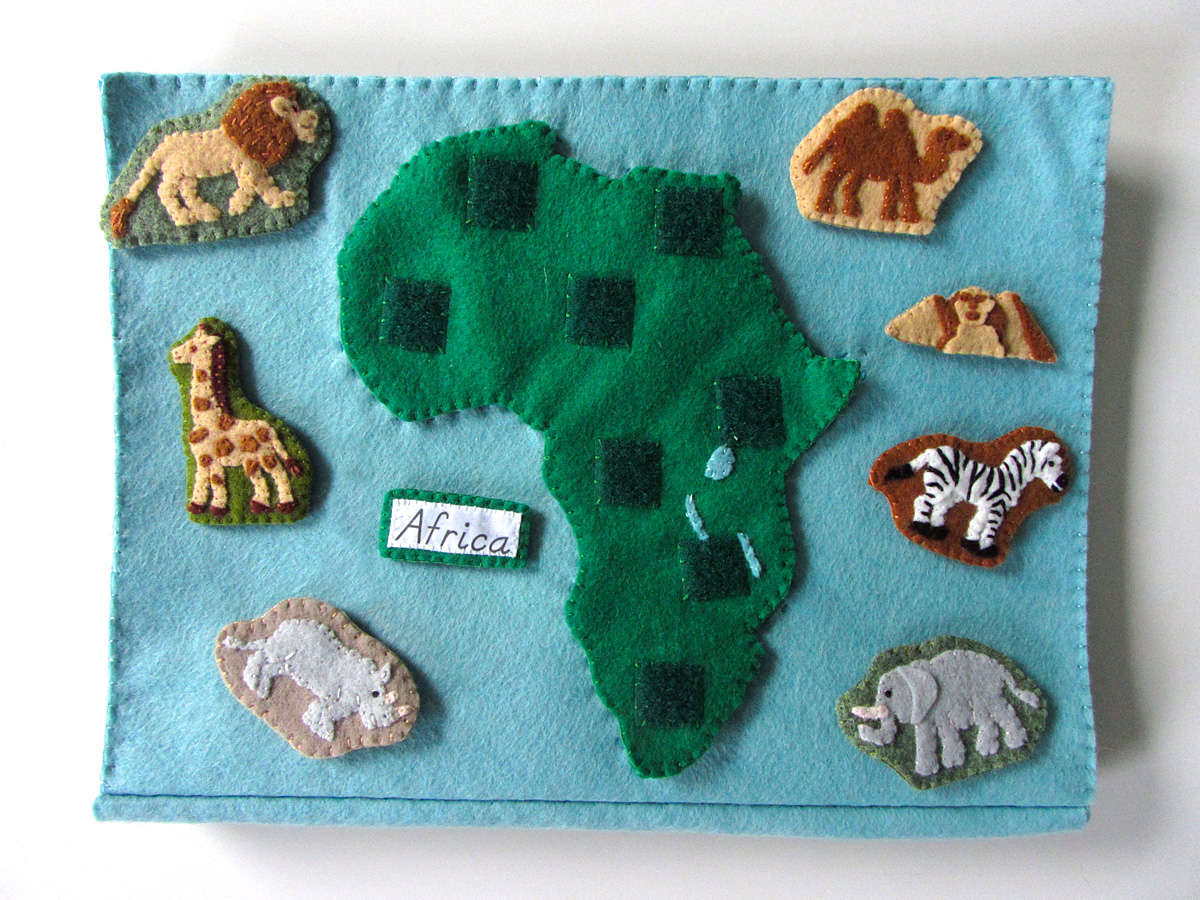
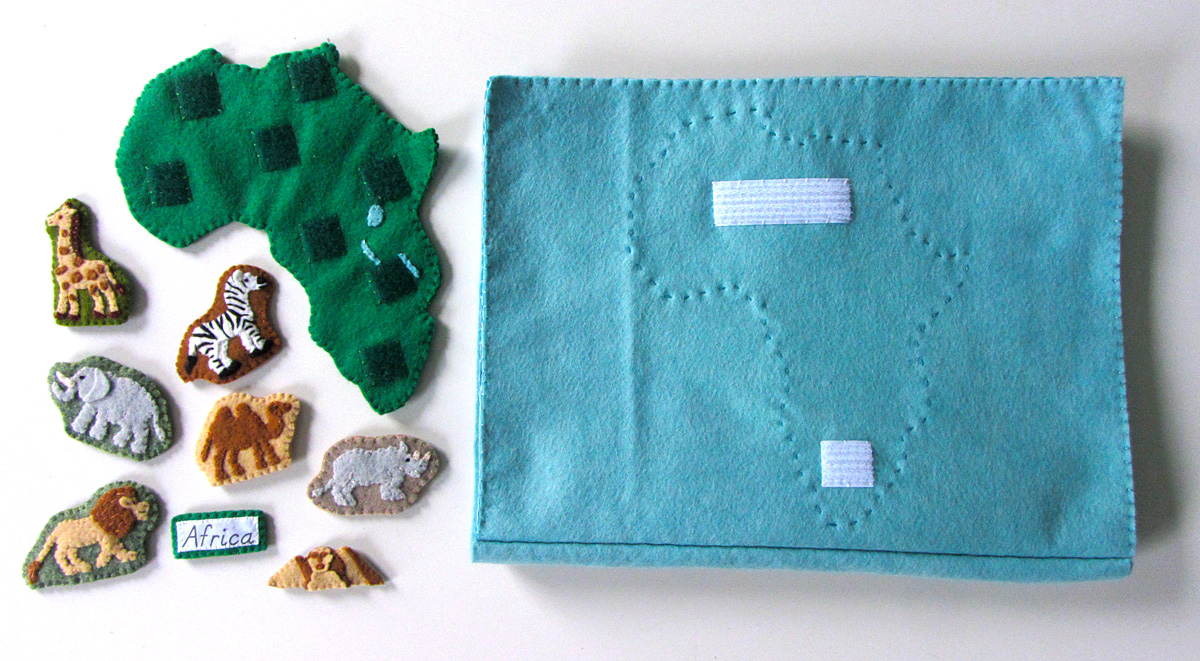
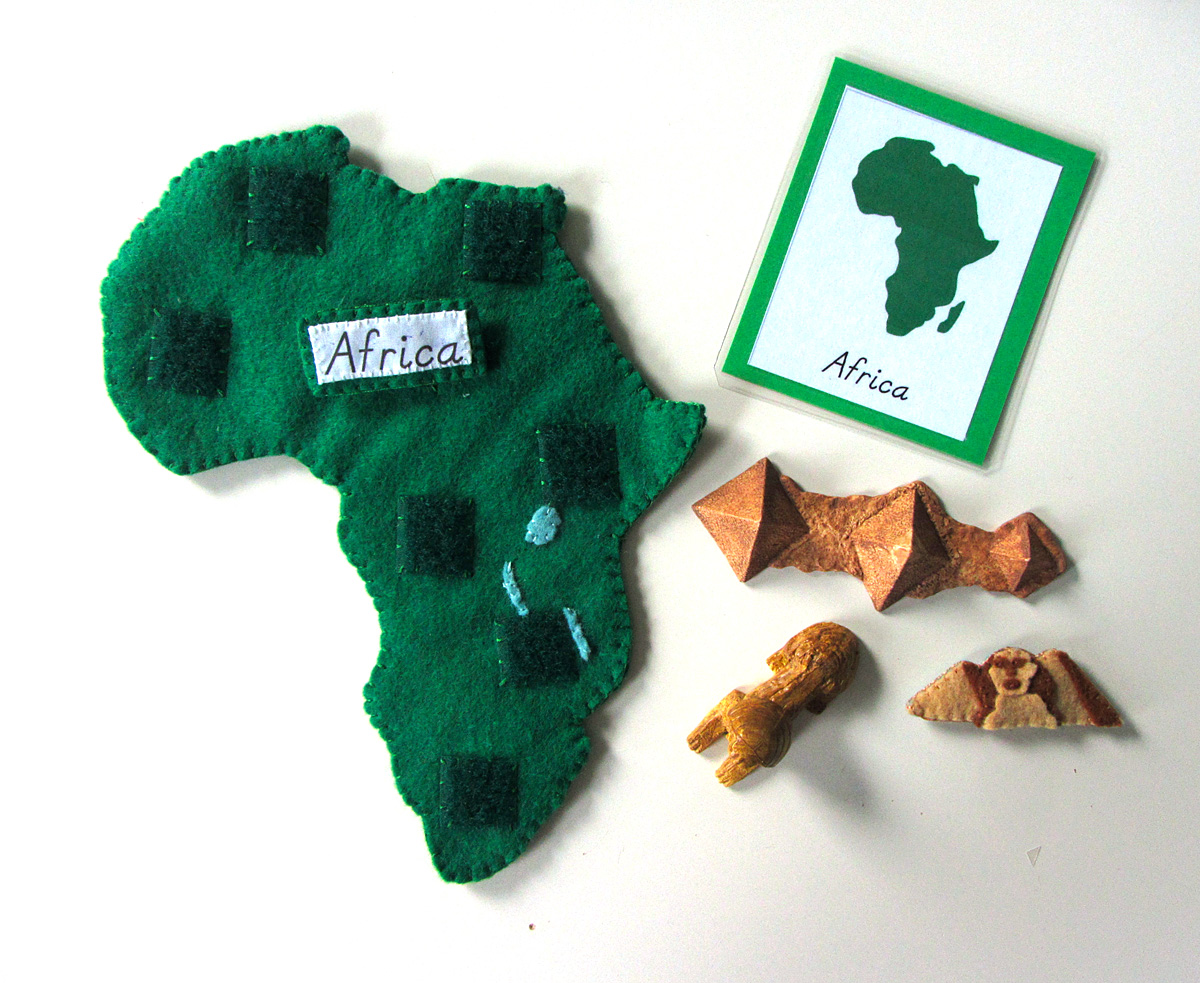
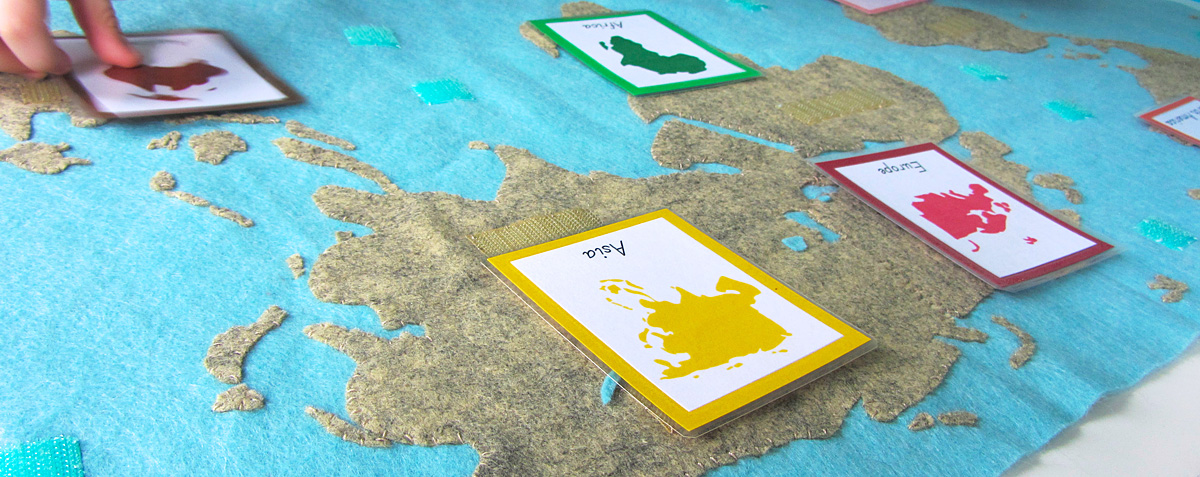
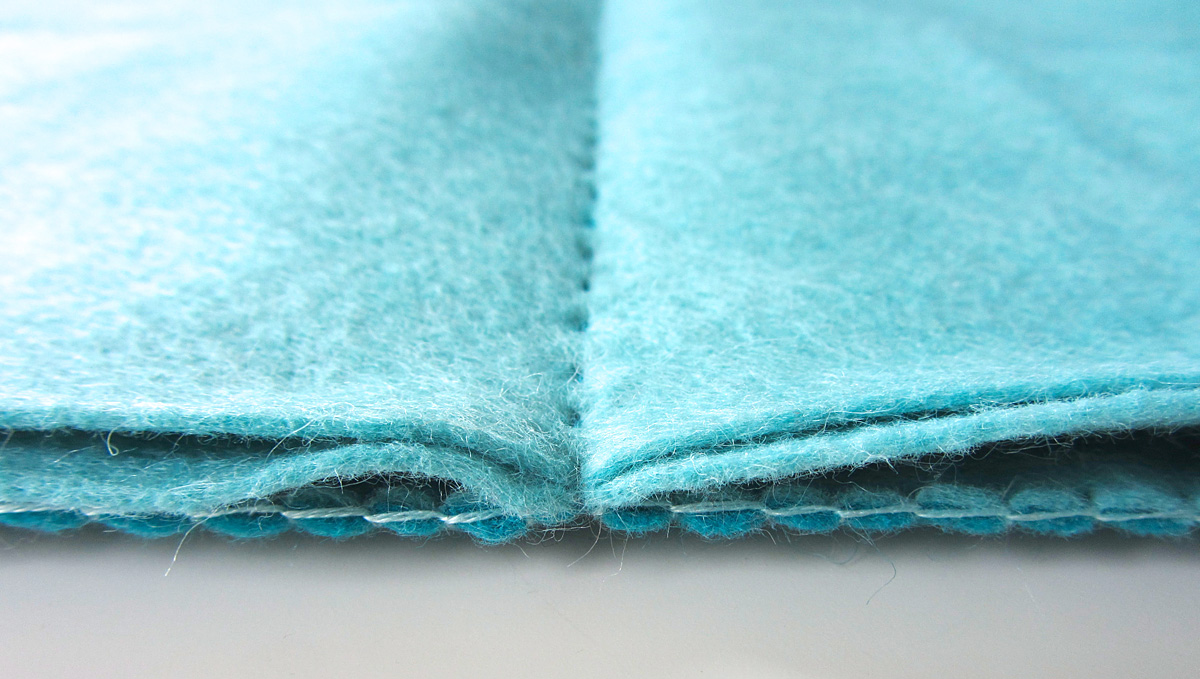
For the Europe quiet book page, I sewed a running stitch (dashed) outline around the Europe pattern piece and sewed down snag-free Velcro to line up with the Velcro on the back of the Europe piece.
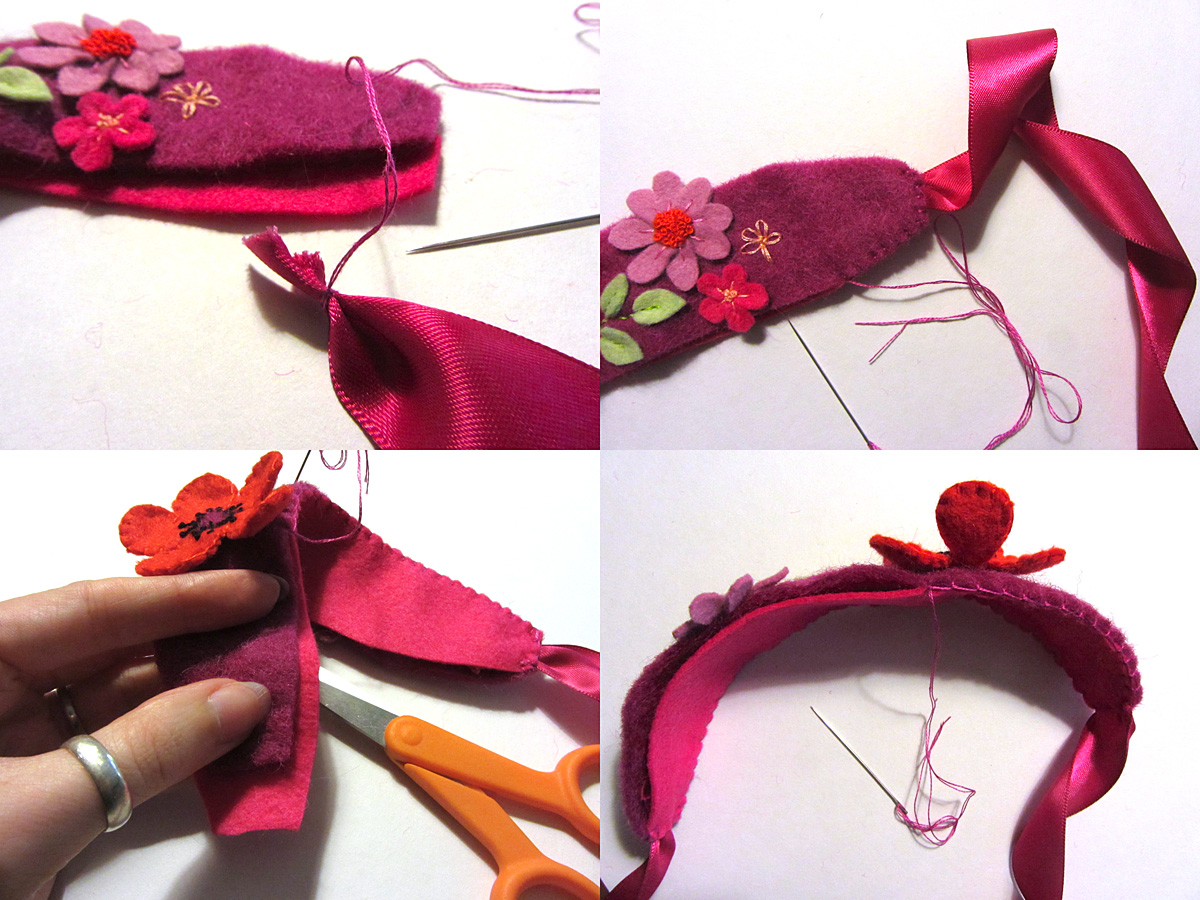
Europe: (Felt used: big apple red) For the Europe continent puzzle piece, I sewed down pieces of red loop Velcro. On the back, I sewed strips of white snag-free Velcro to correspond with the Velcro in the quietbook and the wall map. I finished it by sewing the two sides together around the edge with a blanket stitch.

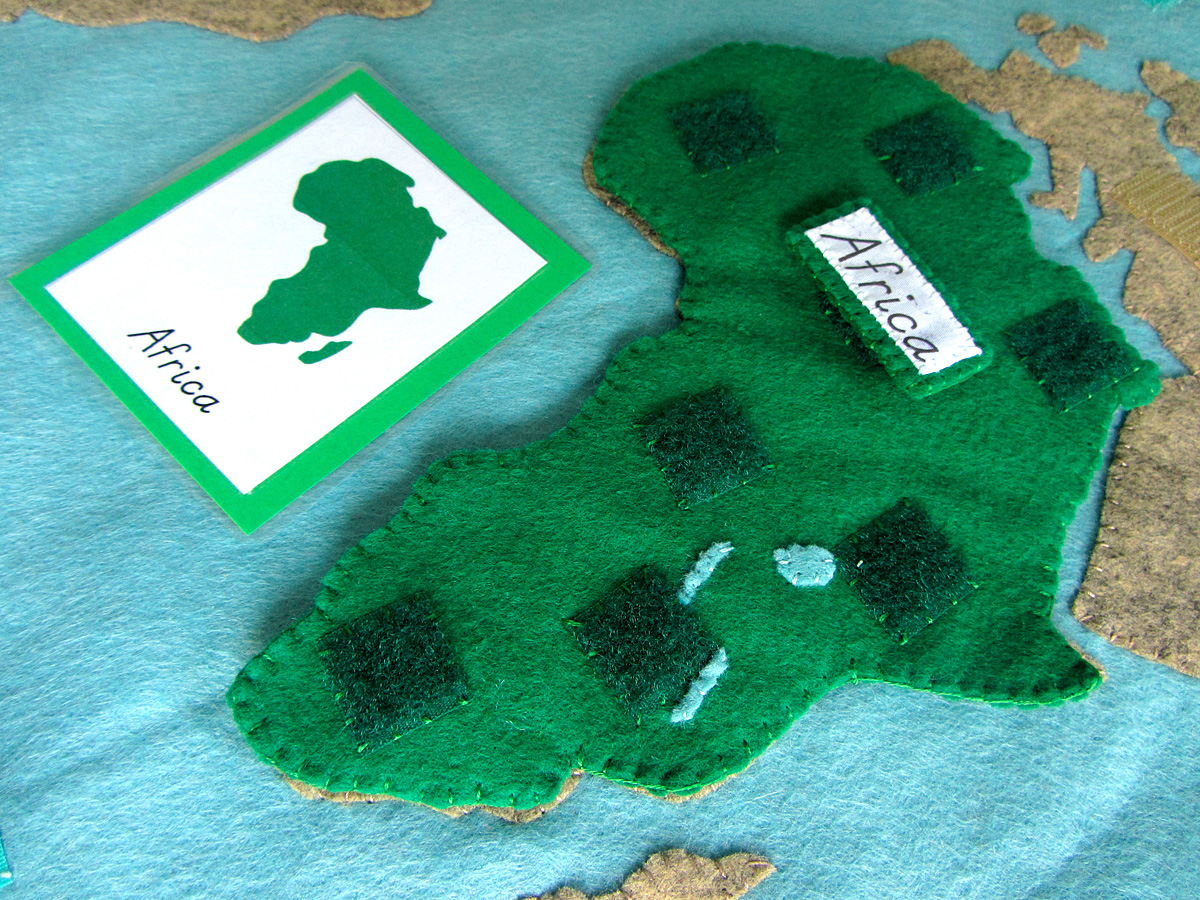
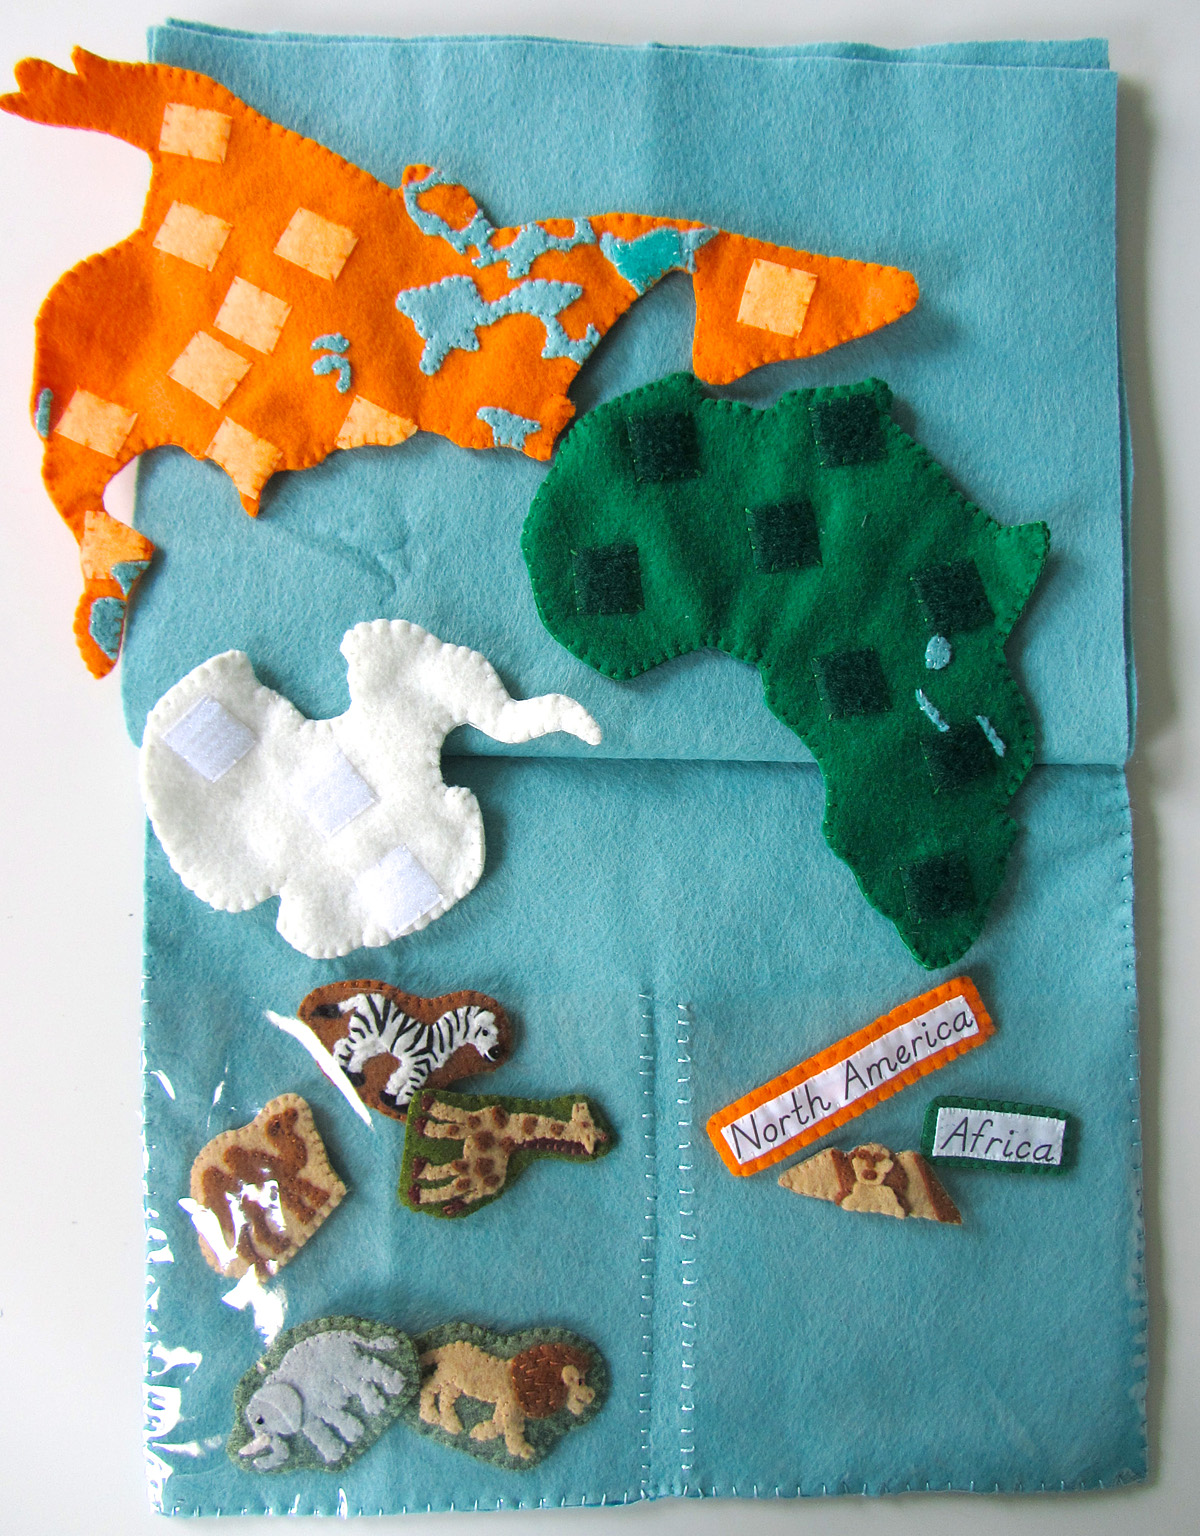
Label: (Felt used: big apple red) For the continent label, I folded under the edges (just a tiny bit to hide the rough edges) and creased it with my nails. The printer fabric held the folds nicely without ironing. Then I stitched the label to some red felt and trimmed it down to be a border. I cut a matching felt rectangle for the back, sewed snag-free Velcro to it and then sewed both sides together.

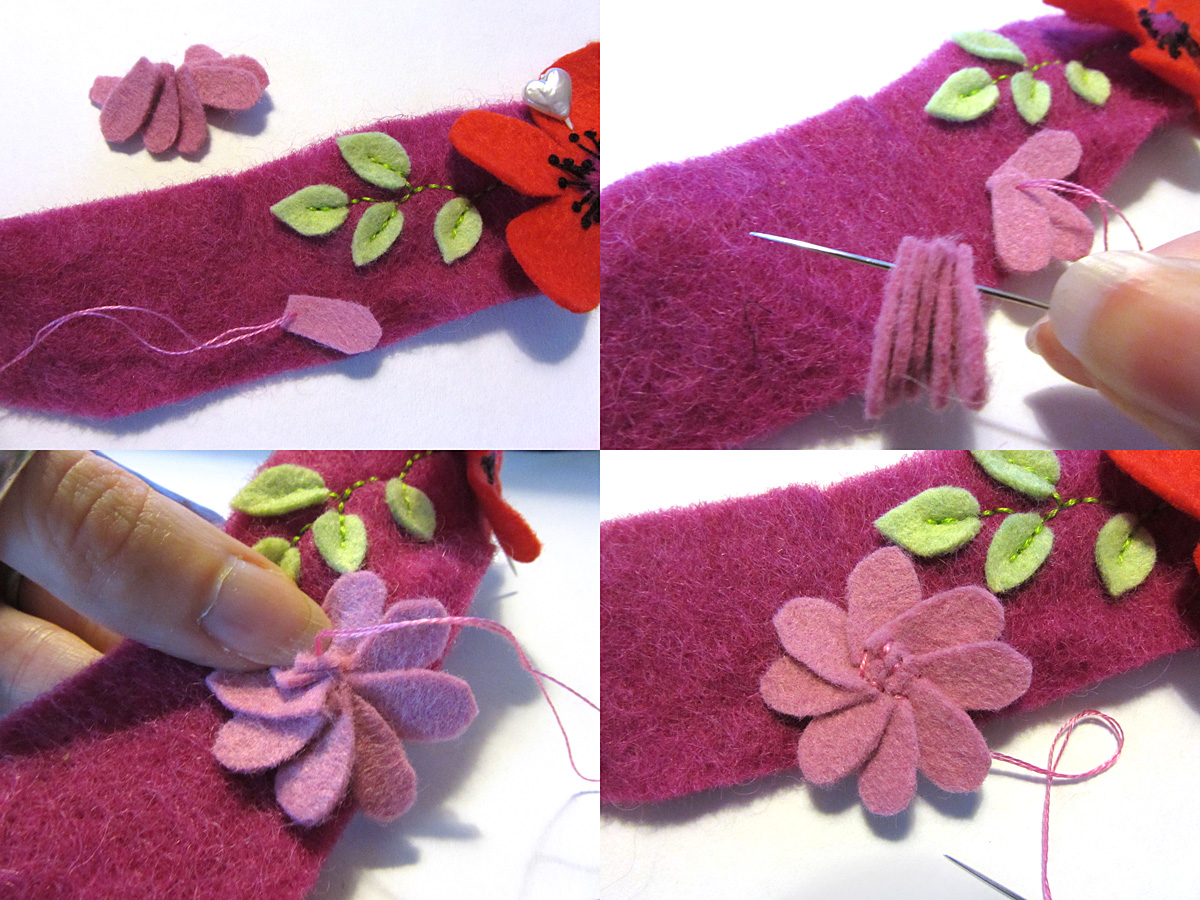
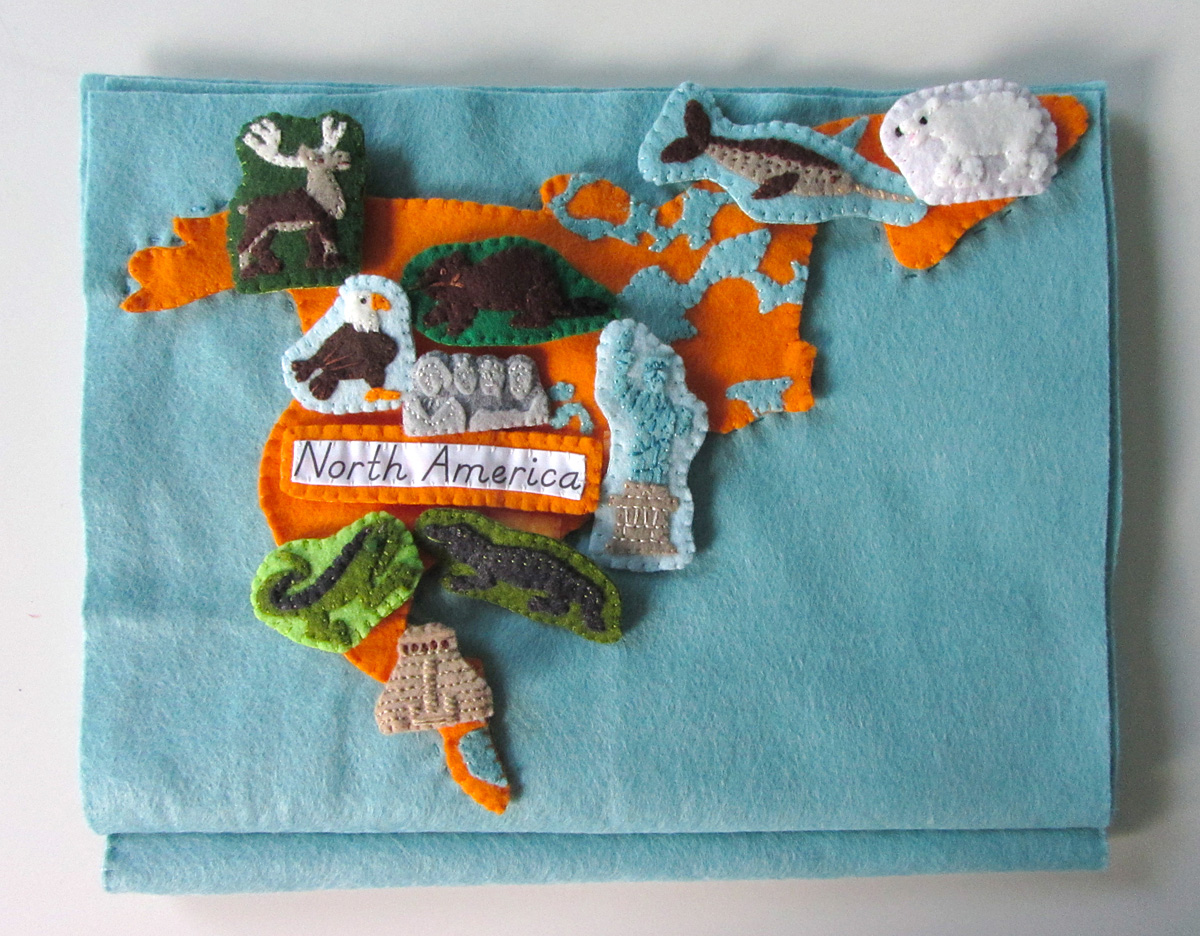
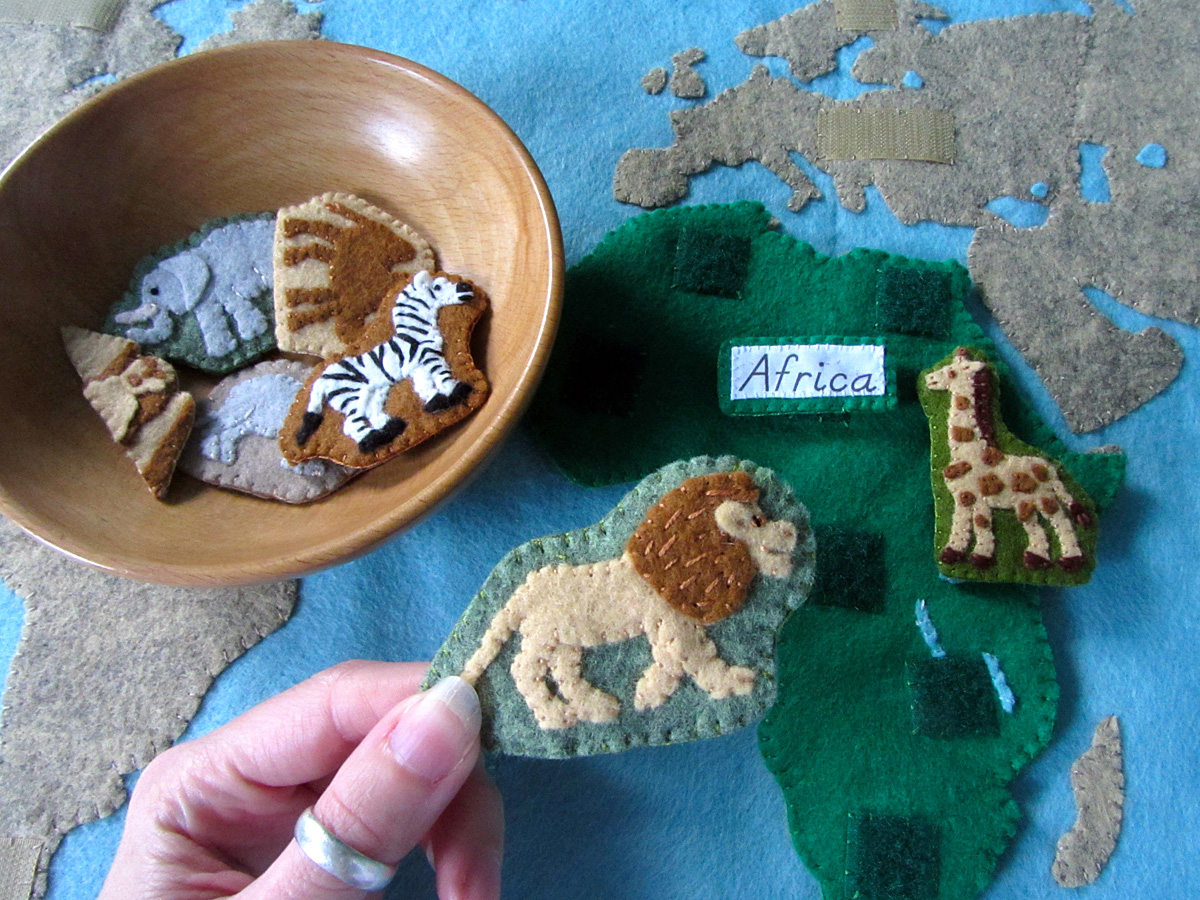
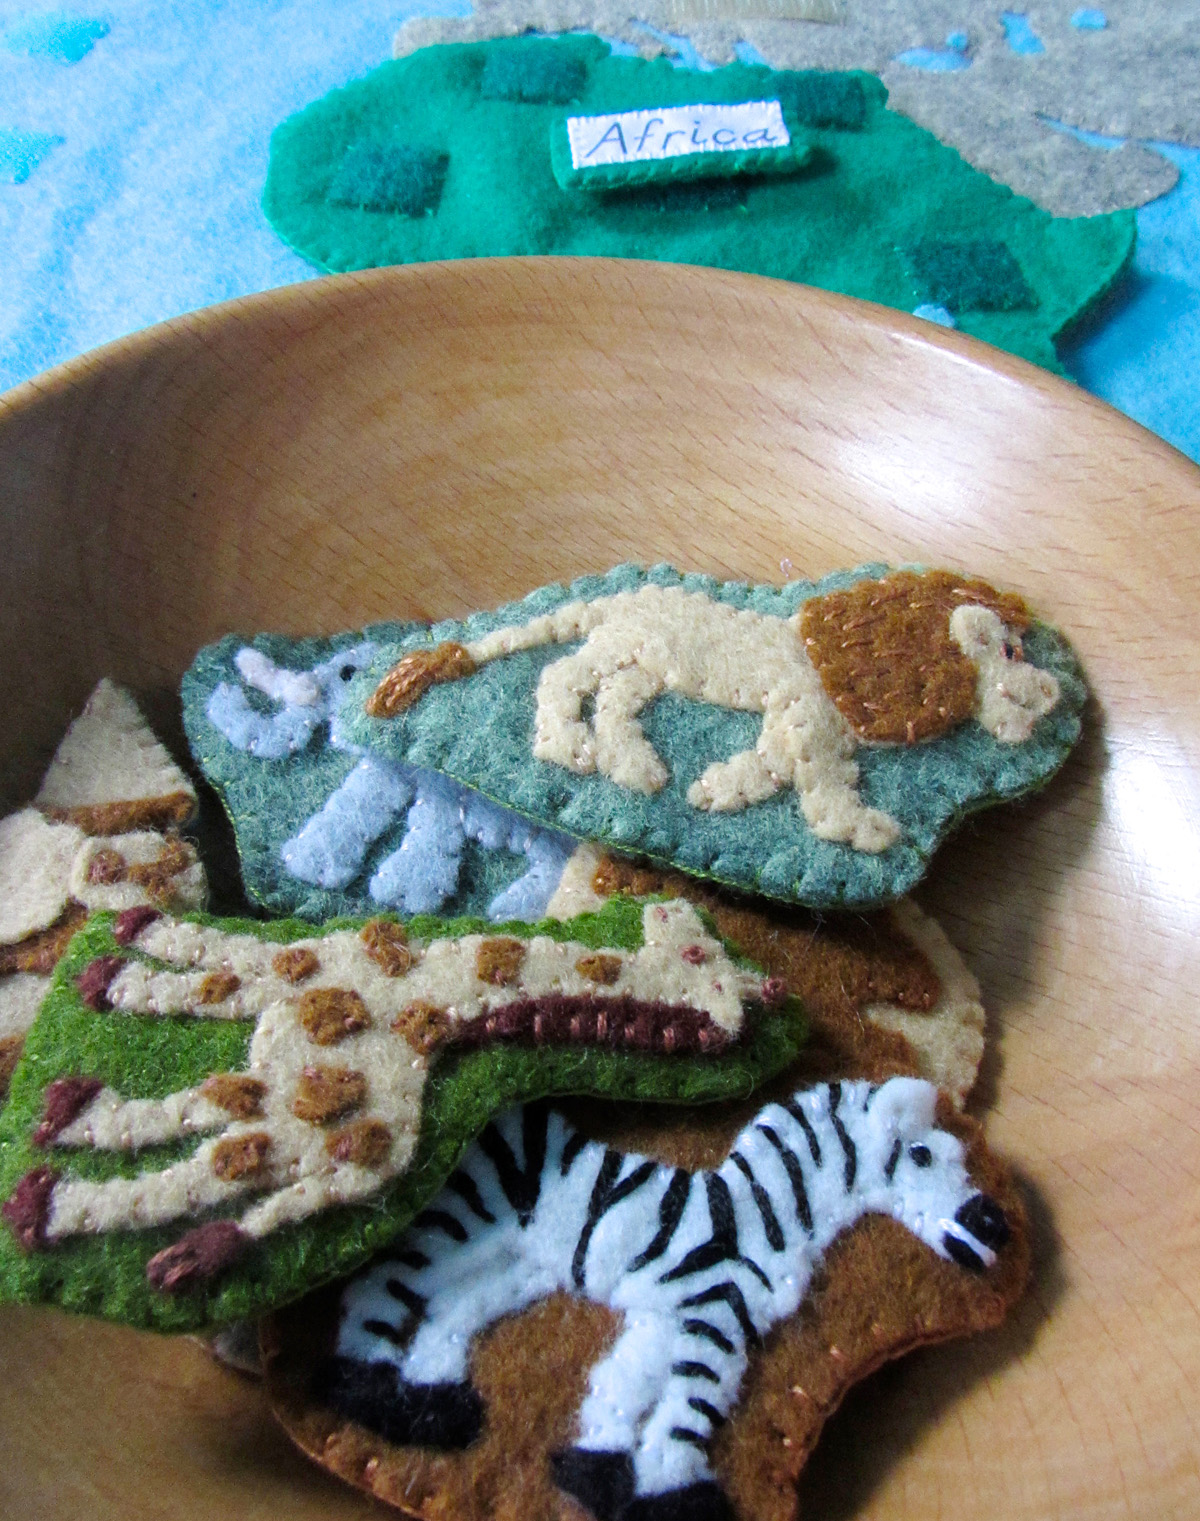
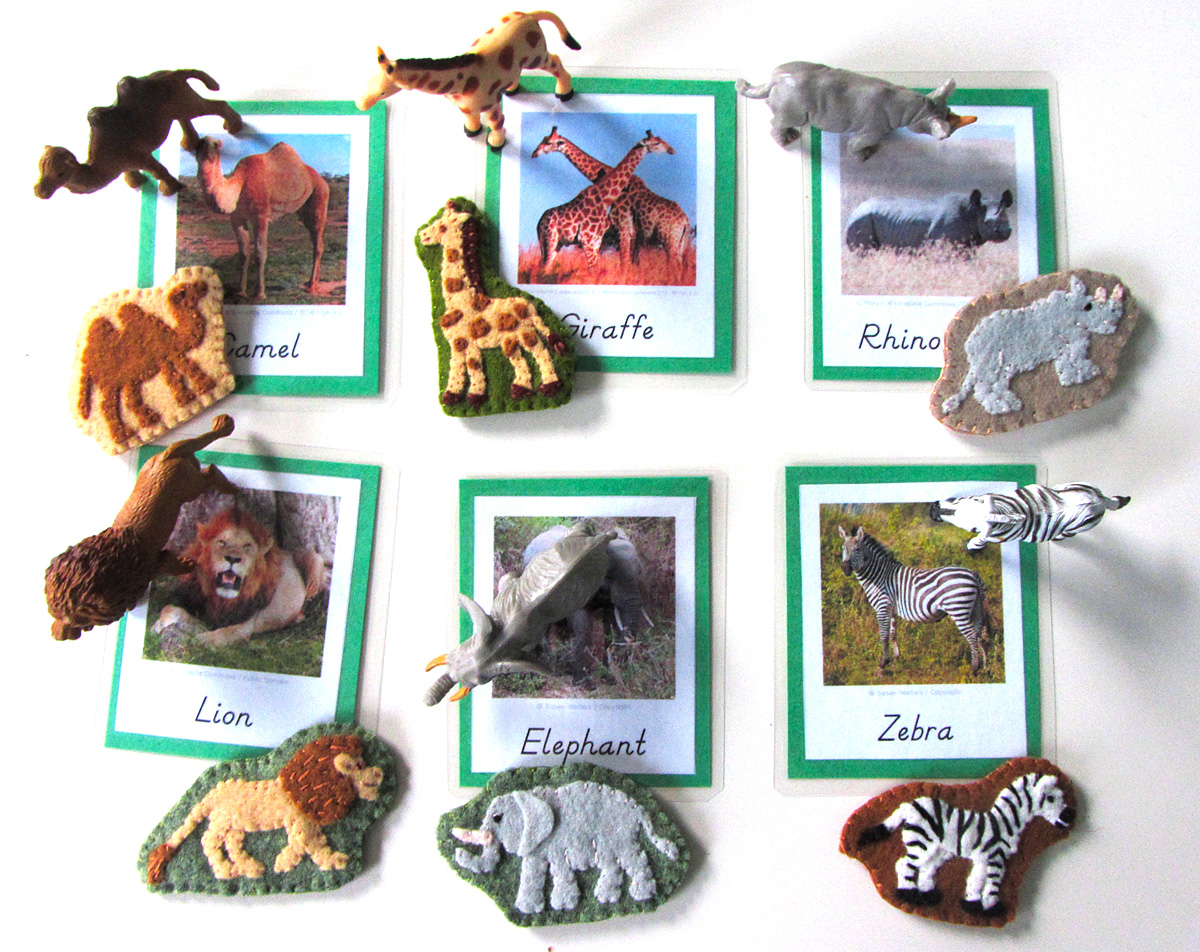
For all of the animals, I started by gluing the pieces down to a scrap of background felt with a very light amount of felt glue. I glue multiple animals at a time to give them time to dry. I sewed them down, trimmed the background and cut a matching backing piece. I sewed snag-free Velcro to the back and sewed both sides together with a blanket stitch.

Harp Seal: (Felt used: fresh linen off-white for the baby seal, white for the background) The harp seal is super simple! I tacked down his body with glue and sewed around the edges. I made a small stitch for a mouth and satin stitched a nose. His eye is a black French knot.

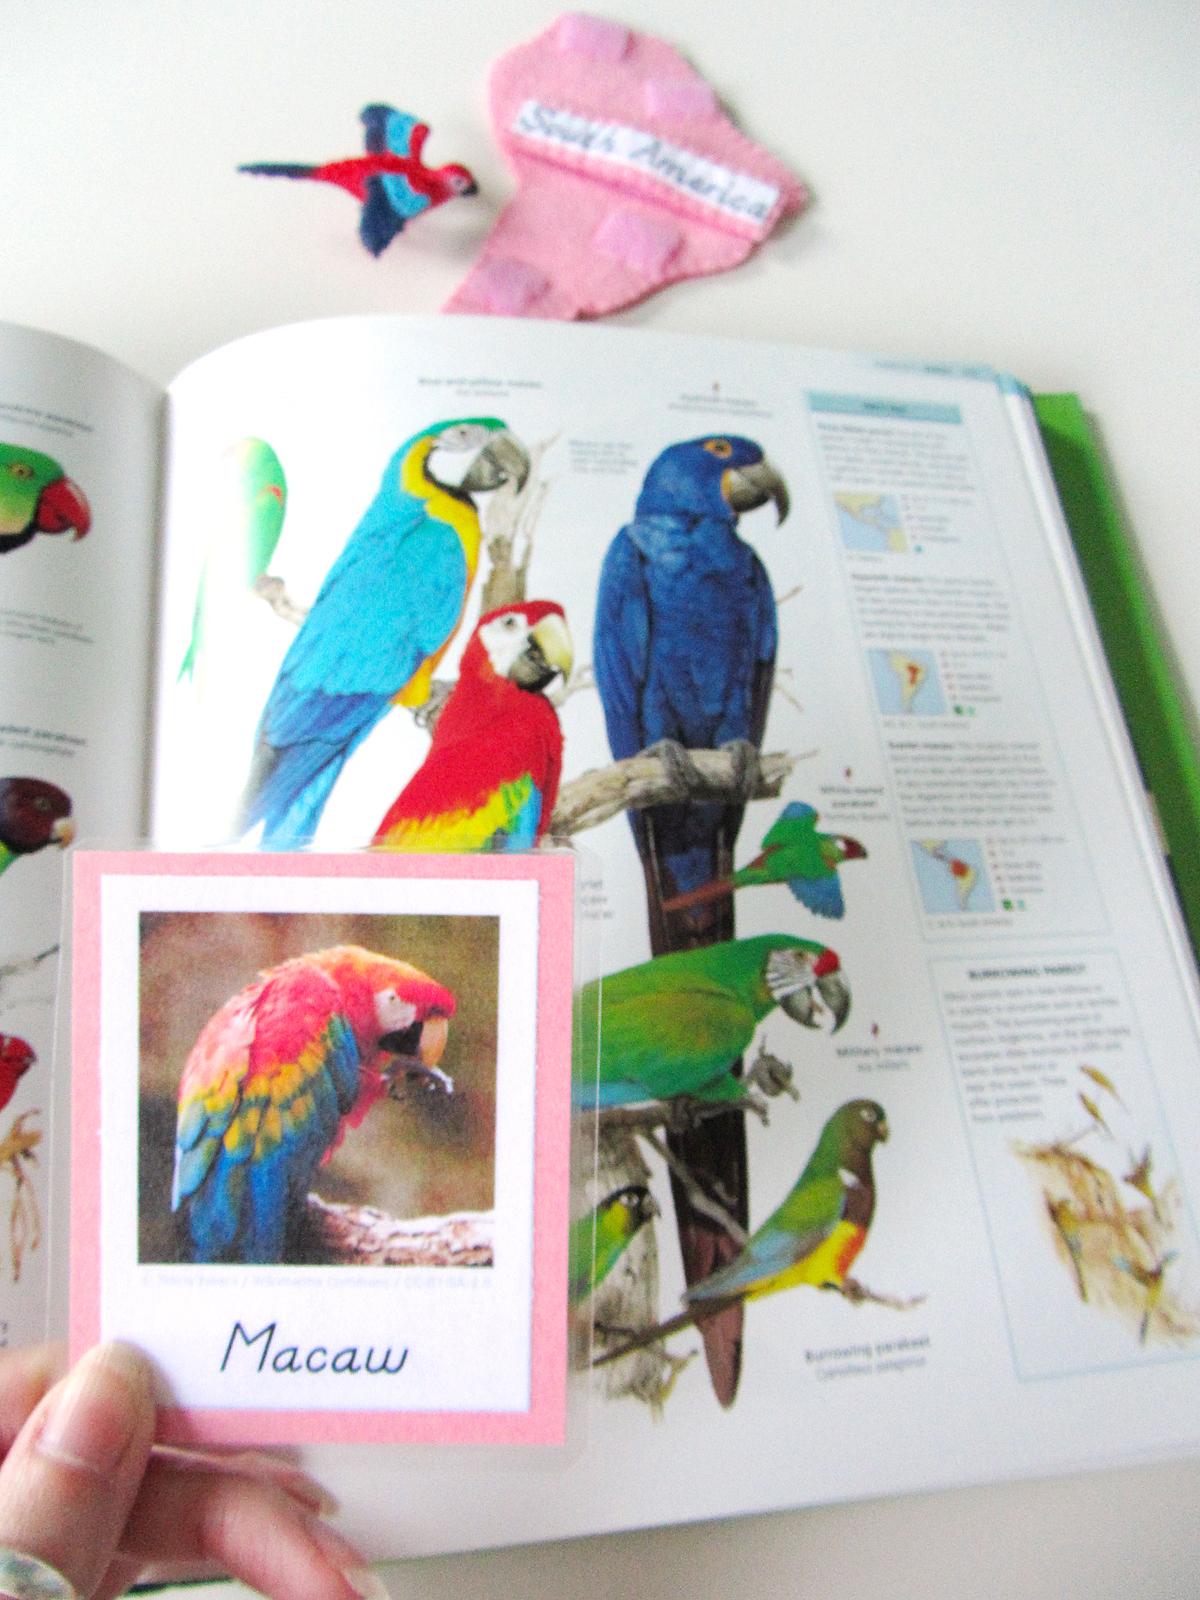
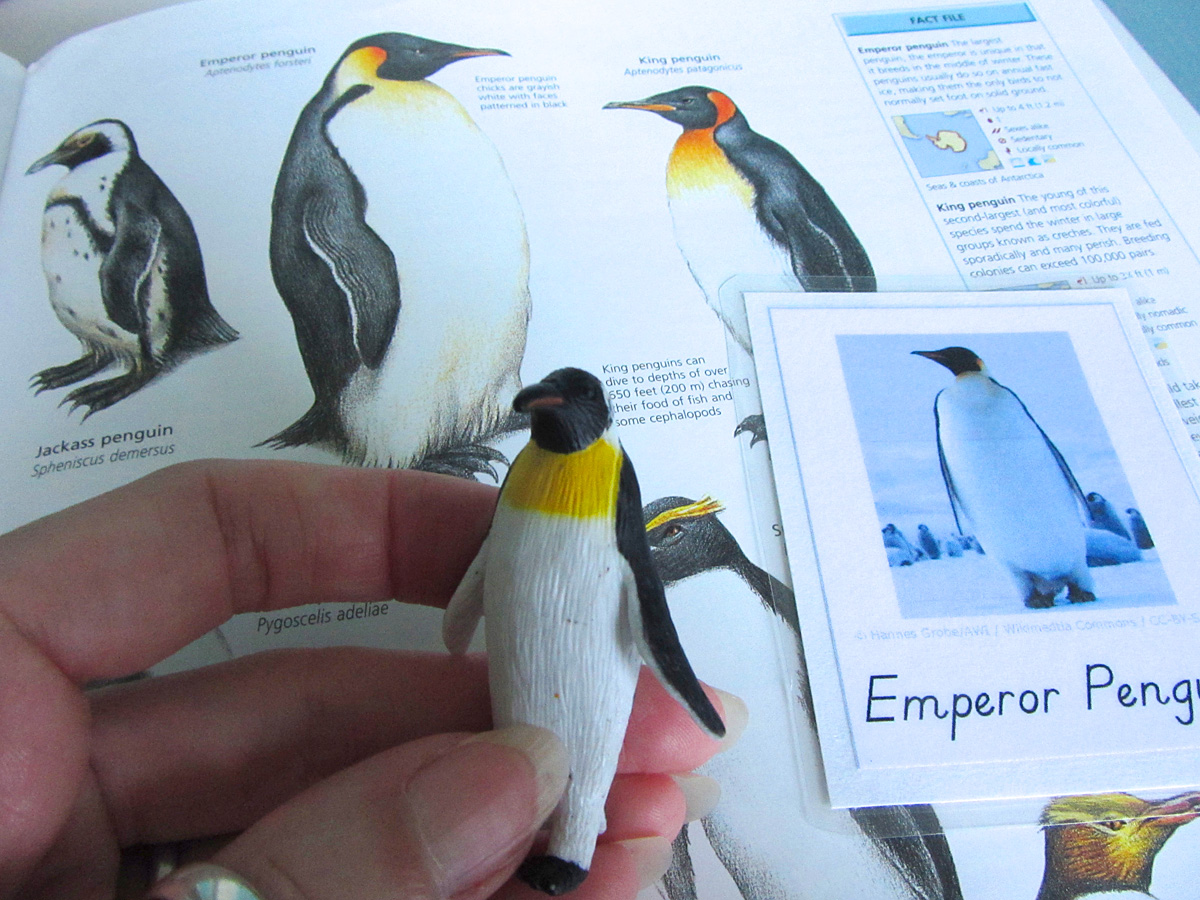
We love this animal encyclopaedia!
Hedgehog: (Felt used: stone heather taupe for the body, doe brown for the ear and legs, fresh linen off-white for the face and cilantro olive green for the background) I first glued down all her parts in the proper order, adding the ear last. I stitched all the way around the edges and made a stitch at the base of her ear. Using brown, I made a French knot eye and satin stitched nose. On her back, I used dark brown and cream to make stitches to show the texture of the spines.

Grey Wolf: (Felt used: gray and elephant charcoal for the body and white for the snow and sparrow light blue background) I started by gluing down the front leg piece and the face (using the back/chest pieces to find the positioning. I then glued down the back/chest, followed by the hind leg and the ear. I cut a curvy piece of white and glued it down over where his feet would be to make the ground. Once it was dry, I trimmed around the wolf and stitched everything down. While stitching down the darker gray piece, I made my stitches longer and a little “sloppy” to make his fur look shaggy. Along the underside of his tail, the edge of his face and under his chest, I made light gray stitches the same way. His eye is a little stitch to make it look closed, his nose is satin stitch and his mouth is just lined with two straight stitches.

Mallard: (Felt used: gold nugget gold for the beak, jade green for the head, chai taupe for the body, chocolate deep brown for the chest and wing and ice aqua blue for the water and background) I glued down the body and head pieces, then glued the chest and wing on top. I cut a thin, wavy blue strip for water and glued it down over the bottom edge of the mallard. I stitched down all the mallard’s edges, then using dashed stitches, I stitched through the center of the water wave. At her neck, I made two long stitches in white. The eye is a French knot in brown, with a tiny stitch for a nostril and two long stitches to make the beak opening.
Sewing the Landmarks
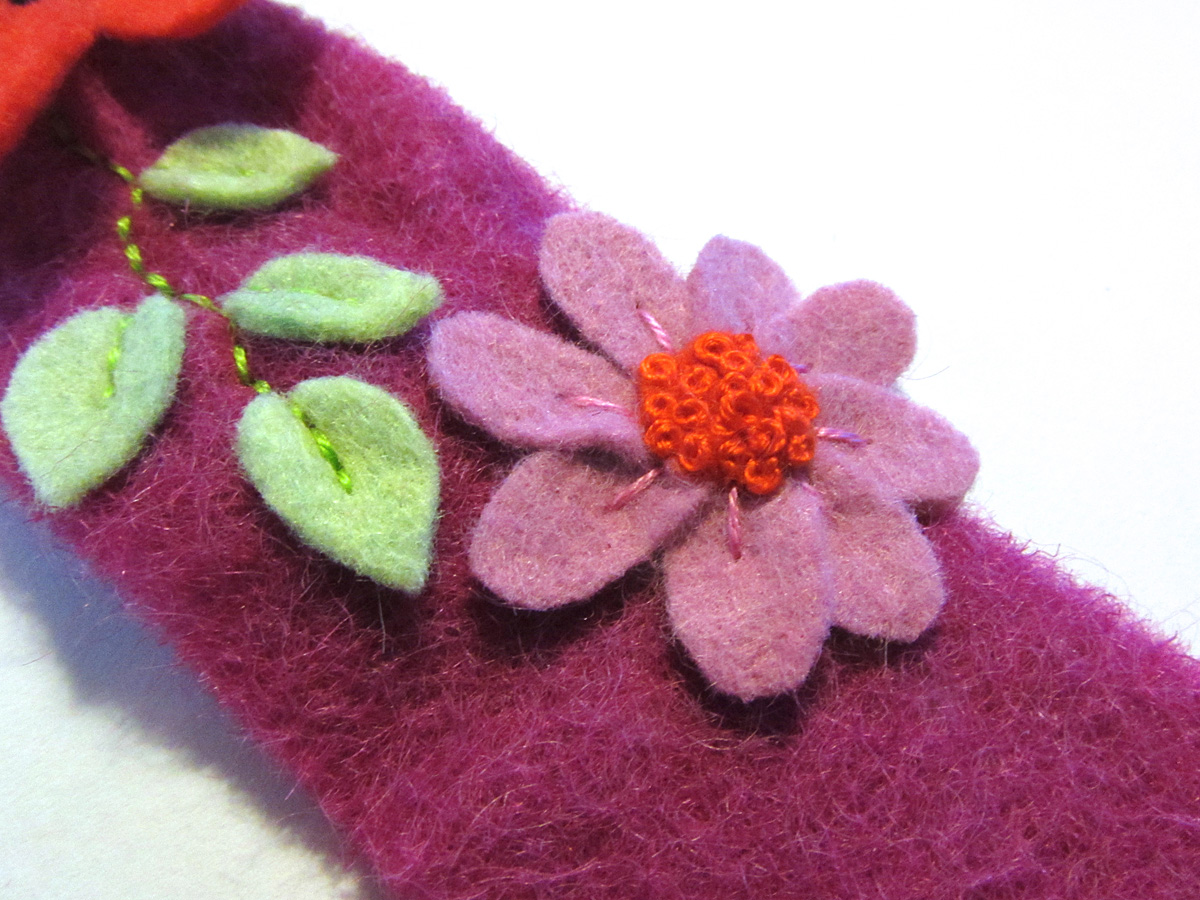
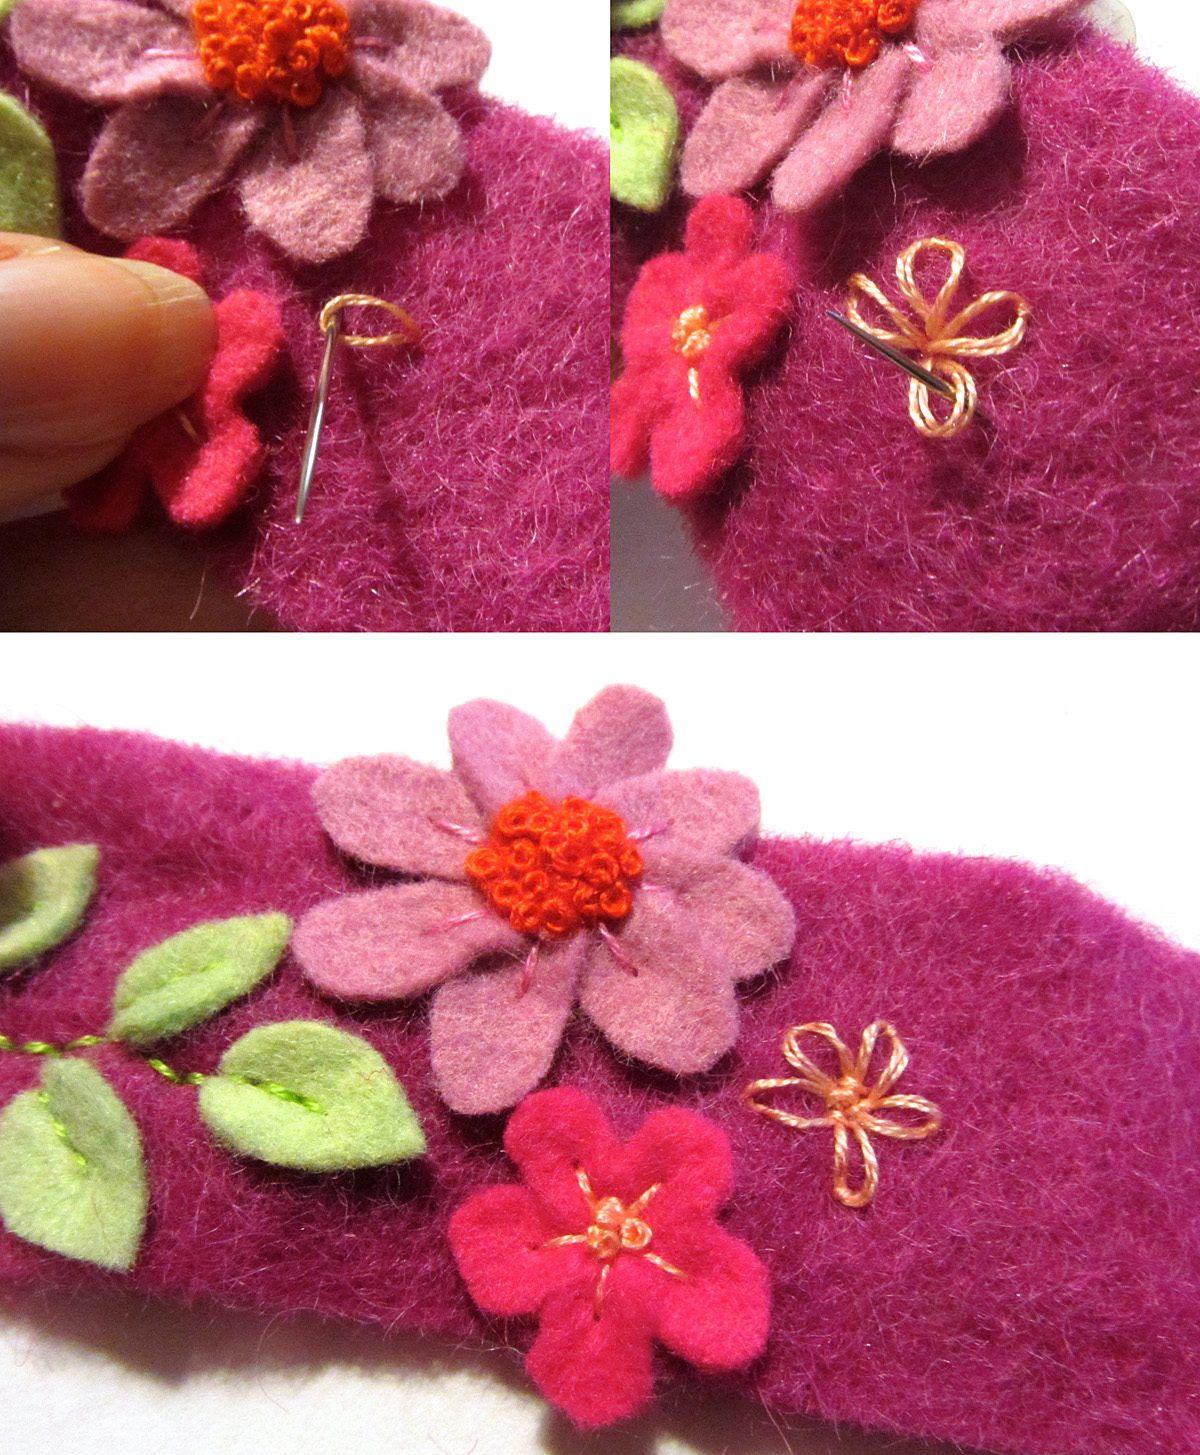
For all the landmarks, I started by sewing the front piece. Then I cut out a backing felt to match the final shape and added some snag-free Velcro to it. I finished sewed around the whole edge, switching colors where needed. For all of the detail work, see the photos for a sample of where to stitch.

Colosseum: (Felt used:stone heather taupe for the building and sparrow blue for the background) I glued down the building and stitched down the edges. With brown floss, I stitched 3 rows with back stitch. On the lower three levels, I stitched arches using a lazy daisy stitch that is open at the bottom. On the top level, I made tiny vertical stitches for windows.
Tower of Pisa: (Felt used: gray for the building, white for the ground ,cilantro olive green for the ground and sparrow blue for the background) I cut out a small green piece for the ground, then glued it down with the white ground on top. I glued the building on top. Using a medium gray floss, I made long stitches across the building to make each level. On the bottom level, I used it to make vertical stitches for columns. On the top level, I made an arch with an open lazy daisy stitch. I switched to white floss and made the rest of the columns.
Eiffel Tower: (Felt used: chai taupe for the structure and sparrow blue for the background) The Eiffel Tower is tacked down in place with glue, then I stitched around all the edges. I made criss-crossed stitches all over it similar to the beams it has. In some spots I made long horizontal or vertical stitches to make the real tower.

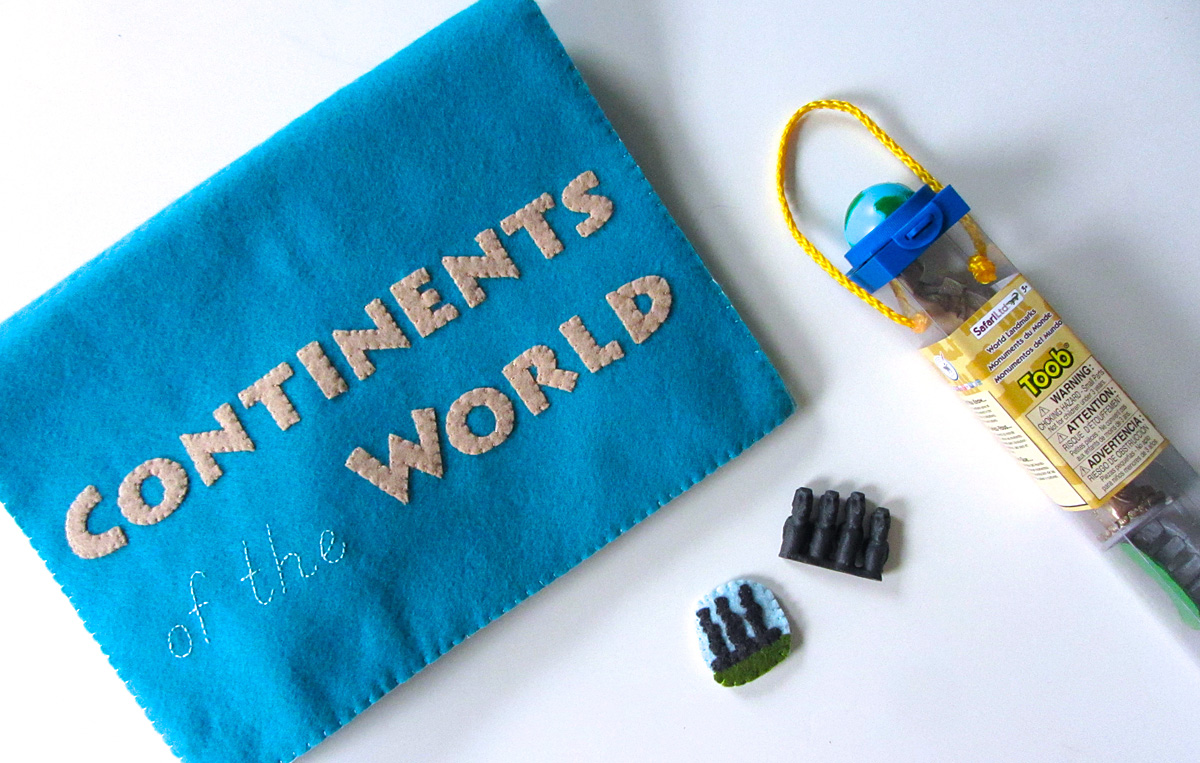
The beautiful landmark replicas seen here were provided by SafariLTD. I am working with them to make this project the best it can be.
Eiffel Tower: (Felt used: pastry golden taupe for the building, white for the clock face, elephant charcoal for the roofs and sparrow blue for the background) For Big Ben, I glued everything in place then stitched down the roofs and the sides of the clock square piece. On the tower, I made rows of back stitching with long, vertical stitches in between. I stitched black clock hands on, then stitched a square around it in the taupe floss. Using dark brown, I made little windows above the clock. Using gray, I made the points coming off of the roofs.

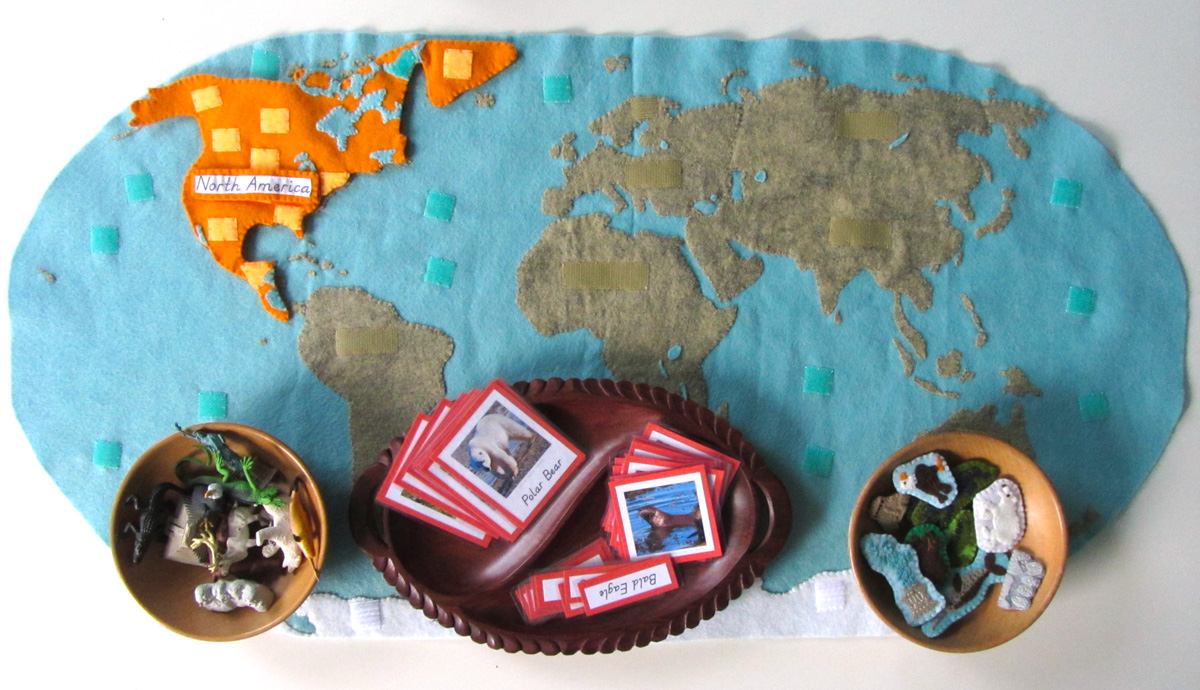
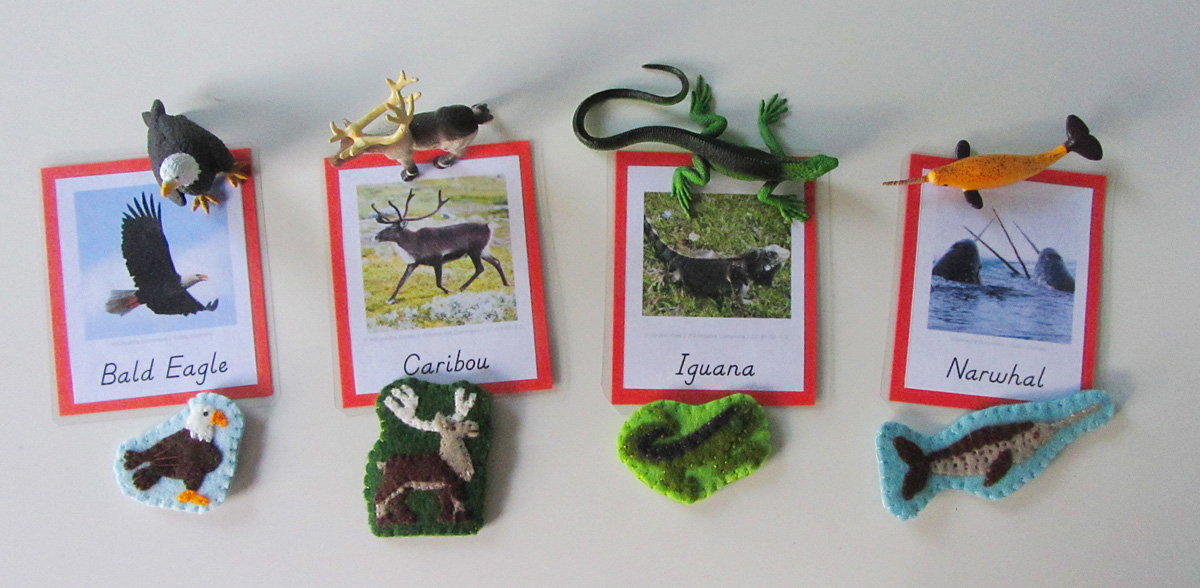
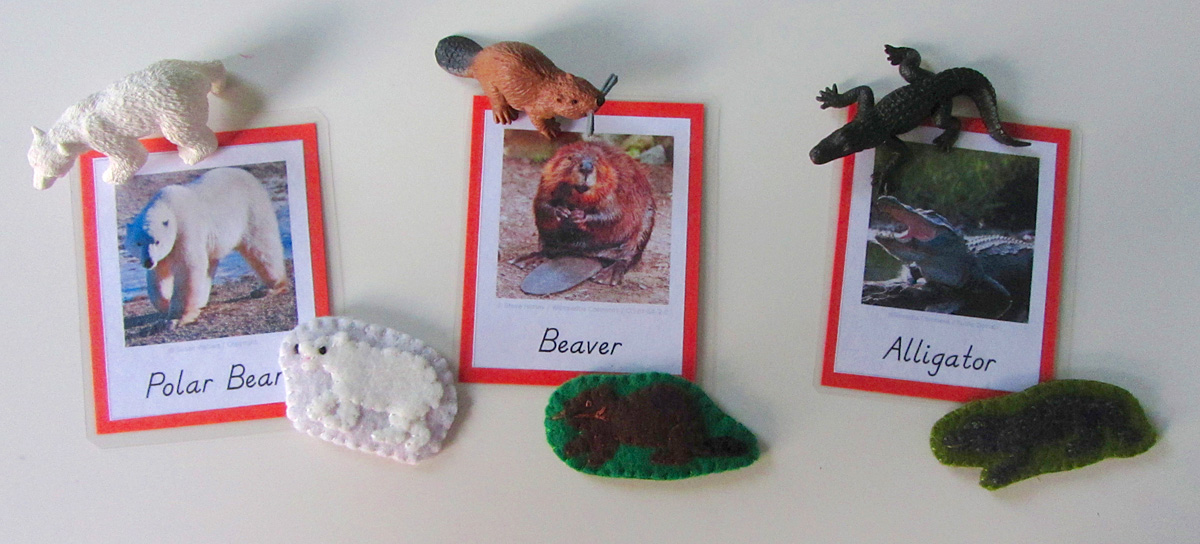
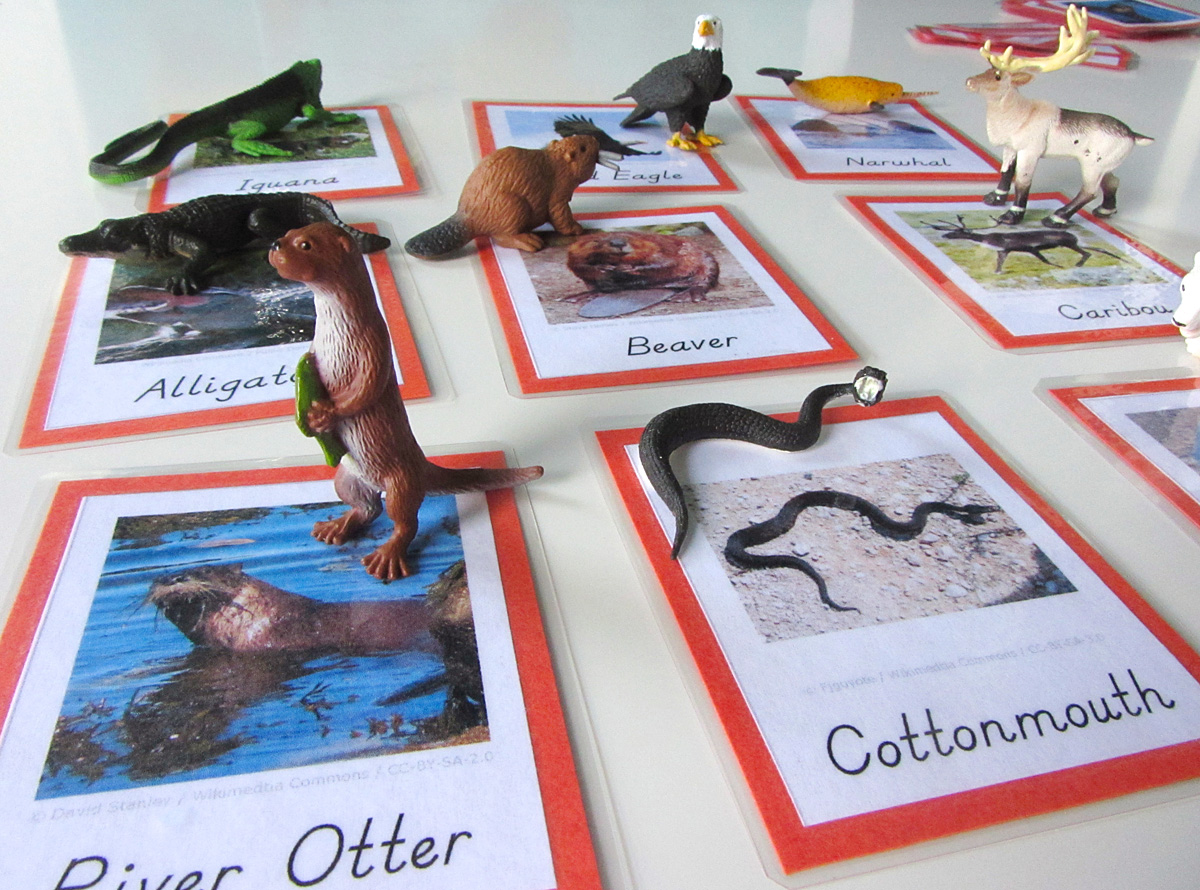
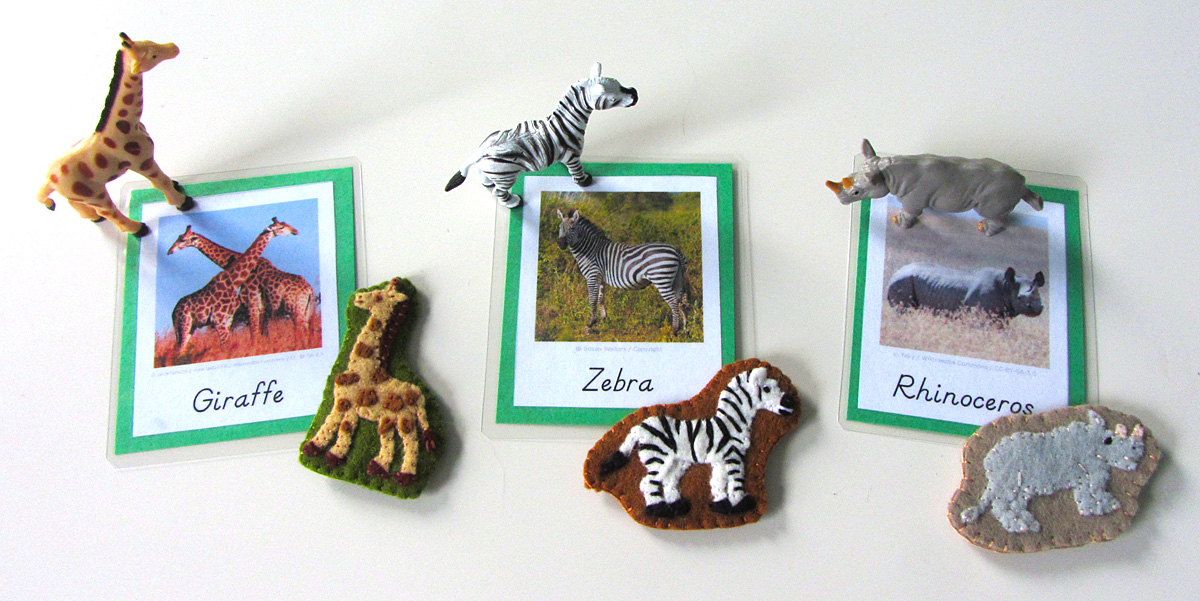
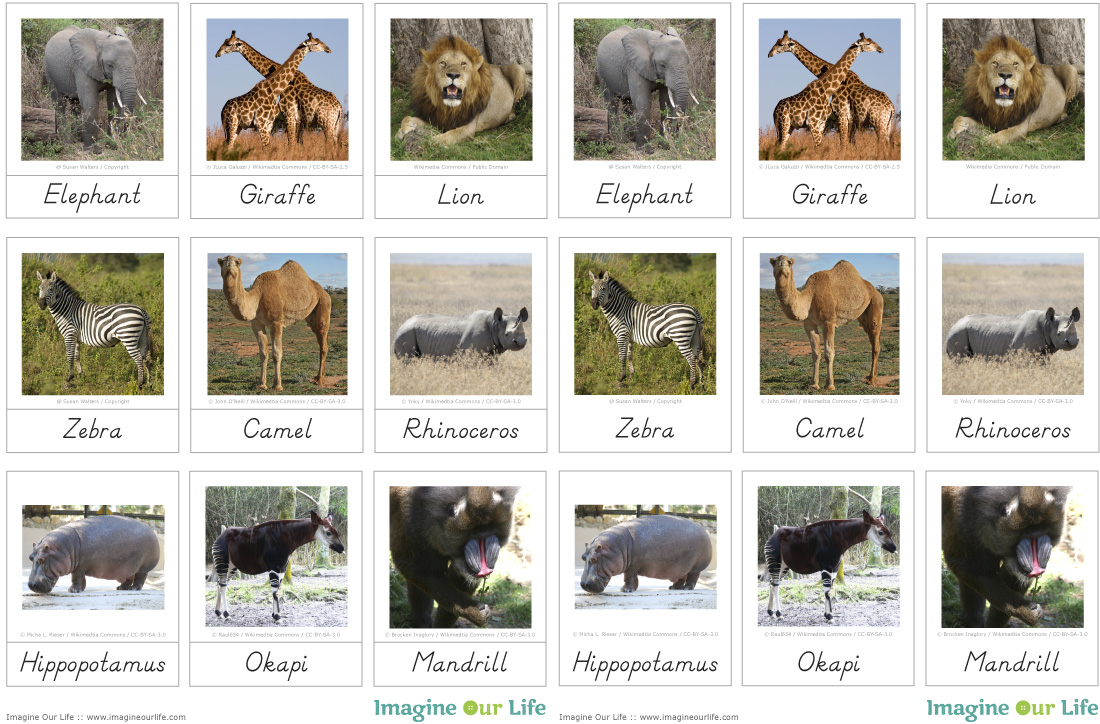
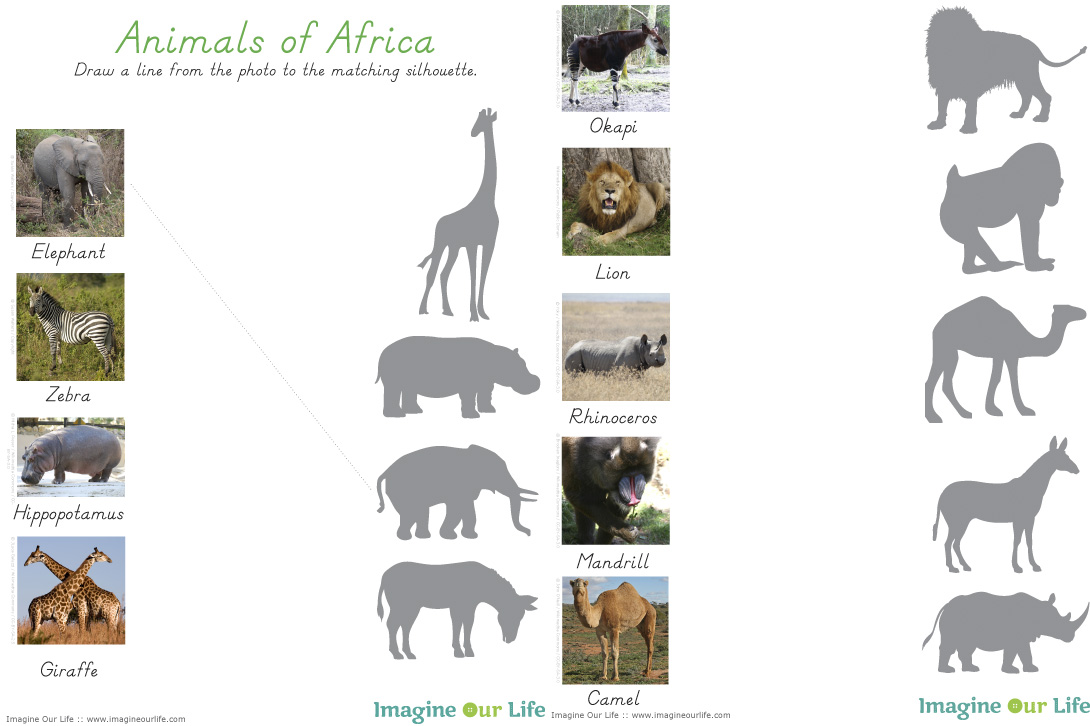
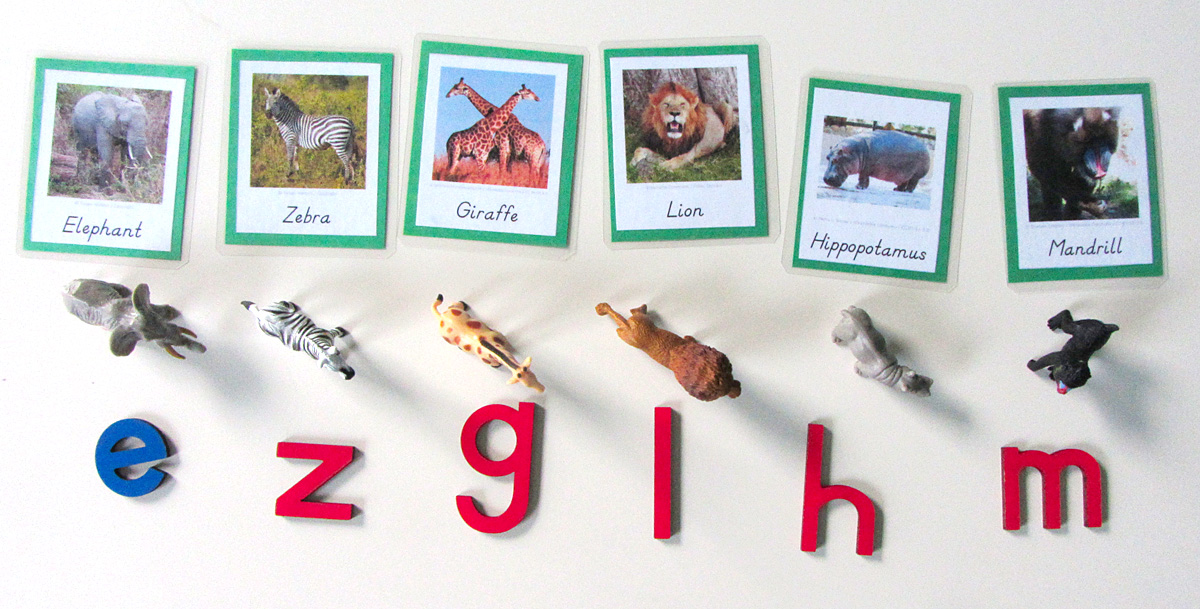
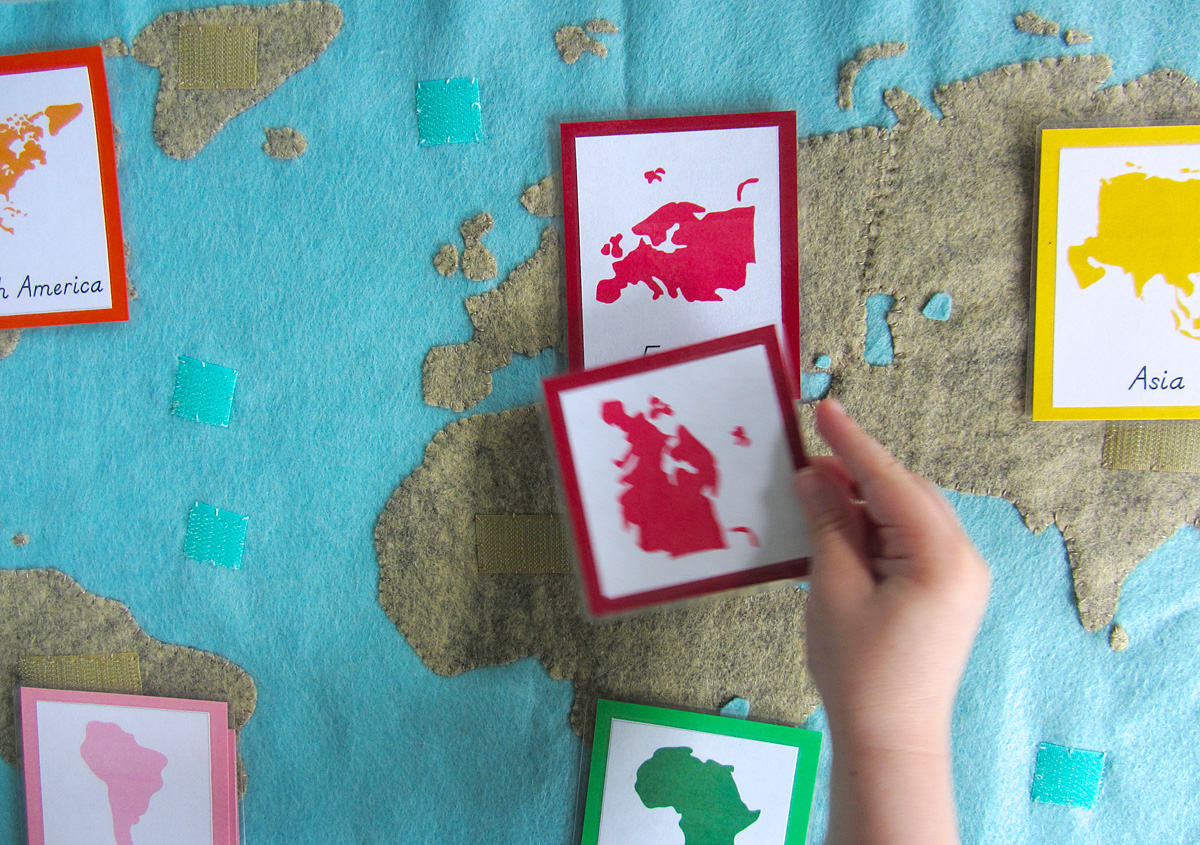
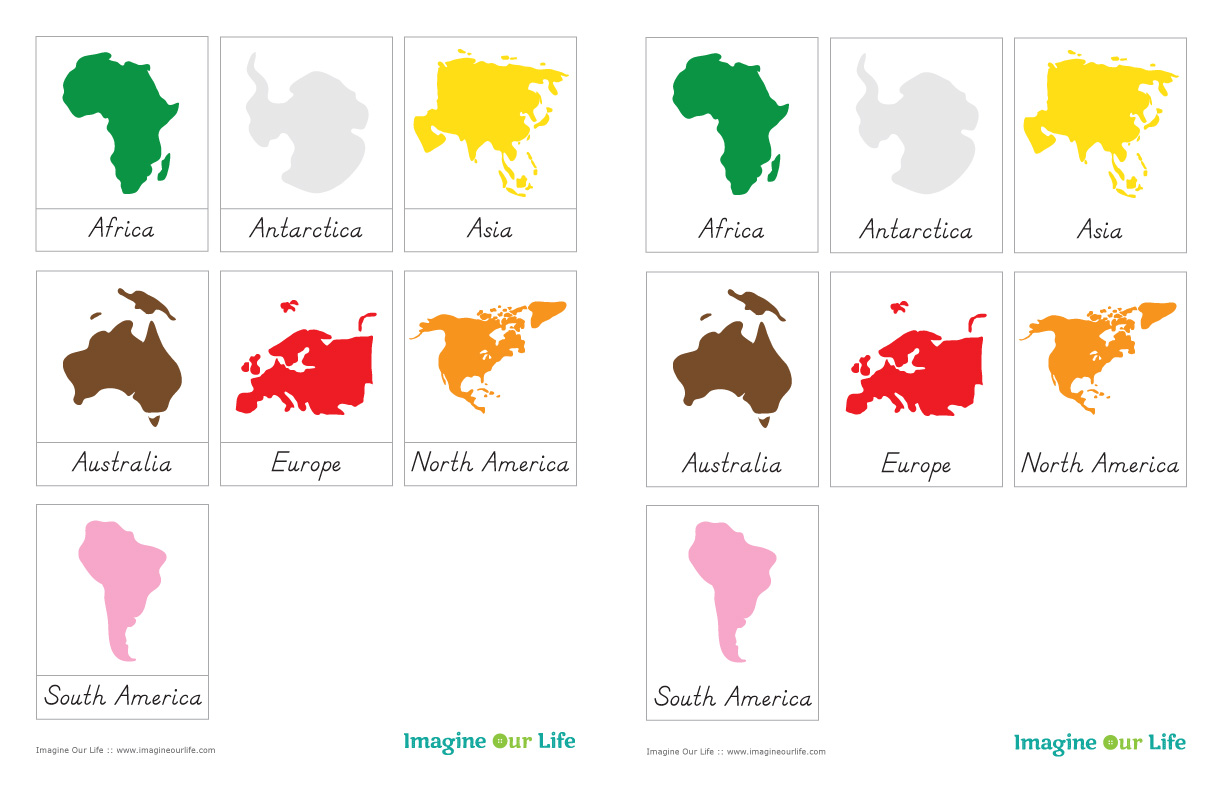
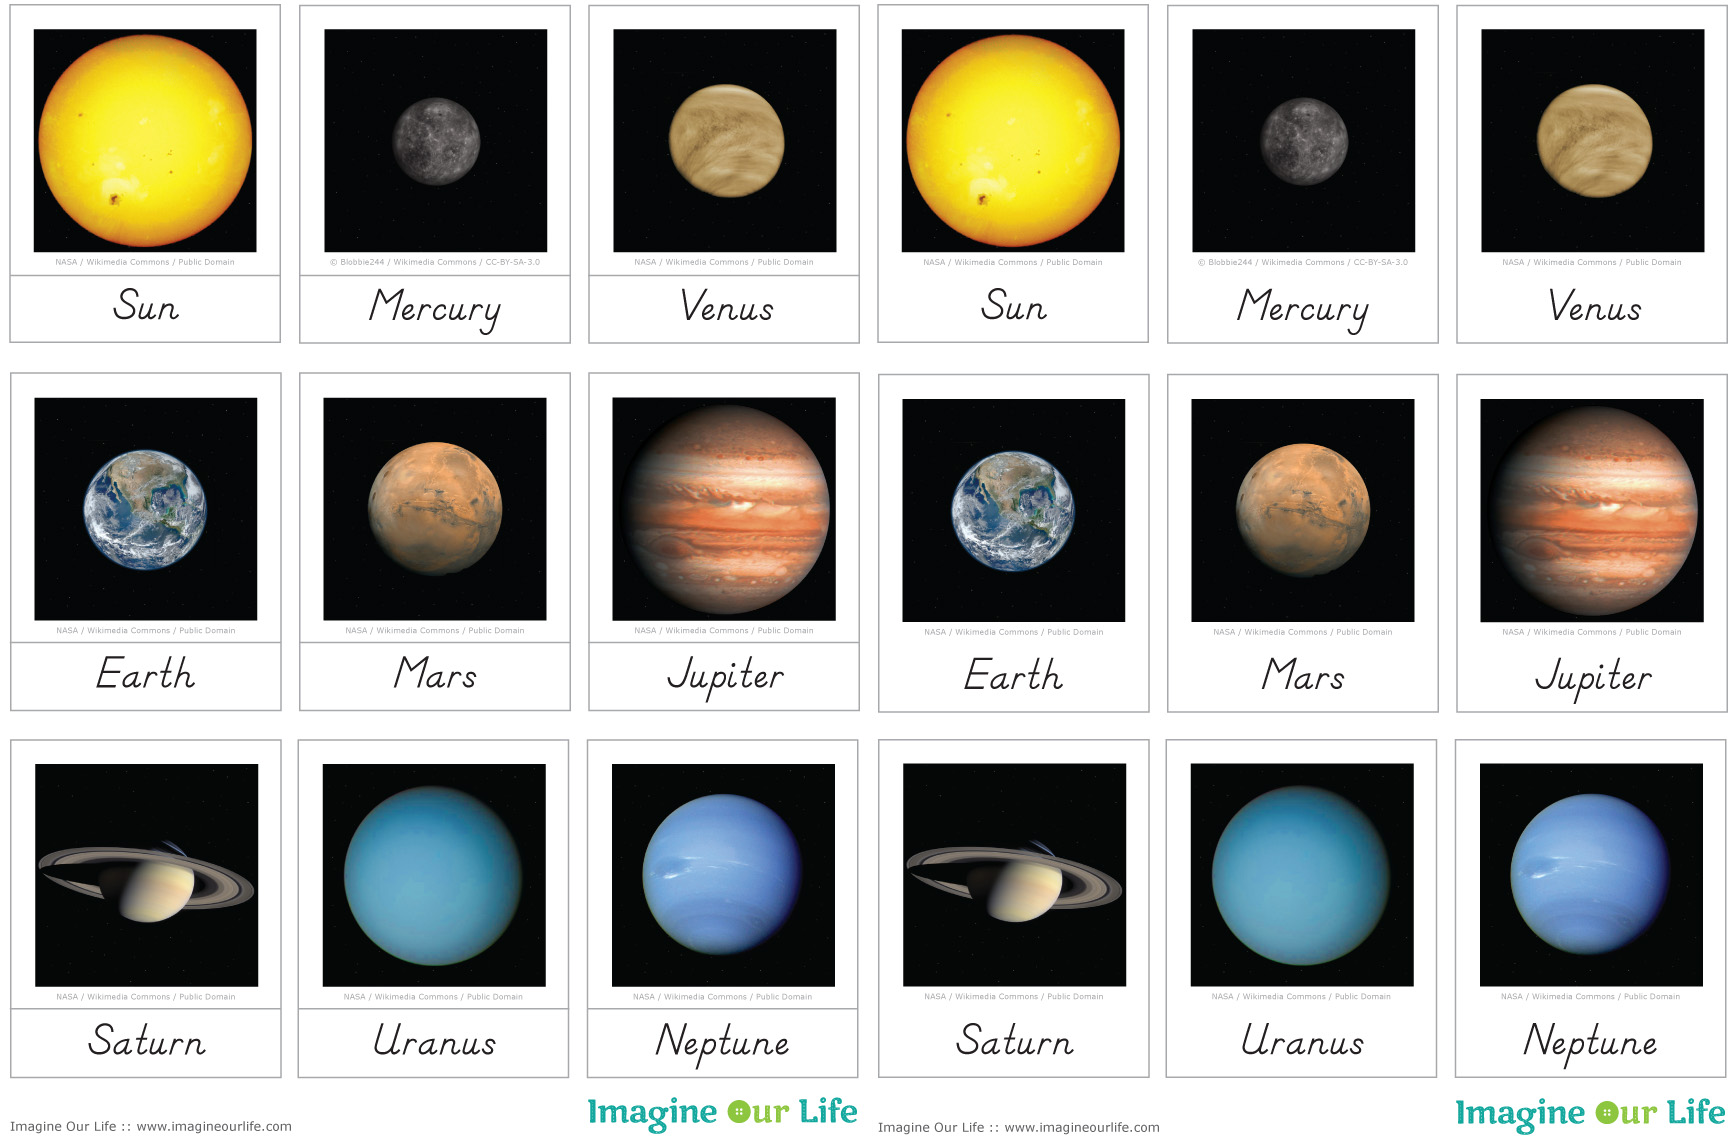
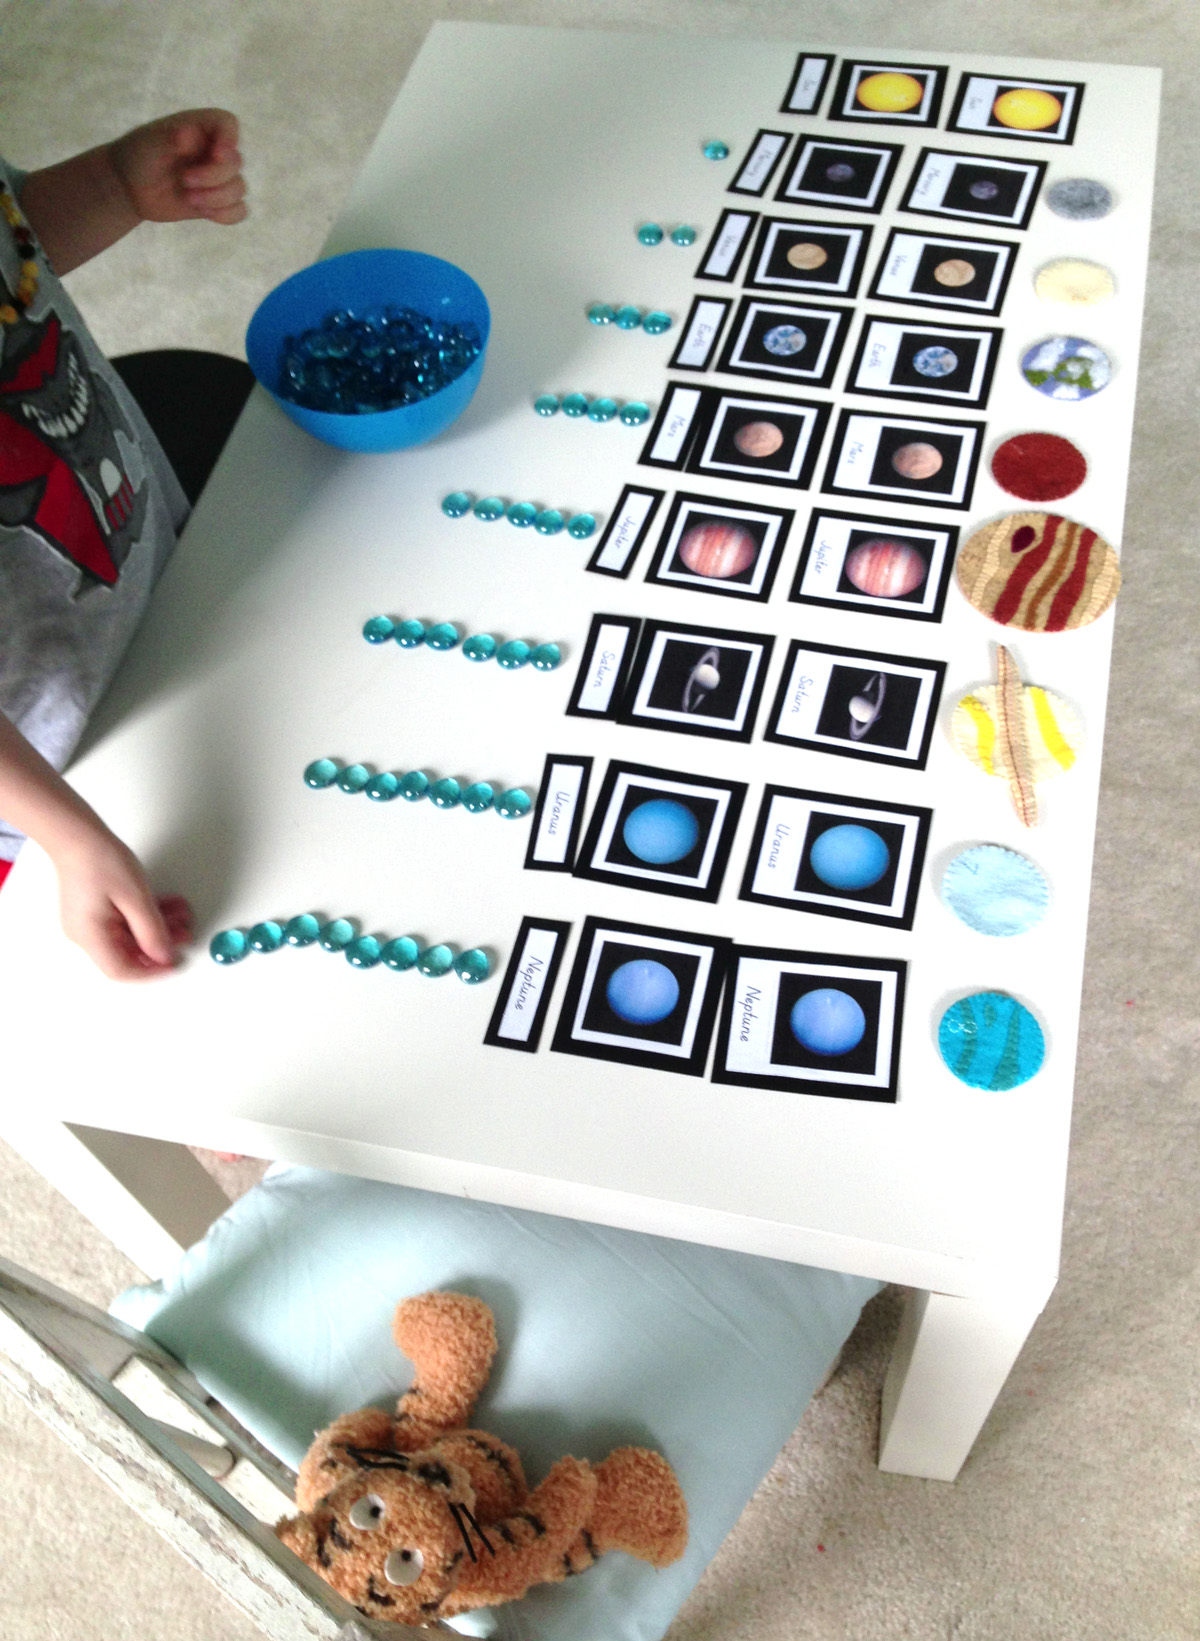
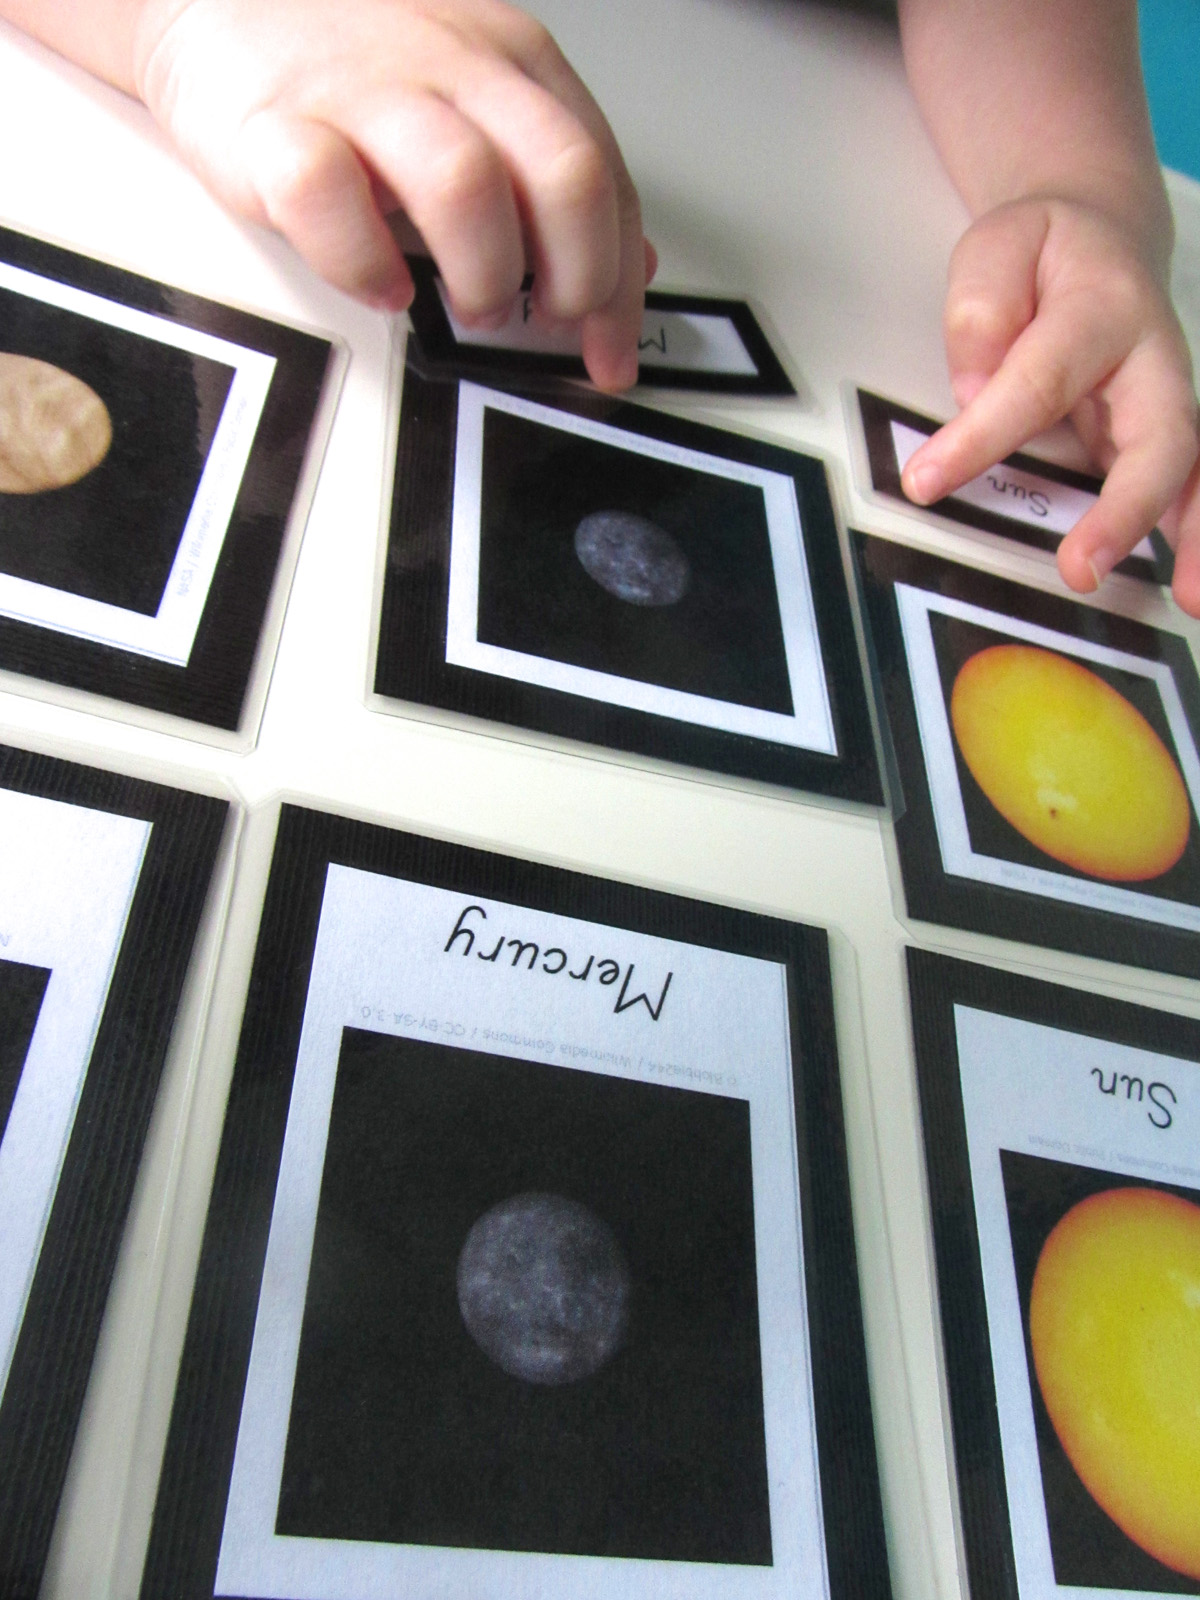
Montessori European Animals 3-Part Cards
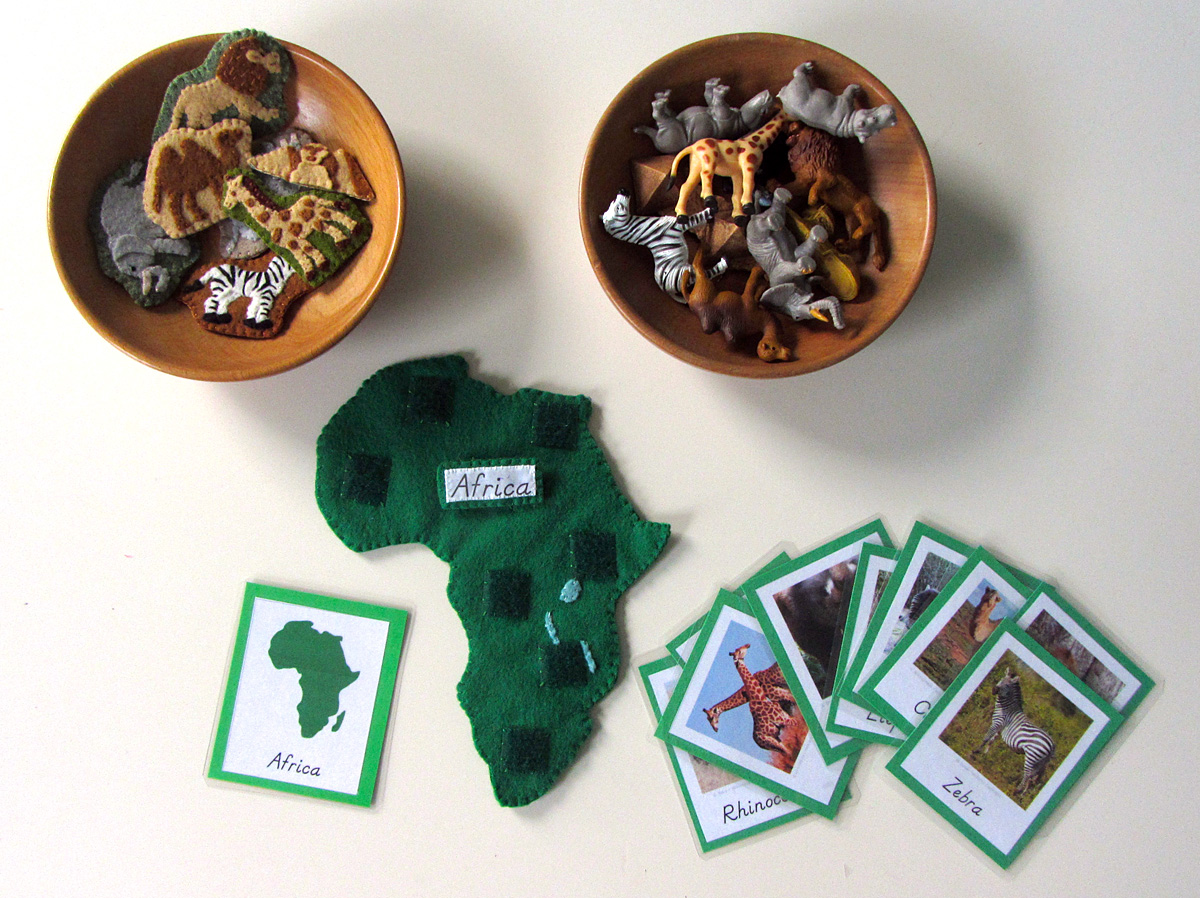
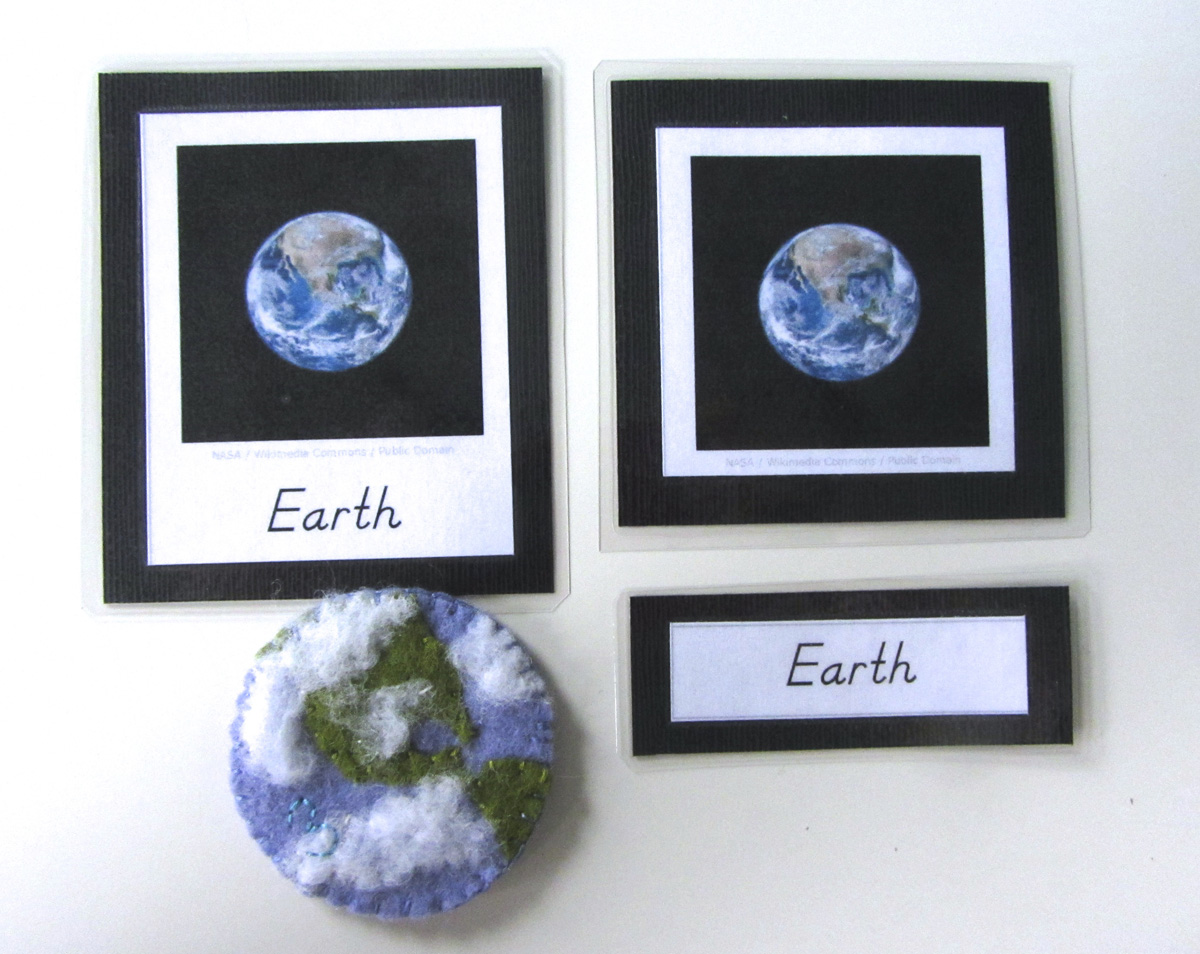
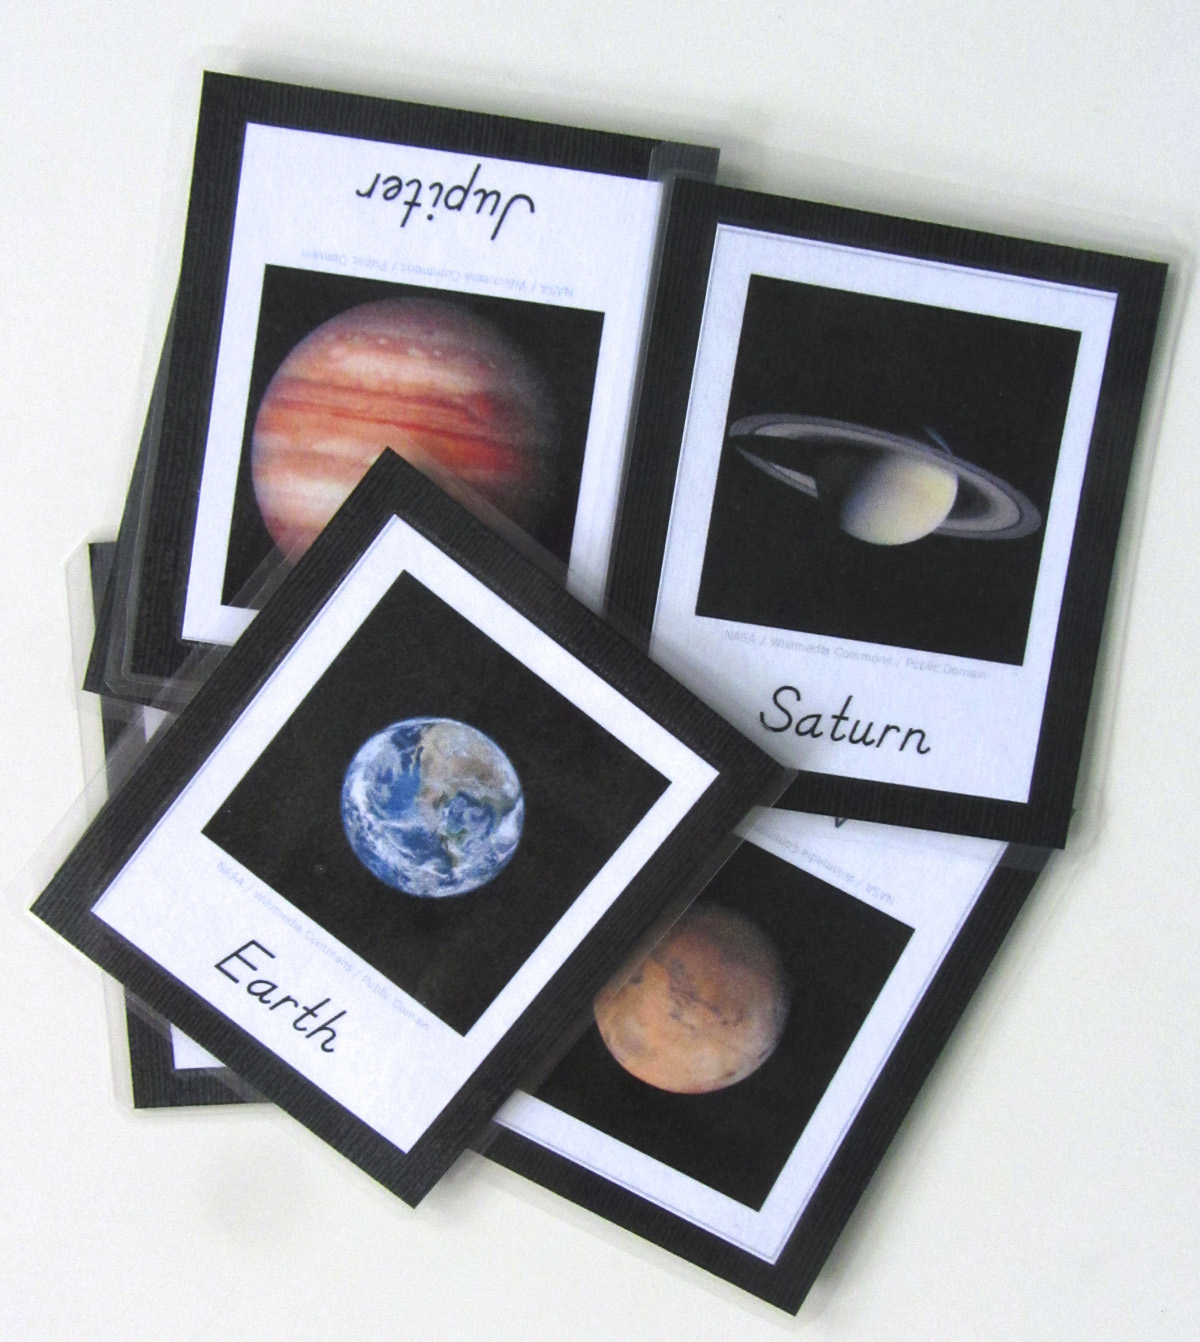
The series of 3-Part cards I am making for this project is something that Jax will be using for many years in homeschool. I have been focusing on the animals in these posts, but at the end of the project I will make a set featuring all the landmarks we sewed. Eventually, we will expand our collection of cards even more to include cultures, more landmarks, and so much more. Three part cards are extremely flexible learning tools.

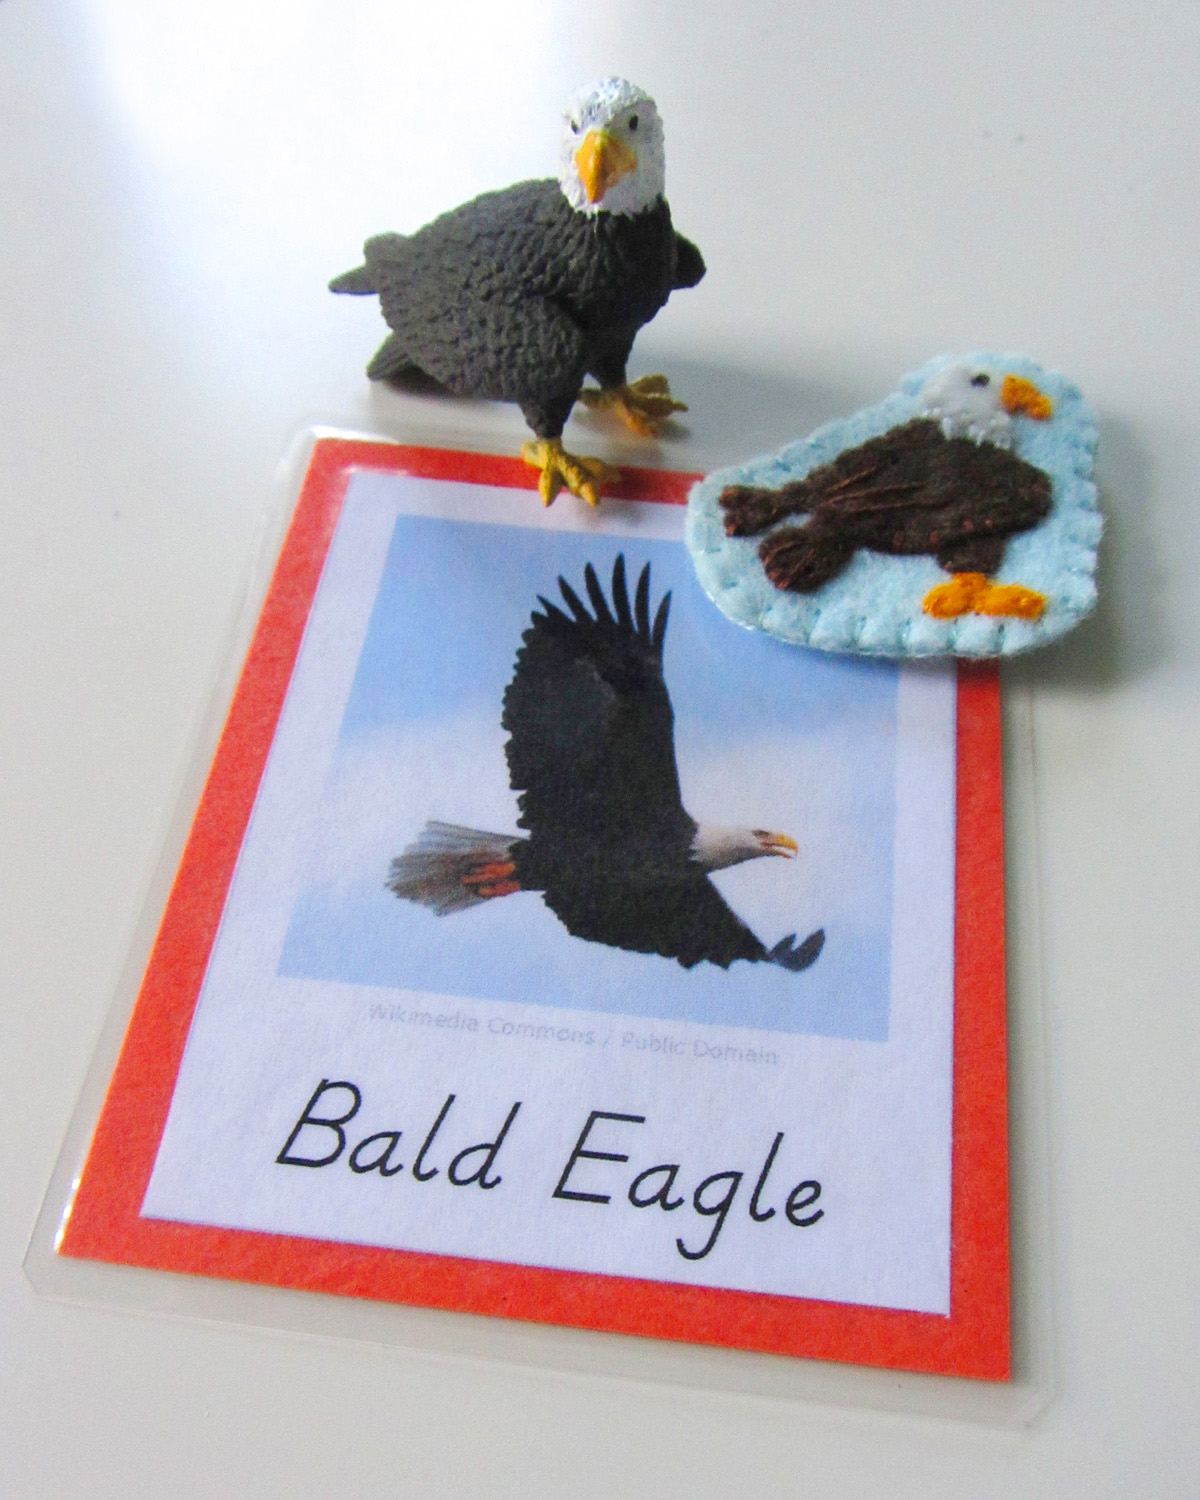
Click here to download my free pdf file to make your own animals of Europe cards. To make mine, I cut them out, glued them to red construction paper (to match Europe’s Montessori color) then laminated them. I use this laminator and I’ve been very happy with it. It makes everything so shiny and strong! My photos come out slightly faded from the printer (I use normal paper) but turn gorgeous after lamination. (Quick tip: Add a dab of glue stick on the back of your pieces before you place them in the lamination pouch to keep them from sliding around as you feed it through the machine.)

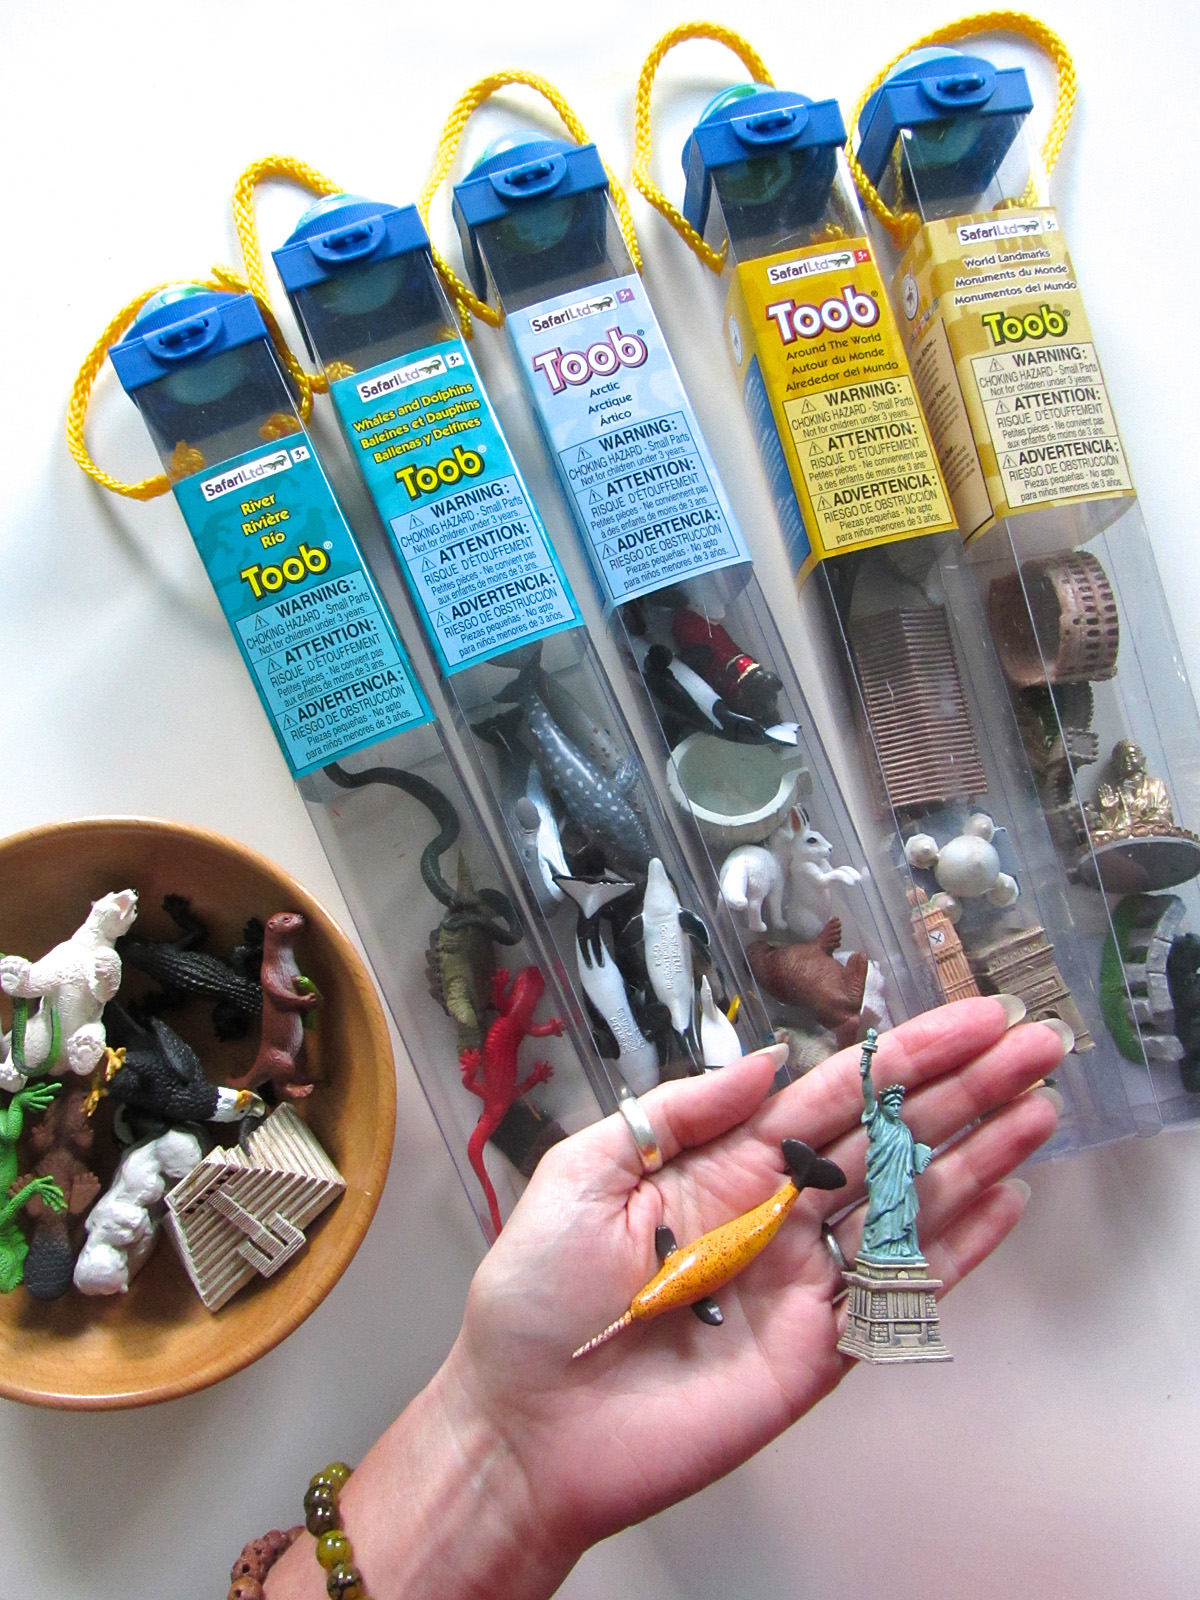
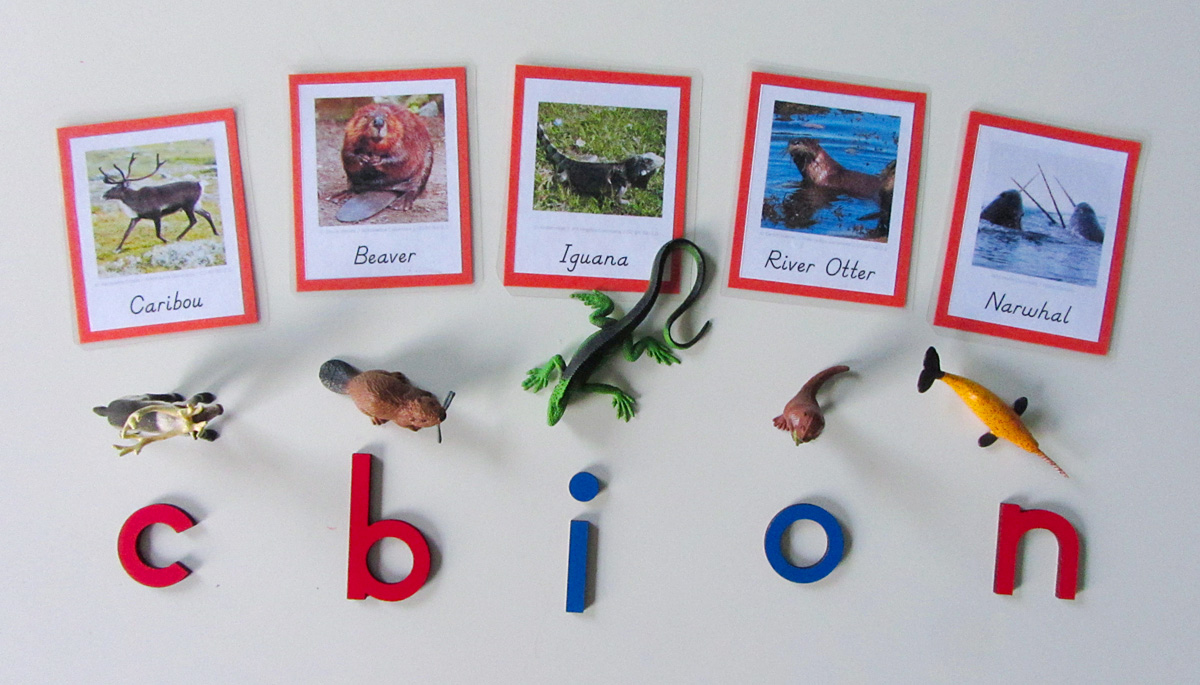
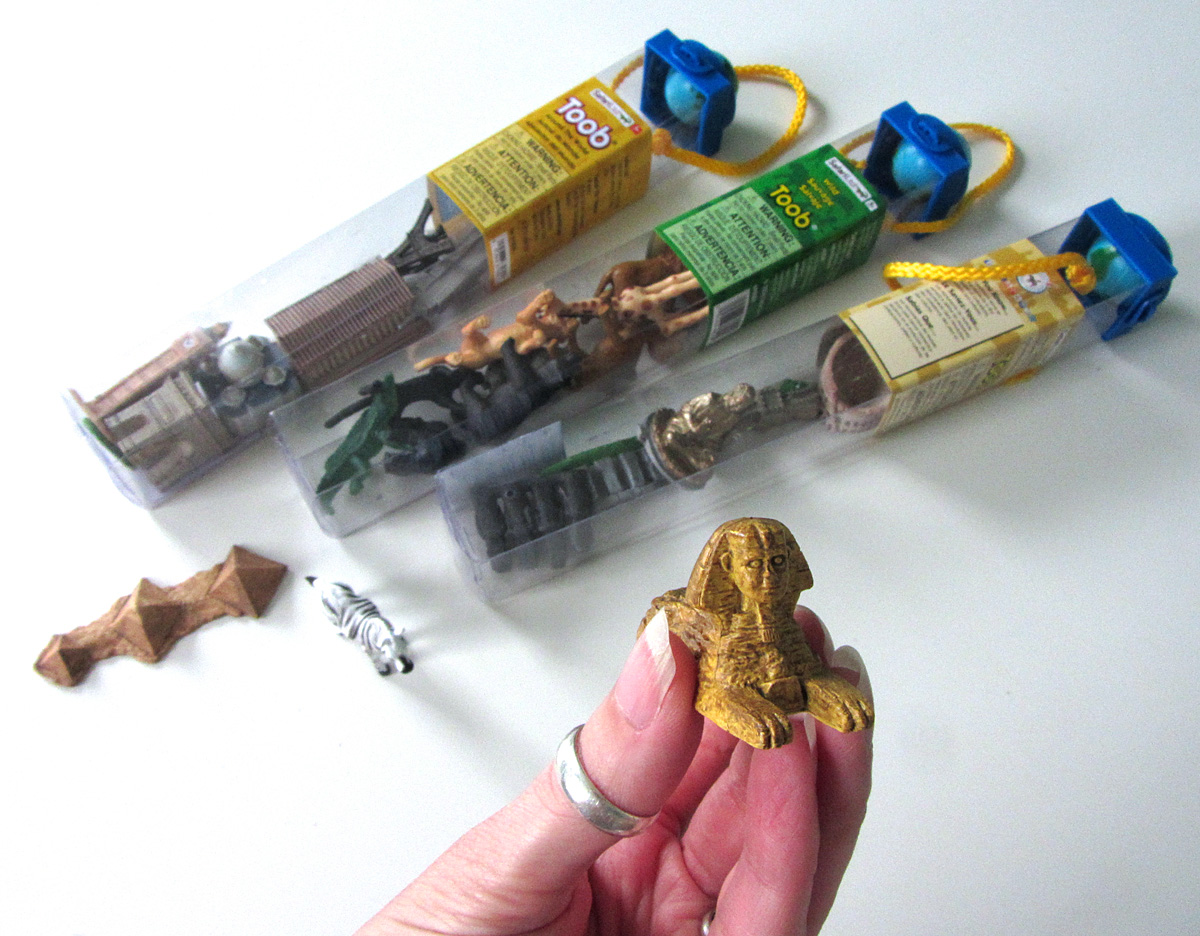
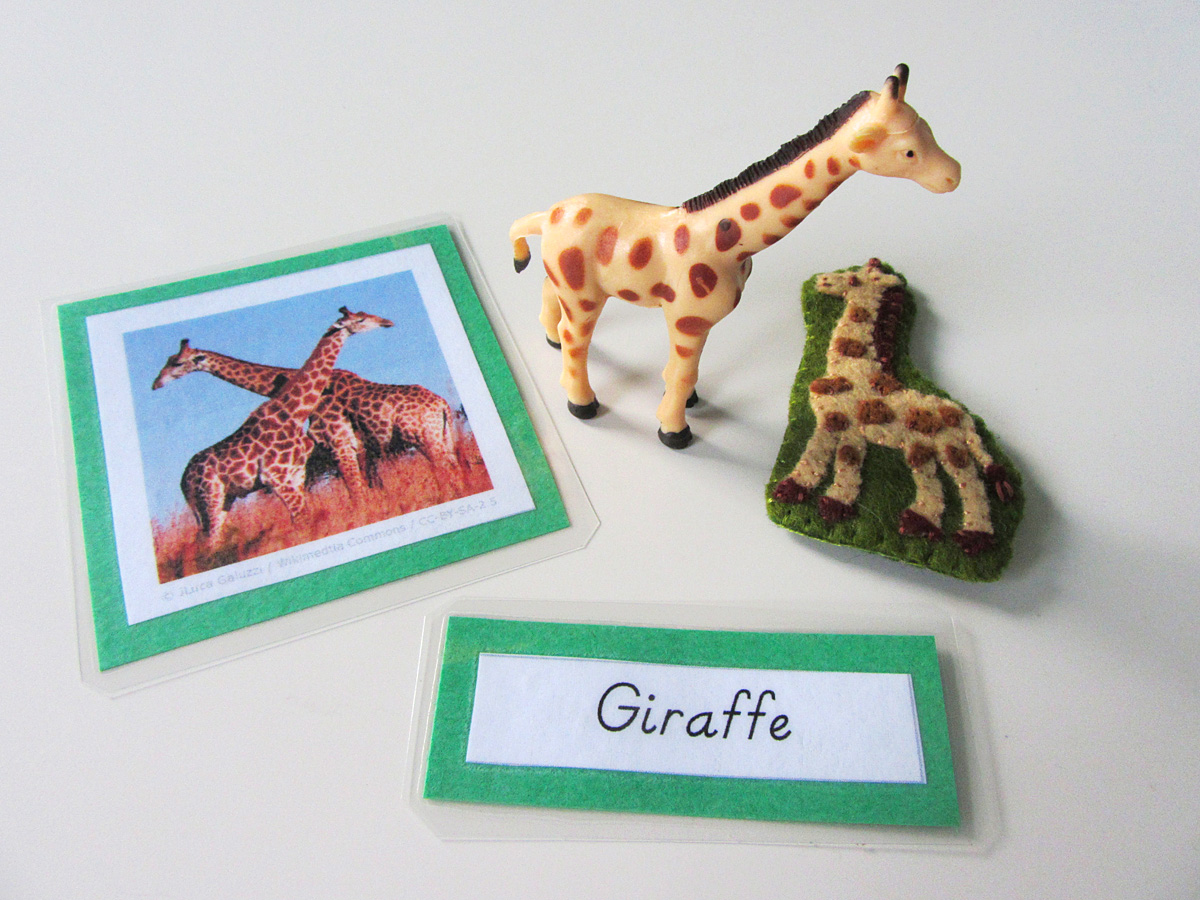
Our main way of using the cards for now is to pull out our SafariLTD’s TOOB figurines and match them to the pictures. We like to watch short videos about an animal, then study some pictures and draw our own. The TOOBs we used for these animal cards are: River TOOB (mallard), Arctic Toob (harp seal, wolf – which is actually a husky!) and Pets TOOB
(hedgehog).
SafariLTD kindly provided the World Landmark TOOB and the Around the World TOOB for this continent. We are working with them to make this project the best is can be!

I know many of you are sewing along (or plan to after the holidays!) If you are, stop by my Instagram @iolstephanie and leave a comment on one of my photos (I can’t see your photo if it you are private, but I can request to follow you temporarily if you leave a comment on mine about it) or share photos on Facebook. You can also email me. I love seeing what others make from my patterns!

Please be sure to visit the other ideas featured on Montessori Monday. There are many great links!