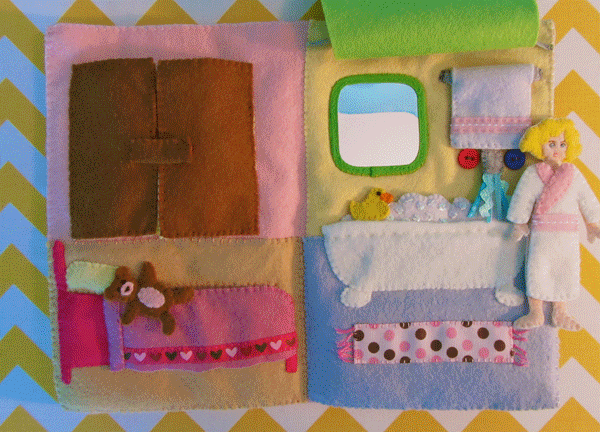
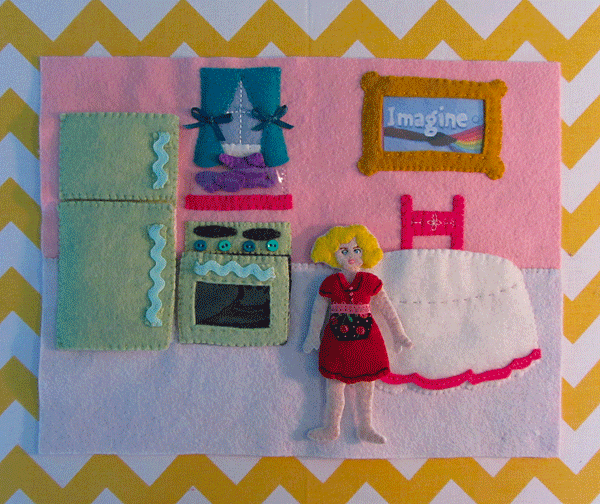
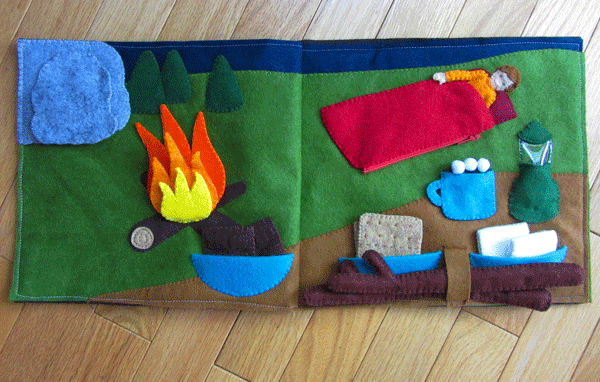
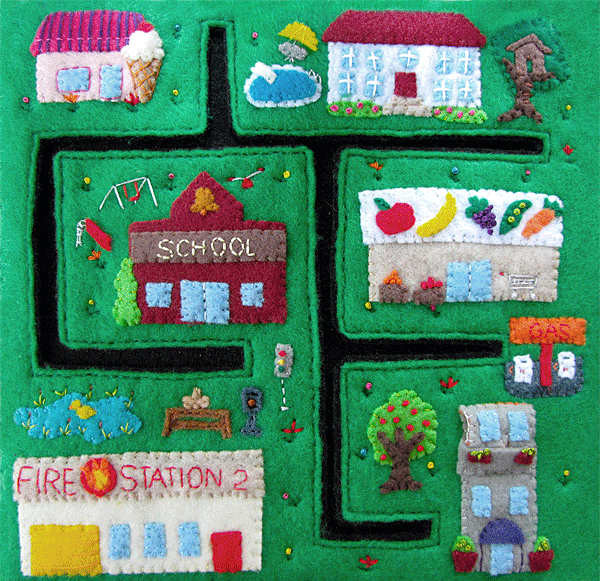
This page is a part of my Dollhouse mini quiet book. You can find the instructions for the doll and the kitchen page here, and the backyard page here. In the next couple of days I will post the cover! The book is designed on 12″ w x 9″ h felt sheets that will fold in half to 6″ w x 9″ h when closed.
All the felt for this mini book has been provided by American Felt and Craft. I am using their wool blend felt, which cuts like butter and has been holding up so much better than the craft store recycled felt I’d been using. If it is in your budget, it is absolutely worth upgrading for a long-lasting handmade item such as a quiet book. They have some new colors of felt in, and I can’t wait to try them!

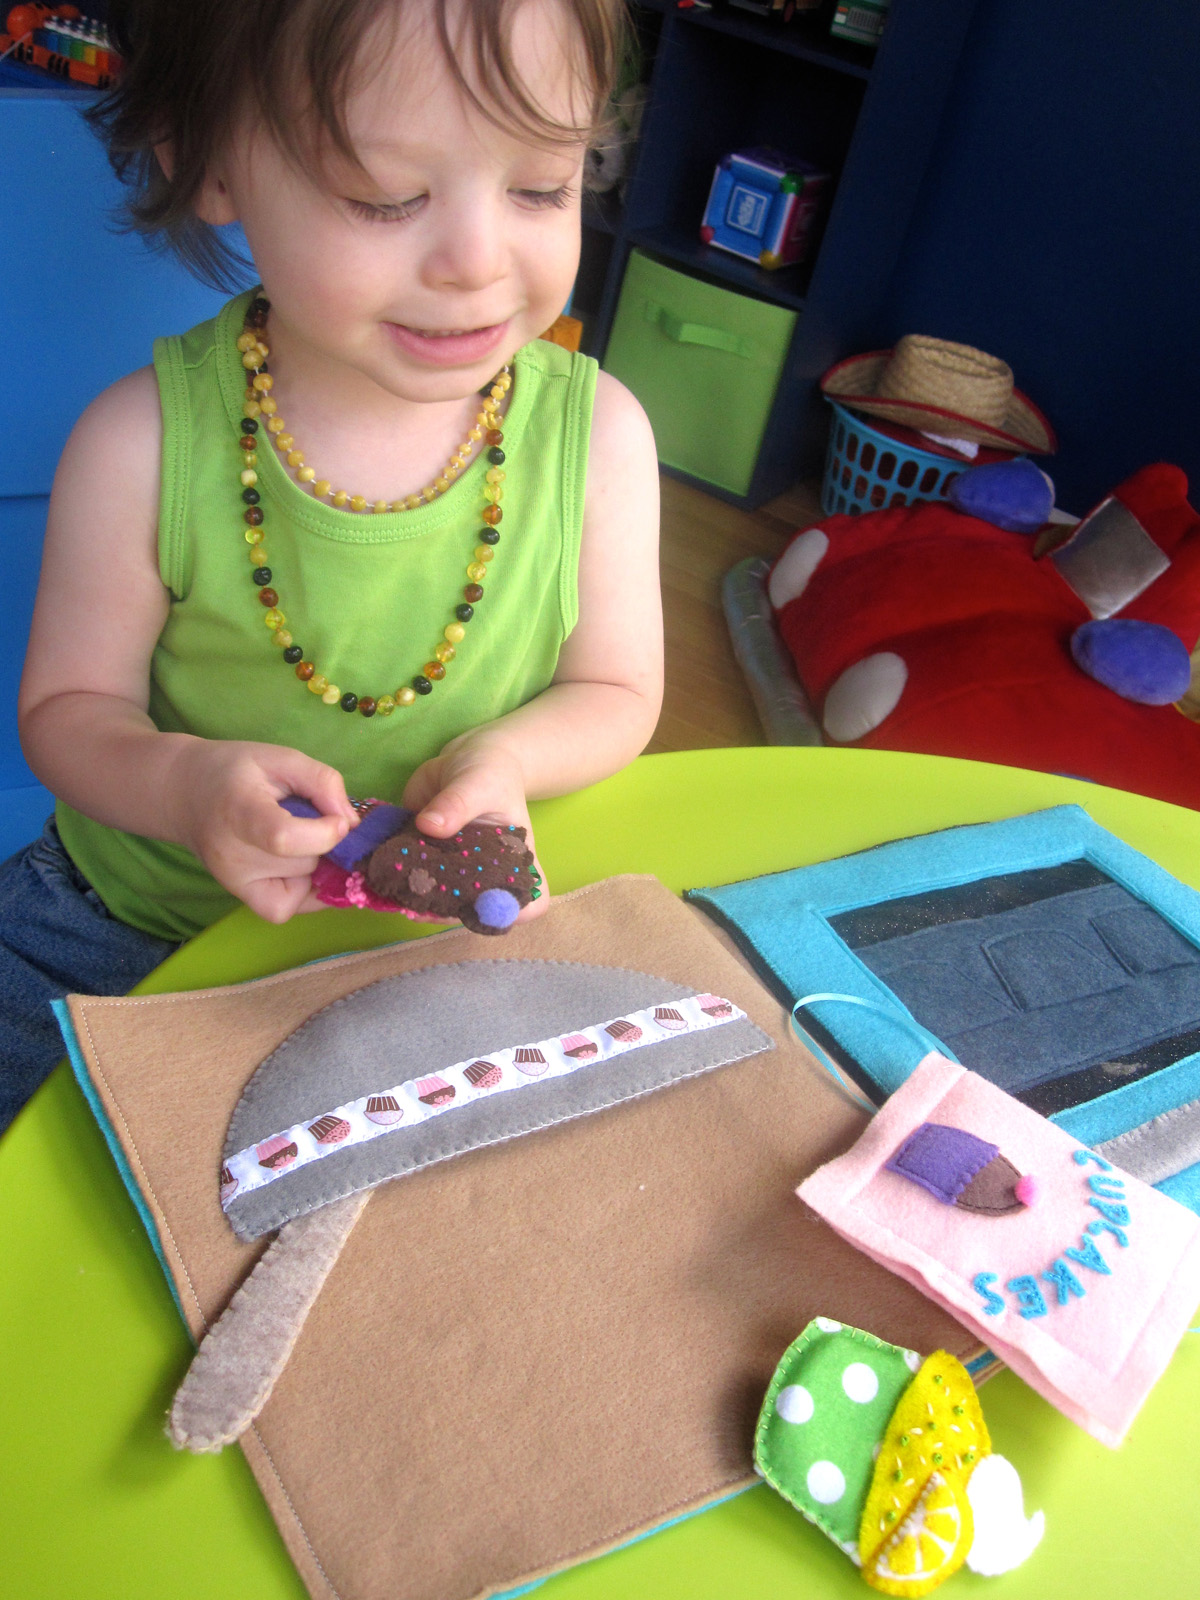
What I Used: The pattern, felt (in pink tutu/pink, rainy day/blue-gray, toffee/tan, sunshine/light yellow, soap sud/pale gray, hot pink, white, limeade/lime green, doe/brown, royal purple/purple, buttercream/pale yellow, sweet pea/pinkish-purple, gray flannel/gray and bisque/flesh), felt scraps (I used rubber ducky/yellow and orange juice/orange for the duck, and forget me not/periwinkle for the front of her nightie.), clear vinyl, white snag-free Velcro, size 1 sew-on snap, 3 small buttons (red and blue for the taps, a mini aqua one for the nightie.), ribbon scraps (many blues for the water, wide polka dot for the mat, hearts for the bed spread, silver for the curtain rod, pink for the towel and robe and white ric-rac for her nightie.), sequins, white snag-free Velcro and a child-safe mirror.

Backgrounds: The background of the whole 2-page spread is a full sheet of pink felt. I cut two rectangles of felt to be the floors (one tan and one blue.) I also cut some light yellow to give the bathroom side a different wall color. On the bathroom floor piece, I sewed the tub and tub feet down so there was some overlap (as shown above.) I didn’t sew it down to the background yet, though. I sewed down the yellow wall and just pinned everything else in place. While sewing the yellow wall, I sewed in a length of silver ribbon about a half inch down from the top. This will be for the shower curtain later. Leave it loose so just the ends are sewn into the sides of the yellow background piece.

Bath Tub: To finish the bath tub, I cut out the two sides of the bubbles and sewed sequins on to the front. Mine were Darice “Crystal Iridescent” that I bought at the fabric store. I sewed both sides of the bubbles together and layered it behind the tub. Using the dashed line on the tub pattern piece as a guide, I folded the extra tub fabric backwards to make a rounded lip. Then I sewed through the tub, the tub fold and both layers of the bubbles to attach them all together.

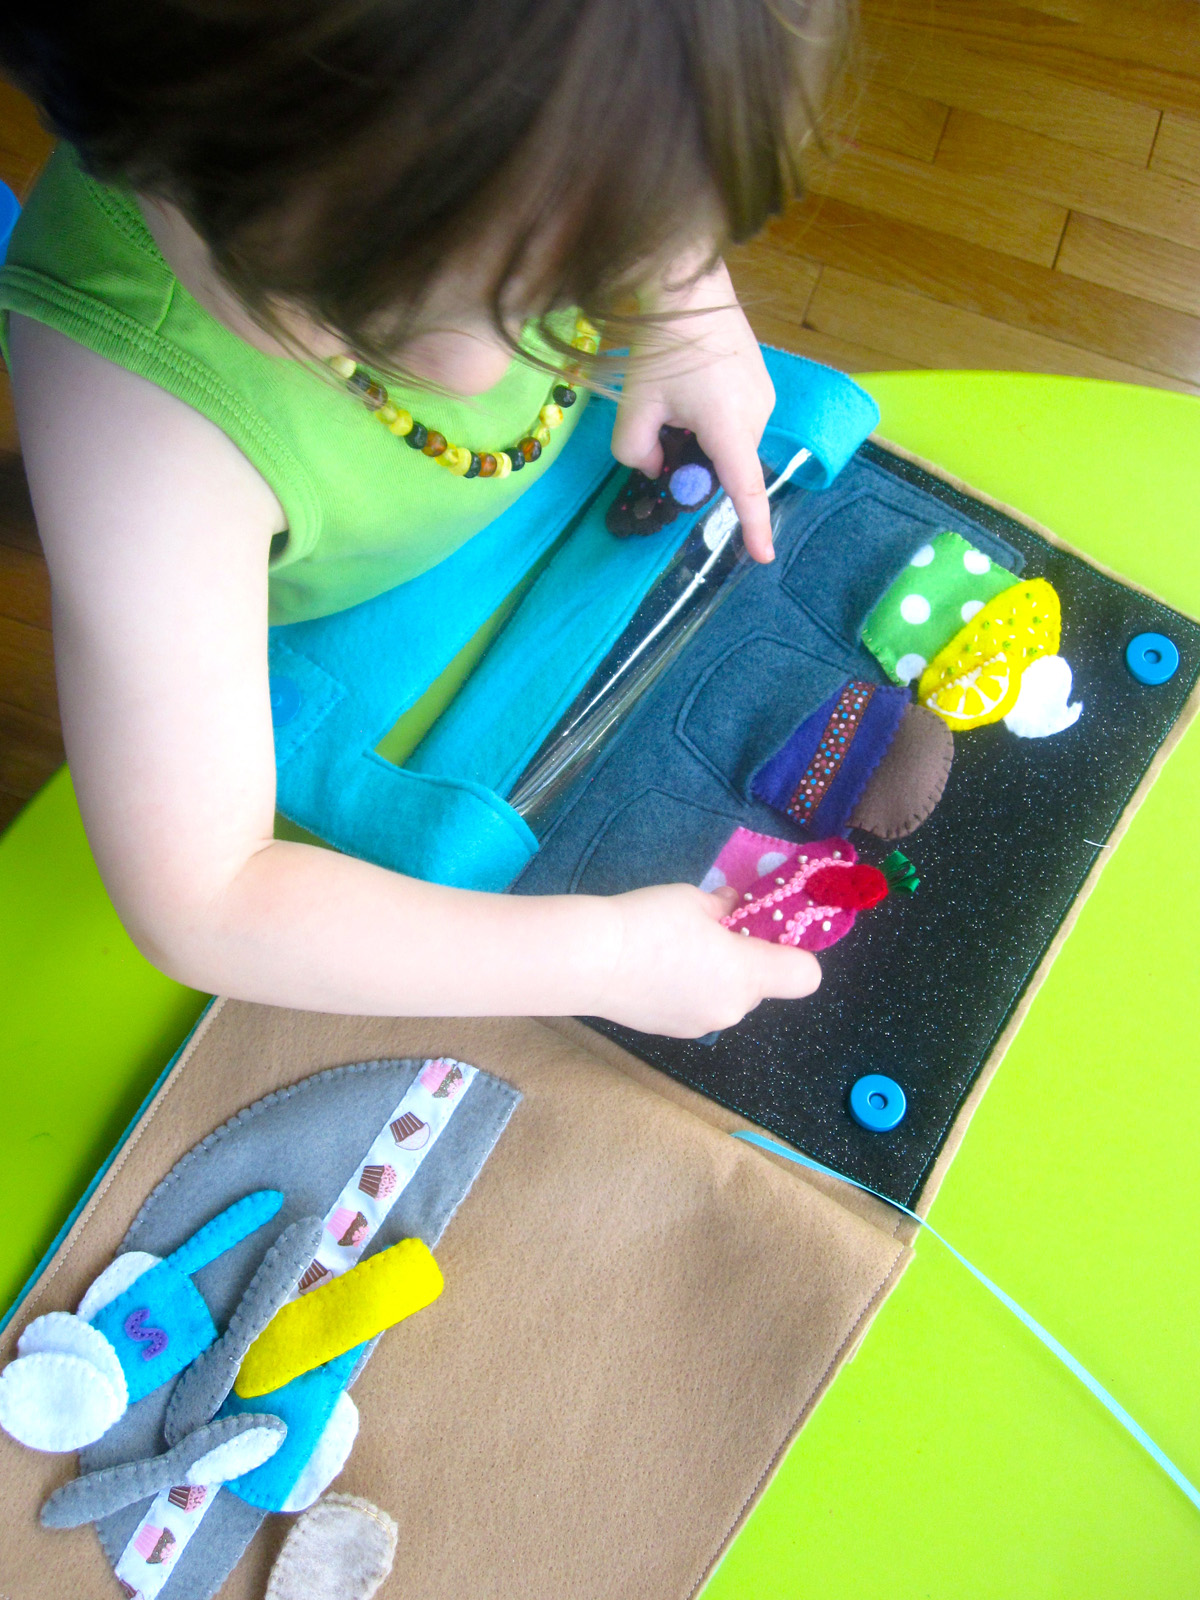
Showing the floor pockets
Once that was done, I sewed down a ribbon as a bathmat and sewed the floor down to the background along the sides and bottom (also sew the little bits of floor seen to the left and right of the tub). This turns the tub and floor into a big pocket so the doll can fit in her bath.

Bath Fixtures: Sew one of the faucet pieces to the wall, and sew the two buttons on a taps. With the other two faucet pieces, sew them together with different scraps of blue ribbons sticking out one end to look like water. Lay the faucet with water over-top of the one on the page, and stitch it down just at the top so it can flip up out of the way. It will be hidden under the towel while not in use.
 Sew the towel bar by folding it and sewing the open edges together. Decorate the two towel pieces with some ribbon and sew the front and back together. Wrap the top of the towel around the bar and sew it on. Position the towel/bar on the page so that it covers the second faucet and water stream and sew the sides of the towel bar down.
What really adds a lot is the little mirror. I hunted the thrift stores for fabric baby books and snagged the mirror out of the one I found. I left the green fabric edging on mine and chose my shower curtain fabric to match. However, you can make your own mirror. Here is a tutorial about it.
The shower curtain is one layer of felt that is folded at the top and sewn around the silver ribbon. Because felt is thick, the curtain doesn’t slide/bunch on the ribbon like a normal curtain. It just flips up like a peek-a-boo panel. You could hem some regular fabric to use as a curtain if you wanted yours to slide.


Bed: I cut a slit in the tan floor piece to match the length of the top of the bed (stopping at where the bed curves at the foot.) I sewed the pillow on to the upper left of the slit (see the above photo.) The bed gets sewn down below the slit (I pinned mine at first so I could sew through both the bed and the blanket at the same time.) I decorated the bed spread with a ribbon and sewed the left side into a fold. I sewed the blanket on to the bed, leave the wavy bottom hanging open. When the bed was all sewn to the floor, I sewed the floor down to the background. The open slit makes a pocket for the doll to go in when she lies in bed.

Shown with clothes from the other pages
 Wardrobe: For the wardrobe, I cut two pieces of felt for each door (I used brown on the outside and pale yellow inside.) I also cut some clear vinyl about half the size of each door and sewed them into small pockets to hold the doll’s hat and toys. On one door, I sewed on a folded strip of felt with a snap. On the other, I sewed the other half of the snap. This holds the doors closed.
To assemble the wardrobe, I cut a large square of clear vinyl (the size of the two doors closed) and sewed it down to the page as a pocket. Then I sewed the doors on to each side.

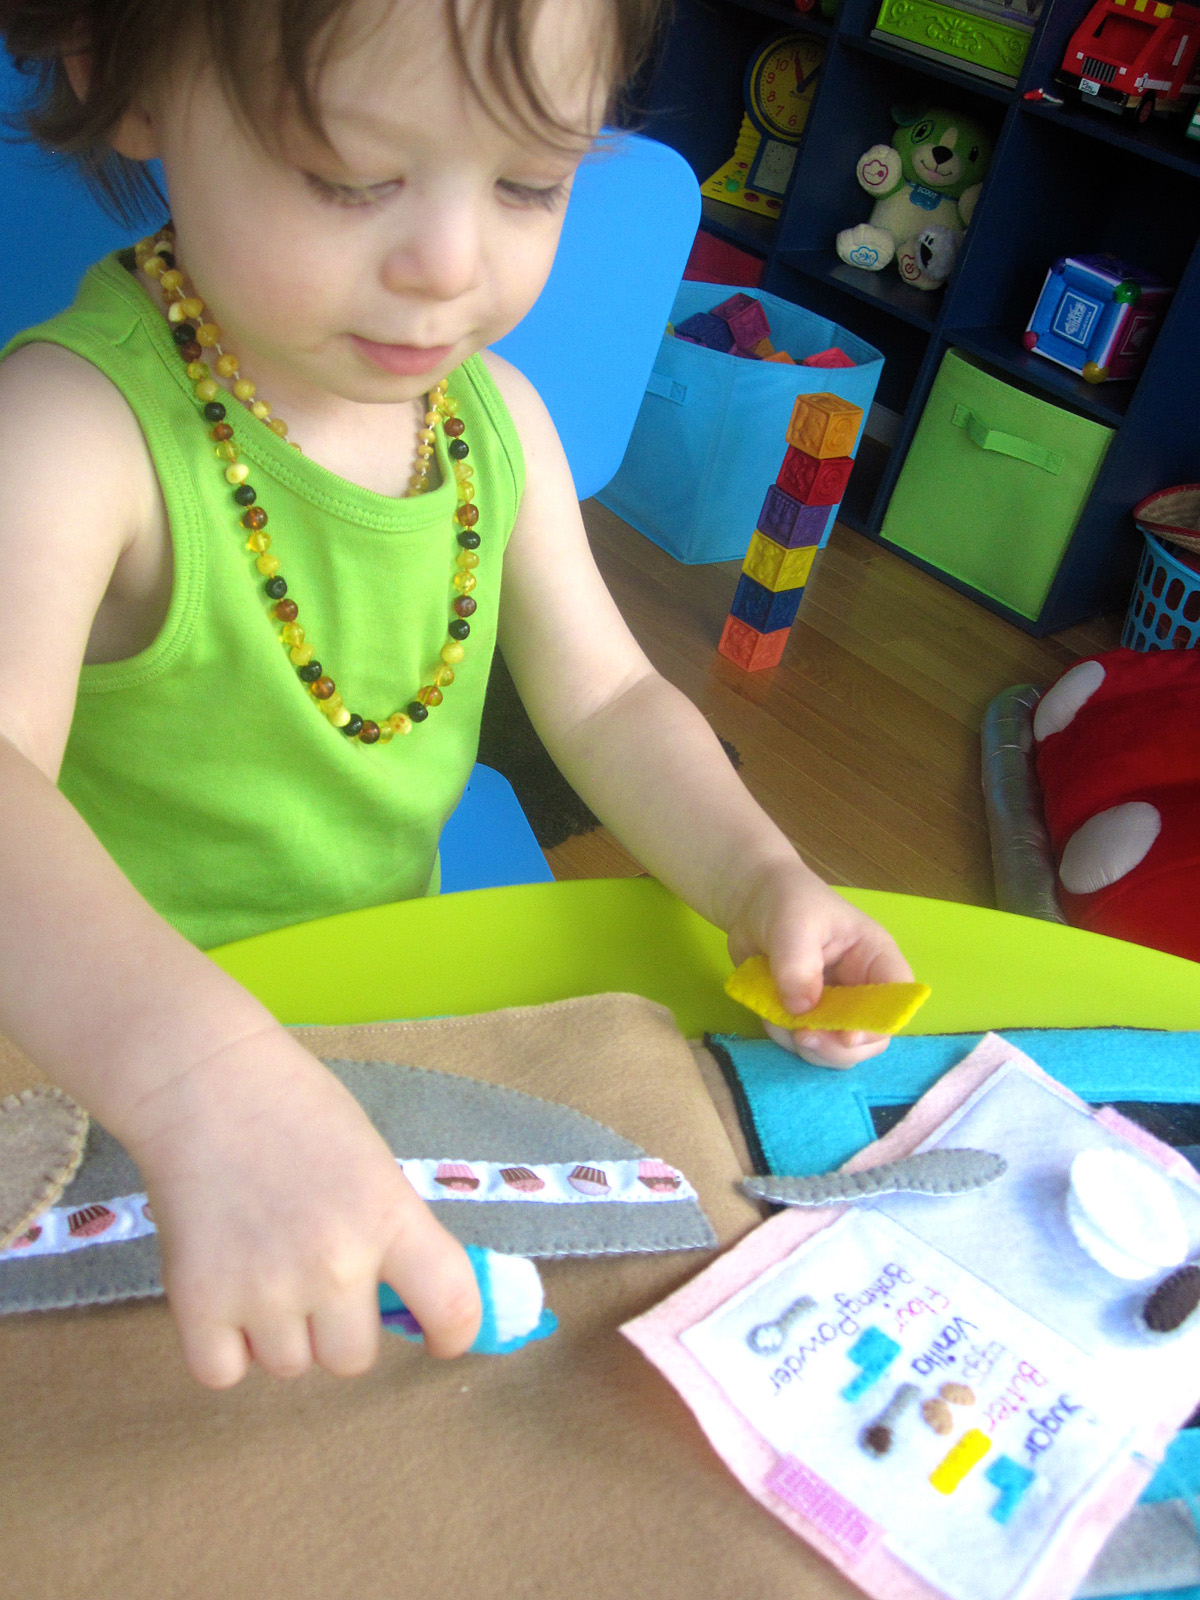
Extras & Clothing:
 On the back side of the robe, I sewed two bits of snag-free Velcro where it would match up with her underclothes. On the front, I sewed down the two collar pieces and pinned on a ribbon belt. When I sewed the front and back together, I made sure to catch the ends of the ribbon belt in the seams.
For her nightie, I decorated the front with the contrasting felt, then added ric-rac trim and a mini button. I sewed Velcro on the backing piece and then sewed the two halves together.
The rubber ducky has French knot eyes. I sewed the body pieces together, then sewed the beak on.
The teddy bear has pink ovals sewn on for his muzzle and tummy. I added a satin stitched nose and two French knot eyes. The ears are each one thickness of felt that I sandwiched between the two sides of his head while sewing him together.

I can’t decide which “room” in this dollhouse is my favorite! I love them all…

Night Night!
If you sew the dollhouse quiet book, I’d love to see it! email me photos or post them on the Facebook page!


