Inspired by my search around the internet for Starbucks-themed crafts, I put together a the first in a series of Starbucks tutorials.
Everyone knows I am a huge Starbucks fan, so I often get their cards as gifts. They are so cute and I can’t seem to throw them out when they are empty. When I saw it was possible to turn them into jewelry, I had to give it a try!
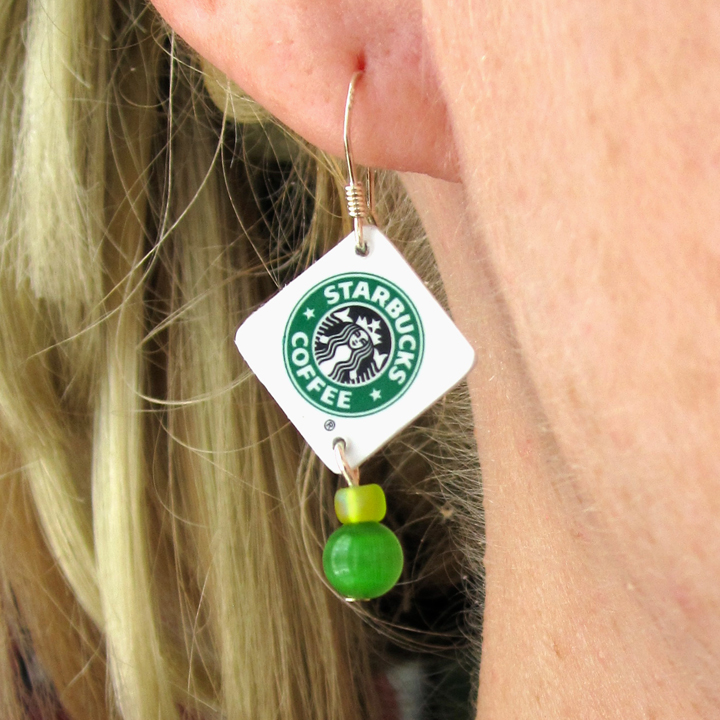
These will make a great gift for our favorite barista. I’ll be making more styles, but this tutorial features Starbucks logo from the upper corner of two cards.
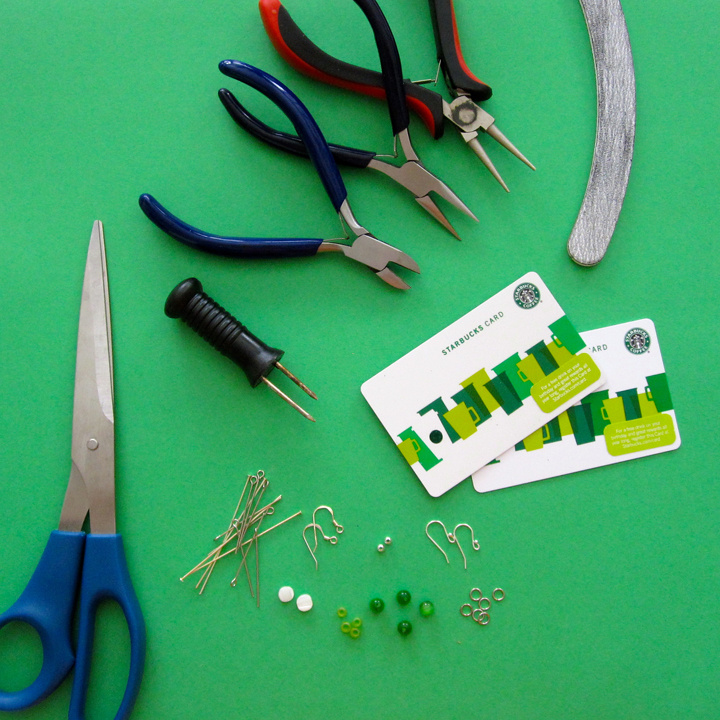
What you need: 2 Starbucks cards, scissors, emory board or sandpaper, something to punch a small hole (I used a corn cob holder!), beads and earring findings (I used two silver french hooks, 2 head pins, 2 large seed beads and two round beads) and jewelry-making tools.
-

- Materials
-
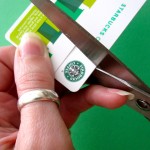
- Cut out your squares.

-
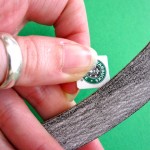
- File edges smooth and round corners.

-

- Carefully make a hole…
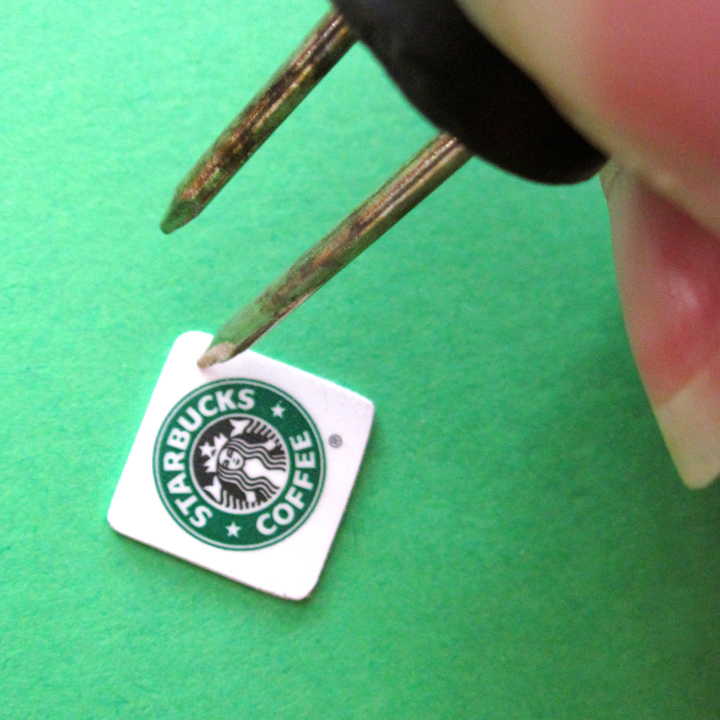
-
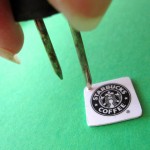
- Flip it to get the hole clean on both sides.
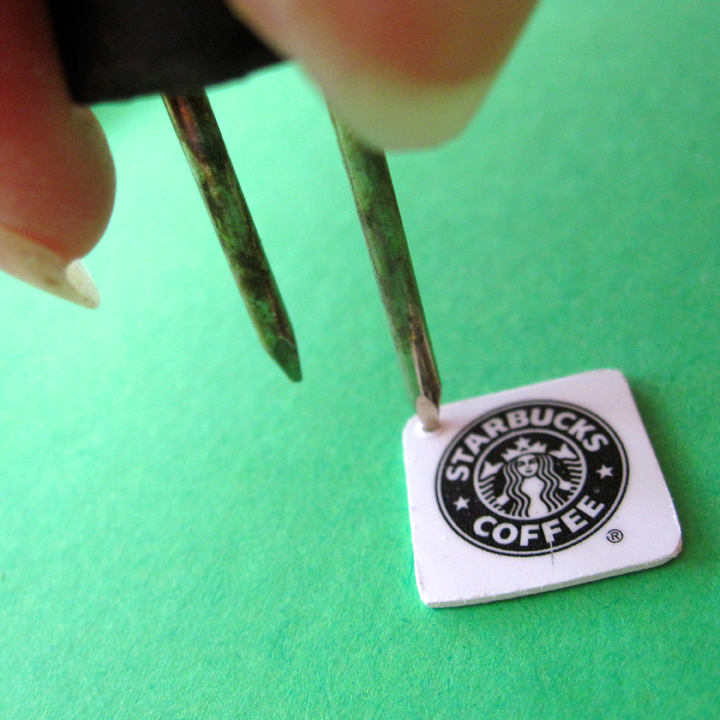
-

- I made 2 holes so I could add beads.

-

- I used a head pin with two green beads to decorate them.
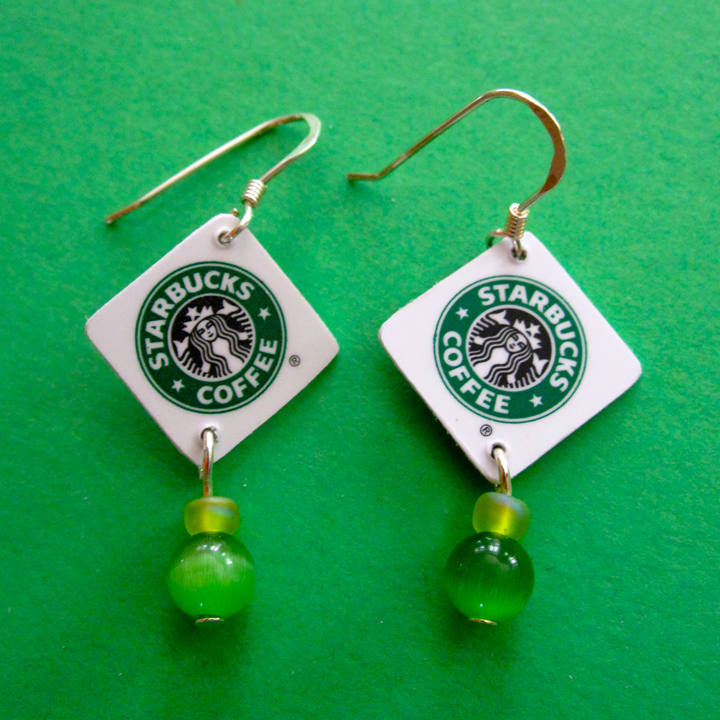
-
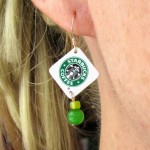
- Finished Earrings!