Monthly Archives: May 2012

Thrift Store Gems

I don’t usually go to the regular thrift store. We have better luck finding things at the kids’ thrift store. The regular store has so many breakables, and Jax does not like being contained while we shop anymore. So, I usually only go there when there is a specific house item I need.

This morning my thrift store “spidey sense” was going off in a big way. I told Jax we were going to the “toy store” (kids’ thrift store) after a quick stop at the regular one. I brought the Beco carrier and asked if he’d like to be carried in it so he could drink the orange juice I brought and he agreed.

We pulled up to the thrift store and were greeted by a huge heap of large children’s toys outside by the donation drop off area. I wasn’t sure if it was just a staging area or if everything was for sale. Some things were priced, but others were not. My eye was drawn straight to a pink wooden fridge. Yes, yes, yes! Ever since I got Jax his little kitchen and gave it a makeover, I’ve been hoping a wooden fridge would show up. It was packed tightly behind a air hockey table so I could only open the freezer. It had water damage like the other kitchen and a missing handle. (I realized the water damage is from the thrift store, not the previous owners. I’d thought it odd a wood kitchen had gotten wet, but it seems they leave them outside int he rain and just close the complex gate at night.) I was able to tell that both doors had working magnet closures and it sounded like there was a shelf rattling around in the bottom. It had a nice curve to the top of it that would help it match his stove.

Jax was starting to freak out a bit after about 2 minutes of me looking it over (he wanted to get down and play) so I quickly went in and did a sweep of the store. I found two scarves for me for $2 each. I took them up to the register before Jax totally melted down and asked if the fridge was for sale. They gave me a price of $10, which is the most I would have paid, and I bought it. I’m afraid I broke a set that included a broken sink and a stove, but oh well!


I’m pretty sure I’ll be painting it red with silver handles. I need to make a new handle for the bottom door. I’ll probably also get some shelves cut out of MDF at the hardware store like the two I added to the stove. The super thin shelf that is barely resting on some tiny dowels right now is worthless. So far I’ve just scrubbed it down and disinfected it.


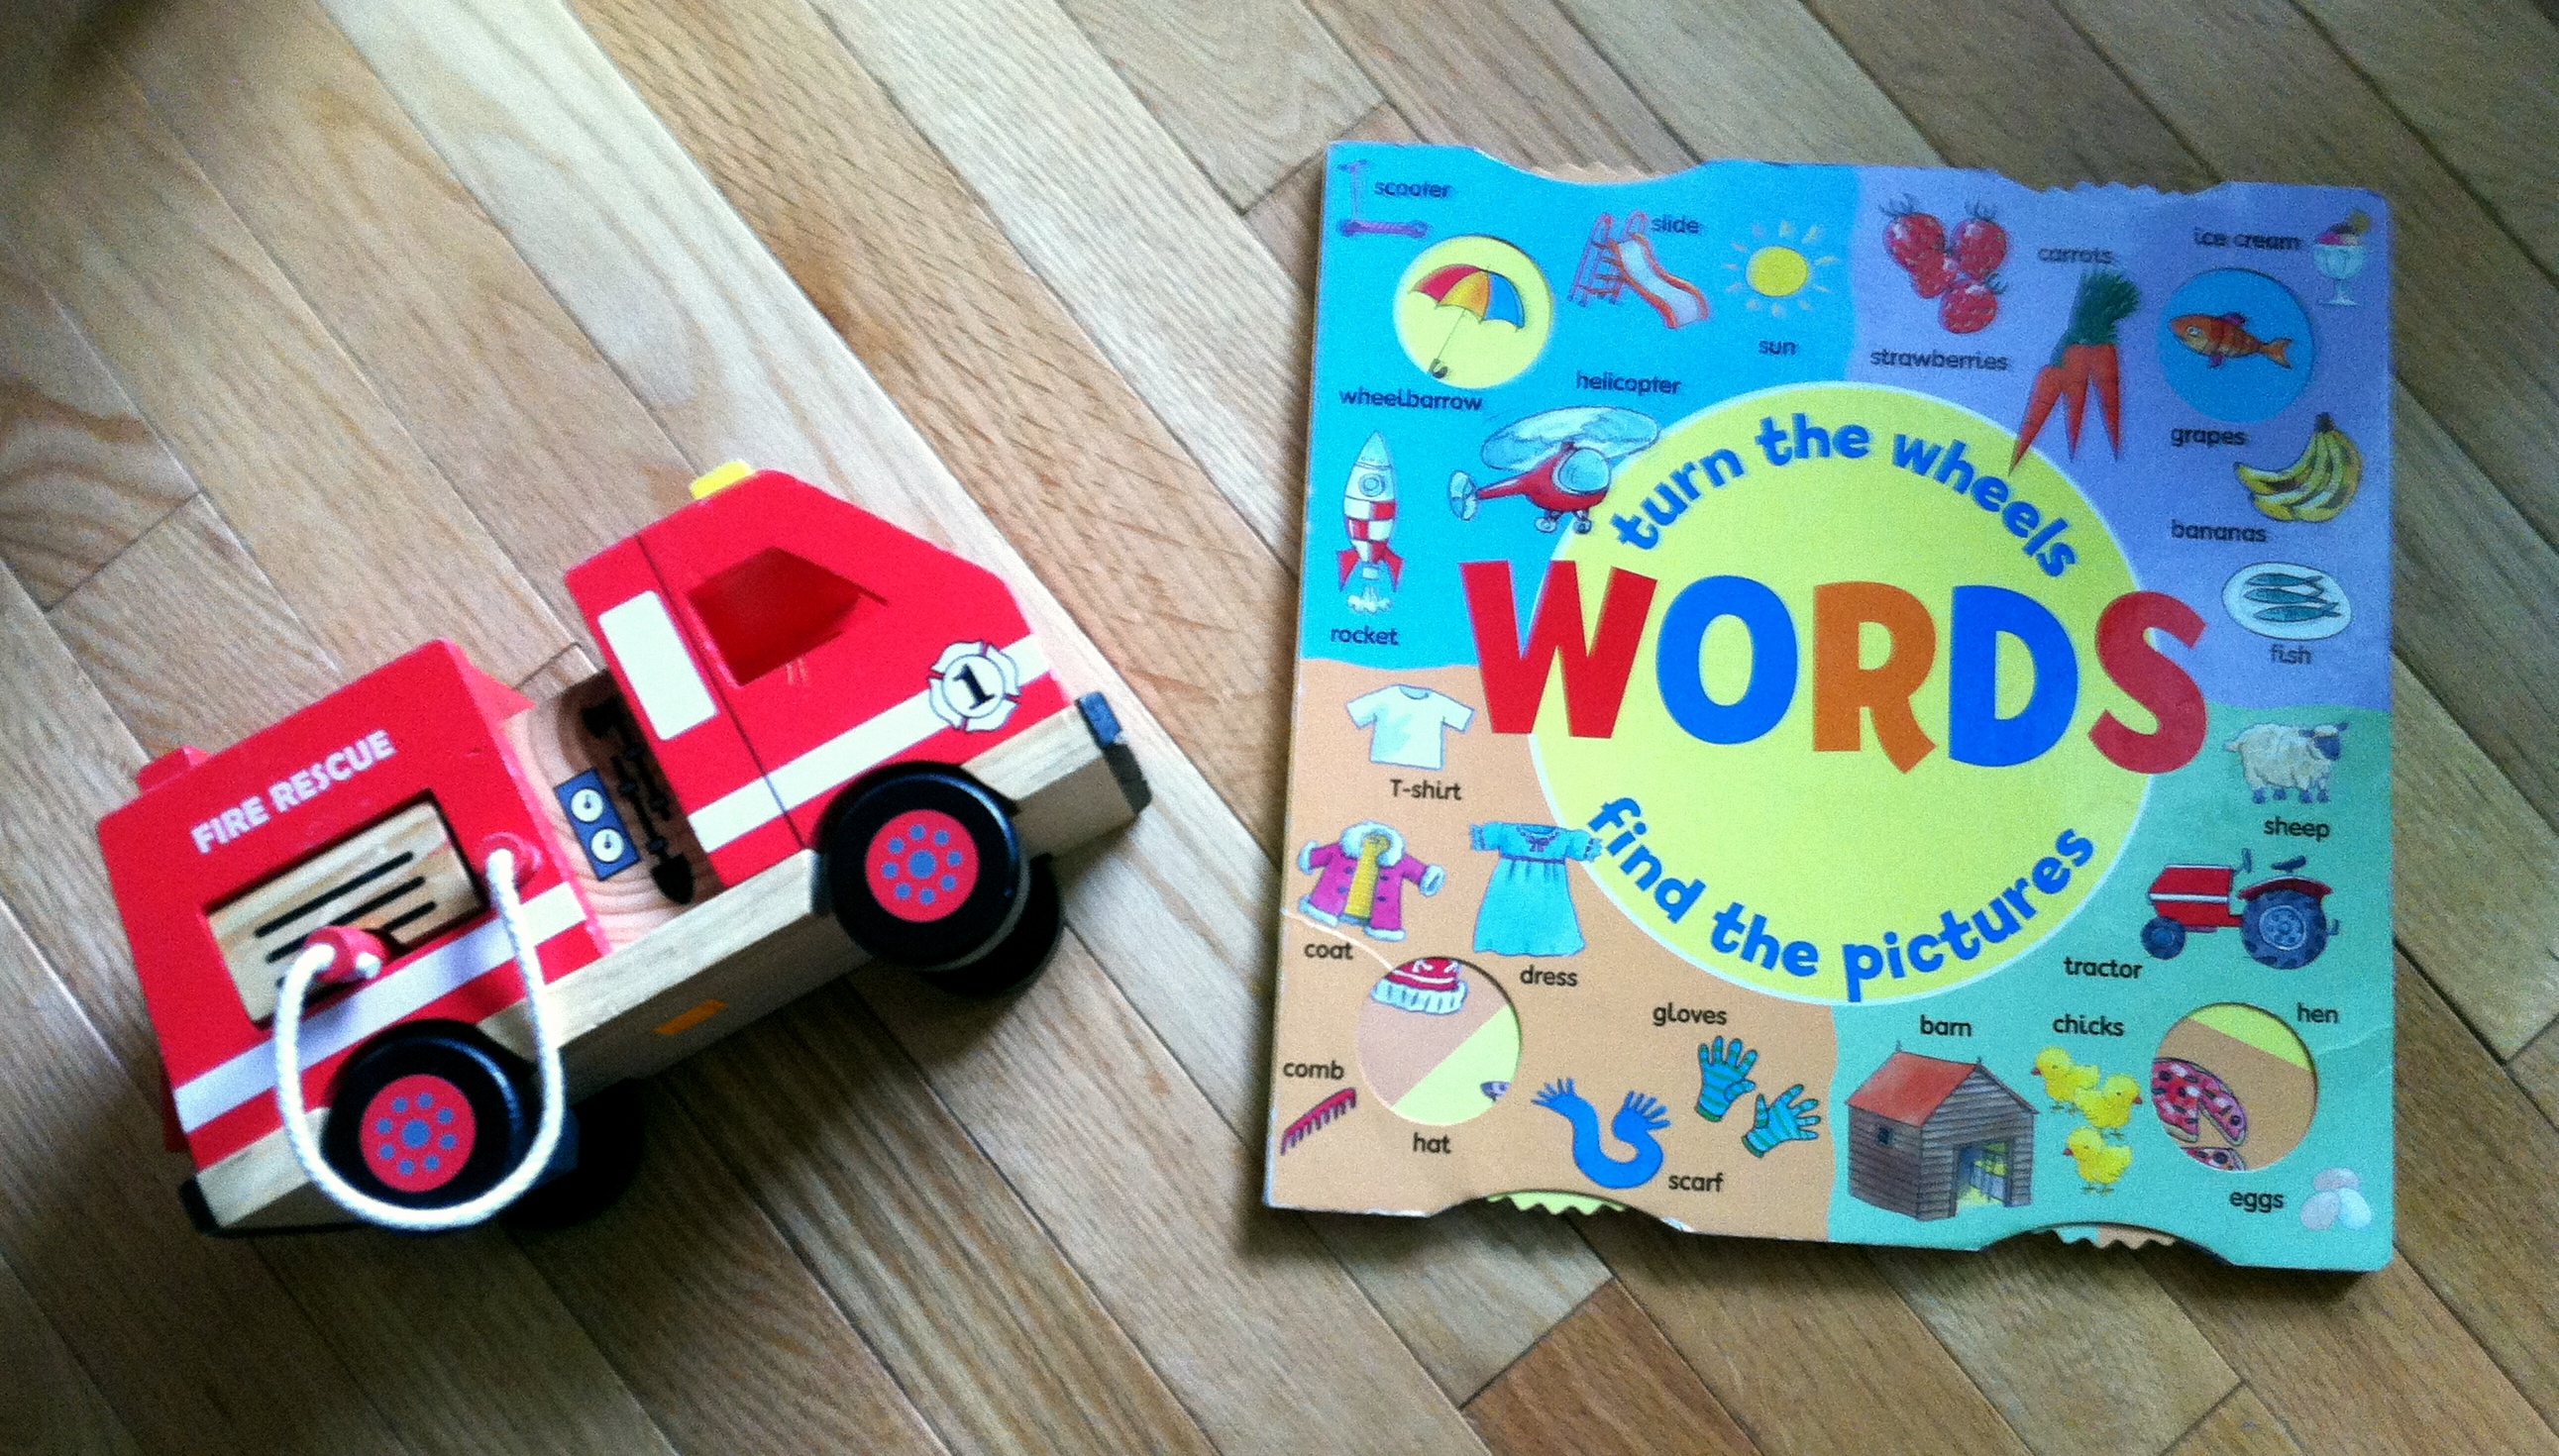
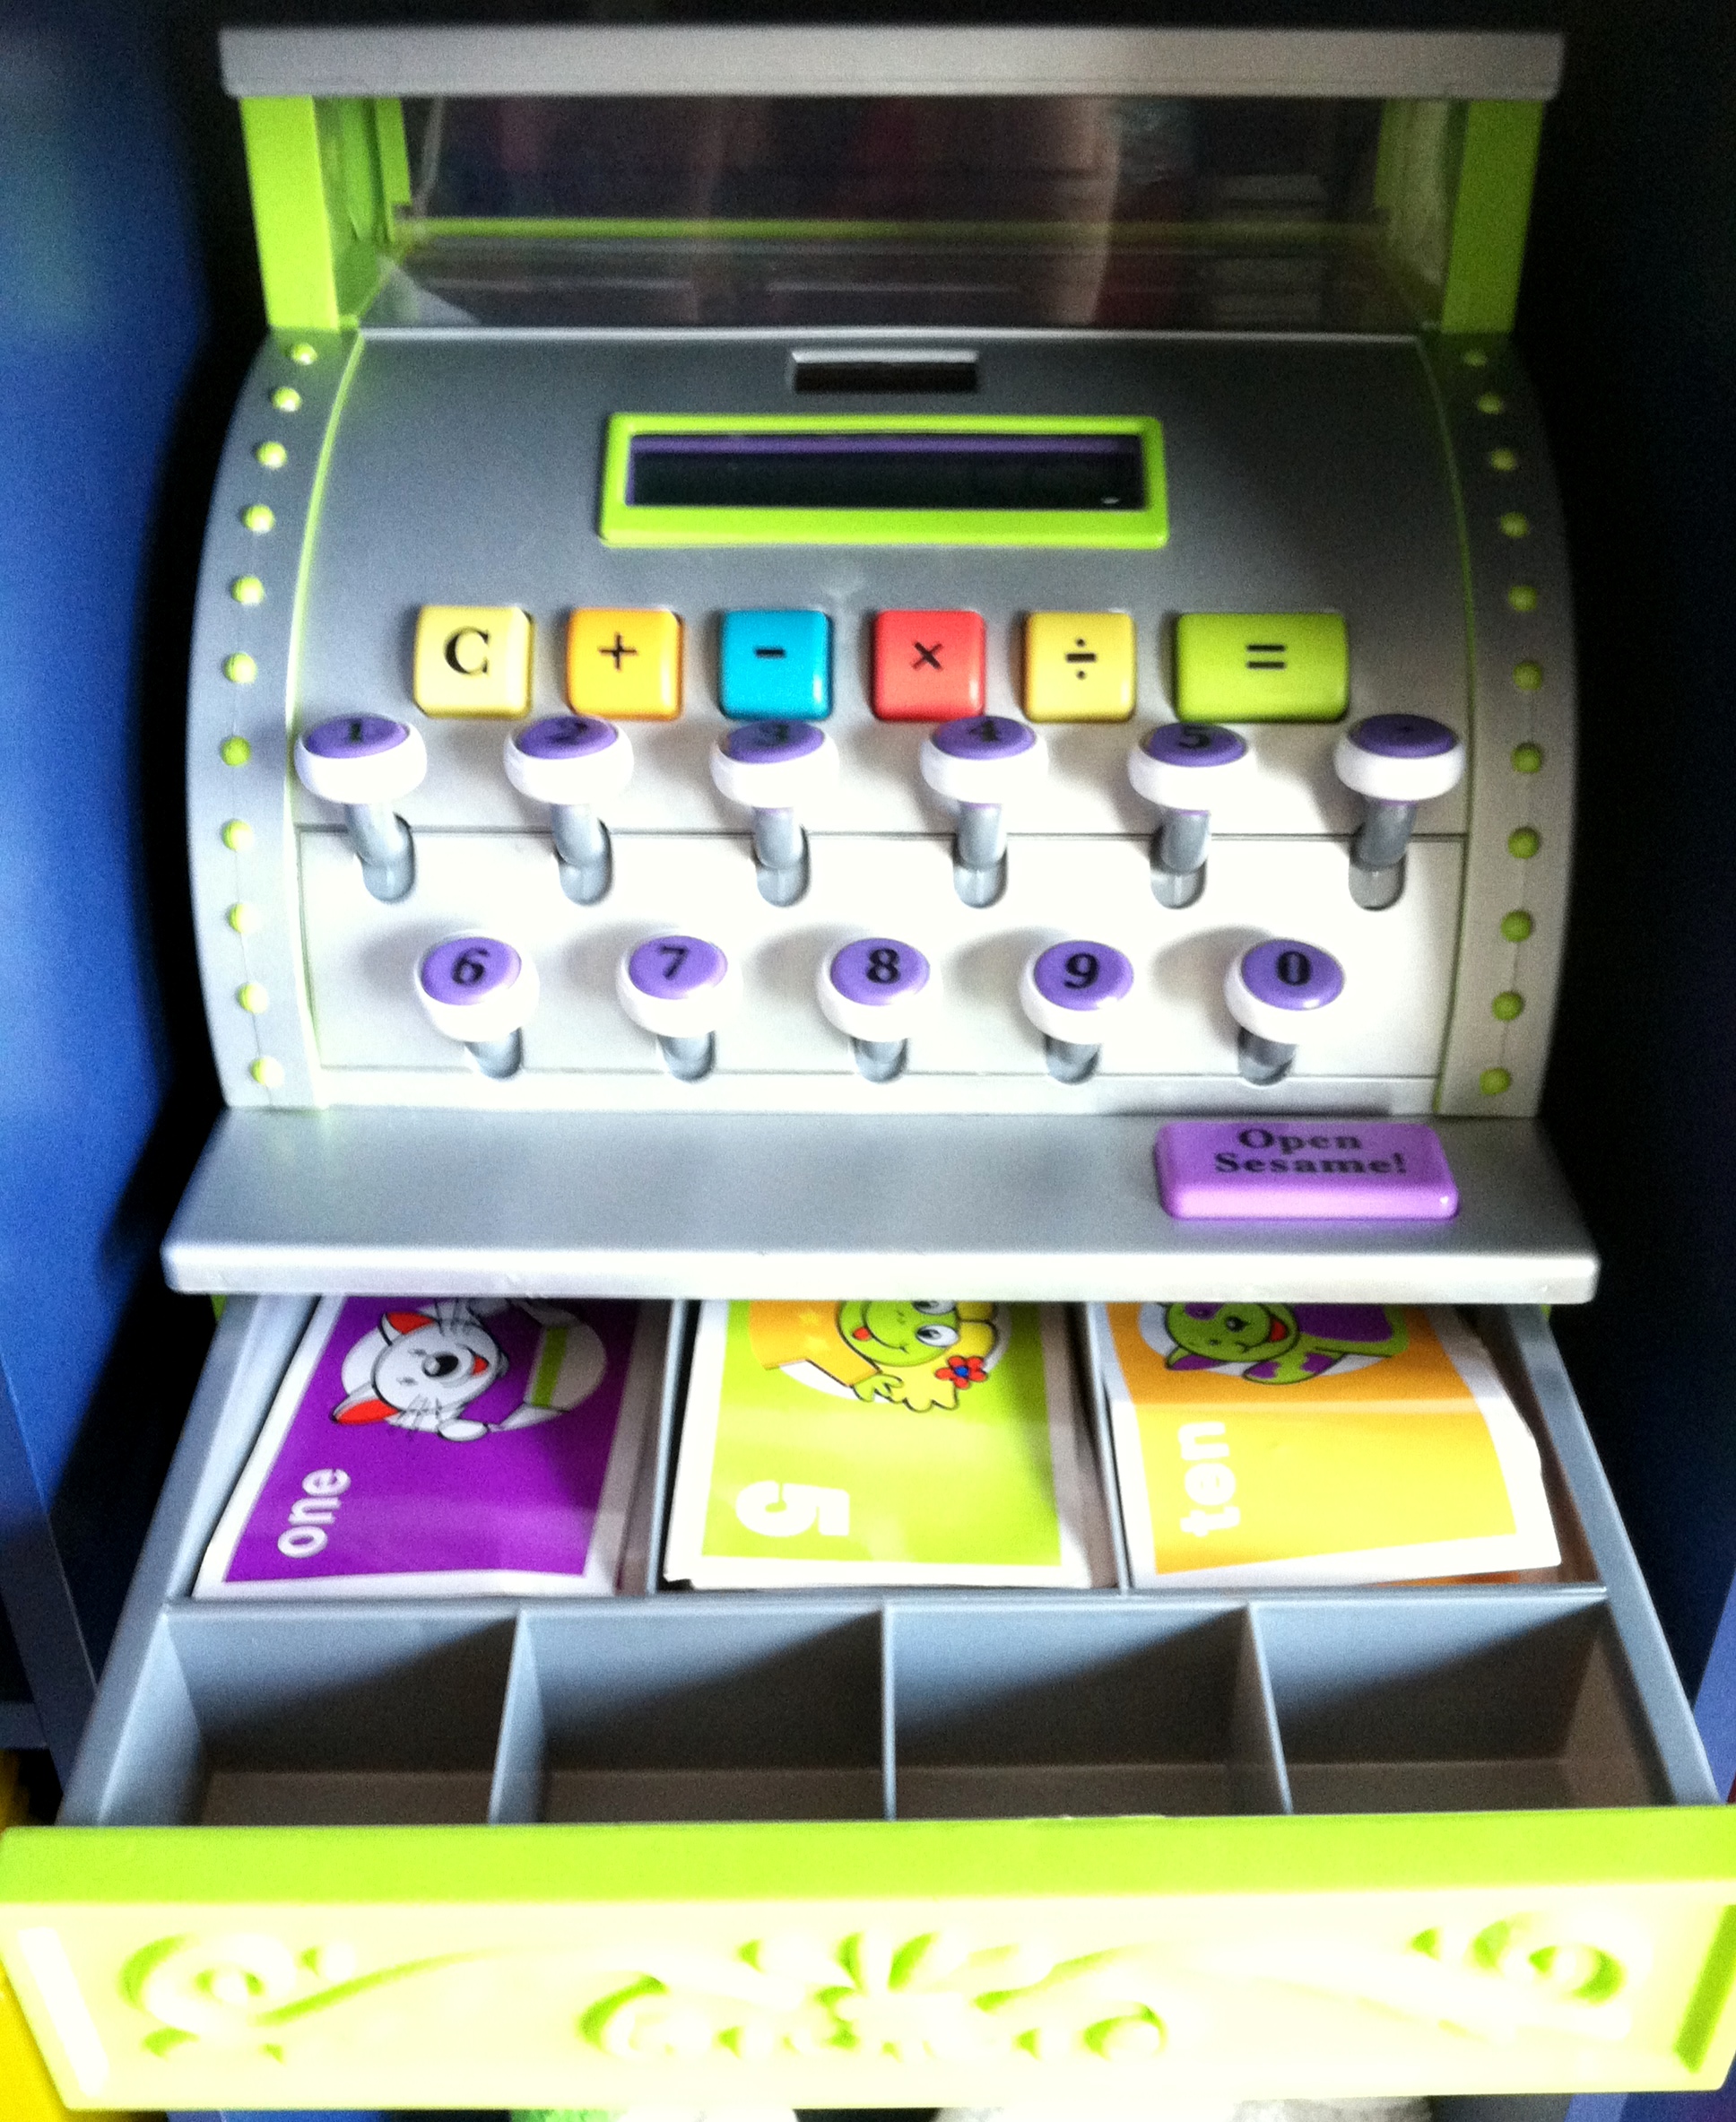
We headed over to the kids’ store next where Jax is allowed to explore and play. They allow that there, as long as you clean up afterwards. I found him a toy cash register that is basically a huge solar powered calculator. It has some laminated play money in it, but no coins. It is by Battat toys and Parent’s magazine and is no longer sold. It was $2.75. For $0.75 more, I got a wooden fire engine puzzle to put with Jax’s other wooden puzzles in his room.

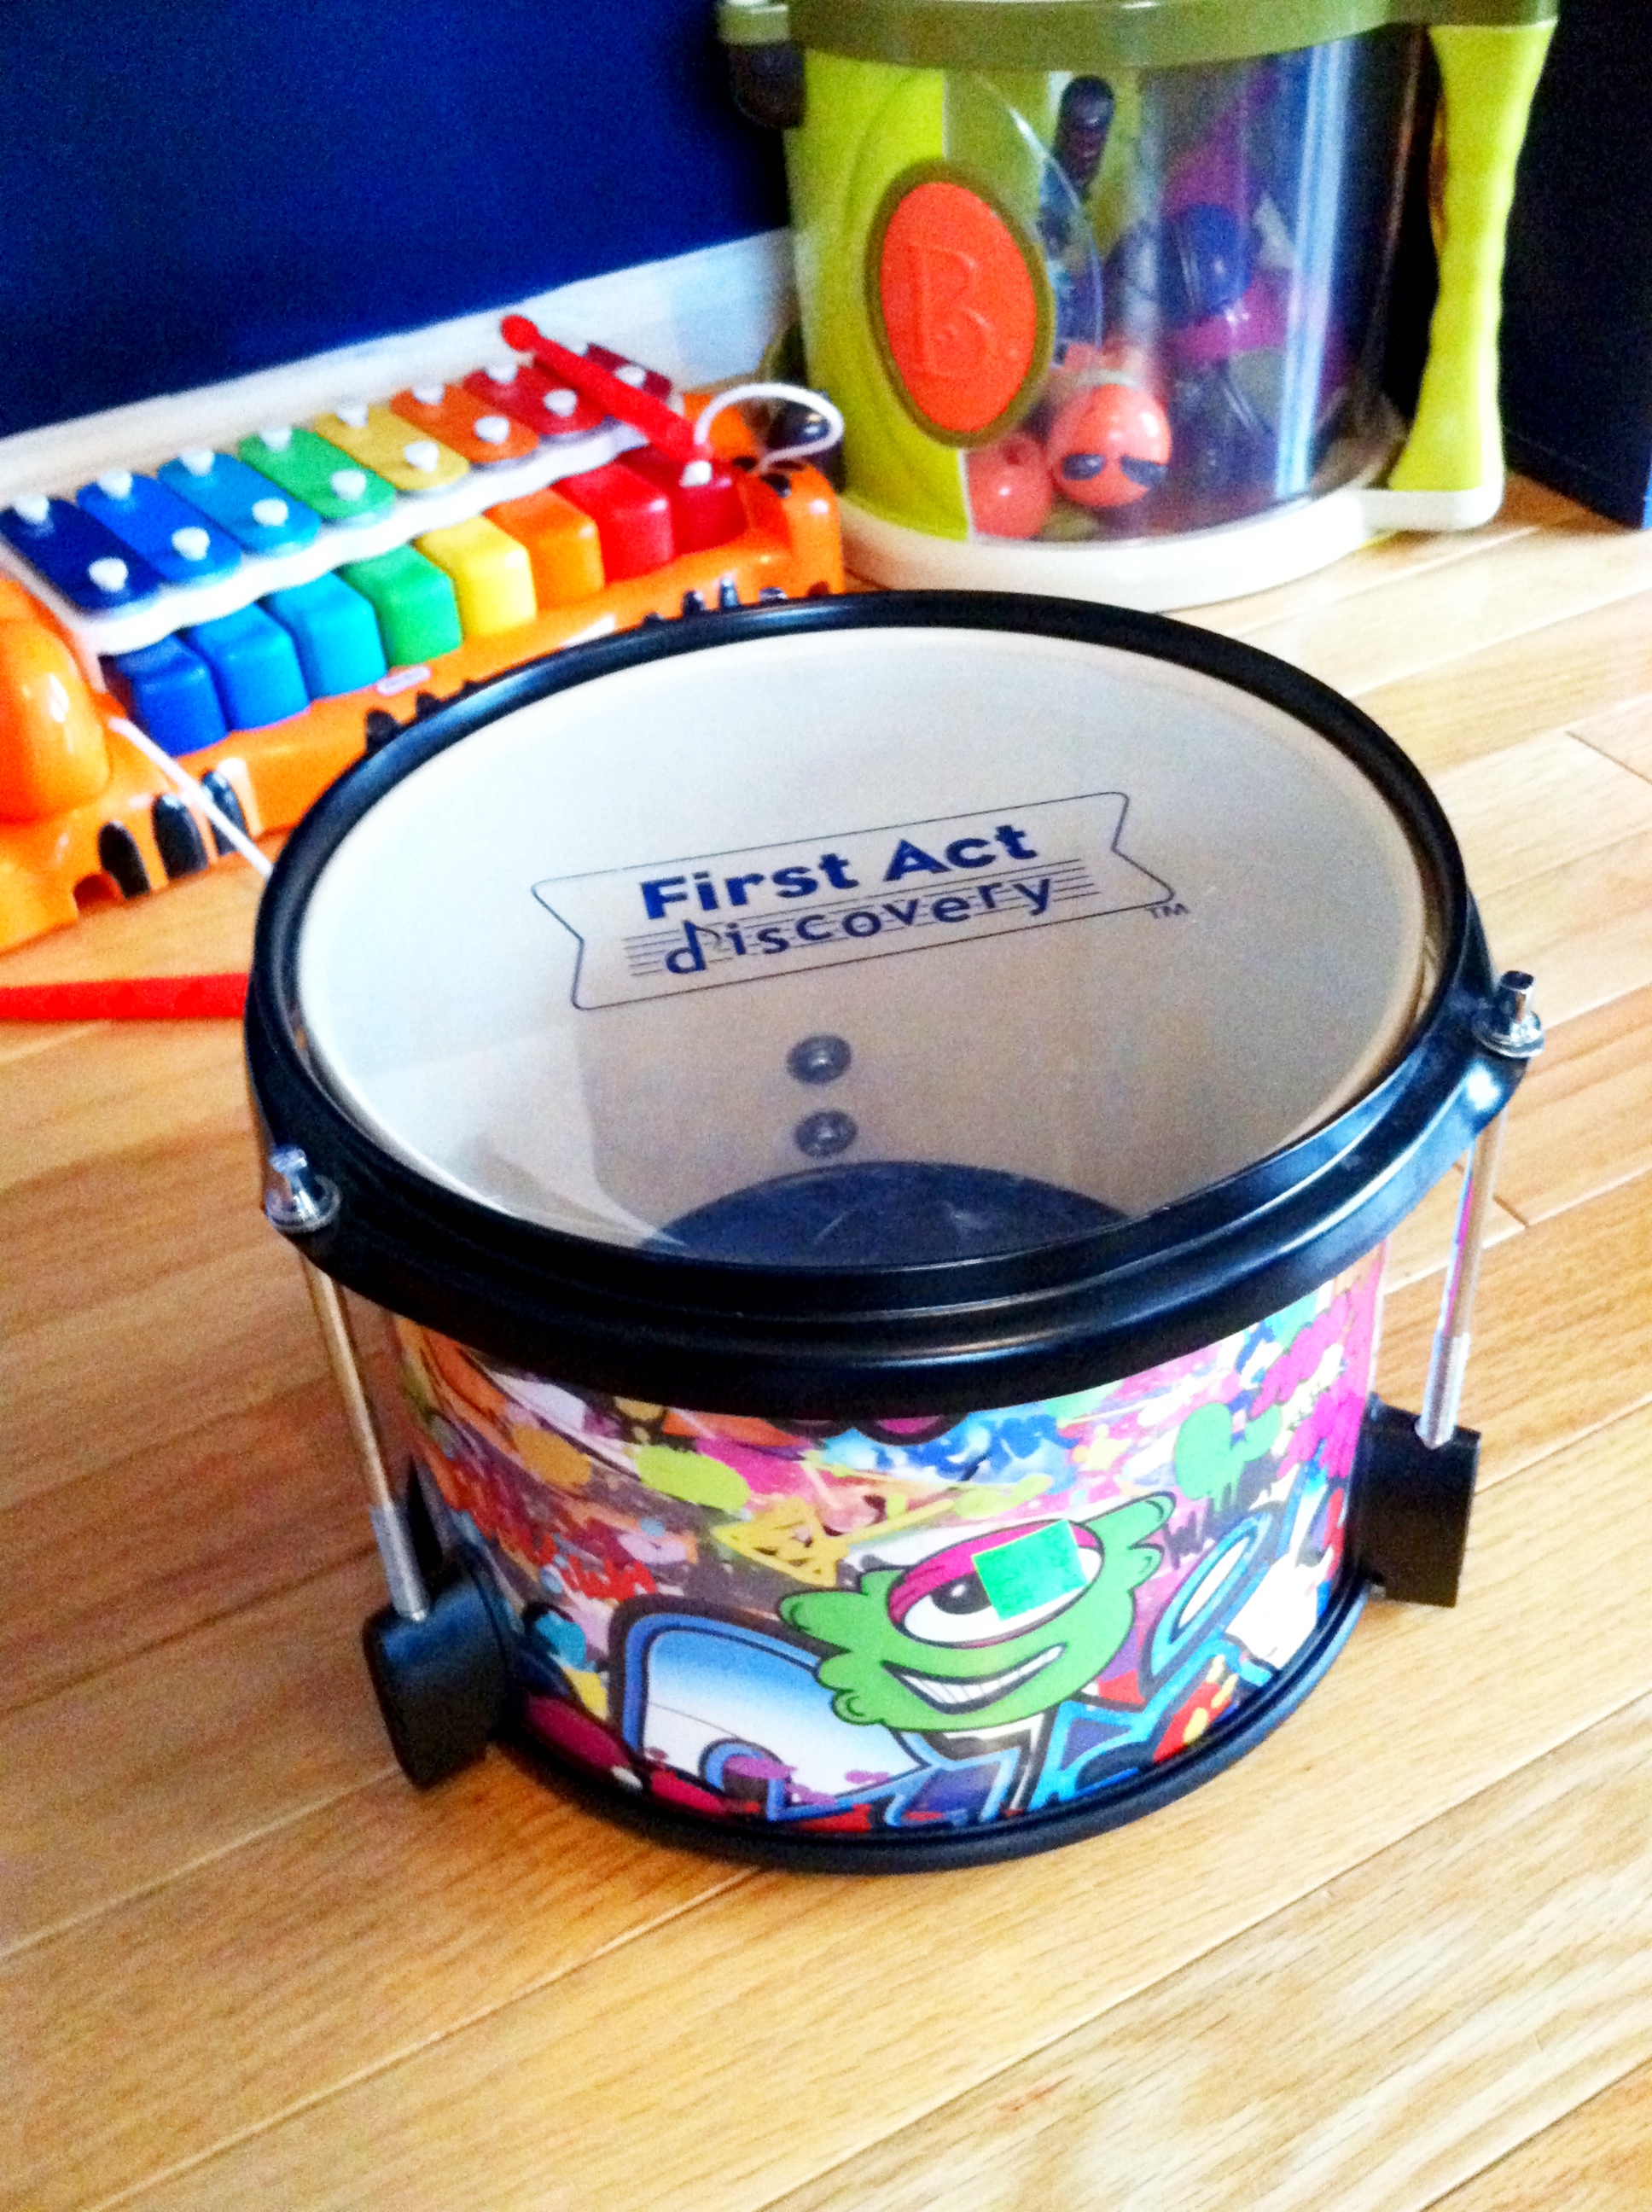
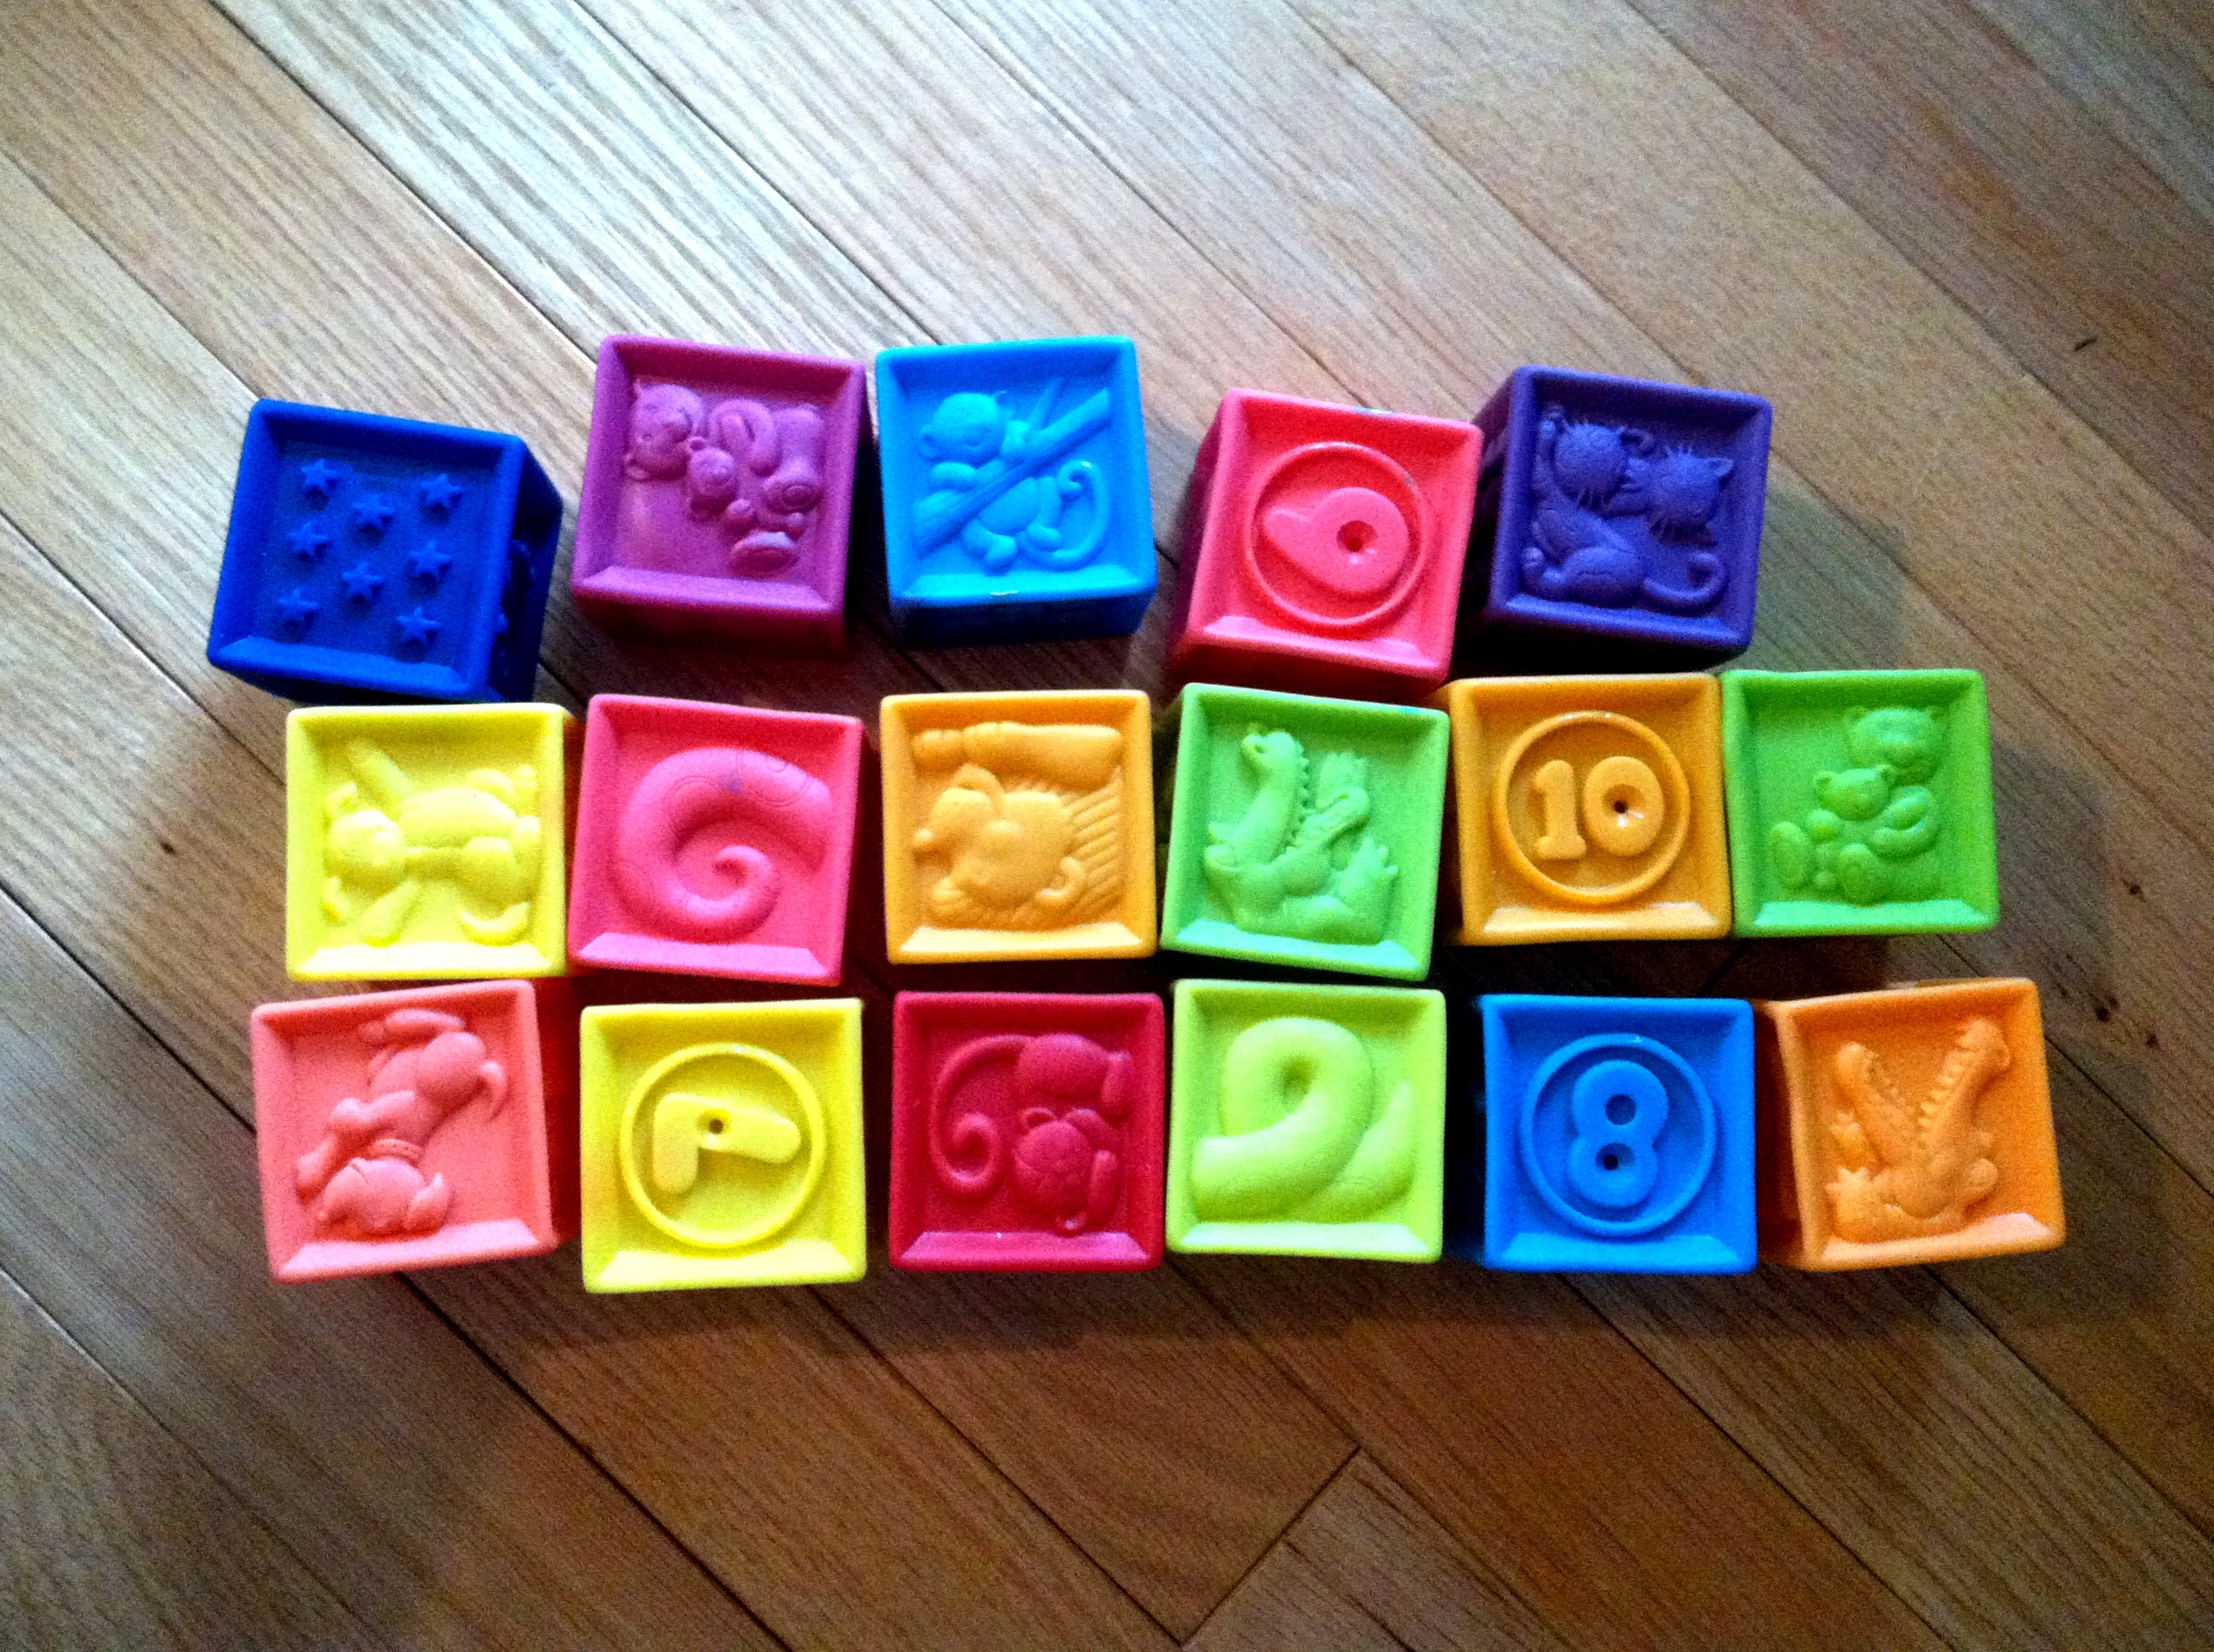
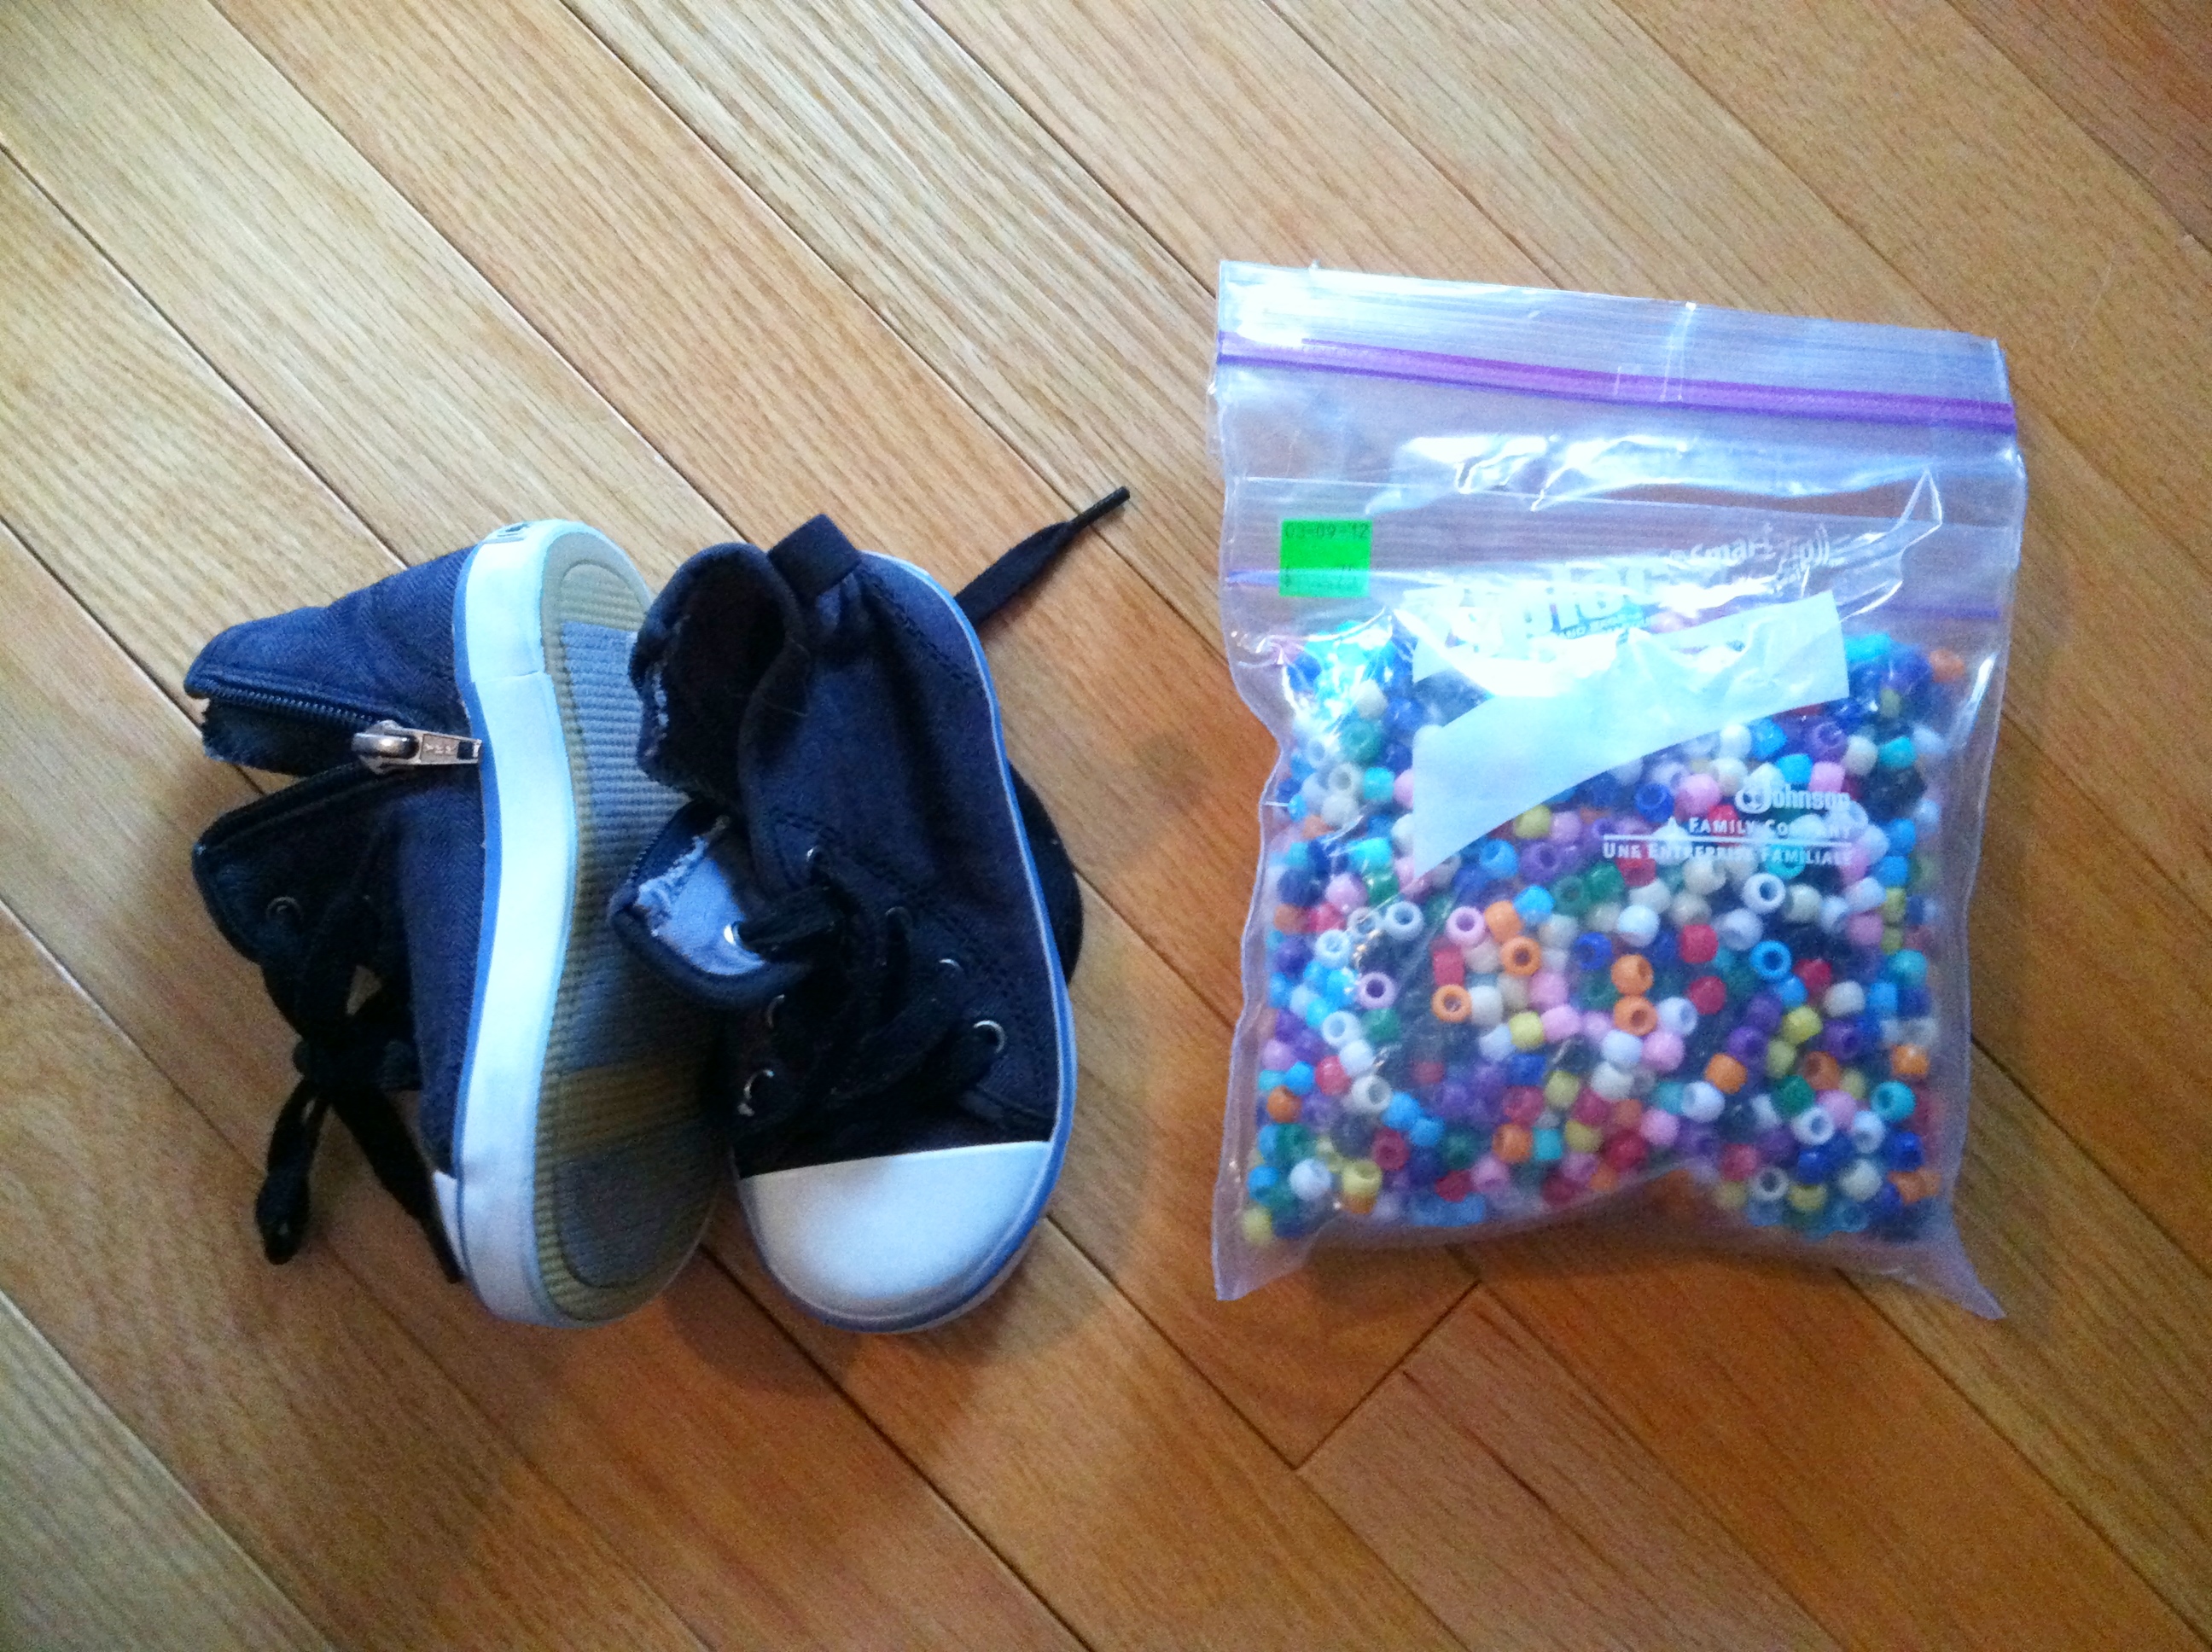
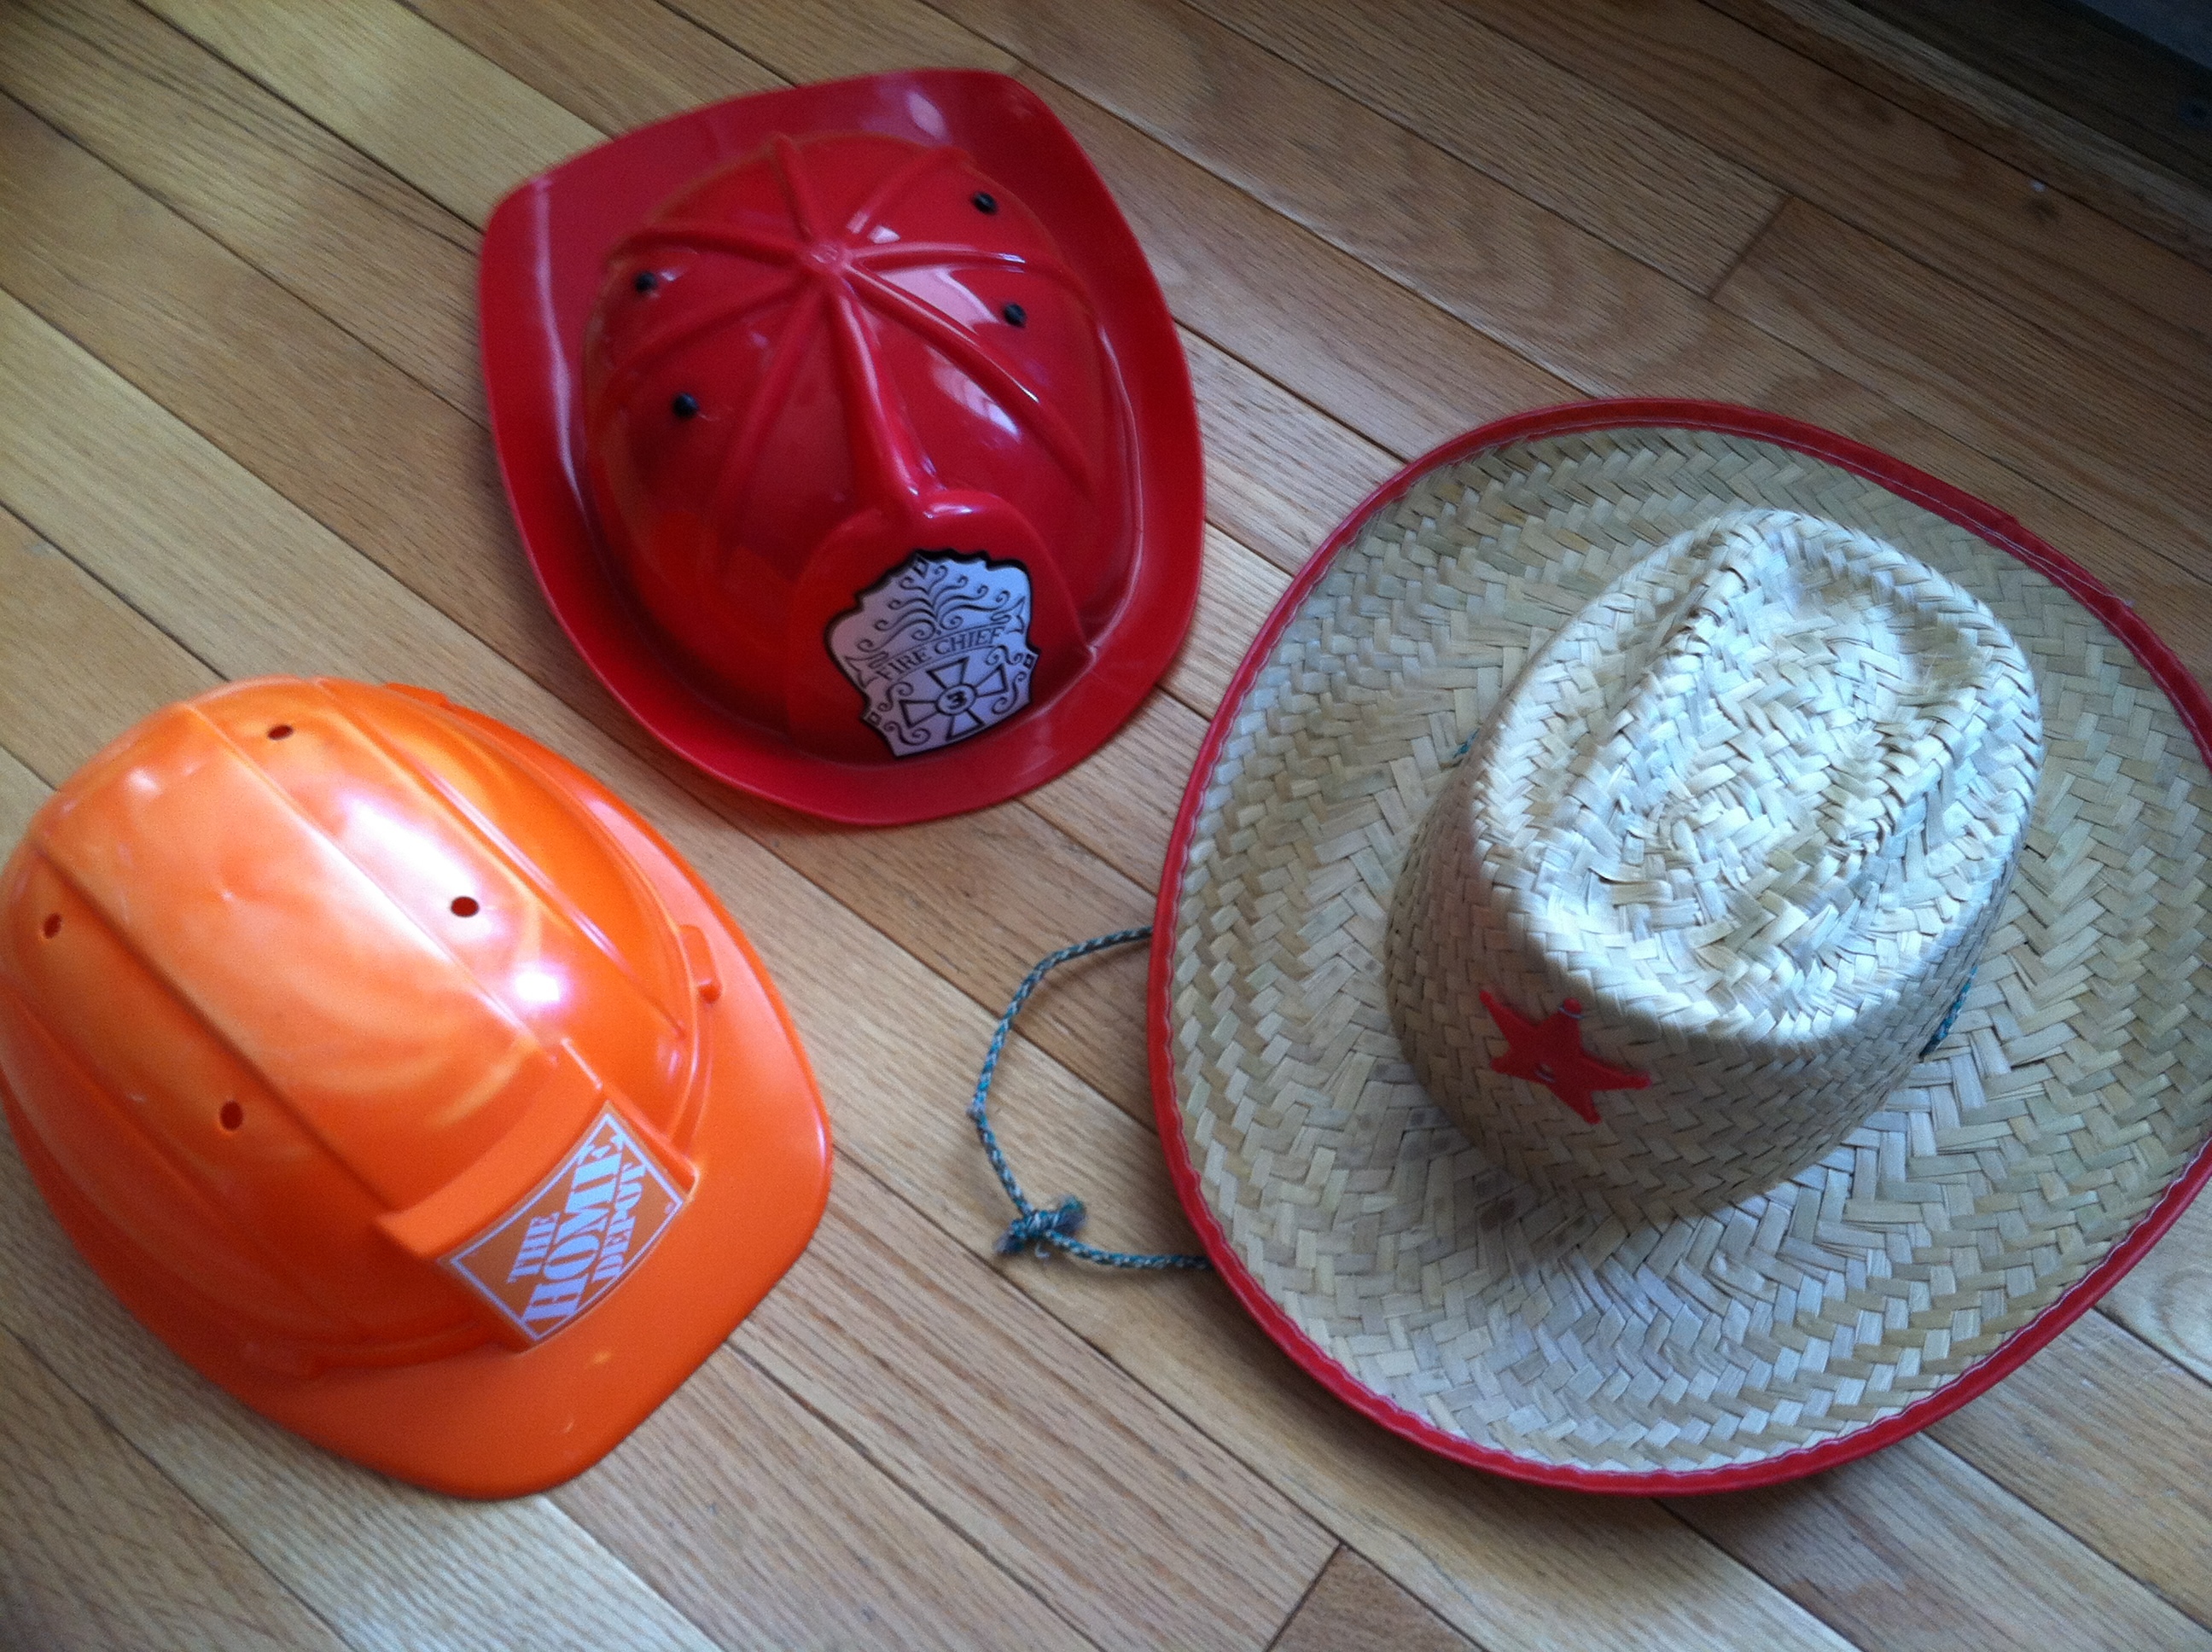
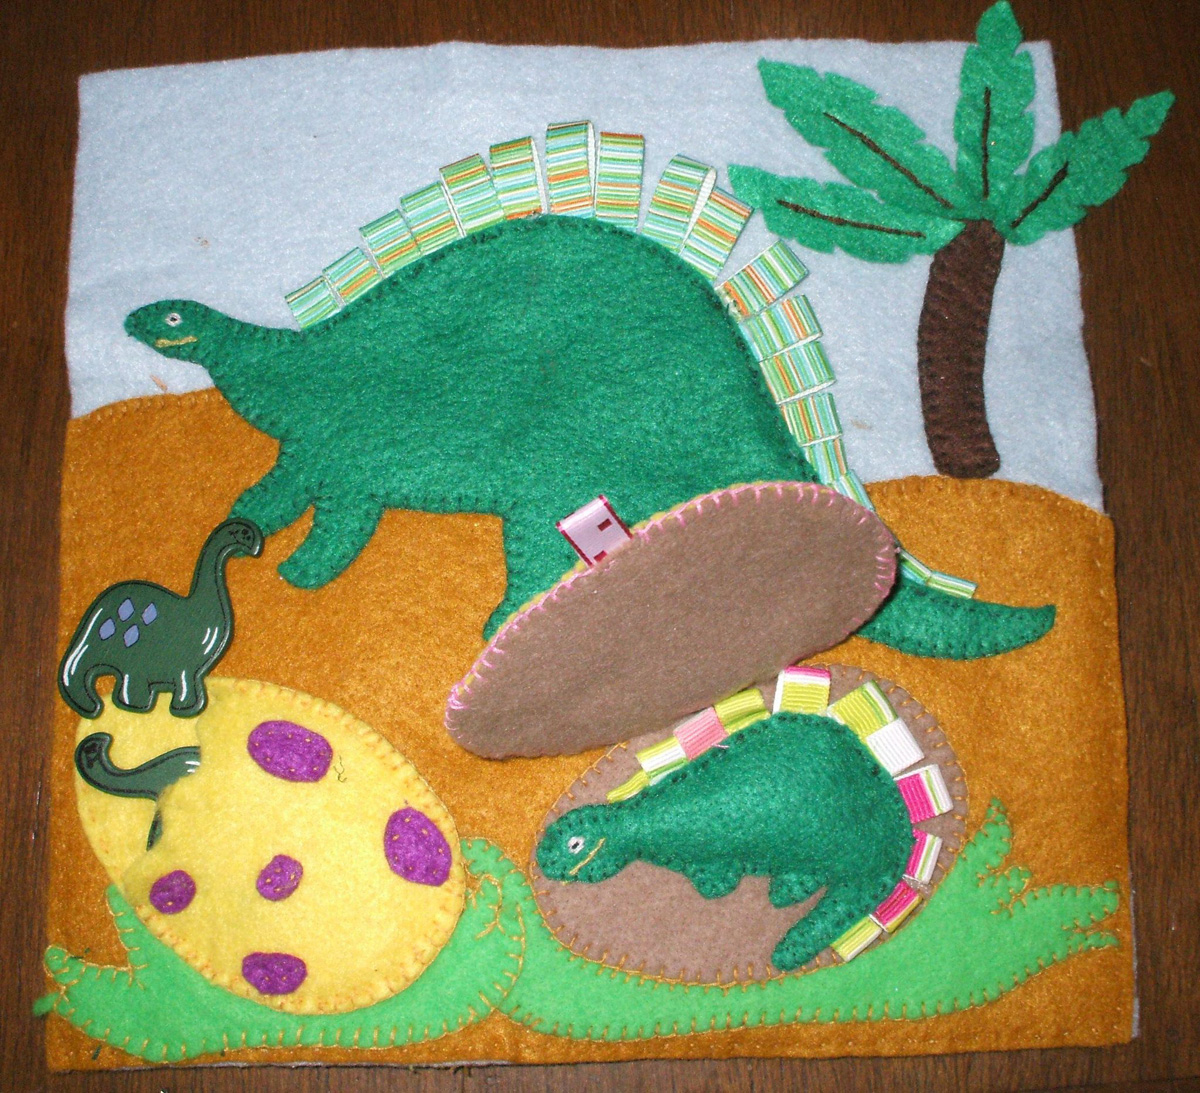
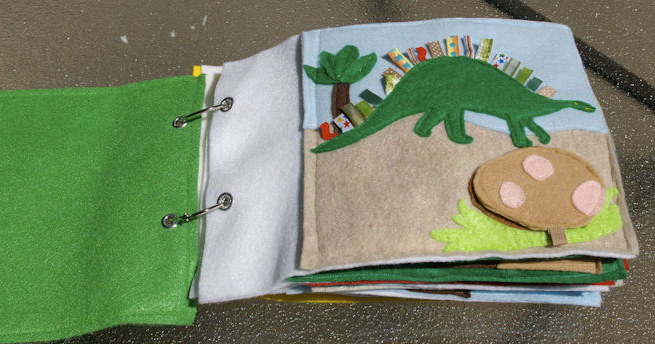
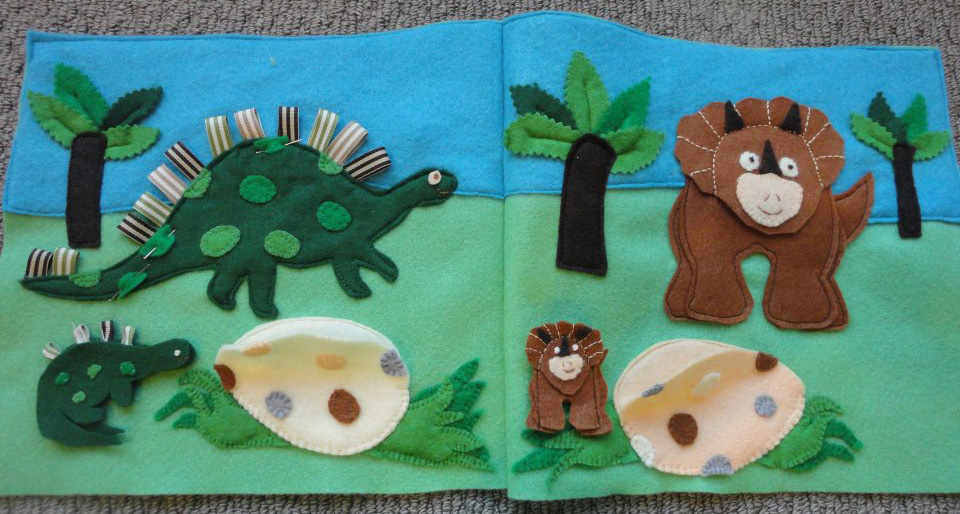
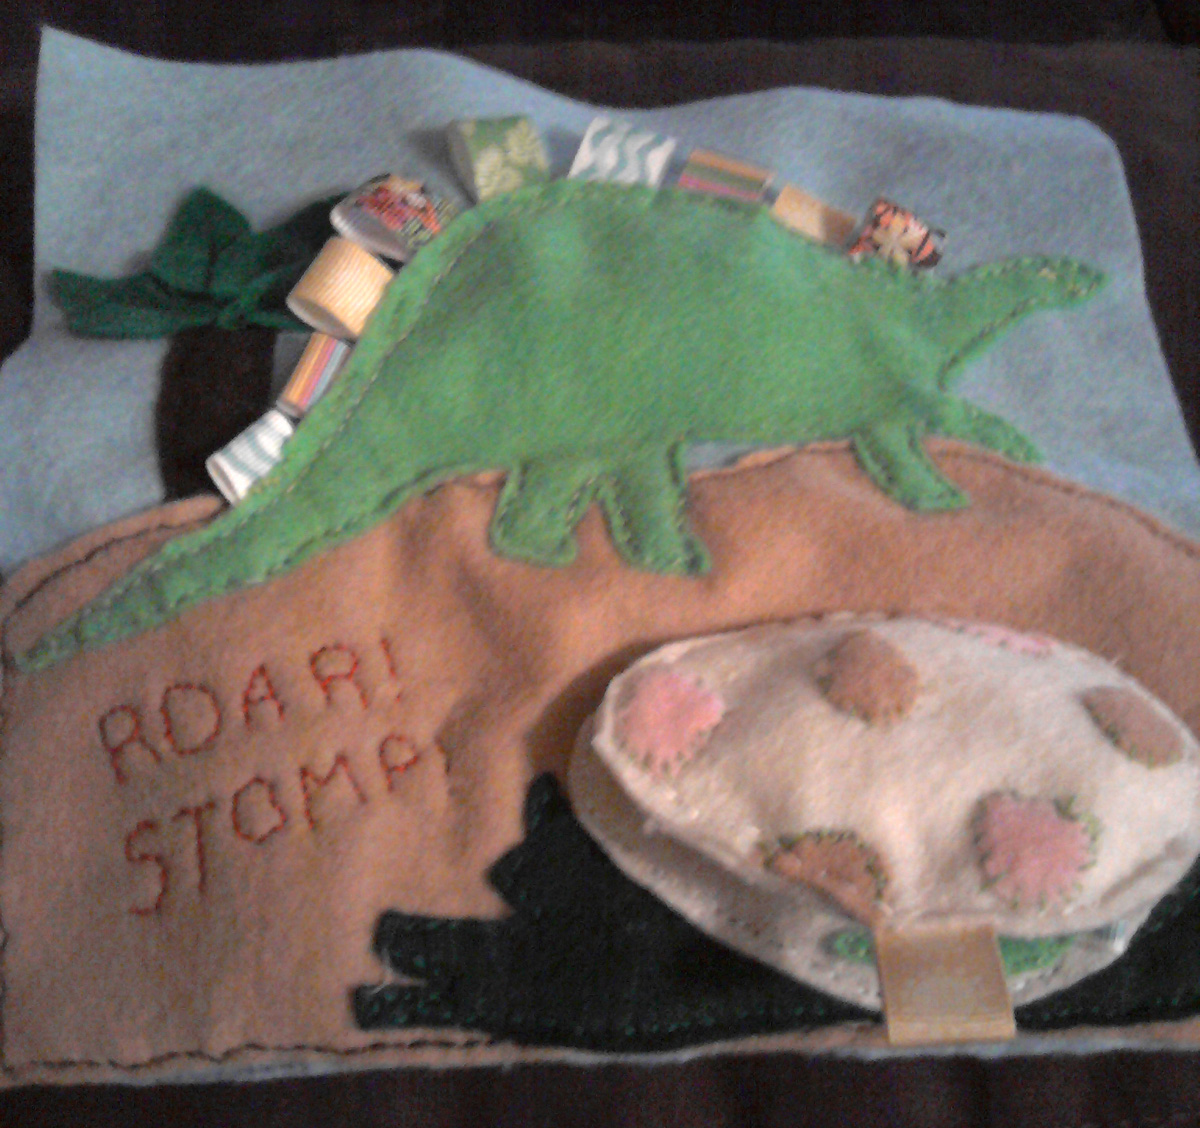
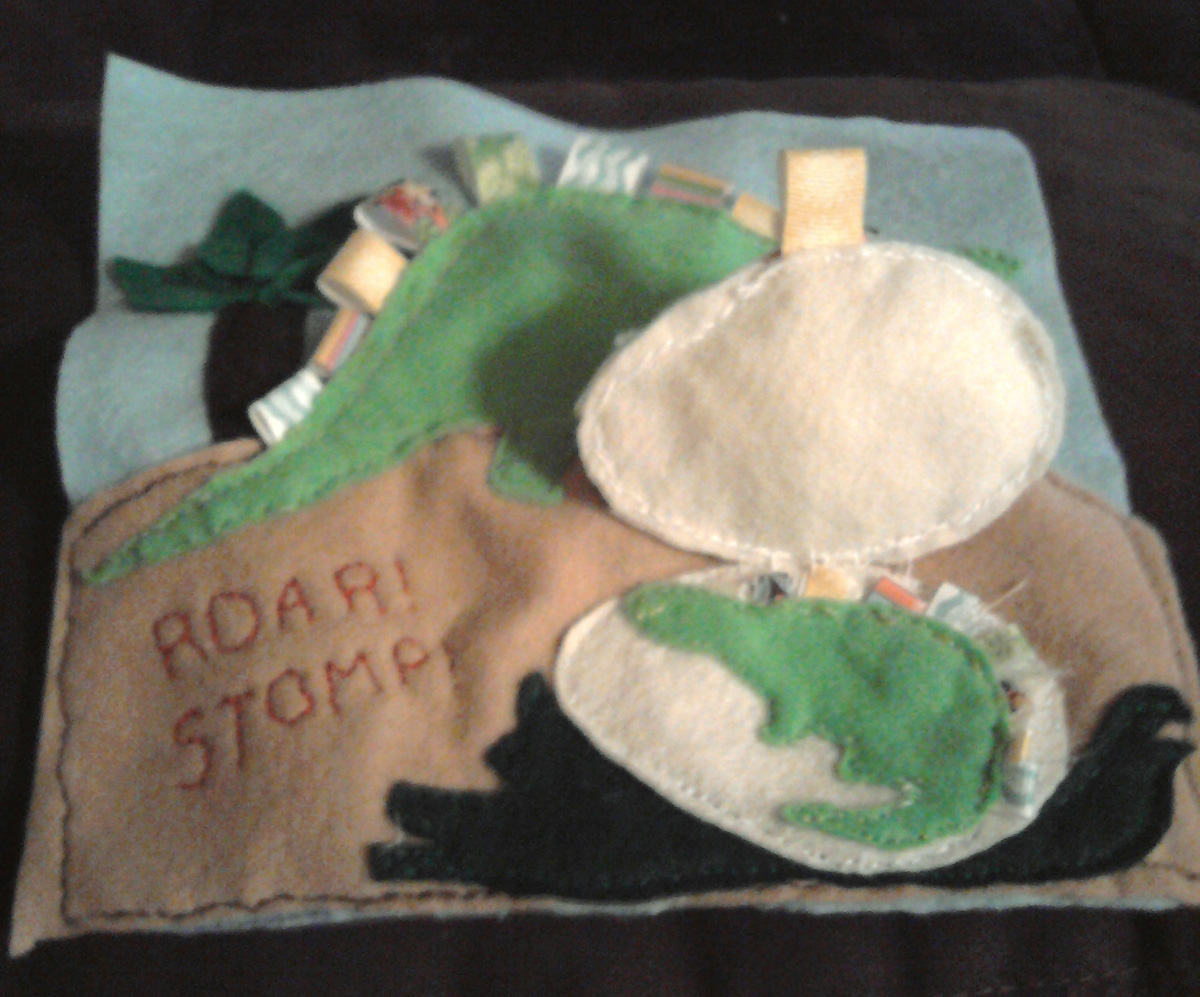
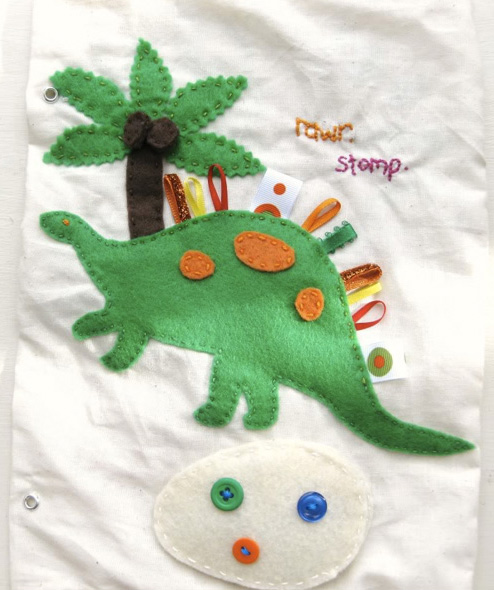
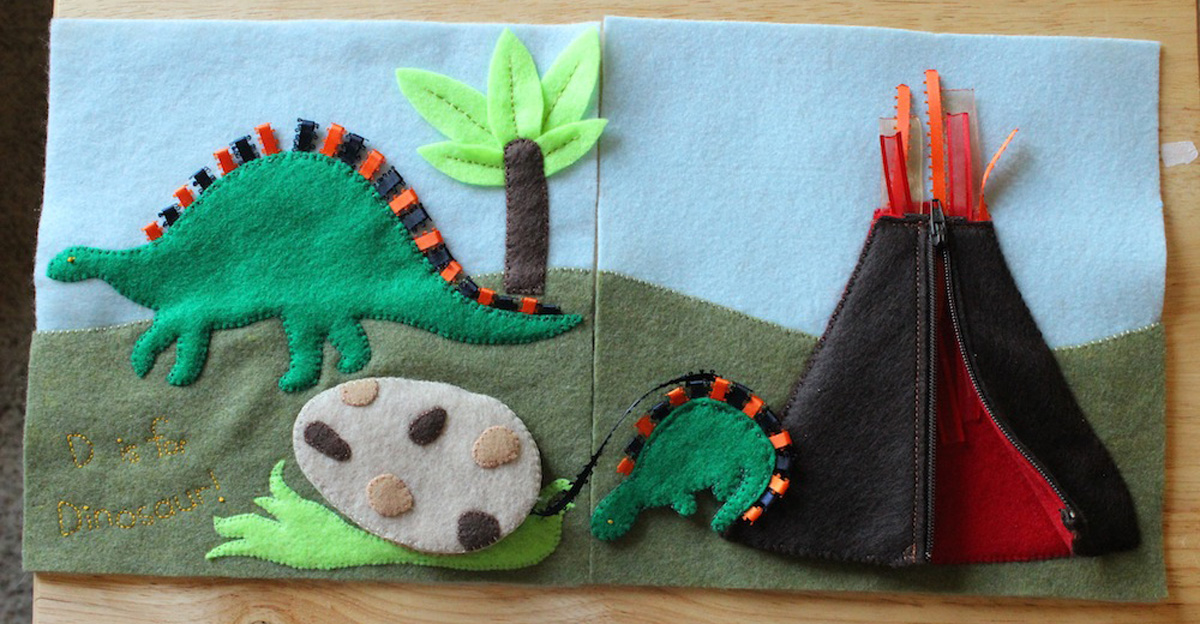
I’ve done other little thrift trips in the time since I’ve last posted about it. Ive included photos of what we’ve found.

Reader Gallery – Dinosaur Quiet Book Page

I love seeing what others create with my quiet book patterns! Now that they have been online for a little while, I’m starting to see so many great photos of the work you all have done! Keep the photos coming!

I will be featuring galleries of each page. If you’ve used one of my patterns and would like to share what you’ve done here on Imagine Our Life, submit it ion the Facebook Page or email it to me. I will link to your blog if you have one. If your photo is posted here and you’d rather it not be, just let me know.

This first gallery is for the Dinosaur quiet book page. The ribbons on the dinosaurs’ backs make it a very easy page to customize. I’m amazed at how different it looks just with different colored ribbons! Some of you took it even further and made a 2-page spread with volcanoes and additional dinosaurs. They are all great!

Photo Credits: Adriana A., Jen at Beebee Bellies, Bridget Mc., Ginna K., Rachel at her threaded needle, Jessica at Just Enough Style, Loree H., Susan at More Holiness Give Me and Philippa H.

Farmer’s Market Quiet Book Page

At last, I have another quiet book pattern for you! I got a little bit carried away on the details of this one, as I did everything but the veggies while on vacation at the beach. Feel free to simplify things wherever you need to.

Someone on the Facebook page suggested I do a farmer’s market page, and I loved the idea! I thought it was a great way to feature vegetables. Jax recently fell in love with this classic Sesame Street song from a sing-along DVD we got at the thrift store, so was is perfect timing.

This page features sorting and matching. I also added some seed packet buttons I found at the thrift store. (I’d originally planned to make potatoes, but when I realized all but one of my veggies matched the buttons, I switched to a super cute turnip!) They have the veggie names so Jax can read them when he gets older. Right now he just tells me the letters he sees. The seed buttons are no longer sold, though I did see some on Etsy.

All of the bins and baskets have green Velcro (the soft loop side) for the green inside part. I used Babyville hook & loop tape I bought at Joann’s fabric store. I didn’t use the hook side. I find that the hook side of Velcro ruins felt when you pull it off. Instead, I used snag-free Velcro on the back of my veggies. While they don’t stick quite as strong to the loop unless you press down, they do zero damage to the page or the other veggies!

What I used: The pattern, background felt in sky blue and olive green, felt (in natural, tan, 2 browns, red, orange, yellow, 4 greens, purple, violet and white), thin green gingham ribbon, tiny olive green ric-rac, varigated green ric-rac, seed packet buttons and wood tags (that I painted to have the matching veggie shown.)

Background, Sign & Large Basket: I pinned olive green down to my sky blue background. Once all the baskets were sewn down, I went back and sewed down the exposed edges of the olive green. For the sign, I sewed down all the yellow letters to the green backing, then outlined them with a back stitch in dark brown. For the large basket, I cut scrap strips of natural felt and wove them together a little larger than the basket shape. I pinned it together and trimmed the woven strips to fit, then sewed it all down to the page. I cut the green Velcro (loop side) into the basket top shape and sewed it down.

Vegetable Bins & Baskets: For the top baskets I cut three shapes for each. One was the base, one was cut into horizontal strips and one cut into vertical strips. I woven and sewed down the baskets the same way I did the large one. When I sewed them to the page, I let them puff up a bit to give a rounded shape. The tops are green loop Velcro.

For the middle bins, I laid down the tan backing piece, then the brown inner shadow piece, then the Velcro top piece and then finally three tan wood slats and pinned everything down. I used 2 French knots at each end of the wood slats, then did a running stitch across the top and bottoms. I did more running stitch around the top of the bin’s backing, then sewed down the Velcro.

For the bottom barrels I sewed down the barrel and the Velcro. I did a back stitch following the curve of the Velcro to make the lip of the barrel. I did a stem stitch to make the barrel’s slats. A back stitch would work well too.

I used plain wooden tags that I painted with craft acrylics as labels, sewing them on with loops of ribbon. If you have printable fabric, you could make tags that way to avoid painting.

Carrots: I decorated both sides with long, horizontal stitches in an orange-brown thread and sewed snag-free Velcro to one side. I sewed the two sides together with bits of tiny ric-rac sticking out of the top. I got my ric-rac at the craft store in the $1 trim bin.

Peapods: I sewed 3 peas down to one of the larger pod pieces and sewed snag-free Velcro to the other. I laid the smaller pod piece on top and sewed all three layers together around the edges. The top piece will become a little pocket.

Tomatoes: I sewed the green bits down to the fronts and snag-free Velcro to the backs before sewed them together.

Eggplants: I sewed snag-free Velcro to the backs of each eggplant, then sewed the purple pieces together. I layered the green tops around them and sewed them together as well.

Turnips: I sewed the violet tops to the white shapes then sewed snag-free to the backs. I sewed the front sand backs together with loops of variegated ric-rac sticking out of the top. That was also from the $1 trim bin.

Corn Cobs: I decorated my corn cobs with yellow seed beads. If your child will be playing with it unsupervised, I’d suggest skipping that step. For the corn silk, I tied a little bunch of cream-colored embroidery floss with a knot at the end. When I sewed the two sides of the corn ears together, I put the knot between them with the tassel stitching out of the top. I made sure to make a few stitches through the knot. I layered the green leaves over the bottoms of the ears and sewed them on. I sewed my snag-free Velcro on last, making sure to only go through the back layer.

For the seed packet buttons, I just sewed them on randomly by the big basket like they were laying out on the farmer’s market table.

I love this page! And I really love that all the little pieces use Velcro but don’t stick to each other or cause pulls in the felt. Jax knew just what to do when he sat down with the page. He knows all the veggies except the turnip. We’re working on that one!

Life Via Instagram

Finally downloaded the last 177 photos I’ve taken recently with my iPhone, so now I’m caught up with my Instagram collages! One of them is the week before our trip, and the rest are from the beach.

This week I’m working, unpacking and preparing for a huge community yard sale this weekend. I really don’t like sorting and pricing everything, but it has to be done! Do you you price items for your yard sales ahead of time, or do you wait until people ask?

I recently asked a question on the Facebook page about how much people would be willing to spend on one of my completed quiet book pages. I get email inquiries, but they take SO much time to sew. My time makes me more money if I do graphic design work. But, I’d love to switch some of my work hours over to crafting, so perhaps I can sell some patterns. Others have suggested kits or pre-cut felt, mass-producing one or two pages per month to sell and small, themed books/patterns. What do you think?

Sewing Basics – Embroidery Floss and Back Stitch

I will be featuring some hand sewing basics here for those of you who are new to it. If you have a special request, please let me know!

Embroidery Floss

When I sew with felt, I almost always use 2 strands of embroidery floss. Embroidery floss comes in 6-ply – 6 strands put together. I generally use DMC or Anchor, but sometimes buy bulk packs of cheaper stuff. The brand name floss tangles a lot less. It comes in a skein – an elongated coil that is banded at the top and bottom with paper rings. You can just pull on one of the tails to get the length of thread you need, but the skein will most likely get messy. I recommend buying paper bobbins and winding your new skeins around them. Write the color number on the side and pop them in a craft box for storage.

Threading the Needle & Getting Started


Let’s get started! Cut off twice the length of thread you want to work with. I usually cut about 4 feet that will end up 2 feet once folded. Separate out one of the six strands of floss and hold one tight to it. Use your other hand to slide the other 5 strands in a bunch down the length. Make sure the bunch doesn’t start to get too tight and tangle. A little wiggle here and there will keep it from tightening. When you have your single strand, fold it in half so the ends meet. (You can set aside the rest of the thread to use a little later, or wind it around the bobbin for storage if you won’t need that color again for a while.)


Now, thread your needle, with the two ends going through the needle eye together. I like to get the ends of the thread damp then pinch them between my thumb and forefinger, with just a couple mm sticking out. Then I slide the hole of the needle down onto the thread, wiggling back and forth slightly. Trim the ends of the thread first with sharp scissors if they are at all frayed. (I use these.) Pull the ends through the needle for a few inches. You should have a loop at the end of your thread.


Ready to stitch? I’ll be doing a back stitch, so my first stitch will be a simple straight one. Come up through the back of your felt, but don’t pull the thread all the way through. Come back down to make your stitch, then pass your needle through the loop at the end of the thread. Gently pull it tight to secure your thread. Quick, easy and no knot!

Back Stitch

A back stitch will give you a nice straight line of dashed stitches with no space in between them. Start with your first stitch already done. Come up through your felt from back to front at the spot you want your stitch to end. (So if each stitch is 3 mm long, come up 3 mm from the last stitch.) Go back down through your felt in the same spot your first stitch ended. Your two stitches will be sharing the same hole in your felt where they meet.


Continue on the same way – come up where you want each stitch to end, then go back down through the previous stitch’s hole.


Here is what the front looks like:

And here is the back:

Tying off the Thread

There are many ways to tie off your thread – use whatever works best for the situation. This is what I tend to do most often to keep the back of my work neat.


On the back of your work, run the needle through one of the stitches, but don’t pull it all the way though. Pass the needle through the loop your thread makes then pull tight into a knot. Go back through the stitch the opposite way and repeat making the knot. I don’t like cut my thread close to the knots, so I run my needle through several stitches before snipping it.

All done!

Back From The Beach

Yesterday we made the 6 hour drive home from our week in the Outer Banks of North Carolina. It’s good to be home, but I miss the ocean and pool already!

We go to the beach in the beginning of May every year. This year, I was expecting a whole lot of fun with my little 2 year old. Last year he enjoyed the pool, but we were just carrying him around int he water. He had enjoyed the beach, but fell asleep in our tent after very little sand play. I had big visions of all the fun beach and pool time we’d have this year… And I couldn’t have been more wrong!

Turns out, Jax is old enough now to be afraid. He was scared of the pool and wouldn’t go in. We eventually convinced him to play beside the pool with water squirters and a bucket. He thought that was great and started asking to go back to the “pool beach” constantly. I was a little sad he wouldn’t go in, though. We specifically chose a heated pool and it was heavenly.


As for the beach… If Jax could sum up his opinion of it in one word, it would be “dirty!” As soon as we arrived, we all headed down to the beach for a walk. He freaked out immediately and demanded to “Go home! Go inside!” I had to take him in to calm down while everyone else walked. It was quite windy that day, so I assumed that was the problem. On a warm, calm day, we took him out again. We had set up a beach tent and blanket. He spent the majority of his short time out there standing in the tent crying about going home and the dirty sand. We tried very hard to show him how fun building sand castles was. He did make one trip to pick out sticks to put on top of our castle, but then wanted to be held and cleaned off. I took him back in before he got too stressed out. I made sure to have beach time throughout the rest of the trip, but not nearly the amount I’m used to. I stuck to carrying him in our Beco.

Towards the end of the trip, Jax woke up around 10pm beside me with a horrible choking cough and made it hard to breathe. By the next day he had a cold, which is now full blown. It made the drive home pretty uncomfortable for him, but we made it through!

We didn’t bring many toys to the beach house. I brought him for soft blocks that were lightweight to pack and all of my recent quiet book pages. What were his favorite pages? The Cooking Breakfast page (with the food from the Starbucks page as well) and Ice Cream Parlor were his absolute favorites. He loved “cooking” and egg sandwich and bringing it to us saying, “Mama, it’s a nice sandwich!” He names all the ice cream flavors and told me the rainbow flavor was mango.


Also big hits were the Sandcastle and Beach Bag & Flip Flop pages. He really liked his little iPhone and the watermelon.


I’ve been working on my next page – a farmer’s market with vegetables! The background is 98% done and I’m working on the cute felt veggies. You can follow my progress on the Facebook page. When I’m done, I’ll be starting a cupcake oven.

Rainbow Quiet Book Page

“It’s a rainy, sunny day. The rainbow‘s here to play!”

Jax loves color and he really loves rainbows! It was inevitable that a rainbow page had to happen. It took a while for me to decide what exactly to do. My first thought was a rainbow stacker that comes out of a cloudy pocket. But, I’d need to make each ring 2 sheets of felt thick for strength… 6 x 2 = Way too thick for a quiet book page!! So I changed plans and made a rainbow puzzle.


The base of the puzzle is a ring. When you store it in the cloud pocket it looks like a rainbow. Along one section is a row of snaps. There are rainbow color puzzle pieces that snap on. Jax is not good with snaps yet, so this is good practice for him. (If you use Velcro, I recommend this snag-free version that won’t catch on your felt!) The puzzle pieces have pipe cleaners in them so they become playthings themselves.

What I used: The pattern, sky blue background felt, felt (in white, red, orange, yellow, green, blue and purple), 6 snaps, several pipe cleaners and thread to match. I also made a little rainbow necklace as a little surprise inside one of the cloud pockets. I used pony beads from the thrift store.

Cloud Pockets: Sew the across the top of the two layers of felt on each cloud. I used sky blue thread. Pin the pockets onto your background felt and sew the sides and bottom down. I used a machine to go through all the layers quickly and neatly.

Puzzle Base: First sew half of a snap to each ring. (To find your snap placement, stack all the rings and mark a dot where you want it.) Pin the orange ring to one of the red rings and sew them together along the outside of the orange. Pin the yellow on top and sew it down the same way. Continue through the all the colors. Pin the red backing on to the back side and sew it together around the outside. Carefully trim the inner circle if needed to even it up. Using purple thread, sew through all the layers around the inner hole.

Puzzle Pieces: For each puzzle piece I prepared a length of pipe cleaner with the ends folded in twice to hide the pointy wire end. (You could also duct tape around the folder end to be extra careful.) I sewed the other half of the snaps to one side of each backing and free-hand stitched the color names to the fronts. Sew the fronts and backs together, inserting the pipe cleaners when they are halfway sewn.

I hope you enjoy this page! Please stop by the Facebook page and share your creation if you make it. You could change it up to be a ROY G BIV rainbow if you prefer.


Jax adores it! And, maybe it will save me from having to draw him eleventy billion rainbows a day… But, probably not!