Tag Archives: Sewing Projects

DIY Sewing Labels

DIY Sewing Labels

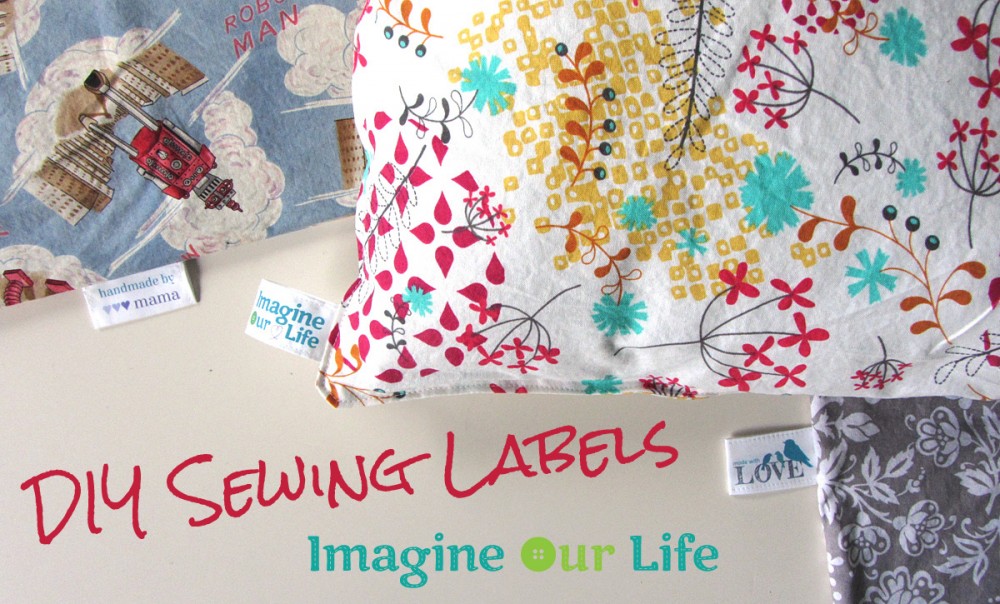
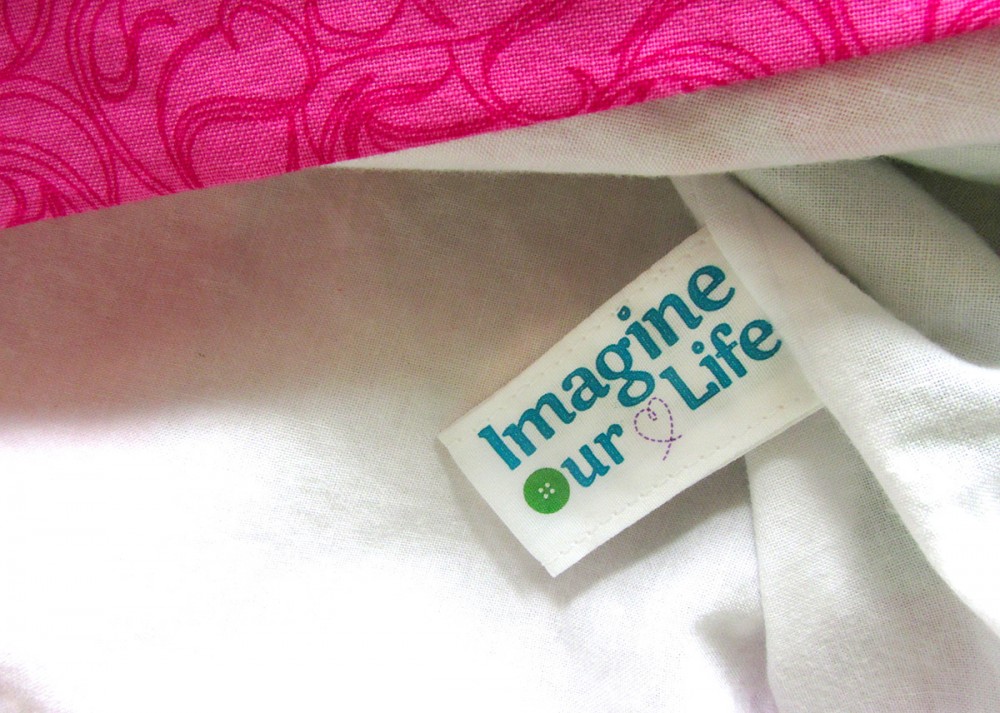
Here is a quick little project you can do to personalize your sewing projects: DIY sewing labels!

Materials

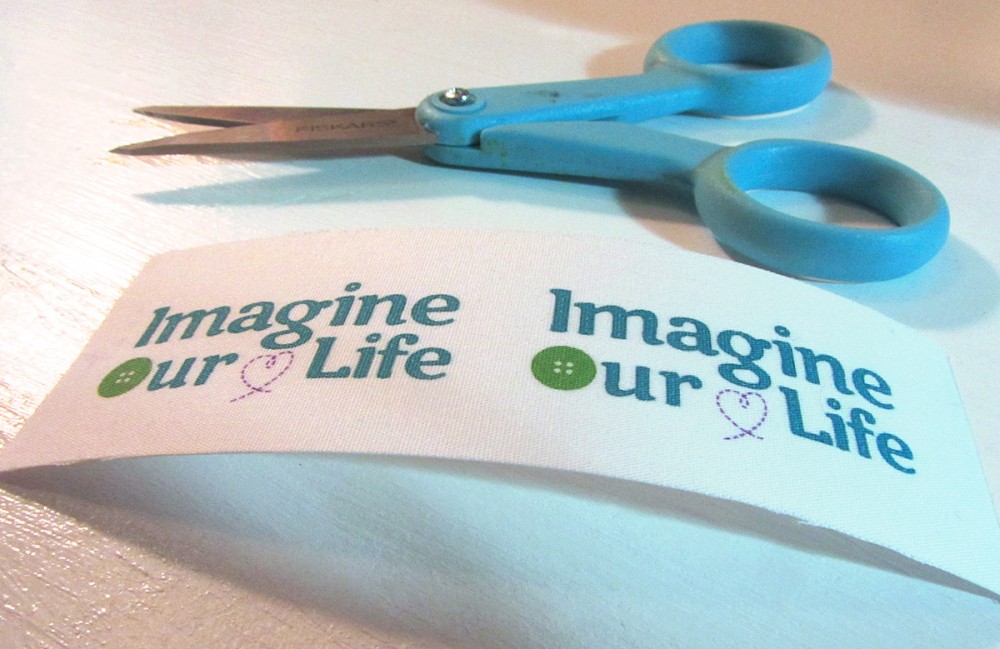
 To create your own sewing labels, you need to start by designing them. I made mine in Illustrator and just used my logo. For side tags, I laid out two logos side by side so they could be folded in the middle. For top tags (like the kind that would be in the neck of a shirt), I just had the design on the top half. If you wanted washing directions (or anything else), you could put it on the other side.

DIY Sewing Labels

I created a couple of quick Word files to get you started. I included some free designs you can use. If you use the designs I made, you’ll need to download two free fonts from Google: Elsie Swash Caps & Crafty Girls. Of course, you can totally do your own thing!

DIY Sewing Labels

Side Labels

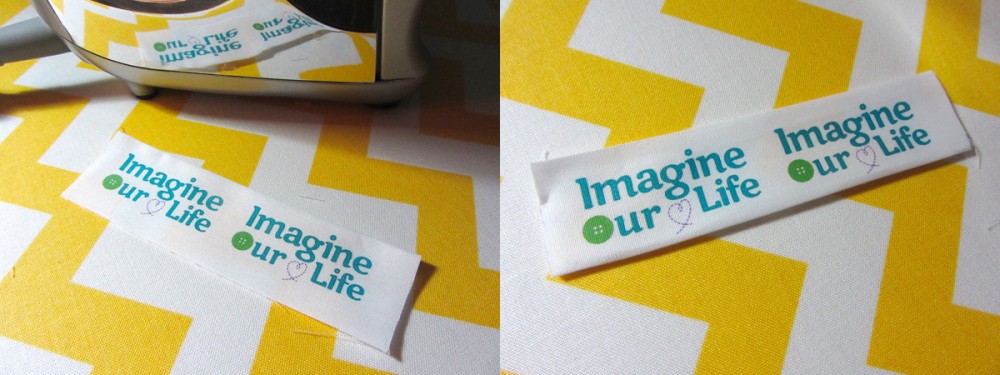
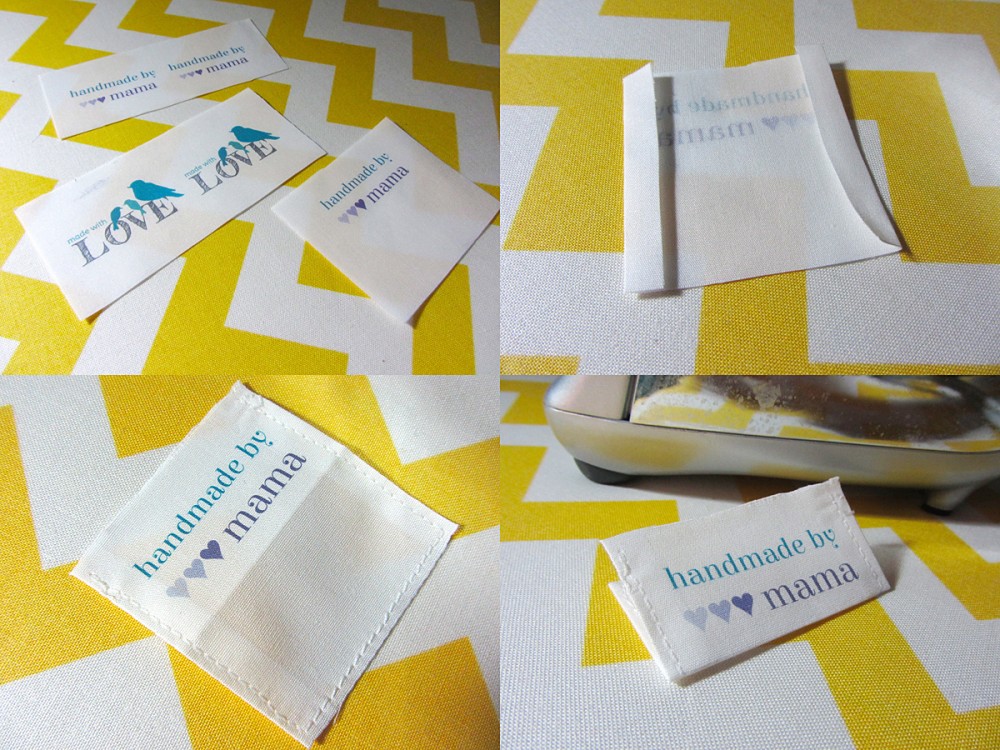
Follow the directions on your printer fabric, then cut out your label, making sure you have enough space to have .25″ extra all around. Iron the label flat. Iron the two long sides towards the back of the label.

DIY Sewing Labels

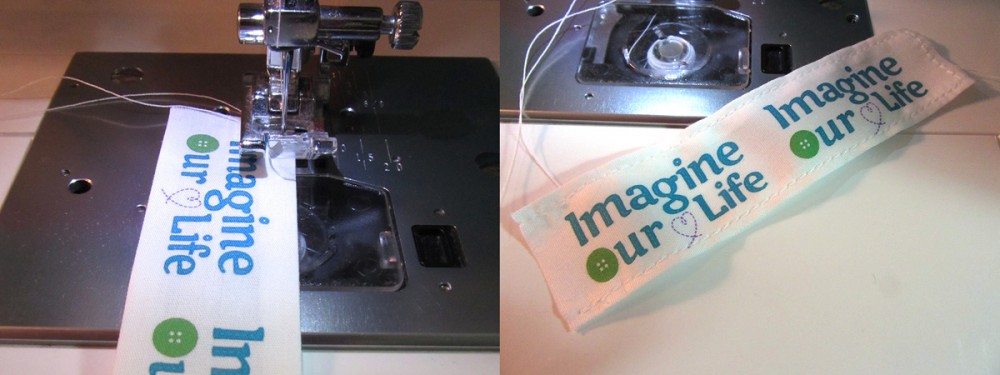
On your sewing machine, sew the folded edges, staying very close to the edge. I used my presser foot as a guide. (See the photos.) I sewed around three sides because I didn’t want to have to stop and start again. You could even go all the way around if you wanted to.

DIY Sewing Labels

Iron the seams flat again, then fold the label and press the fold well.

DIY Sewing Labels

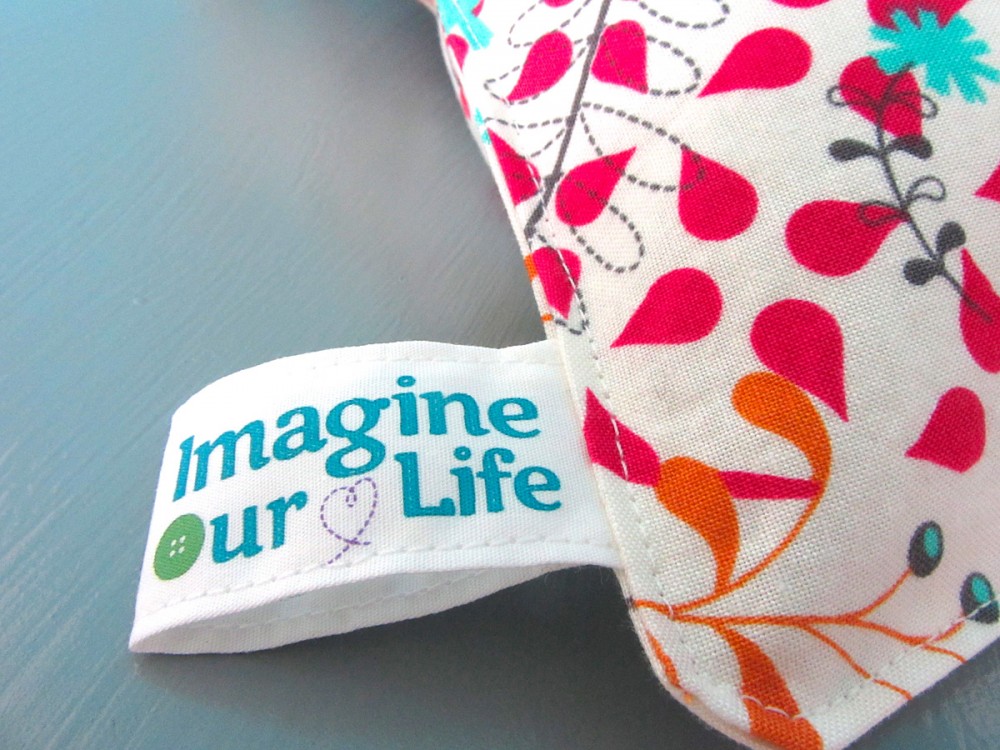
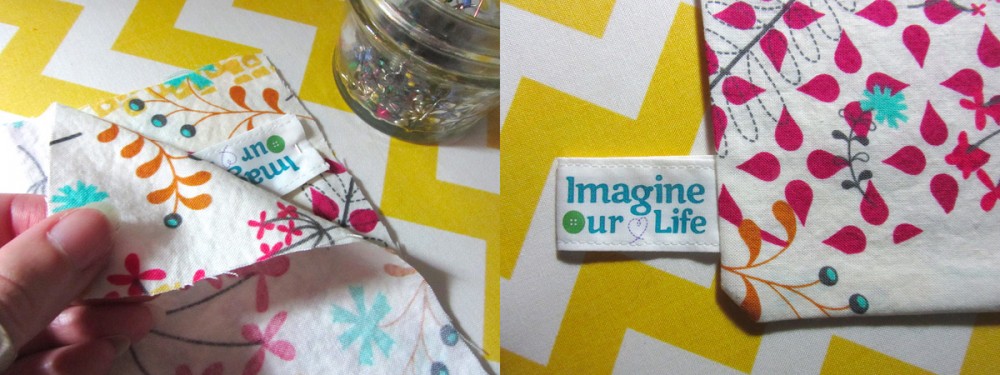
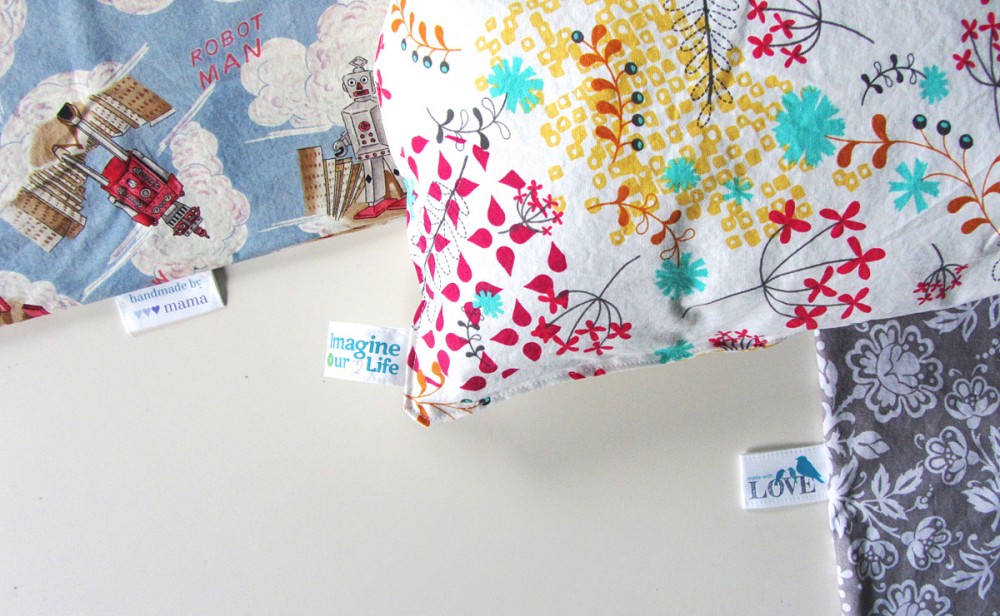
To add your tag to your sewing project, place it between the right sides of the fabric with the non-fold end in your seam.

DIY Sewing Labels

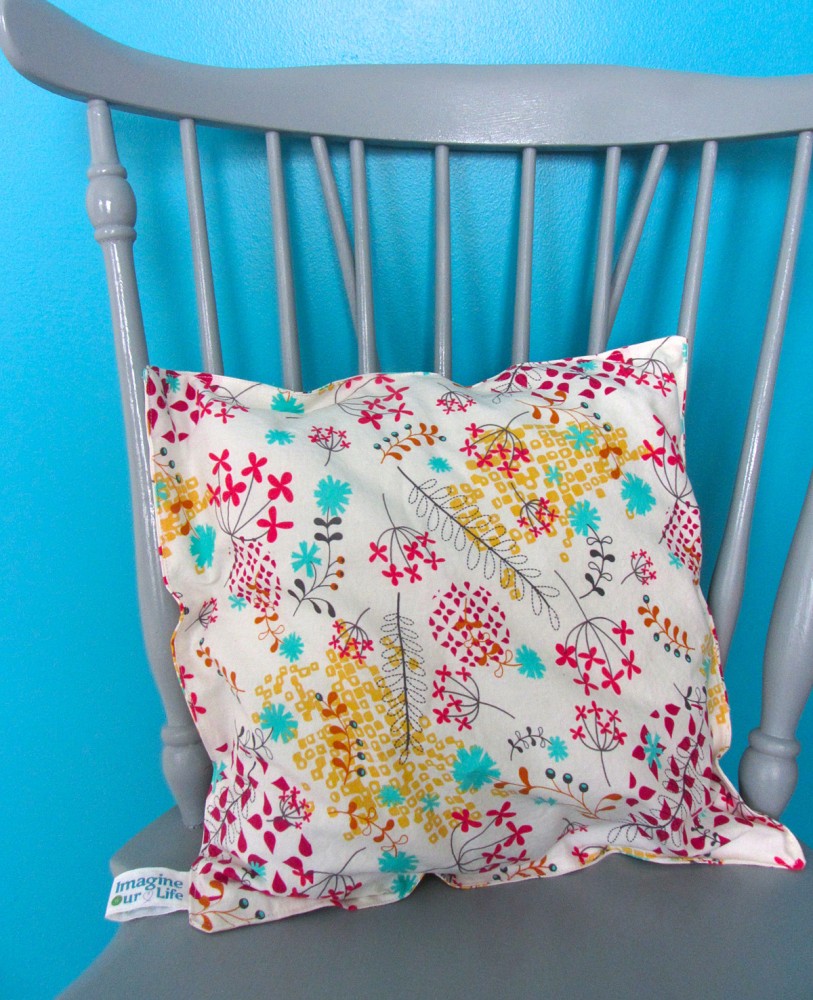
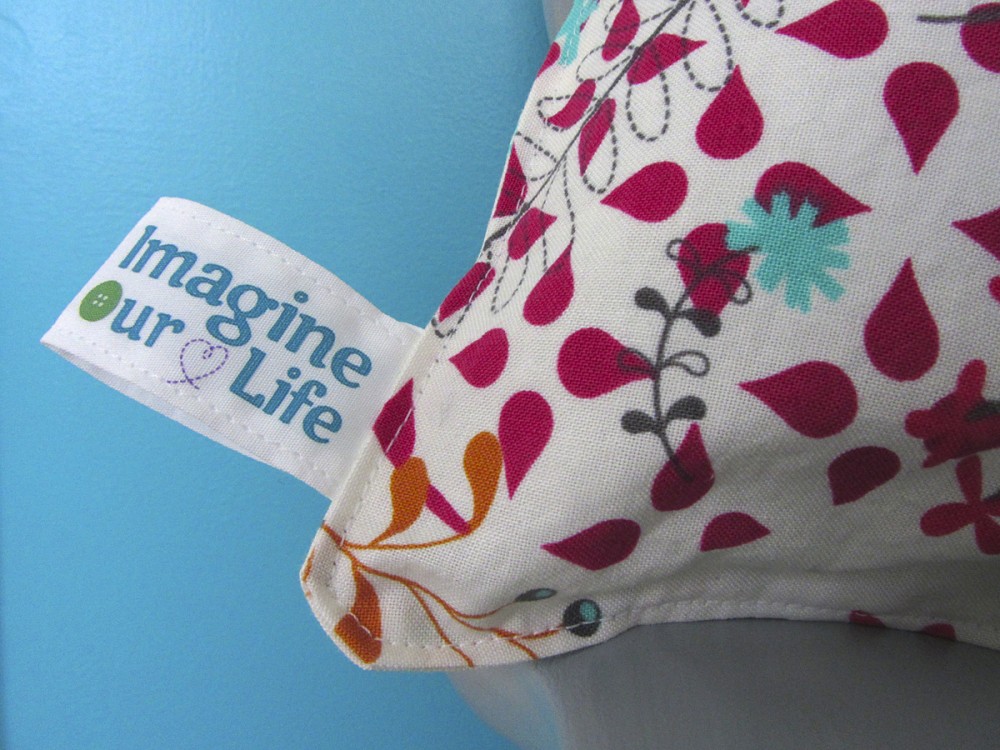
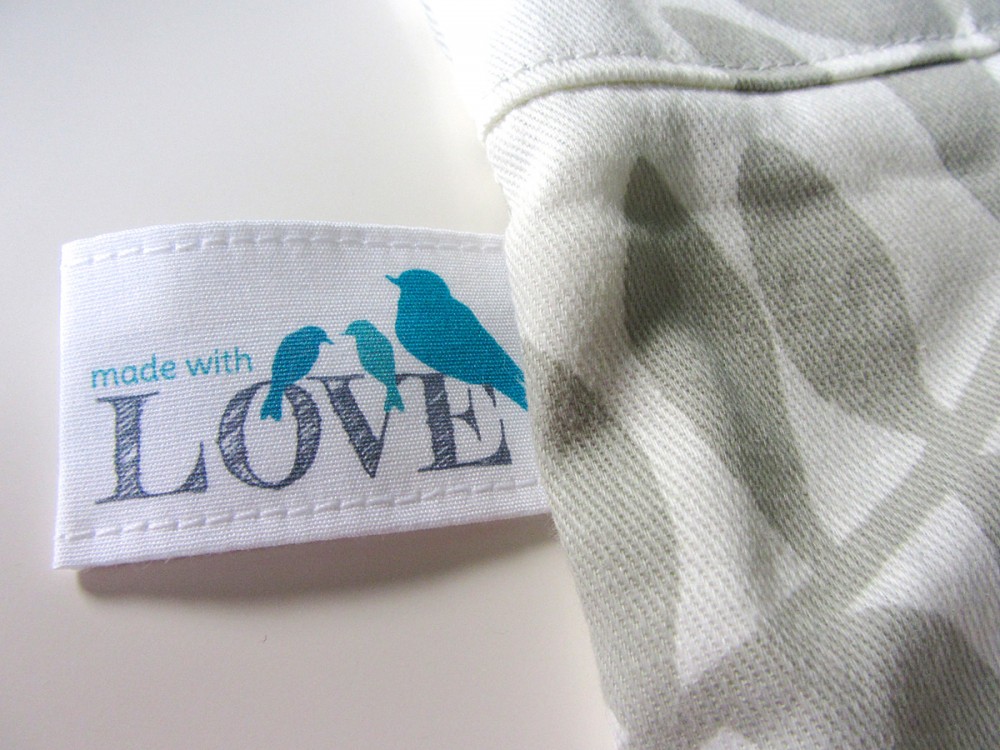
Turn your project right side out and press your seam. I added a top stitch to this quick pillow.

DIY Sewing Labels

Top Labels

Top labels are made the same way, but the two short sides are the ones you want to fold under.

DIY Sewing Labels

If you want to be sure your labels don’t unravel inside the fold, you could add some Fray Check, or have a larger seam allowance and fold the edges under twice. I didn’t bother, though.

DIY Sewing Labels

If you make a project with a custom sewing tag, I’d love to see! Tag a photo to me on Instagram @iolstephanie (I can’t see it if you are private. Just come comment on one of my photos and I’ll follow you.) Or stop by our Facebook page and post a photo!

DIY Sewing Labels

Happy sewing!

Here’s a Pinterest – ready photo for your boards! You can find me on Pinterest here.

DIY Sewing Labels

DIY Felt Poppy Headband

DIY Felt Poppy Headband

Jax has a birthday party to go to tomorrow for a sweet 3 year old girl. A girl! You know I couldn’t resist the urge to sew something girlie for her! (We did get her a fun present as well – one of Jax’s current favorite school toys.)

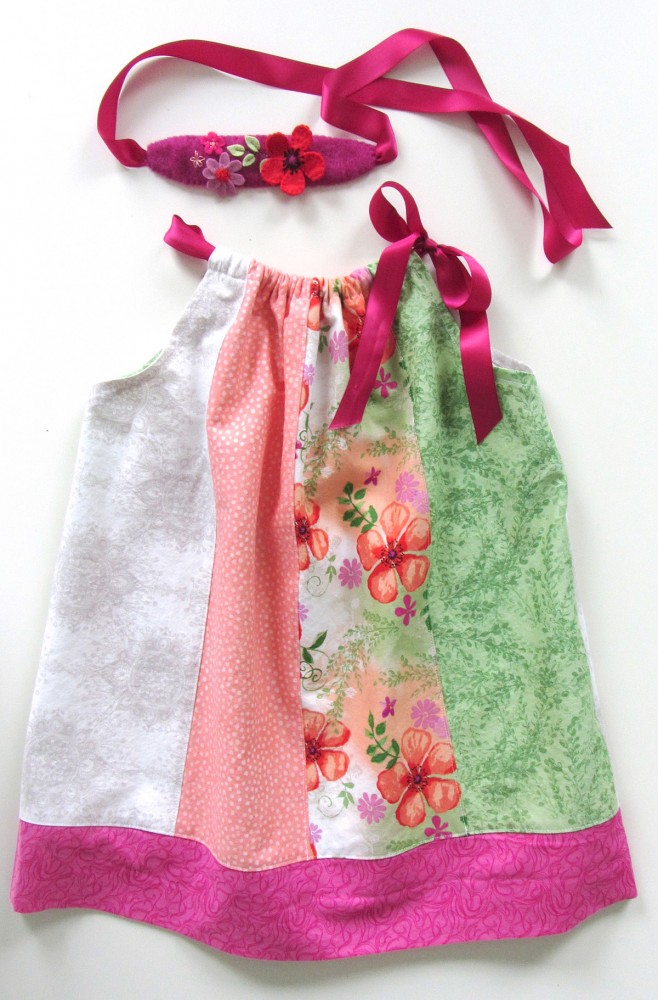
The first thing I made for little E was a fat quarter pillowcase dress. I fell in love with a poppy print bundle of fat quarters when I went in search of something pink. I swapped one of the fabrics for a hot pink, since the fabrics I chose were more peach and coral. The dress was very easy and quick to make! I went with the lined version and used some white cotton leftover from Jax’s quilt. But I needed something to go with it. And of course it needed to be felt!

DIY Felt Poppy Headband

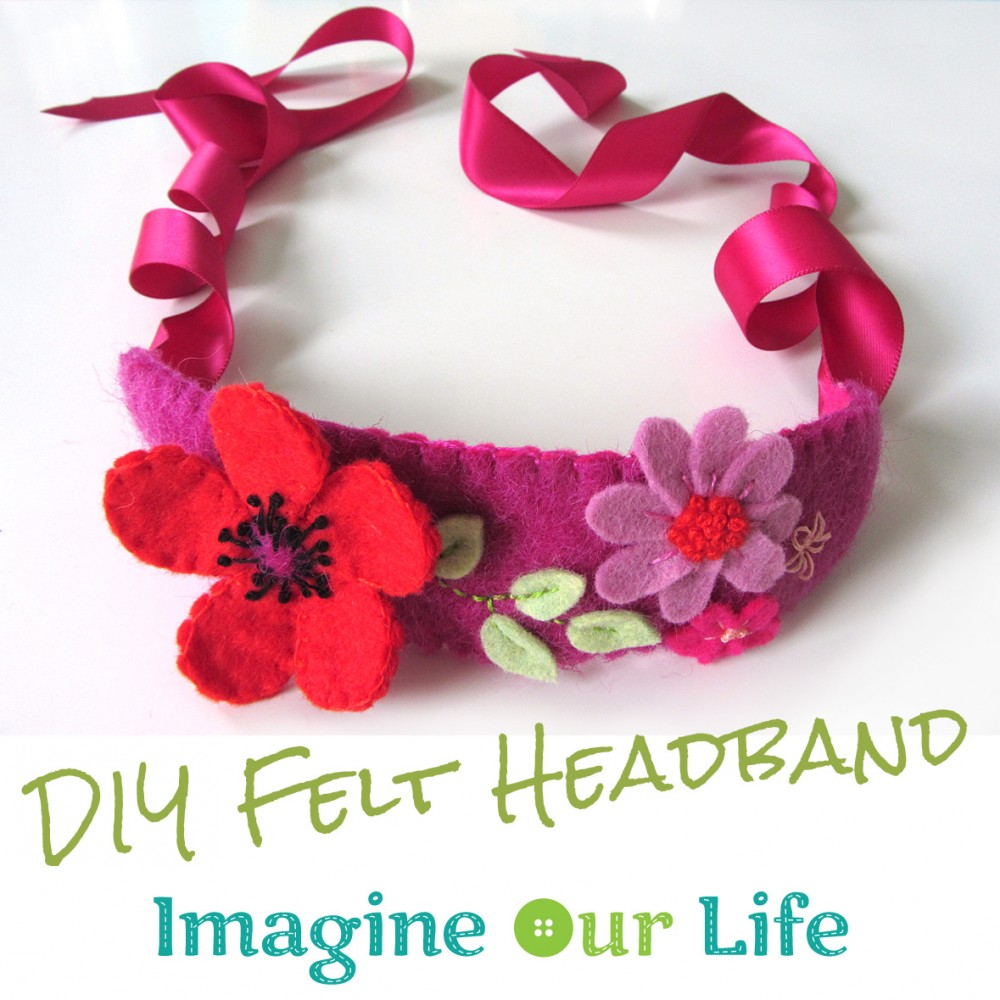
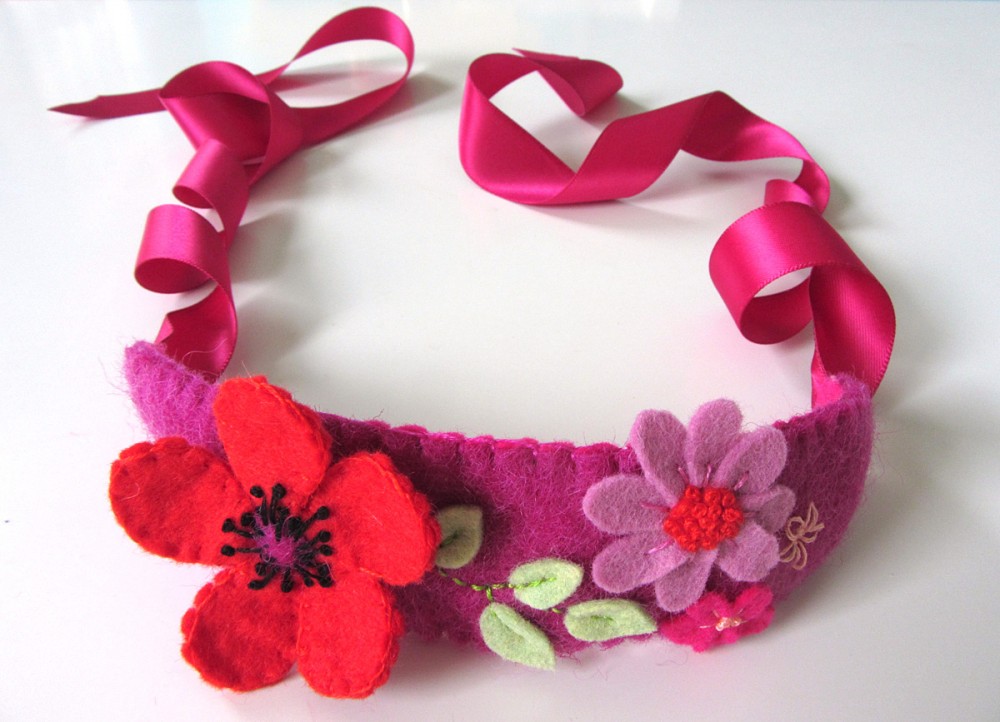
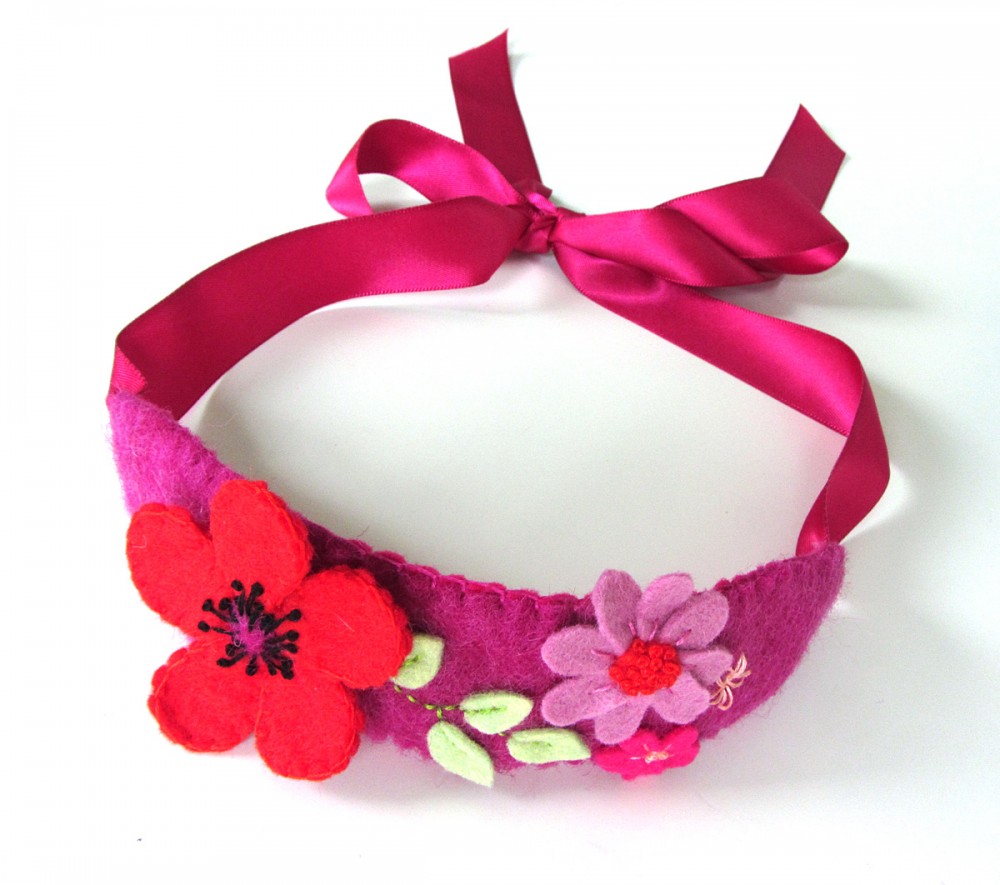
And so, I present the Felt Poppy Headband!

You could easily make a felt flowered headband to suit your own tastes. Change up the colors and flowers! You can take a look at my Bumble Bee Lacing Maze pattern for more felt flower ideas.

DIY Felt Poppy Headband

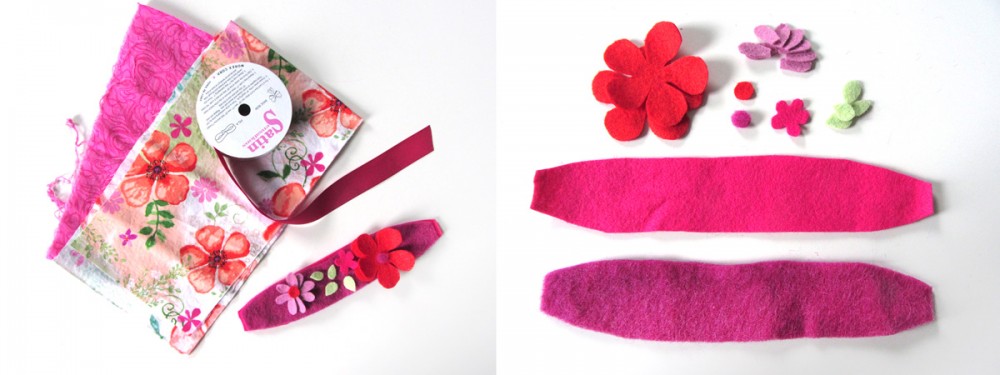
Materials

DIY Felt Poppy Headband

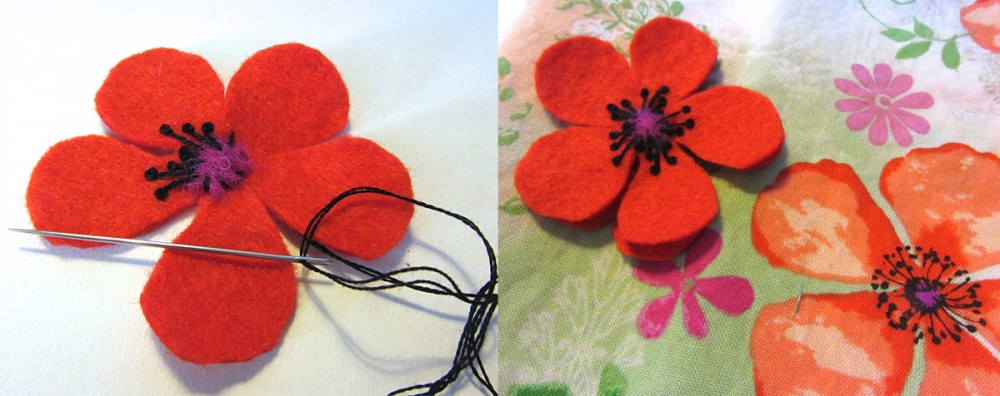
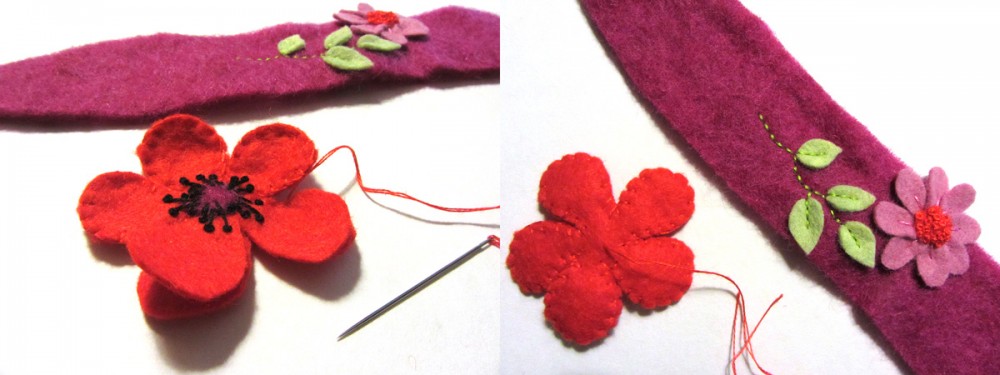
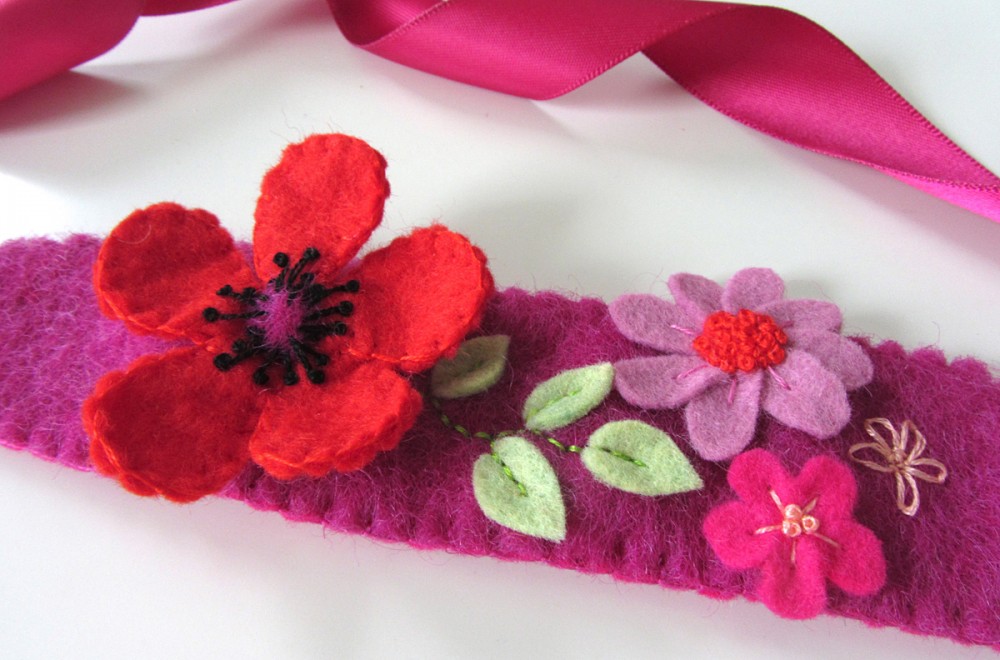
I started by stitching the details on the top piece of the poppy. I stitched the center of the poppy on using black floss, then went around the circle making long stitched of various lengths, topped with French knots.

DIY Felt Poppy Headband

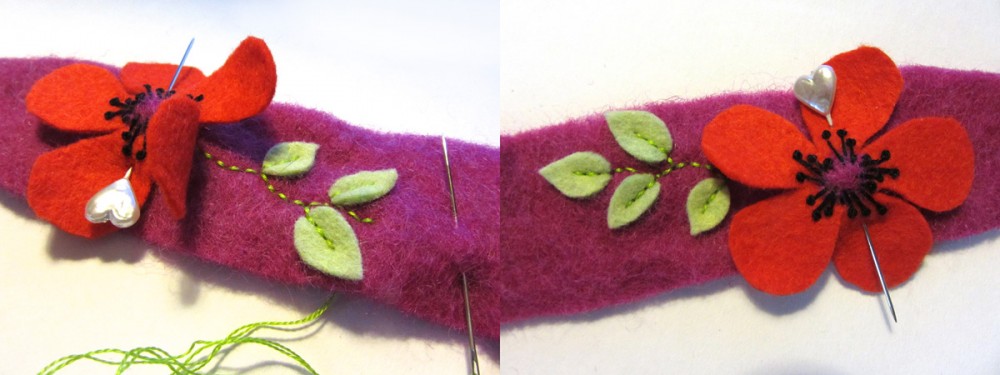
I set my poppy aside to make the leaves and stem next. I pinned it in place for the photos to show the placement. I made the stem with back stitch, attaching the leaves with a few stitches up the centers,

DIY Felt Poppy Headband

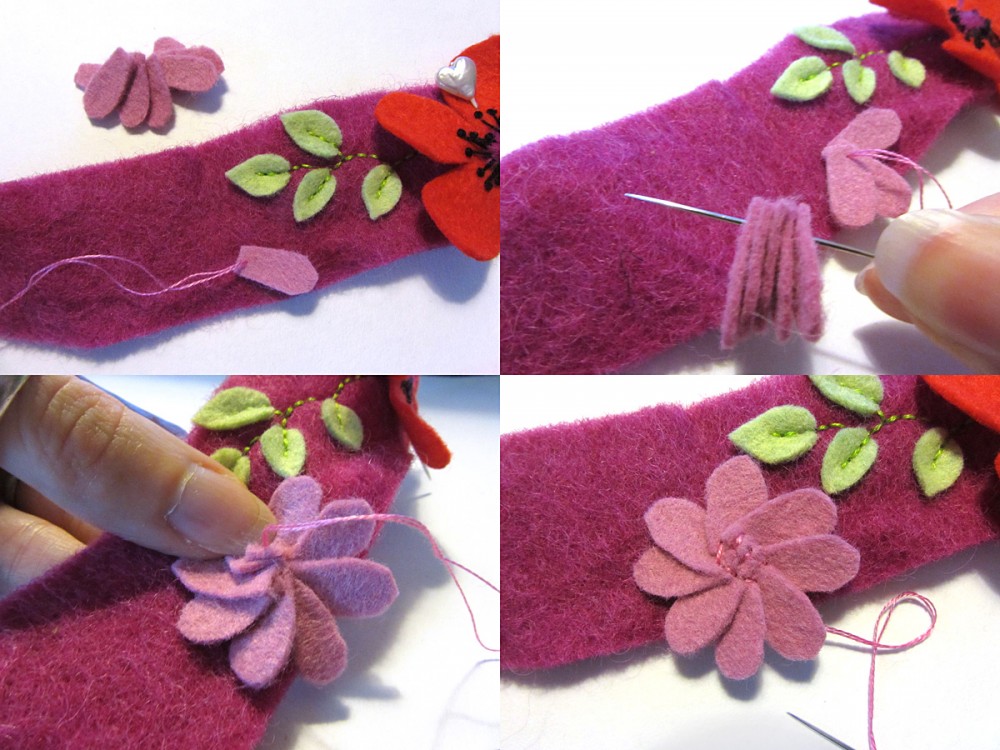
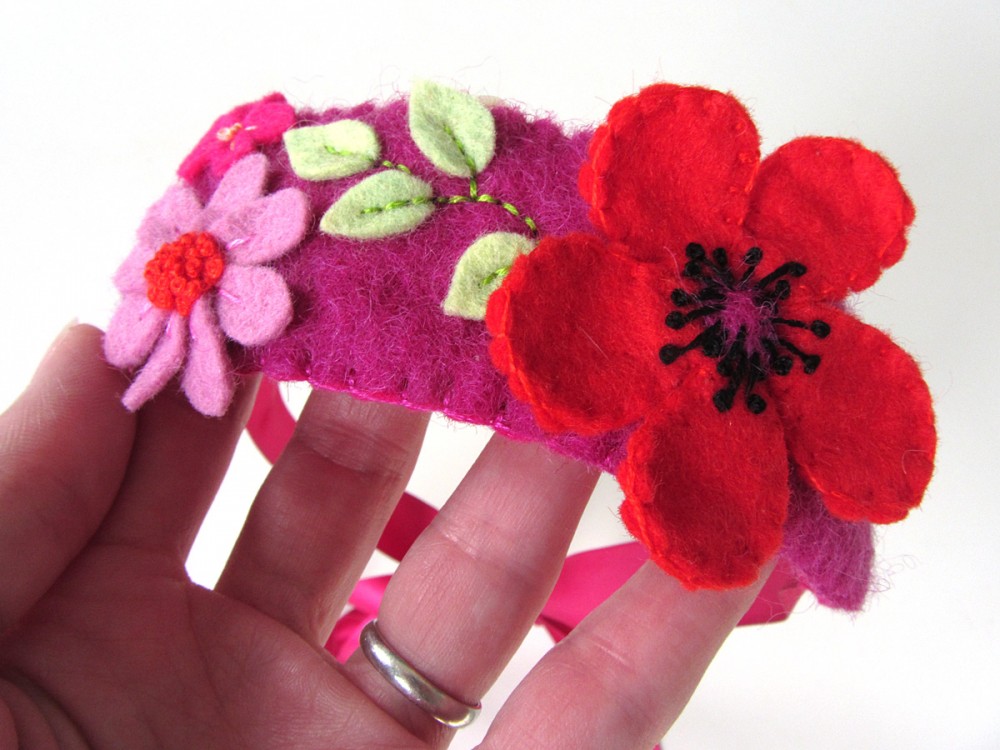
For the lilac flower, I made a stitch to anchor my thread to the headband, then ran my needle through the ends of all the petals, then fanned them out into a big swirl. I made a bunch of stitches in the center to secure them down. (I added the long stitches in the center of each petal later, but you should do that now.)

DIY Felt Poppy HeadbandDIY Felt Poppy Headband

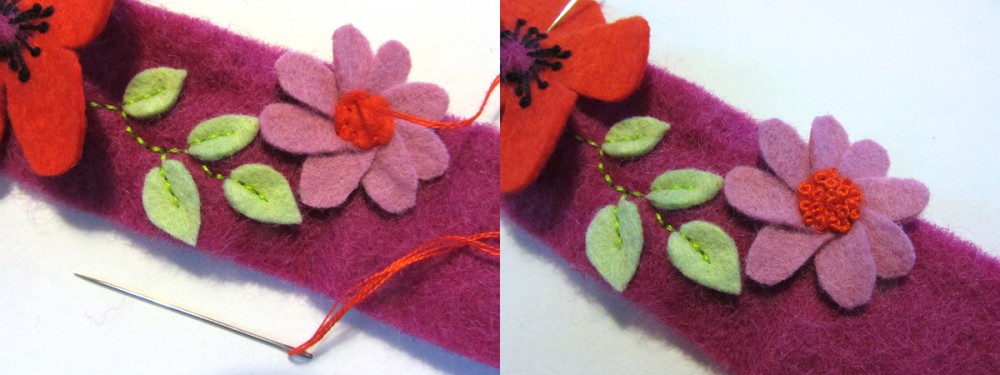
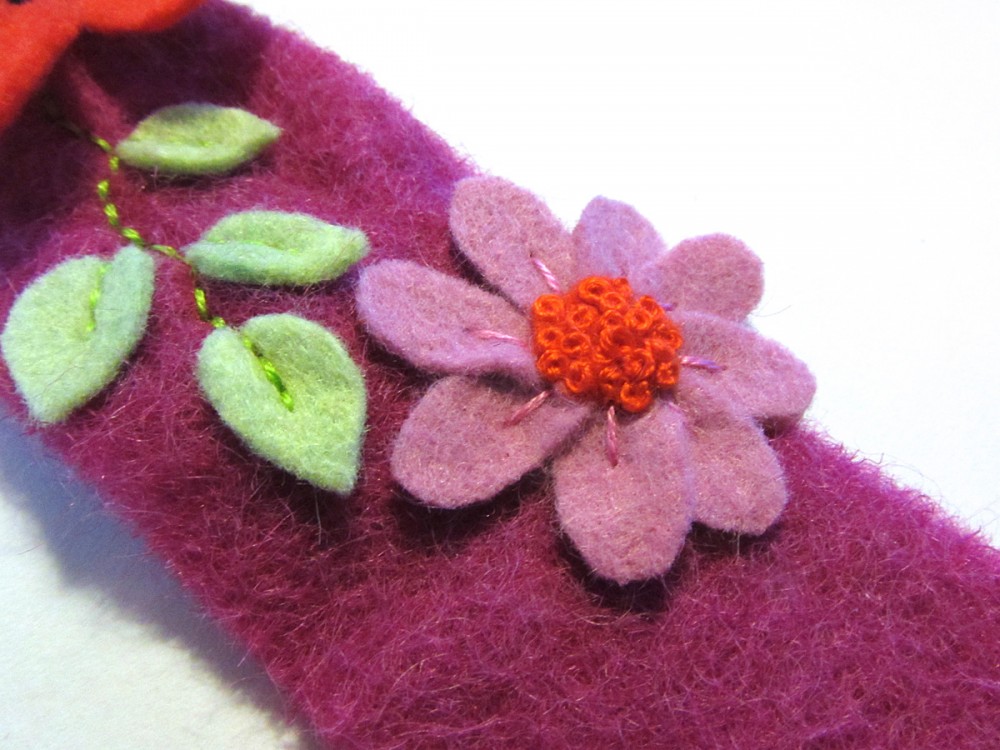
I stitched the center onto the flower, then filled it in with French knots.

DIY Felt Poppy Headband

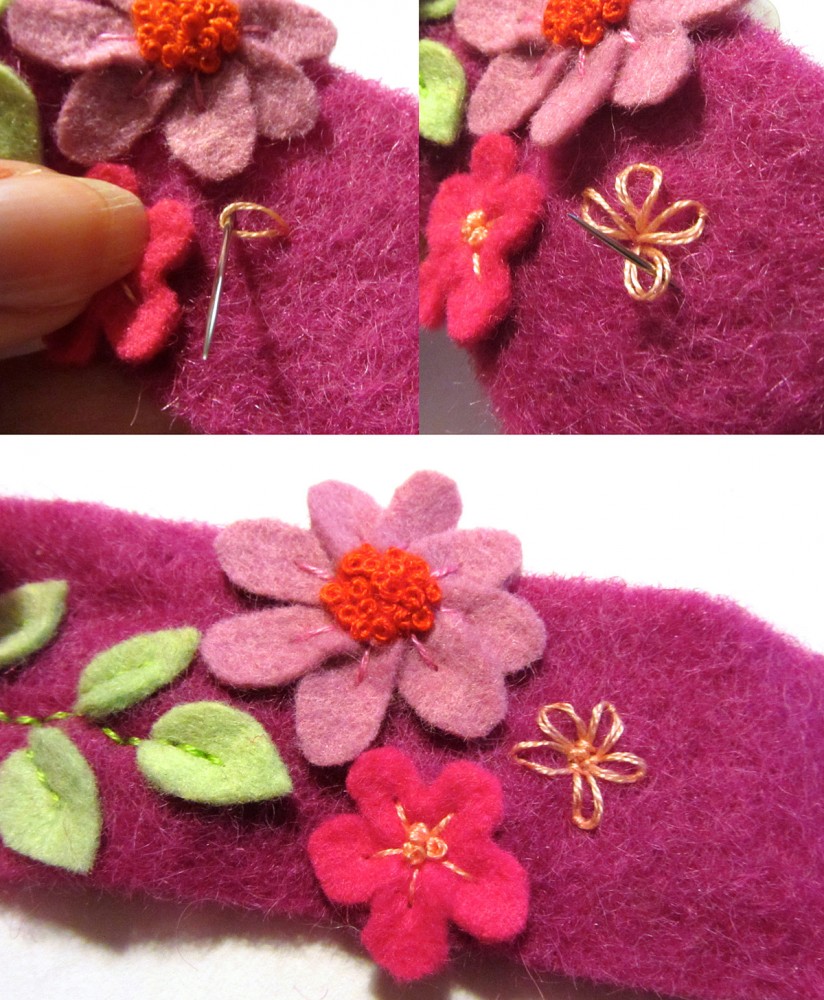
The last design element I added was a lazy daisy stitch. (See diagram 2.) I added some stitches in a circle in the center of my daisy to give it extra hold.

DIY Felt Poppy Headband

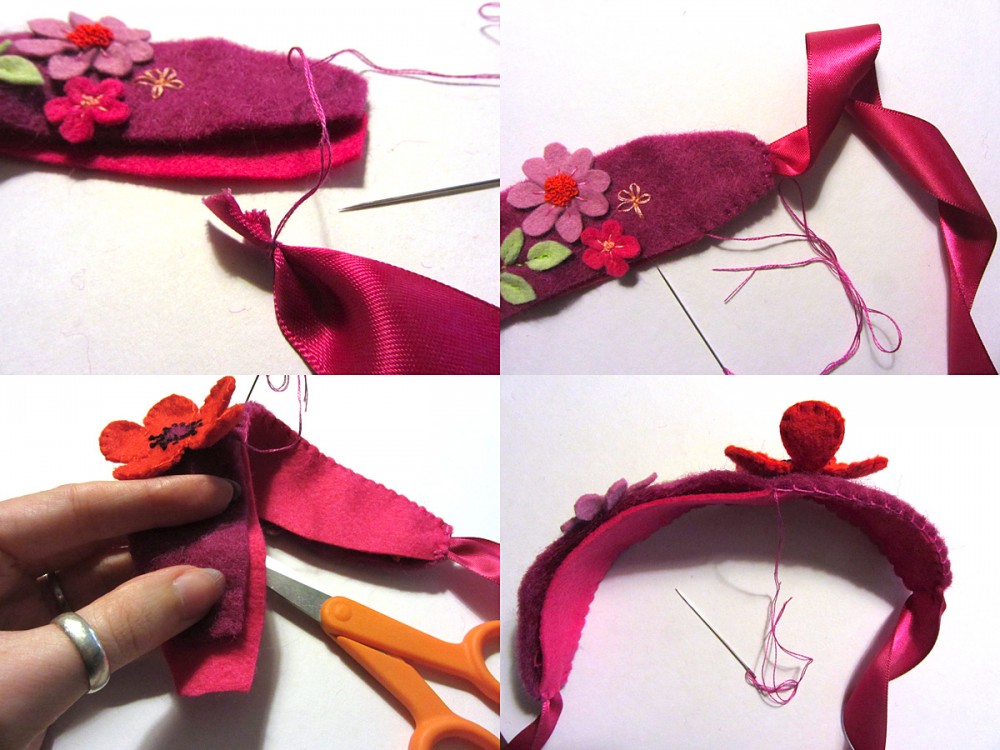
I went back to finish my poppy next. I blanket stitched the back of the flower on, pulling a little too tight so that the petals curled up. When I was finished sewing the back on, I ran the needle out the center back and made a bunch of stitches to hold secure the flower onto the headband top.

DIY Felt Poppy Headband

The next step is to assemble the headband. I pleated the end of one of the ribbon lengths and made a few stitches in it to hold the folds. I layered it in between the two layers of the headband and started blanket stitching around the edge.

When I was about 2/3 down one side, I paused to trim the backing to match, as the wool felt shrunk a bit with all the stitching. At the other end, I repeated the steps for adding the ribbon.DIY Felt Poppy Headband

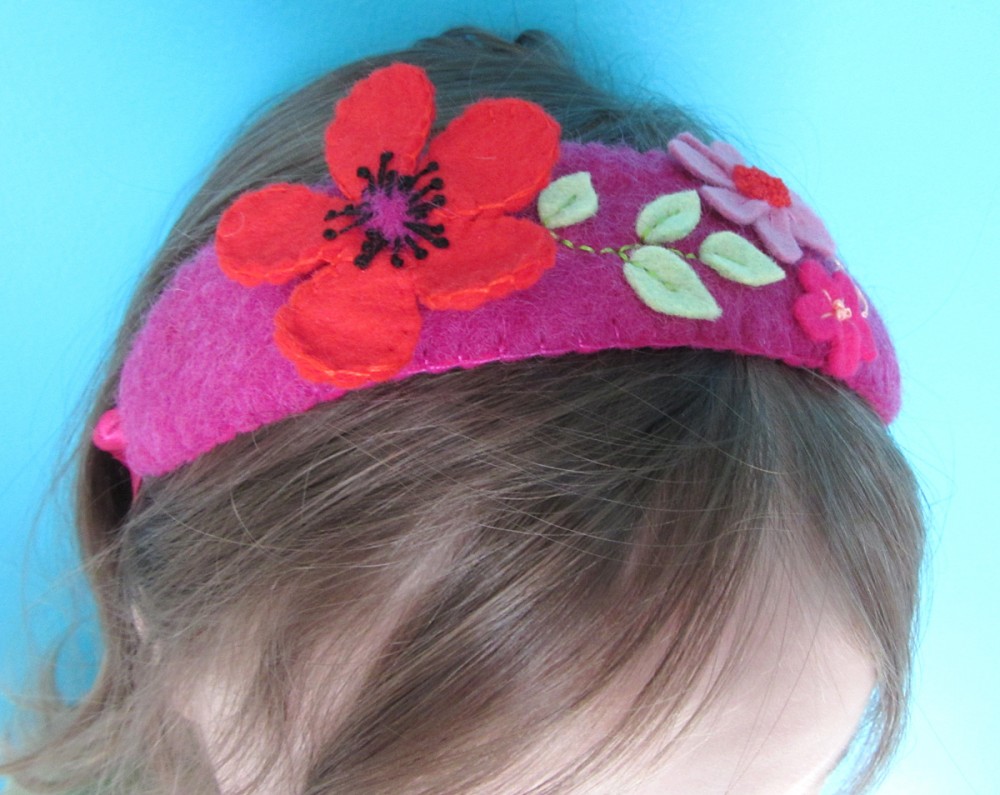
All done! I think it came out beautiful.

Yes, this is Jackson... I didn't have any other models handy!

Yes, this is Jackson… I didn’t have any other models handy!

This headband is fully adjustable, as it is meant to be tied in a bow at the nape of your neck. You could also tie it to one side to make the bow more of a feature. I think it looks so pretty with the pillowcase dress because the ribbons bring the two together.DIY Felt Poppy Headband

I’m sure an adult could wear this same headband, but you could also increase the length of the base to make a larger one. I plan to make one (or many!) for myself. What a great scrap-buster!

DIY Felt Poppy Headband

Thank you to all of you who voted for this tutorial on our Facebook page!

You'll be seeing a tutorial for this soon!

You’ll be seeing a tutorial for this soon!

But to those of you who voted for the other choice – DIY sewing labels – I’ll be posting those for you next week. So everybody wins!

DIY Felt Poppy Headband

Happy sewing!

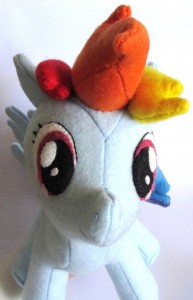
DIY Rainbow Dash Plush with Goggles

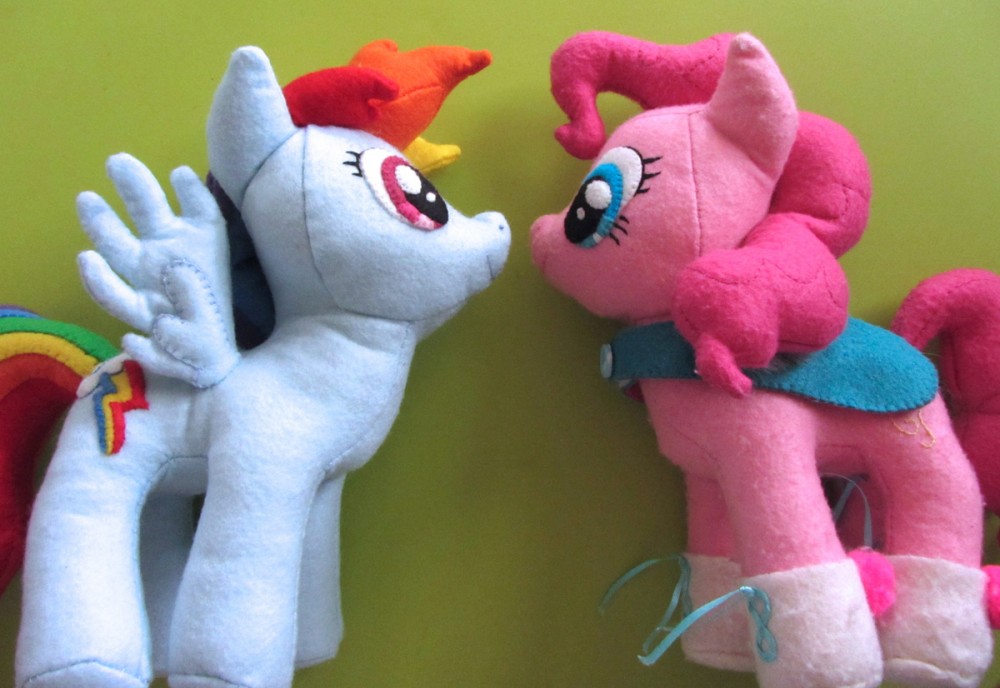
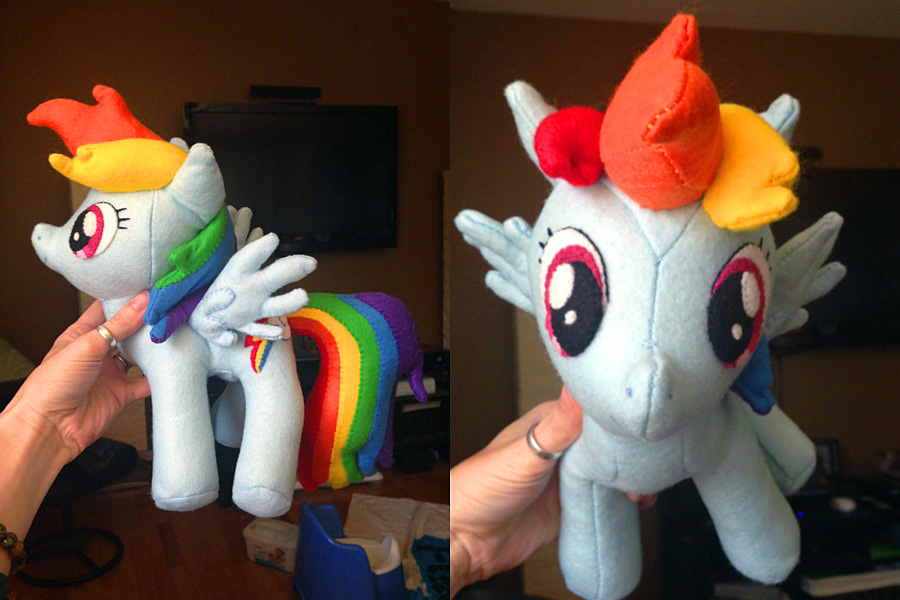
DIY Rainbow Dash Plush

For much of this project, I did things the same as with the Pinkie Pie I made my niece for Christmas. You can read that post for many details I will be leaving out here!

DIY Rainbow Dash Plush with Goggles

I scaled the pony body pattern up for a larger, huggable plush. This also made it easier to sew with felt. Felt is thick, and sewing inside out with seams can be tough. There were many places (wings, tips of hair) where it was really hard to flip the sewn felt right-side out, even at the larger size! My pattern ended up being 9.4″ wide from foot to foot (E2 to E2) on the “Underbody” piece. I had to break up the “Body Side” piece to print, then tape it together.

DIY Rainbow Dash Plush with Goggles

I did all of the details (everything but the body and eyes) freehand – cutting paper, then felt to whatever looked right. I did my best to photograph each piece to scale so I could draw it into a pattern for you later. Please keep that in mind when using the pattern! Things might be a little off since it was created after the fact and not tested. Grab my pattern here. (The pattern for the body is linked into the Pinkie Pie post.

IDIY Rainbow Dash Plush with Goggles  DIY Rainbow Dash Plush with Goggles

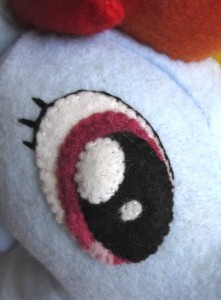
Body: Rainbow Dash’s body is sewn the same way as Pinkie Pie’s was. I also used the same kind of felt, so that the two ponies will age the same. It is from Felt for Less. I got a rainbow pack as well as some light blue. Her eyes, nostrils and mouth were sewed on the same as well. (Note that she has different eyelashes than Pinkie.)

DIY Rainbow Dash Plush with Goggles

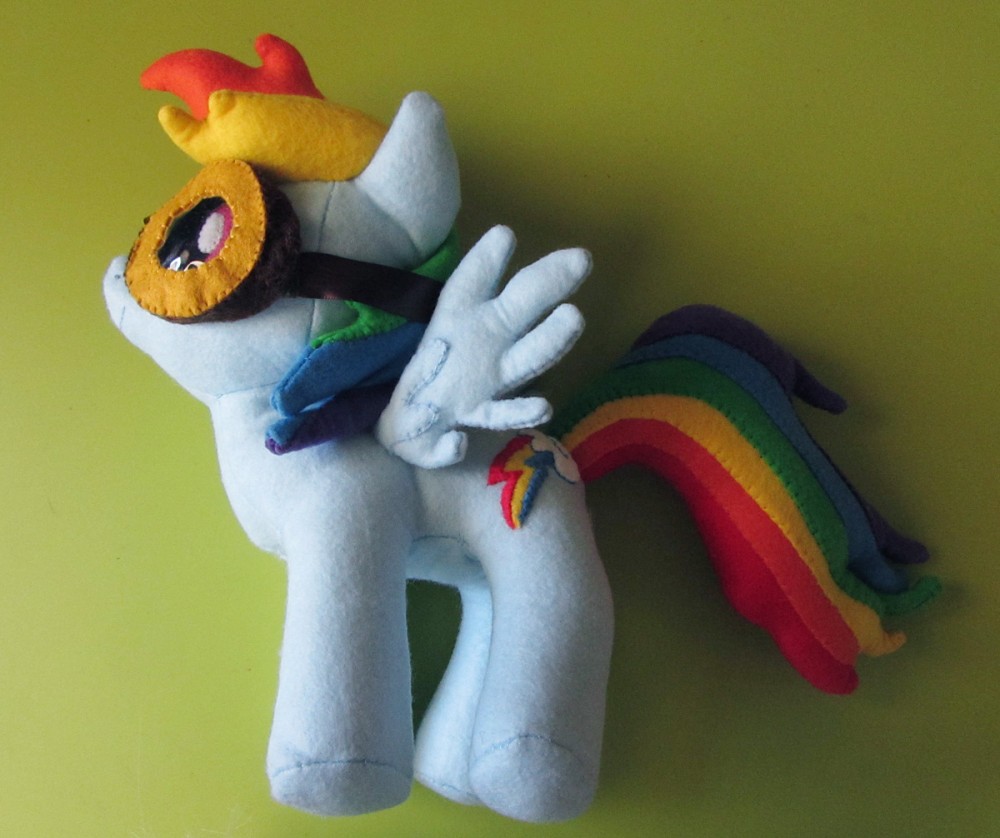
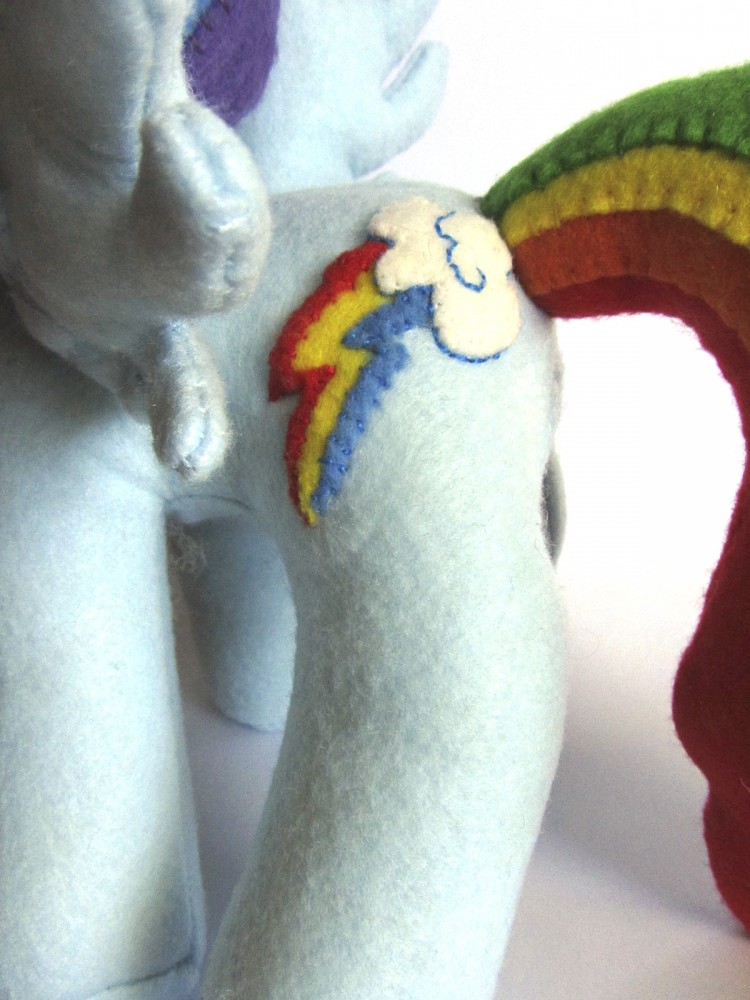
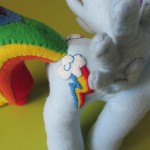
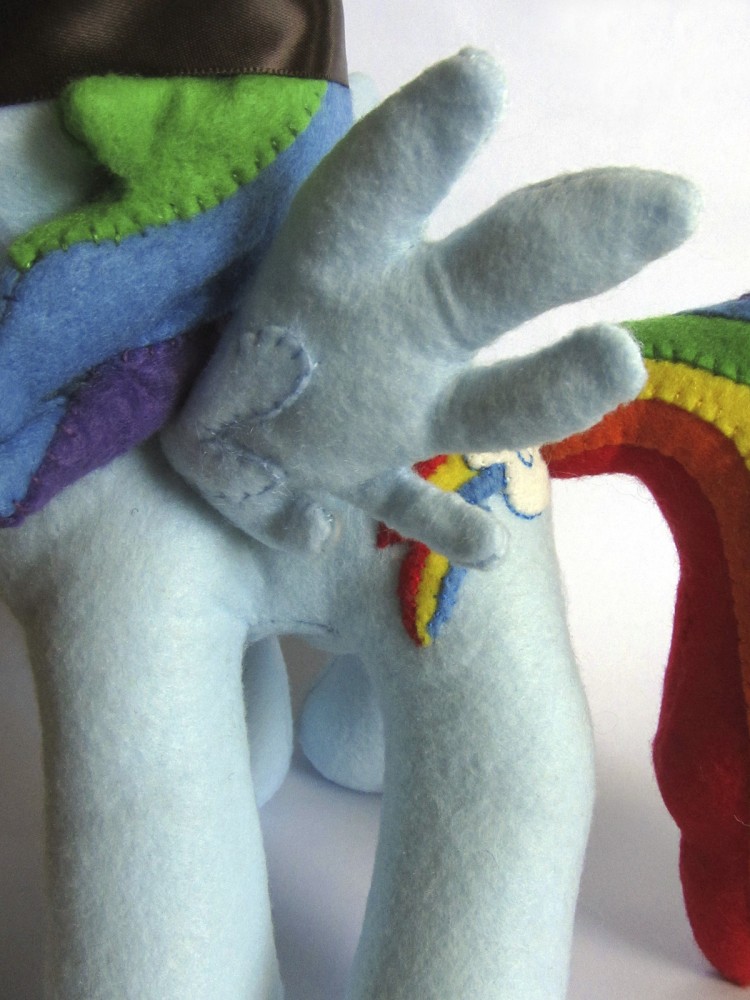
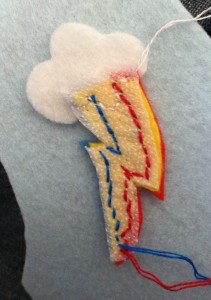
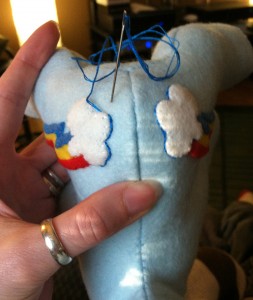
Cutie Marks: I cut the entire shape of the rainbow bolt out of yellow as my base ,extending it under the cloud a bit. I then cut the red and blue stripes to sew on top. They are tiny! Use sharp micro-tip scissors and be patient. I had to try twice on one of them. Sew the red and blue onto the yellow (my photo shows webbing, but I ended up not using it.) Overlap the white cloud, then sew it to the pony. A curved needle may help if you’ve already sewn and stuffed her. I used a plain one and jumped around a bit when stitches were too close to maneuver to. I added blue back stitched outlines to the cloud and to make the extra swirls.

DIY Rainbow Dash Plush with Goggles  DIY Rainbow Dash Plush with Goggles

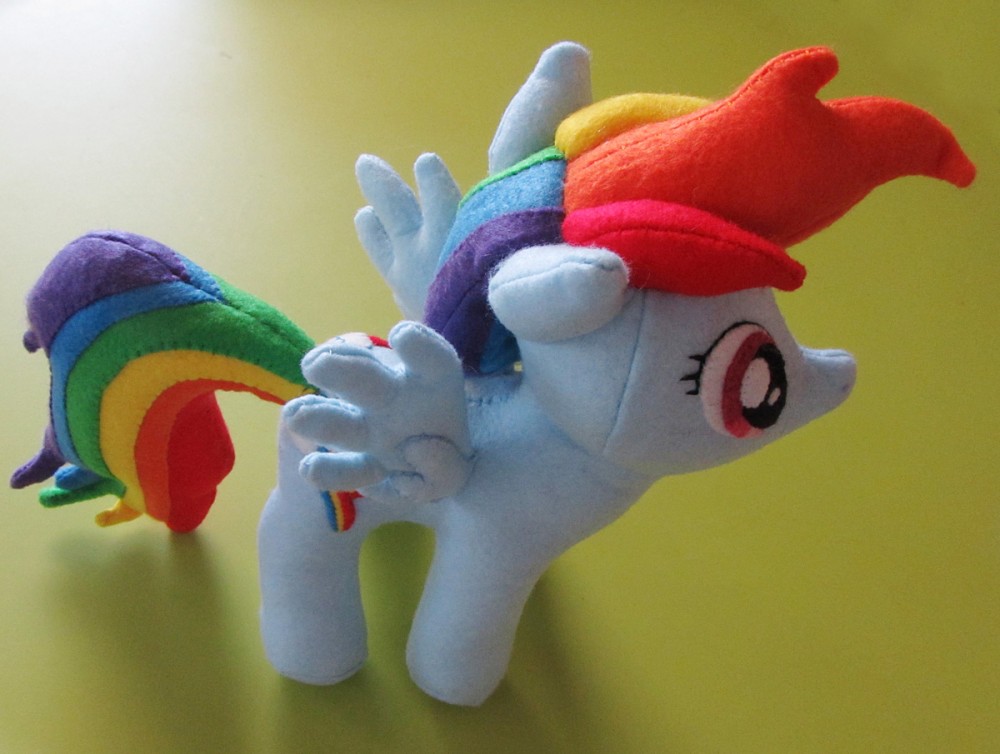
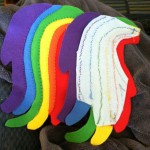
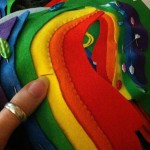
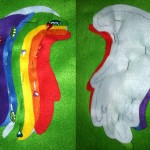
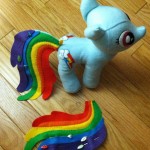
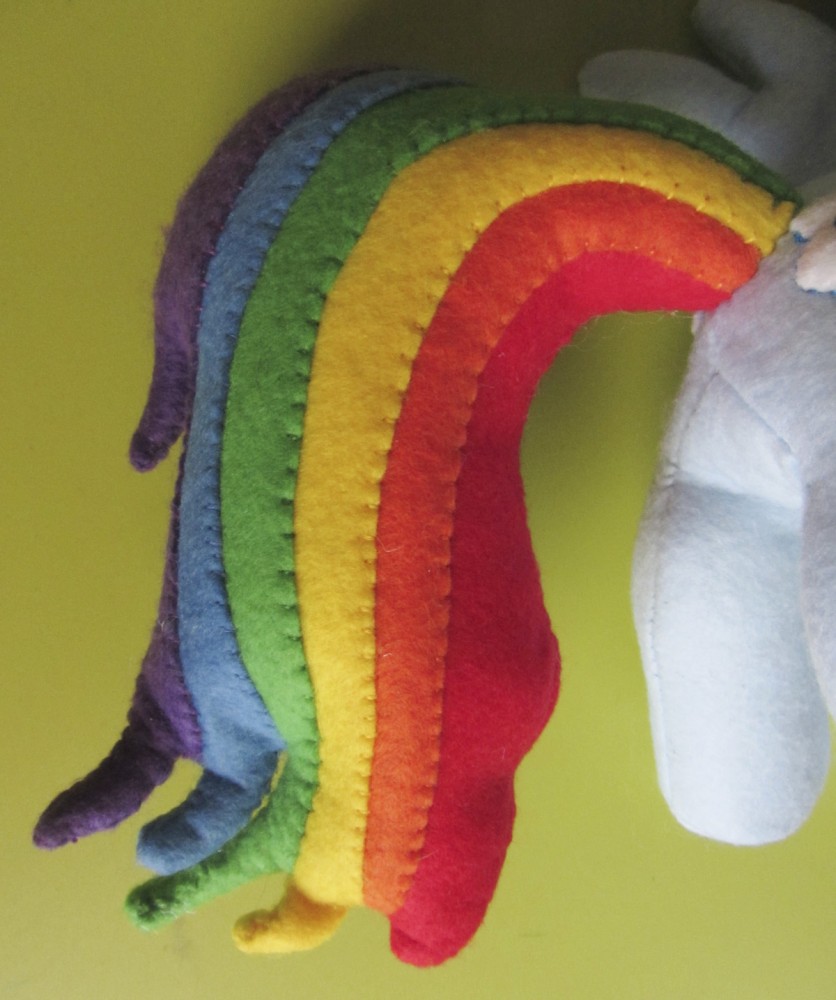
Tail: My pattern for the tail already has  1/4″ seam allowance added, because I photographed it at that stage. Cut the base out of scrap felt (I used extra body felt) then layer the stripes on top to match, starting from red and working out to purple. Sew down the overlaps with matching thread.

Put right sides facing and sew around the large, straight areas, leaving any small flippy hair ends open, as well as a couple inches at the base of the tail. urn it right side out and sew the little flippy end bit by hand with a ladder stitch. (I talk about this in the Pinkie Pie post – It was just too hard to turn the tiny hair ends right-side out using felt.) Stuff the tail through the base, then fold in the remaining seam allowance and ladder stitch it closed. Attach the tail the same way mentioned int he other post. I kept going back and reinforcing it. Her tail is heavy!

DIY Rainbow Dash Plush with Goggles

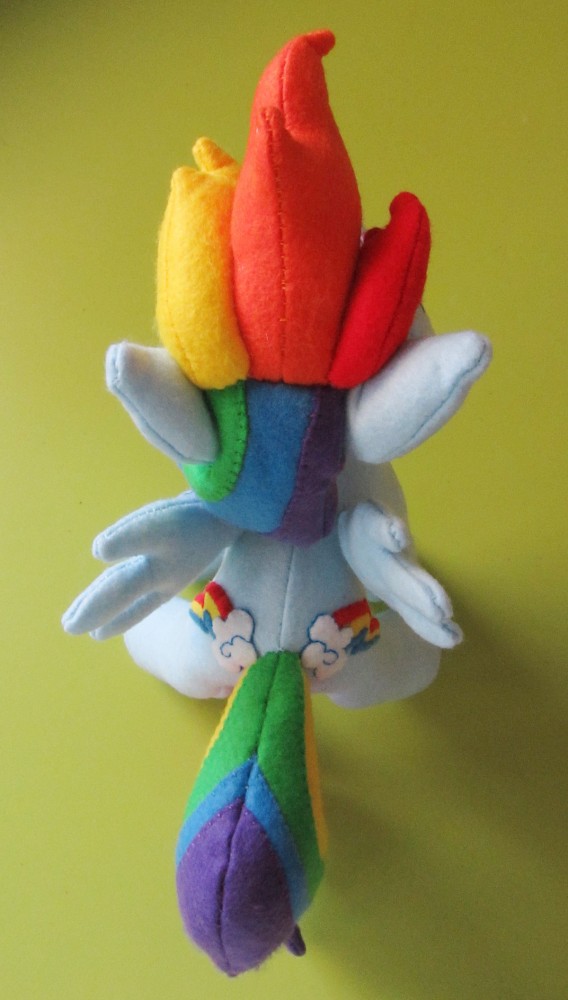
Mane: Used the same technique of overlapping the stripes to make the tail, but start with the blue stripe as the base and layer on the green and purple on the sides. Sew and lightly stuff. Sew closed and attach to her neck so it can curl around to her left side.

DIY Rainbow Dash Plush with Goggles

Bangs/Fringe: For each segment, sew the two main pieces together along the top and front, leaving the bottom and end open (see dots). Open like the triangular roof of a tent and sew the base to it, leaving the end open for stuffing. (See the letters on the pattern and the photos for help understanding where things go.)

DIY Rainbow Dash Plush with Goggles

Sew the end shut with a ladder stitch and attach them to her head between the ears. Make sure the are right up against the lower mane, and squish them in a bit to fit. I sewed them to each other and to her head near the base.

DIY Rainbow Dash Plush with Goggles  DIY Rainbow Dash Plush with Goggles

Wings: These are similar to the mane, in that they are lightly stuffed, with the feather detail appliqued on. I actually sewed all the way around each wing, minus a couple inches for an opening) and turned each feather right-side out in a very slow process involving pointy objects and long pins used to grab bits of felt and pull it up. It took longer to flip the right way out then it did to sew them, but they came out neat. Something to keep in mind if you want to sew all the way around the tail. I attached them to her body with ladder stitch.

DIY Rainbow Dash Plush with Goggles

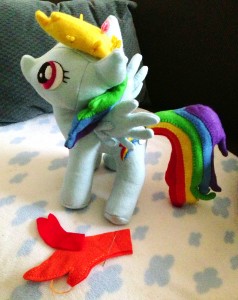
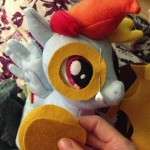
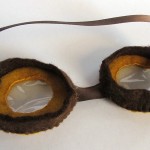
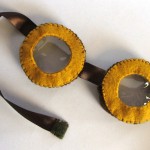
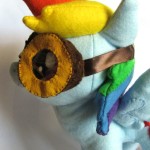
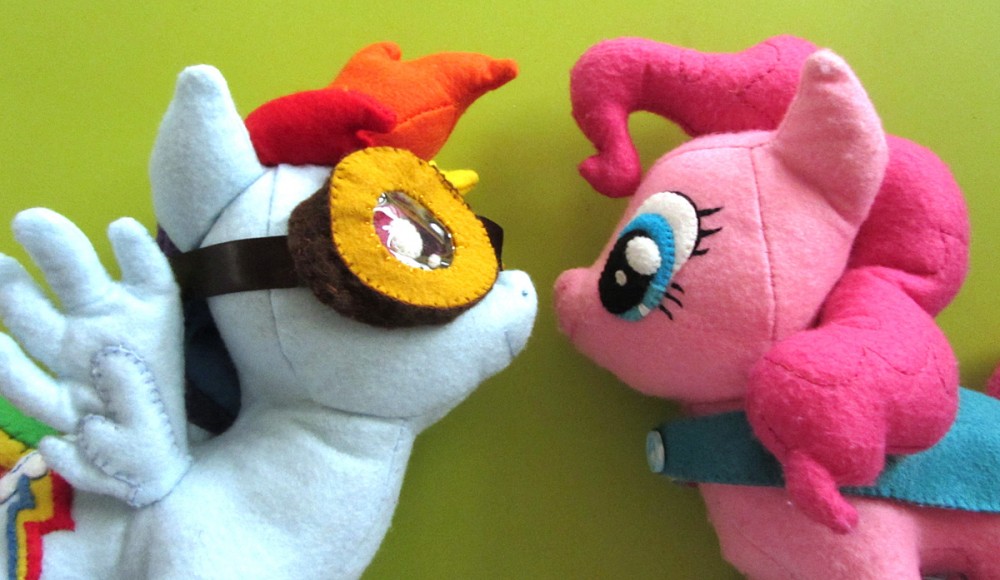
Goggles: I had very little time to make accessories, and apparently Rainbow Dash doesn’t wear a lot of easy to sew clothing. I saw an image of her in goggles, and knew I wanted to do those! I freehanded these as well – including the circles. I cut out two rings of gold felt (from American Felt & Craft) for each eyepiece and sewed them together with clear vinyl layered inside. I cut strips of thick 100% wool felt in brown and sewed it in a ring to each eyepiece, layering in a long ribbon on one outer edge and a short piece for the nose bridge between the two. I cut the long ribbon to fit around her head and added colored Velcro to the end (and the inside of one brown ring.

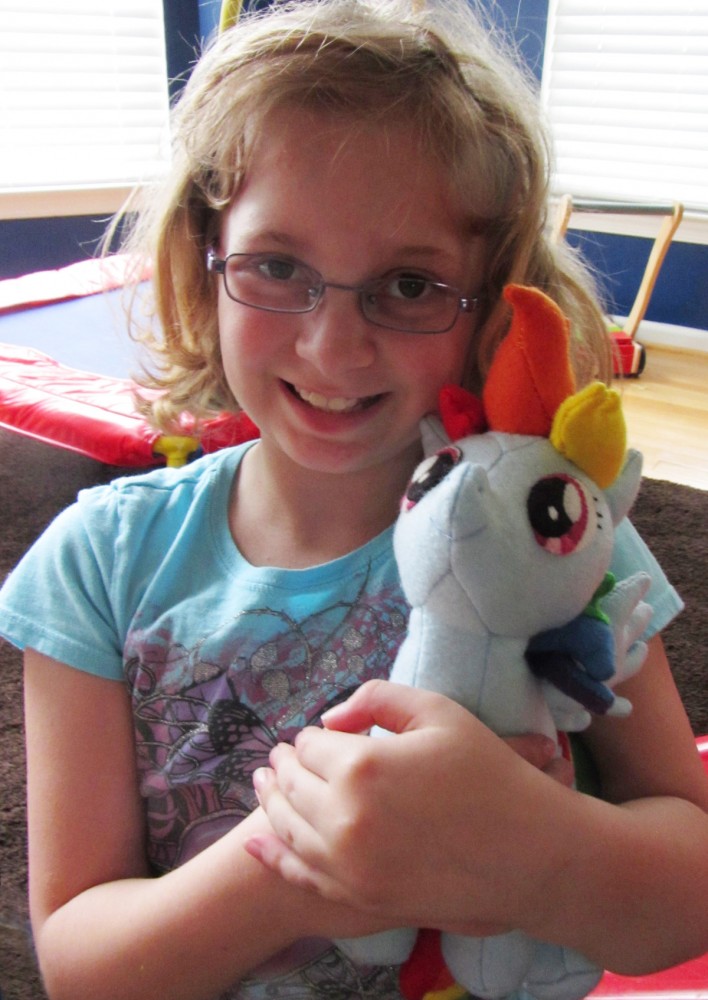
My niece received her new pony Memorial Day weekend when she came to stay with us. She loved her and carried her and Pinkie Pie around the house her whole stay! Next up will likely be Apple Jack for Christmas. Stay tuned!

DIY Rainbow Dash Plush with Goggles

Happy sewing! If you sew your own My Little Pony, I’d love to see it! Email me or stop by our Facebook page.

DIY Rainbow Dash Plush with Goggles

Wee Wonderfuls – Sewing Rag Dolls

Follow my blog with Bloglovin

When we let our family know we’d be visiting them for a day while we took our California vacation, my husband’s aunt reached out to me to see if I’d like to do a sewing craft with her adorable twin girls. They are 5, and S loves fashion design. I was very excited at the idea, but once it was mentioned we’d likely do a trip to Legoland with them, I needed to think of something I could leave with them.

Wee Wonderfuls - Sewing Rag Dolls

I decided to try sewing two Wee Wonderfuls rag dolls, making a lookalike dolly for each girl. That way, I could also pack up a little box of sewing goodies – felt buttons (in pink and purple – their favorite colors), floss, ribbon scraps and some needles. I threw in some barrettes and headbands from the dollar store, thinking I could sew the buttons into pretty hair clips for the girls and their dolls if we had time. If not, the felt buttons would be simple for their mom to help them with.

Legoland

We ended up at Legoland. Jax LOVED it! (Despite the rain.)

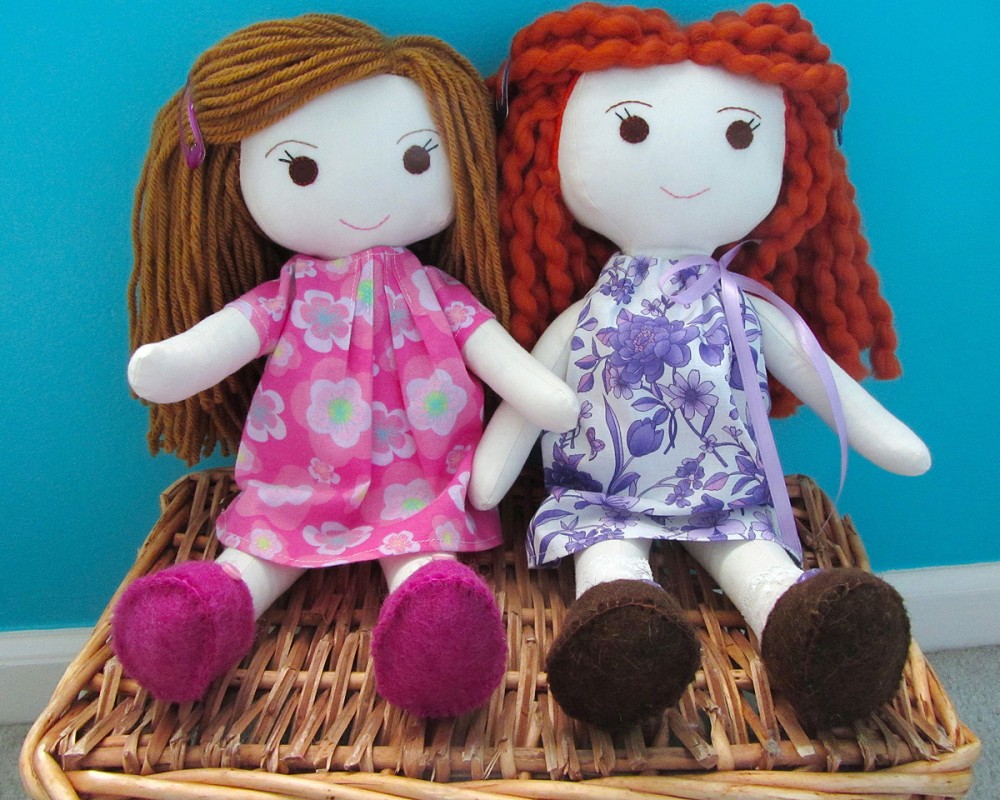
I used the Kit, Chloe and Louise pattern for the dolls. It included a lot of clothing options, so I was able to make two outfits per doll. (Sewing tiny doll clothes was NOT fun for me! Some I made did not make the cut. The pajama top I attempted looked like that Cosby shirt.) I actually made three dolls – my first a test doll for Jax. I was glad I did – I learned a lot!

Wee Wonderfuls - Sewing Rag Dolls

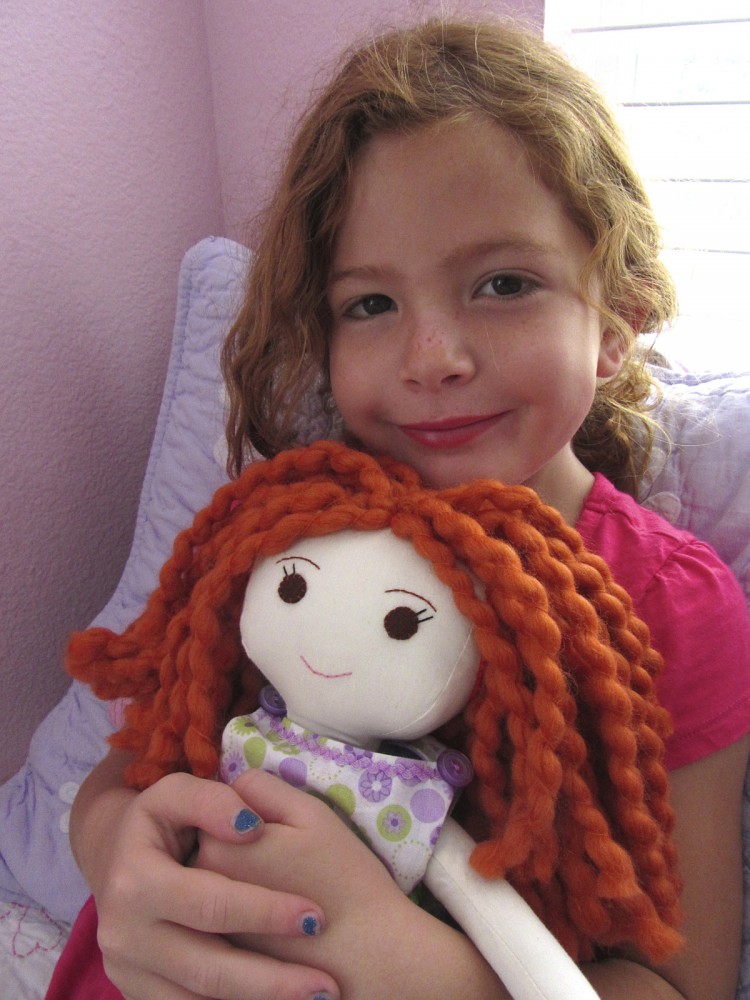
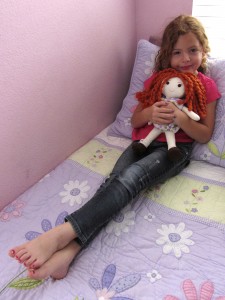
I think the girls liked them! They were still in that shy phase after not seeing us for a year and a half when I gave them to them. It was very sweet seeing them with their lookalikes.

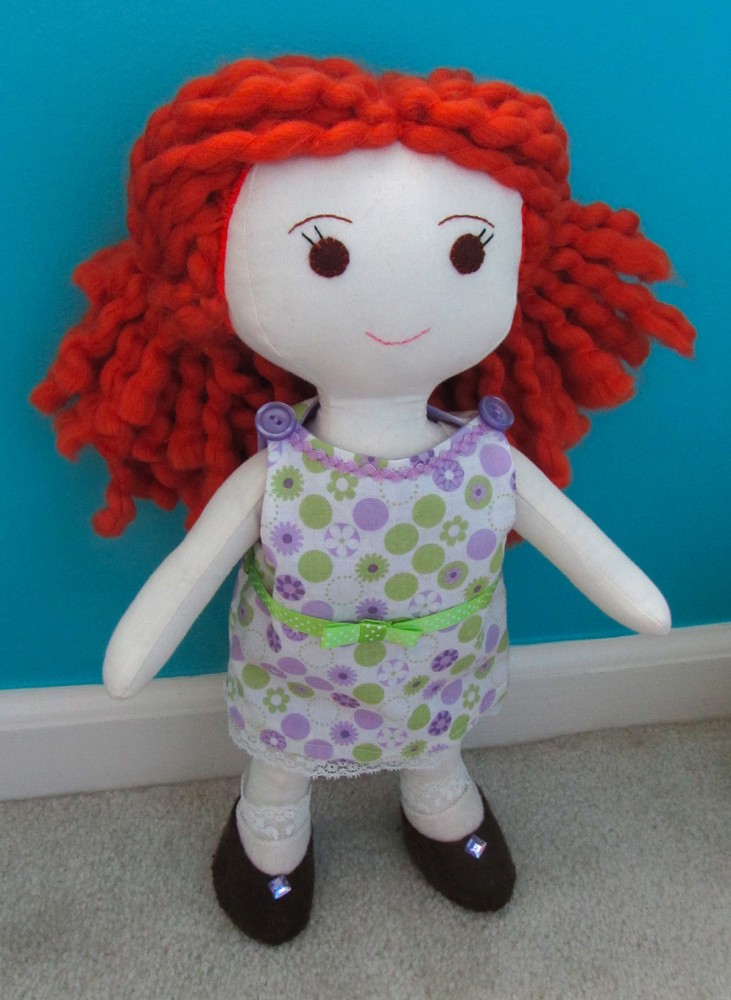
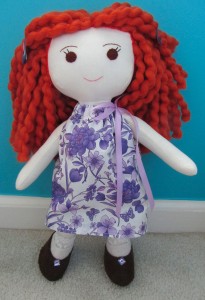
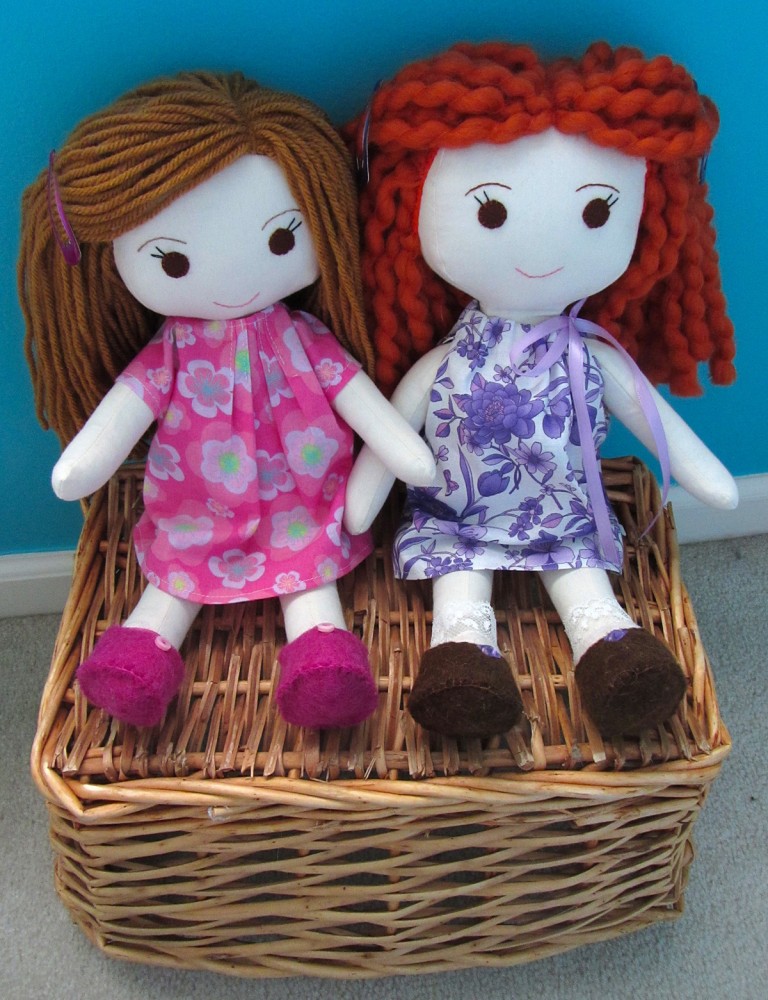
The Redhead – A’s Doll

Wee Wonderfuls - Sewing Rag Dolls

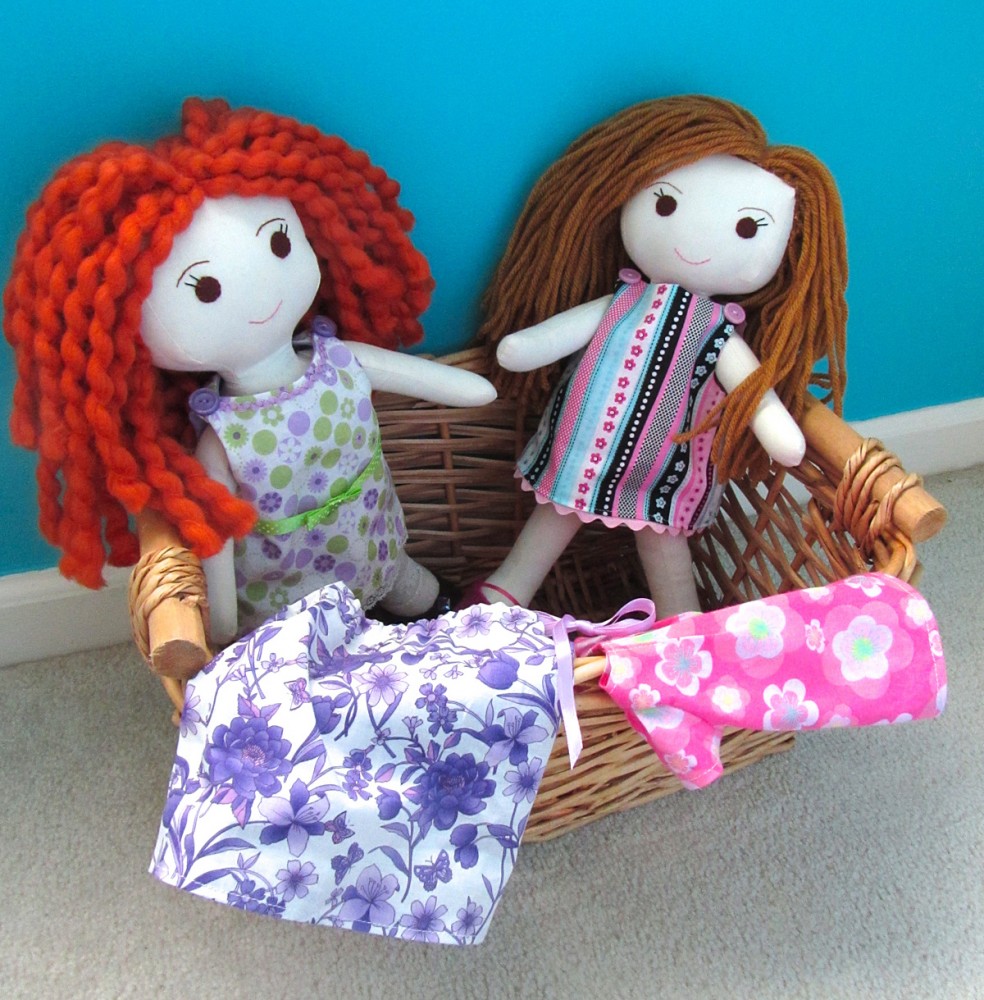
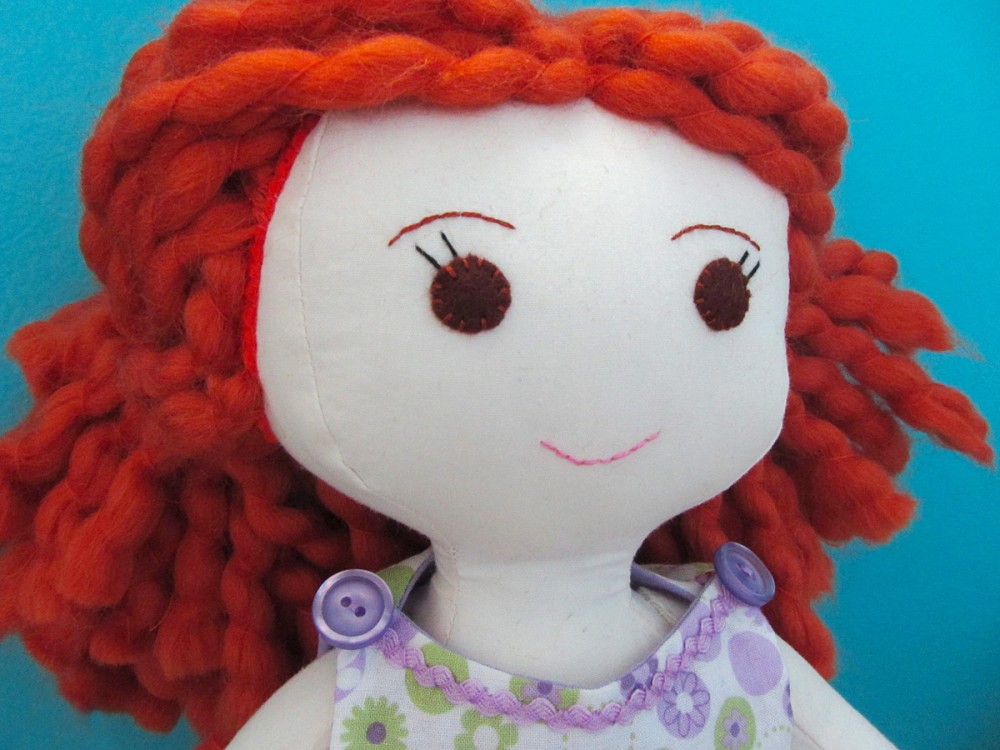
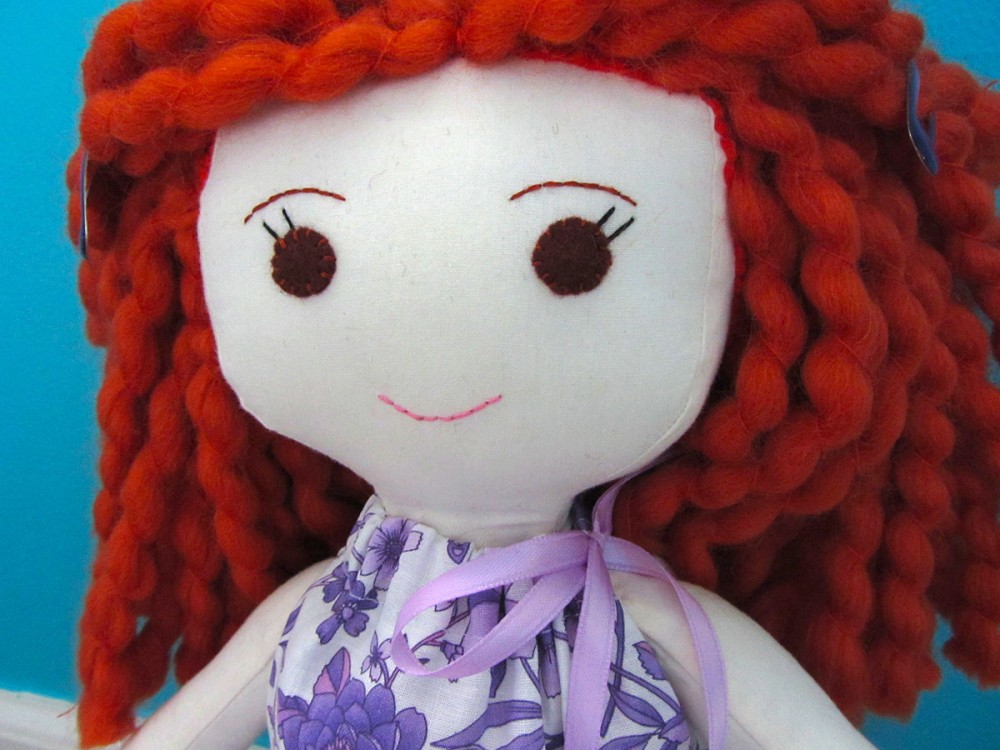
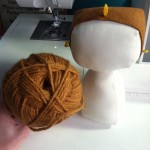
Curly red hair! Swoon! Beautiful, but how do you make it translate to yarn? I actually found the perfect yarn for A’s doll, and purchased it when it was 50% off (I used 1.5 skeins.) It’s Martha Stewart’s Lofty Wool Blend. I sewed my hair on differently than the pattern called for. More on that below.

Wee Wonderfuls - Sewing Rag Dolls

Both dolls got a lined jumper with trim and vintage button’s from my mom’s collection as their main dress. A’s doll had a purple and lime pattern on the outside and lavender solid on the inside. I added vintage lace trim, a little ribbon belt and some mini ric rac around the neck.

Wee Wonderfuls - Sewing Rag Dolls

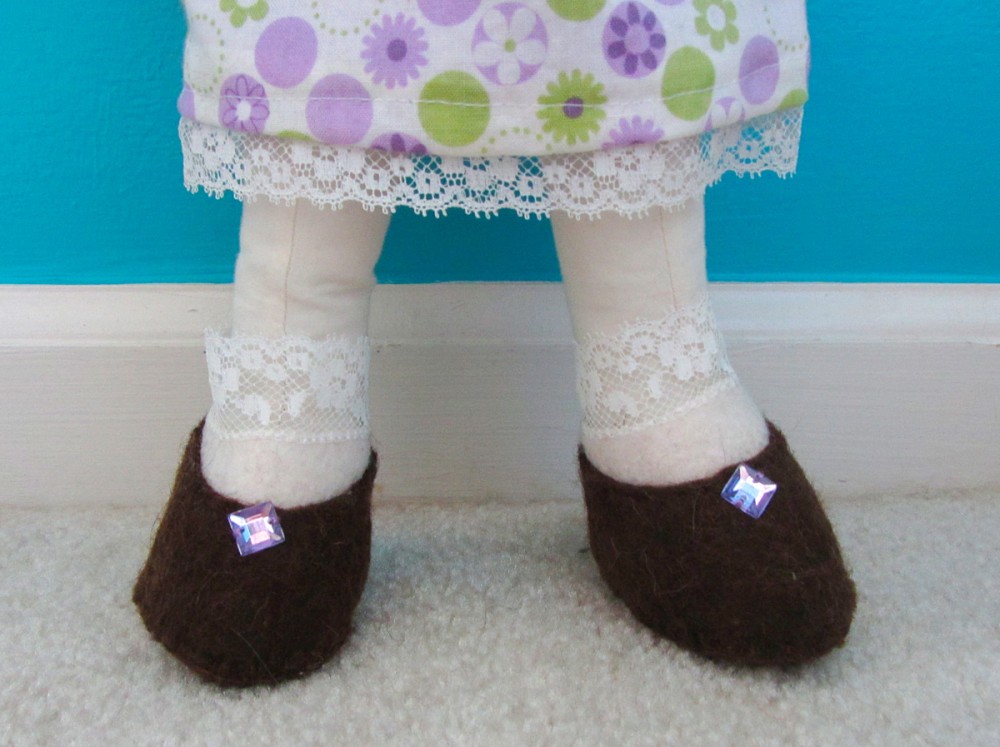
Both dolls got shoes, but I used the shoe pattern in two different ways. For A, I did brown 100% wool felt, with a white wool blend felt crescent sewn in to look like a sock. I added a ring of lace and a sew-on jewel to each.

Wee Wonderfuls - Sewing Rag Dolls

I really liked this jumper pattern because the lining made it so finished looking.

Wee Wonderfuls - Sewing Rag Dolls IMG_2009

For A’s second dress, I made a standard pillowcase dress with a purple floral pattern and lavender satin ribbon.

Wee Wonderfuls - Sewing Rag Dolls

Quick and pretty!

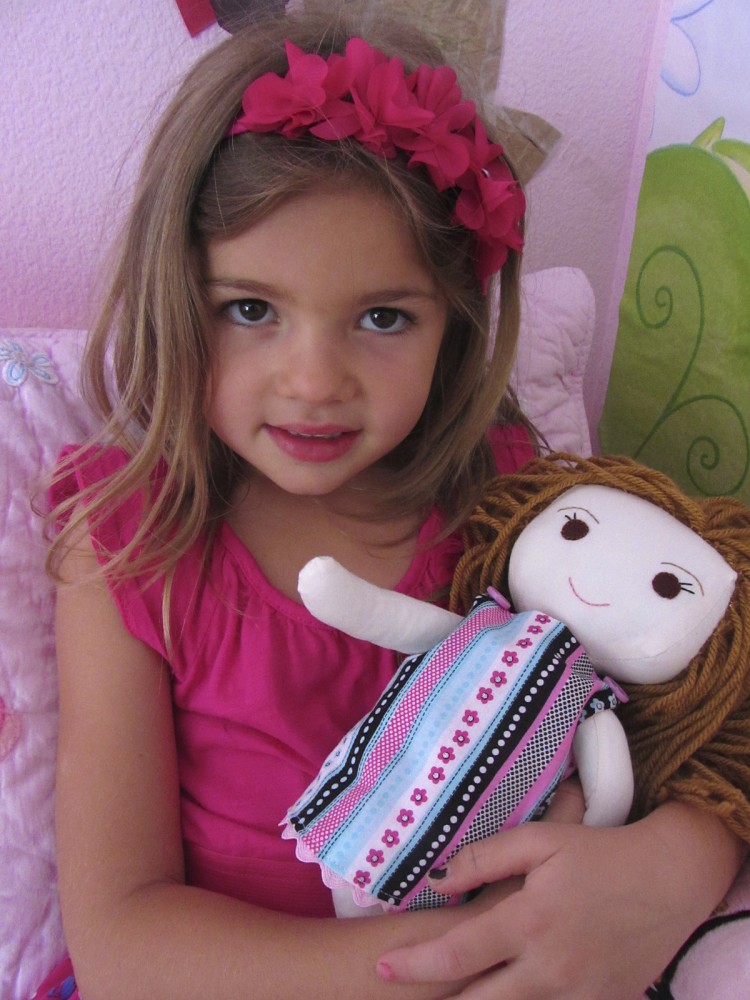
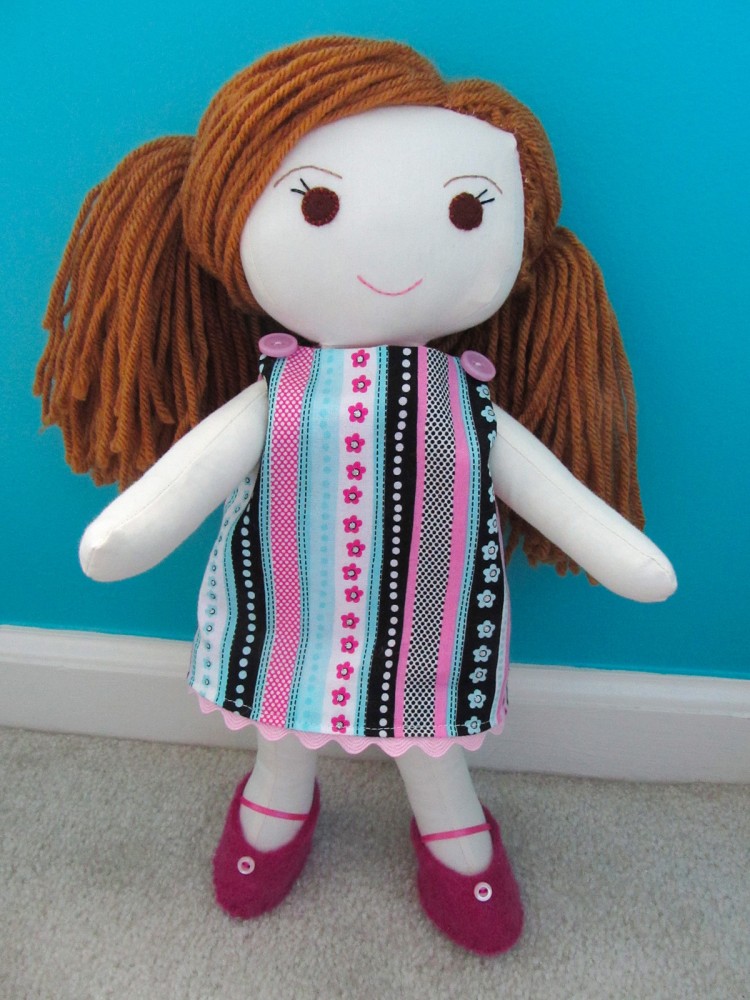
The Blond – S’s Doll

Wee Wonderfuls - Sewing Rag Dolls

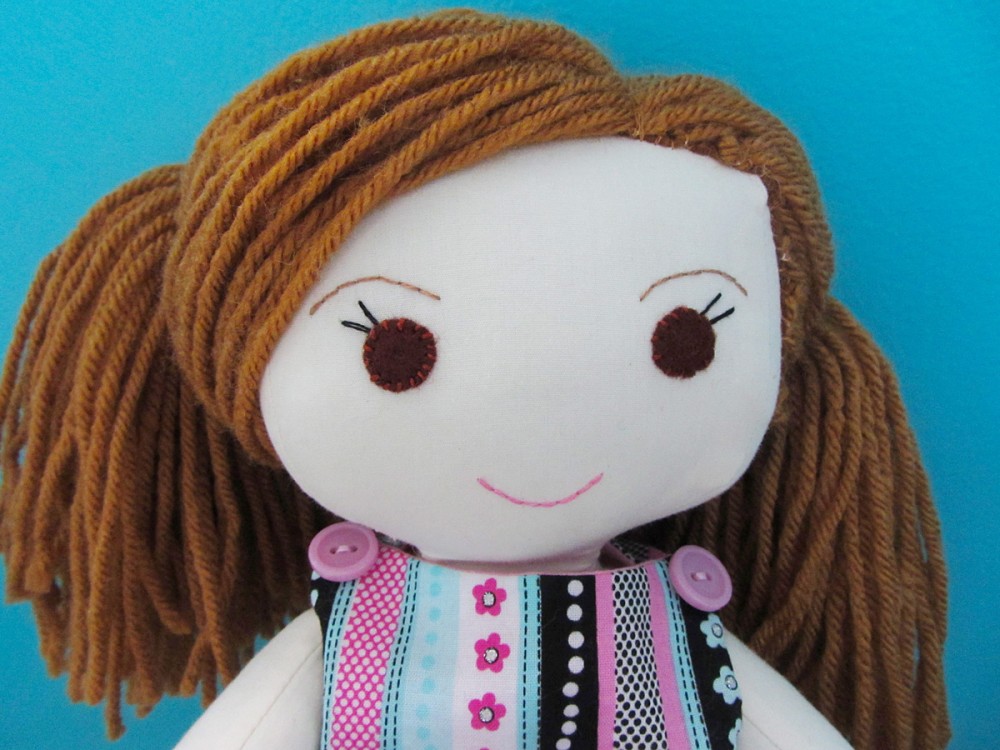
Honey blond hair! For S’s doll, I used Vanna’s Choice yarn in Honey. S often styles her hair with a side part or ponytails, and loves hair clips. I made her hair thick, focusing on both a side part that hangs well when loose, and divides all the way down (to allow for ponytails.)Wee Wonderfuls - Sewing Rag Dolls

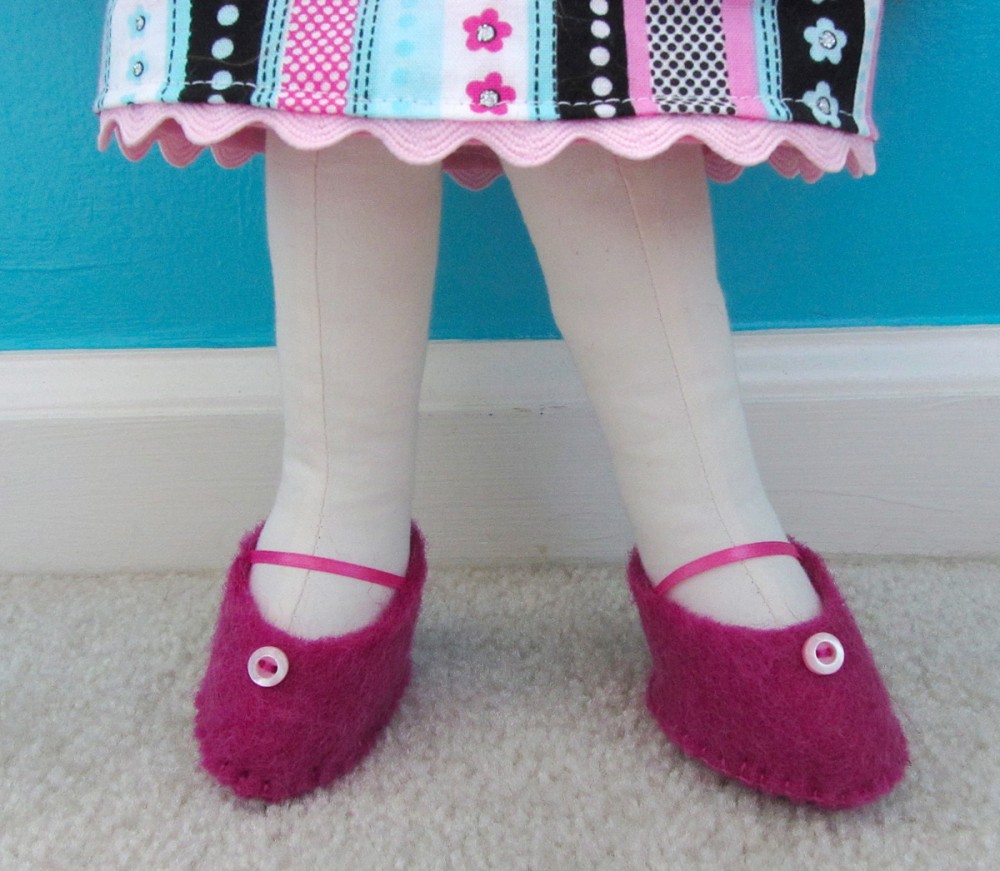
S’s main dress is a pink/black/blue striped pattern on the outside and pink on the inside. I added large pink ric rac to the bottom and vintage buttons at the shoulders.

Wee Wonderfuls - Sewing Rag Dolls

For her shoes, I used a magenta 100% wool felt, ribbon and vintage buttons.

Wee Wonderfuls - Sewing Rag Dolls Wee Wonderfuls - Sewing Rag Dolls

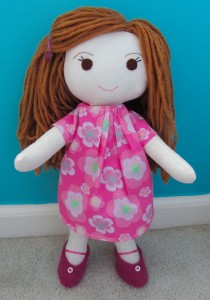
For her second dress, I followed one of the dress patterns included with the doll pattern. I used a cute pink flower fabric.

Wee Wonderfuls - Sewing Rag Dolls

The Doll’s Wigs

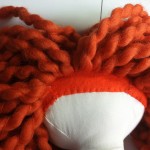
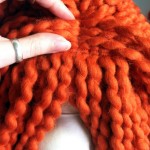
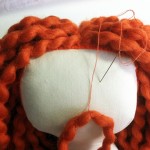
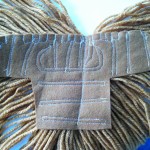
I knew I wanted to do the doll’s hair differently than how the pattern instructed. I really didn’t want their scalps to show through – especially on A’s doll where I couldn’t sew too many rows of hair or else it would be too thick. Being a felt lover, I decided to sew the yarn directly to some felt to make a wig, then sew it on to the doll.

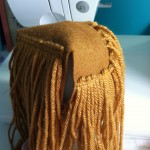
Hopefully this gallery helps explain how I made my doll wigs. Here is the shape I cut in the felt, and what I did for the blond doll.

Wee Wonderfuls - Sewing Rag Dolls Wee Wonderfuls - Sewing Rag Dolls Wee Wonderfuls - Sewing Rag Dolls

This (double) project was a lot of work, but so much fun!

Wee Wonderfuls - Sewing Rag Dolls

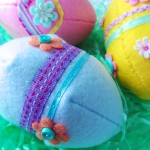
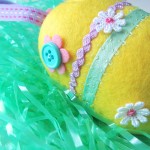
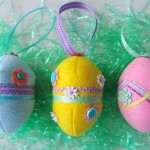
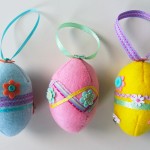
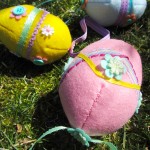
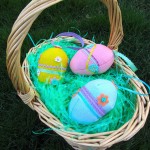
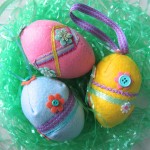
Felt Easter Eggs

IMG_1789

Felt Easter Eggs

Easter is almost here!

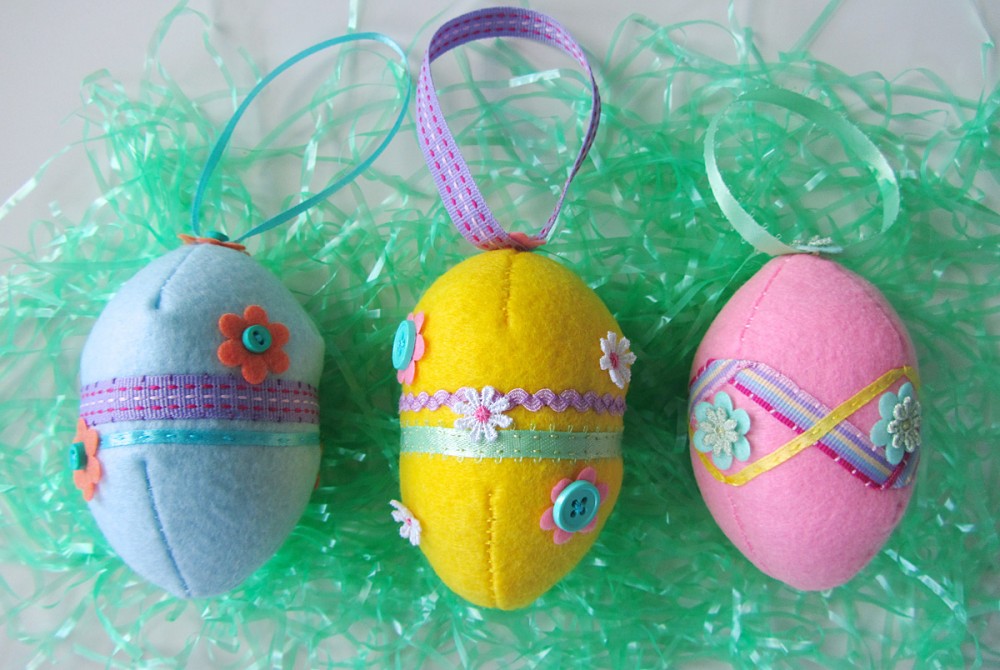
I wanted to do a quick and easy project for Easter that I could share with you all. The hardest part is already done – figuring out the pattern to sew a 3d egg! (I used a plastic egg, paper and tape to draft it out.)

For this project, I used some extra eco felt, plus some pretty trims and buttons. Many of my embellishments were from the Target dollar aisle!

What I used:

IMG_1762

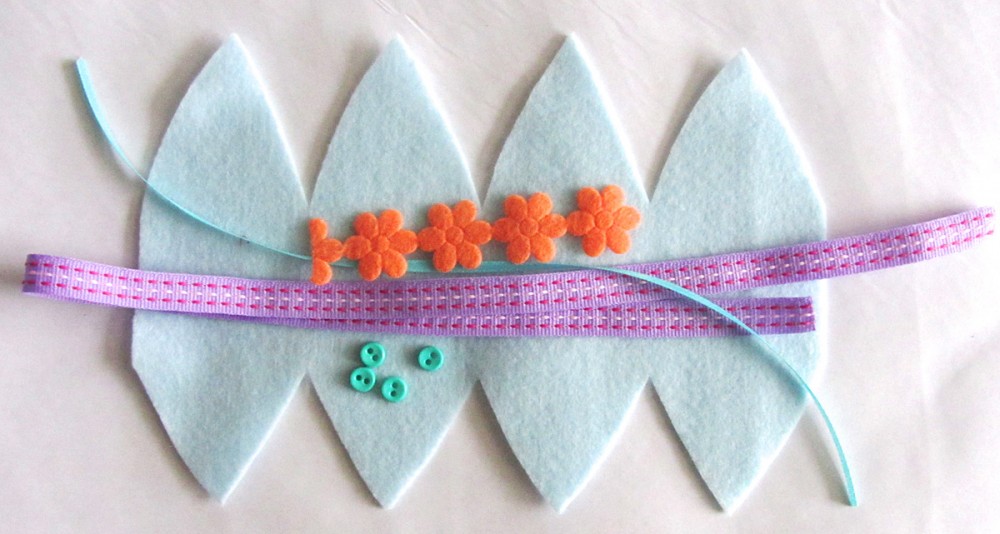
I started by cutting out the felt and choosing some pretty trims.

IMG_1763

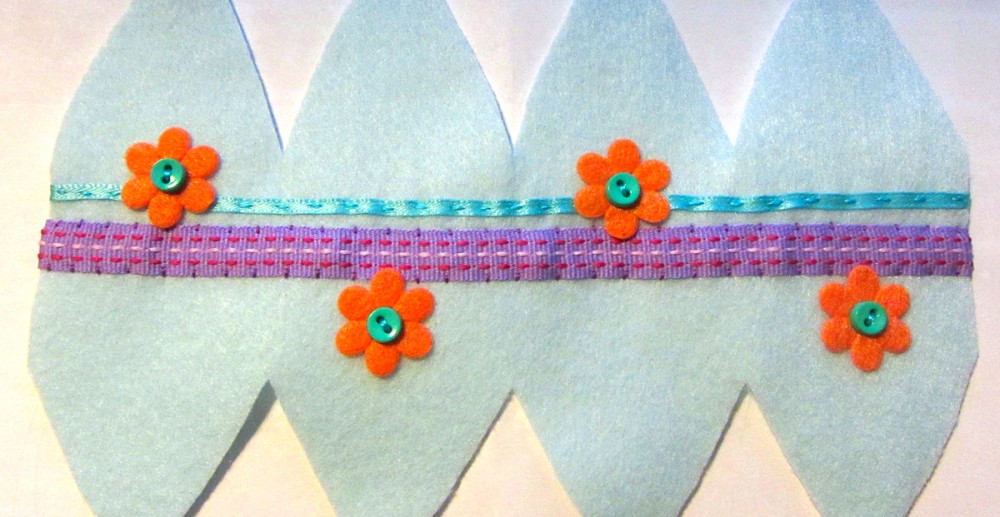
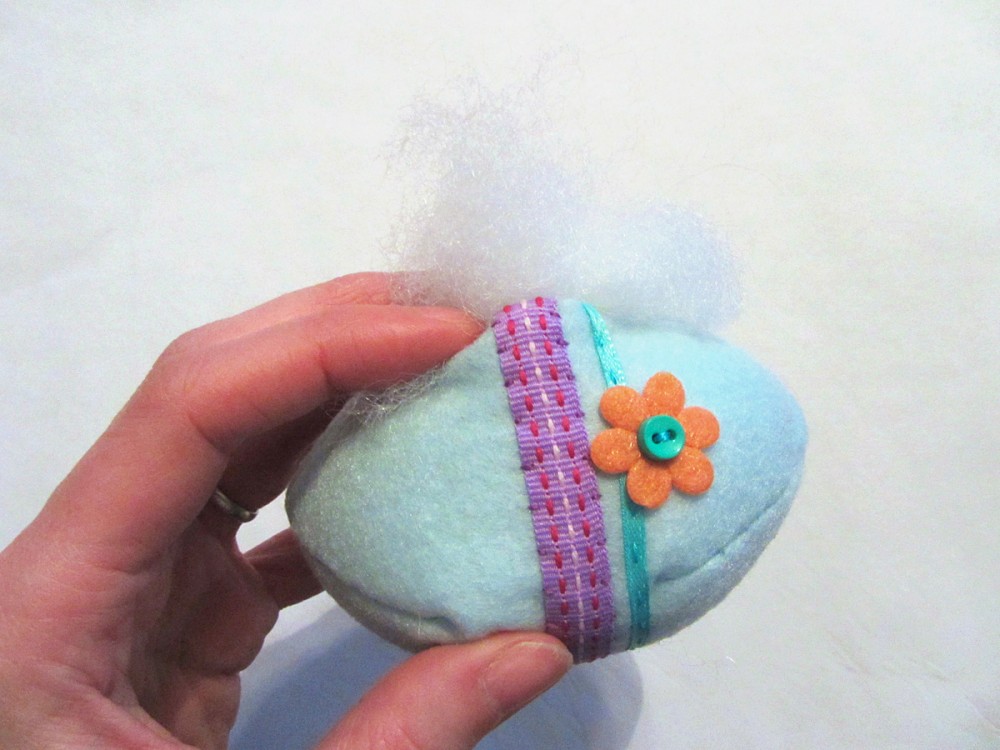
I then sewed all my decorations on before constructing the egg. (For my pink egg, I added a flower after sewing the egg, as it landed on the final seam.) Make sure your ribbons line up when you fold the felt into a tube.

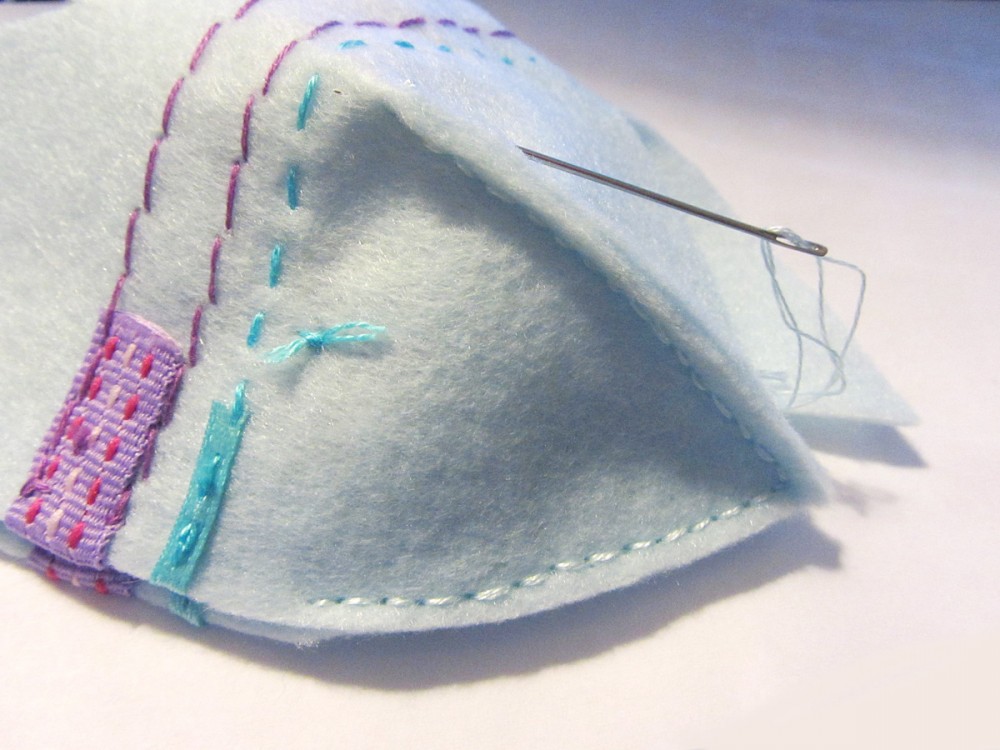
IMG_1765When sewing the egg together inside-out, I left the two flat ends open (middle side of the egg) and just sewed the triangle sections closed. I used a very small seam allowance (included in the pattern) of around 1/8″ (4mm) and hand sewed with a back stitch.

IMG_1767

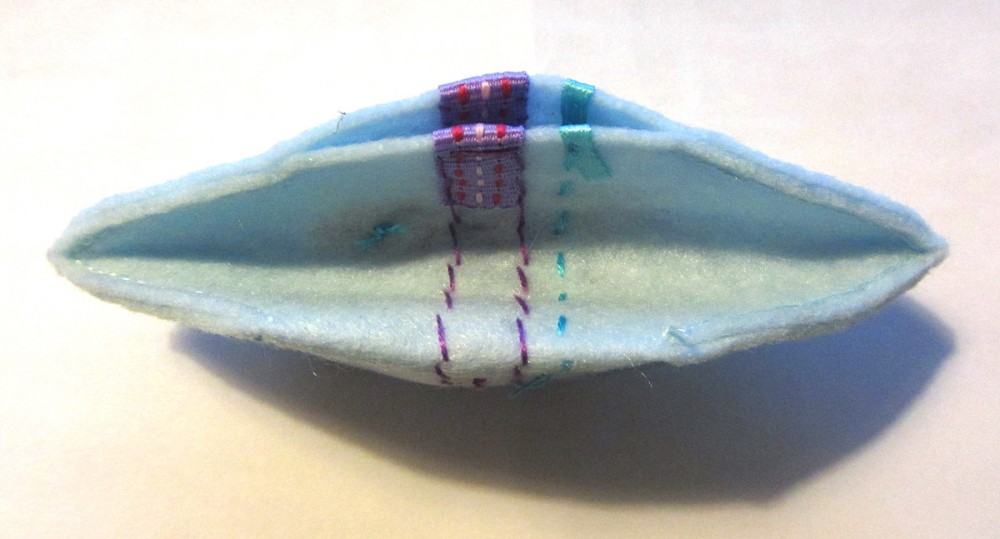
Once both ends were sewn shut, I turned it right-side-out.

IMG_1769

I filled it full of stuffing.

IMG_7331  IMG_7332  IMG_7333

Using a ladder stitch, I sewed the opening shut.

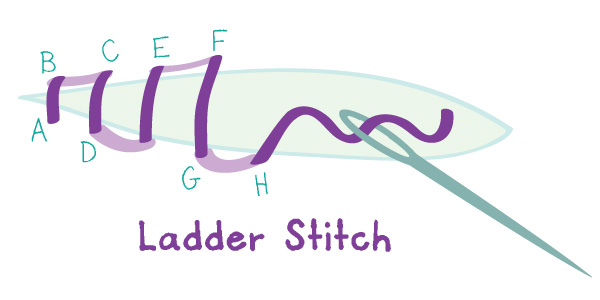
ladder-stitchLadder stitch is most easily done with a curved needle. I don’t have one, but didn’t have any problems. Make a stitch across the gap you are closing, then run your needle through the felt in a small dash perpendicular to the opening. Repeat on alternating sides as shown. (In the diagram above, the lavender parts of the thread are under the felt.)

IMG_1796

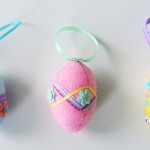
I finished my eggs off by stitching a loop of ribbon and a little embellishment to the top so they can be hung up.

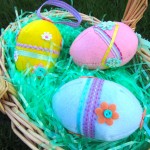
There are so many possibilities with how you can decorate these eggs! If you make some, you are welcome to stop by the Facebook page and share a photo of your work. Have fun!

Felt Easter Eggs

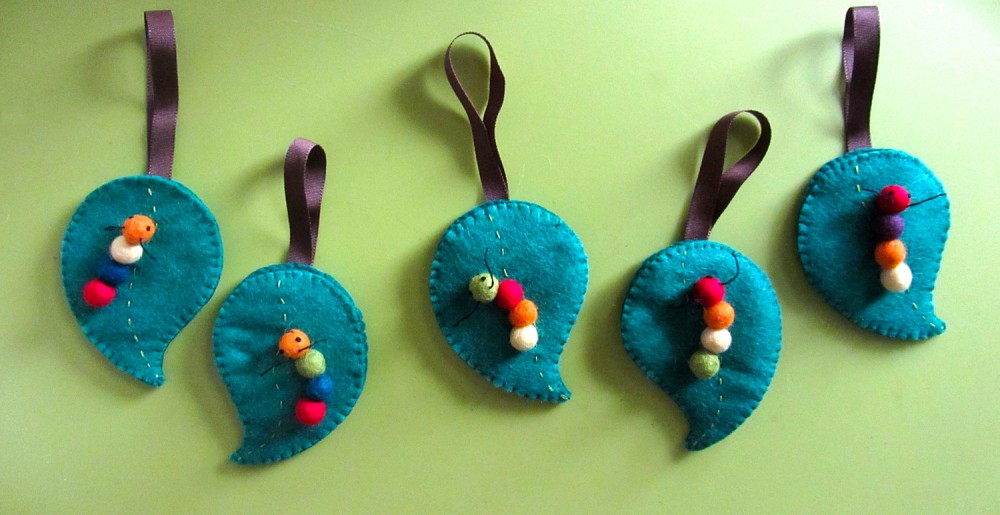
Felt Caterpillar Coin Purse

Felt Caterpillar Coin Purse

I can hardly believe that my little Jackson will be turning 3 on February 5th! It feels like yesterday we were bringing him home. He is finally able to understand our party planning and birthdays in general. When I ask what to add to his wishlist, he tells me, “a teddy bear, a car, chomping teeth and a lollipop.” Chomping teeth?? Where does he get these ideas?

Over the Christmas holidays, I suggested many party themes to him, and we ended up on bugs. I made an inspiration board with Photoshop, and even planned out his cupcakes. (He is SO excited for those!) Since Jax is not in school yet, he doesn’t have many friends his own age to invite. He loves his grown up friends, and I wanted to have a handmade favor for them beyond the treat bags full of candy. And so I designed these little felt caterpillar coin purses!

Felt Caterpillar Coin Purse

This project would work really great with a Very Hungry Caterpillar party as well! Check out the felt board set I made for a friend’s son here.

What I Used:

Felt Caterpillar Coin Purse  Felt Caterpillar Coin Purse

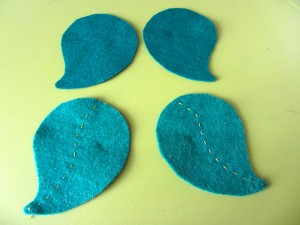
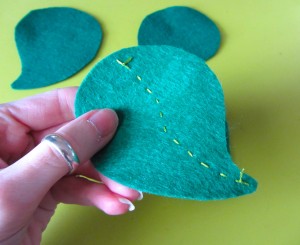
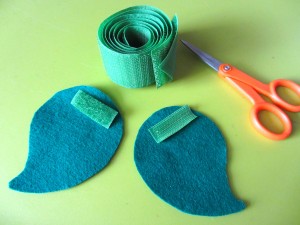
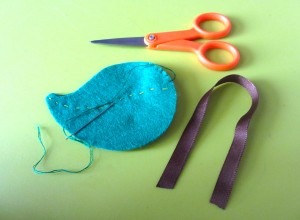
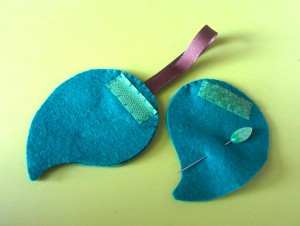
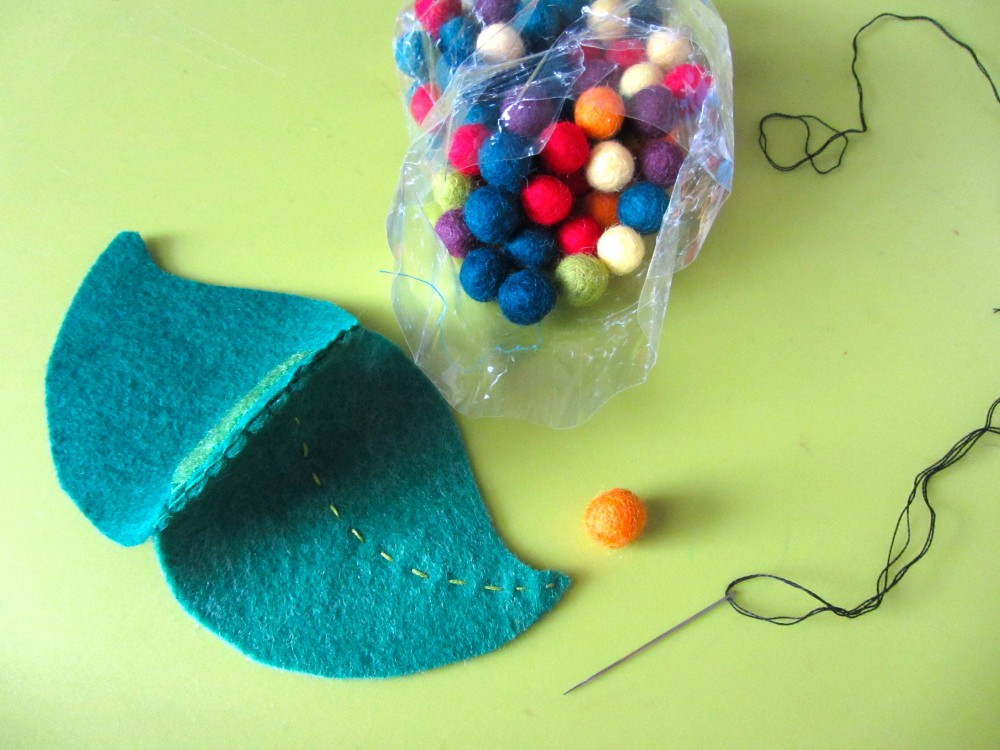
I started by cutting out my leaf shapes – 2 for the outside and two for the inside. I stitched the center vein of the leaf on the two outer pieces using a running stitch. The second photo above is a backside view.

Felt Caterpillar Coin Purse   Felt Caterpillar Coin Purse

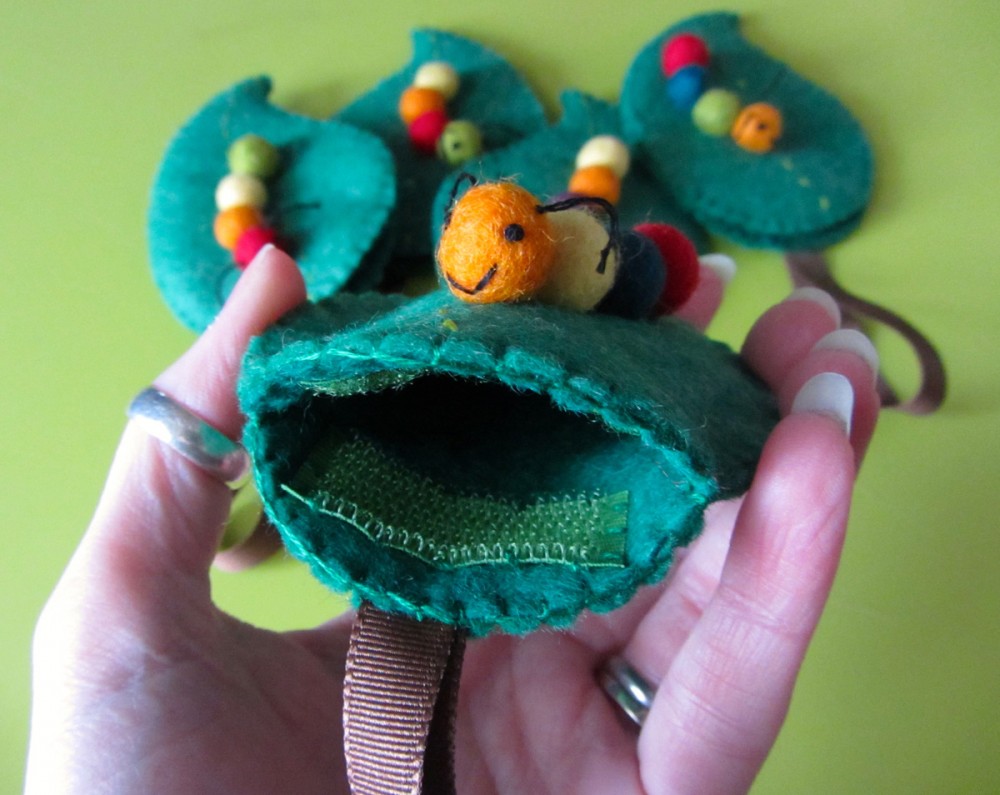
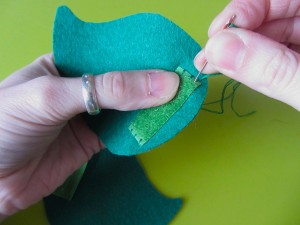
I then cut strips of hook & loop tape and sewed them onto the inner leaf pieces. My hook & loop was nice and wide, so it made nice, thin strips.

Felt Caterpillar Coin Purse

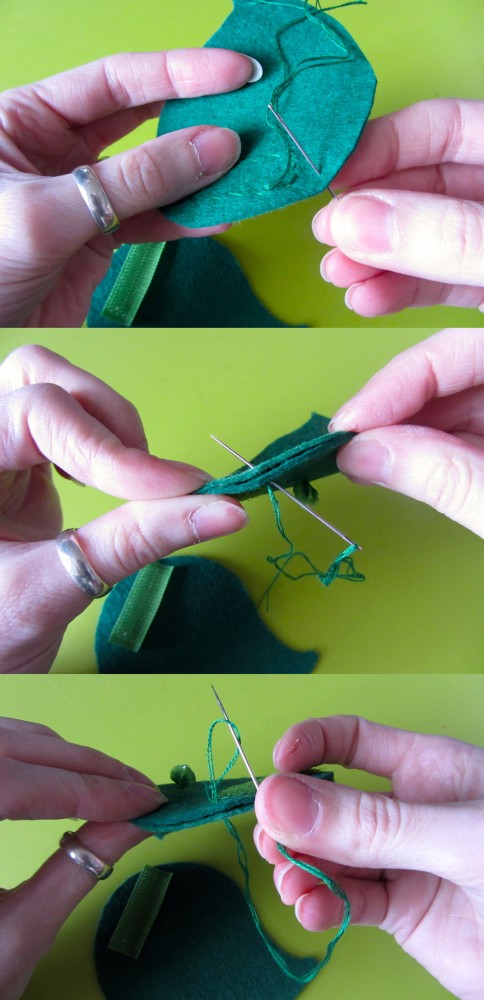
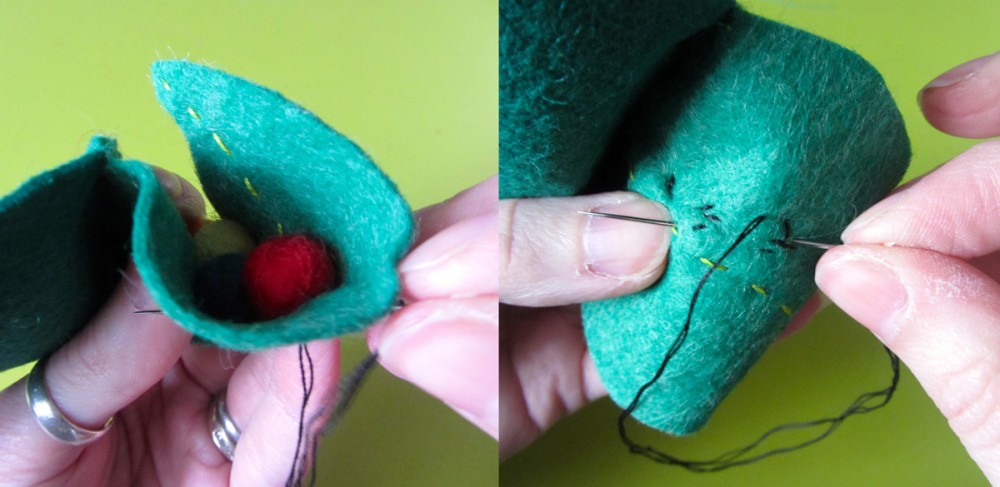
I still had a lot of thread on my needle after sewing on the hook & loop, so I ran the needle through the felt to get it in position to sew the inner and out leaf pieces together along the top purse opening. I ran the needle from the back of inner leaf piece through both layers,  then back the other way in the exact same spot. Before pulling it tight, I ran my needle through the loop to start my blanket stitch.

Felt Caterpillar Coin Purse  Felt Caterpillar Coin Purse

I sewed the inner and outer leaf pieces together along the tops, catching a loop of ribbon for a handle in between the layers on one side. I made sure the stitching lined up on both sides.

Felt Caterpillar Coin Purse

I sewed the caterpillar next – attaching him to the outer layer of the the side of the purse without the handle.

Felt Caterpillar Coin Purse  Felt Caterpillar Coin Purse

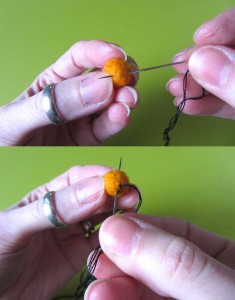
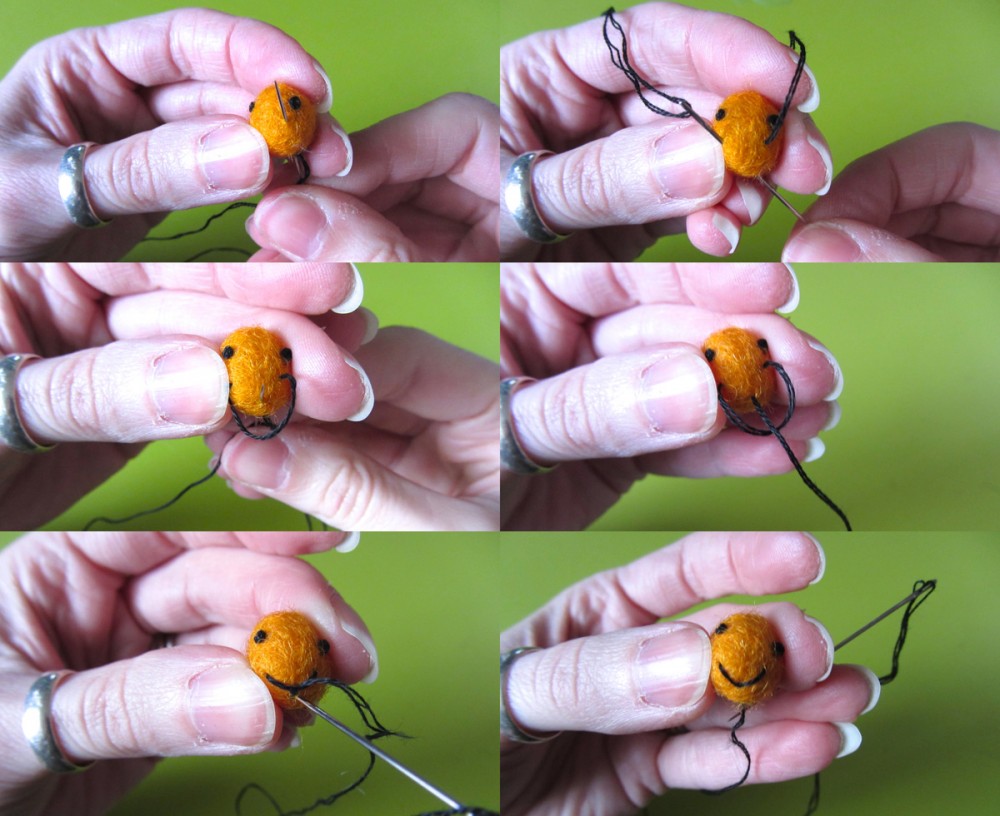
To start sewing his features, I attached my thread to the bottom of the head (using this thread technique.) I then ran my needle up to one eye and made a French knot, coming out at the bottom of his head. I repeated that for the other side.

Felt Caterpillar Coin PurseTo make his mouth, I came up at one corner and down at the other, coming out at the bottom of his head. Before pulling the thread tight, I came up at the the bottom center of where I wanted the curve of his smile to be. I went through the loop of thread and made a tiny stitch to lock the smile in place. I ended up at the bottom of his head, ready to attach him to the leaf.

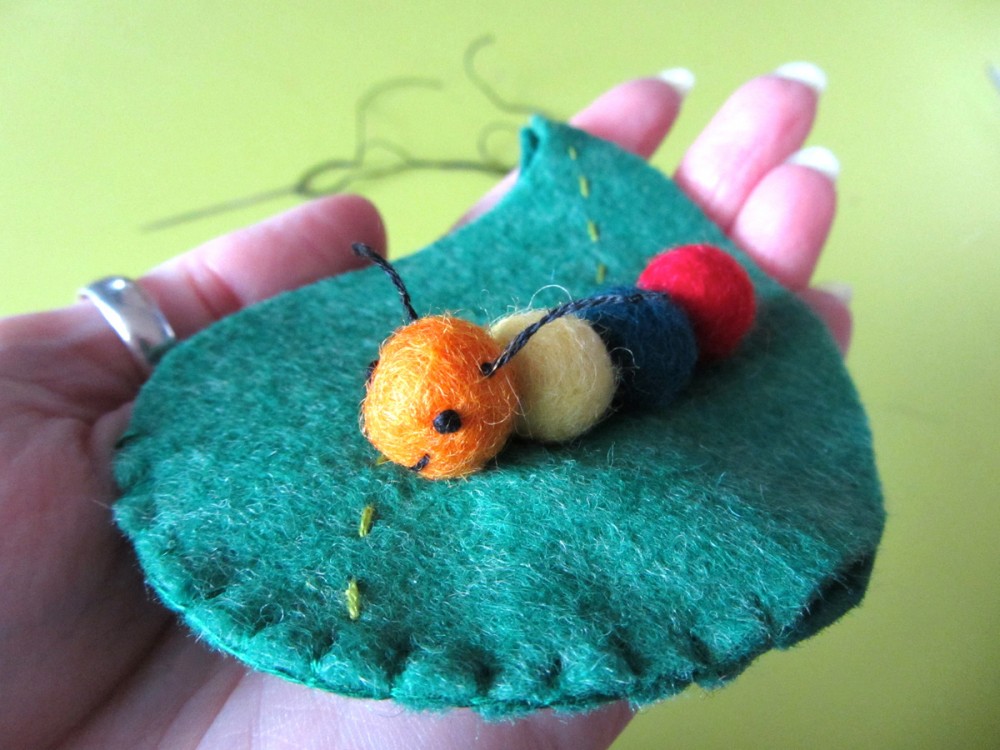
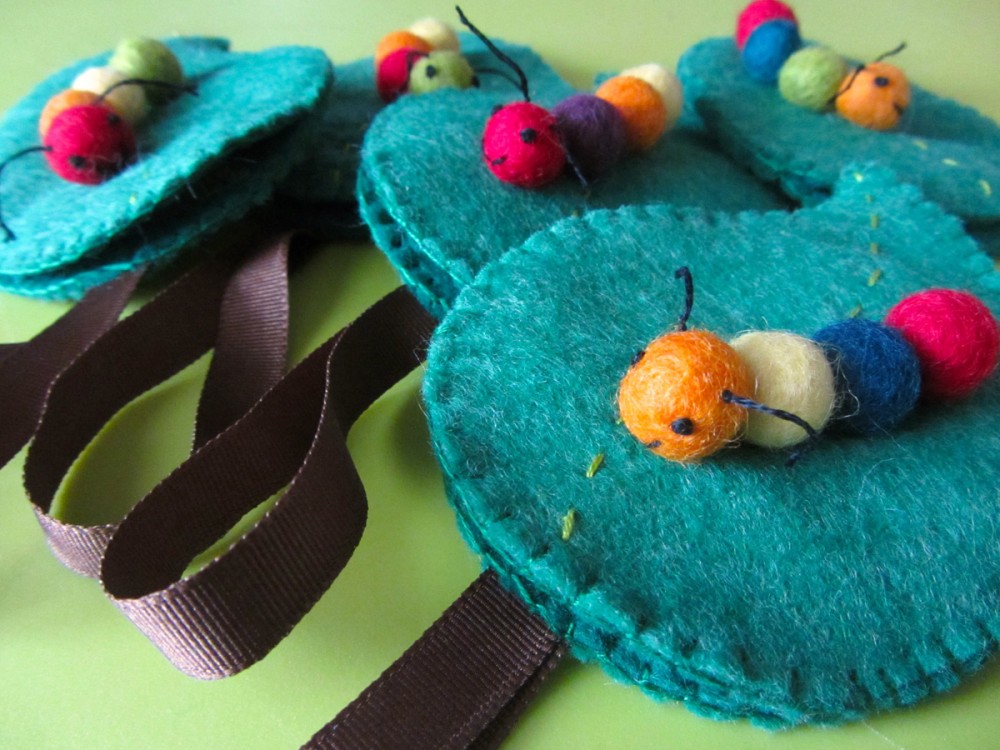
Felt Caterpillar Coin PurseI attached the head to the leaf with several strong stitches through the base, sewing him to only the outer layer of the leaf. I came up diagonally through the base of his head and out the center back. Running my needle through about 1/3 of another felt ball, I sewed it down behind his head with several strong stitch. I continued this way for a total of 4 balls.

Felt Caterpillar Coin Purse

I then reinforced them by stitching up, through and down two balls at a time. So on this example, I sewed red and blue, blue and green, then green and orange.

Felt Caterpillar Coin Purse  Felt Caterpillar Coin Purse  Felt Caterpillar Coin Purse  Felt Caterpillar Coin Purse

I ended up under his head again, and came straight up through it to where I wanted the first antennae. I tied a knot in the thread flush against his head, then tied another knot where I wanted the end of the antennae to be. I trimmed the extra and restarted a thread under his head to repeat it for the other side.

Felt Caterpillar Coin Purse

Felt Caterpillar Coin Purse

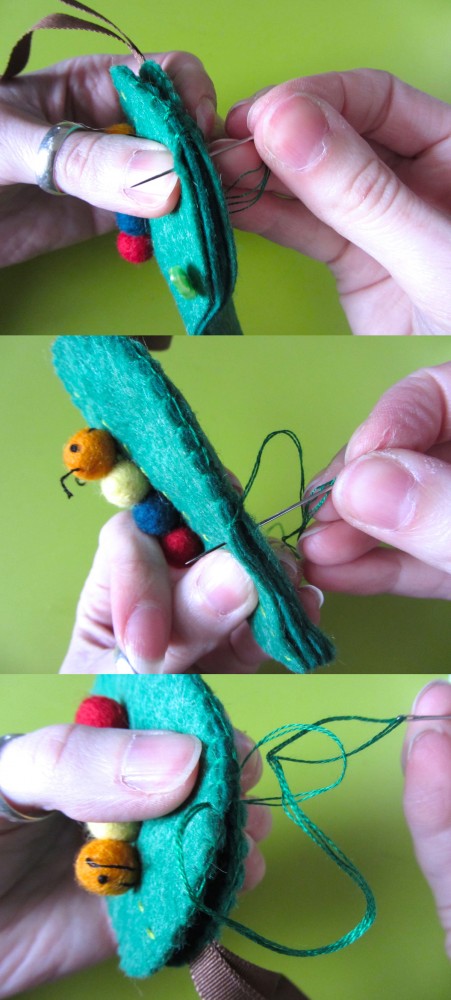
I then pinned the two sides of the purse together. Starting where the top blanket stitching ended, I sewed around the ends to the other side.

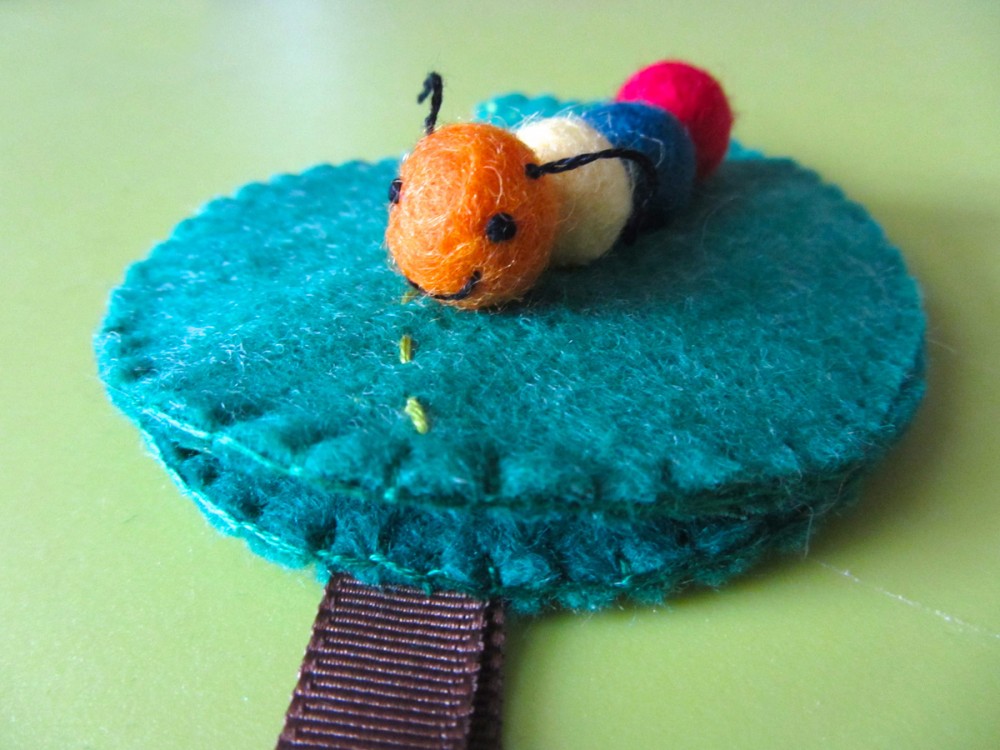
Felt Caterpillar Coin PurseAll done!

These are coming out so cute, and only taking about 30 minutes each to sew (with Jax distractions!) once all the pieces were pre-cut. I’ve been letting Jax chose the colors for the felt balls – he loves helping out!

Felt Caterpillar Coin Purse

I have 5 of these cuties sewn so far, with 7 to go before his party in early February. I better get stitching this weekend!

I’d love to see your finished project if you make one of these coin purses! Stop by our Facebook page and post a photo.

DIY My Little Pony Plushie

DIY Pinkie Pie MLP Plushie

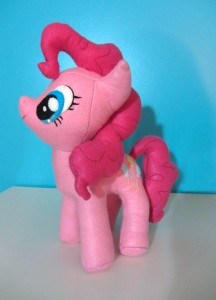
When I asked my brother if there was anything I could make for my niece this Christmas, I was a little overwhelmed when he suggested a My Little Pony – Friendship is Magic plushie of “Pinkie Pie”. I’d never sewn a stuffed animal before, and I’d be a pony newbie creating something to give to a pony expert!
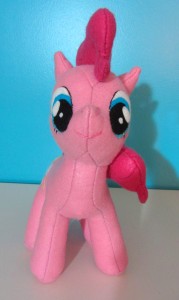
DIY Pinkie Pie MLP Plushie  DIY Pinkie Pie MLP Plushie  IMG_1281

I let the idea brew in the back of my mind for a while, as I tend to do for all sewing projects, when one day a box full of gorgeous recycled felt arrived from a friend. Two shades of pink? Check! The project was on! I planned an entire weekend of sewing, but ended up adding 2 evenings so I could add pony clothing to the gift.

The felt was purchased from FeltForLess on Etsy, who is unfortunately closed over the holidays as I am writing this, so I do not have prices for you. I will say that the thickness is similar to the wool blend felt I get from American Felt and Craft. It seemed to stretch a bit easier than the wool, and didn’t have the subtle color variations that make wool felt so rich. But the colors were bright and it cut like dream. I had no trouble working with it. I did lack that subtle “wool sweater feel” love so much about wool felt, but I’d use it again! (FYI – when sewing the pony construction (anything getting turn right-side-out afterwards) I preferred to use two strands of machine thread instead of my normal 2 strands of floss. It seemed stronger.)
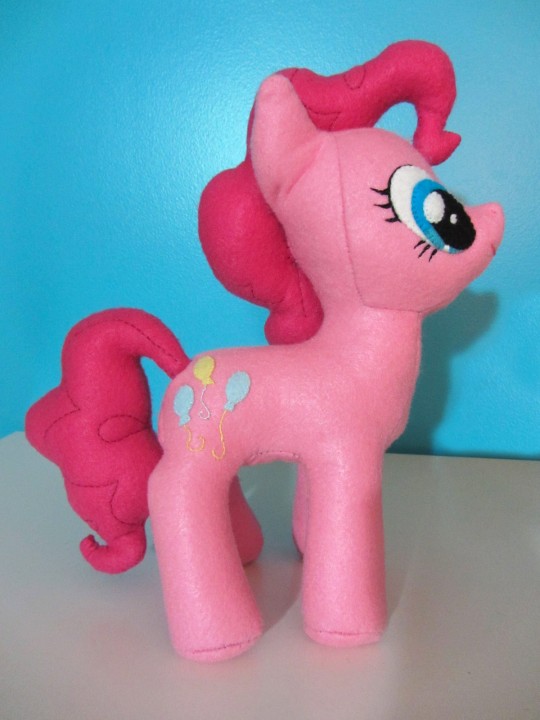
DIY Pinkie Pie MLP Plushie

As I had never made a stuffed animal, my first stop was to find a pattern for the pony’s body. There are many free patterns online for MLP. While there are people out there that make and sell these plush ponies, I think it is risky due to copyrights. All the patterns I saw were free. I did a quick search, but chose the most complex pattern I found. I liked that it was more accurate thanks to details like darts by the legs. Thank you Voodoo-tiki for the great pattern and tutorial!

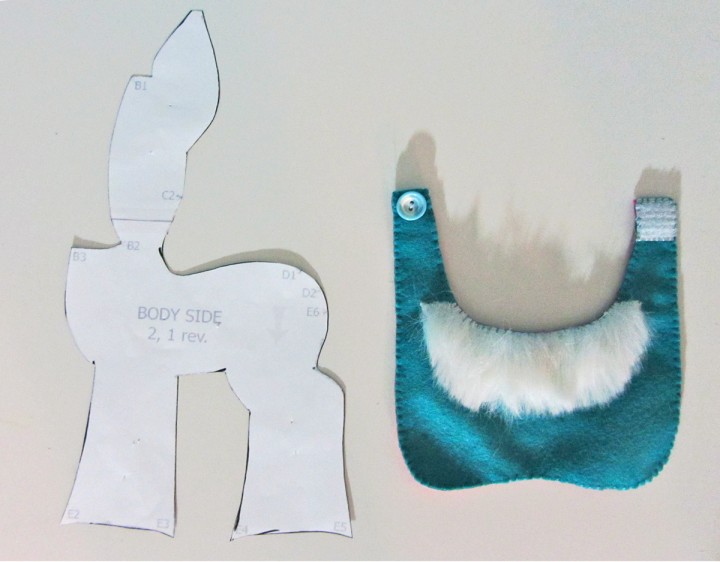
I enlarged the pattern a bit. I didn’t want to deal with turning it right-side-out with tiny parts made of felt. Even enlarged, I still ran into that with the main and tail. If you want to make a pony of similar size to mine, resize the pattern so the height of the “body side” piece is 11.25″. I had to break up the two largest pattern pieces over multiple pages to print them.
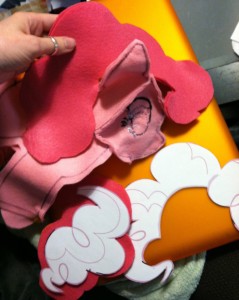
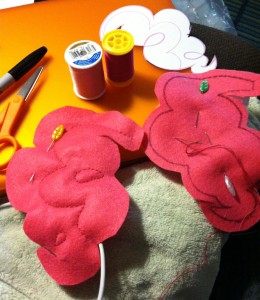
DIY Pinkie Pie MLP Plushie  DIY Pinkie Pie MLP Plushie  DIY Pinkie Pie MLP Plushie

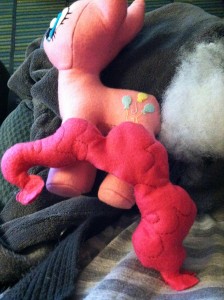
For the main and tail, I used the same technique mentioned in this tutorial to create a pattern. Thank you Meowplease! When I sewed the swirl patterns of her hair onto the felt pieces, I added a layer of batting to the back to add dimension. It would have worked better with more batting and thinner fabric. My results were subtle. I ran into trouble while trying to turn the sewn piece right-side-out. The little flippy curls were too small. I ended up ripping out the stitches for all the tiny curled bits, then sewed them while the piece was right-side-out using a ladder stitch. I used this technique to attach the main and tail. Thank you MLPPlushies!
DIY Pinkie Pie MLP Plushie

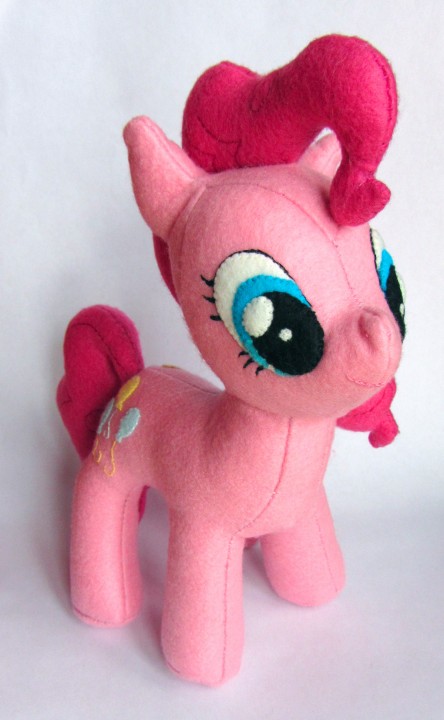
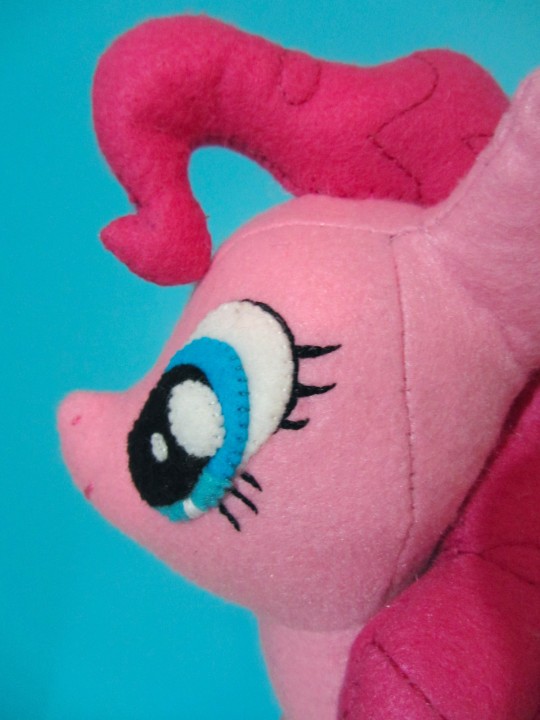
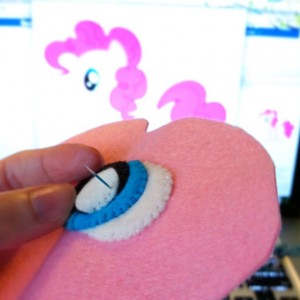
The eyes were my own creation. I do not have an embroidery machine (that’s called “my hands”!), which seems to be the preferred way to sew pony eyes and “cutie marks” (butt tattoos!) I layered felt ovals to make all the main parts, added a wedge of lighter blue at the side of the iris for shading and stitched a satin stitch wedge of white for a highlight. The eyelashes were a combination of back stitch and satin stitch. In my quest to do well, the eyes took 3 hours!
DIY Pinkie Pie MLP Plushie

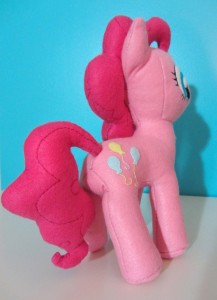
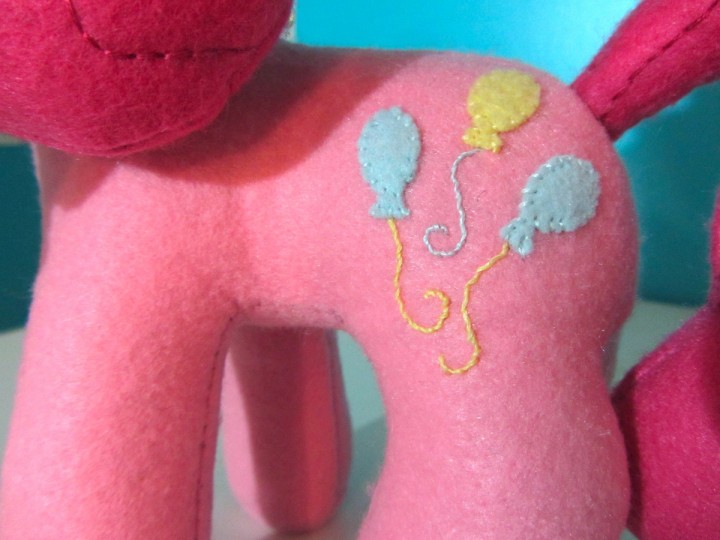
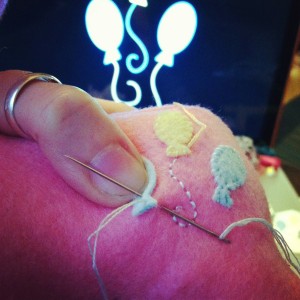
The “cutie mark” was done in felt. I started out with the balloon strings done in back stitch. I decided I wanted something more solid, and wove my needle right-to-left through every stitch to fill it in. The result was similar to stem stitch, which I used for the mouth. The “cutie marks” took me an hour each.
DIY Pinkie Pie MLP Plushie  DIY Pinkie Pie MLP Plushie

The clothing was all my own ideas. While I searched a bit through images online, thanks to my brother’s information, I decided to do my own thing. I didn’t have the materials needed to do anything “show accurate” so I went with colors that matched Pinkie and my niece liked.
DIY Pinkie Pie MLP Plushie

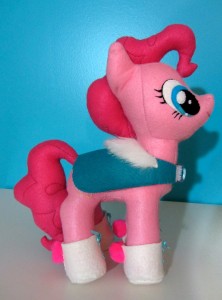
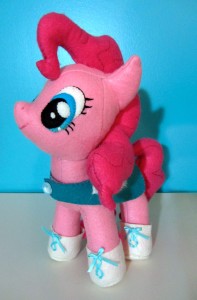
The cape was made with the darker pink eco felt on the inside and peacock wool felt on the outside. I cut a bib shape with a slight concave curve at the bottom to allow for her tail. I used snag-free Velcro to close it and decorated the front with a vintage button of my mother’s. I also sewed on a collar of faux fur.

DIY Pinkie Pie MLP Plushie  DIY Pinkie Pie MLP Plushie

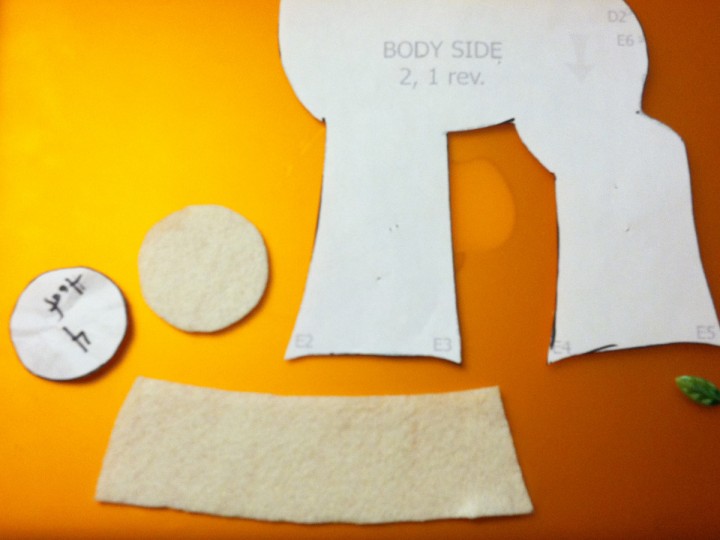
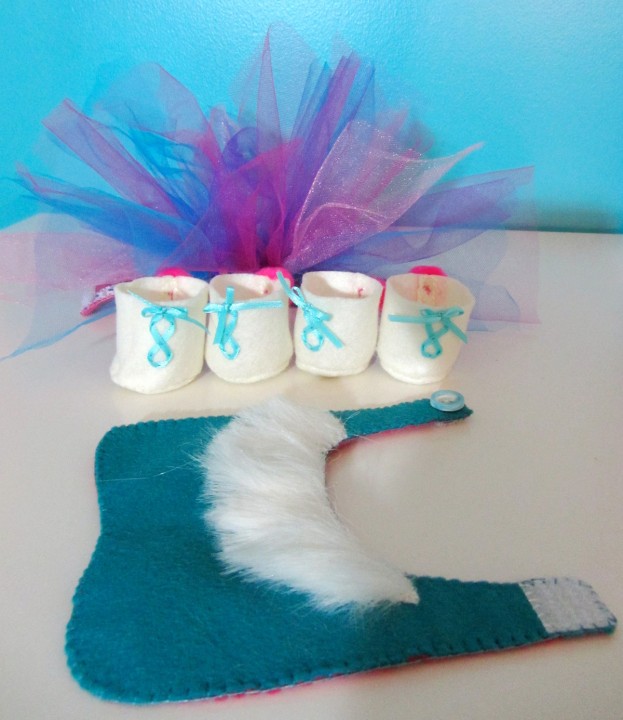
I wanted some boots for her, despite the fact I’d have to make 4 of them. I used some of the eco felt in white, and cut circles slightly larger than her finished feet. The boot bodies were strips of felt with a subtle curve. I wrapped the first one around a leg and trimmed it to make a template for the others. I had it long enough to overlap the seam.
http://pinterest.com/pin/10203536627526810/

I kept the seams flat by stitching little stitches across both overlapping edges in each boot. Then I turned them inside out, sewed on the bases and flipped them back right-side-out. I stitched pompons onto the backs and stitched crisscrossed ribbon onto the fronts as laces.
DIY Pinkie Pie MLP Plushie

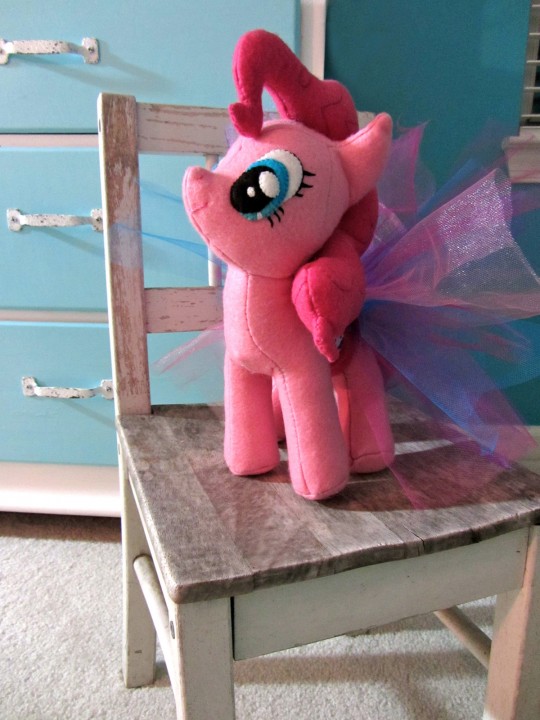
The tutu was added into the mix because the ponies had “gala dresses” that seemed to be a big deal. While I couldn’t make Pinkie Pie’s actual dress without candy corn ribbon, I decided to make a quick skirt to turn the cape into a dress. I took a bit of elastic and strips of leftover tulle from my sewing stash, looping the halved strip through themselves to attach them. (A quick search just now brought up the same technique here.)
DIY Pinkie Pie MLP Plushie

This little chair was $3.75 at the thrift store. Perfect school chair!

I didn’t make the elastic go all the way around her waist like I’d originally planned. Instead, I sewed the elastic and the tops of each tulle strip to a long piece of the darker pink felt. I added a length of cupcake ribbon (Dollar Tree!), sewed another piece of felt to the back as lining, and added more snag-free Velcro to close it. It looks more finished that way.
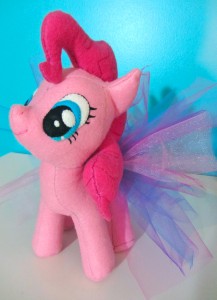
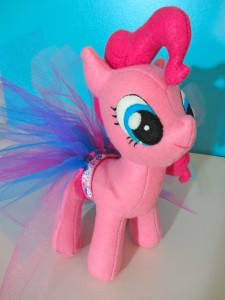
DIY Pinkie Pie MLP Plushie  DIY Pinkie Pie MLP Plushie

My niece got to open her gift this morning, while my brother’s family was on their way out of town for the holidays (and my grandmother’s funeral).
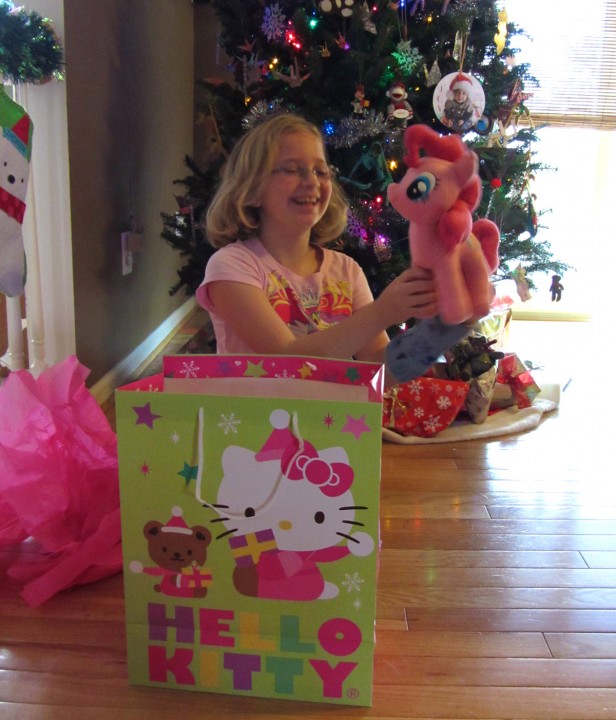
DIY Pinkie Pie MLP Plushie

She seemed to really love it. Mission accomplished!
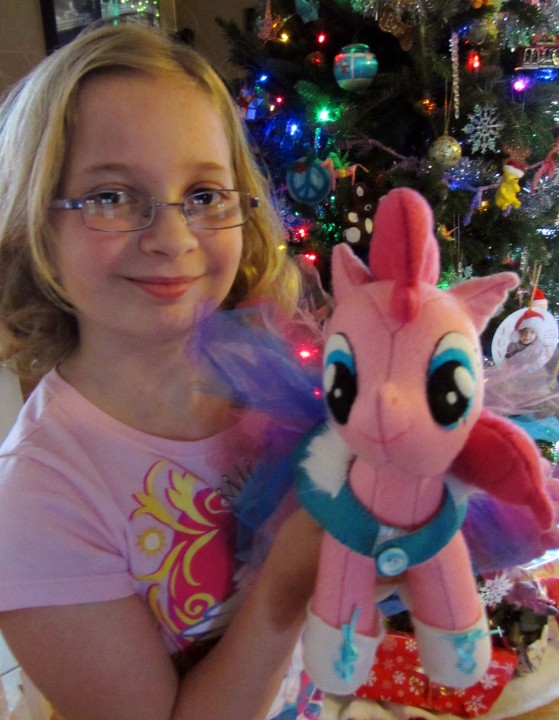
DIY Pinkie Pie MLP Plushie

Felt Bird Nest Ornament

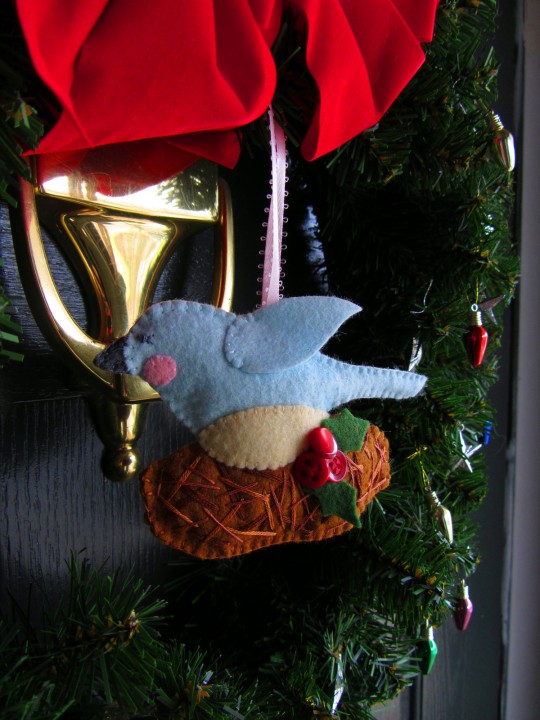
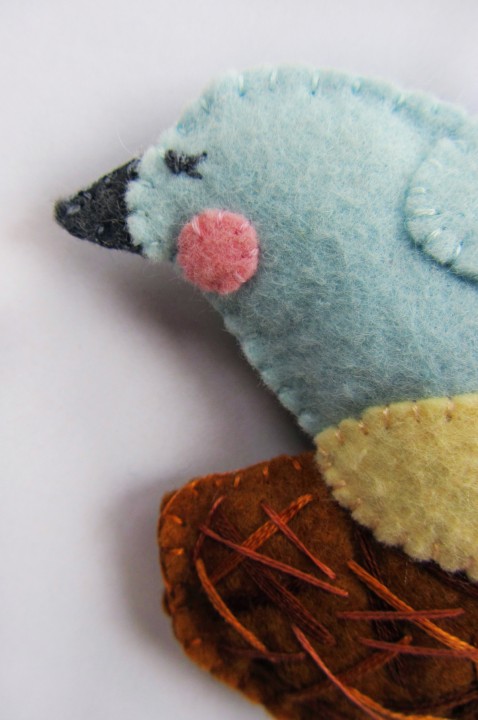
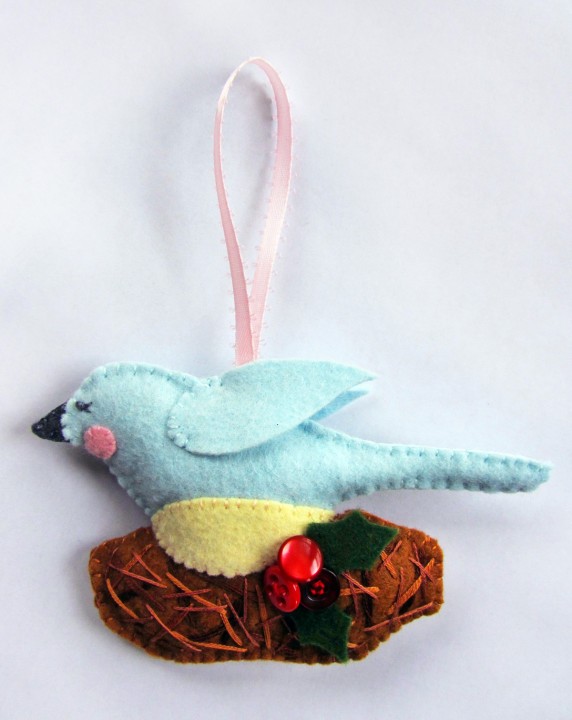
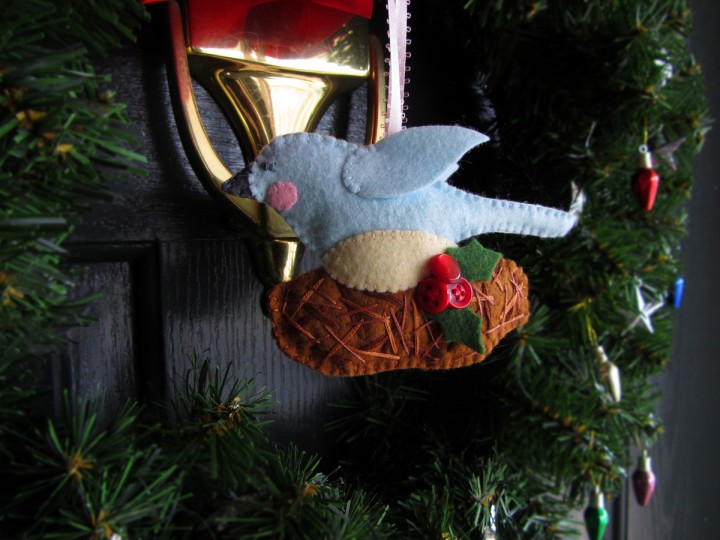
This little bird is an ornament I wanted to make once I saw the sparrow felt from American Felt & Craft. I just could resist! This ornament is two sided, but still sews up very quickly.

I’m trying to decide if I will design any more ornaments this season. Do you have any requests?

What I Used:

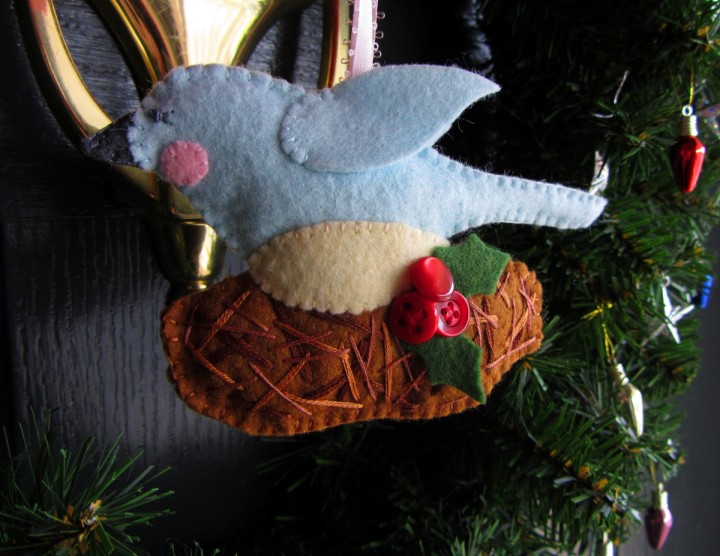
To start the ornament, I threaded 4 strands of a darker brown embroidery floss on my needle and made long stitches to look like the twigs in the nest. Then I threaded 3 strands of medium brown and repeated. I repeated one last time with 2 strands of light brown.

I sewed the belly pieces to each side of the bird’s body. I also sewed on the rosy cheeks. To make the eyes, I used a French knot and two little stitches for eyelashes. I pinned the wings in place, but only stitched around the shoulder (see photos.)
I sewed the two beak pieces together so it would be ready when I stitched around the bird.

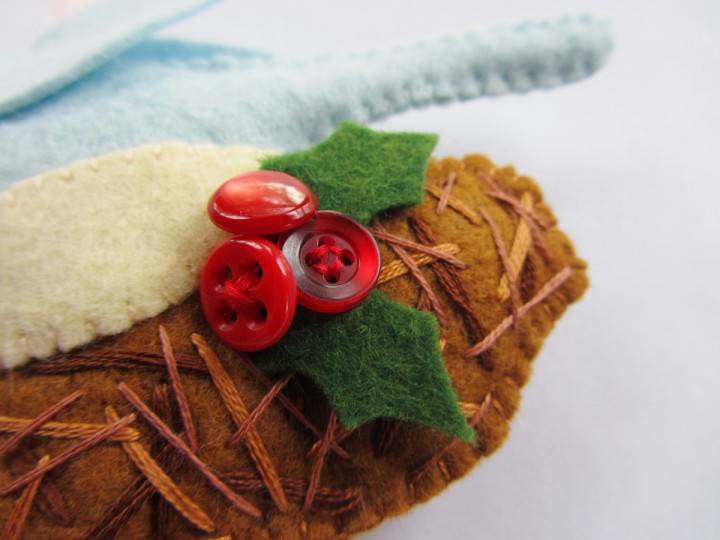
I pinned each side of the bird on to a side of the nest, then sewed it down along the outer edge of the belly. I sewed three vintage red buttons onto the nest with the holly leaves layered underneath. I chose all different buttons on purpose.

I cut batting to fit inside the whole ornament (I twisted a thin strip to fit inside the tail) then pinned it between the two sides of the ornament. I sewed all the way around the ornament, using colors that matched each part. I made sure to add a loop of pink ribbon at the top and the beak on his face.
I think I’ll be making a new bird every Christmas – just choosing different colors each time! I hope you enjoy using the pattern.

{ This pattern is free for personal use only. If you would like to purchase a $25 license to sell the finished project in your shop, please email me. }

Felt Holiday Train Ornament

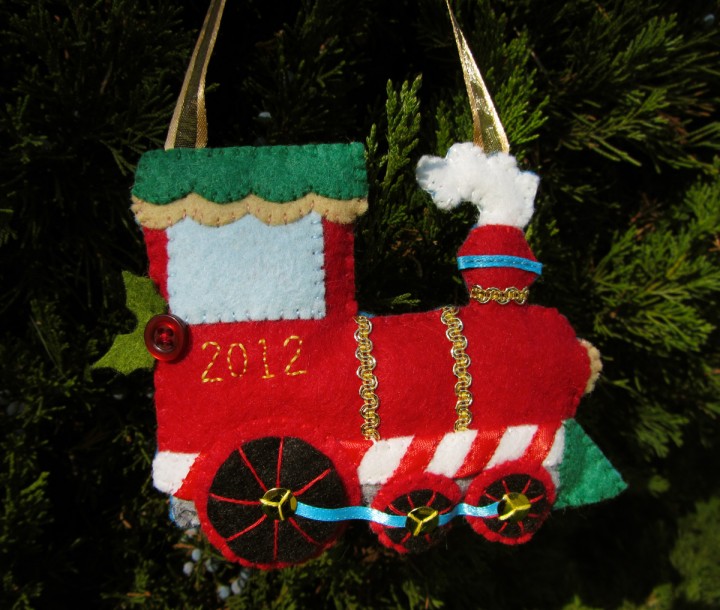
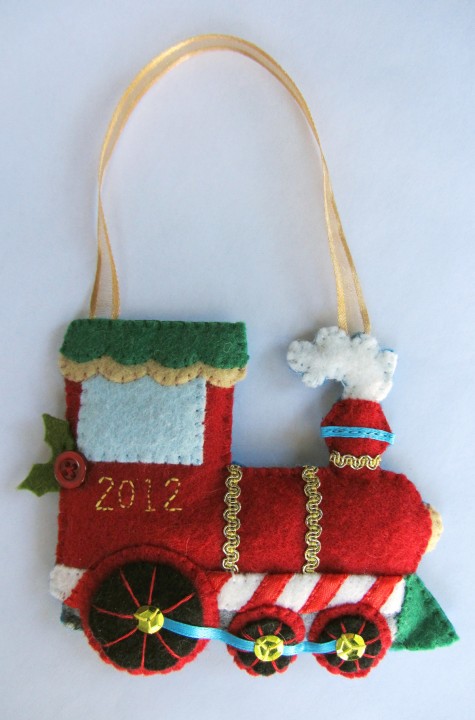
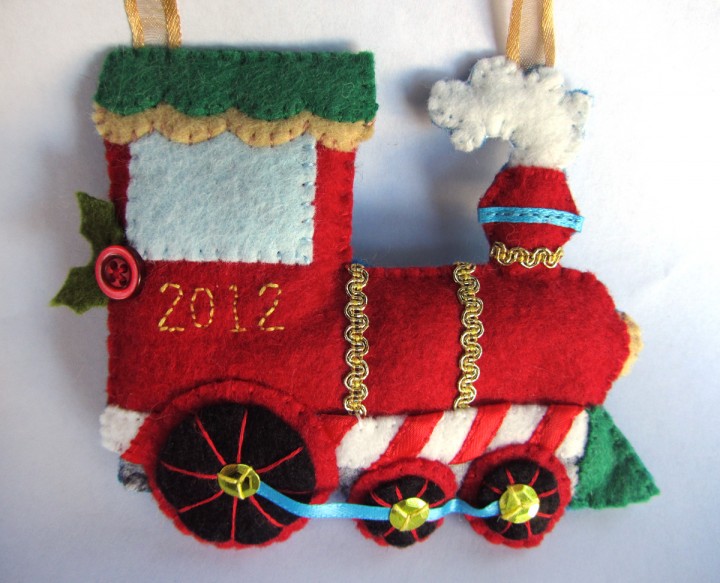
This is a new felt ornament I designed especially for my train-loving little guy. I added the year to this one, so hopefully I can make it a yearly tradition to sew him a special new ornament. He loves it and thinks it’s a toy! He played with it for 10 minutes before bed and handed it back wet and covered in dog hair. Haha! I tried my best to de-hair it for photos.

What I Used:

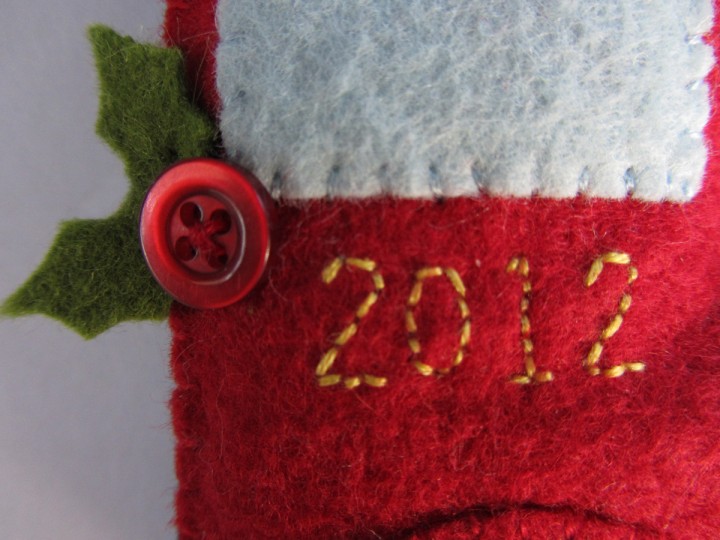
To start, I embroidered the year onto the train. I actually sewed right through the pattern paper, then cut away the paper very carefully. (Here is an example from another project.) I sewed the window on, lining its top with the top of the red train piece. I took some gold trim (the same stuff I used on my treasure page) and thin blue ribbon and sewed it on to the train.
I took some red ribbon and wrapped it diagonally around the white trim piece, stitching the edges down as I went. You could use red felt strips or even 3/8″ candy cane striped ribbon. I sewed the striped trim down onto the bottom of the train. I sewed the gray undercarriage strip below that, then sewed on the front bumper thingy. (What *is* that thing called??)

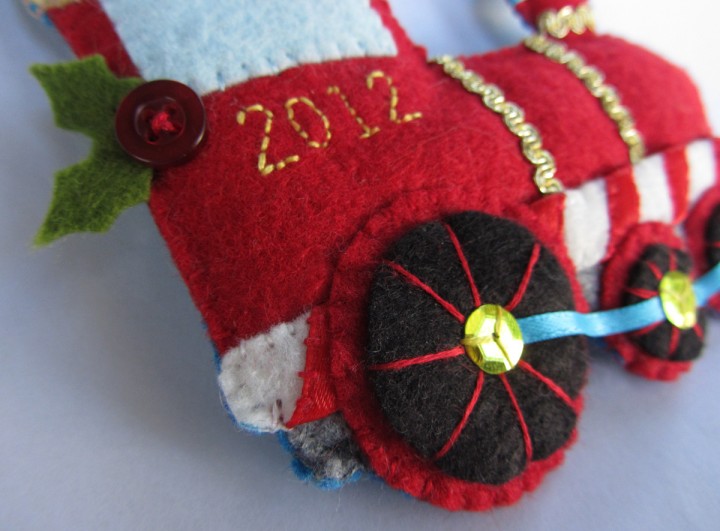
For the wheels, I layered the black centers over the red circles then crisscrossed thread to make spokes. I made a little * shaped stitch in the center where they crossed to hold the threads in place. I sewed the wheels down onto the train around the edges that overlapped. I cut a strip of thin blue ribbon and laid it across the centers of the wheels before sewing gold sequins over each.

To sew the roof on, I first sewed down the gold piece, then the green piece. For the headlight and the steam, I pinned them behind the train and stitched them on with thread that matched the train body.

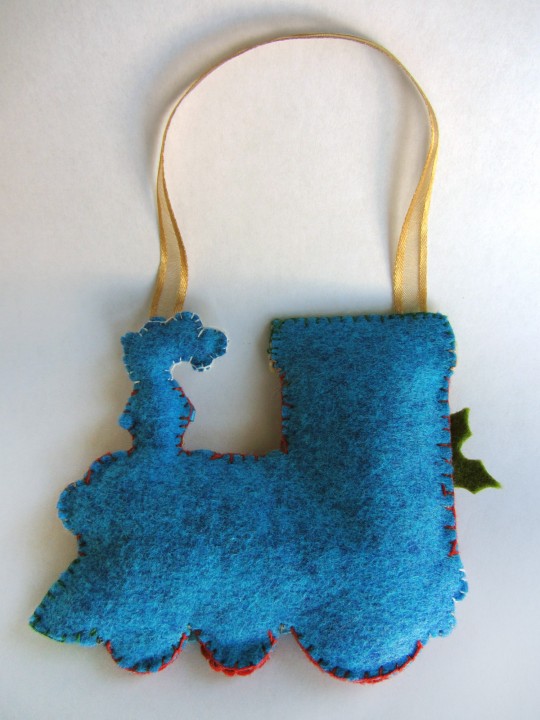
To add a back to my ornament, I laid the finished front piece down on my blue felt and cut out around it. I’ve drawn a backing piece for the pattern, but you need to make sure every lines up just right if you use it. I added some gold ribbon while sewing the front and back together.

The last thing I did was stitch a red vintage button and holly leaves onto the front.

I really like how it turned out, and it is so perfect for Jackson. What do you think?

If you make one of these ornaments, I’d love to see yours! Post a photo in our Facebook page or email me.

Felt Gingerbread Star Cookie Ornament

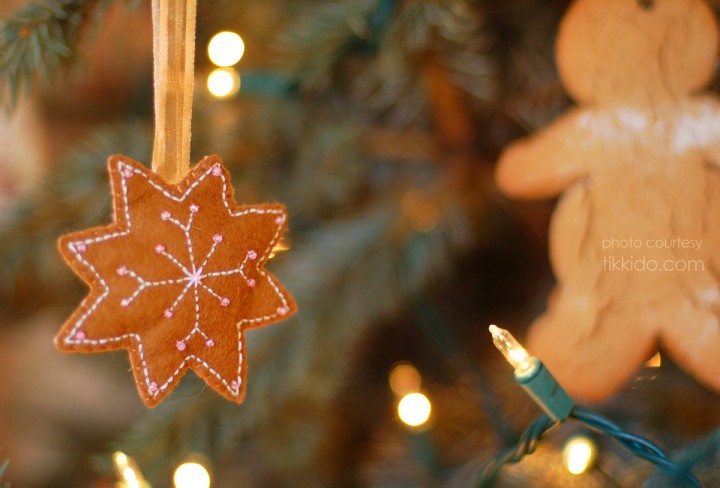
Photo Courtesy Tikkido/tikkido.com

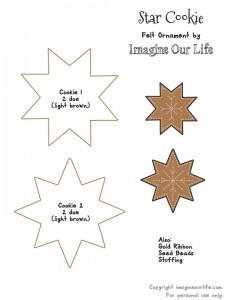
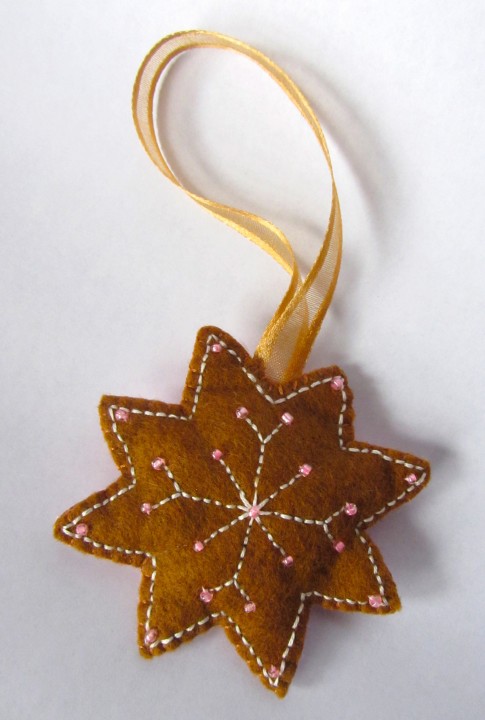
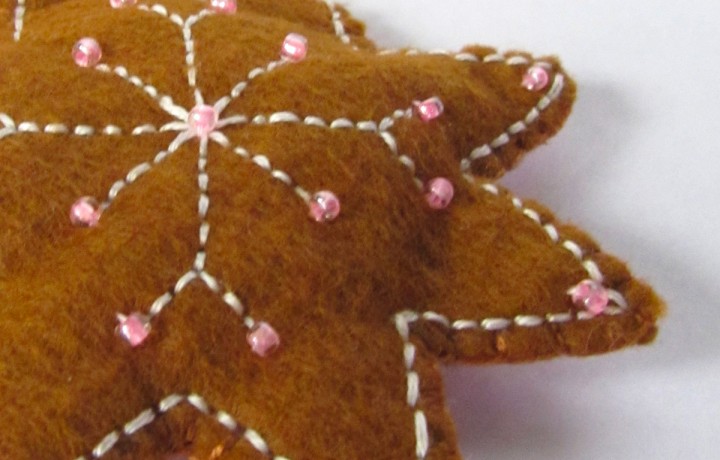
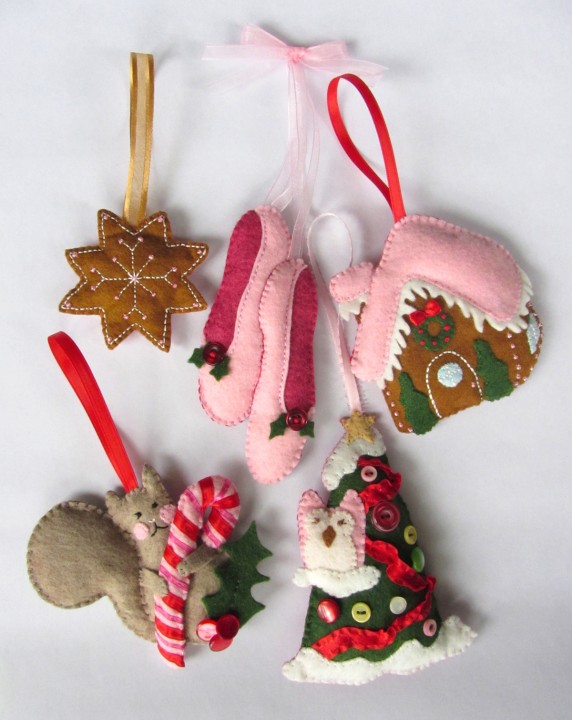
Here is the fifth ornament in the series of five I make for Nikki of Tikkido.com. Her beautiful Christmas Cottage ideas were featured in the newly released Bird’s Party magazine. This is a very simple ornament. Though I’ve only had a chance to make one, I’ve included 2 versions of the cookie on the pattern.

What I Used:

There isn’t really many steps to making these, and you could easily make your own variations.

You start by embroidering the snowflake designs onto the front (or both) sides of the ornaments. I used two strands of white embroidery floss to stitch mine. Switch to one strand of floss and a beading needle to sew on the beads. I made two passes through each bead for strength. To finish, add some batting and a ribbon and sew the two sides together.

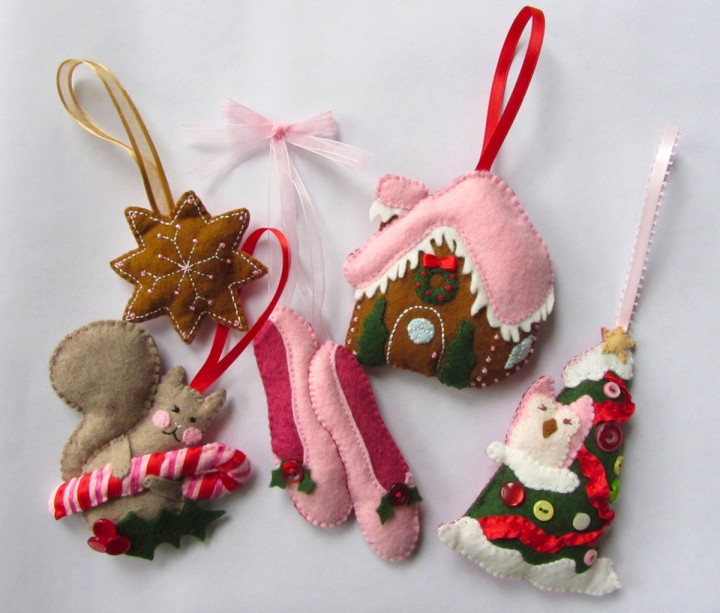
To view all of the ornaments I’ve designed (with more to come) look here. Ornaments have been a fun break in between quiet book pages. If you have a request, let me know here or on the Facebook page, and I just might get a chance to design one!

Felt Owl & Tree Ornament

Photo Courtesy Tikkido/Tikkido.com

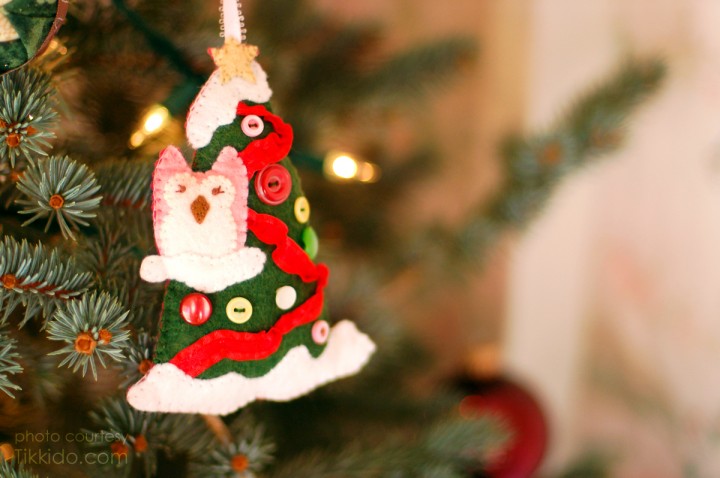
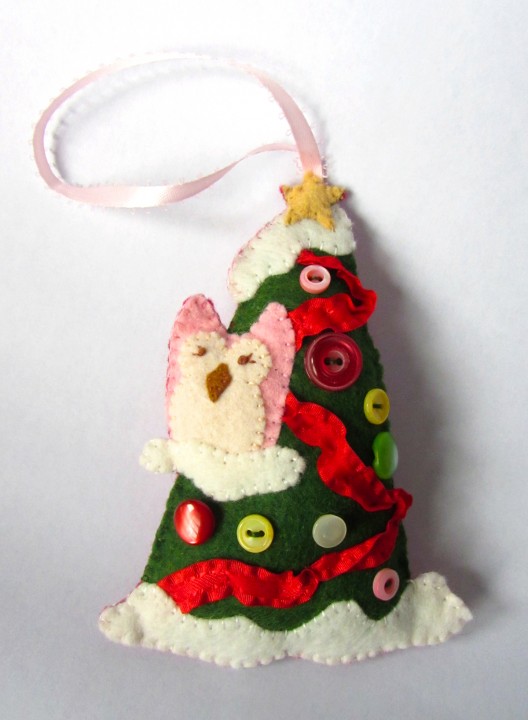
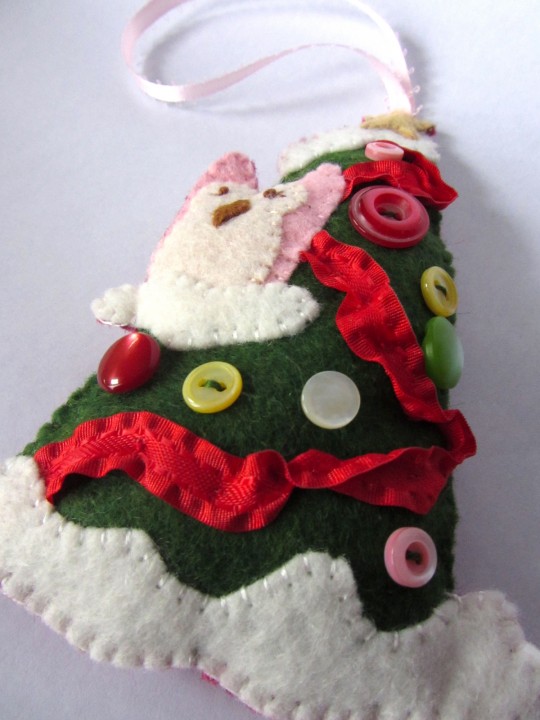
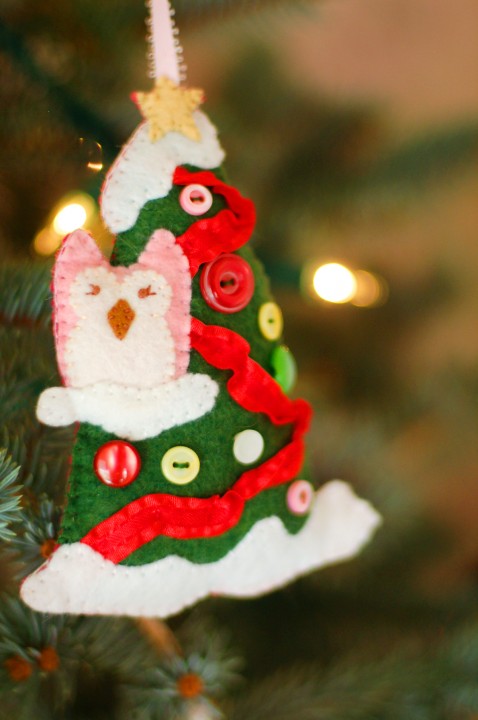
Here is my next felt ornament pattern. A little pink owl in a Christmas tree. I love that owls have made a comeback from the 70’s! (Of course, even I get a little tired of them sometimes.) Snowy owls go well with winter holidays. I wanted to make mine pink. Why not! I did a little tree so she’d have a home and I’d have an excuse to use some of my vintage buttons.

This little owl is the fourth felt holiday ornament pattern in the series of five I designed this year. (You can grab the first three: here and here and here.) The candy candy stripes turned out to be very simple to do, so he really doesn’t take long to sew.

What I Used:

I started by sewing the red ruffled ribbon on to the tree in a zigzag, twisting and bunching it as I went. Then I sewed down the snow ground and on the top of the tree. I sewed the star on to the top.

To make the owl, I sewed the beak onto the cream colored piece. Her eyes are French knots with little stitches to make eyelashes. I sewed the cream part onto the pink, then sewed her onto the tree. I sewed the branch snow over top.

I chose an assortment of cute vintage buttons and sewed them onto the tree as ornaments. I laid my ornament down onto the backing felt and cut around it to make the backing. I also drew a version of the pattern, but you will need to make sure you line everything up if you use that. I added some batting to the ornament before sewing it closed. I used thread colors that matched all the pieces of the front, to keep the front looking nice.

You could use any number of colors to change this ornament’s look. If you make one, I’d love to see! Share a photo on our Facebook page or email me. I have one more ornament to post tomorrow from my original series, but I just drew up two more! It’s hard to stop, they are so fun. I have a winter quiet book page to post very soon as well.

Photo Courtesy Tikkido/Tikkido.com

{ This pattern is free for personal use only. If you would like to purchase a $25 license to sell the finished project in your shop, please email me. }

Felt Squirrel Holiday Ornament


Photo Courtesy Tikkido/Tikkido.com

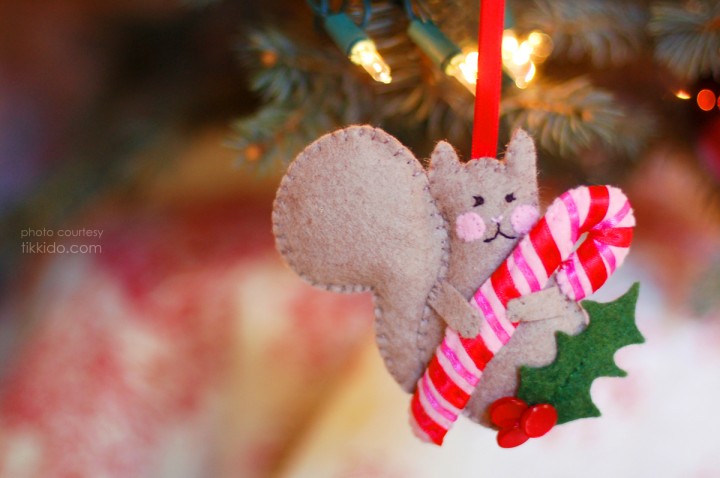
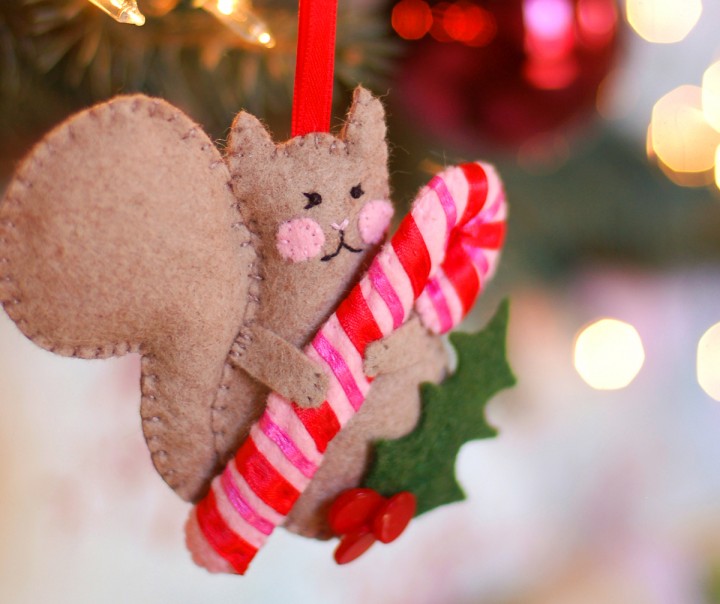
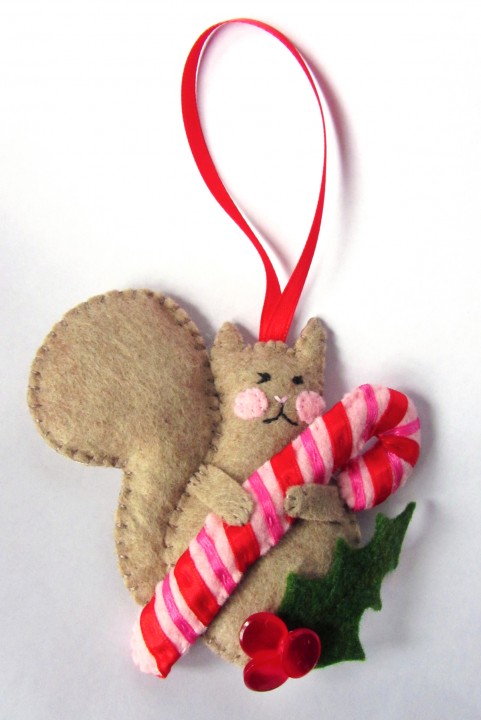
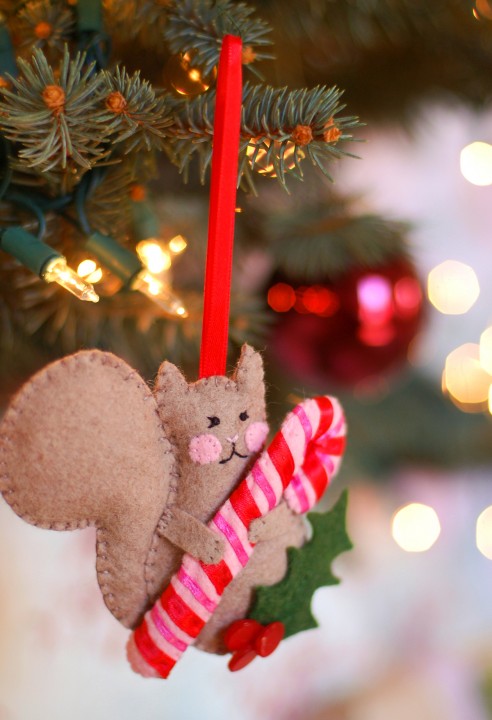
I’m not 100% sure which of the ornaments in the series is my favorite, but it just might be this guy! If squirrels ate candy canes I think they’d look just like this.

Mr Squirrel is the third felt holiday ornament pattern in the series of five I designed this year. (You can grab the first two: here and here.) The candy candy stripes turned out to be very simple to do, so he really doesn’t take long to sew.

What I Used:

Photo Courtesy Tikkido/Tikkido.com

I started by sewing the two sides of his tail together with some batting in between. I didn’t bother sewing all the way around, since his tail would be placed between the body pieces.

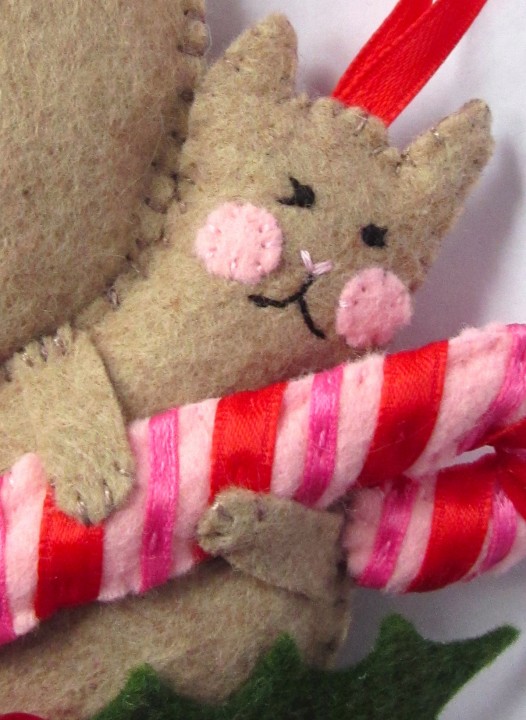
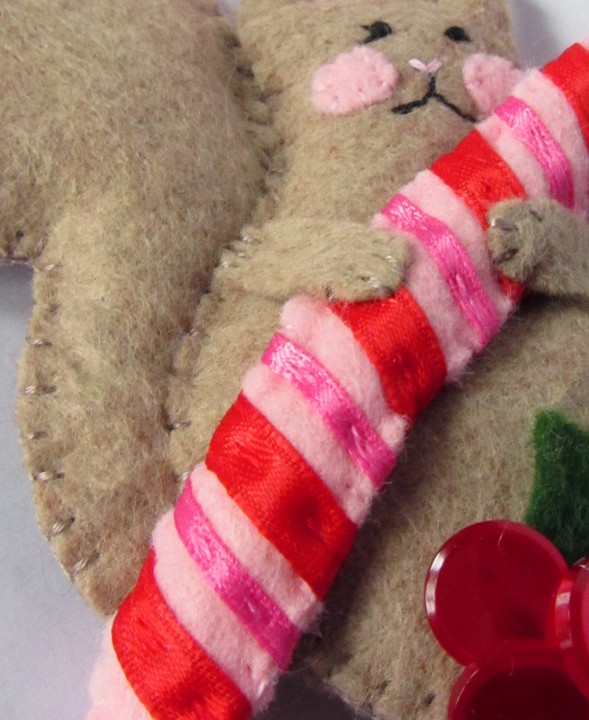
I then embroidered the squirrel’s face. I stitched on the felt cheeks, then made his mouth with a black back stitch. His nose is a little V in pink thread. His eyes are French knots with little sideways Vs for eyelashes.

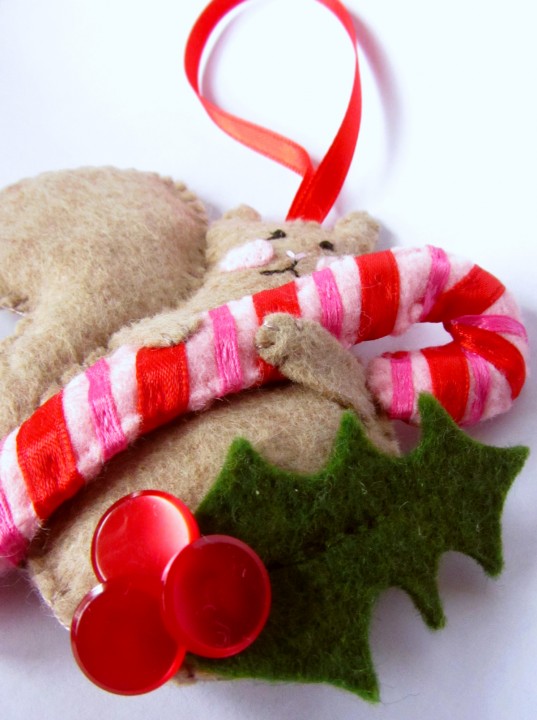
I then pinned the tail in place between the body front and back, along with some batting for the body, and sewing all the way around. To add the holly leaf, I did a line of back stitch (through only the front layer of the squirrel) partway up the center of the leaf. Then I sewed on 3 vintage buttons form my mother’s stash. You could sew the leaf and buttons on before sewing the body together if that is easier for you.

To make the candy cane, I sewed the two sides together with a length of batting twisted up into a long tube inside. Starting with the red ribbon, I folded the end over and made a stitch to secure it to the bottom back of the candy cane. I wrapped it around the cane, doing a basting stitch through the middle of the ribbon in matching thread. When I got to the top, I folded the end under and stitched it to the back. I repeated the process for the pink ribbon.

His arms are very simple. I sewed each on to a side of his body, then made 4 little stitches on the paw od each one to attach it to the front layer of the candy cane. They look like little squirrel toenails.

Photo Courtesy Tikkido/Tikkido.com

You could definitely make him less girly by changing the candy cane and ribbon colors. He could even hold something different – acorns or a mug of hot cocoa! If you make this or any of the other ornaments, I’d love to see yours! Post them on our Facebook page or email me a photo.

{ This pattern is free for personal use only. If you would like to purchase a $25 license to sell the finished project in your shop, please email me. }