Yearly Archives: 2011

DIY Coloring Tablecloth

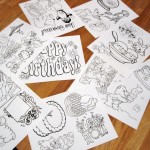
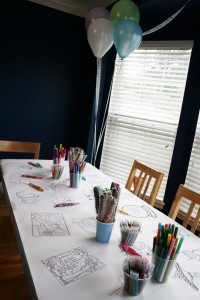
Here’s a very simple party craft that doubles as a decoration. A custom coloring table covering! All you need is a printer, some sticker paper sheets and a roll of paper.

I used a dollar store roll of white wrapping paper. It was the perfect width for my table and the length had a few inches to spare on each end (good for taping it down.) You can use the less shiny side of the paper to have it take markers better. Of course, you could use rolls of butcher or drawing paper if you have that. The sticker paper I bought from Amazon. I liked how clear it printed and the fact that the back peels off in strips.

The first step is to find or make your coloring pages. You can find a bunch here or here (or just do a Google image search). I used mostly pictures I found online, but I’ve drawn custom ones by tracing photos. I laid them out in Photoshop so that I could make use of every inch of each sheet of sticker paper.

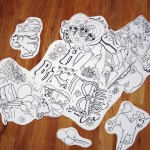
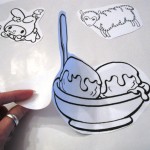
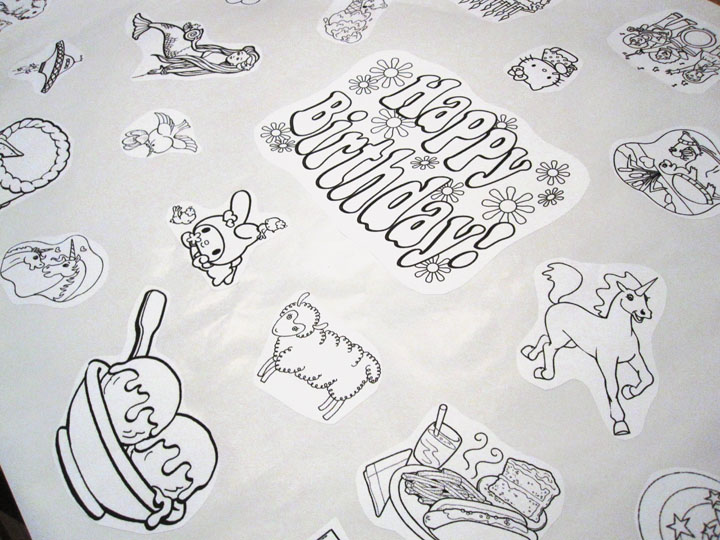
Once they are all printed out, I cut them out and arrange them on the paper. Having the images face the edges of paper lets everyone have something to draw where they are sitting. Then just peel off the backings and stick the images down!

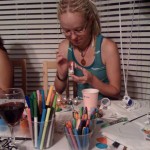
I put cups of markers and crayons out of the table so everyone knows what it is for! If you try this project, let me know!

The coloring sheet I saved from my birthday in 2008.

Party Craft Ideas

Craft Table

To continue with my party themed week, I want to show you what has become a big part of most of my parties: crafts!

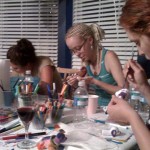
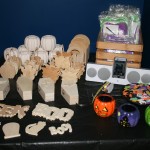
For the same party as the rainbow cupcakes, I decided I wanted to have crafts for everyone to enjoy, since I love to be creative. It was a huge hit! Because the party theme was puppies, rainbows and anything girly, I chose paint-your-own bobble-head dogs and flocked jewelry boxes you can color in, both from Oriental Trading. At our Halloween parties I have had ceramic pumpkins, wooden treat boxes and coffins to decorate. When I hosted a money-themed party for a friend, we painted piggy banks!

Probably the most in depth craft project I’ve done at a party was last year. Despite having a 5-month-old, I was determined to do tie dye!

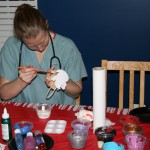
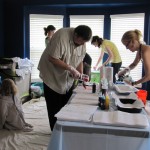
We set up in our empty front room (now the playroom) since it was extremely hot out and due to storm. I put down a tarp and set up the prep station and the dye station. The prep station had a bucket od solution to pre-soak items in and a bucket of water for rinsing. There were plenty of rubber bands and some instructions on how to fold and tie shirts that I’d printed out. The dye station had plastic gloves (from the dollar store) and lots of paper towels! I put trays lined with paper towels down and guests could set their shirts down as squirt the dye without it getting all over.

Tie Dye Party

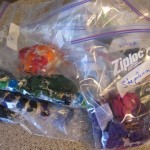
The dyes and bottles were all purchased from Dick Blick Art Supplies. The dyes were professional quality and worked best if you let them cure for 24 hours. So I printed little take-home instructions and had plenty of freezer bags and Sharpie markers so everyone could pack up and label their projects.

It was a blast and we kept dying until we ran out of things to dye!

Adorable Rainbow Cupcakes

To celebrate my birthday week, I am going to feature some fun party ideas I’ve tried in the past. I love planning parties and always do it on a small budget. I hope you enjoy these projects! Let me know if you try them!

A couple years ago I had a party for my birthday with no real theme other than cutesy, girly things. Being a summer baby growing up with just a dad, my birthday parties usually failed miserably (like two guests would show up, but my rocket scientist dad would let us play maze games on the Apple II. Ah, the ’80’s!)

This party would indulge all the childish whims I missed out on… Crafts! Twister! Balloons! Pink and blue puppy plates! And cupcakes…

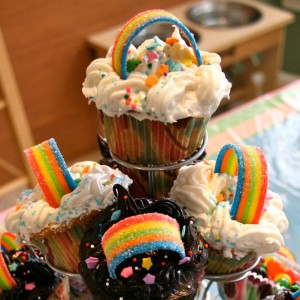
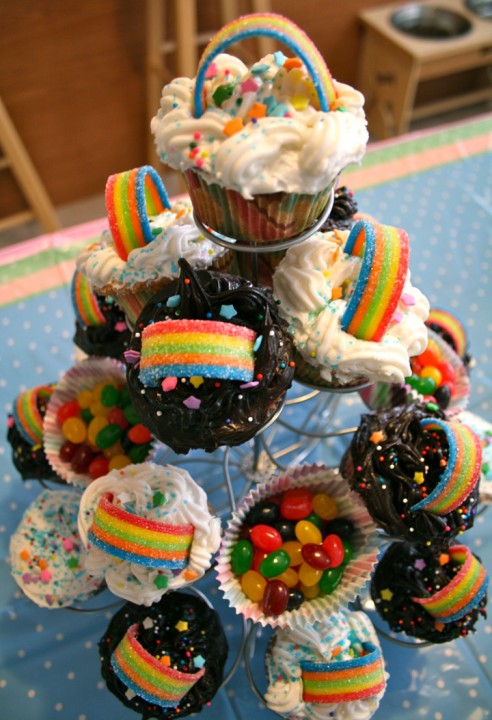
Rainbow cupcakes, to be exact! And, these adorable cupcakes couldn’t be easier.

Here’s what I did:
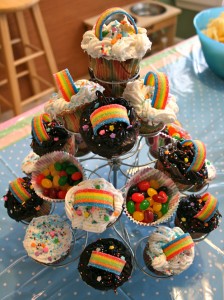
I baked two kinds of cupcake for variety so guests could choose chocolate or yellow (both vegan to accommodate a guest). If you want to go all the way rainbow, try this recipe for a colorful surprise when your guests take a bite! Because my favorite cake is yellow with chocolate frosting, I used both chocolate and white frosting. Obviously your rainbows will look more realistic on white clouds, but chocolate clouds are oh so tasty!

To ice my cupcakes, I put the frosting in a icing gun (mine is a cheap dollar store version) with a star tip. I swirled and swooshed till my hand ached to make fluffy clouds. Then I used plenty of sprinkles: blue sanding sugar, rainbow nonpareils and little stars!

And now the fun part… Buy a few packs of Airheads Extreme Rainbow Belts, cut them to size and stick them in the frosting to create your rainbow!
Because I had a vegan guest, I also make a few cupcakes without the sprinkles and candy (which tends not to be vegan). I also filled some cupcake papers with jellybeans and stuck them in my cupcake stand for pops of color.

Let me know if you try this out!

Yum!

Friday Follow-up

I plan to start doing follow-up posts on Fridays to let you know how past an ongoing projects are working out! If there is something in particular you’d like to hear more about, just leave a comment.

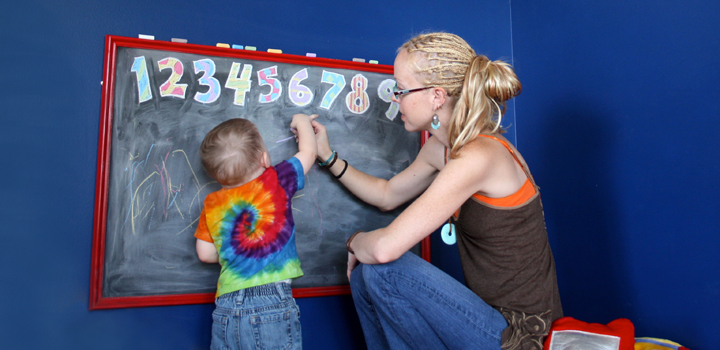
DIY Chalkboard Update: Jax seriously LOVES his chalkboard! So far I am only letting him have the chalk when I am in the playroom with him, since he’d likely hide it in strange places or color on his toys. Or, you know, eat it. (He’s actually really good about not putting things in his mouth, but he gets distracted sometimes and forgets.)

Baby Apple Tree

It’s holding up really well, though I’ve found it hard to get really clean, due to a slightly gritty texture. My board was smooth, so I have to assume it is the paint. The dusty look doesn’t really bother me, though. It looks very “classic chalkboard” to me. I plan to refresh the chalkboard surface eventually with the remaining spray paint.

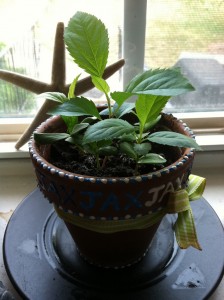
Jax’s Apple Plant: So, when I was cutting open an apple for Jax about a month ago, I found that the seeds inside it had sprouted! We planted them in a pot and hoped for the best. Well, 4 or 5 of the sprouts have grown strong and the plant is now a few inches high! Grow, apple tree, grow!
Jax’s July Painting

I hope everyone had a safe and fabulous fourth of July! Jax and I celebrated by nursing to the sounds of fireworks going off around our neighborhood. The noise didn’t seem to bother him, so maybe next year he’ll be able to stay up and watch them.
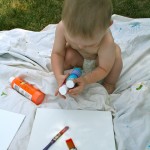
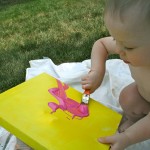
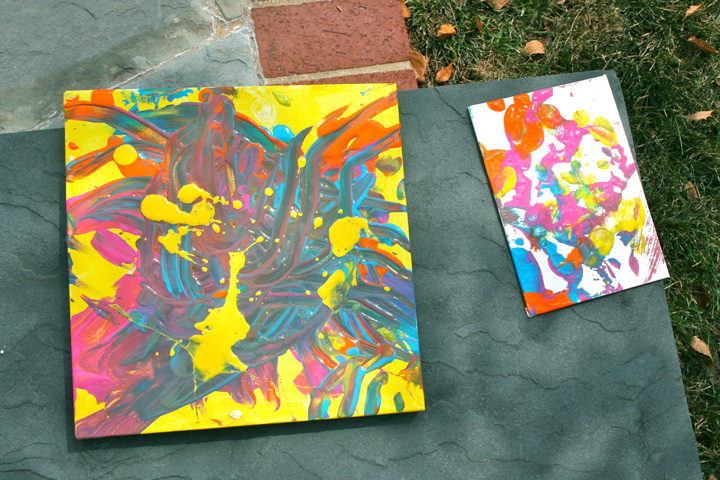
This weekend we did his second monthly painting! This time I painted the canvas yellow for him, then we poured paint onto the canvas and he used both brushes and his fingers to make a beautiful mess. It had to dry overnight because he piled on the paint, but it looks great!

He had very little paint on him this time. I think he is figuring out that it goes on the canvas – not his belly button!

 He also did a mini painting as part of the prize in our first giveaway. I think it looks adorable…

Finished Paintings

Threadless $10 Sale

Threadless is having a $10 sale! They have so much cute stuff, and I love that the designs are submitted by the community. You can promote their site and earn credit in their store. If you design a shirt that they end up using, you get $2,000 plus $500 store credit. Nice!

These Threadless kids designs are so cute! Check out the little crayons instead of ammo!

Check out the $10 sale on Threadless.com. Quick like a bunny – the sale ends July 5th!

Bye Bye Hair

Before: Toddler Comb-Over

In Progress

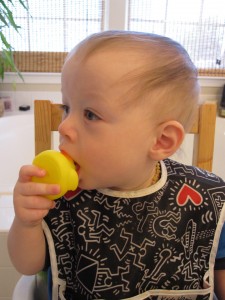
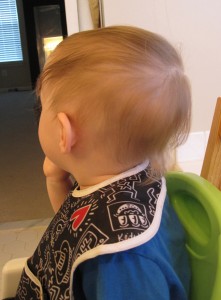
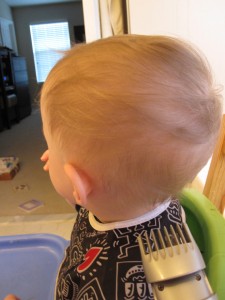
I did it! I finally cut Jax’s hair! There was just no way I could grow it long at this point. He has one strip of hair down the middle that is 4-5″ long, other sections that are about 1″ long and absolutely nothing between his ears and temples. It was that bald spot that made me hesitate to cut it. I knew it would look like I went crazy with the clippers. But, his dada was starting to call it a Trump comb-over, so it was time!

Here’s what I did: I brought his booster seat up to the bathroom and set him up with an episode of Blue’s Clues after showing him the way the clippers vibrated. I have grooming shears from my days in a dog spa (regular and blending). I started with his hair damp and cut the long hair in sections at an angle. Then I came in with the clippers on the longest setting and blended the transition to his shorter hair. For the bottom half, I used decreasing settings on the clippers to fade it out.

He looks so grown up!

After!

Boy or Girl

In a recent Gallup poll, it was found that Americans would prefer to have a boy if they could only have one child, by a 40% to 28% margin. If you break down the results, it turns out it was the men who swayed the results, with 49% wanting a boy (22% preferred a girl). The women were evenly split at 31% for a boy and 33% for a girl. They also found that younger parents, those with lower incomes and Republicans all leaned toward having a boy.

What do you think this says about society today? Before I found out we were expecting a boy, I was leaning towards wanting a girl – but I was only 51% sure. I’m just such a girly girl! Plus, I grew up without any females around me, so it would have been a fun change. But, we were just as excited to find out we were having a boy. I couldn’t love my little rough-and-tumble dude any more!

Keeping Raspberries Fresh

Yum! Raspberry season! I love to throw fresh raspberries into my yogurt or oatmeal in the morning, and frozen berries are great in smoothies. But how do you keep them fresh?

I was getting so frustrated when I’d by a pint of raspberries and 2 days later, half of them would be moldy. What a waste! If I was going to keep up my raspberry addiction for the summer, I had to start doing something different.

Here is what has worked for me:

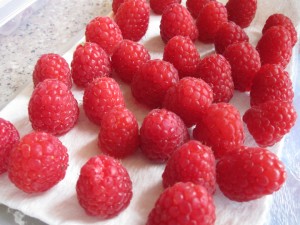
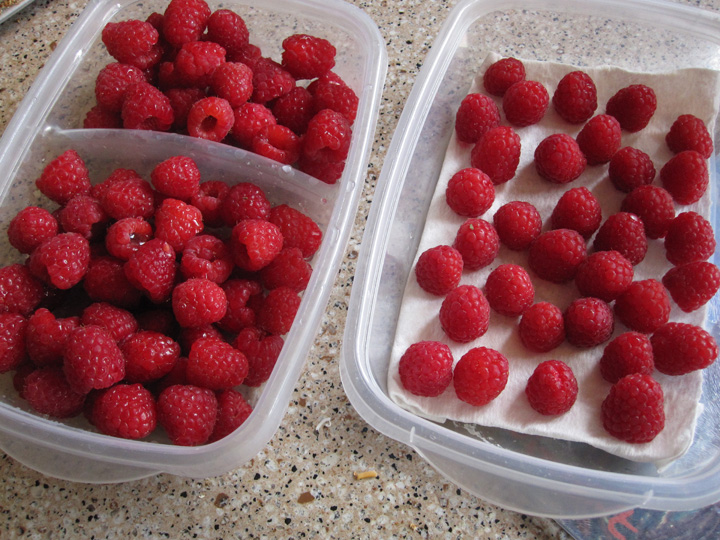
I just bought two huge containers of raspberries that were buy one get one free. First I threw out any berries with a hint of mold. Then I made a box of berries for me to eat fresh this week by lining a box with a paper towel and putting only perfect, dry berries in there in a single layer. I’m usually the only one eating them, so I didn’t need to many. I close the lid and stick them in the fruit drawer. I’ve had them easily last 5-7 days this way. I always choose the softest ones to eat first when I do this.

Because I bought so many, I planned to freeze a lot of them. If I didn’t, then any crushed or mushy berries would be eaten the day they came home, as those are the first to start molding. This time, I tossed the softest ones into the blender and made a mango-raspberry smoothie. For the rest, I just washed them and put them in a container to freeze.

What do you do to keep your raspberries and other fruit fresh longer? The NY Times has an article suggesting you bathe your berries in hot water when you get them home. I’d love more tips!

Super Easy DIY Chalkboard

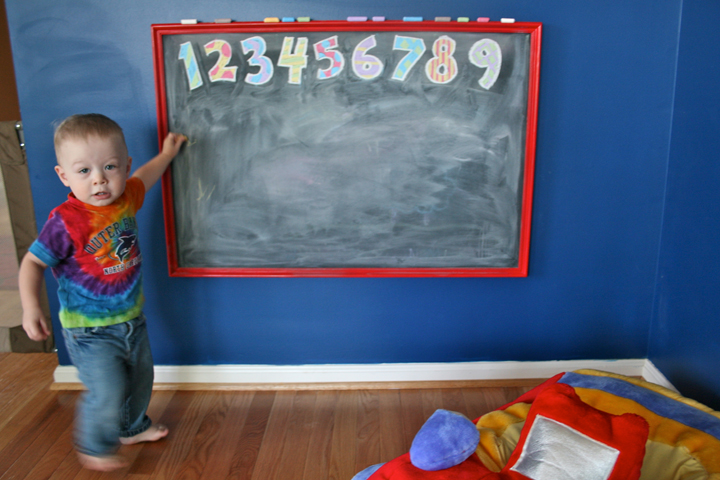
I’ve been wanting some sort of chalkboard in Jackson’s playroom for some time now. I just wasn’t sure what would work. The room was built to be a living room and has outlets everywhere. We have the baby proofed, but their placement blocked me from being able to just paint a chalkboard onto the walls.

When I discovered they make chalkboard spray paint, I knew just what I wanted to do. I measured out the wall where the chalkboard would be to find out how wide I’d need to make it so it could both be centered and cover the outlet. Three feet wide was just perfect.

Supplies:
In the clearance aisle of the craft store, I purchased a 2’x3′ frame that was 50% off. It was a tacky gold that wasn’t my style at all, so I also grabbed some spray paint. At the hardware store, I had them cut down a 2’x4′ piece of chipboard (I brought my frame and tested it after he cut 12″ off the board. Good thing I did – it was too short because the board hadn’t been 2’x4′ after all!) I also grabbed the chalkboard spray paint there. Here is the full list:

I started by sanding the frame so it was no longer shiny and sanding one side of the chipboard to rough it up. Then I set up a drop cloth outside and laid out both pieces. I did three light coats of spray paint on the frame, waiting 15 minutes or so in between. I did about 4 light coats on the board with the chalkboard paint. (Quick tip: I thought my paint was clogged, but it turned out my too-big gloves were blocking part of the spray and causing spatter!)

The hard part comes next: waiting! When everything was dry, I brought it inside to cure. Resist the urge to try the chalkboard for 24 hours. Easier said than done!

24 hours later, it was time to prime the chalkboard with a layer of chalk. I found that the spray paint left a layer of black sooty dust after it dried, so I covered the whole thing in chalk as directed, then used paper towels to get all the chalk and black dust up.

All that was left was to put the frame back together (minus the glass it came with) and hang it up! My frame came with one teeny tiny picture hook so I got a picture hanging kit rated for up to 50 lbs. It looks great under his art gallery! I chose a frame that had a perfect dip in the molding to hold our chalk.

What do you think of our little project? It was so fast and easy, and Jax was super excited when I hung it up!

He was so excited, he couldn't stand still!

(Check out my Friday Follow-Up about this project!)

When Did You Cut Your Baby’s Hair?

When did you first cut your baby’s hair?

I’ve had my heart set on growing out Jax’s hair a bit. He’s my nature-loving hippie boy and drum-loving rocker boy. But his hair has other plans.

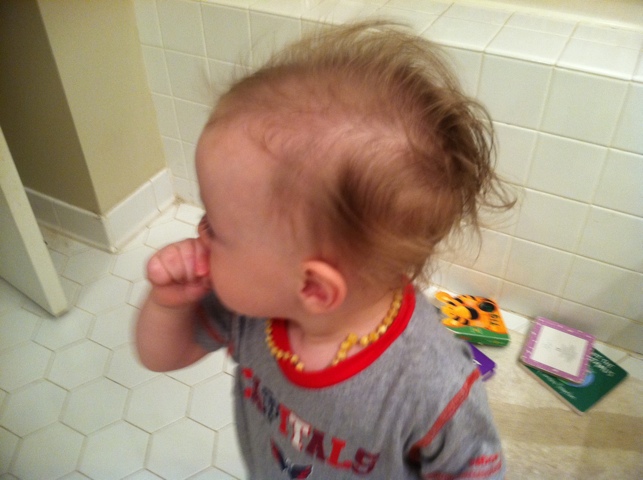
He was born with a thick head of dark brown hair. At 3 months old, he started losing it – but only on the top of his head! We called him Costanza. We had a lot of hats. By 7 months, the ring of hair he had left was really patchy and looked like he had mange, so I shaved it off. Blond peach fuzz was growing in where the hair had fallen out of top.

Today, he has dark blond hair that is long at the neckline and a strip like a mohawk down the middle. The sides have short patches. His temples still haven’t filled in, though there is a bit of fuzz at the edges. It’s finally thickening up a bit – I can see short hairs sticking through when I comb back the longer parts. But, it’s a hot mess. There’s nothing I can do to make it look good at so many different lengths.

So I think my dreams of his hair being long will be out on hold, and we’ll get his hair cut this week when his daddy goes. I’ll be sad, but hair grows back!

When did you take your baby for their first haircut? How did it go?

Fix Too-Big Crocs

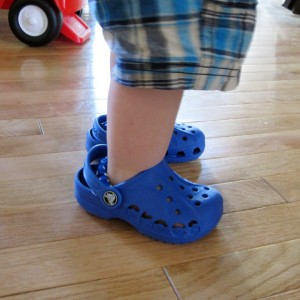
Jax was given some adorable blue Crocs when my Aunt and her best friend visited in April. He LOVES them. Unfortunately, he wears a size 4.5 toddler and the Crocs are 6/7. It doesn’t stop him from begging me to put them on his feet (and trying to do it himself when they pop right off!) It makes him so happy to wear those giant Crocs around the house, I decided to see if I could get them to stay on.

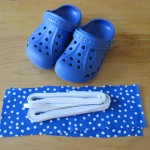
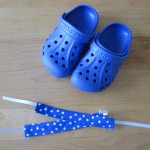
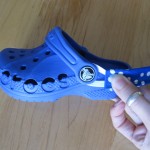
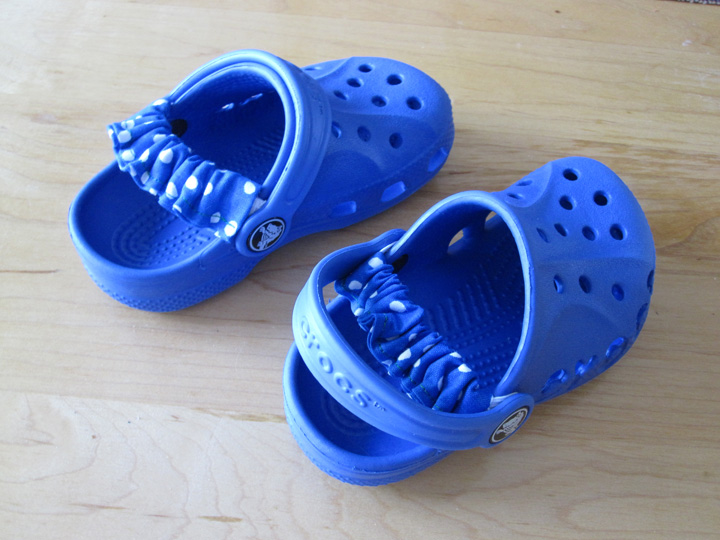
I recently read a post on Make It and Love It about adding elastic straps to flip flops. I decided to try something similar. I had some elastic (thicker might work better, but this is what I had on hand) and some blue polka dot scrap fabric in my sewing stash. I sewed some quick casings (I didn’t even have time to change the green thread in the sewing machine. I was on toddler-duty!) for the elastic and sewed them onto the Crocs by wrapping the elastic around where the Croc strap attaches with a needle and thread.

When I slipped those bad boys back on his feet he immediately launched into his favorite Riverdance then went running around the room. And they stayed on!

you could flip the Croc strap up to show the fabric or down to hide it