Yearly Archives: 2011

Style Wishlist

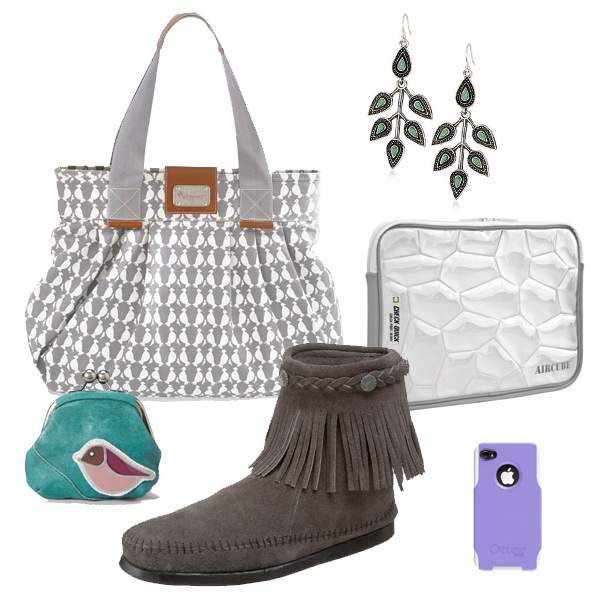
If I could afford it, this Kokopax Samantha Diaper Tote in Flutter and these Minnetonka Fringe Boots would be off my wishlist and on their way to me this very second! I’d use the bag as a combination purse/diaper bag/carry-on for our trip this fall. And, I’ve been looking for gray shoes for 3 years. My gray sweater clogs are looking beat.

What are you currently drooling over?

Also shown: Lucky Brand Wild Flower Vine Earrings, Fossil Ruby Frame Coin Purse, Aircube MacBook Pro Sleeve and OtterBox Commuter Series.

Happy Autumn!

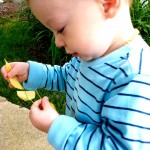
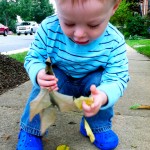
It’s the first day of fall! I’m really excited, as it’s my favorite season. The only bad thing about it is that it is followed by winter, heh. Jax is already trying to collect leaves. Unfortunately, it is so rainy that the few that have dropped are too soggy to save.

Jax is wearing his Crocs in these pictures. They are the ones we made extra straps for since they are too big. They are staying on great!


We need to find him a coat before the weather starts getting cold. My husband wants to get a 3-in-1 style that has a liner you can wear separately. Those are hard to find in 2T (which is already a size up) and always cost between $50 and $100! We just can’t spend that much for a coat that will be outgrown in one season. I tend to like little military coats and reversible parkas for the style aspects.

How much are you willing to spend on a toddler coat? Do you have any favorite sources?

Sock Matching Quiet Book Page

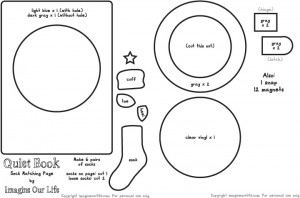
Would you like to sew and sell items made from this pattern? Commercial licenses are available!

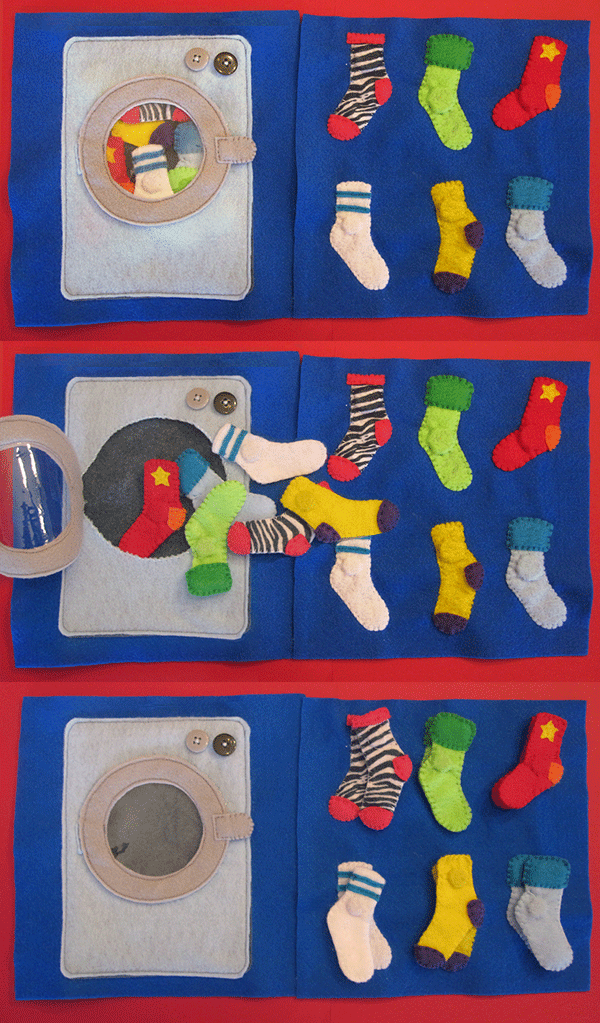
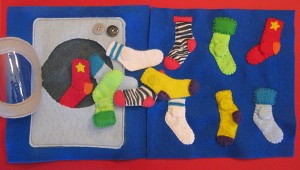
Another quiet book page is ready for Jax’s book! When I was doing the laundry this week, I managed to pull 6 of Jax’s tiny socks out of the dryer before I found one with a match. That inspired this page!

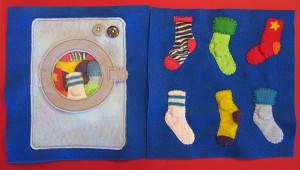
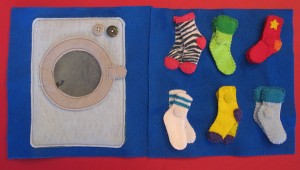
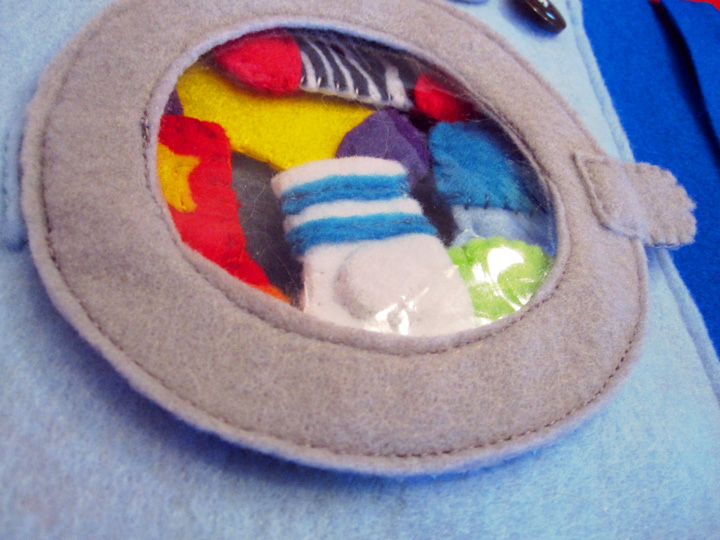
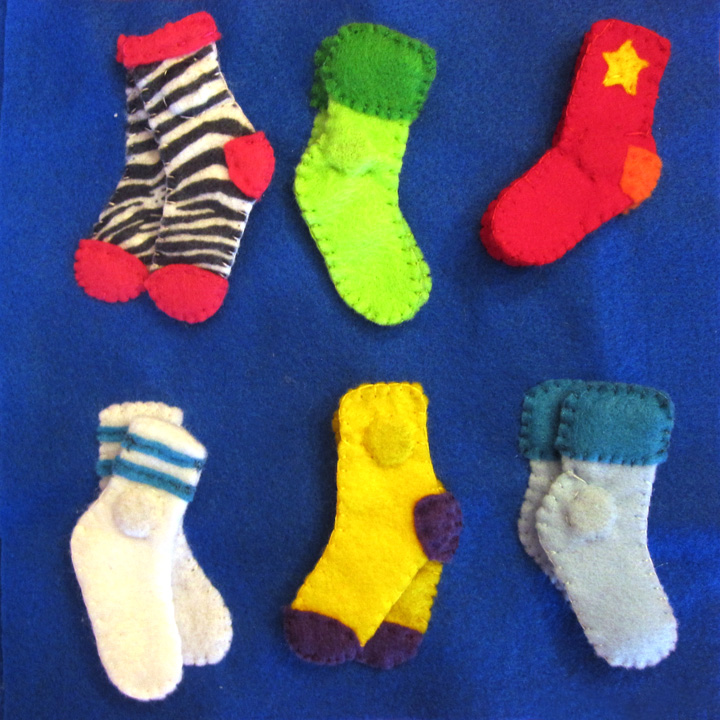
This page has a dryer with a clear door closed with a snap. Inside there are 6 socks without their other halves. The opposite page has the remaining socks. You match them together and the stick with magnets.


My materials were: two 9″ blue felt squares, felt (in light blue, gray and charcoal for the dryer, then assorted scraps for the socks), clear vinyl, a snap, 2 buttons and 12 magnets. I had to use 2 different sizes as I didn’t have enough small ones. I put those in the loose socks and the heavier ones on the page. Either size worked fine. You can find them in the craft store.

I started by laying the dryer back and front together on the page and machine stitching around the outside. I pieced the door together by layering the clear vinyl between the two door rings. I also stuck the double-layer door hinge in the left side. I sewed twice around the ring. I placed the door in position and tucked the hinge into the pocket (trim it if it doesn’t fit with the door in the right place.) I hand-sewed the hinge down through all the layers of the page. Using 5 strands of embroidery floss, I whip stitched around the hole of the dryer to fortify it a bit. The latch got a snap on one piece, then I sewed it by hand to the right side of the door. I lined the other half of the snap under it and stitched it on. I added buttons to look like the controls on the dryer.

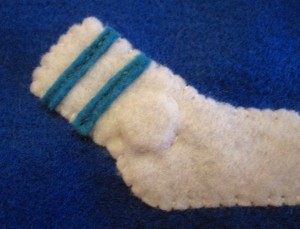
I had fun with the socks. You need to cut three of everything for each sock design: one layer for the sock appliquéd to the page and to sides for the loose socks. My pattern includes pieces to make a cuff and colored toes and heels. I also included a little star. My favorite socks are the white and aqua tube socks and the zebra print with hot pink accents! When you sew them together, place a magnet inside and stick a ring around it so it doesn’t shift.

Jax was fascinated as he watched me sew the little socks. He is big into socks and shoes right now. When it was all done, he begged to try it out. I was surprised how fast my little 19-month-old understood what to do. He just started pulling the socks out of the dryer and sticking them to their match! Go Jax

For more free quiet book patterns, go here! If you use this pattern, please add a comment or link to me. I really would love to see your version! Go crazy with the socks!

Learning to Drink From a Cup

We’ve been practicing drinking from open-top cups in the bathtub where he can spill all he wants. But, silly baby decided it’s easier to drink straight from the tap!

Jax currently uses straw sippy cups. He’s still fond of dumping liquids at the first chance he gets. How did you transition your toddler to regular cups?

Link-o-rama!

It’s only Tuesday?? Well, at least Monday is over! I have another quiet book page cut out, but I still need to sew it tonight. Hopefully I can have it ready to post tomorrow.

Here are some links I’ve come across recently:

Happy Tuesday!

Penguin & Igloo Quiet Book Page

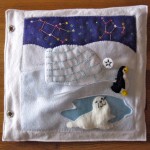
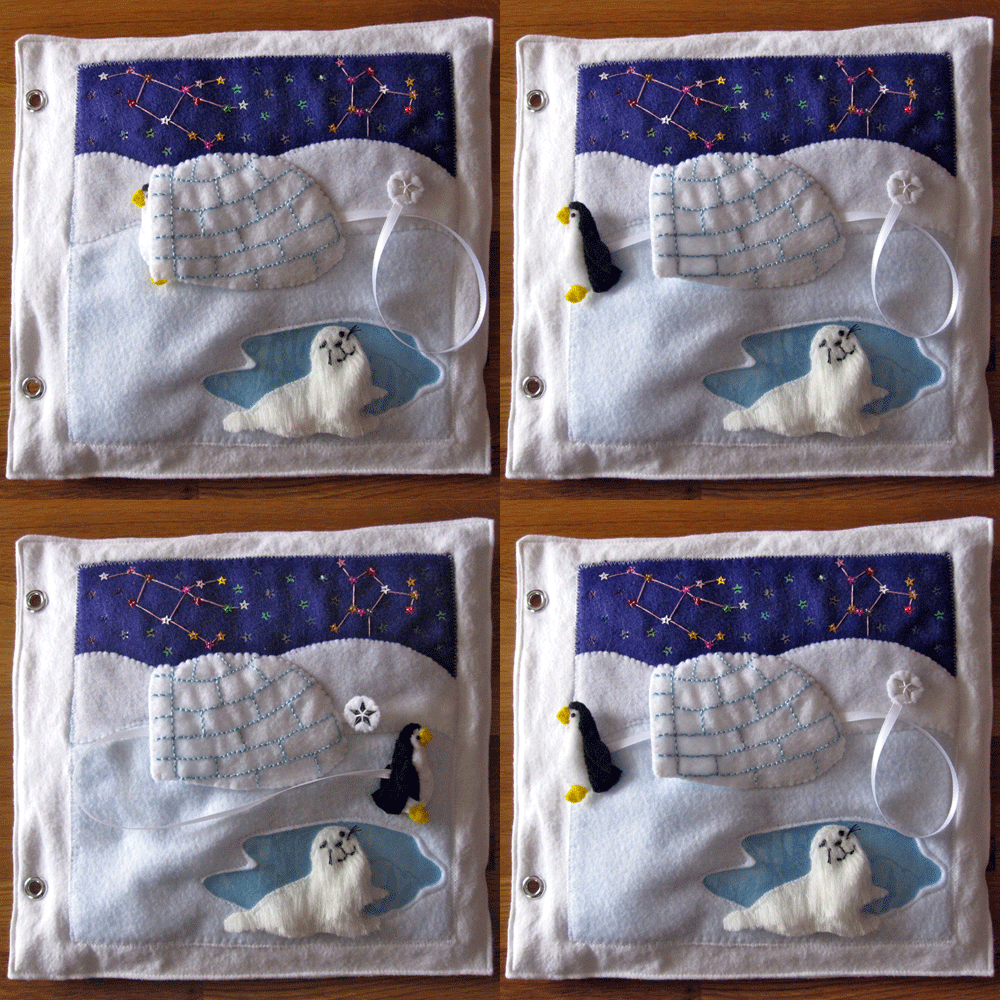
Welcome to Antarctica! This is the next quiet book page for Jax’s book! As you can see, I’ve finally started sewing some actual book pages. It is a bit labor-intensive, so I only have 2 double-sided pages done so far. I decided to be thrifty and use plain white fleece with some batting inside and 2 grommets per page. I’d considered using themed fabrics that matched each page, but the cost would be too high.

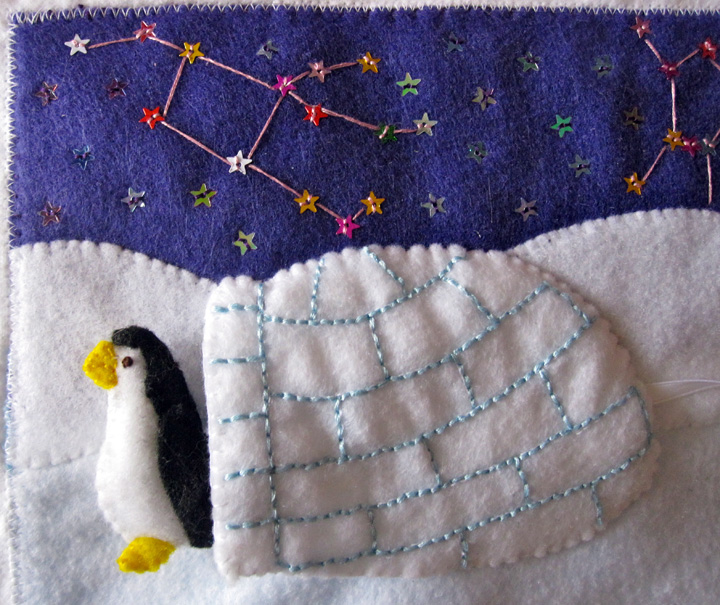
The page features a stuffed penguin who comes out of his igloo attached to a ribbon. You can pull the ribbon to make him go back into his igloo. A furry baby seal is smiling by a frozen pool. You can see two constellations in the sky (Not accurately placed, I know. But, penguins don’t live in igloos either!)
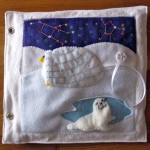
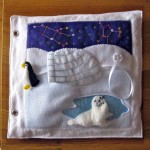
     

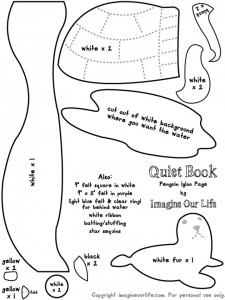
My materials were: a 9″ white felt square (if your pages are a different size, adjust the white hill and purple sky pieces to match your page width), purple felt for the sky, felt (in white, sky blue, black and yellow), clear vinyl, white fur (I used this), batting/stuffing, white ribbon, star sequins and floss/thread to match.

I started with my white square and used the water shape to cut a hole for the pool. then I layered some clear vinyl over light blue felt and put those behind the opening (I made my light blue cover the page from the hills down so it made the white ground slightly blue.) Using a machine, I stitched all the way around the pool.

The only other thing I did on the machine (beside sew the actual book page) is stitch white-on-white guides for all the lines on the igloo. That made it easier for me to hand-embroider straight lines to show the ice blocks. I used all 6 strands of light blue embroidery floss (I usually use 2 strands for everything.) When all the igloo embroidery was done, I sewed the felt backing piece on to hide the back of the stitching. I then sewed a rectangle of purple to the top of the page to create a night sky, then layered the white, snowy hills on top.

To make Mr Penguin, I made a French knot in brown on each of the white pieces for his eyes. I then sewed the two pieces together with some batting and his feet to make a little naked penguin. I made sure one end of a white ribbon was coming out of his back. I folded the beak over his nose and sewed that on. I layered the two halves of his black “suit” over his back and stitched them on. The last step was sewing the tops of his flippers onto each side. To make a little pull tab for his ribbon, I sandwiched the other end of it between two felt circles and decorated it with star sequins. You could just embroider a star or snowflake.
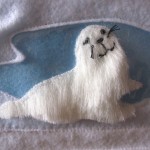
I cut the baby seal out of white fur then shook off any loose hairs. I gave him a little haircut to help show of his shape and shorten his face fur. His face has a satin stitch nose, straight stitch smile and eyes made from one straight stitch in the outer corner and a French knot. To make whiskers, I knotted a few strands of thread behind his cheeks then again in the front, then cut it to size. I stitched baby seal directly to the pool.
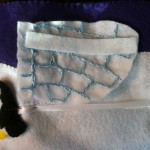
     

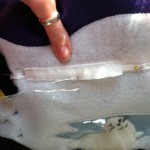
To make the slider ribbon, I took a long piece of scrap felt and  cut it to the width of my igloo. (The picture shows my igloo before I sewed the backing piece on. I ended up moving my strip to the halfway point of the igloo, so it ended up a little shorter than shown.) Pin your ribbon to the page (no pins where the felt tube will be!) then sew the strip of felt like a tube over top of it. Remove the pins then sew your igloo in place. I sewed from the top of the door to where the ribbon comes out of the back, then sewed from below that ribobon opening to halfway across the bottom. This left a flap of igloo that can lift up to let Mr Penguin in and out easier.

I decorated my night sky with star sequins, some of which I sewing into southern hemisphere constellations. You can copy the placement of mine from my photos, or even design your own (your baby’s name, perhaps?) If you aren’t comfortable using sequins, you could use felt or just embroider stars.

What do you think of it?

For more free quiet book patterns, go here! If you use this pattern, please add a comment or link to me. I really would love to see your version!

Sunday Souvenir – Richard Scarry

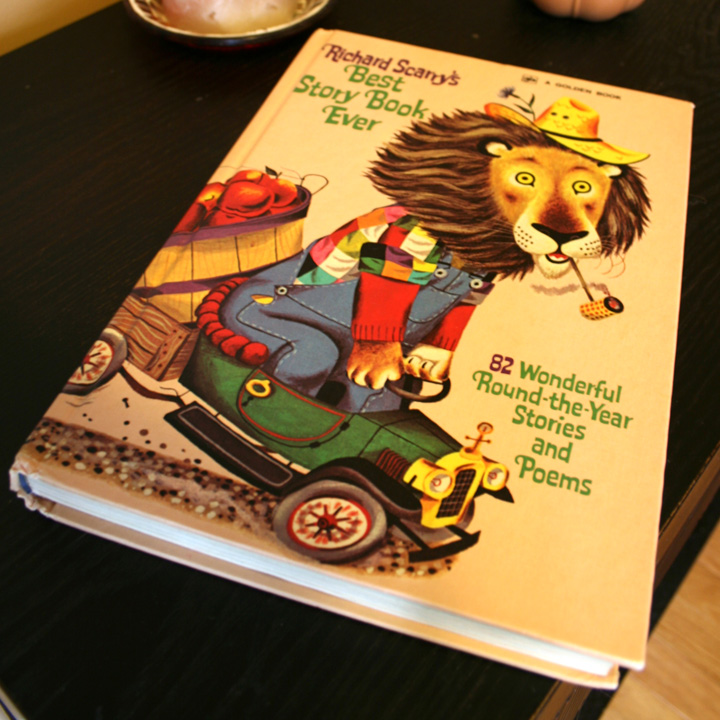
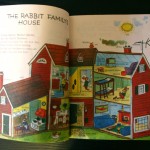
When I visited my dad’s house over the summer, I grabbed some of my childhood books from the basement. One of my favorites as a child was Richard Scarry’s Best Storybook Ever! I have a lot of memories about looking through this book again and again.

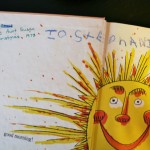
After opening it again so many years later, I found it hilarious that it wasn’t really my book: I’d crossed out my brother’s name and written my own in crayon! Hah!

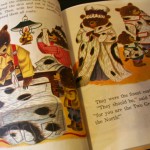
Many of the stories and scenes I remembered, but others I didn’t. A notable one I don’t recall shocked me a bit. It was about a bear who was good at hunting and because of that earned himself a happy family. I couldn’t figure out any other morals to that story. It ends with them wearing coats they made out of a seal he killed. Yikes!

I loved any scene that showed the inside of a house/building/nest. I also liked the pages that would label all kinds of foods, clothes, or toys.

Do you have any books from your childhood? Are you sharing them with your children?

Leave a comment if write a Sunday Souvenir and you’d like your link to be added!
Check out Ronalyn’s post at The Adventures of Esa and Zed

Forest Quiet Book Page

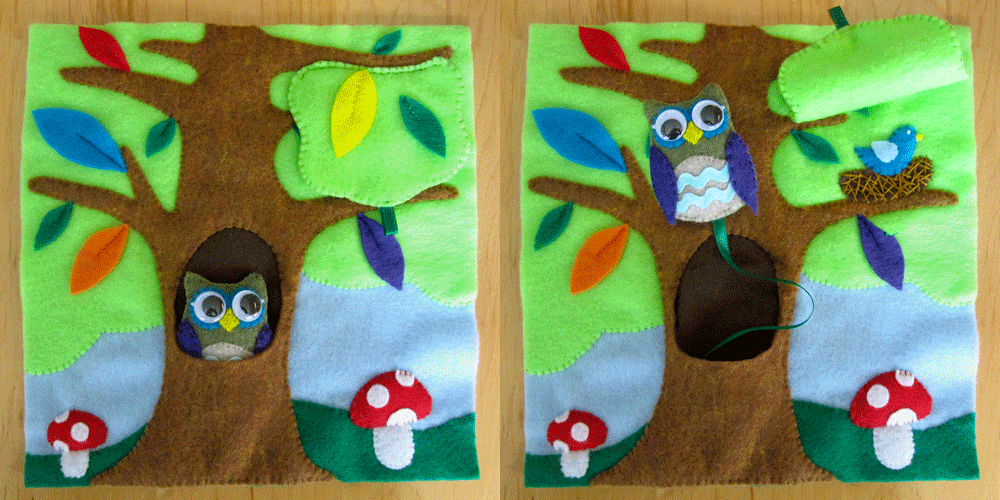
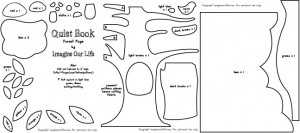
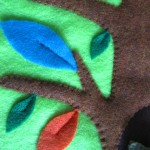
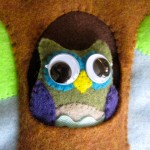
Here’s the next quiet book page for Jax’s book! I knew I wanted to do a tree and owl page, but it wasn’t going to be the next one I made. When Amazon happened to suggest this Skip Hop Treetop Friends Soft Activity Book, I was inspired! The tree and leaf style is based on that book. The owl is made from a free pattern found on Juicy Bits. I shrunk the pattern a little so I’d have an owl just under 2″ wide and 3″ high (I shrunk the page from 8.5″ wide to 7″ wide before printing), and I attached a 8″ ribbon into the bottom instead of making an ornament loop.

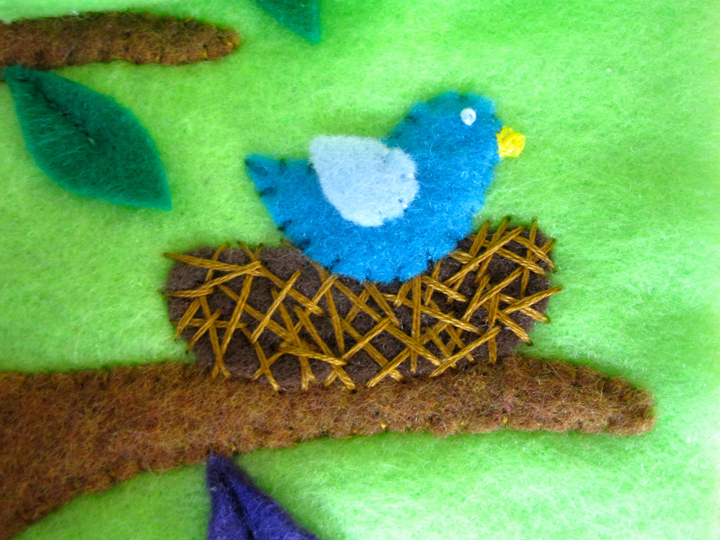
The page features a stuffed owl who lives in the tree trunk pocket. He is attached by ribbon so he doesn’t get lost. In the tree under a flap, lives a little bluebird in a nest.

This page was 100% hand-sewn. You could use a sewing machine. It is easier for me to hand-sew while watching and playing with Jax. I also didn’t want to buy spools of thread in all those colors. I already had matching embroidery floss. Here is my material list: a 9″ square of light blue felt, felt in lime green, green, light brown, dark brown, orange, red, yellow,aqua, purple and white, batting/stuffing and green ribbon. (The owl was done in felt: olive, natural, purple and aqua. His feathers are light aqua ric-rac. I used googly eyes instead of felt for the eyes.)


I started with a light blue 9″ square. If your page is a different size, you’ll need to adjust the lime treetop and the green grass – both go to the edges of the page. I stitched down the grass and the treetop first. Then I layered the tree trunk over the dark brown (stitching the other end of the owl’s ribbon down) and stitched all around the whole trunk. For the hole, I only stitched down the upper 1/3.


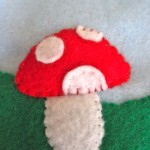
I sewed down the toadstool stems next. The polka dots were stitched onto the caps, then the caps sewn down with some batting for dimension. The little bird’s wing was only sewn on where it attaches to his body. His eye is a French knot and his beak was satin stitched. I sewed down the nest with helter skelter straight stitches then sewed the bird into his new home.

The leaves were all attached by doing a running stitch down the center for about 1/3 – 1/2 of the length so they stick off the page a bit. On the tree flap, I sewed the two leaves to the front piece, then sewed front to back with a loop of ribbon. The final step was to sew the flap on. I didn’t sew around the edges of the page because it will be machine-sewn to the fabric book page eventually.

For more free quiet book patterns, go here! If you use this pattern, please add a comment or link to me. I really would love to see your version!

Loving It – Vintage Schoolhouse

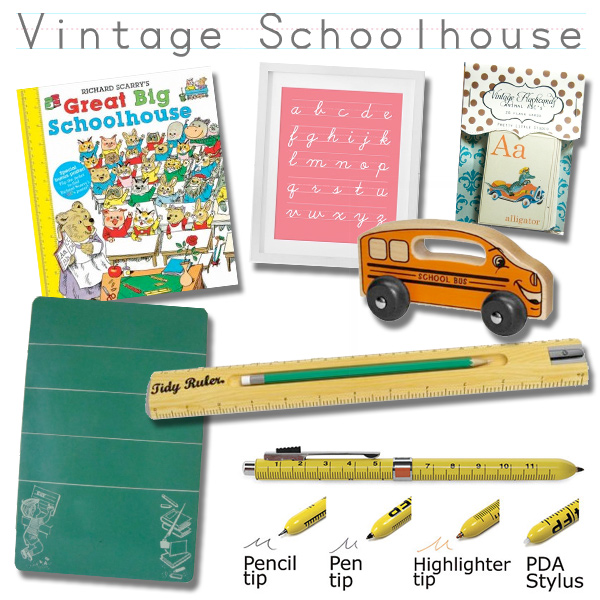
Today is the first day that feels cool and crisp like fall here. Children are back in school and I’ve been inspired by a recent trend in nursery decor with a vintage/retro schoolhouse feel.

Wooden School Bus toy. Mini ABC Flashcards. Richard Scarry’s Great Big Schoolhouse (come by Sunday for more about Richard Scarry.) Tidy Ruler Retro Wooden Ruler with Pencil and Sharpener. Vintage magnetic chalkboard. 4 function ruler pen. Lowercase alphabet poster.

This afternoon I’ll be posting my next quiet book page and pattern – a sweet forest scene! Happy Friday!

Jax’s 19 Month Canvas Painting

We were delayed in doing Jax’s monthly painting. First there was a hurricane which soaked the ground, then flooding in the area from heavy rains. We had a tiny window of one afternoon where the ground was finally dry (my knees actually still got wet!) before more storms rolled through.

Jax seemed to understand that we were going to paint when I told him he was going to “dip dip and paint!” When I handed him the paintbrush he dunked it in the paint right away and started putting it on the canvas. I let him choose the paint bottles, but I vetoed the burnt umber. I have to keep the colors similar because he blobs them on so thick and smears it around. Brown would just turn it all into a big mess.

When he was all done, he accidentally stuck his hand in a paint plate and laughed. I showed him he could finger paint, so he added a bit more color that way. Once I paint the edges, we’ll add it to his gallery. I need to create a second section and fill all the frames with some of the pictures he’s been coloring lately.

I know we are going to cherish all these canvas paintings as he grows up. Do you have any childhood artwork you cherish?

Link-o-rama!

How is your week going? It feels like it should be later in the week than Wednesday by now! Besides work and toddler-wrangling, I am starting another quiet book page.
Here are some links that caught my eye…

  • Someone built the house from “Up!” (A movie that made me CRY!)
  • I didn’t try to hit up Target for the Missoni collection yesterday. Alas, not in the budget. Anyone want to make Jax a small blanket inspired by their bright zigzag pattern? I crochet, but too slowly!
  • I heart all things chalkboard paint, so I’m all for this board book makeover!
  • This onesie bunting from Tradewind Tiaras couldn’t be more perfect for a baby shower! I bet you could use scrapbook paper as well.
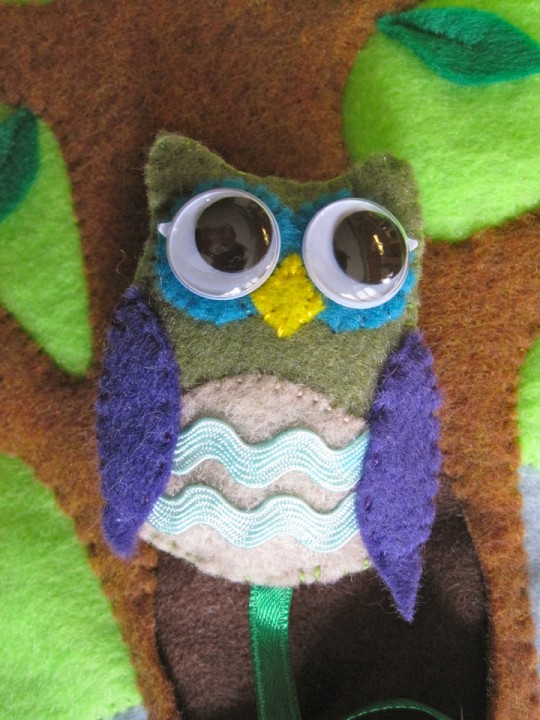
  • I’m up to my eyeballs in felt lately, so this sweet leaf garland caught my eye.
  • What do you get when you combine my two recent addictions: spray paint and thrift store shopping? Check it out!

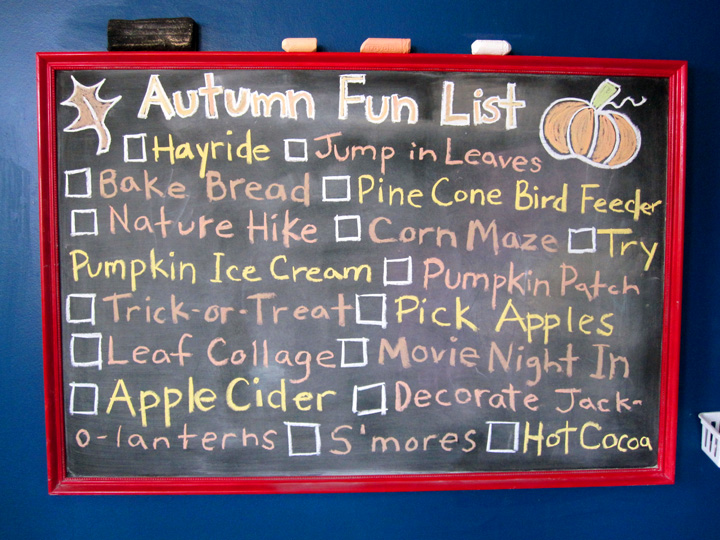
Autumn Fun List

You may have seen the Summer Fun Lists that have been around for a while. But, I’m way more into autumn! When September rolls around, I start to get excited about all the fun fall activities we can do. It’s going to be extra fun now that Jax is getting old enough to participate too!
   

So, Jax and I created our first Autumn Fun List! Hopefully we’ll make it through everything on our list (and more!) before winter arrives. I borrowed Jax’s chalkboard to write up the list, but I know it won’t last up there. I took pictures so we can check things off in Photoshop, heh.

What are you excited about this autumn? We may add some more ideas to our list…