Yearly Archives: 2011

Sweet Edible Playdough

Sweet is an understatement!

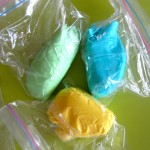
I wanted to introduce Jax to playdough, but I wasn’t sure if he would try to eat it. I looked online, and most edible recipes involved peanut butter – something we haven’t added to his diet yet. I finally found one made with powdered sugar. Way more sugar than I’d want him to eat, but I planned to teach him to keep it out of his mouth.

Turns out, he thinks it is way too sweet to eat anyway! We had fun playing with it, but it gets a little sticky in warm toddler hands after a while.

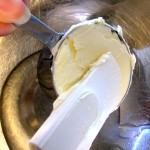
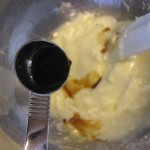
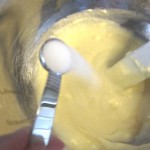
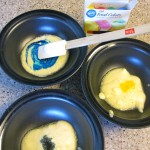
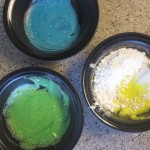
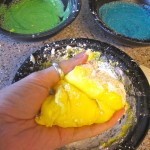
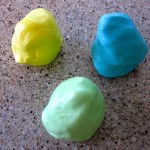
Here’s the process:

Glass Instagram Photo Magnets

As soon as I got my iPhone, I started using Instagram. It’s fun, free and lets you make your less-than-exciting cell phone photos interesting with filters. But what do you do with the tiny square photos it saves? While I always have mine set to save the original hi-res photos, I wanted to do something with the processed images. So I thought of the magnets I’ve made as gifts for years.

little tins are great for gift sets

Supplies:

  • Clear glass floral marbles (shaped like flattened globes) – avoid the iridescent kind, they are hard to see through.
  • Strong, round craft magnets. I find these in the craft store in various sizes.
  • Your Instagram photos (or magazine clippings, pretty paper, etc…) printed to fit your chosen size of marbles.
  • E-6000 glue
  • Scissors (and I sometimes use a circle punch the size of my magnets, but it’s currently lost.)
  • Toothpicks for glue spreading.
  • Optional: metal tin for giving your magnets as a gift set (found in craft stores.)

Are Toy Kitchens For Boys?

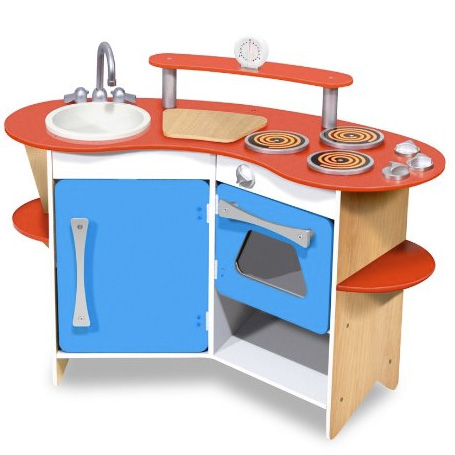
I have my heart set on creating a little play kitchen for Jax in his playroom with adorable wooden food and a DIY kitchen set (my inspiration above is made by Melissa & Doug.) I think it would be a super fun project to take a piece of old furniture and convert it with paint and a little creativity. I loved my play kitchen as a child and I think Jax would too! He will be at the age where kids start playing pretend soon.

But, can toy kitchens be for boys? My husband’s initial reaction was no (and he is an amazing cook!) I say, why not!

What do you think?

Loving It: Woodsy Owls

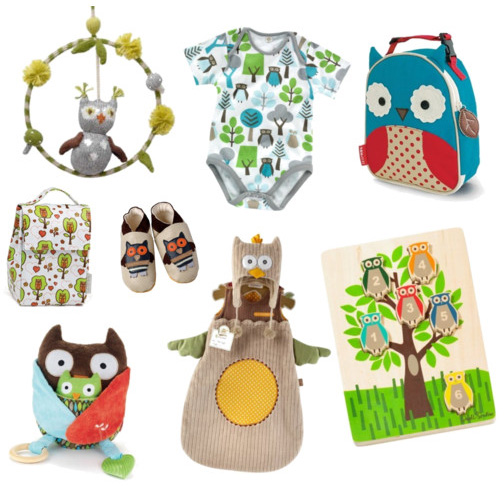
I’m loving all the sweet woodland owls that have been popping up on baby items. They look whimsical and retro and work for both boys and girls. Here are some cute options I found while “window shopping”.

MagnaDoodle Pocket Review

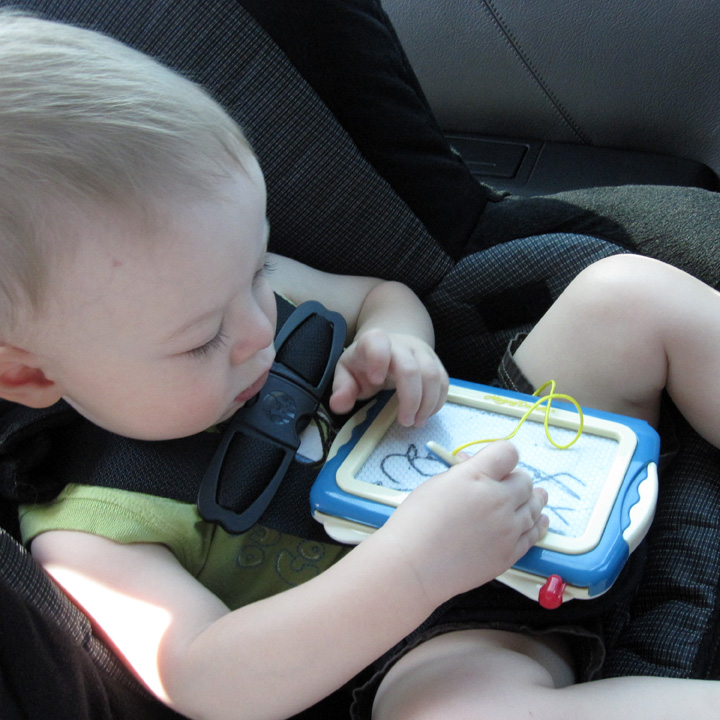
When we started planning a road trip from the DC area up to Long Island, I realized I’d need to think up ways to keep Jax amused on the 6 hour trip. He loves to color, but I didn’t want to have crayons thrown around the car. But we found a great replacement: a MagnaDoodle Pocket!

I ordered ours from Amazon because we have Prime free 2-day shipping and the trip was coming up fast. I hid it until we hit the road.

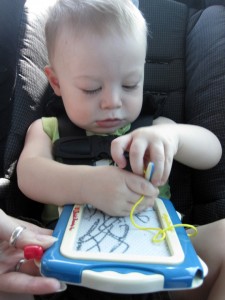
Jax figured out right away how to draw on it. It writes very smoothly and erases in one sweep unless you’ve colored really dark. He loves sliding the stylus back into it’s hole in the side, and he can’t drop it because it is attached. The lever for erasing is too stiff for him to use just yet (it takes me two hands), but he learned to hand it to me whenever he wanted it erased. The size was perfect for his 17-month-old hands and fit easily into my purse or our small day-trip diaper bag.

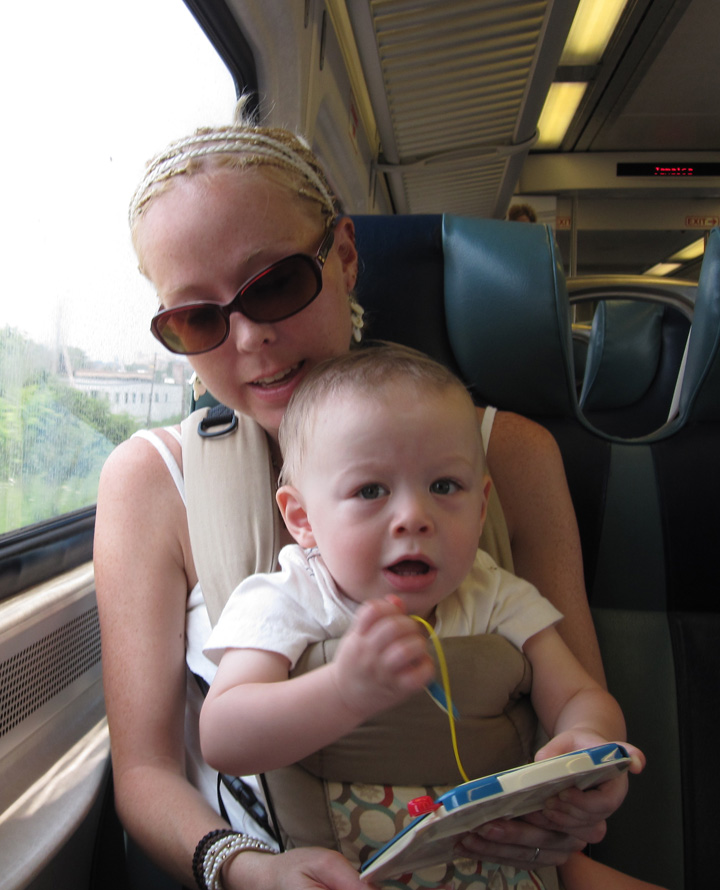
The MagnaDoodle was a huge hit, both in the car and on our train ride to Manhattan. I’ll definitely consider buying a bigger one with more features as Jax grows. I like the stamps this one comes with.

Beco Gemini Baby Carrier

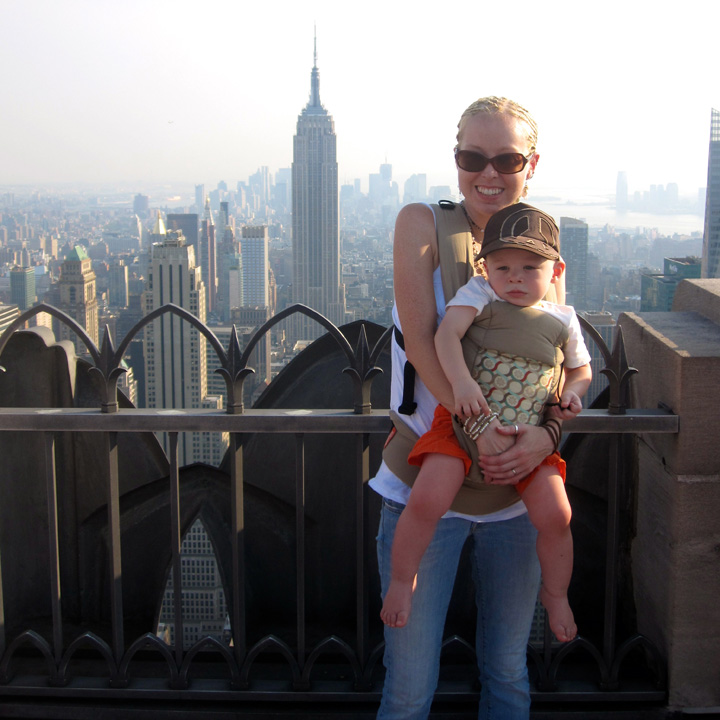
Beco Gemini Baby Carrier

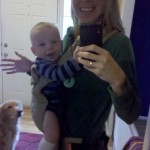
I’m a huge fan of babywearing and I’ve tried many different carriers including the Maya Wrap ring sling, Baby Bjorn carrier, Infantino Flip carrier and the Moby Wrap. My absolute favorite is Beco’s Gemini carrier!
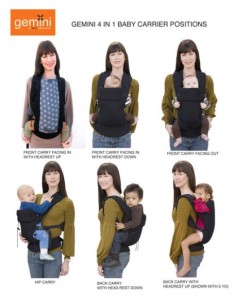
I started out with the Maya Wrap ring sling and Moby Wrap. I loved them, and they were both great for a newborn. Jax was my little blizzard baby, born in Snowmageddon 2010, so the Moby kept him warm and snugly. The ring sling was so convenient for carrying him around and nursing without anyone noticing. Once Jax was big enough, I started using the Baby Bjorn for longer walks. Soft-structure carriers have a lot of advantages (no long tails to drag in the dirt while putting it on like the Moby, for one), but as Jax grew, it became clear that the Bjorn just wasn’t cutting it. My shoulders and back would start to ache right away while carrying him. I loved that Jax could face out (his favorite!), but I also wanted to be able to carry him on my back while I did chores (like the Ergo can.) Enter the Gemini…

I got the Beco Gemini in their old Lucas pattern (a gift from Jax’s grandpa!) right after it was released. I chose that pattern because we have two very hairy blonde dogs and I was sick of dog hair showing up on the chocolate brown Bjorn. Unfortunately, they don’t sell that pattern anymore, but the new Apple and Ginger patterns are so adorable!

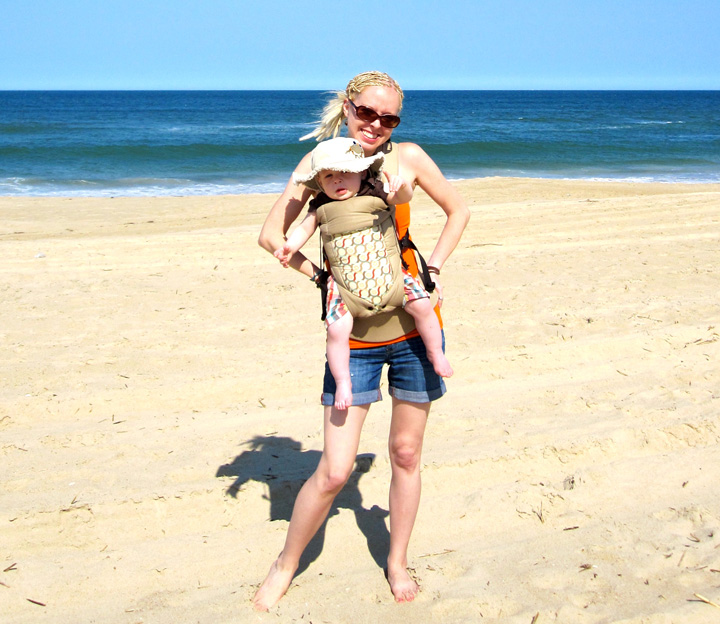
We left for a weekend at the beach right after it arrived and it worked out so well! I have never had any shoulder or back pain with the Gemini. And, Jax is 25 lbs to my 100! He looks so big strapped to me that amazed strangers ask me what kind of carrier we are using to make carrying him look so effortless.

The back carry is easy to learn after a few tries. Jax always falls asleep like that. The hip carry was awkward, so I don’t generally do that one. I usually have him in the front facing-out position and when he gets tired or wants to nurse, I flip him to front facing-in. One of the great Gemini features are the snaps at the base of the carrier where your baby’s bottom is supported. It has a nice wide base when they face in that keeps their knees up in the right position. To switch to facing out, just snap the base to the narrow setting to allow room for chunky baby thighs!

Other details I love: The padding waist support is super comfy and was the only one I’d found that fit my small waist. All the straps have loops of elastic at the end so you can wrap up the extra and not have them dangling everywhere.
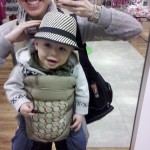
 Jax and I adore this carrier and I can’t recommend it enough to someone planning to do a lot of babywearing! We’ve even dancing in a flash mob together using it! What’s your favorite carrier?

Best Toddler Sprinklers

Photo by Olena

What’s better on a hot summer day than playing in the sprinkler? I recently started taking 17-month-old Jax to the pool where they have a splash pad at the shallow end. He loves it! So I knew I should try to find the best toddler-safe sprinkler for him to play in.

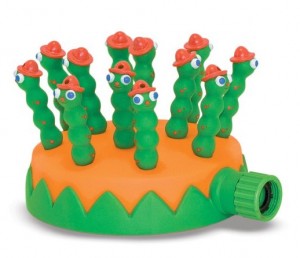
After reading what felt like a million disappointed reviews for all kinds of play sprinklers, I settled on Melissa & Doug Sunny Patch Grub Scouts Sprinkler. The little worms are described as “an entire troop of Grub Scouts who have popped up to work on their Entertainment Merit Badge.” The girly-girl in me was all about the pink flowers on the Melissa & Doug Sunny Patch Blossom Bright Sprinkler, but I decided grubs were more gender-neutral.

The sprinkler is small and colorful with squishy rubber grubs that can’t hurt little feet if stepped on. Attaching it to the hose was easy as the attachment ring spun around on it’s own (instead of having to spin the whole sprinkler.) Jax was drawn to the bright colors before we even got the water going!

The height of the spray will depend on our water pressure and the length/diameter of your hose. We have a very long 100′ 5/8″ hose. With the water turned up all the way, we got 2′ for spray height. I’m thinking with a shorter and wider hose, the spray will be even higher. We decided against getting another hose, as the height was perfect for our little man right now.

The real test came last weekend at my little birthday get-together. Babies ranging from 10-months to 17-months all had the best time playing in it! I think it got more action than the baby pool!

I’d definitely recommend Melissa & Doug’s sprinklers if you have a toddler who loves splashing in water!

Photo by Olena

Road Trips Toddler-Style

Six hours in a car with a 17-month-old? Clearly, we’re crazy! We’ve actually made 3 round-trips to the Outer Banks so far in Jackson’s short life. And, it hasn’t been all bad. While we will be heading north instead of south this weekend, the drive will be the same length.

He tends to fuss at first, as we leave right before nap time and he wants to fight falling asleep. I sit beside him (he is still rear-facing) and he naps for the first 2 hours. Our usual routine is a stop at a rest stop for nursing and a diaper change once his nap is over, then snacks until we arrive. The final stretch is often when the tears start.

Since we won’t have our two large dogs with us on this drive, we have the opportunity to stop somewhere for lunch. This could help break up the boredom of the drive a lot. I plan to make a travel restaurant bag for the trip with crayons, paper and some small toys.

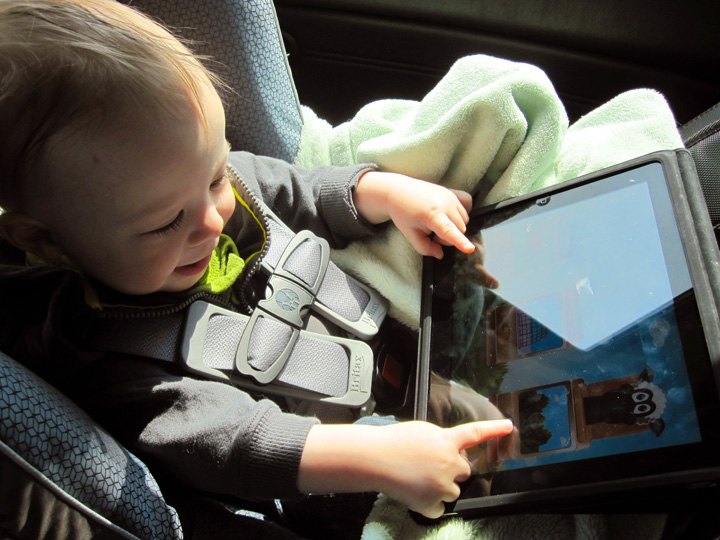
For the car ride, I will be loading the iPad with kids games (see my recommendations here) and shows (Blue’s Clues and Yo Gabba Gabba are Jax’s current favorites) and we’ve ordered a little Magna Doodle to try out. He’ll also get a new car book to play with – Munchkin’s Traveling Flash Cards.

For our time in the hotel room, we’ll be bringing his most-prized toy, I-Play’s Nest & Stack Buckets. I also found a cute block-stacker train (similar to this one) on clearance that I have stashed away to give him at our final destination.

Do you have any tips for traveling with babies and toddlers? Please share!

Recycled Starbucks Card Earring Tutorial

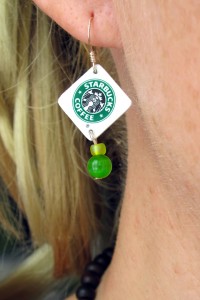
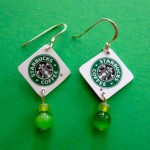
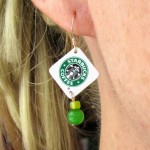
Inspired by my search around the internet for Starbucks-themed crafts, I put together a the first in a series of Starbucks tutorials.

Everyone knows I am a huge Starbucks fan, so I often get their cards as gifts. They are so cute and I can’t seem to throw them out when they are empty. When I saw it was possible to turn them into jewelry, I had to give it a try!

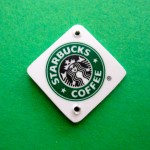
These will make a great gift for our favorite barista. I’ll be making more styles, but this tutorial features Starbucks logo from the upper corner of two cards.

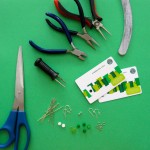
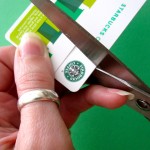
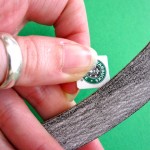
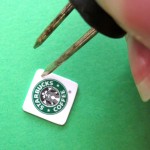
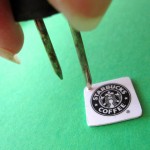
What you need: 2 Starbucks cards, scissors, emory board or sandpaper, something to punch a small hole (I used a corn cob holder!), beads and earring findings (I used two silver french hooks, 2 head pins, 2 large seed beads and two round beads) and jewelry-making tools.

Build an Easy Party Photo Booth

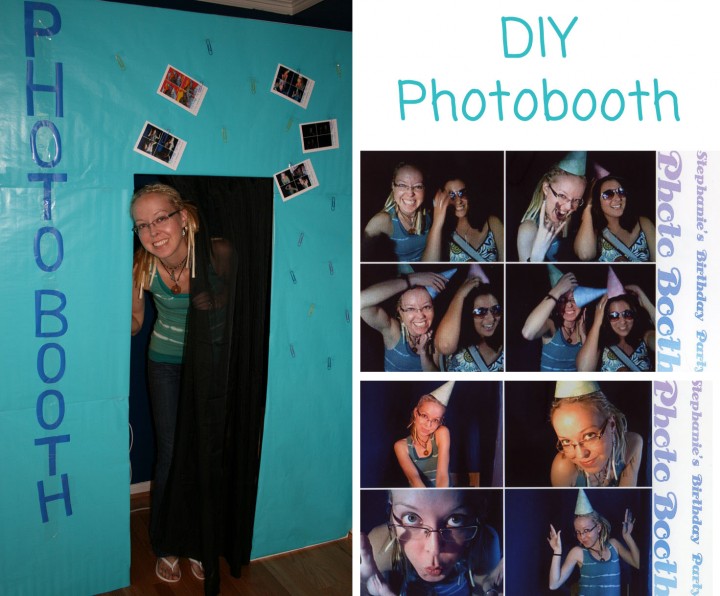
I fell in love with the photo booth at my brother-in-law’s wedding. It was so much fun! I knew I had to figure out how to do my own. This post goes over how I’ve made mine for several parties. Hopefully you can get some useful ideas should you try this too!

The most important part of my photo booths has been my MacBook Pro with a built-in camera. For software, I installed Mugshot Machine and turned on kiosk mode when it was time for the party (this hides the rest of your computer and sends the photos to the printer without your guest having to deal with print options.) It isn’t the prettiest program, but it’s free and lets you use a custom logo on the printouts. The biggest disadvantage to it is that you can’t save a digital copy and print a photo at the same time. Most guests were happy to let me scan their photos and give them back the next day. There are pay software options out there as well.

You need a way to print the photos, unless you are only saving them to disk. I have an HP photo printer I’ve had for years. It uses 4×6 paper that I stock up on at dollar stores and clearance aisles.

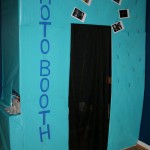
To build my booth, I start with a sturdy tv tray, and cover it with an upside-down box to make the surface area larger. I placed it in a corner so that I only had to make the walls on two sides. To build the walls, I used foam core board I got on sale that just happened to be the same blue as my walls. I think I used about 6 sheets (I didn’t bother with the ceiling.) I left a space for the door in the side of the booth. Behind the laptop, I left a ledge of the box and a cutout for the printer (so your photo comes out when it’s done printing.) It’s dark in there, so I always put a desk lamp in for better lighting.

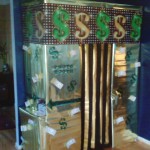
For the door, I use a sheer black curtain hung on a string that is taped up inside the booth. I decorate the whole booth with wrapping paper. It’s inexpensive and I can change it based on the theme of the party. For my friend’s money themed party I used gold and taped play money all over it. I also got a party “scene setter” backdrop that time and decorated the inside. At my birthday party, I taped large paper clips to the outside of the booth so everyone could display their photos during the party.

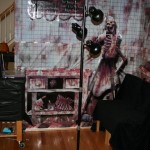
You don’t even really need a booth… When I was pregnant and hosting a Halloween party, I decided to just set up the corner with a backdrop. Everyone still loved it!

I save all the main pieces of the booth in sections down in the basement and I’ve been able to reuse them again and again. So much fun!