Tag Archives: Crafts

Cover – Valentine Mini Quiet book

Would you like to sew along with me?

I created a pattern for a sweet and simple mini (6″ square) quiet book to share with you all. I will be posting instructions in sections as I complete my sewing. Do you have a little one you’d like to give a Valentine to?

The sections will be: the front/back cover, page 1 (flowers) & 2 (chocolates), page 3 (weaving) & 4 (cupcake) and book assembly & giveaway. Yes, I said giveaway! I’ll be sending off my finished book to one lucky reader in time for Valentine’s gift giving.

I am posting the entire pattern now so you know what you’ll need. I cut all my felt and ribbons and sorted my notions for all the pages at once. I’m keeping each page’s goodies in a ziplock bag till I’m ready for them. If you want to take a look at all the layouts, there is a photo on the Facebook page showing everything pinned (and unpinned) in place. Most of my ribbons were from the $1 bin at Joann’s Fabrics. I also got my purse snaps and gems there with a coupon.

The cover uses: 12″ w x 6″ h light pink felt background, felt (in light pink, glitter red, red, hot pink (I had two shades) and purple), ribbon scraps, batting or stuffing and embroidery floss. You can add a paper valentine to the pocket on the back, or make a felt one like I did from my mailbox tutorial.

To make the front cover, pin everything in place on the right half of your background felt. You’ll want to put some batting or stuffing under the big heart to make it puffy. Fold the ribbon behind the hot pink heart before you pin it down. The rest is simple – sew it all down!

The back cover is on the left half of the background felt. It has a pocket to put valentines or a note from you to the book’s recipient. Start by pinning your “xoxo” pattern to the pocket piece. I sewed right through the paper using stem stitch. Once it is all stitched, you can gently rip the paper away.

Lay your pocket and other felt pieces on the page and pin the kiss and little heart to the pocket where they overlap it. Sew them to the pocket. You can leave your thread tails in place (just pull off the needle) so that when you pin it all down to the page, you can re-thread the needle and sew the rest down. Sew the pocket down with ribbon scrap loops on one side. Simple!

I think it looks adorable with a little play letter in the pocket!

Next installment will be the flower page and chocolate page. Those have a lot more little parts, but will be so cute!

Treasure Quiet Book Page

When a treasure chest was requested on the Facebook page, all kinds of ideas started popping into my mind. Maybe I went a bit overboard, but I’m not one to craft something halfway!

This page engages a lot of skills: tying a ribbon (on the map), unlocking a lock (on the chest) and pulling things in/out (the bottle and treasure.)

To make this page I used:
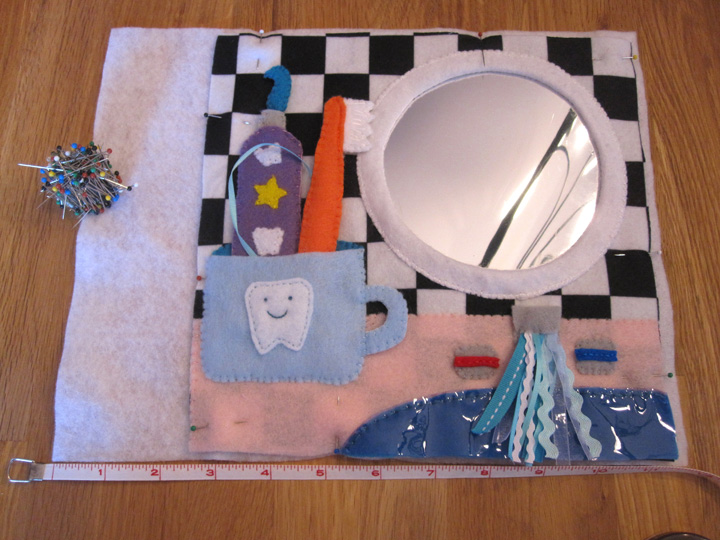
Aqua blue background felt (two 9″ squares), tan felt cut to look like sand, felt (in natural, light brown, brown, dark brown, light blue, burgundy, green, tan, gray, black and white), clear vinyl, gold trim, ribbons, sew-on gems/pearls, a luggage lock and embroidery floss.


Background:
Very simple – just cut out some tan felt in gentle slopes to make the sandy ground. Make sure the pages line up, though! I actually just pinned my “Sand” in place at the beginning and sewed the other elements down over top. At the end, I went back and stitched down the “sand” wherever it wasn’t caught under something else. That saved me a lot of time because I was hand-stitching on the couch.

Message in a Bottle:
To make a “message”, cut two skinny rectangles out of white felt. Make sure they are narrower than the neck of your bottle. Write the word you want on one of them (preferably in a pattern pen), then embroider it. I wrote Jax’s name, but you could write “help!” I used stem stitch and dark brown floss. Cut a piece of ribbon about twice the length of your bottle and sew the two cork pieces onto one end (sandwich the ribbon.) Sew the matching circles onto the other end of the ribbon in the same way.

Pin the light blue bottle piece in place, then sew the top and bottom down. Sandwich the ribbon, cork side up, in between that and the clear vinyl bottle piece. Sew the sides and part of the bottom on a machine (it’s tough the hand-sew vinyl) according to the pattern, letting the ribbon go through the top and bottom holes.

With the cork down in place, make note of where you want your message to be. Pull the ribbon up and sandwich the message pieces around the ribbon. Pin and test that the message fits through the bottle neck (trim if needed.) Sew the message pieces in place, making sure to catch the ribbon on both sides so it doesn’t slide.

Map:
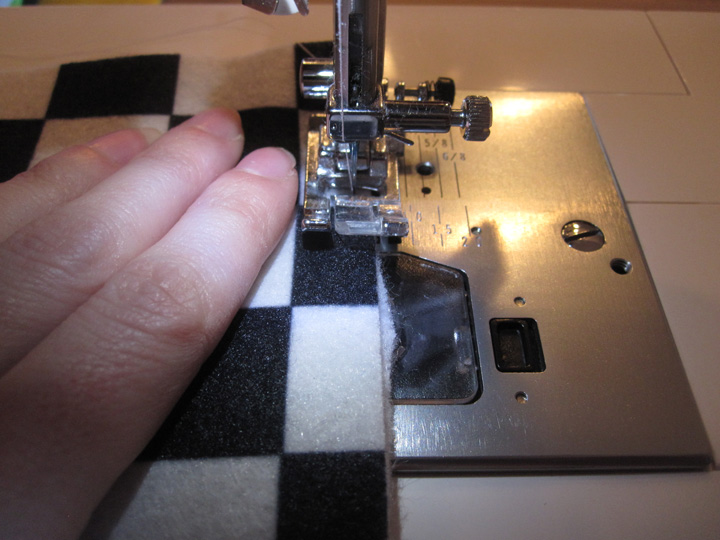
Transfer the map path to the top piece of the map, or pin the pattern down and stitch through the paper. (If you do this, as I did, you’ll need to cut away the paper afterwards and pull bits out of the stitching. Annoying, but my stitches came out very even.) Sew down each map element using the photos as a guide. The boat mast is sewn in dark brown stitching. The skull’s eyes/nose are stitched on in black since they were so tiny. I stitched some blue-green waves around the boat and sharks to show water. Once everything is on the map, sew the front to the back.

Roll up the map and figure out where you want it on the page. Take a length of ribbon and lay it under the rolled up map so that it will be centered behind where the map is. Stitch the ribbon to the page with a couple stitches to the center. Unroll the map and lay it so the center of the ribbon is 1″ from the right edge of the map. Sew the map to the page in a straight line 1″ from the edge. You should be able to roll it up from the left afterwards and tie it with the ribbon.

Flag:
Sew one skull & crossbones to each flag piece if you want a two-sided flag. I actually only put it on the front. The eyes on this one are little bits of felt I cut out and stitched down. Sew the two sides together along the top, right and bottom. Pin it on the page and sew down the flag pole over top.

Treasure Chest:
Sew the dark brown inner chest piece down to the page. To make the pocket, embellish the pocket piece with gold trim. I used a 1/4″ ribbon with an 1/8″ trim on either side to make two vertical bands. I sewed a loop of ribbon that the lock will hang on and pinned it hanging down from the center top of the pocket piece. I sewed gold ribbon along the top, holding the loop in place. Sew the pocket piece down to the page along the left, bottom and right.

Embellish the top piece of the chest lid in the same way as the pocket, but have the ribbon along the bottom instead of the top. The lid’s ribbon loop should also hang down. Sew the front and back of the chest lid together then sew it to the page along the top, starting where it starts to curve.

This part is optional/changeable. I used sew-on gems and a few plastic pearls to add some spilled treasure around the chest. If you are concerned about choking hazards, omit them or cut out little felt shapes instead. I triple-stitched mine on and Jax does not play with his quiet book alone.

Treasure:
I didn’t include a pattern for this. If you have some play gold coins and necklaces, you could just put those in. You could also cut out circles of gold felt to make your own coins. I made my treasure all one piece for now. I used gold glitter foam and cut out a rough shape of a pile of gold and a crown. Leaving the sticky back paper on, I stitched some on jewels and bits of Mardi Gras beads I cut up from the dollar store. Then I peeled of the backing (ripping it around my stitching) and stuck it to the back of another piece of glitter foam (with the backing off.) I cut around the second piece of foam to match and was done! The glitter sticks a bit when you pull it out of the chest due to the roughness of the glitter, but it works fine.

The lock I have is not the one I want to use permanently. It’s just one I already had. I’d like to find a gold tone one. Once I have the one I will use for real, I’ll sew a ribbon to the edge of the page and attach the key. Jax is too young for the lock still, anyway.

Hope you enjoy this pattern! You could certainly use bits and pieces of it since there is a lot of elements. If you sew this page, I’d love to see it! Leave a comment here or post a photo on the Facebook page!
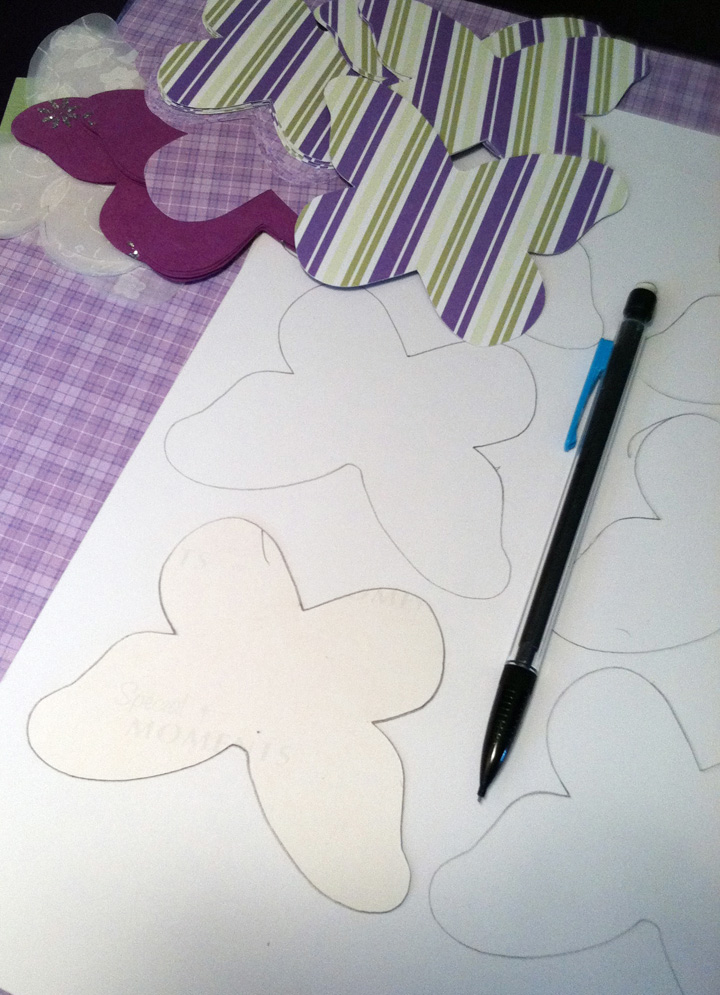
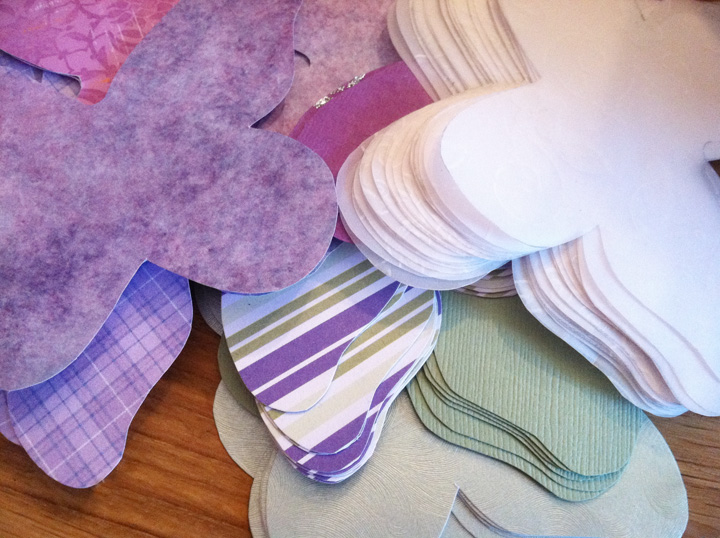
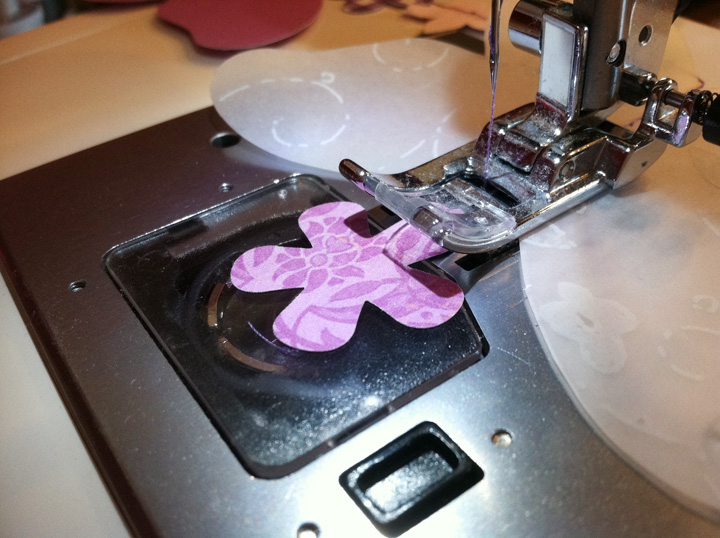
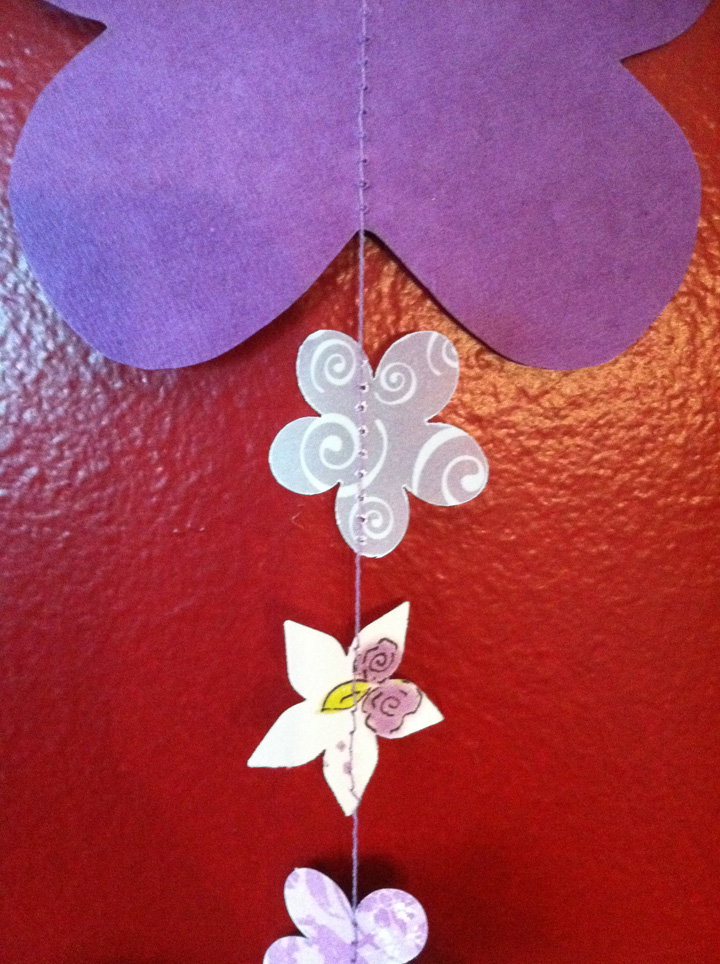
Dump Truck Quiet Book Page

This dump truck was designed to go along with the forklift page I created by request. Since I wrote “Up & Down” on the forklift, I wanted to do another set of opposites on the matching page. A dump truck with “In & Out” sounded perfect!

To make this page I used: green background felt, felt (in brown textured, light blue, gray, gold and black), 3 buttons, 1 grommet, 1 snap, ribbons and embroidery floss.

I started by free-hand cutting out the ground. I set the page beside the forklift while I cut so the ground matched up. I sewed it down when it was done. I then pinned down all the truck parts except the dumpster. That way I knew everything was centered correctly on the page before I began to sew.

I sewed the steering wheel down with it layered on top of the light blue window. Then I layered the gold truck cab over top and sewed it down. I never had to sew the light blue at all. Next I sewed the gray truck bed/bumper down.

The wheels on this page don’t turn because I wanted to have that curving part on them (sorry, I don’t know car parts!) I pinned the wheels down then attached then with a button in the center. I then sewed the gold curves down over the top. The bottom of the wheel is loose, but doesn’t turn.

My next step was to cut out two sides of a dirt pile shape. I free-handed it and just made sure it was narrower than the dumpster. With one end of an ~8″ ribbon sticking out of one side, I sewed the halves together. I then sewed the dumpster into a pocket with the other end of the ribbon caught it the upper left corner. I marked on the pattern where I sewed the dumpster with a dashed line.

To attach the dumpster, I added a grommet in the lower left corner, a snap in the upper right (put the other half where it lines up on the page) and sewed a button through the grommet hole. To keep the dumpster from spinning all the way around, I sewed a scrap of ribbon to the back and attached it to the page. You can see it peaking out in the photos.


The final step was sewing the lettering. I actually just sewed right through the pattern paper then cut it away. Nice and quick! I used stem stitch.

This page goes with the forklift page I made by special request. Stop by the Facebook page if you’d like to make a suggestion. For more quiet book pages click here.

2011 Quiet Book Pages

Here is a look back at the quiet book pages I completed in 2011. I didn’t start working on them until September, so I’m proud I created 19 pages! A few were created to go together in 2-page spreads. (Number 20 is complete but not posted.)

Click a thumbnail below to visit a post:


Sock Matching

Top 5 Most Popular Patterns

  1. Sock Matching – 4 comments – 3002 views
  2. Circus Train – 3 comments – 1842 views
  3. Forest – 4 comments – 1773 views
  4. Starbucks – 0 comments – 1573 views
  5. Rocket Ship – 2 comments – 1428 views

Related Tutorials

Cover Tutorial

What People Are Making

Taking Requests!

This year I’m taking requests! Drop by my Facebook page with your suggestions. Page 19 was my first completed request, and I’ll be posting a page to match it very soon!

Happy New Year!


Forklift Quiet Book Page

This quiet book page is a special request. If you have a request, leave comment on my Facebook page and I’ll see what I can do.


I knew nothing about forklifts when I started this page, so I had to look at a lot of pictures and figure out how to simplify it down. The basic mechanism on this page is a strip of felt matching the background that a sleeve of clear vinyl slides up and down on. The vinyl gave me a place to sew down the forklift platform and some snaps to attach the pallet and boxes. I added spinning wheels, numbers and the words “Up & Down” to add to the educational elements.

Here is what I used: a 9″ square dark green felt background, felt (in dark green, brown pebble texture, gold, light blue, tan, natural, gray and black, clear vinyl, green ribbon, sew-on snaps, two grommets, two buttons and embroidery thread. I sewed this page by hand, with the exception of sewing it down to the actual page.

I started by pinning everything down to get placement (don’t pin into vinyl – it leaves holes) then sewed down the light blue window the gray steering wheel and the brown ground (cut that out freehand.) Take your strip of felt that matches your background (dark green in my case) and sew the gray bar along the left side. Pin it in place on the page then sew down the gold cab of the forklift. It will overlap the bottom of the gray bar. You can then sew down the bottom of the background strip.

To make the wheels, cut them out just outside of the circle template using pinking shears. Insert a grommet into each wheel and sew a button to the page through the grommet hole. The wheels will be able to spin around but will be held in place by the buttons.

To make the sleeve for the forklift mechanism, start by sewing the gold forklift platform to one piece of clear vinyl. See the pattern and photos for placement. Sew down some snaps for the pallet and boxes to attach to. Sew a loop of ribbon to the top center and another to the bottom center. Place the second piece of vinyl behind the first and sew them together along the sides only. Slide the sleeve onto the background strip then sew down the top of the strip to keep it in place. You should be ale to slide it up and down to look like the forklift is lifting.

For each of the crates, I freehand stitched the numbers to the front and a snap to the back, then sewed the two sides together. For the pallet I sewed a line across the front to add dimension, sewed a snap to the back, then sewed the two sides together. I added more snaps to the ground to give the crates and pallet somewhere to go when they aren’t on the forklift. (I ended up using 1.5 small snap sets per crate and 1.5 medium snaps for the pallet.)

The final embellishment was the words embroidered at the top. To transfer the writing, I pinned my pattern down and basted over each latter with one strand of thread. I left 2″ tails at the end of each letter instead of knotting. I then cut the paper away from each letter and puled off the remaining bits. This left me with a basted pattern to stitch over using stem stitch. When I was done, I pulled out the basting threads, clipping them wherever they were caught in the embroidery.

I am currently working on a dump truck that will be the other side of the two page spread. I think they’ll be really cute together!

Let me know i you use this pattern. I’d love to see your version!

Jax’s Barn – Wooden Dollhouse Makeover

Jax’s Barn

Jax’s Christmas present is done! I started with an under $10 thrift store dollhouse and turned it into a sweet little barn for Jax to enjoy.


It took me about a month of stealing 30 minutes here and there to add more layers of paint. Lots of paint! On the floor of the upper level, there had been a pretty dark red stain. Let’s just call it paint, since the dollhouse didn’t appear to be haunted! I hid the stain and added to the barn feel by using Mod Podge to glue craft straw down and sealed it with a few layers of acrylic sealant. I may eventually do one of those acrylic water kits up there so the floor is smooth, but it works for now. Just a little bumpy for some of the animals. I also filled all the screw holes with wooden plugs I painted white. Once my million coats of paint (to get the edges just so) were dry, I sealed it all with Krylon spray. Right now, I’m just letting the house cure and air out for a few days before wrapping it up.

The animals I got Jax are by Plan Toys. They are so cute, and I love that they are wooden. I wish I could have afforded the horses/stable and the tractor (see Jax’s Wishlist), but at least he has a few friends to start out with. I did get him a farm train to go along with it.

If he plays with his barn a lot, I may sew him a farm play mat with roads for tractors, fields and pastures. What do you think of the makeover?

No-Sew Dog Toy

This project is from the archives of my personal blog. I wanted to share it here for my fellow crafty dog lovers, because what dog doesn’t love getting gifts!

When I created this project, I had a lot of leftover fleece from sewing doggy valentine hearts, so I figured out how to make braided doggy tug toys. It is super easy – no sewing involved and only takes about 10 minutes. You basically just cut and braid. Here is a quick how-to:


You’ll need some fleece. You can use up to 3 colors for each tug toy. Mine was leftover from another project.

Fold the fleece in half, selvage to selvage so you are cutting strips along the direction the fabric stretches (the selvage will be on the end of your strips, not on the length). Cut a strip 3″ – 4″ wide. I went with 3.5″. Repeat until you have three strips total.

Lay the strips lengthwise side-by-side. Fold them in to loose tubes at the middle so that the rough edges aren’t as noticeable when you start to braid.


Braid the middle 10″ or so of the strips. When you fold this in half, it will become the loop handle.

Fold the strips in half and line up the matching colors. If you are using all one color, just split the strips from each side into 3 groups of 2.

Start braiding tightly till the end. You can make it look neater by wrapping the pairs of strips around each other into a tube so you don’t see as many rough edges.

Tie the whole tug toy in a knot above the loose ends. I like to make the knot loosely but starting fairly high, then pull it down towards the end until it is nice and tight.

Trim the ends to make them even, and you are done!

Mailbox & Letters Quiet Book Page

I finally have another quiet book page done! First there was vacation, then working to make up lost hours, Thanksgiving and a bad cold. And there went November!

There’s nothing super original or crazy about this page, but it was one I wanted to include. “Mail” was one of Jax’s first words thanks to the mail song on Blue’s Clues. I have to give a shout out to Handmade By Jill, as her mail page was the first I came across.


Here is what I used: a 9″ x 9″ sky blue felt background, felt (in light gray, dark gray, red, brown, white, and assorted colors for the envelopes), ribbons and ric-rac, buttons, 1 grommet, Velcro and thread to match.

To make the page: I stared by sewing the two sides of the red flag together. I installed a grommet at the end – the same kind I use on the finished pages. I then sewed the lettering down onto the side of the mailbox. Placing the flag where I wanted it, I sewed on a button through the grommet hole. This lets the flag move just like on a real mailbox. To make the mailbox door, I sewed the two sides together with a loop of ribbon at the top. You could use elastic as well. I sewed the brown stake to the page, followed by the dark gray mailbox interior (the dashed line on the pattern shows where I sewed a decorative line to add dimension to the inside). I sewed the top, back and bottom of the outside of the mailbox down leaving the front open to put the letters in. To finish the page, I sewed down the bottom of the mailbox door and attached a button above it.

The mail is a blast to make! Get out your ribbon and ric-rac stash and  have some fun! I used my sewing machine for them and had to rush. Please excuse the shoddy stitching in my example – I was actually nursing at the same time!


To make the envelope: Fold the envelop flap over and stitch beside the fold to set it in place (felt doesn’t fold well on its own.) Sew a piece of Velcro on the inside of the flap and decorate the outside with a scrap of ribbon or felt. Fold the envelope body up to find where the other half of the Velcro should be, the sew it on. Cut a little rectangle of white felt with your pinking shears. Sew it on as the stamp with a scrap of ribbon or felt. I used ribbon and folded under each end. Cut some ribbon or ric-rac and position it where the address would be. Sew it down. Fold the envelope back up and sew around the sides and bottom. All done!

To mail a letter: Sew ribbons or ric-rac down on the bottom half of the white felt rectangle. Fold the whole thing in half and sew along all four sides and trim it to neaten it up. I just did two ribbons on each, but you could go crazy!


I hope the pattern is helpful! This page came out very cute thanks to the mail. I had to stop myself after 5 letters because the mailbox was getting too full! If you use this pattern, I’d love to see your end result. I hope you’ll share it with me!

Peace & Love Felt Ornament Patterns

I plan to design and sew a couple felt ornaments every week until Christmas. I’ll be sharing the patterns here for anyone who is interested!

Peace & Love

Here are my first two ornaments: Peace and Love. Some of the photos came out with the colors off, but the photo at the top is accurate.

The supplies you’ll need are:
Felt (in red, sky blue, aqua blue and green), embroidery floss (in red, aqua blue and green), red ribbon or ric-rac, batting/stuffing, needle, scissors, pins, water-soluble marker or thin Sharpie and the pattern print out.

  • Start by cutting out your pattern pieces, pinning them to the felt and cutting all the elements out.
  • Decorate the fronts of each ornament. For the Peace sign, I did the stitch I usually use when sewing a felt applique: short, perpendicular stitches across the edge of the applique all the way around. I did the same for the berries, but sewed the leaves down first. For the leaves, I did a simple back stitch ⅓ of the way up the centers and left the rest loose. On the Love ornament I did the little heart and the holly with the same techniques. To transfer the text, I pinned the pattern behind the felt and held it up to a light. I was then able to trace over the word with a marker. I sewed the word using a chain stitch with 4 strands of floss (I normally use 2 strands for everything else.)
  • Cut two 6″ length of ribbon or ric-rac. Fold them into loops and pin them in place between the two sides of each ornament. Sew halfway around each ornament with a blanket stitch (I used red floss as an accent.) Add batting or stuffing (I used batting and cut them ¼” smaller than the main shape) then continue all the way around to finish them.

Peace & Love Felt Ornaments

Simple and sweet!

If you make your own, I’d love to see them! Send me a photo or link and I can add yours to this post.

Sewn Paper Mobile Tutorial

This post is dedicated with love to baby S. If you find this post helpful, please consider making a donation to help the March of Dimes fund the research that will get us closer to stronger, healthier babies.
 

At first I thought I was completely insane and over-ambitious to decide to make a huge paper butterfly mobile. Turns out, it wasn’t bad at all! After late night inspiration struck, I was able to whip this up in no time (*not* counting the time to cut out the butterflies!)

This technique is great for paper garlands as well. I’ll be doing a tutorial for one soon.

You’ll need:

  • Card stock and/or vellum. I used both.
  • Butterfly template. I printed mine on card stock so it was easy to trace.
  • Paper punch(es) for little flowers. I used the McGills Petite Petals Punch
  • Sewing machine, thread and beading needle.
  • Assorted beads, including some drop beads. I used pink flowers.
  • The inner ring of a sewing hoop.
  • Ribbon and glue to cover the hoop.
  • String or ribbon to make the hanger. I used crochet cotton.

I started by wrapping the inner ring of a wooden embroidery hoop with ribbon and gluing down the end (I “clamped” it with tape overnight while it dried.) I cut two lengths of crochet cotton that were longer than the diameter of my hoop. I tied one so it split the hoop in half, then tied the other perpendicular to that so it split the hoop in quarters. I then grabbed the centers of both strings and tied a ribbon to the center so the mobile could hang from the slack in the strings.

The time consuming part was cutting and punching the paper. You need to cut out at least 36 butterflies for the layout I used, more if you used single-sided paper and use two pieces back-to-back. I did some of both. I punched a zillion flowers since I wasn’t sure how I was going to use them. Luckily, my punch cut out 3 at a time! I used some solid paper, some vellum (solid and patterned) and some patterned paper. They were all from the scrapbooking aisle of the craft store.

Sewing the strands of the mobile is so easy! I sewed mine from the bottom up. Leave about 10″ of spare thread before starting (you’ll need that for adding beads later) then start sewing as you feed the bottom of a butterfly into the machine. When you get to the top of the butterfly, position a flower the distance you want it from the butterfly and push it under the foot as you continue sewing. My patter was 3 flowers between each butterfly and I ended with 3 flowers on top. I did four strands with 4 butterflies and 4 strands with 5. When you end your strand, back stitch a bit, then leave another 10″ tail so you can tie the strand to the hoop.

Once you’ve sewn your strand, you need to weigh it down with beads. I made a little pattern I liked and ended with a drop bead. To put the drop bead on, I threaded one strand of my thread through the hole one way and the other strand the other way. then I made a knot above the bead and clipped the tails. You could add some Fray Check to the knots for security. (I used Fray Check on the strings that tie the braids in my hair closed!)

Tie your strands of butterflies and flowers to the hoop. I tied 4 of them right to where my hanger threads were attached, then the other 4 in between. To make it easy, I hung mine from the adjustment arm of a camera tripod.

To pretty-up where the strands are tied on, I made some little flower embellishments. You could easily hot glue some purchased silk flowers or butterflies too. I took a length of thread and a beading needle and ran the thread halfway through the center of some flowers. I added a bead then went back down through the center of the flowers with the other half of the thread. I used the two tails to tie each beaded flower over the knots of the butterfly strands.

Then you are done! Hang it by it’s ribbon and enjoy! (Mine is just taped up for a photo. You’ll want a nice hook.)

How To Sew Quiet Book Pages

Here is a little tutorial on how I sew up my final quiet book pages. My designs are 9″ x 9″ on a felt background. I sew my final pages using 9″ x 12″ felt sheets – white for the front and colored or patterned for the back. If your pages are a different size you’ll have to modify accordingly.

  1.  Pin your design to the white felt. I put mine close to the right edge but leave about a half inch.
  2. Zigzag stitch around all four sides. If you have dangly bits, make sure you hold them out of the way!
  3. On the reverse side, pin on the background (wrong sides facing.)
  4. Sew all the way around.
  5. On the front, I sew a line 1.75″ from the left edge. I use a hole on my machine as my guide.
  6. Sew another line just inside of it. I use my presser foot as my guide.
  7. Sew a line just to the side of the far left seam like in step 6.
  8. Gather what you need to put in grommets. I made a template so all of my pages would match up.
  9. Mark your holes. Place them in the channel you made for strength.
  10. Cut out holes as directed on your grommet package.
  11. Put in your grommets as directed on the package.
  12. All done!

When I have a 2-page spread, I sew the right-hand page with steps 1 – 4. Sew the left-hand page like steps 1 – 4 but align everything to the left of the page instead of the right. Place the pages together, right sides facing. Sew over the far left seam, then make the same seams as in steps 5 – 7. Continue on to make your grommets. You’ll now have a separate page you can take out of the book and the two halves will always stay together!

I hope this helps! I’ll post about my cover soon… I still have to make it!

Quiet Book Progress

While the majority of my Quiet Book sewing is on hold while I work on Jax’s Halloween costume, hand sewing pages can still be worked on during the times I am watching Jax and can’t get to the sewing machine.

So what to make next?

Here’s some options on my list: a city map page for driving cars, a toothbrush and mirror page (Jax LOVES to brush his teeth!) and a mailbox page (his would be Blue’s Clues themed. He gets to watch a Blue’s Clues episode after dinner.)

Any pages you’d like to see? What do you think I should work on next?